 Hey friends! I’ve got a lovely Magnolia Wreath Tutorial up on the blog today for you. I first came up with this several months ago for my Makers Cottage Night. I really wanted to make a tutorial for all the friends who requested it that live far away but I struggled with finding a good backdrop large enough for a wreath.
I’ll be throwing caution to the wind and using a much too small poster board for this while awaiting my newly ordered one to arrive.
Shall we get started? It’s really pretty easy and Hobby Lobby has everything you need! Make sure you use the weekly 40% off coupon in their app! If you time it right, you can buy the leaves when the greenery is on sale and use your coupon for the wreath part. That makes this project cost roughly $15…
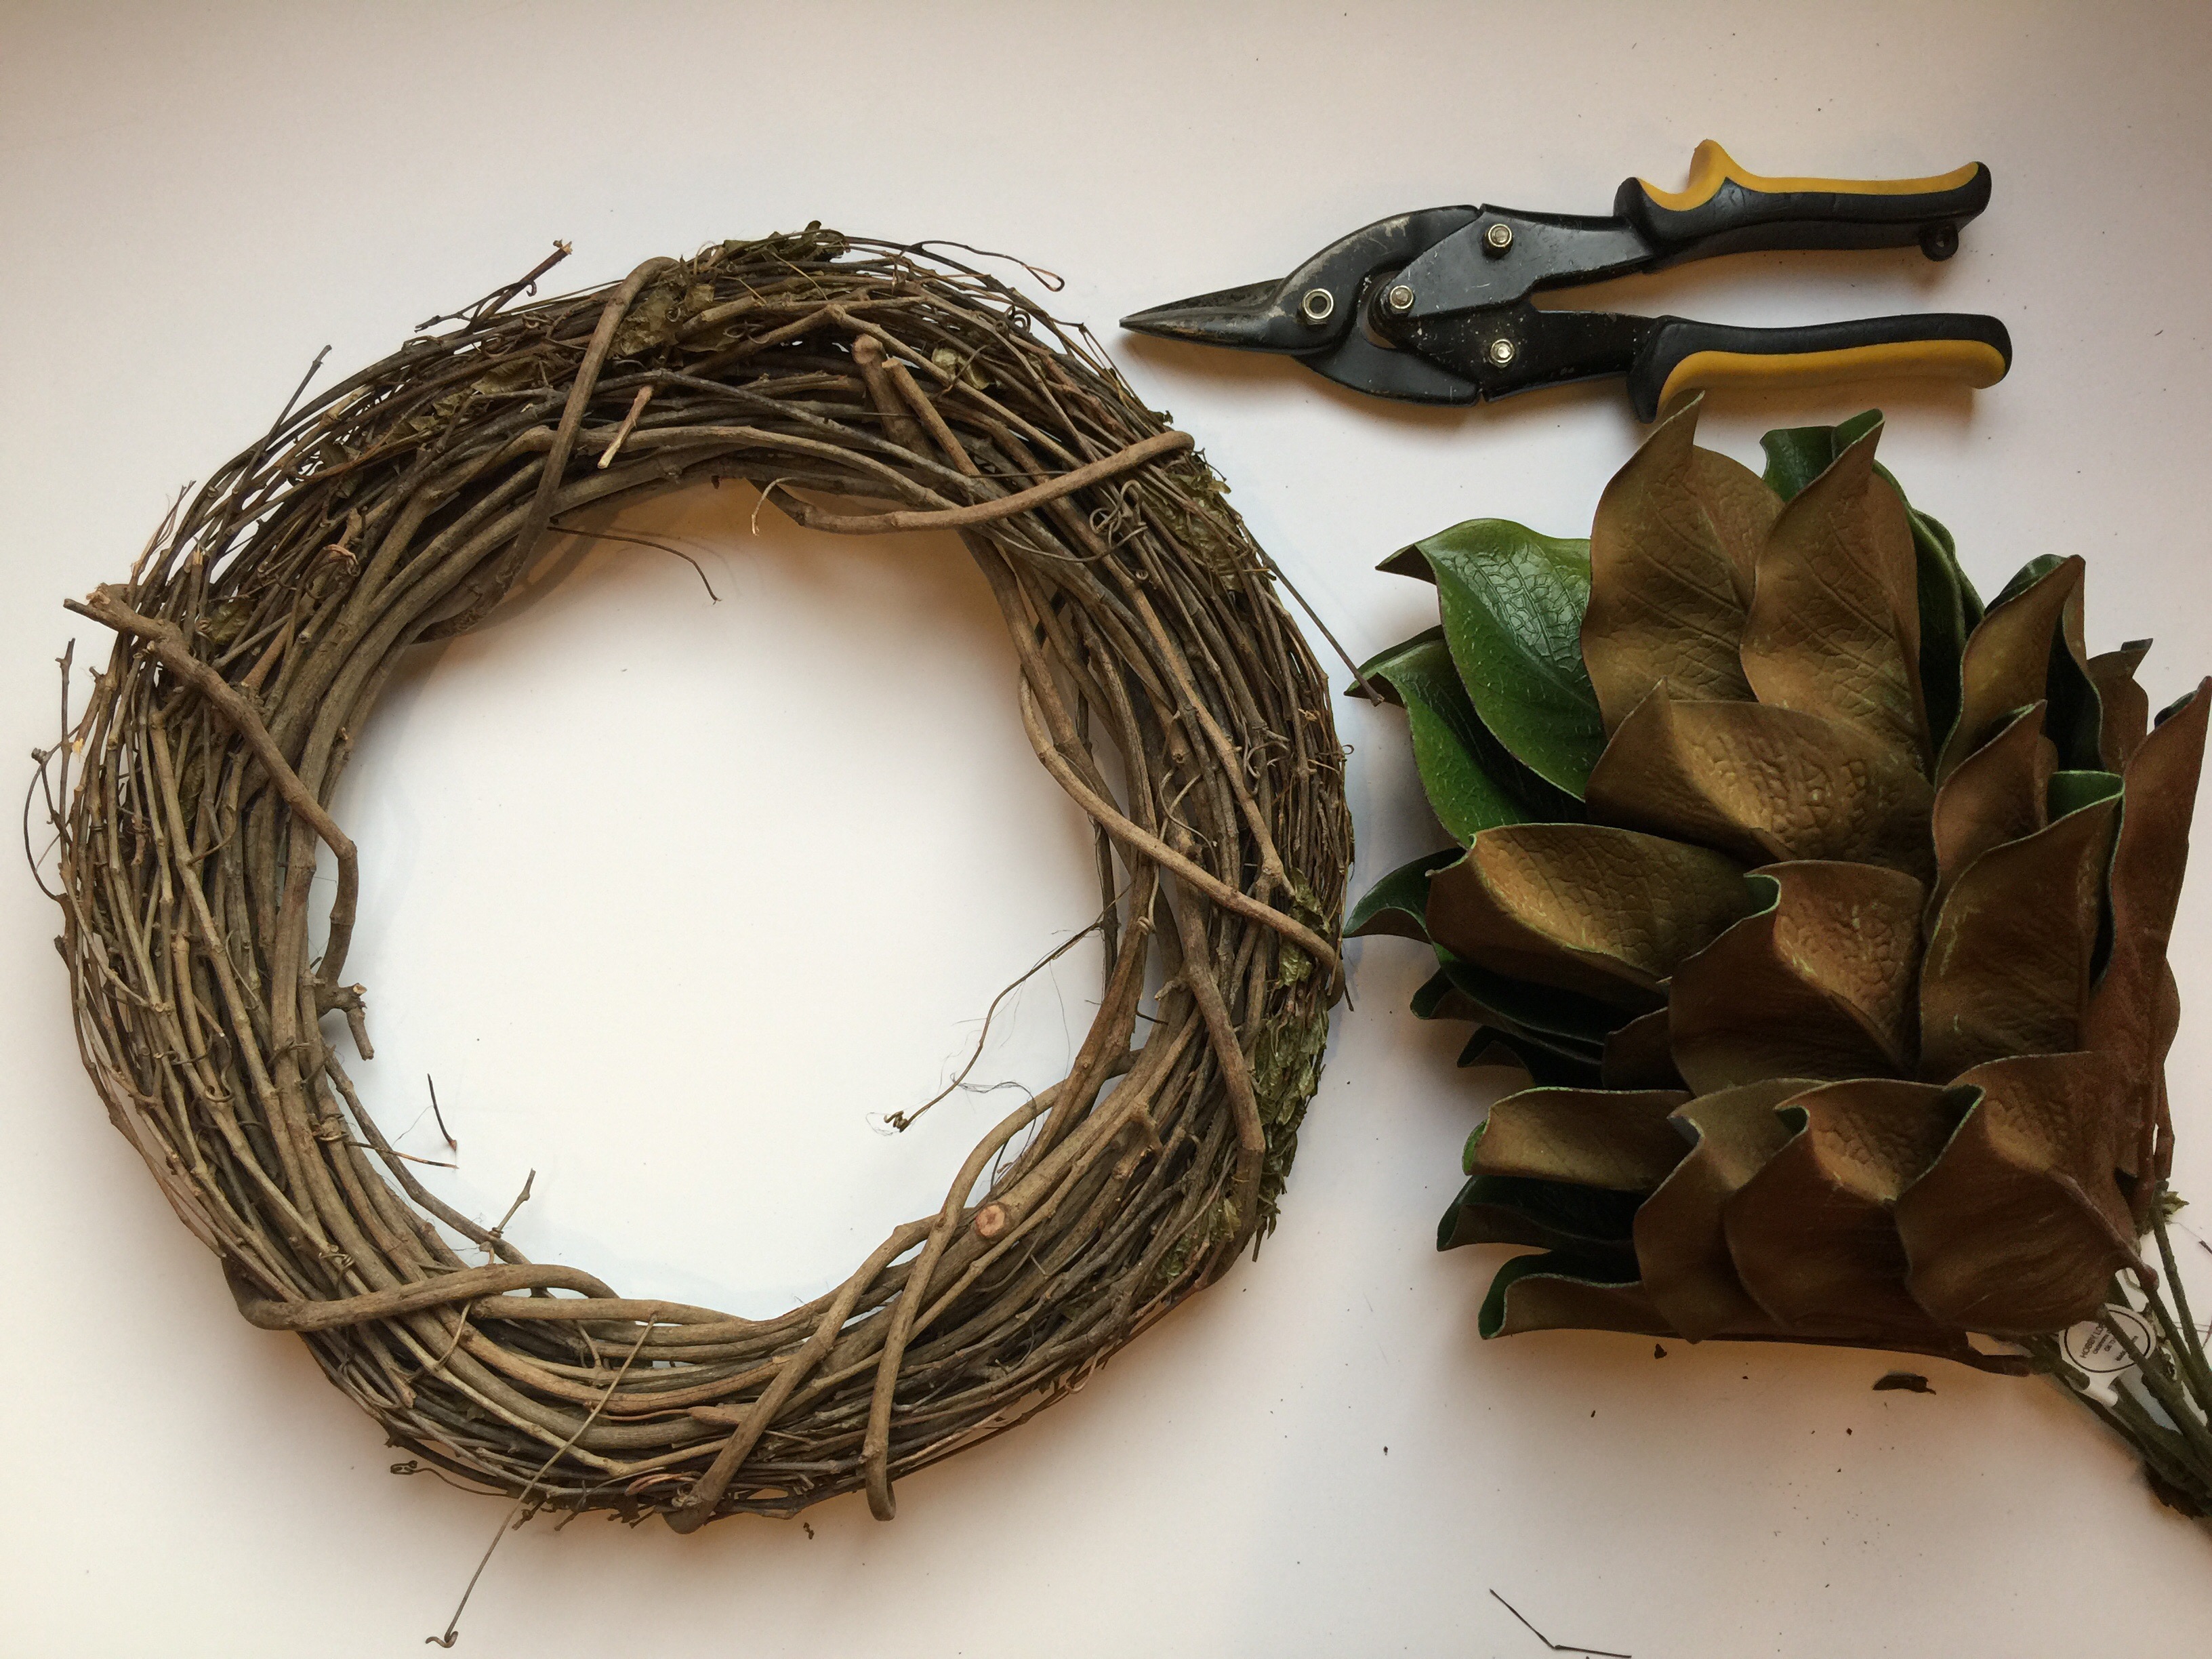
- One large bunch of Magnolia leaves from Hobby Lobby
- One 18” grapevine wreath
- Wire clippers or pliers
- Glue gun
- Glue sticks
Directions:
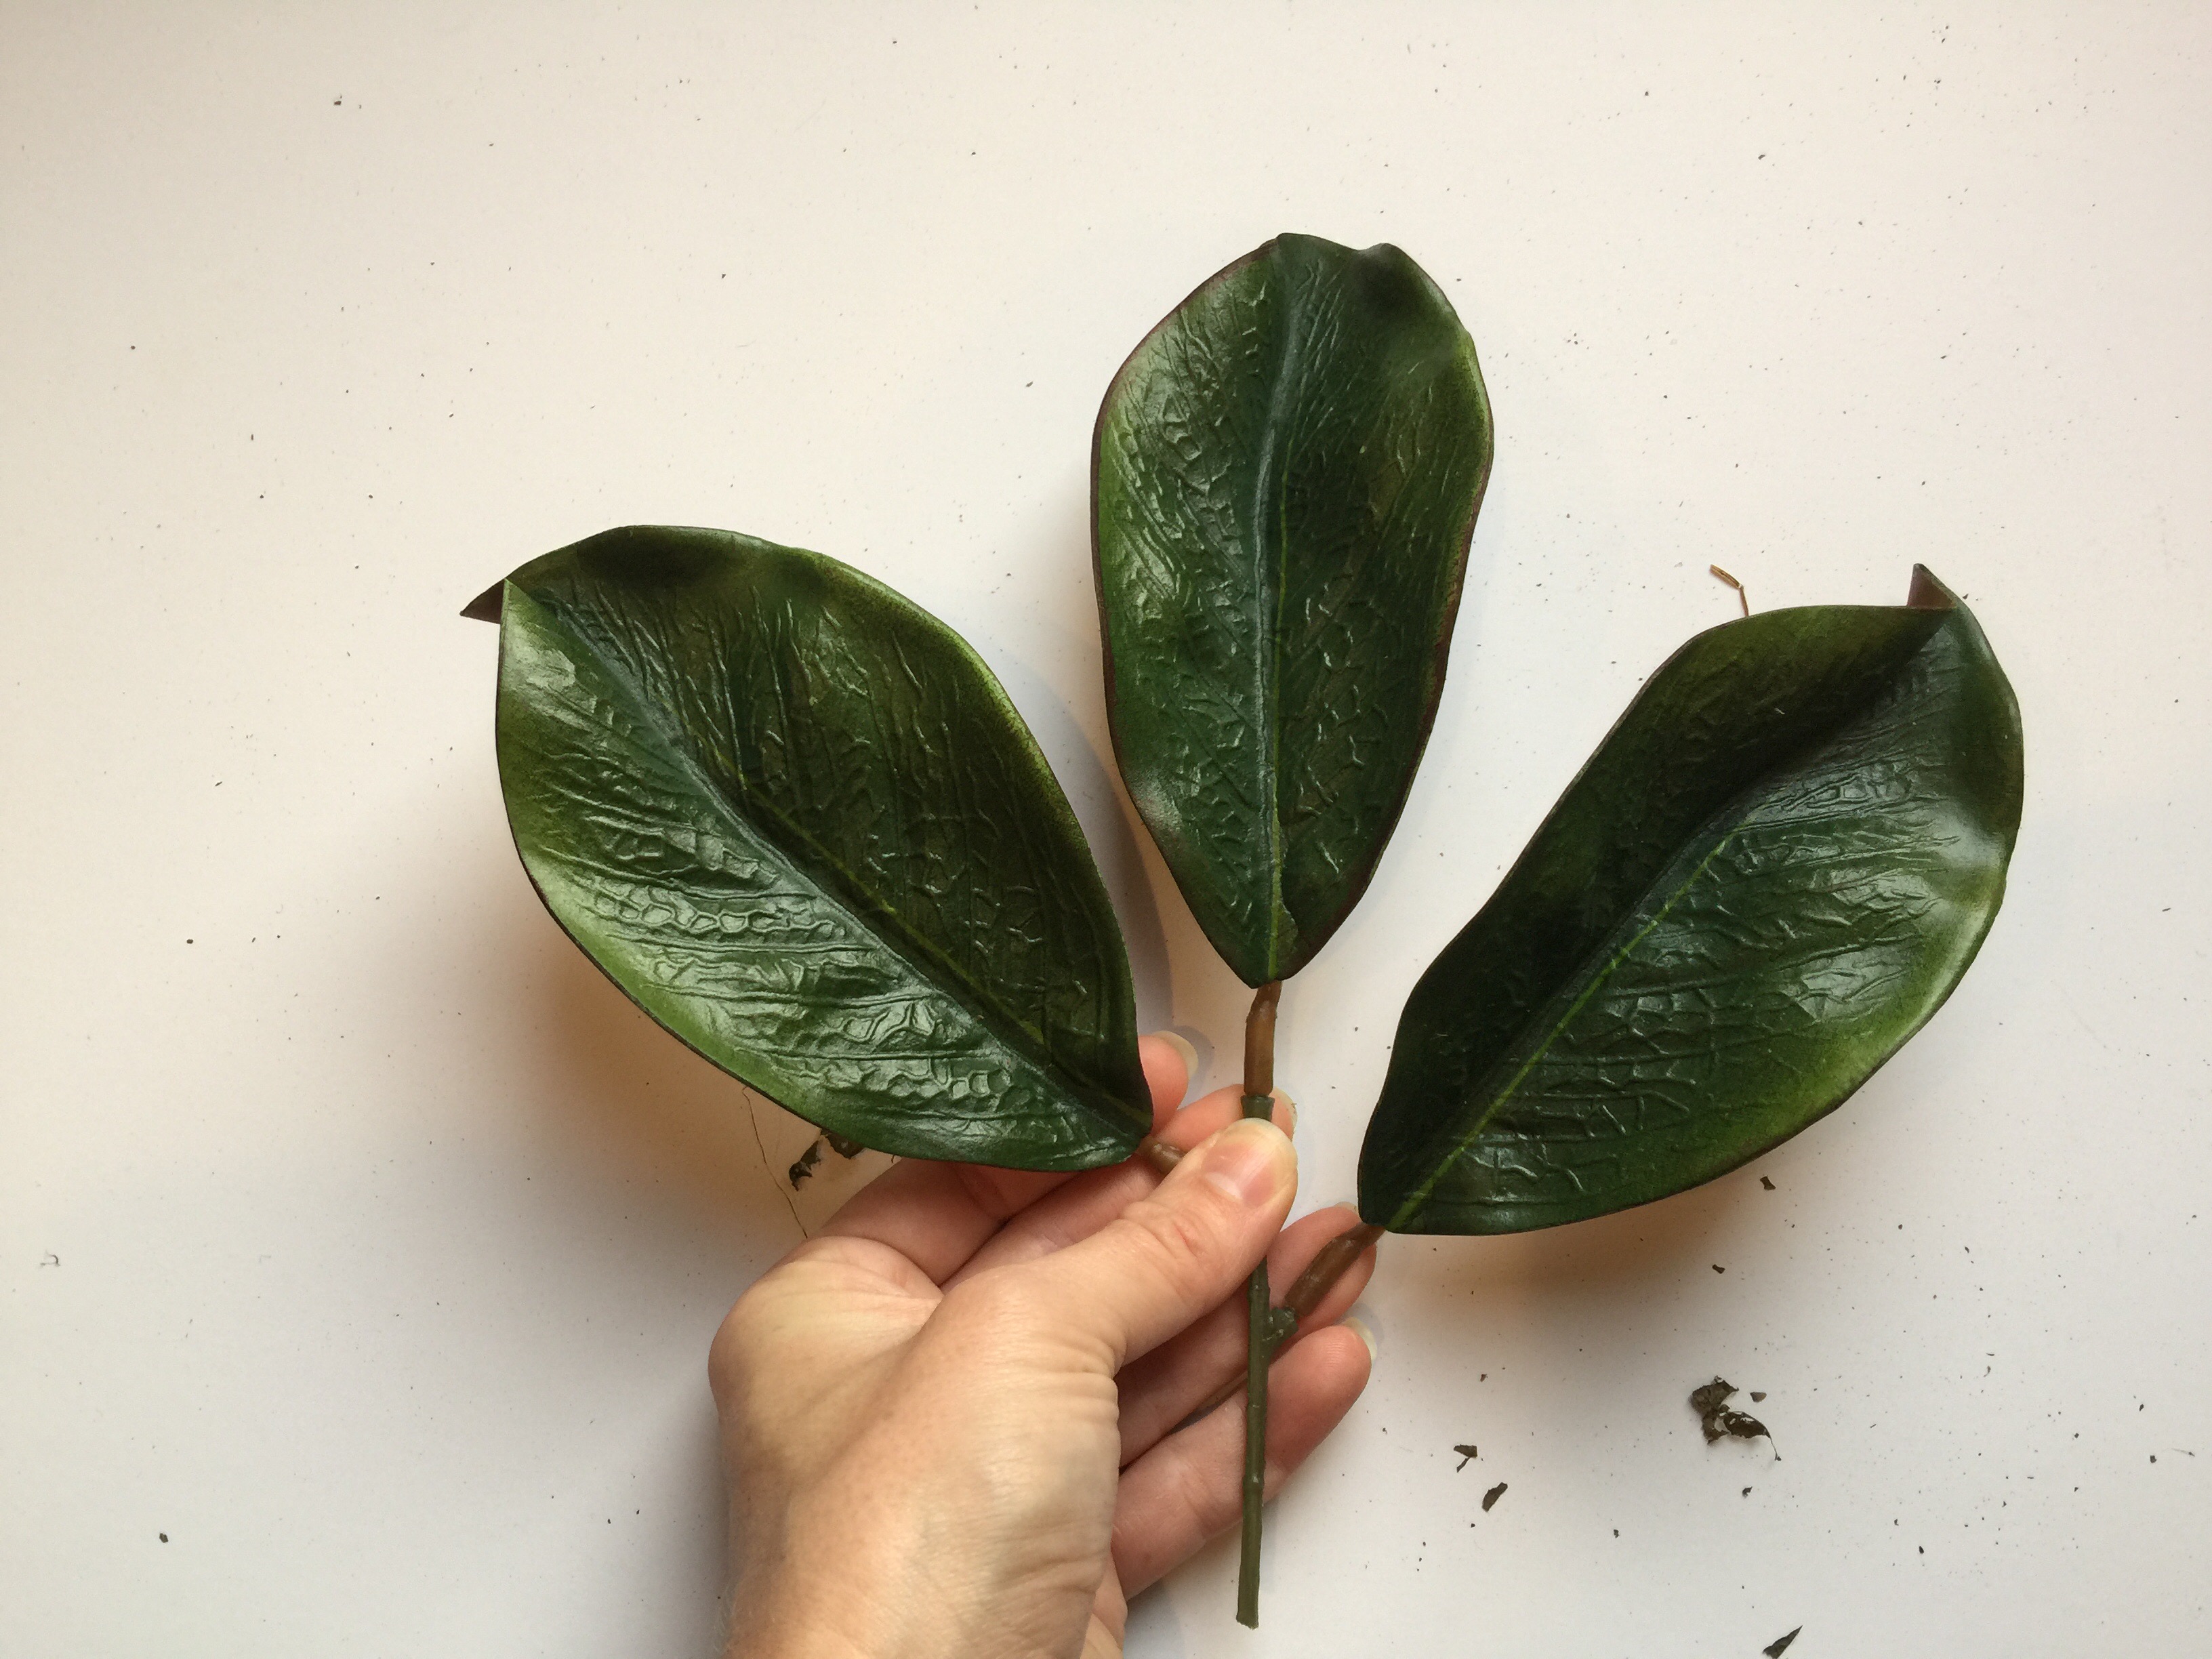
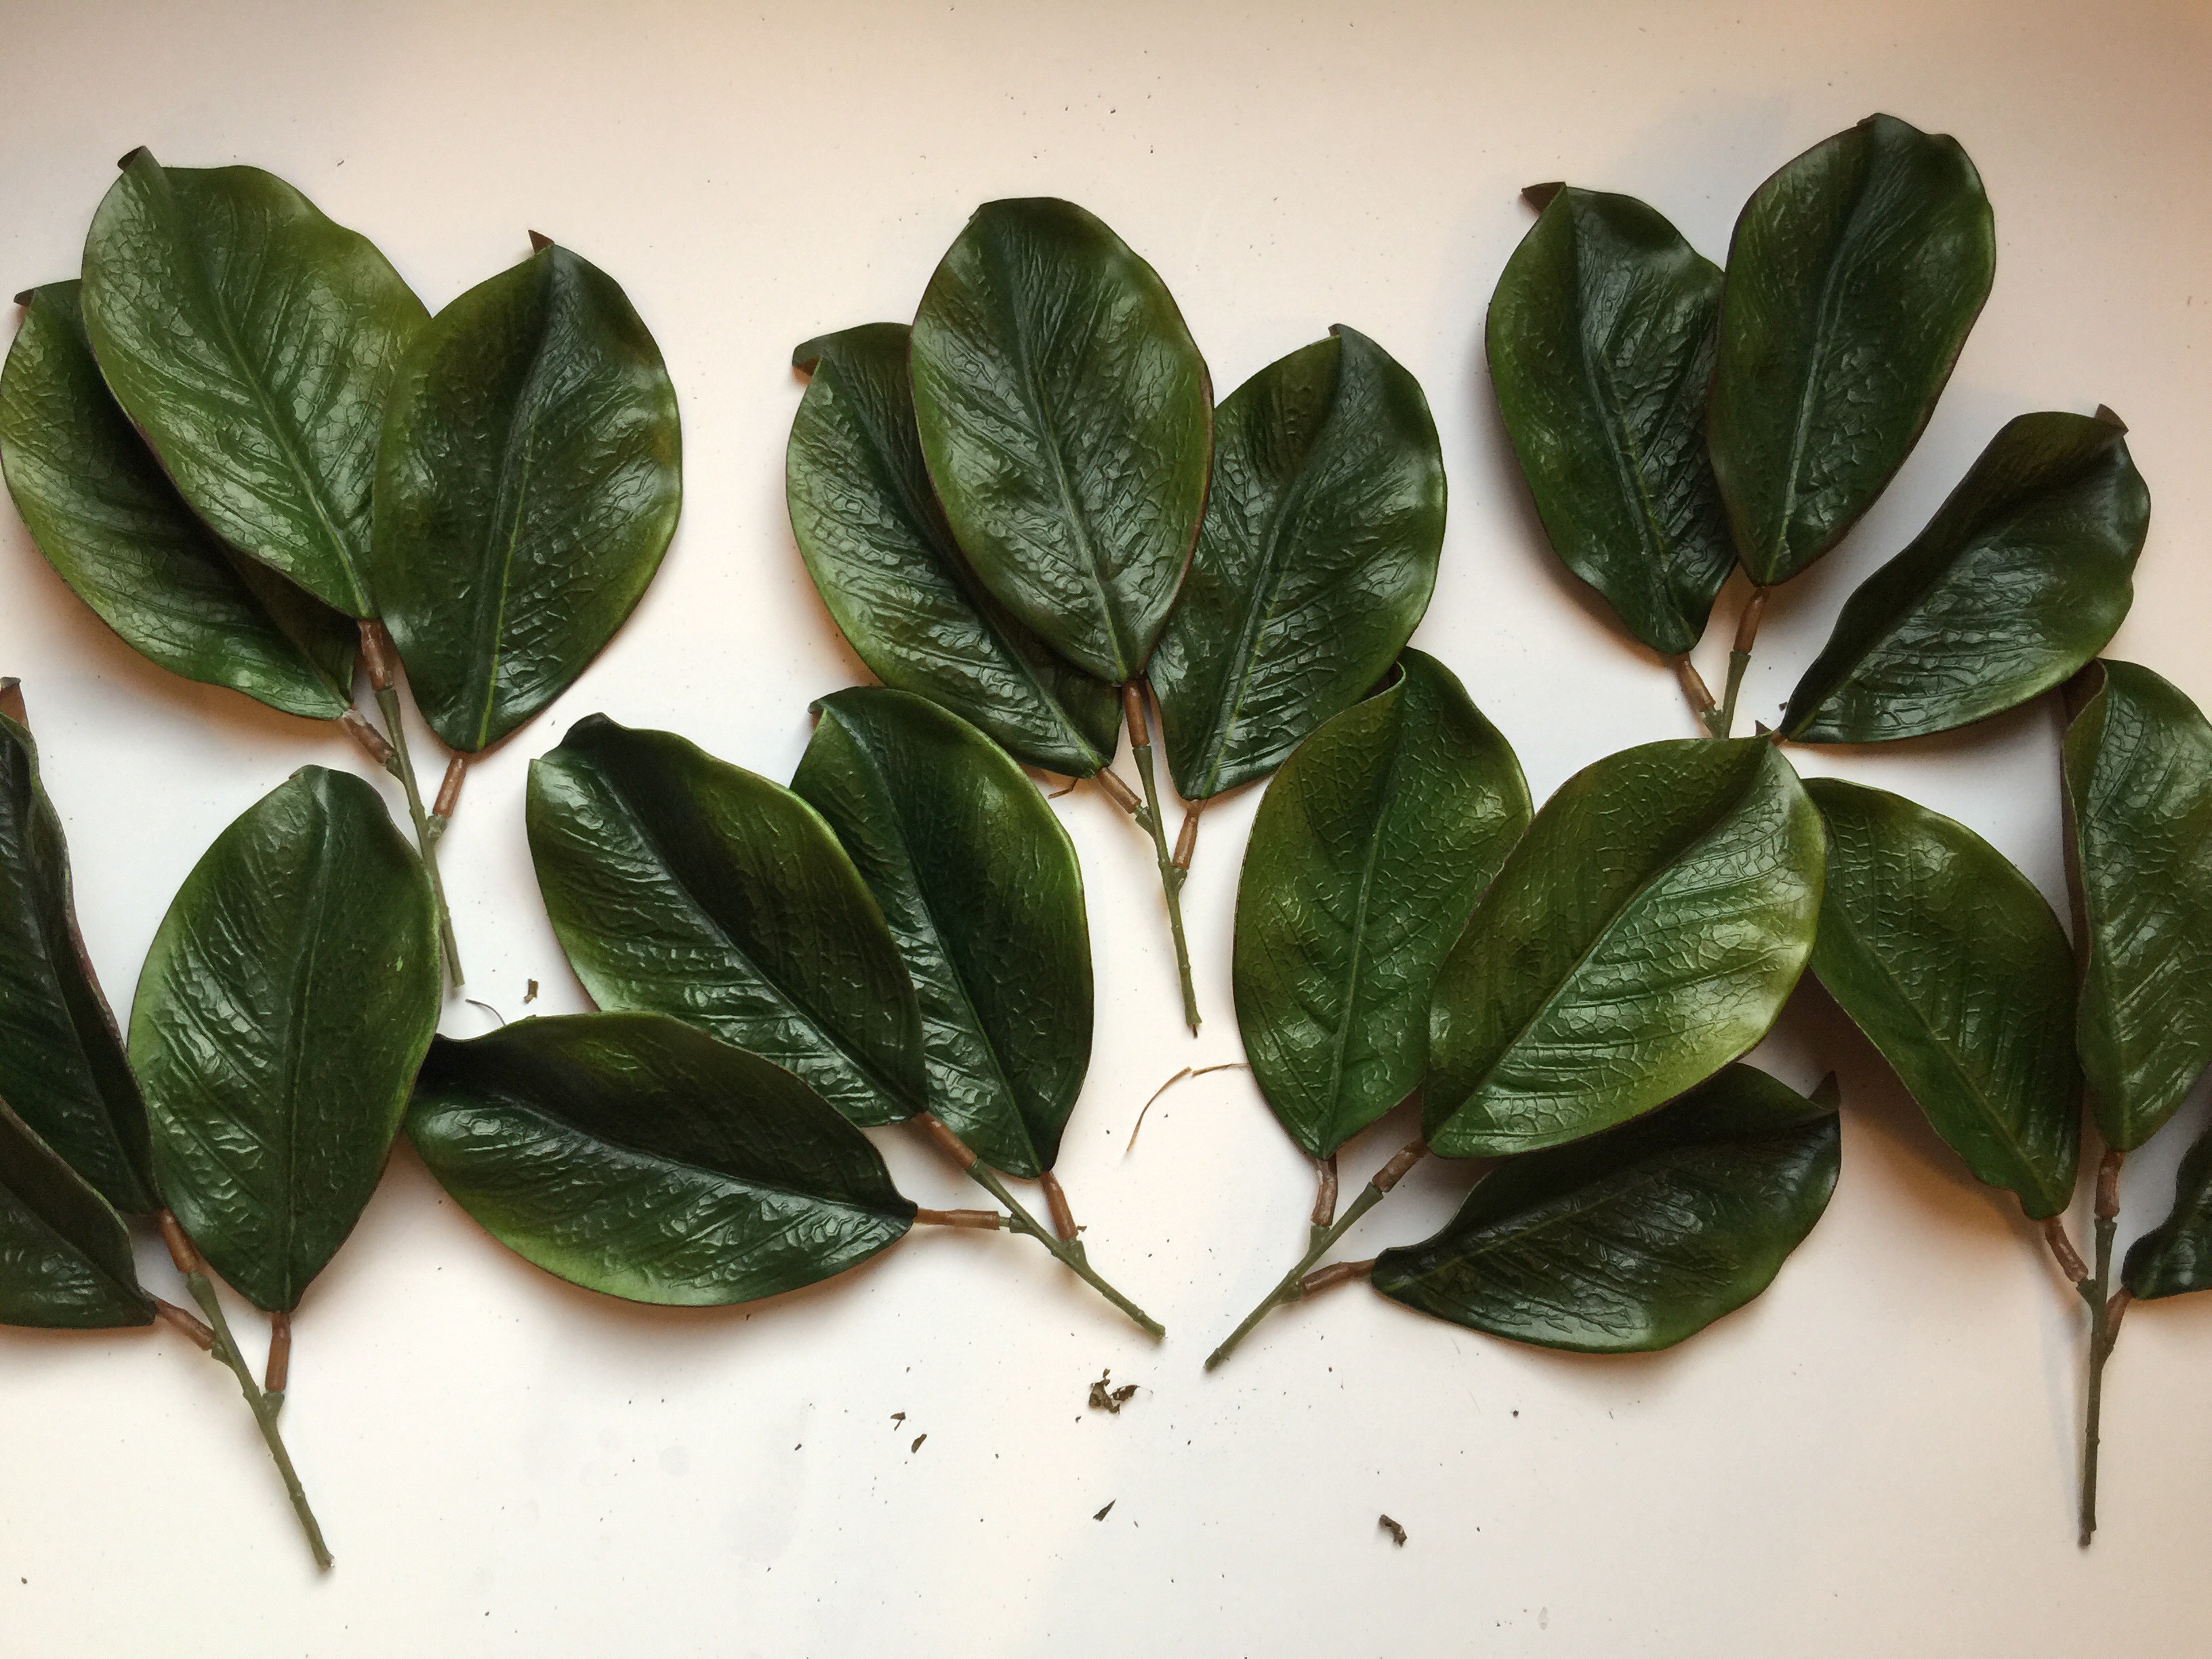
- Cut each stem off your bush. Each stem has three leaves. Each of these bushes should have 10 stems.
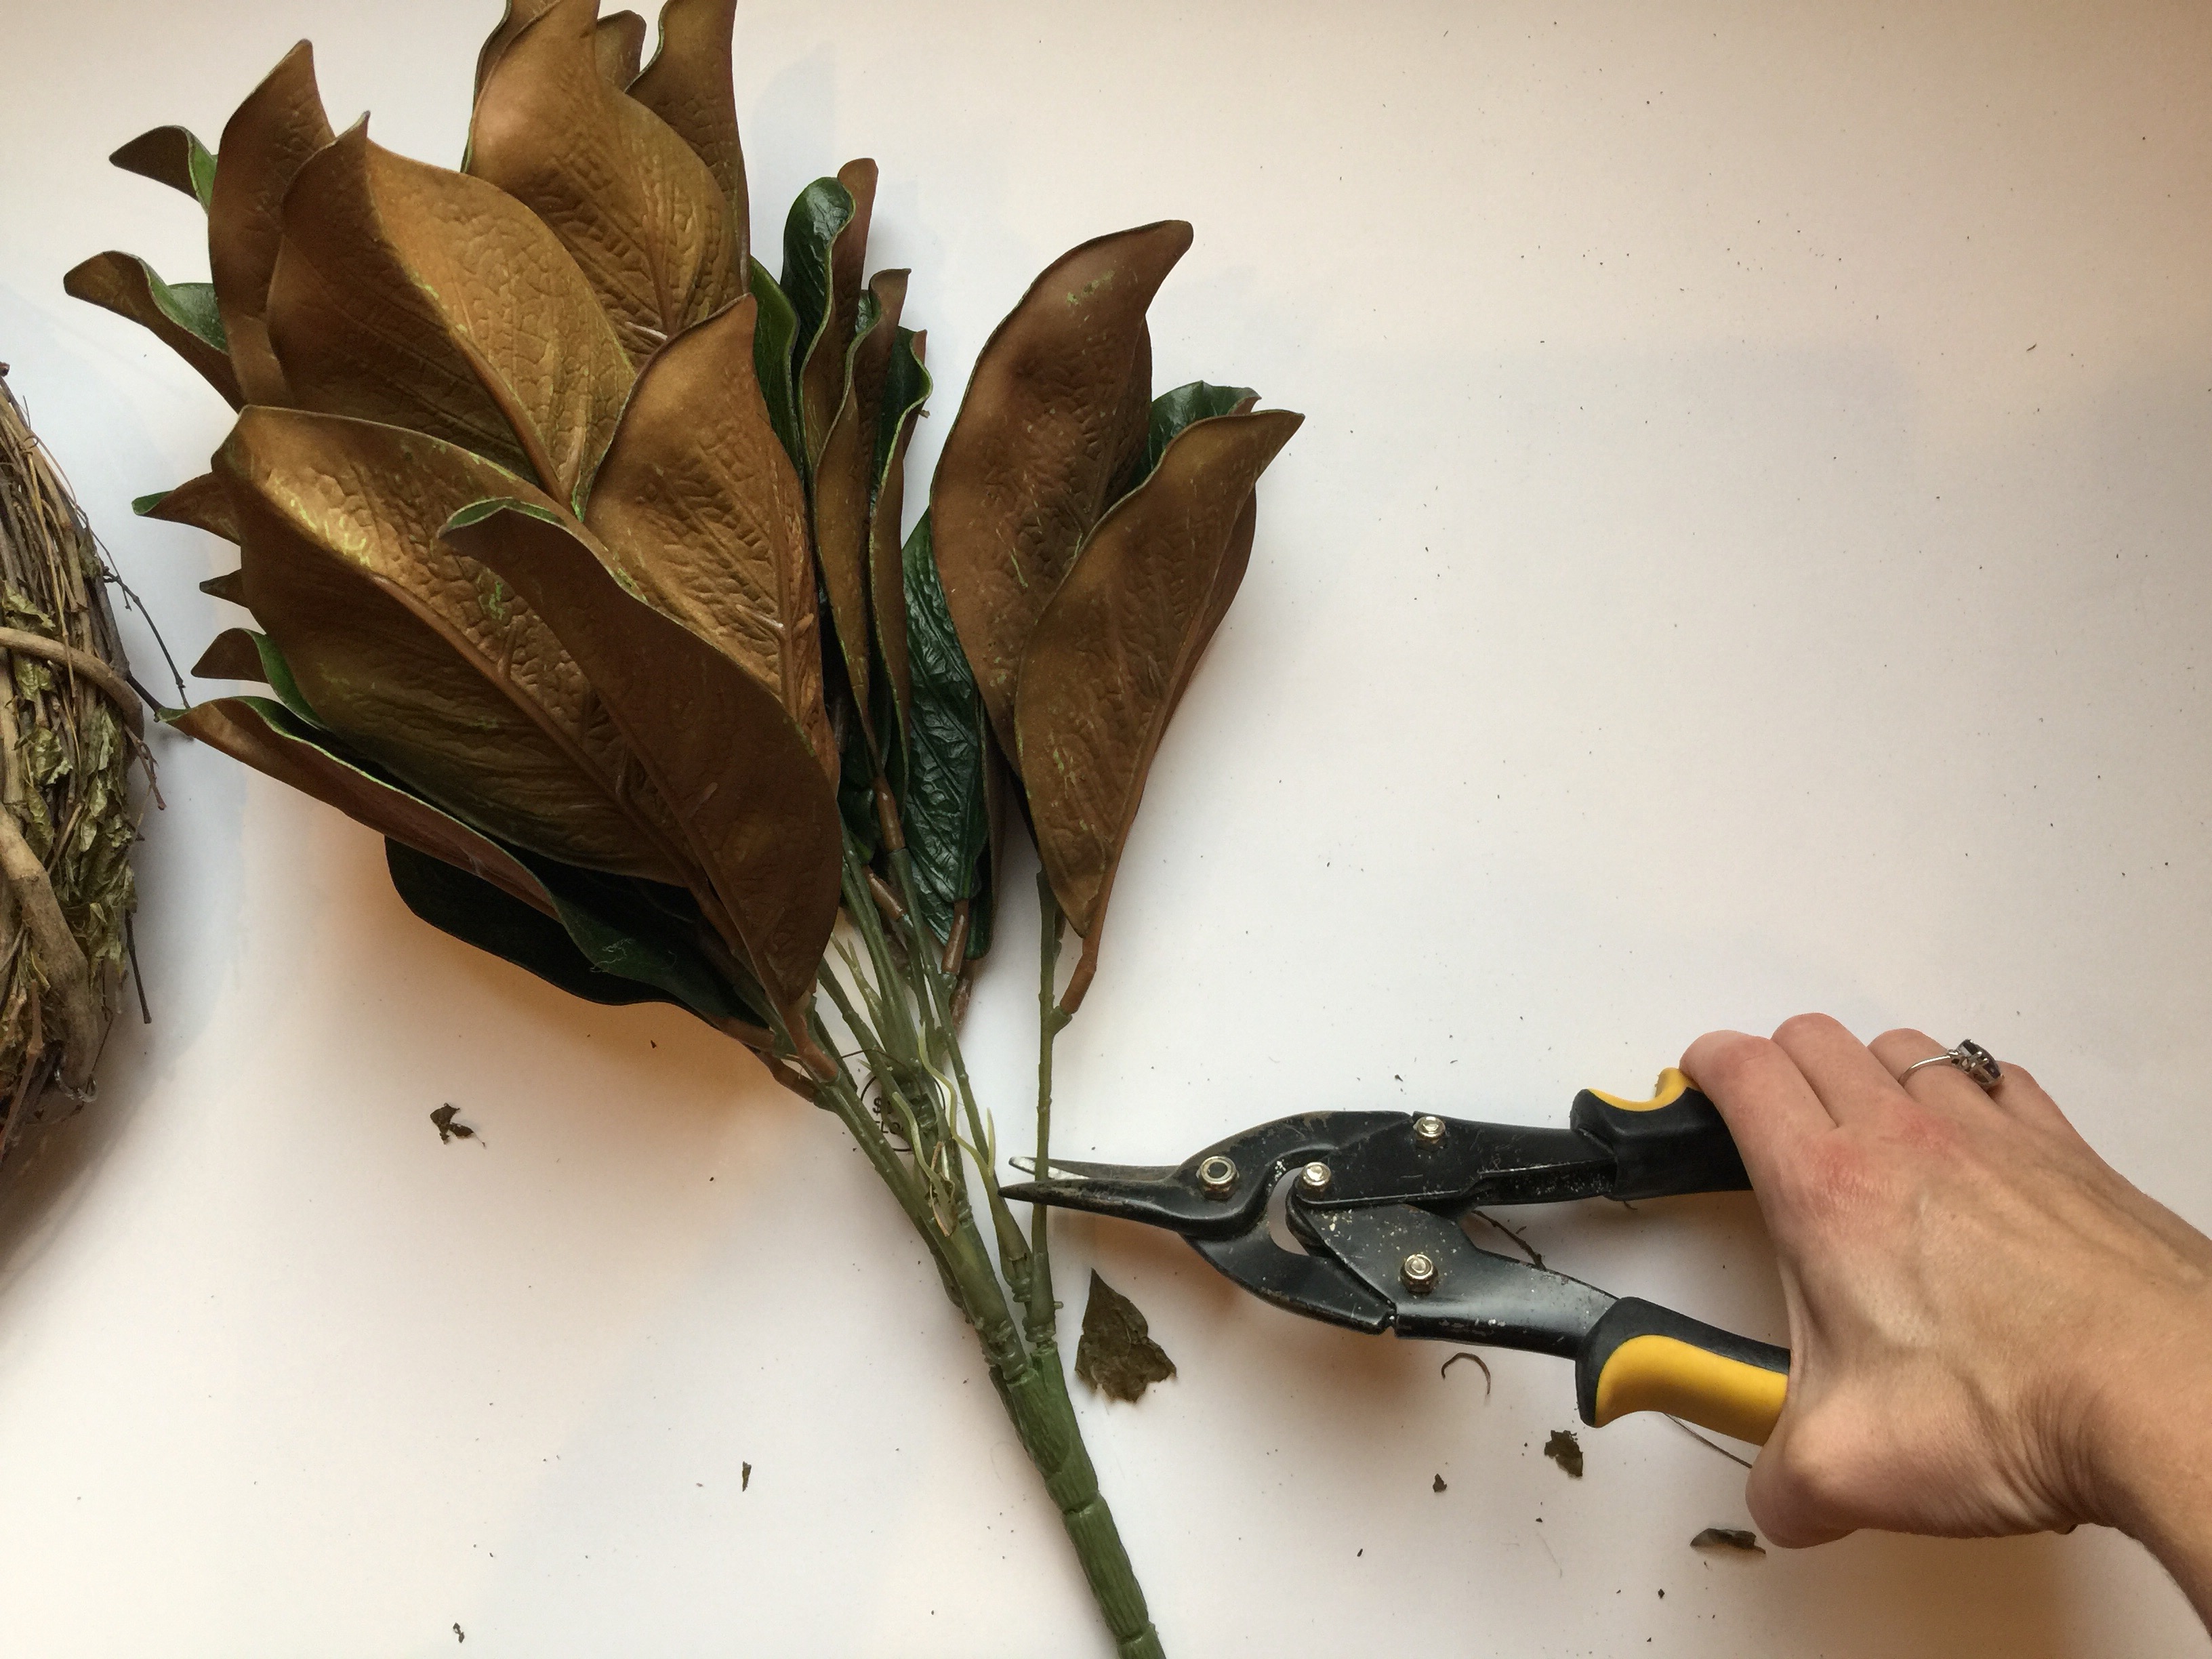
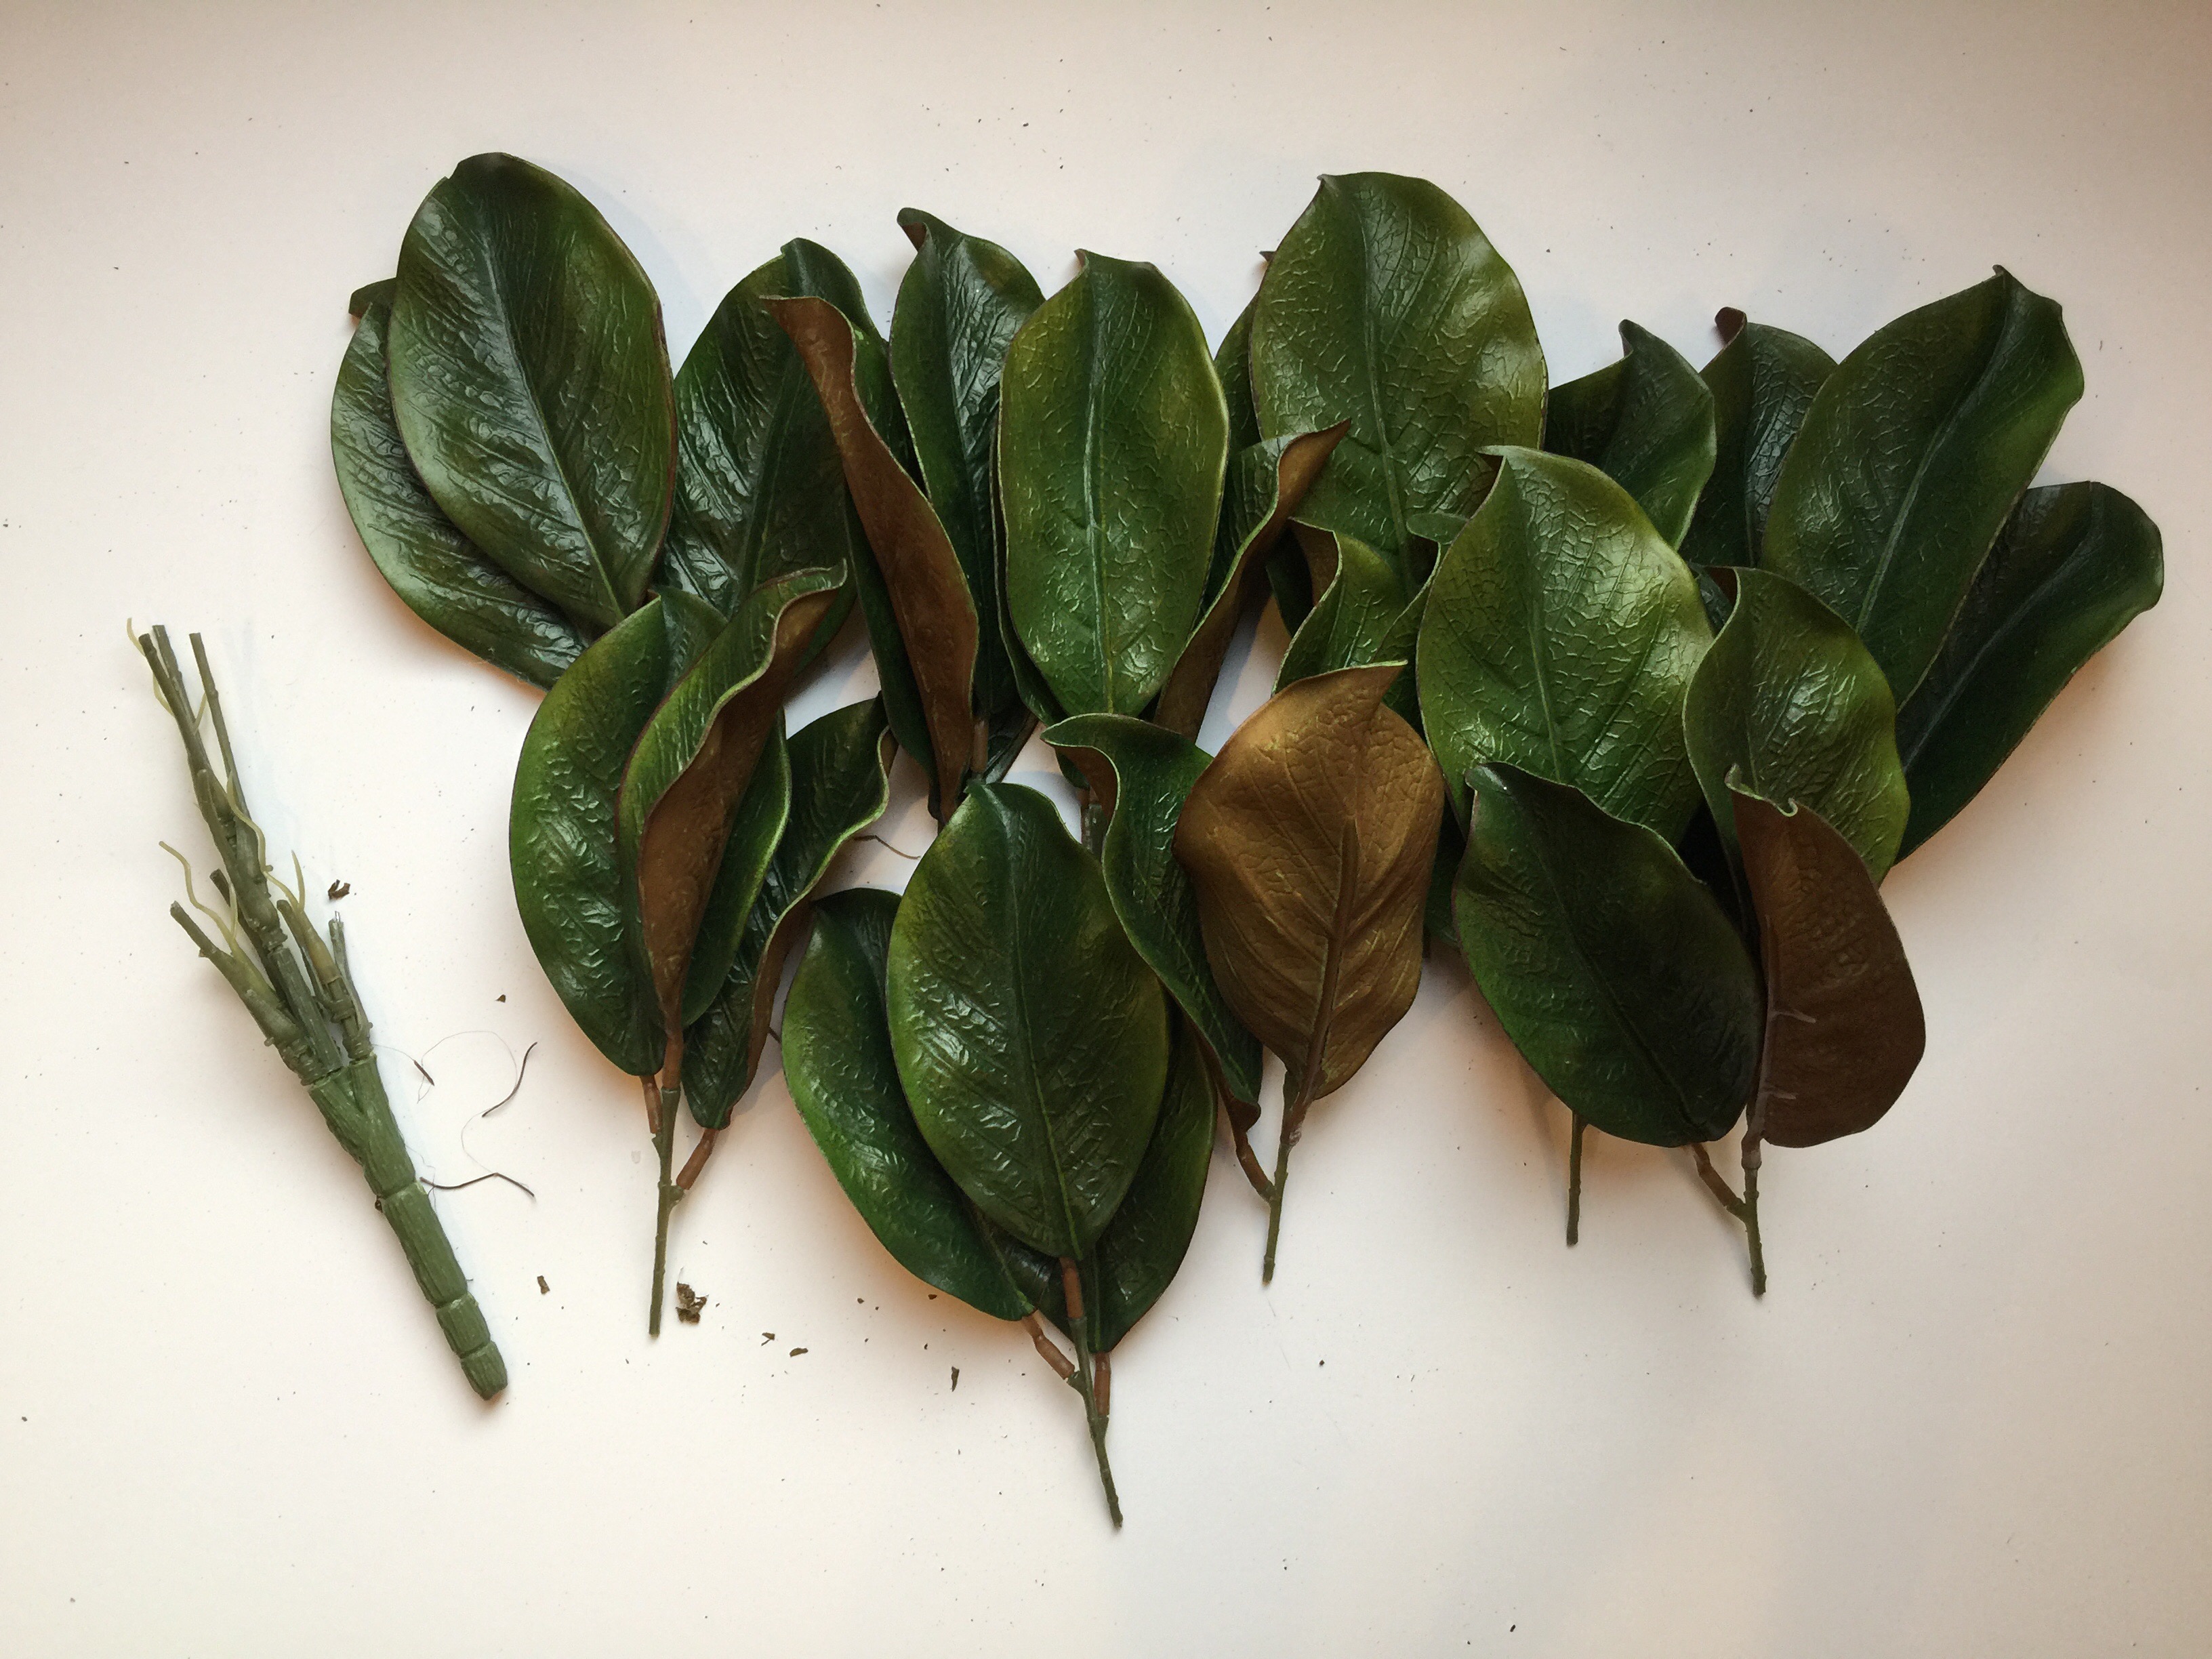
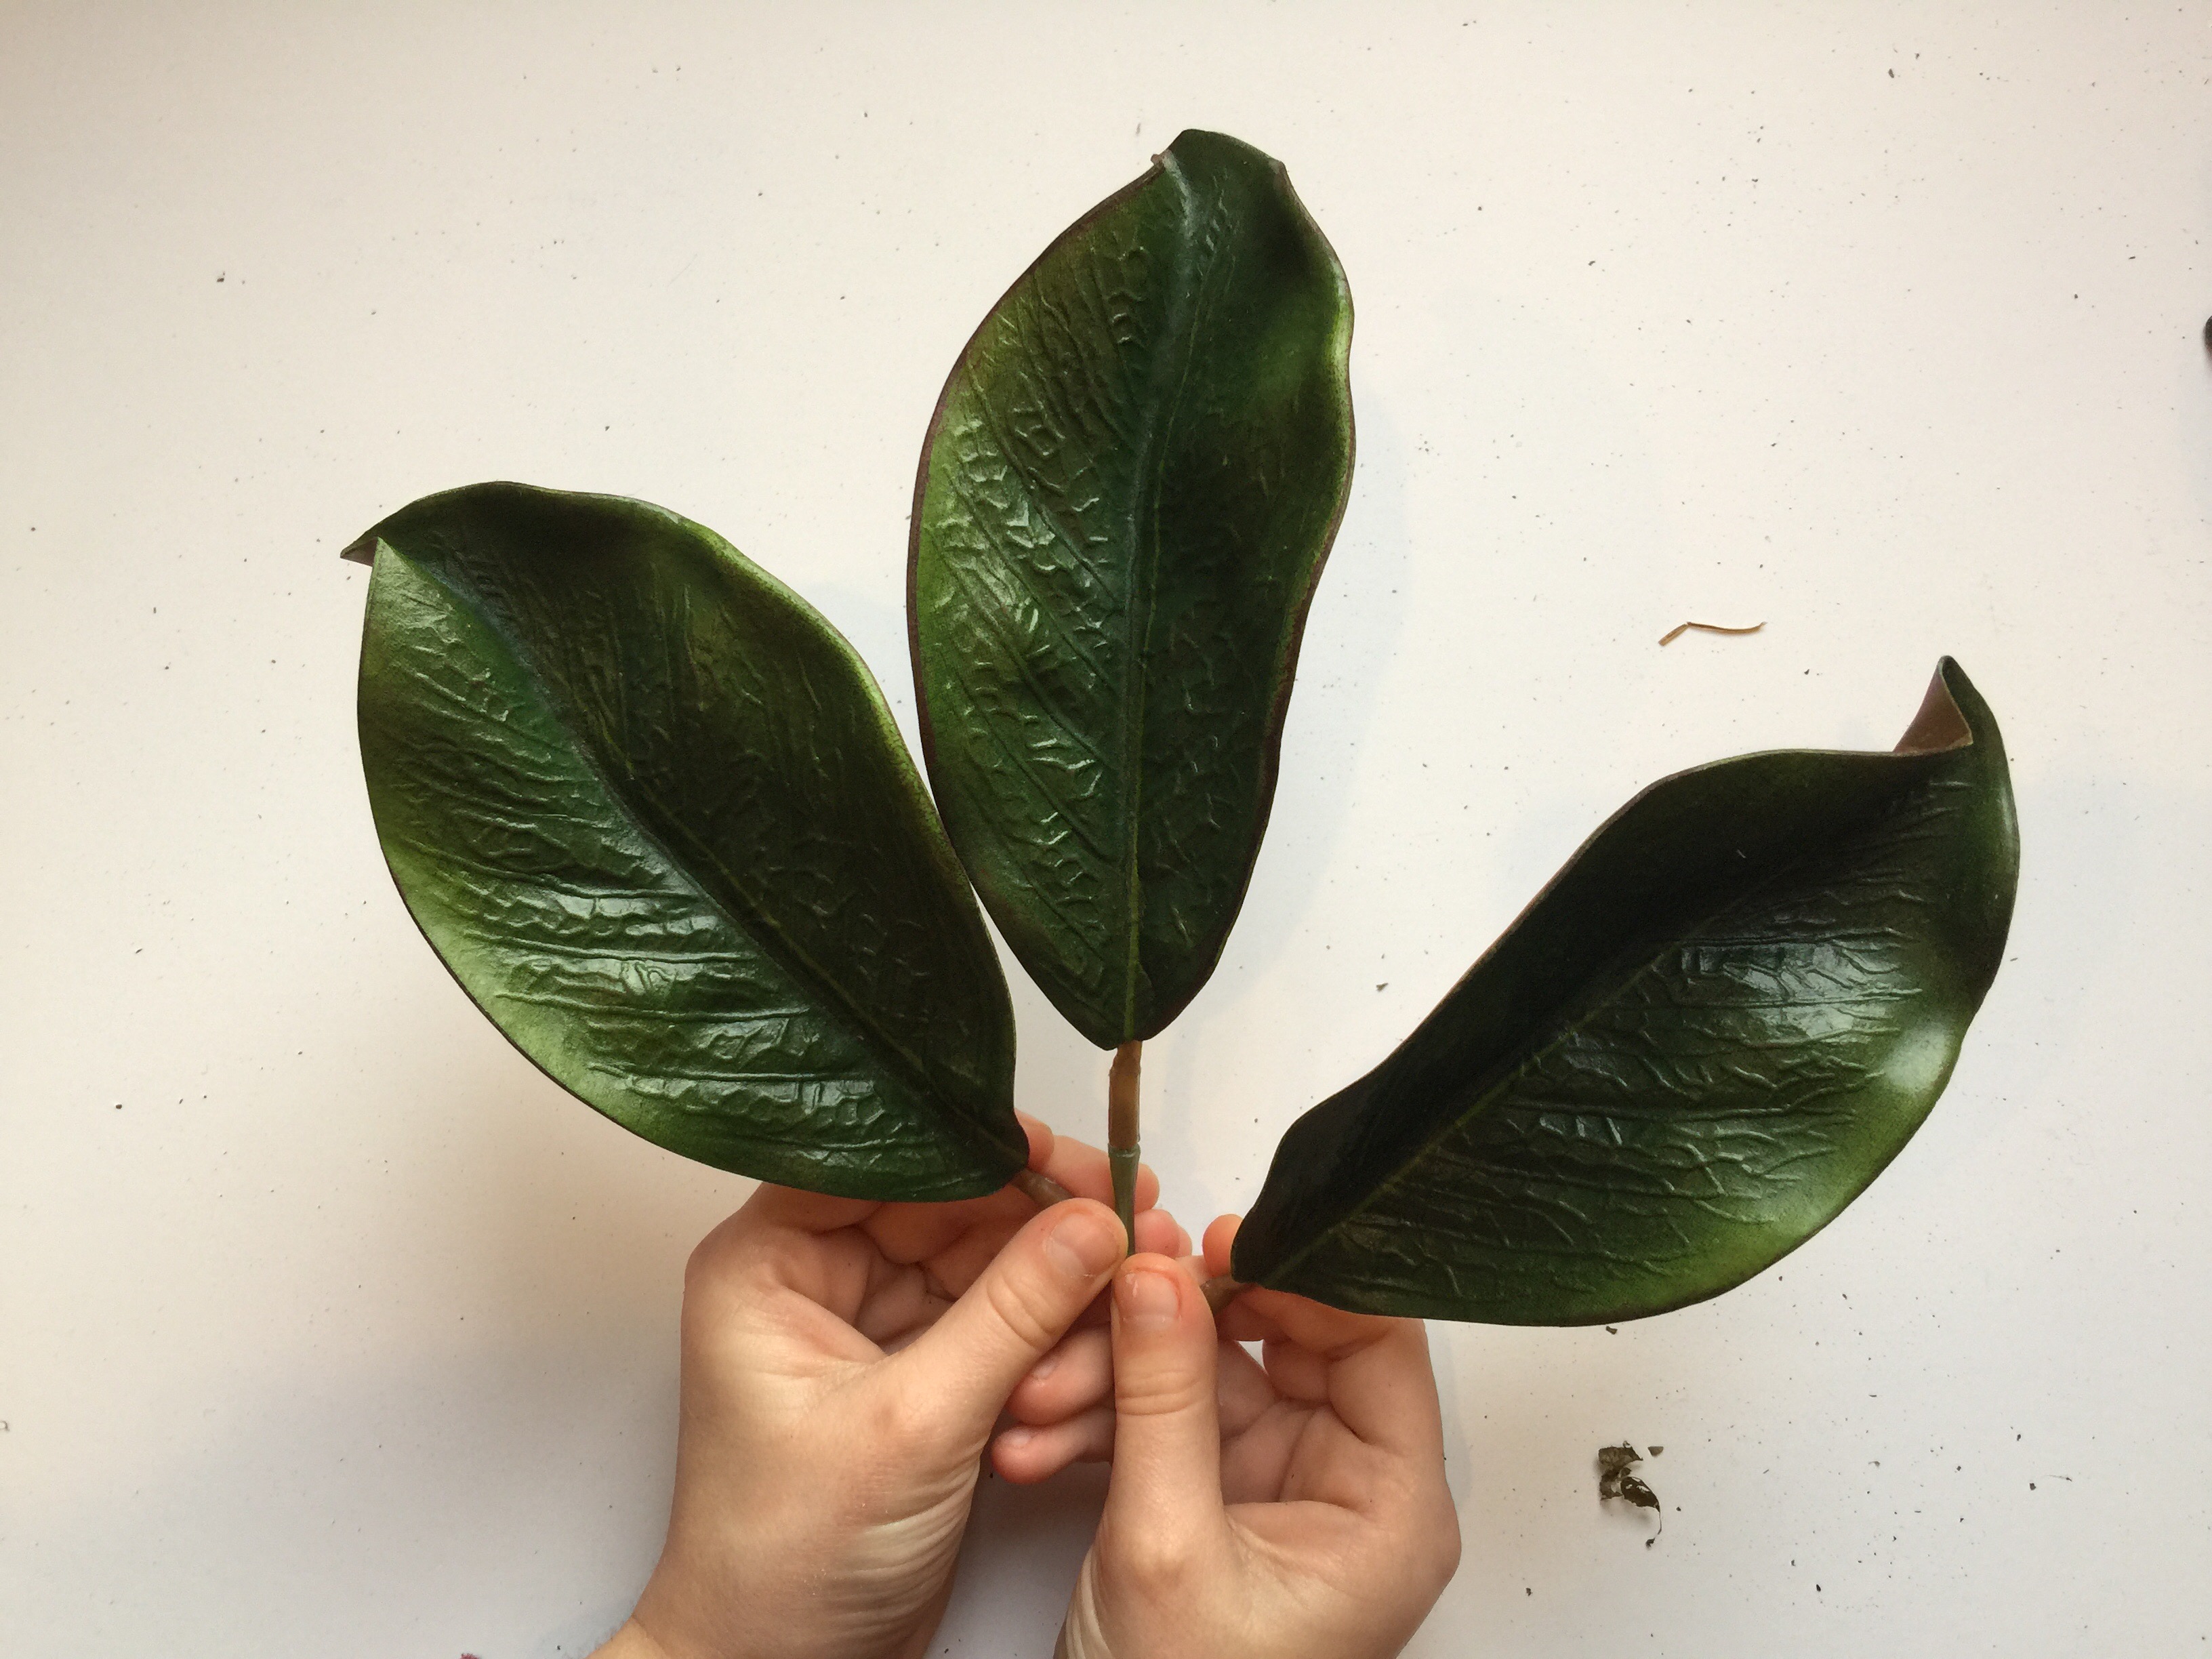
- Next, take each stem and turn all the leaves facing up. Spread them apart by slightly bending the wires inside the stems. They should lay flat.
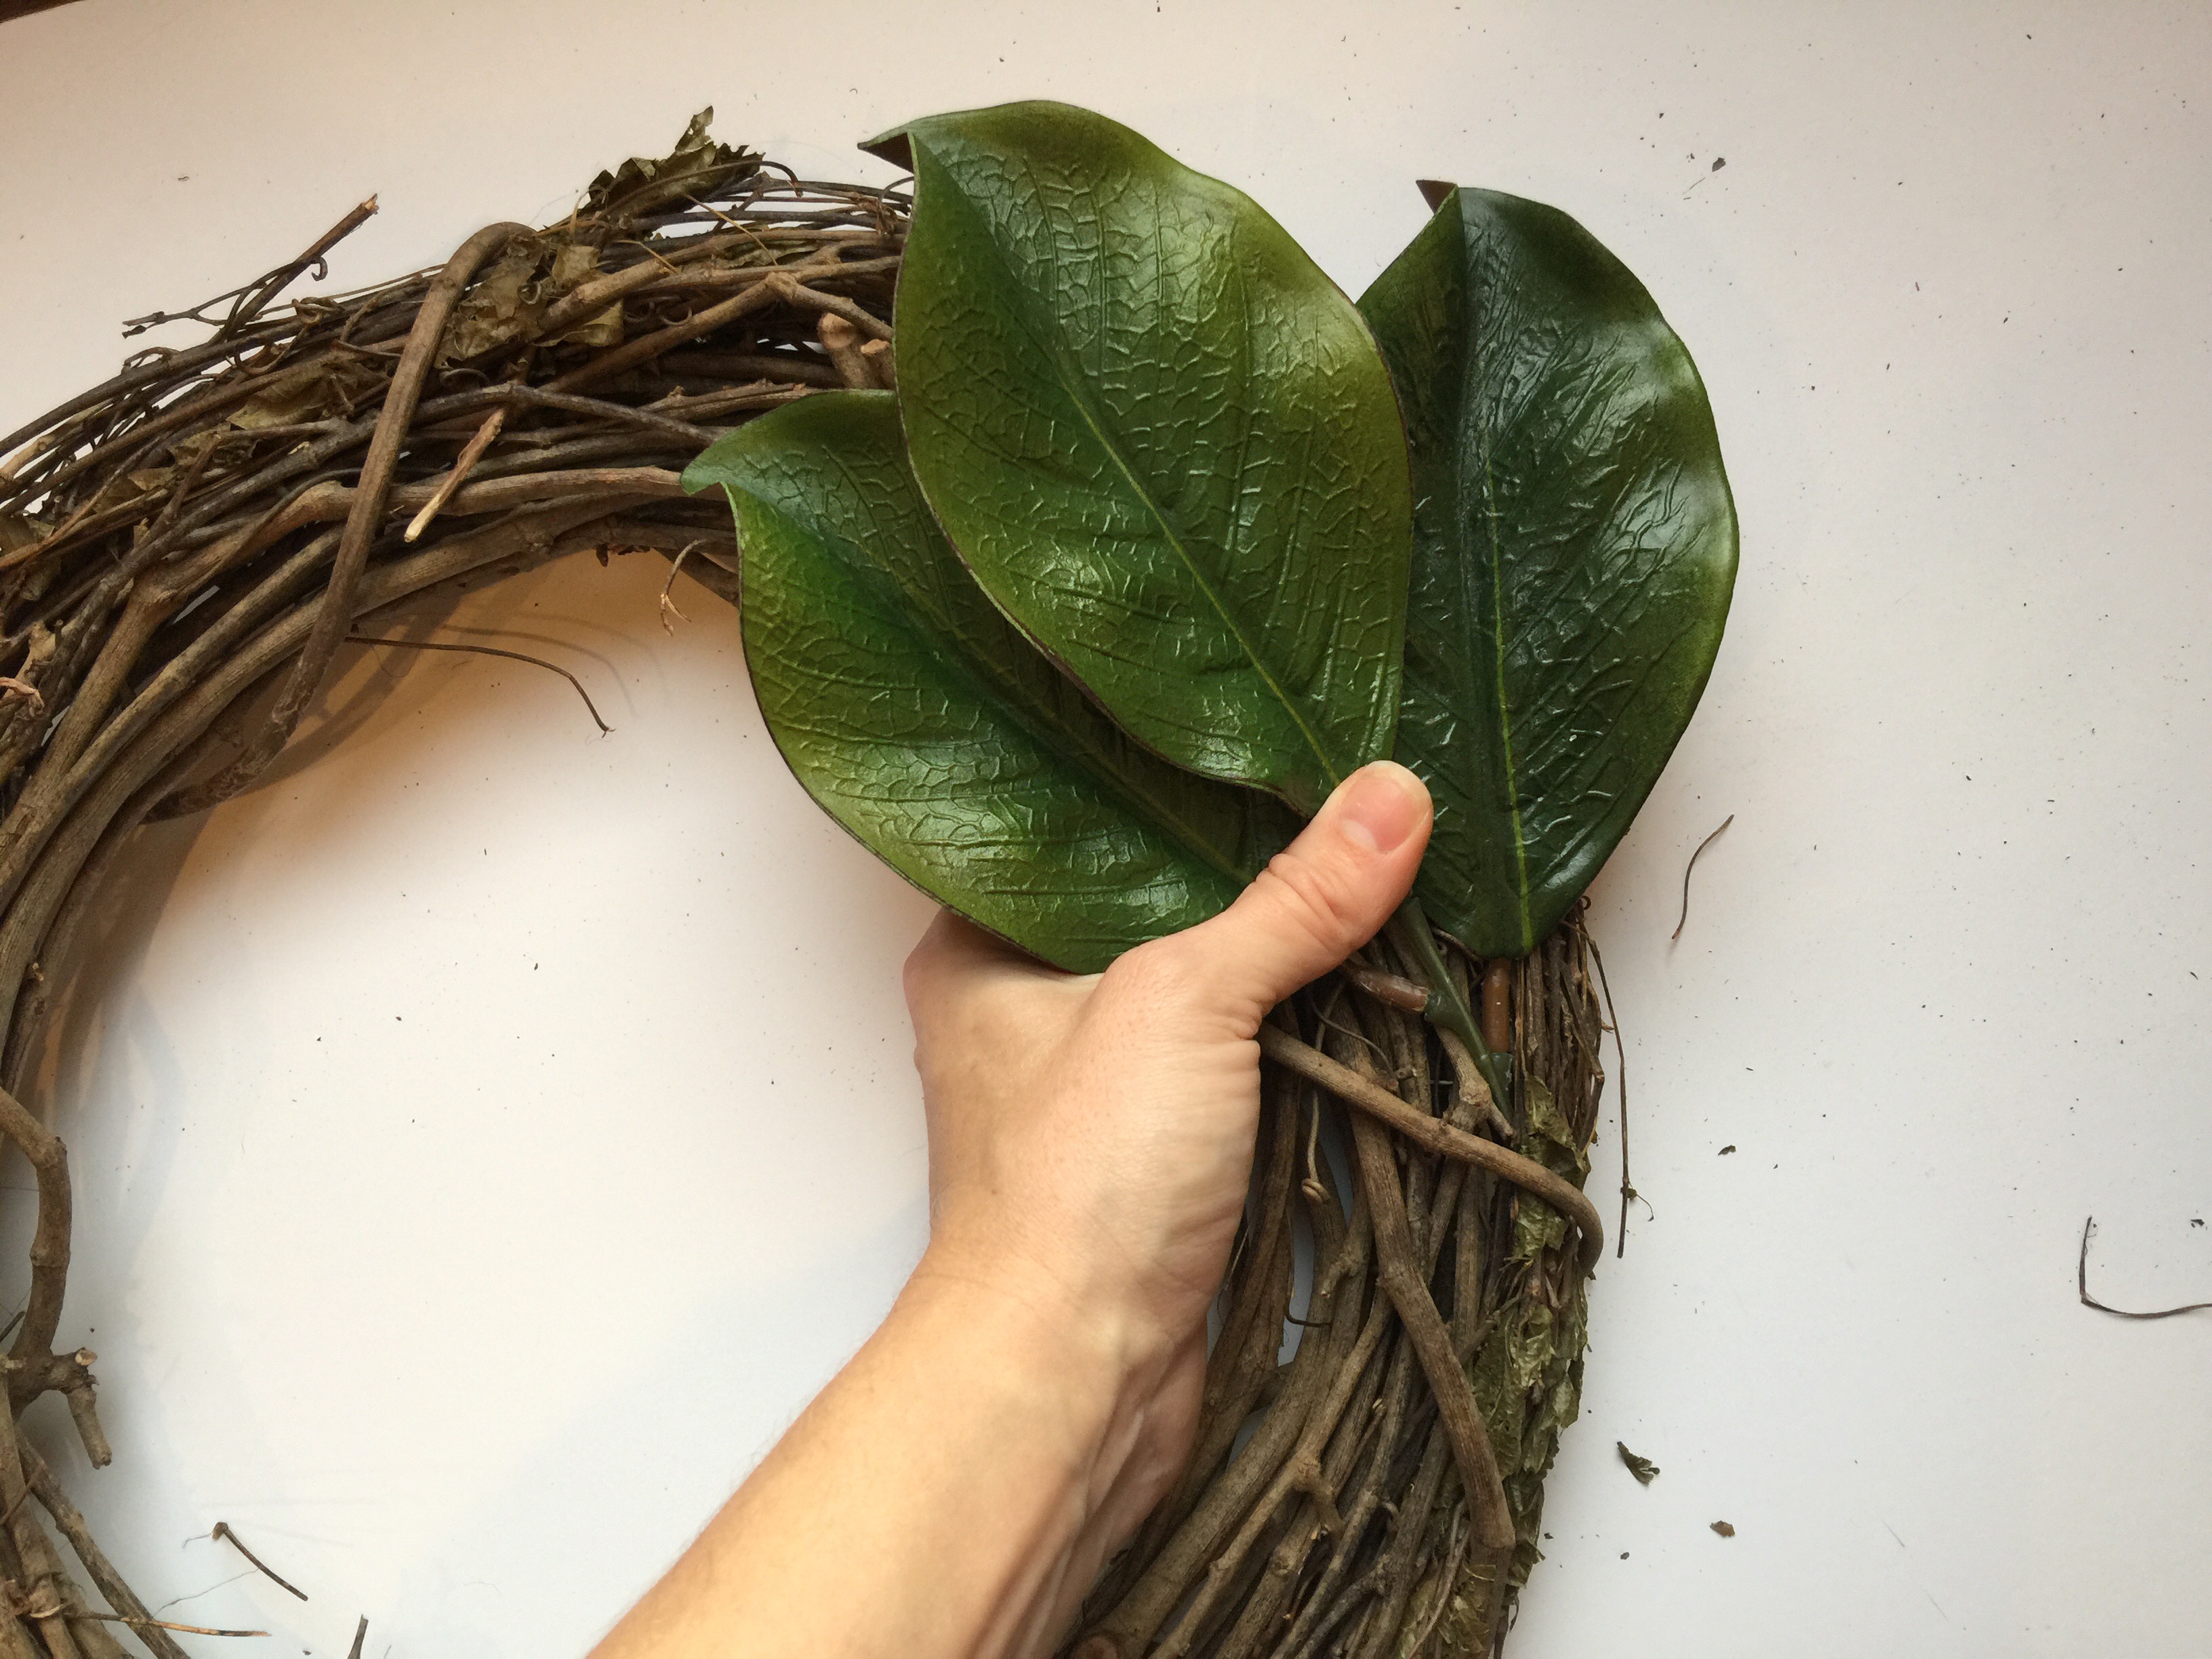
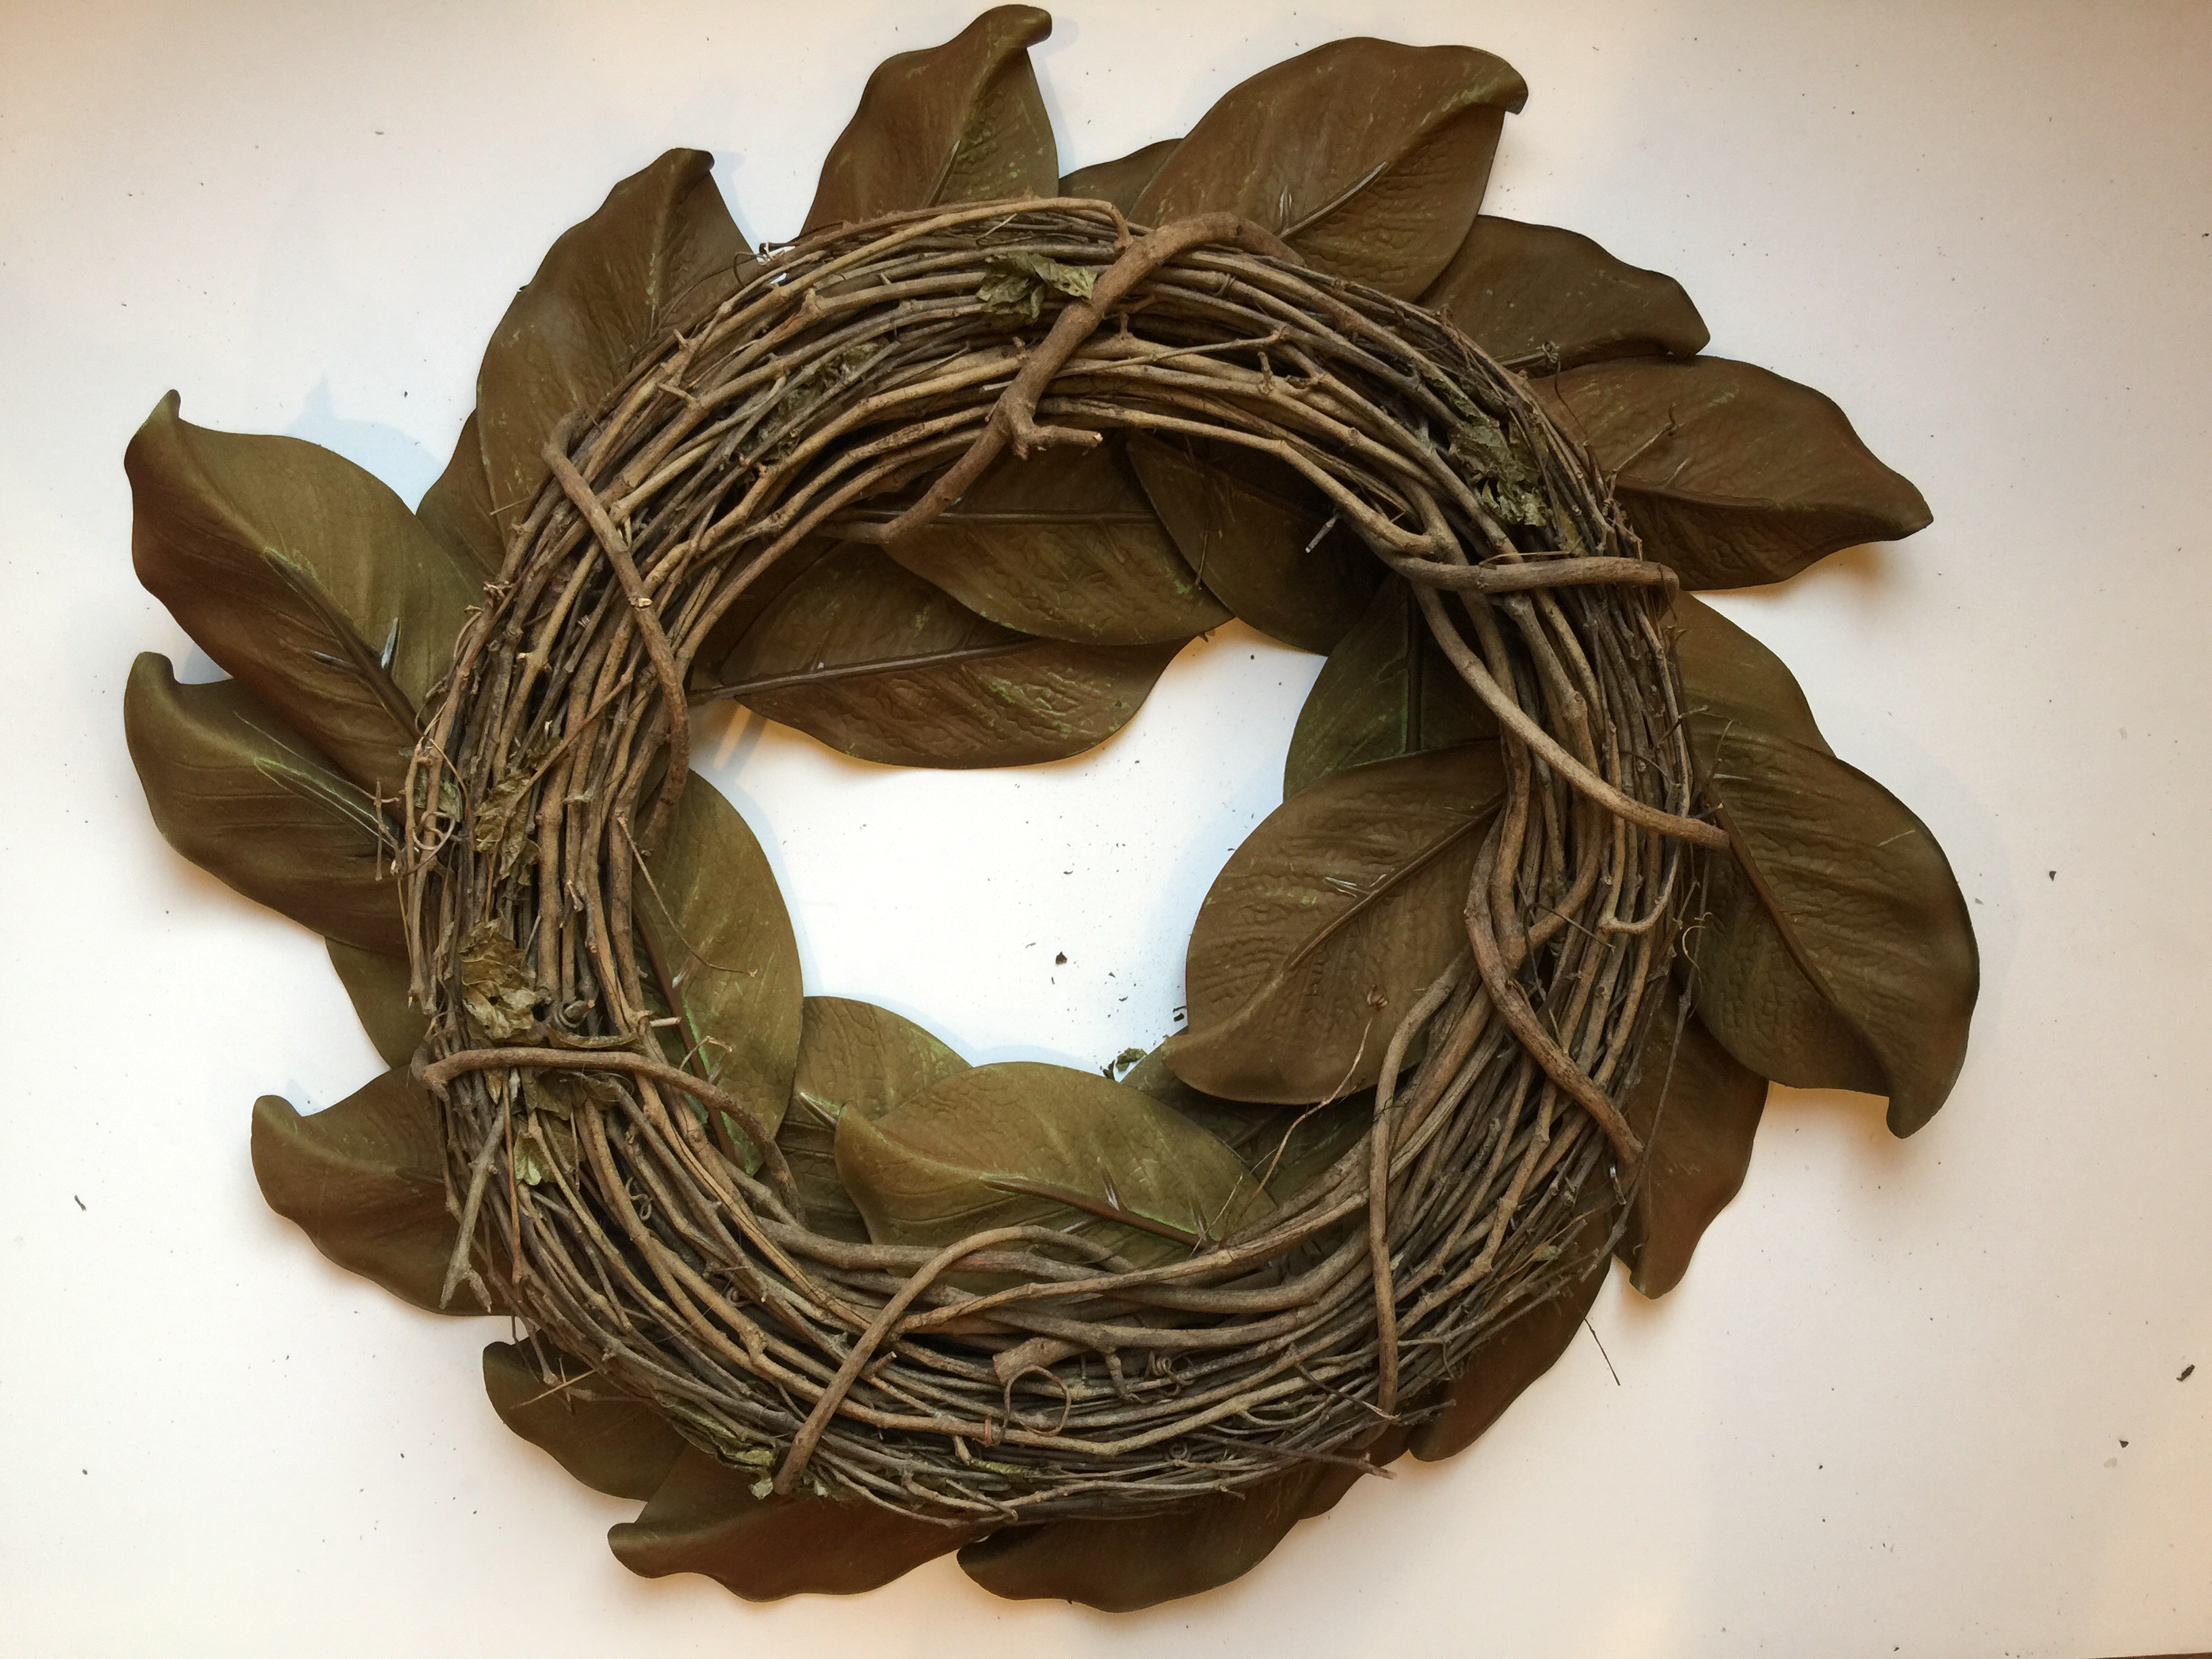
- Now get your wreath! It’s go time! Carefully find a spot to slide in your flattened 3 leaf stem horizontally. The goal is to make sure these puppies are as flat against the wreath as humanly possible.
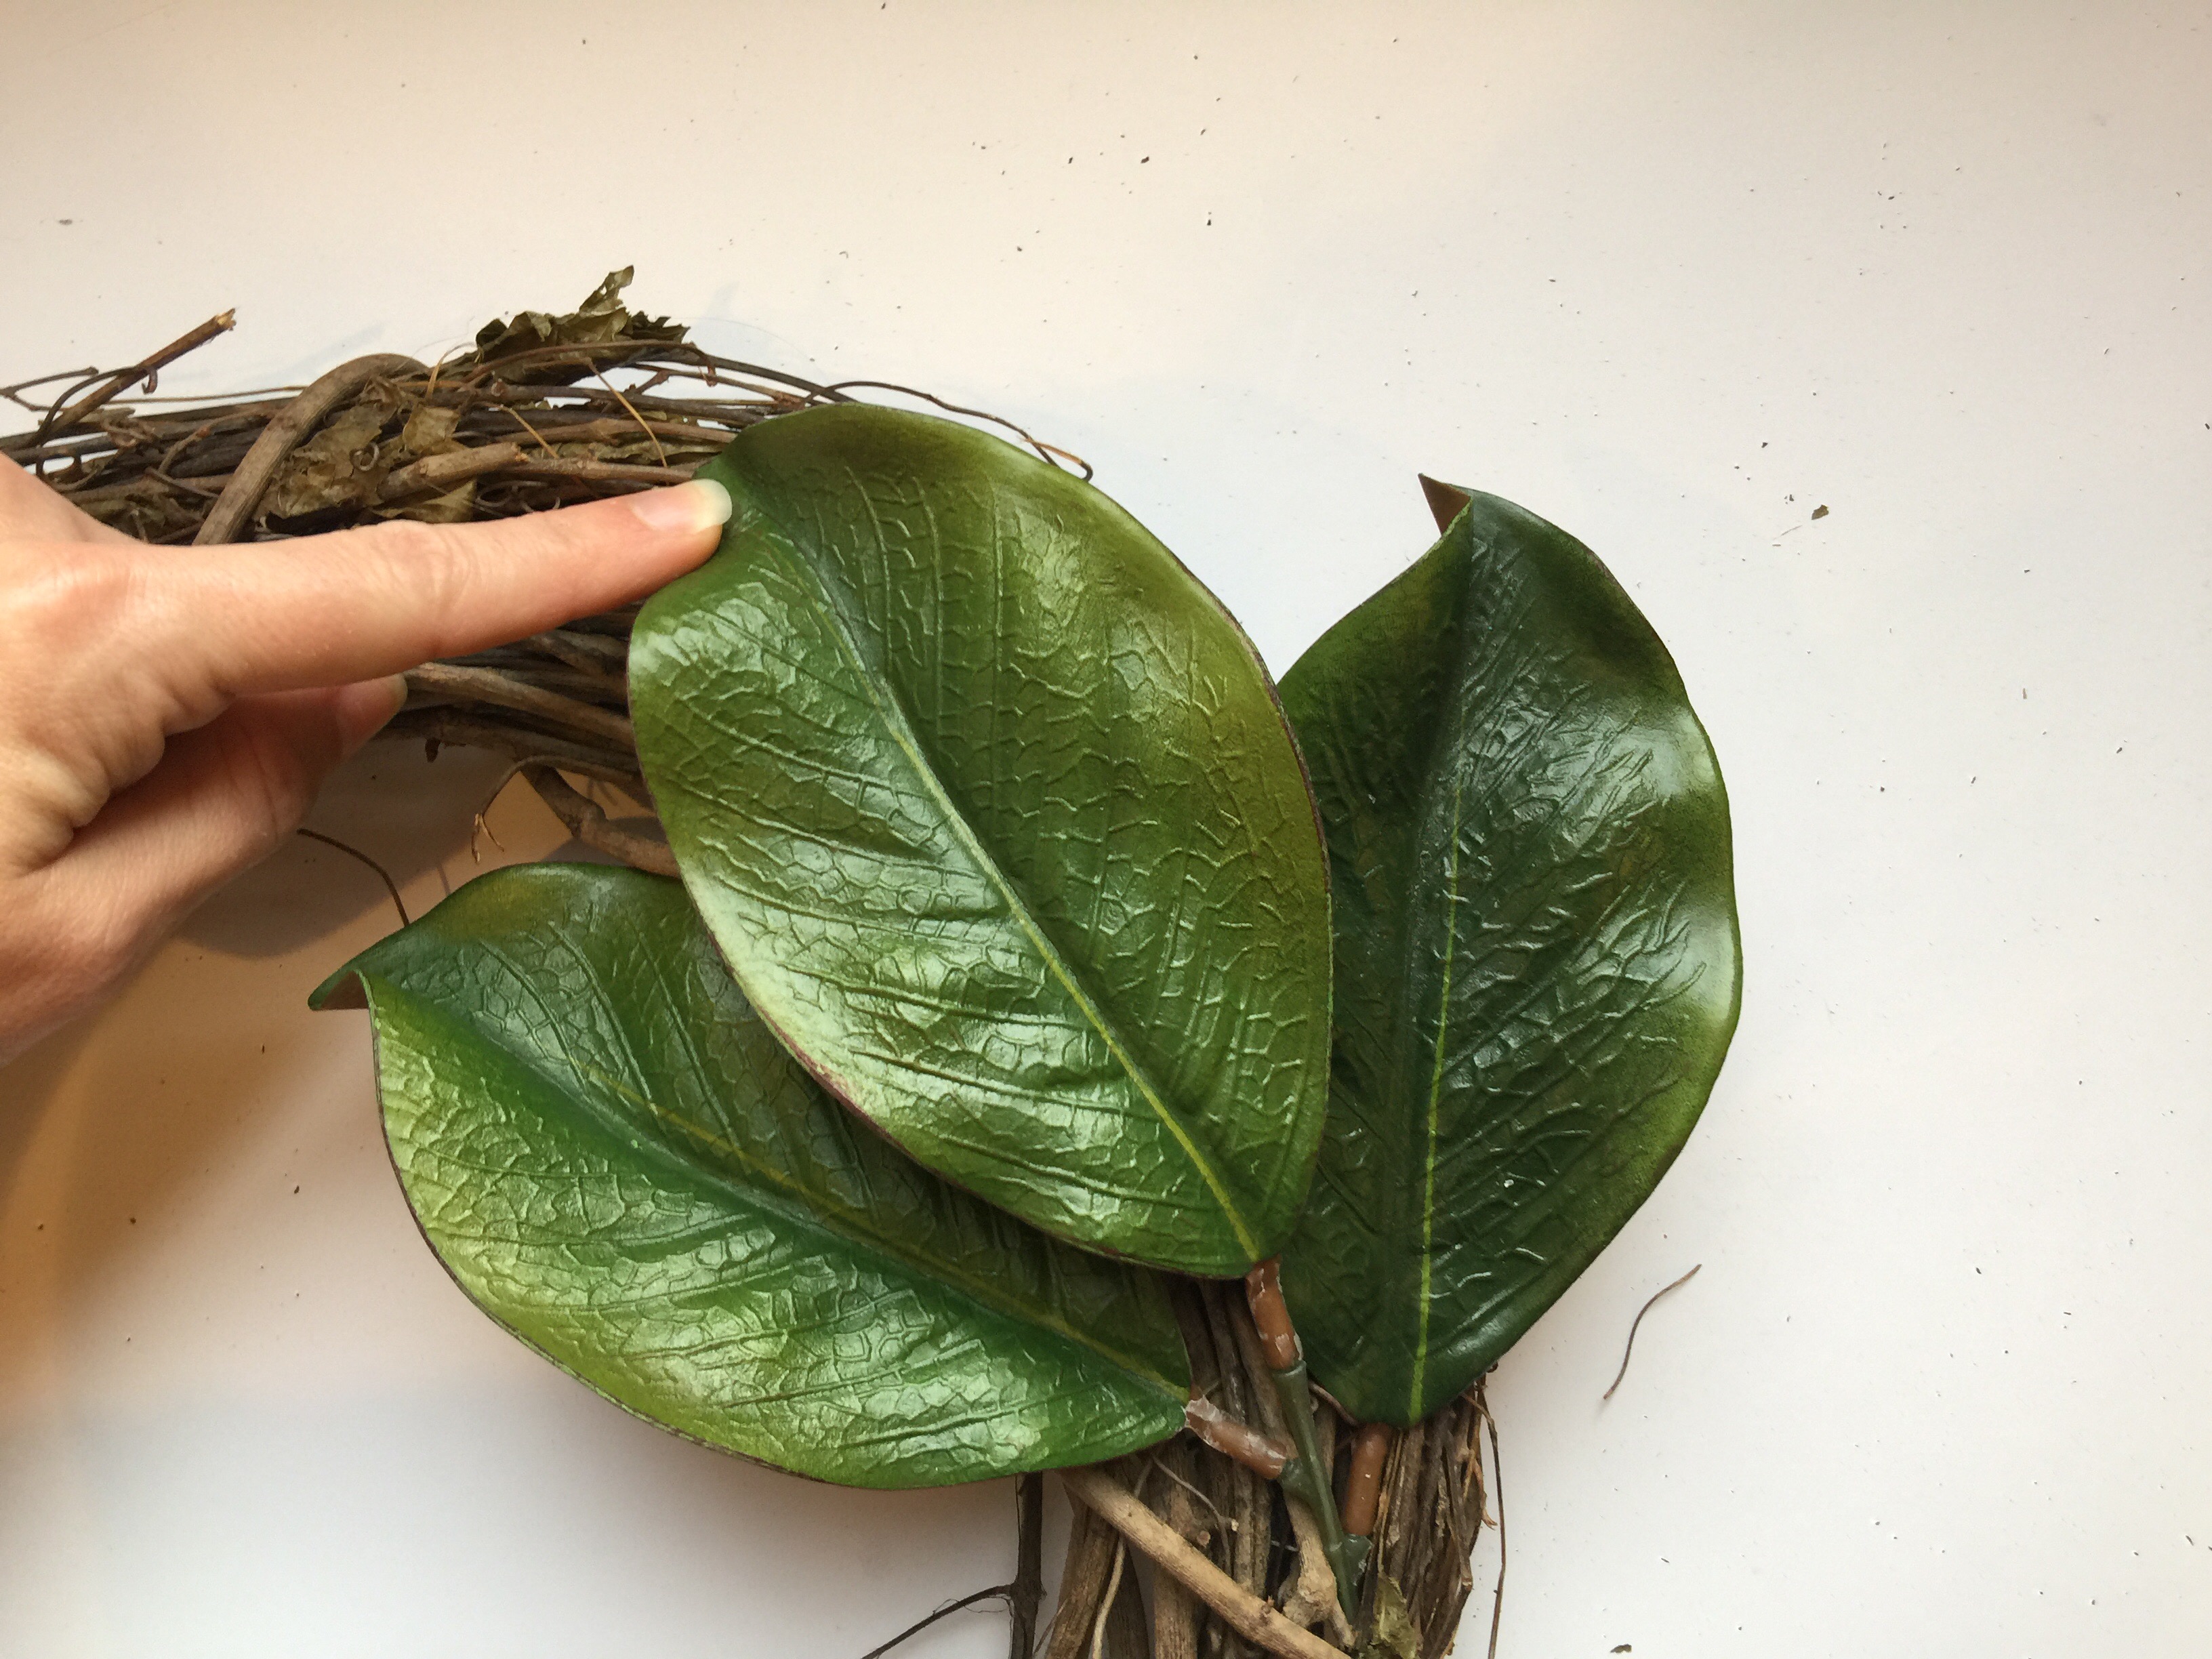
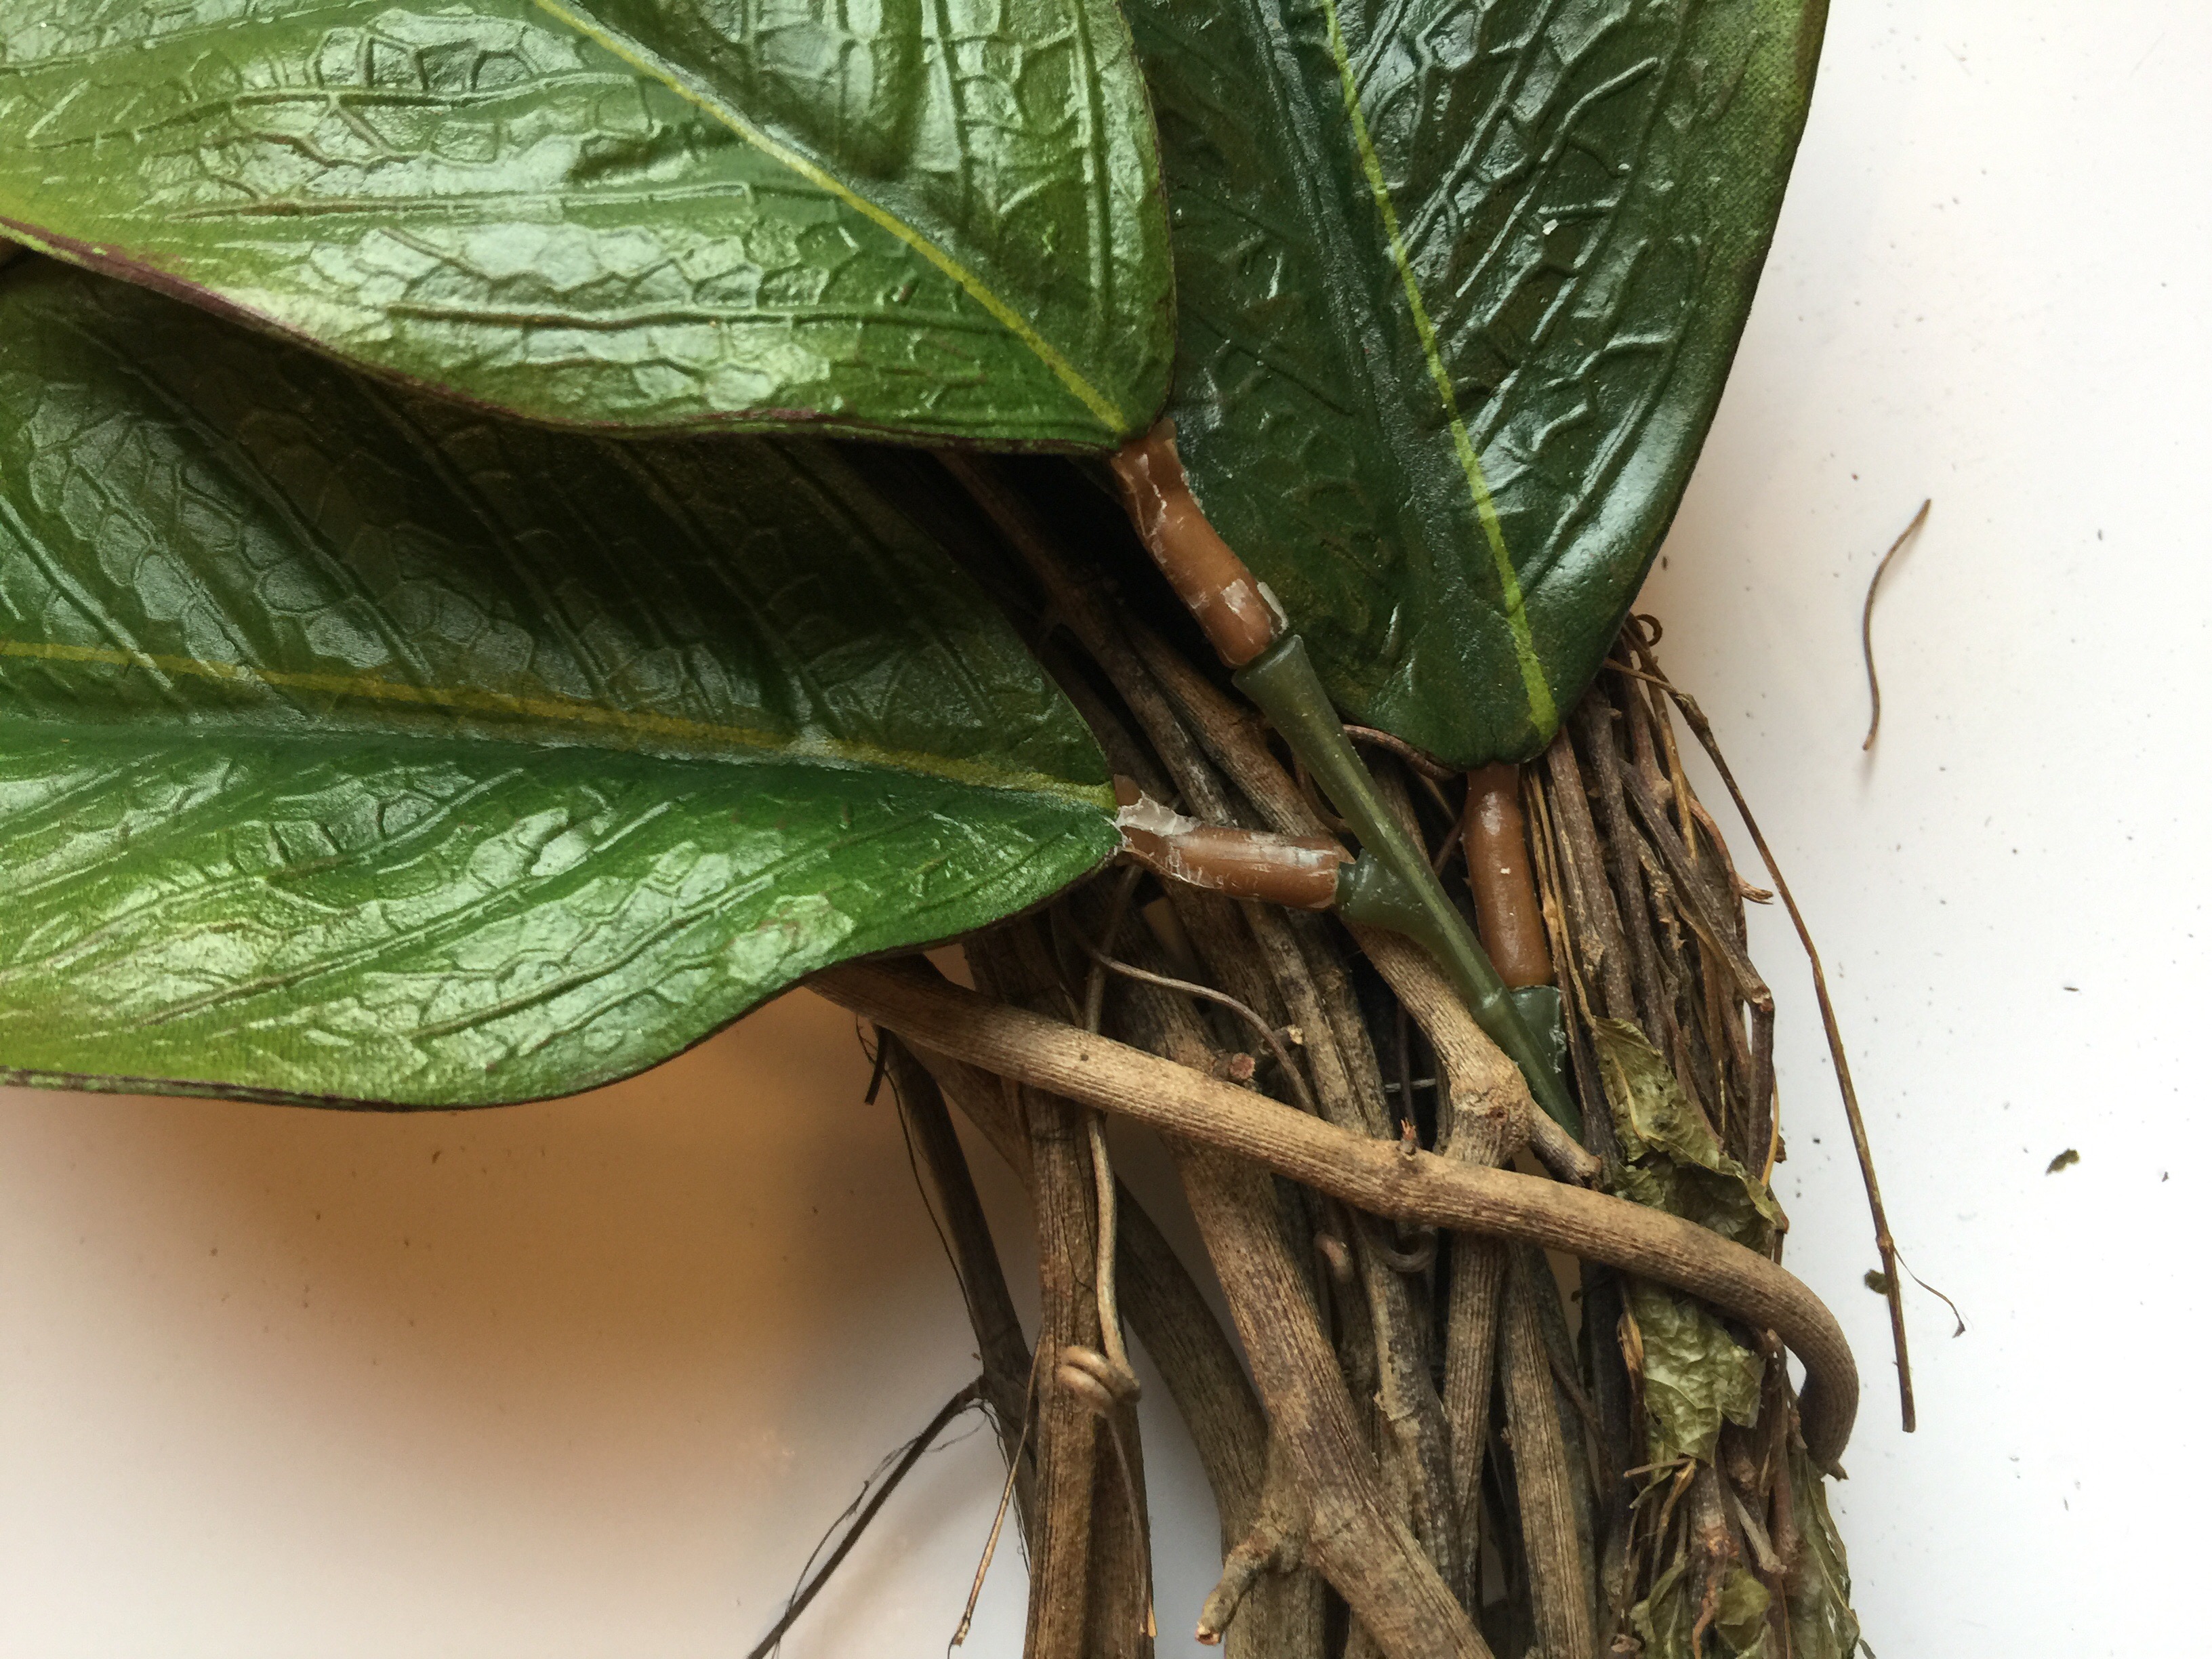
- This process will get trickier as you begin adding your next stems and spacing them evenly around your wreath. So keep sticking them in HORIZONTALLY. Don’t be afraid to get a little harsh with your stems if needed. They are pretty sturdy.
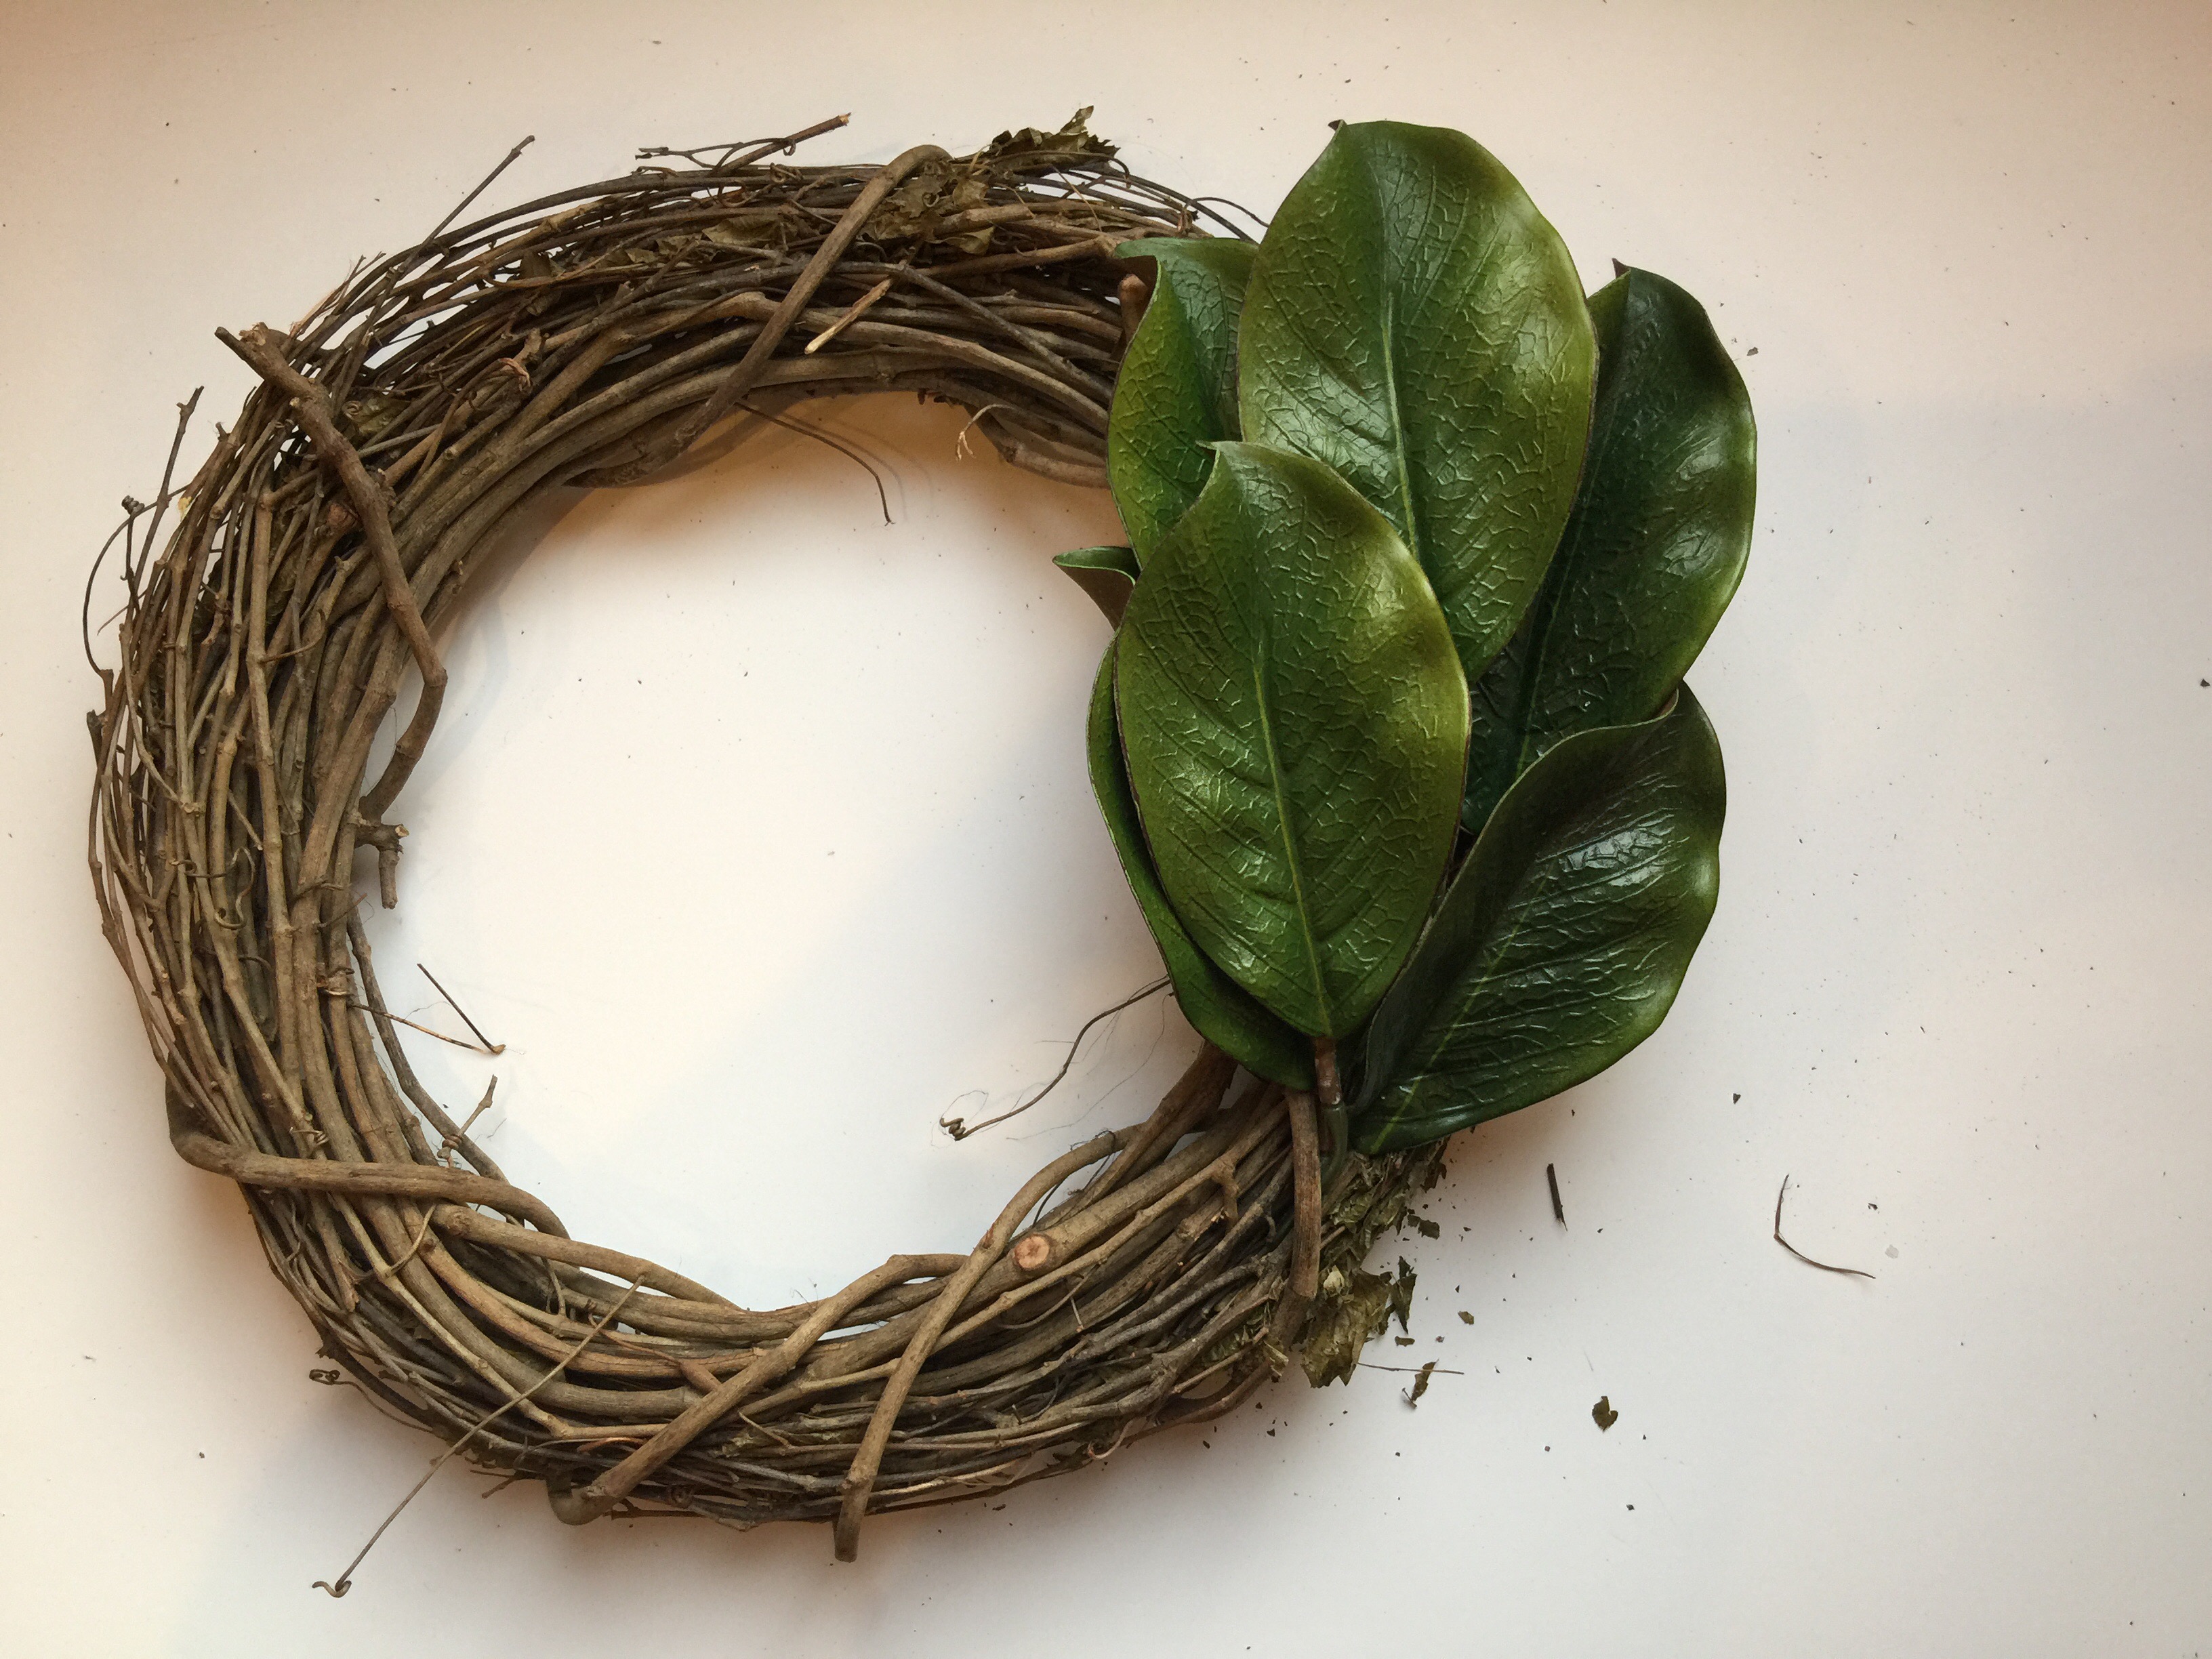
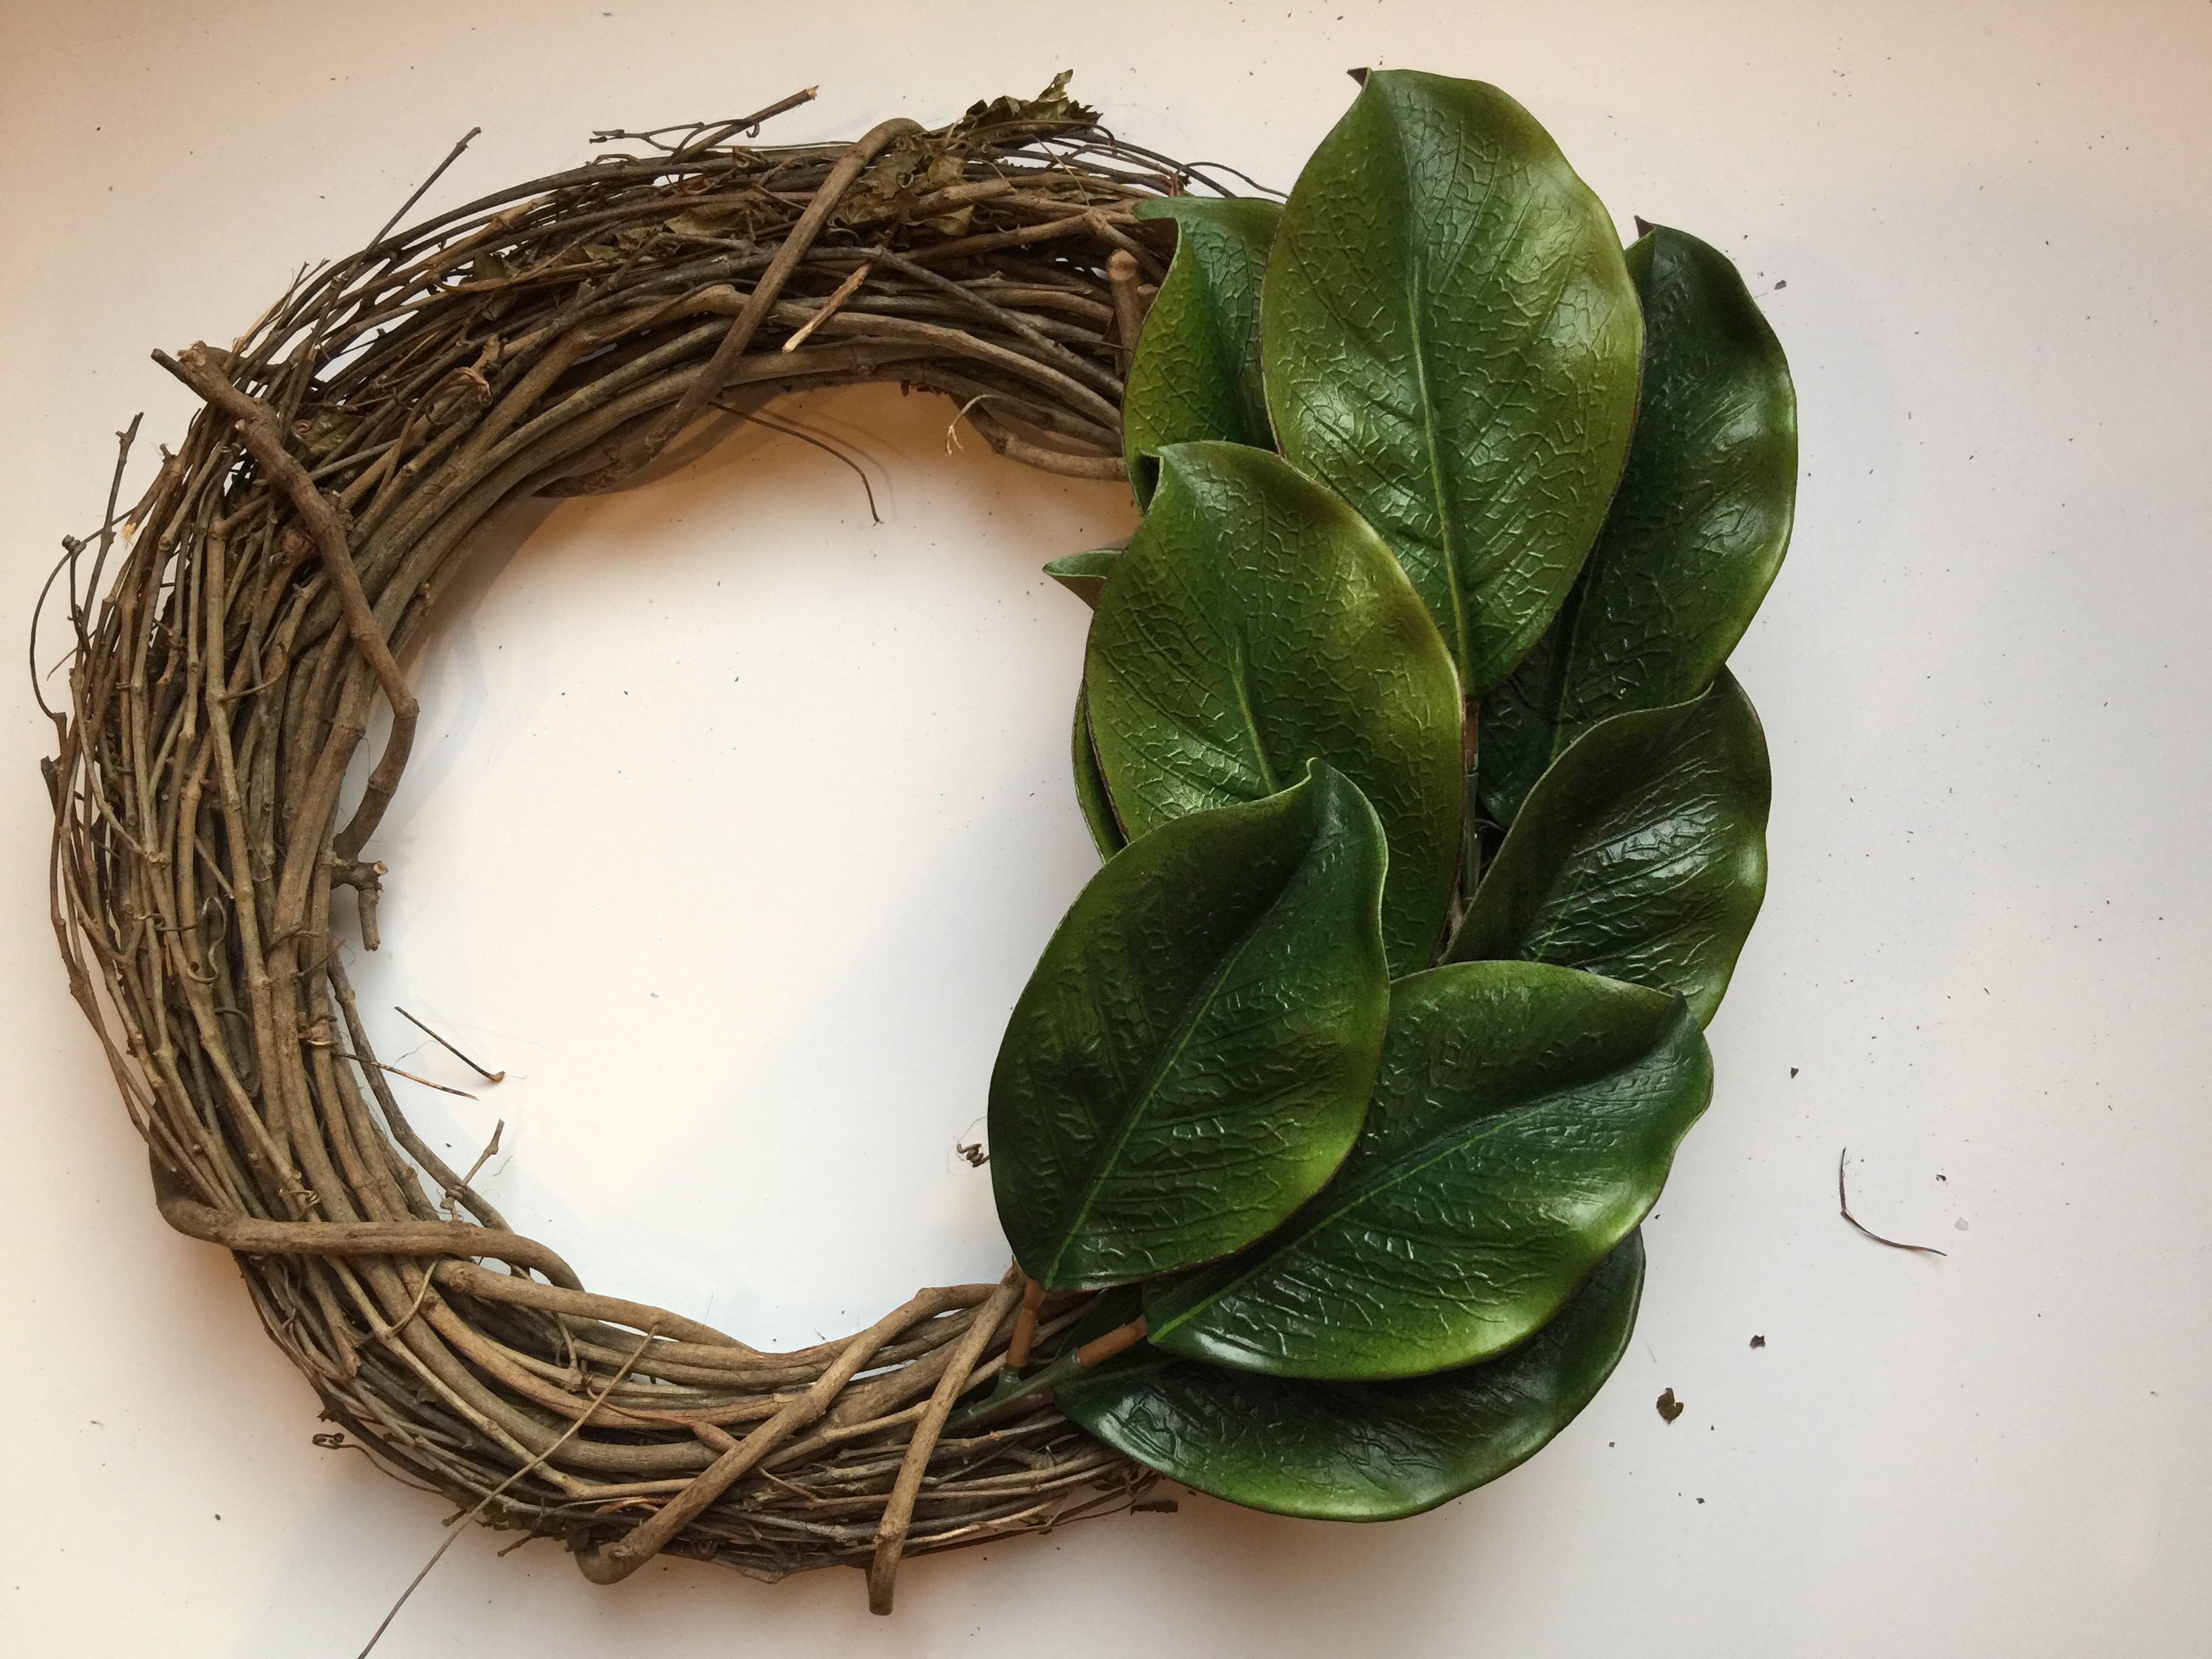 In the picture below, I’m showing you that to get even spacing on your stems, you’ll want to go about 2.5-3” apart for point of entry.
- Once you have all your stems placed, try to make sure the overall outside shape of your wreath is a circle. This may involve bending some wires to tame a wild leaf here and there. Scrunching and pulling are acceptable techniques! Avoid oval shapes or one leaf noticeably farther apart from another. Keep ‘em flat!
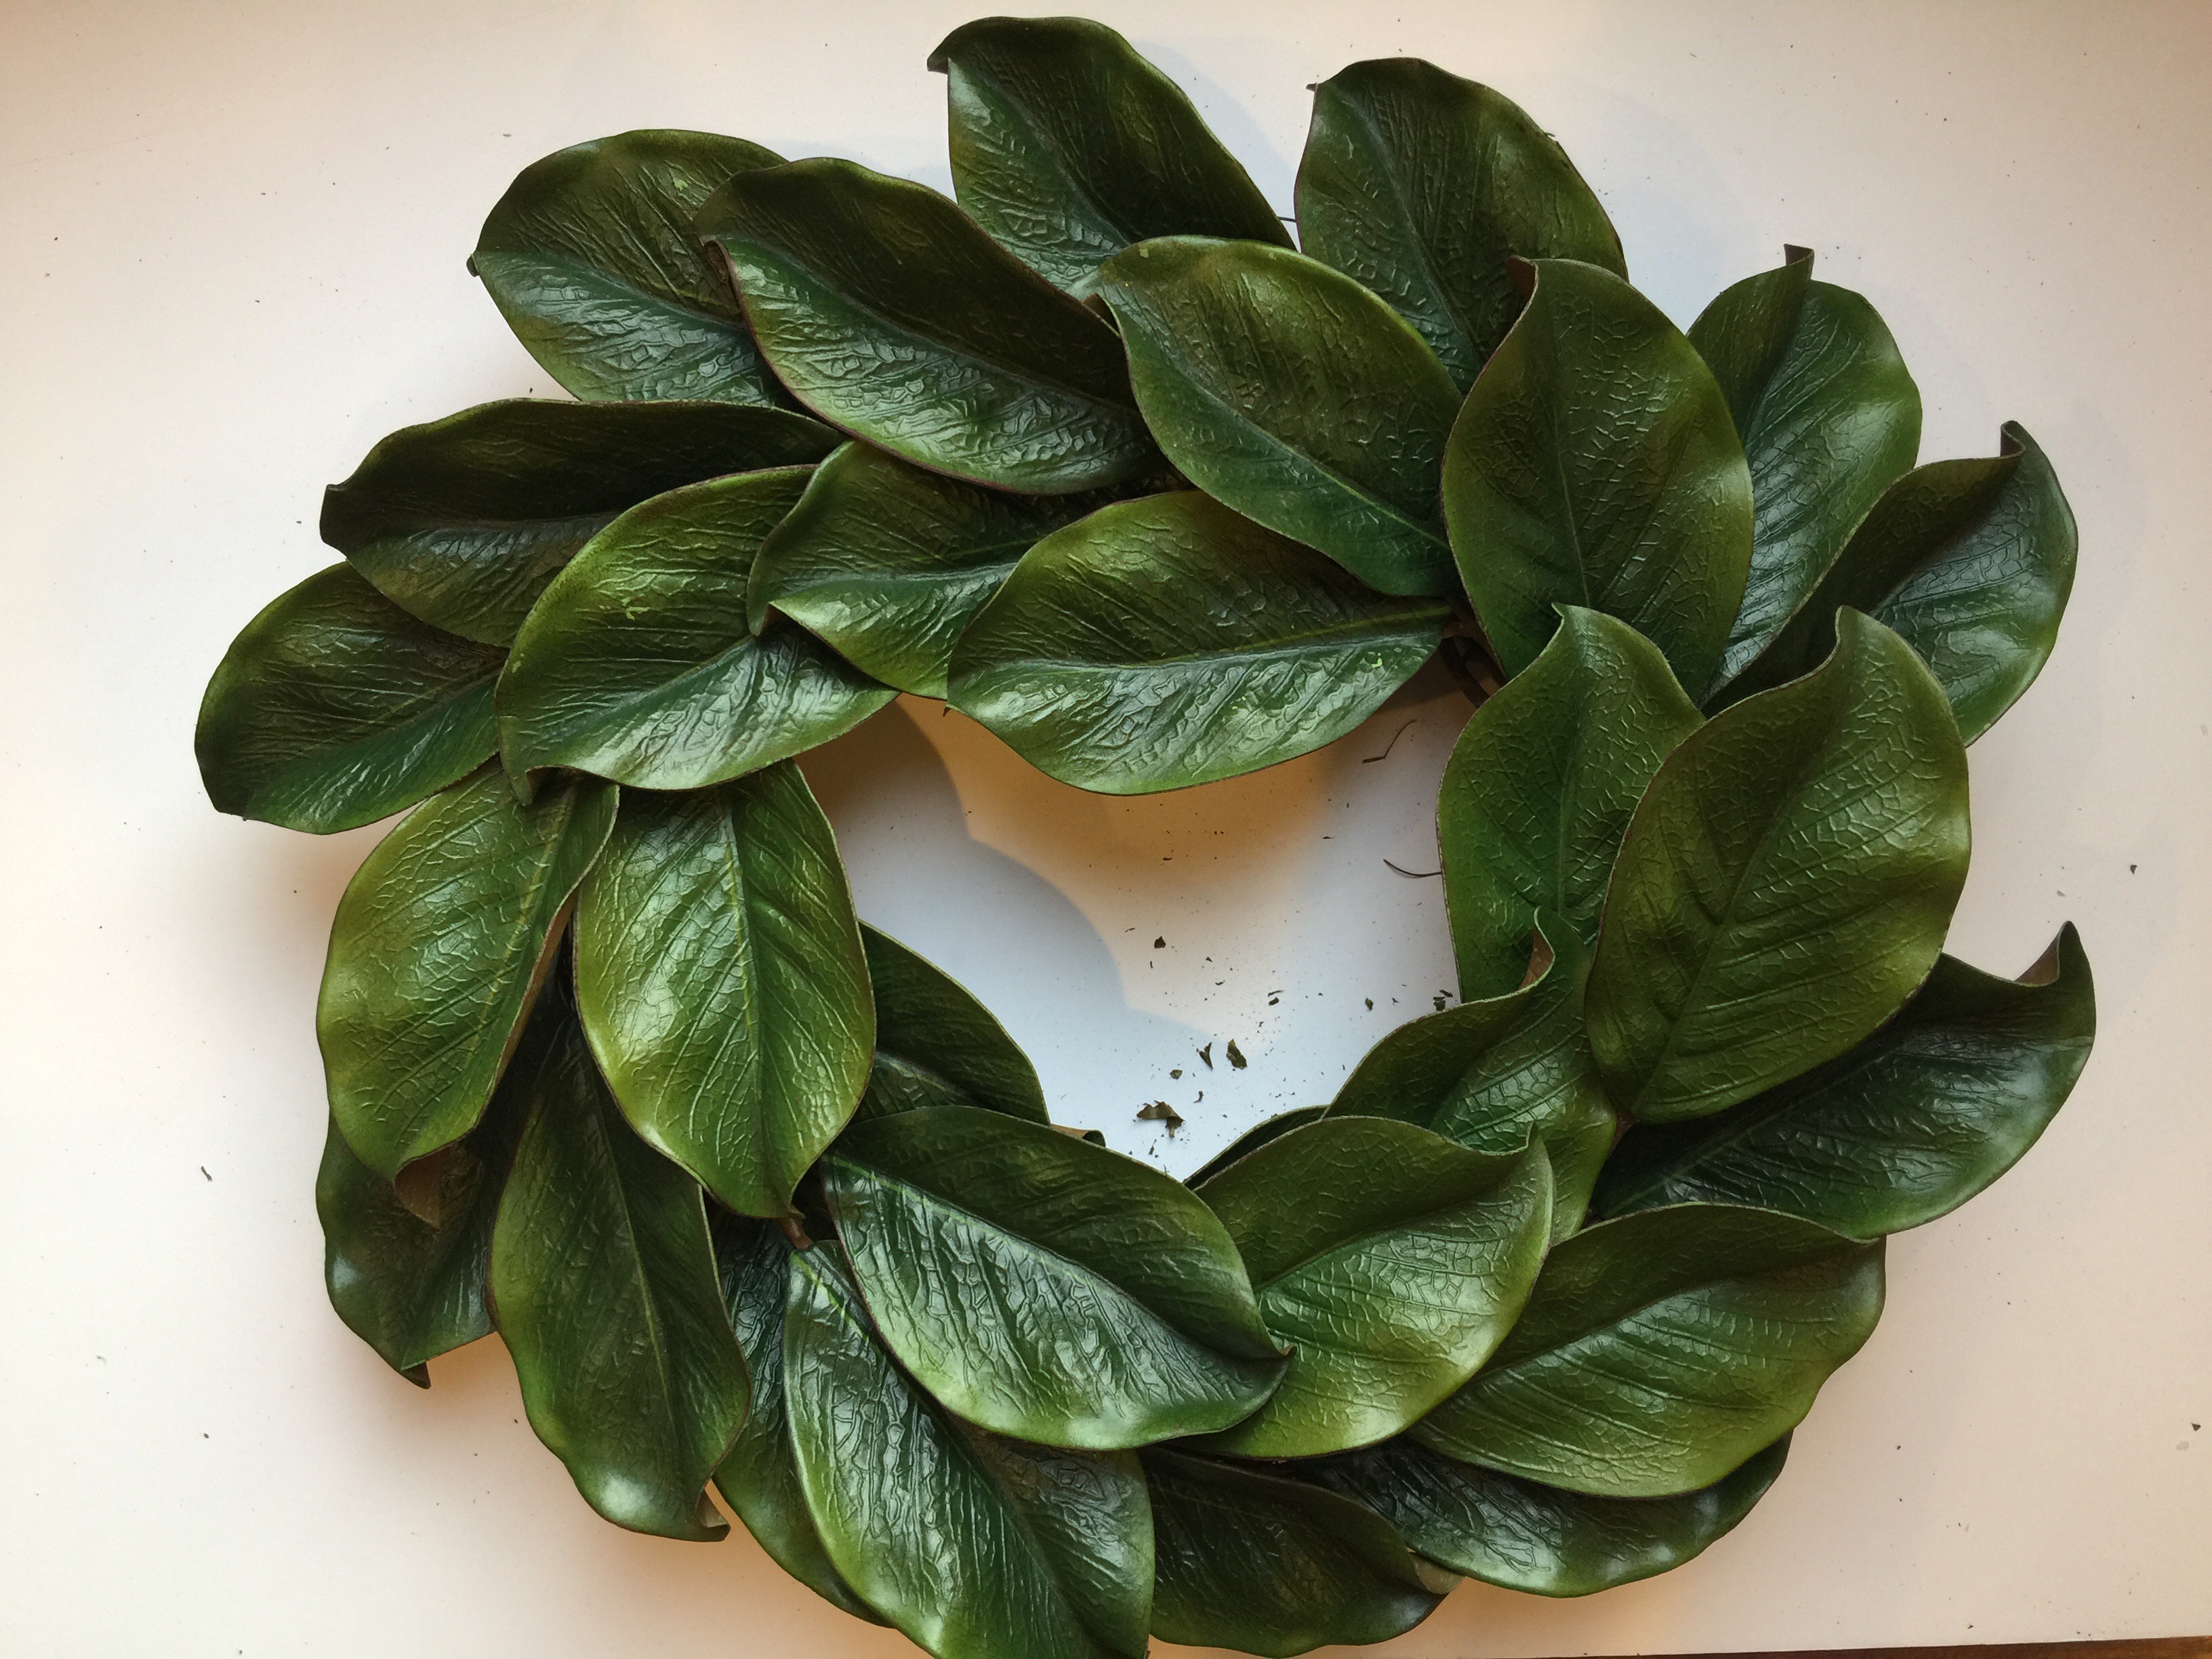
- Flip it over! Arrange leaves to be evenly spaced once more. No gaps or “ovally-ness.”
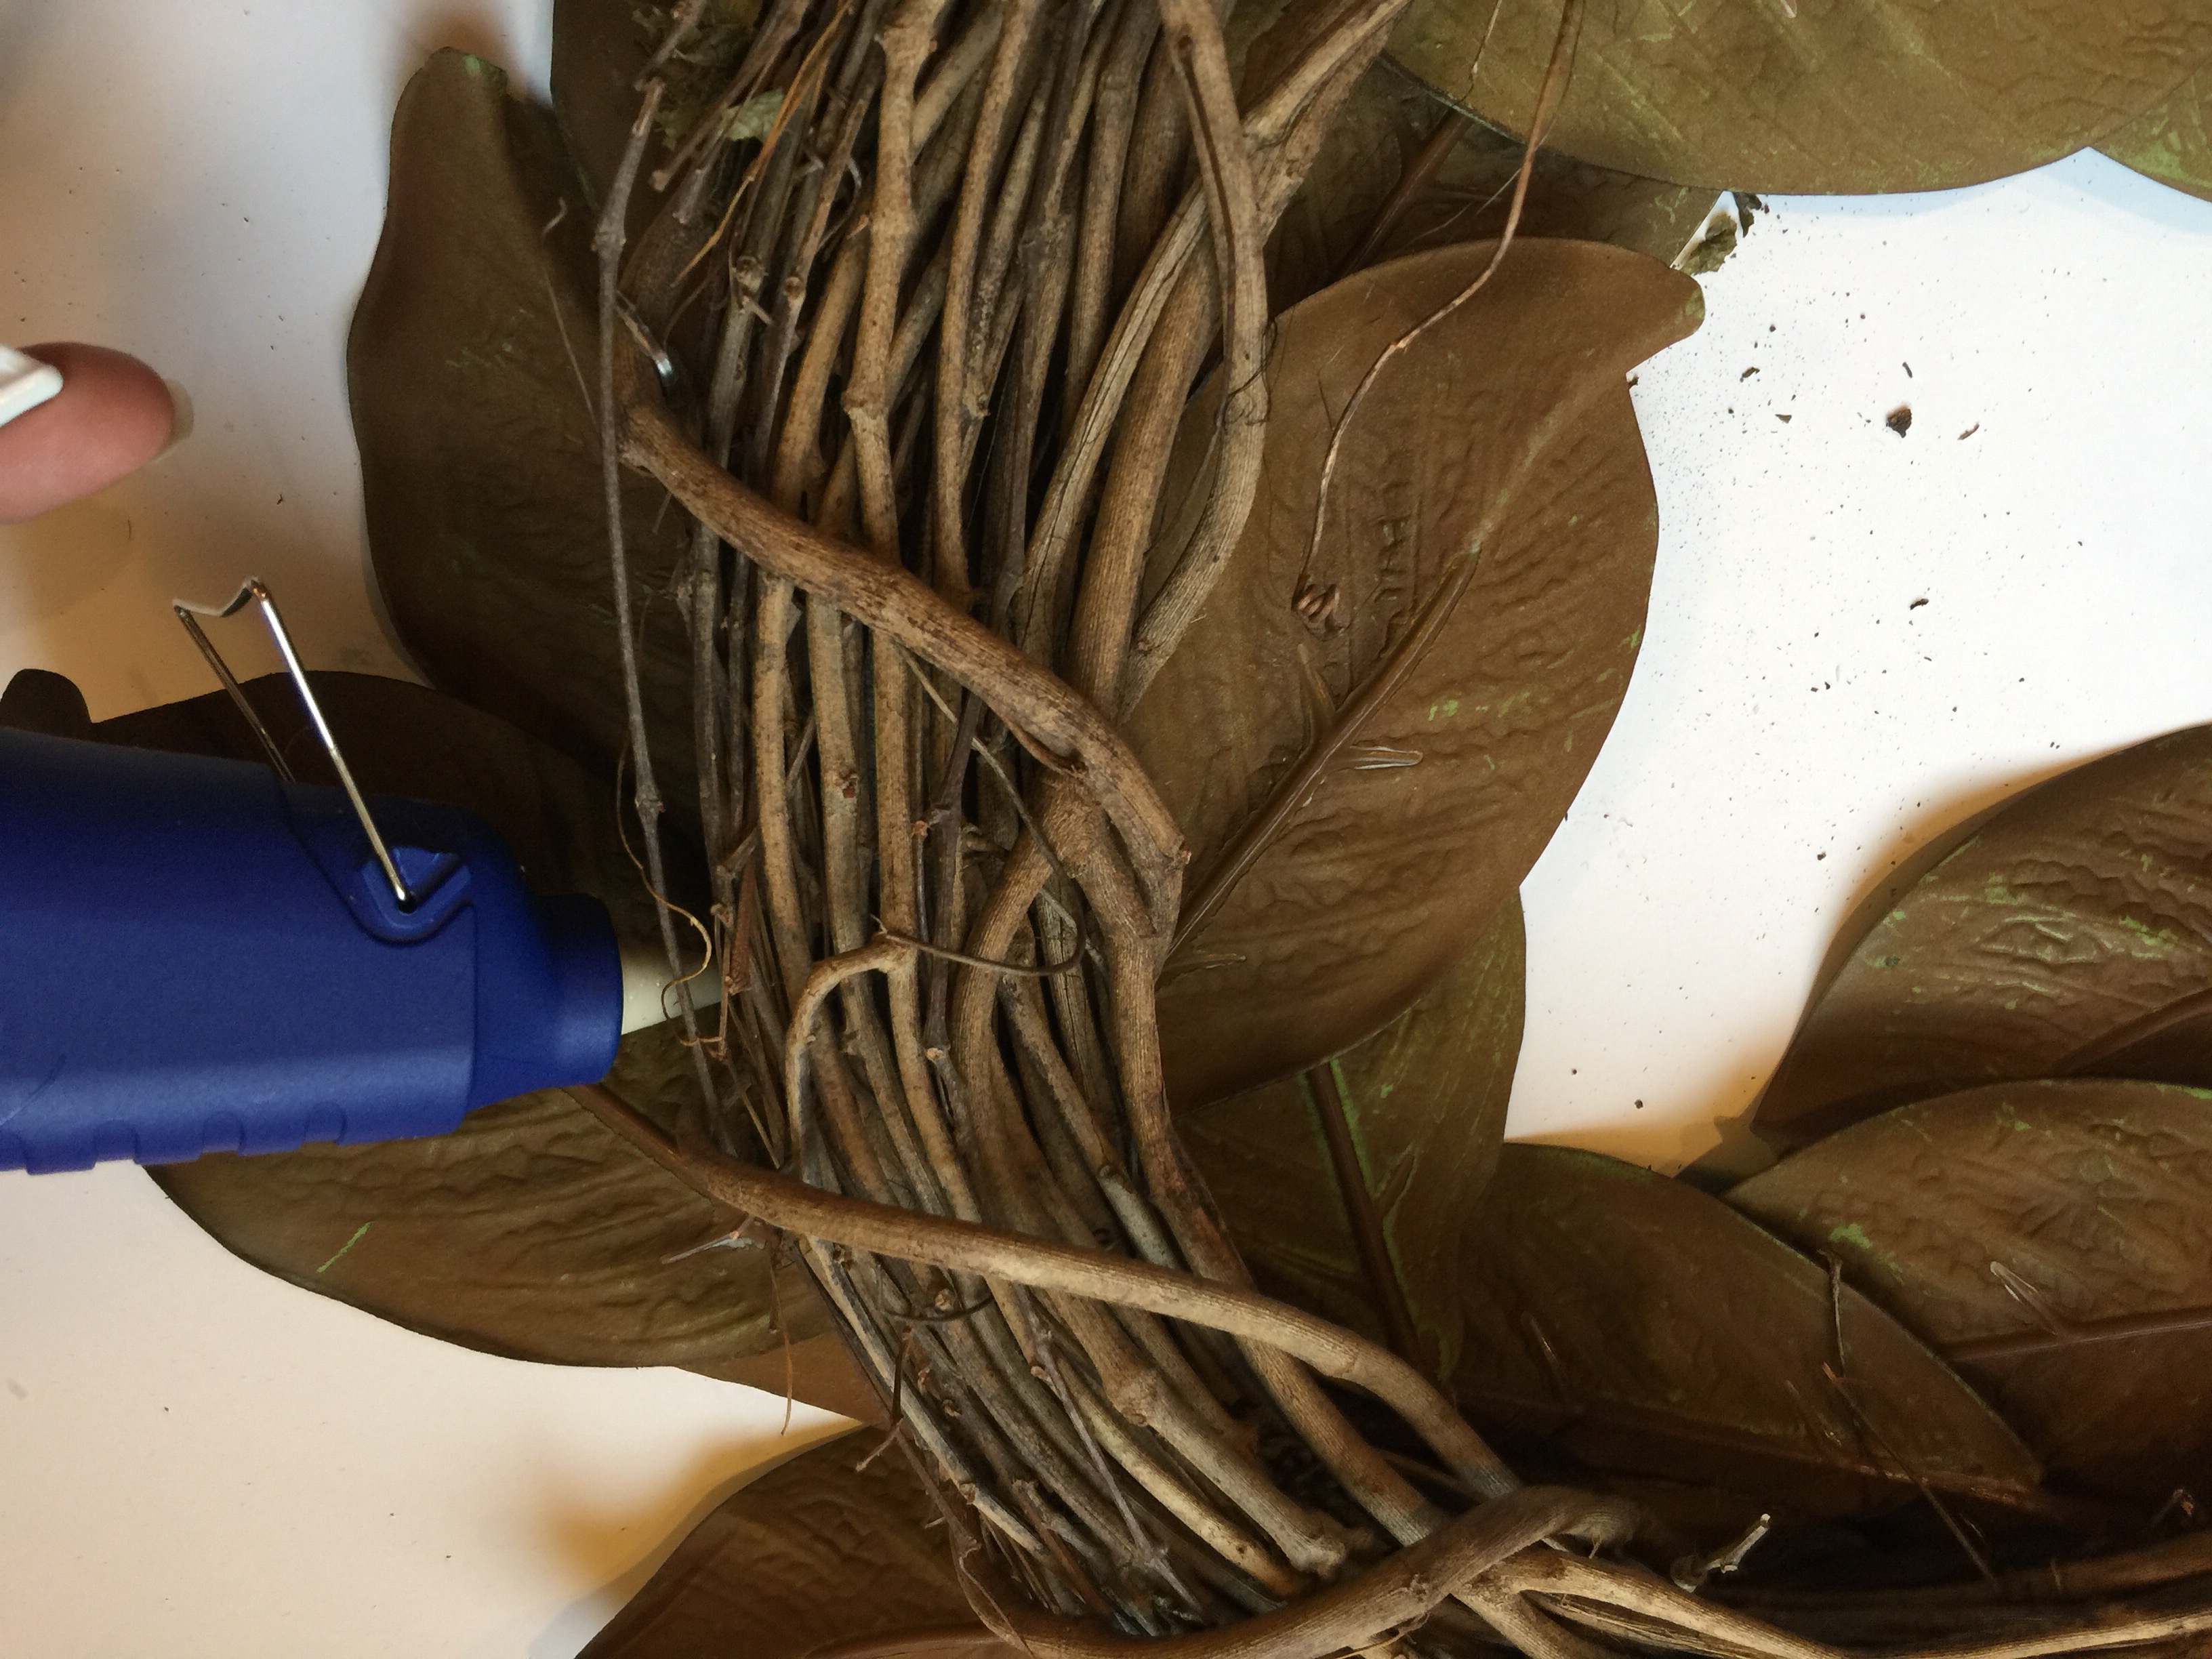
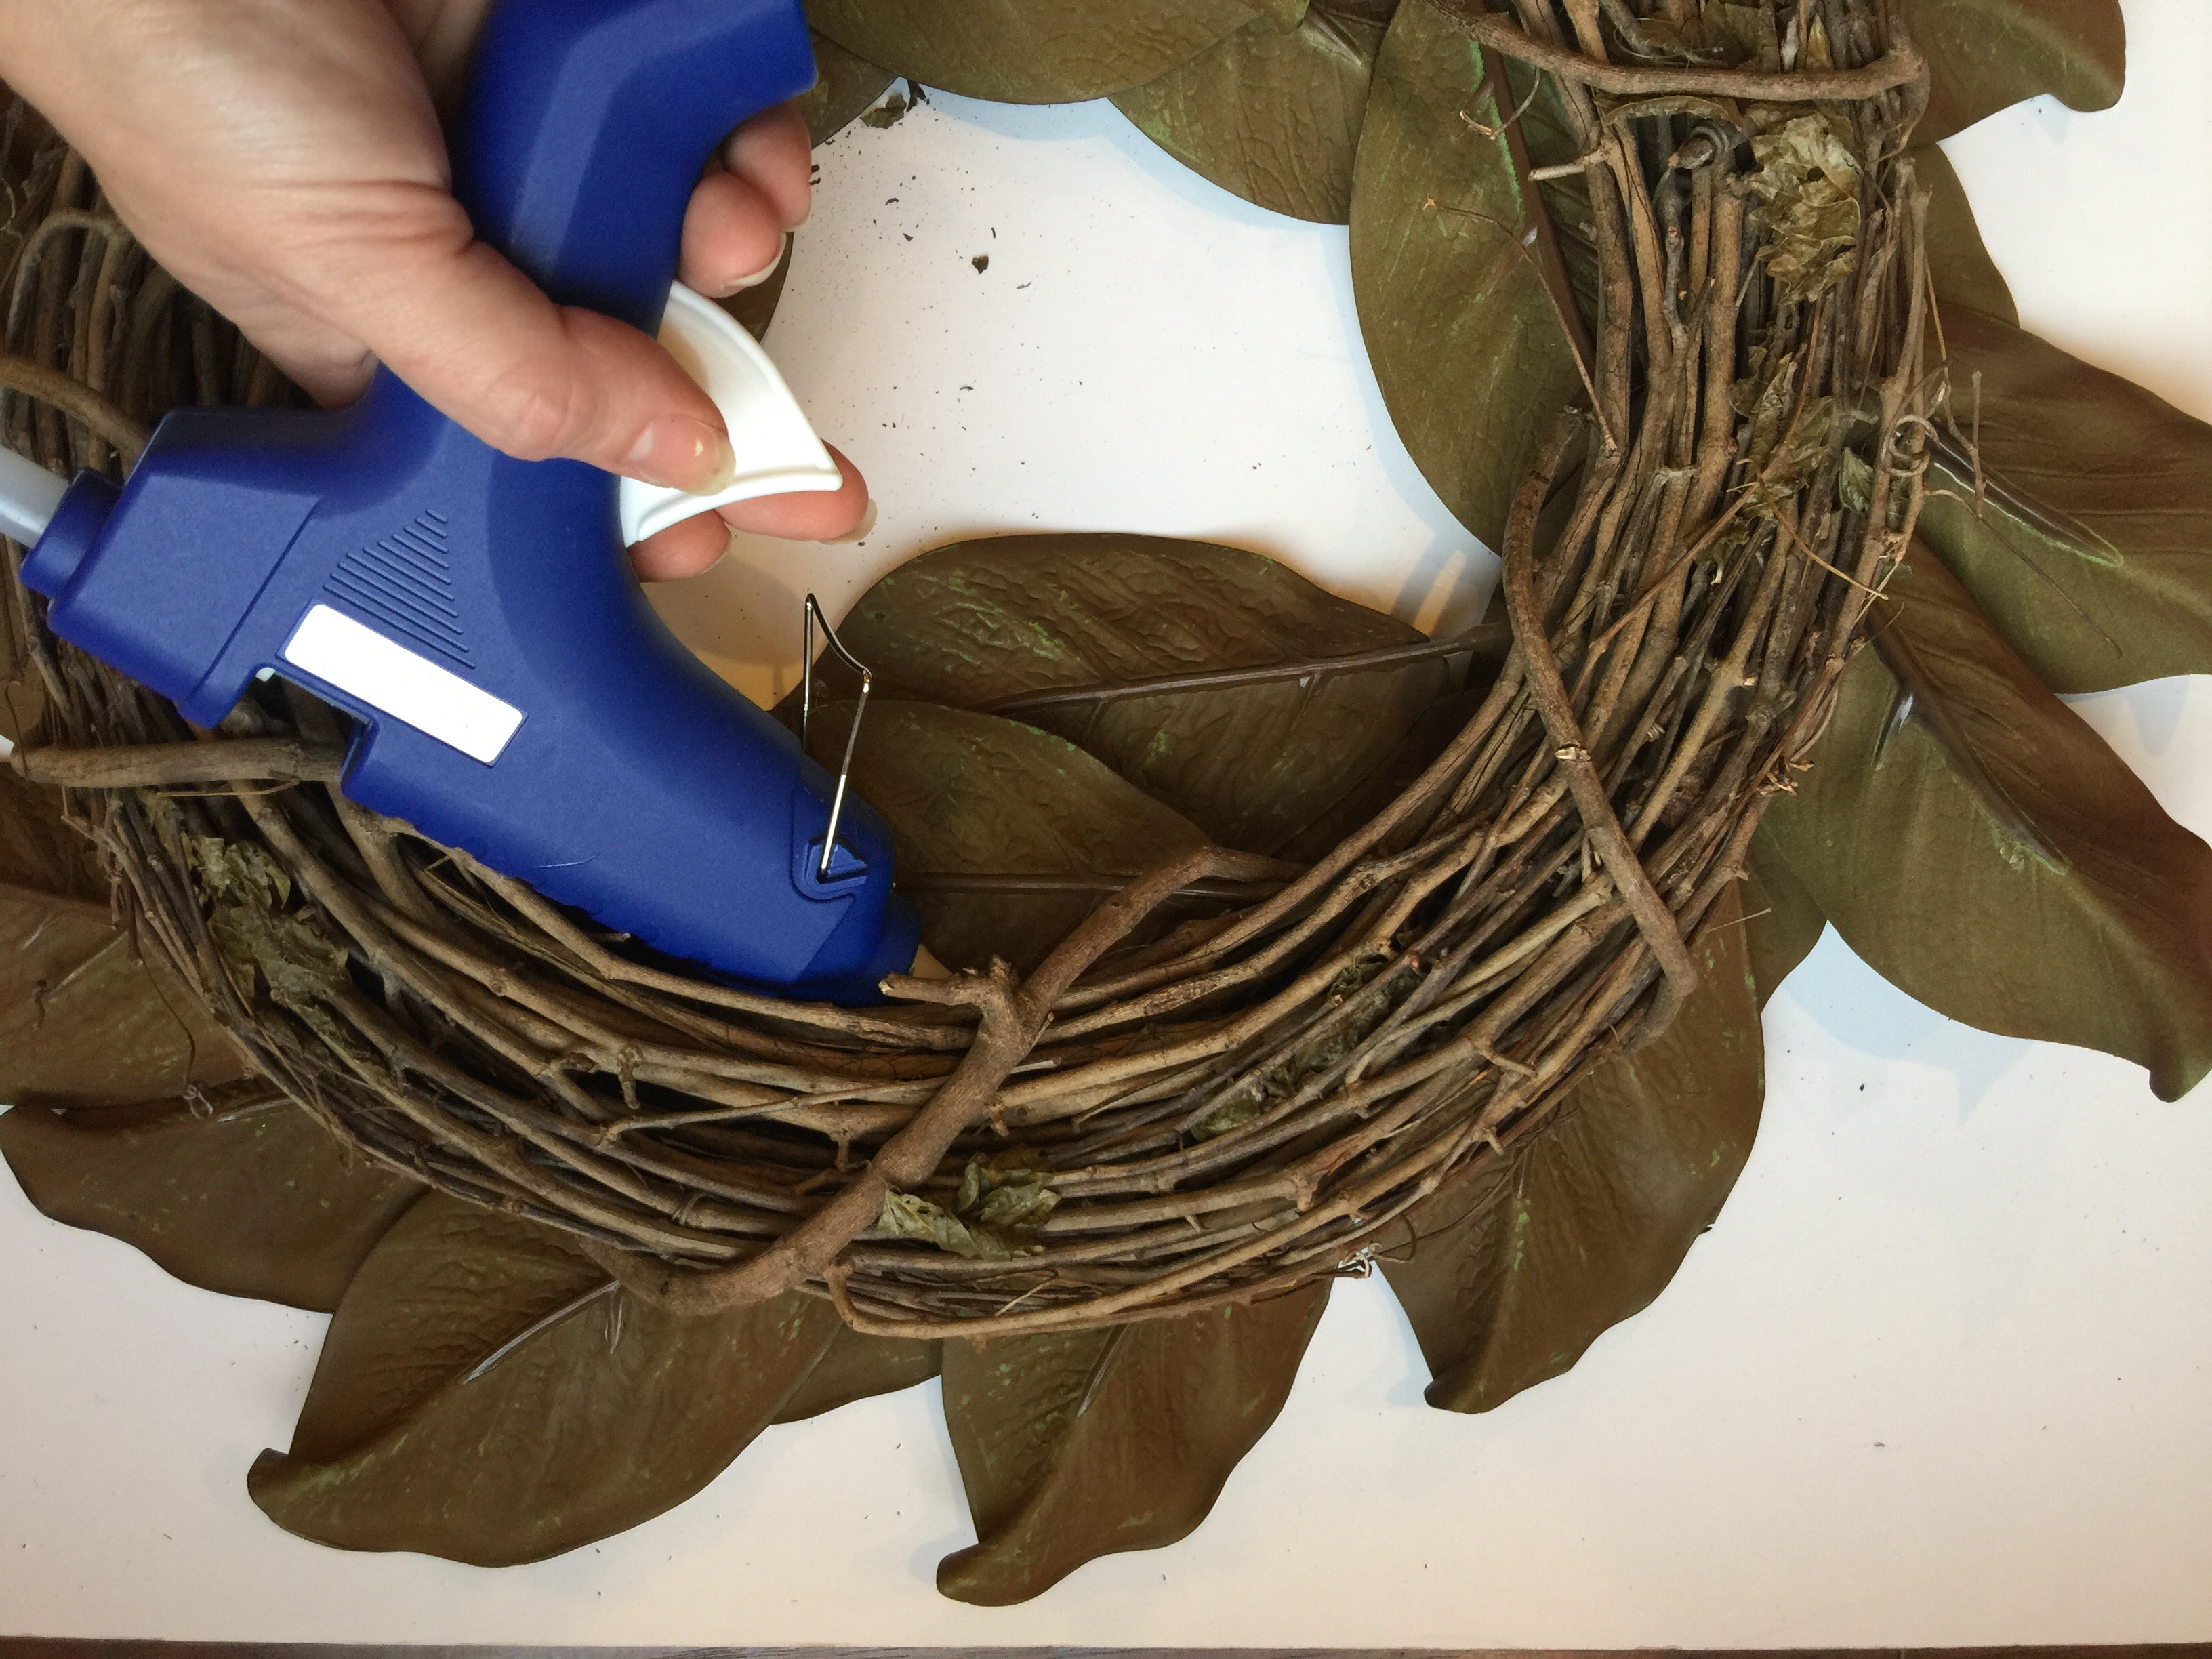
- At this point you are likely to discover that some leaves just will not stay in the perfect place. Here is where you grab your glue gun. Don’t use a mini cool temp one. Use a big momma. It’s like $3 extra and sooo much more efficient when it comes to wrangling a wreath. In this step your likely to need a little patience or Netflix. Hot glue takes a minute or two to cool and set. You’ll want to press down and hold each leaf until set because if you don’t, the finish will get ripped off the leaves and damage them. Make sure to secure each stem entry point as well.
- Last step but most important! To get that “simple” look you want to press your wreath. Leave it facedown and put something on top of it. Like a textbook or a big pot. Leave it for an hour-ish. Go paint some shiplap or something.
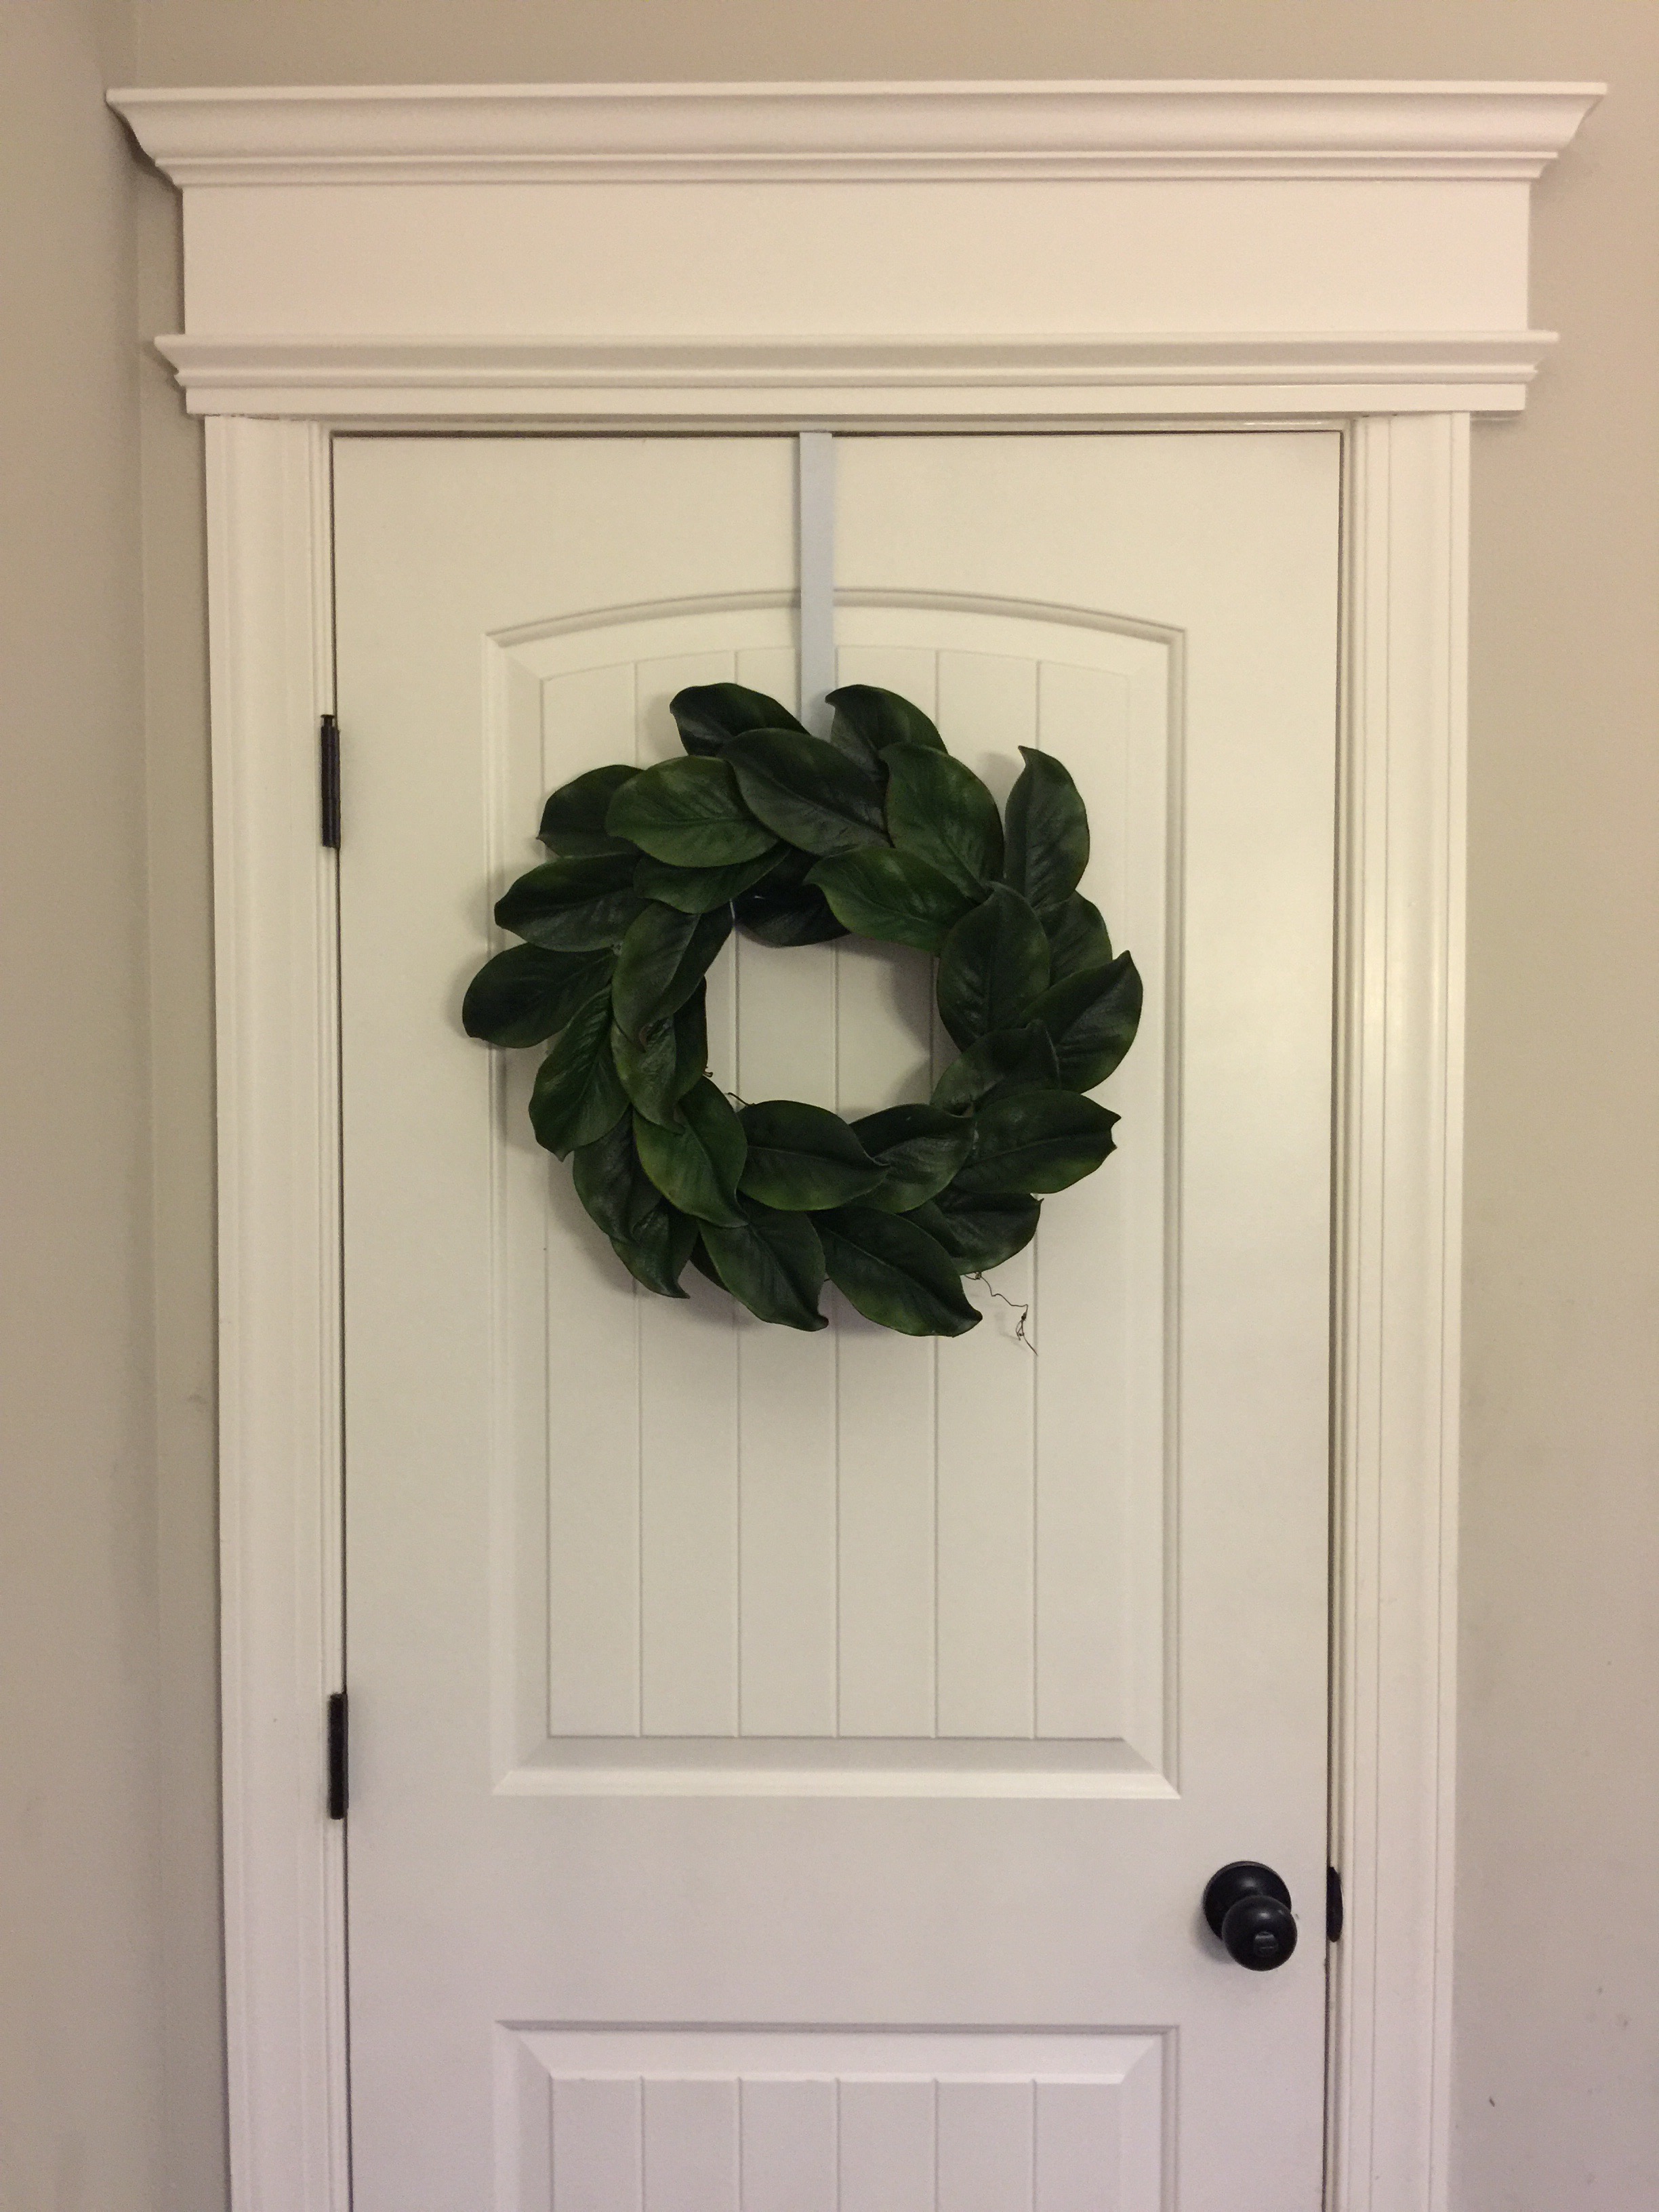
TaDa! Your done! Easy Magnolia Wreath Tutorial. So easy, right? Thanks for reading! Comments or questions? Leave them below in the comments box and I’ll get answers for you.



I am glad I am your mom and you made this for me😀