by Andrea | Aug 1, 2019 | Uncategorized
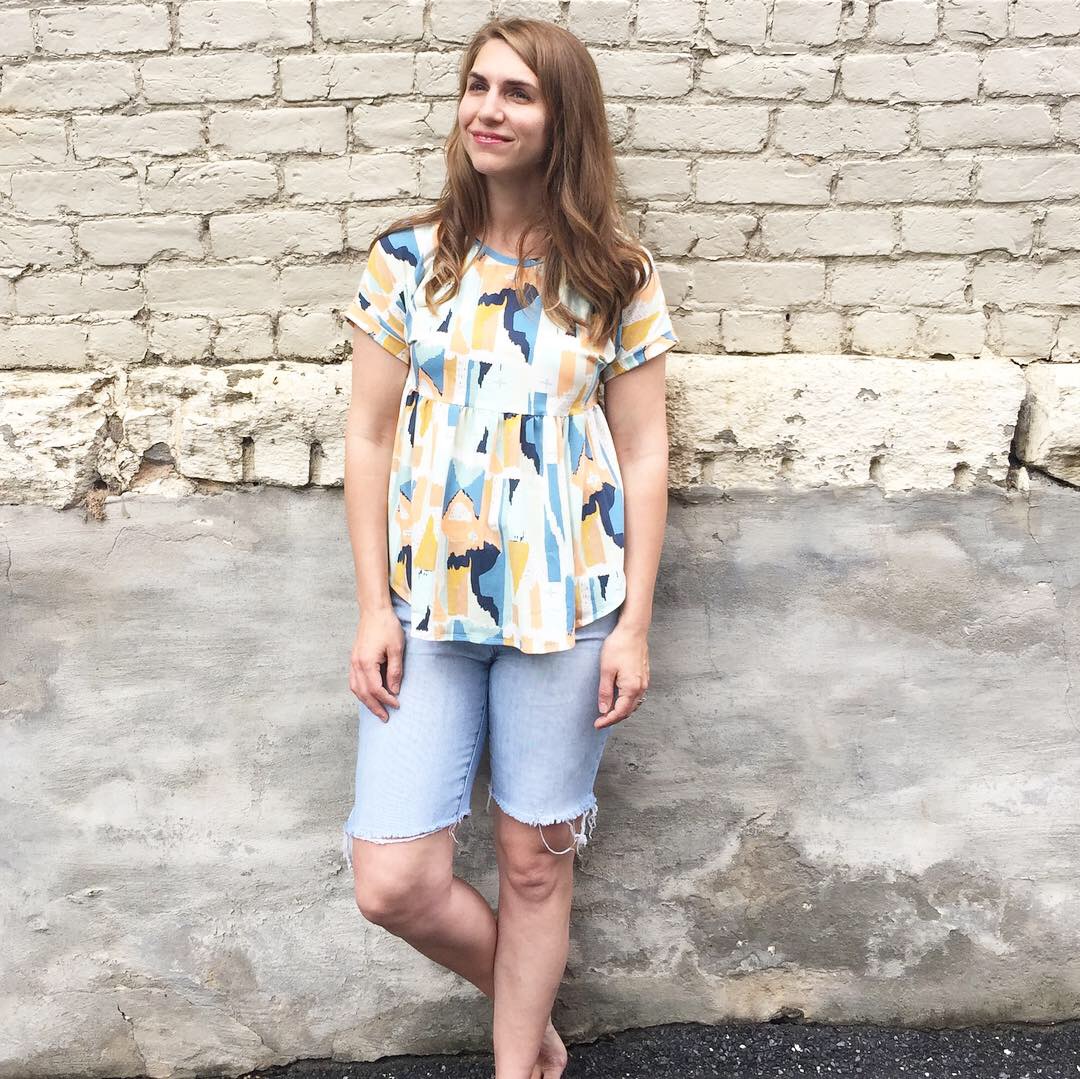
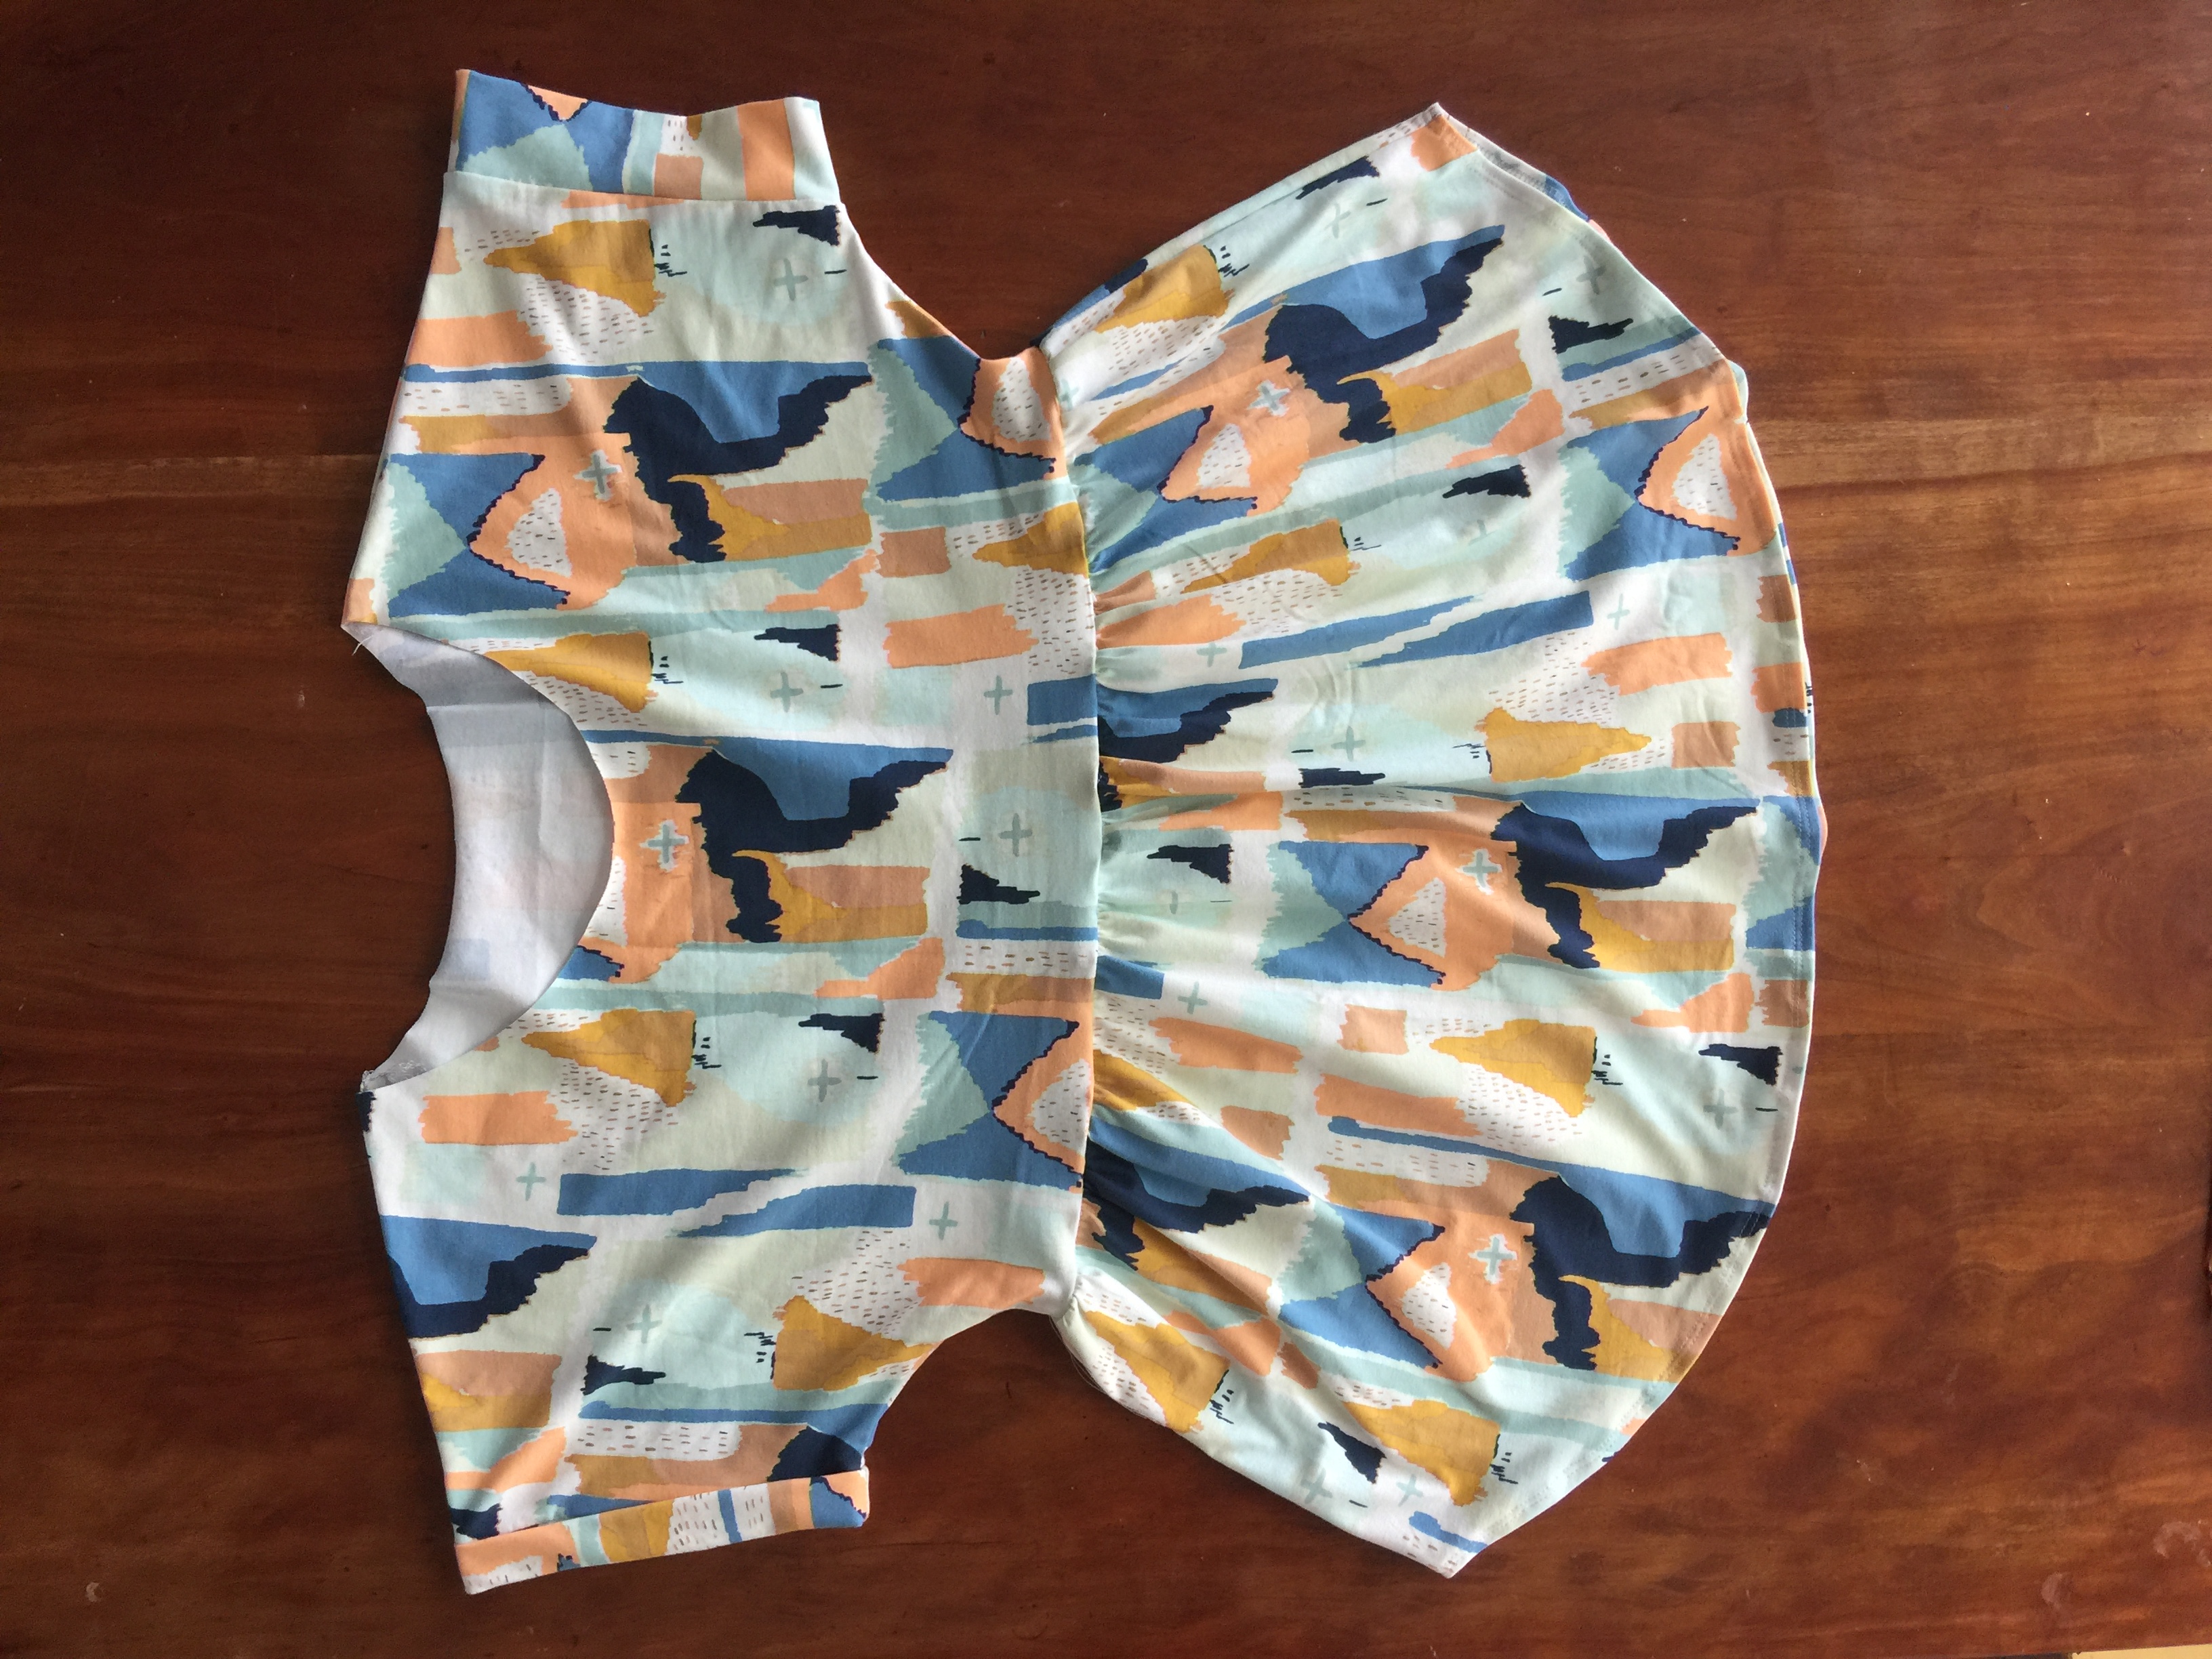
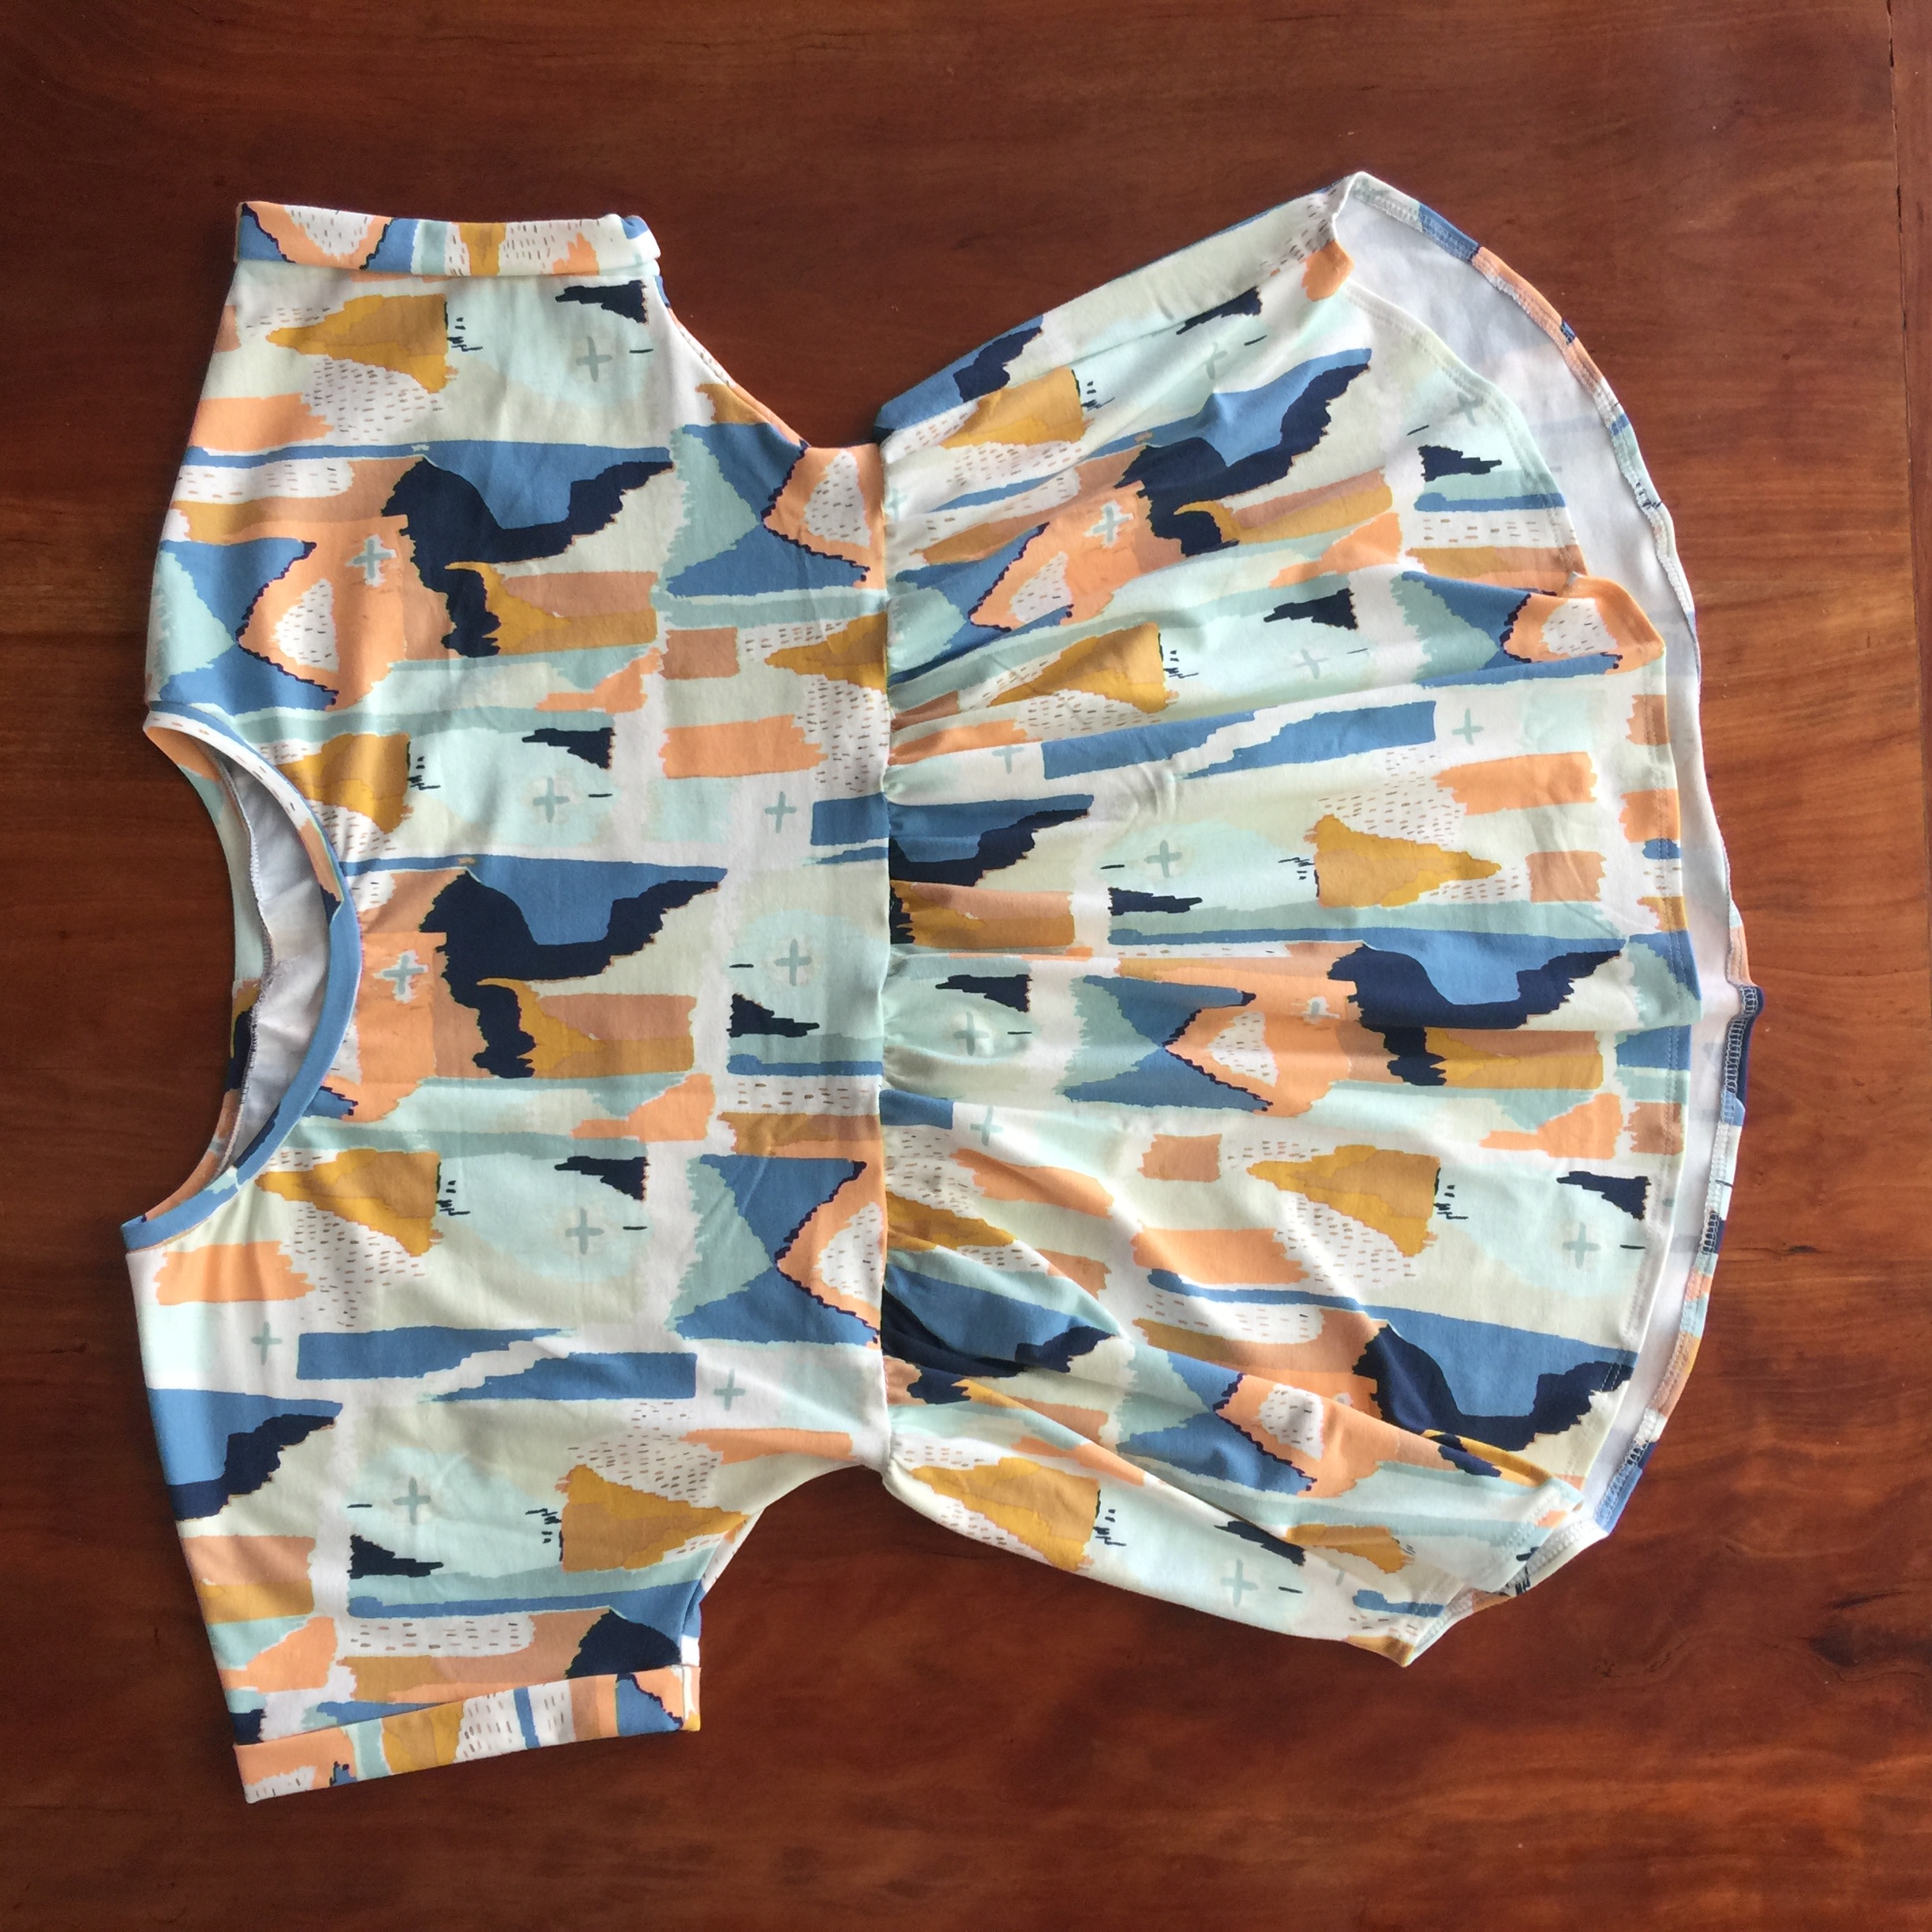
The Hermione Pattern is a shirt/tunic/dress pattern for women. It has a boat neckline, cuffed dolman sleeve, and an empire waist. Hermione is a good pattern to get you started sewing with knit fabrics.
PRINT: If you are new to pdf patterns, make sure to print off your pattern at 100% scale. This is important!
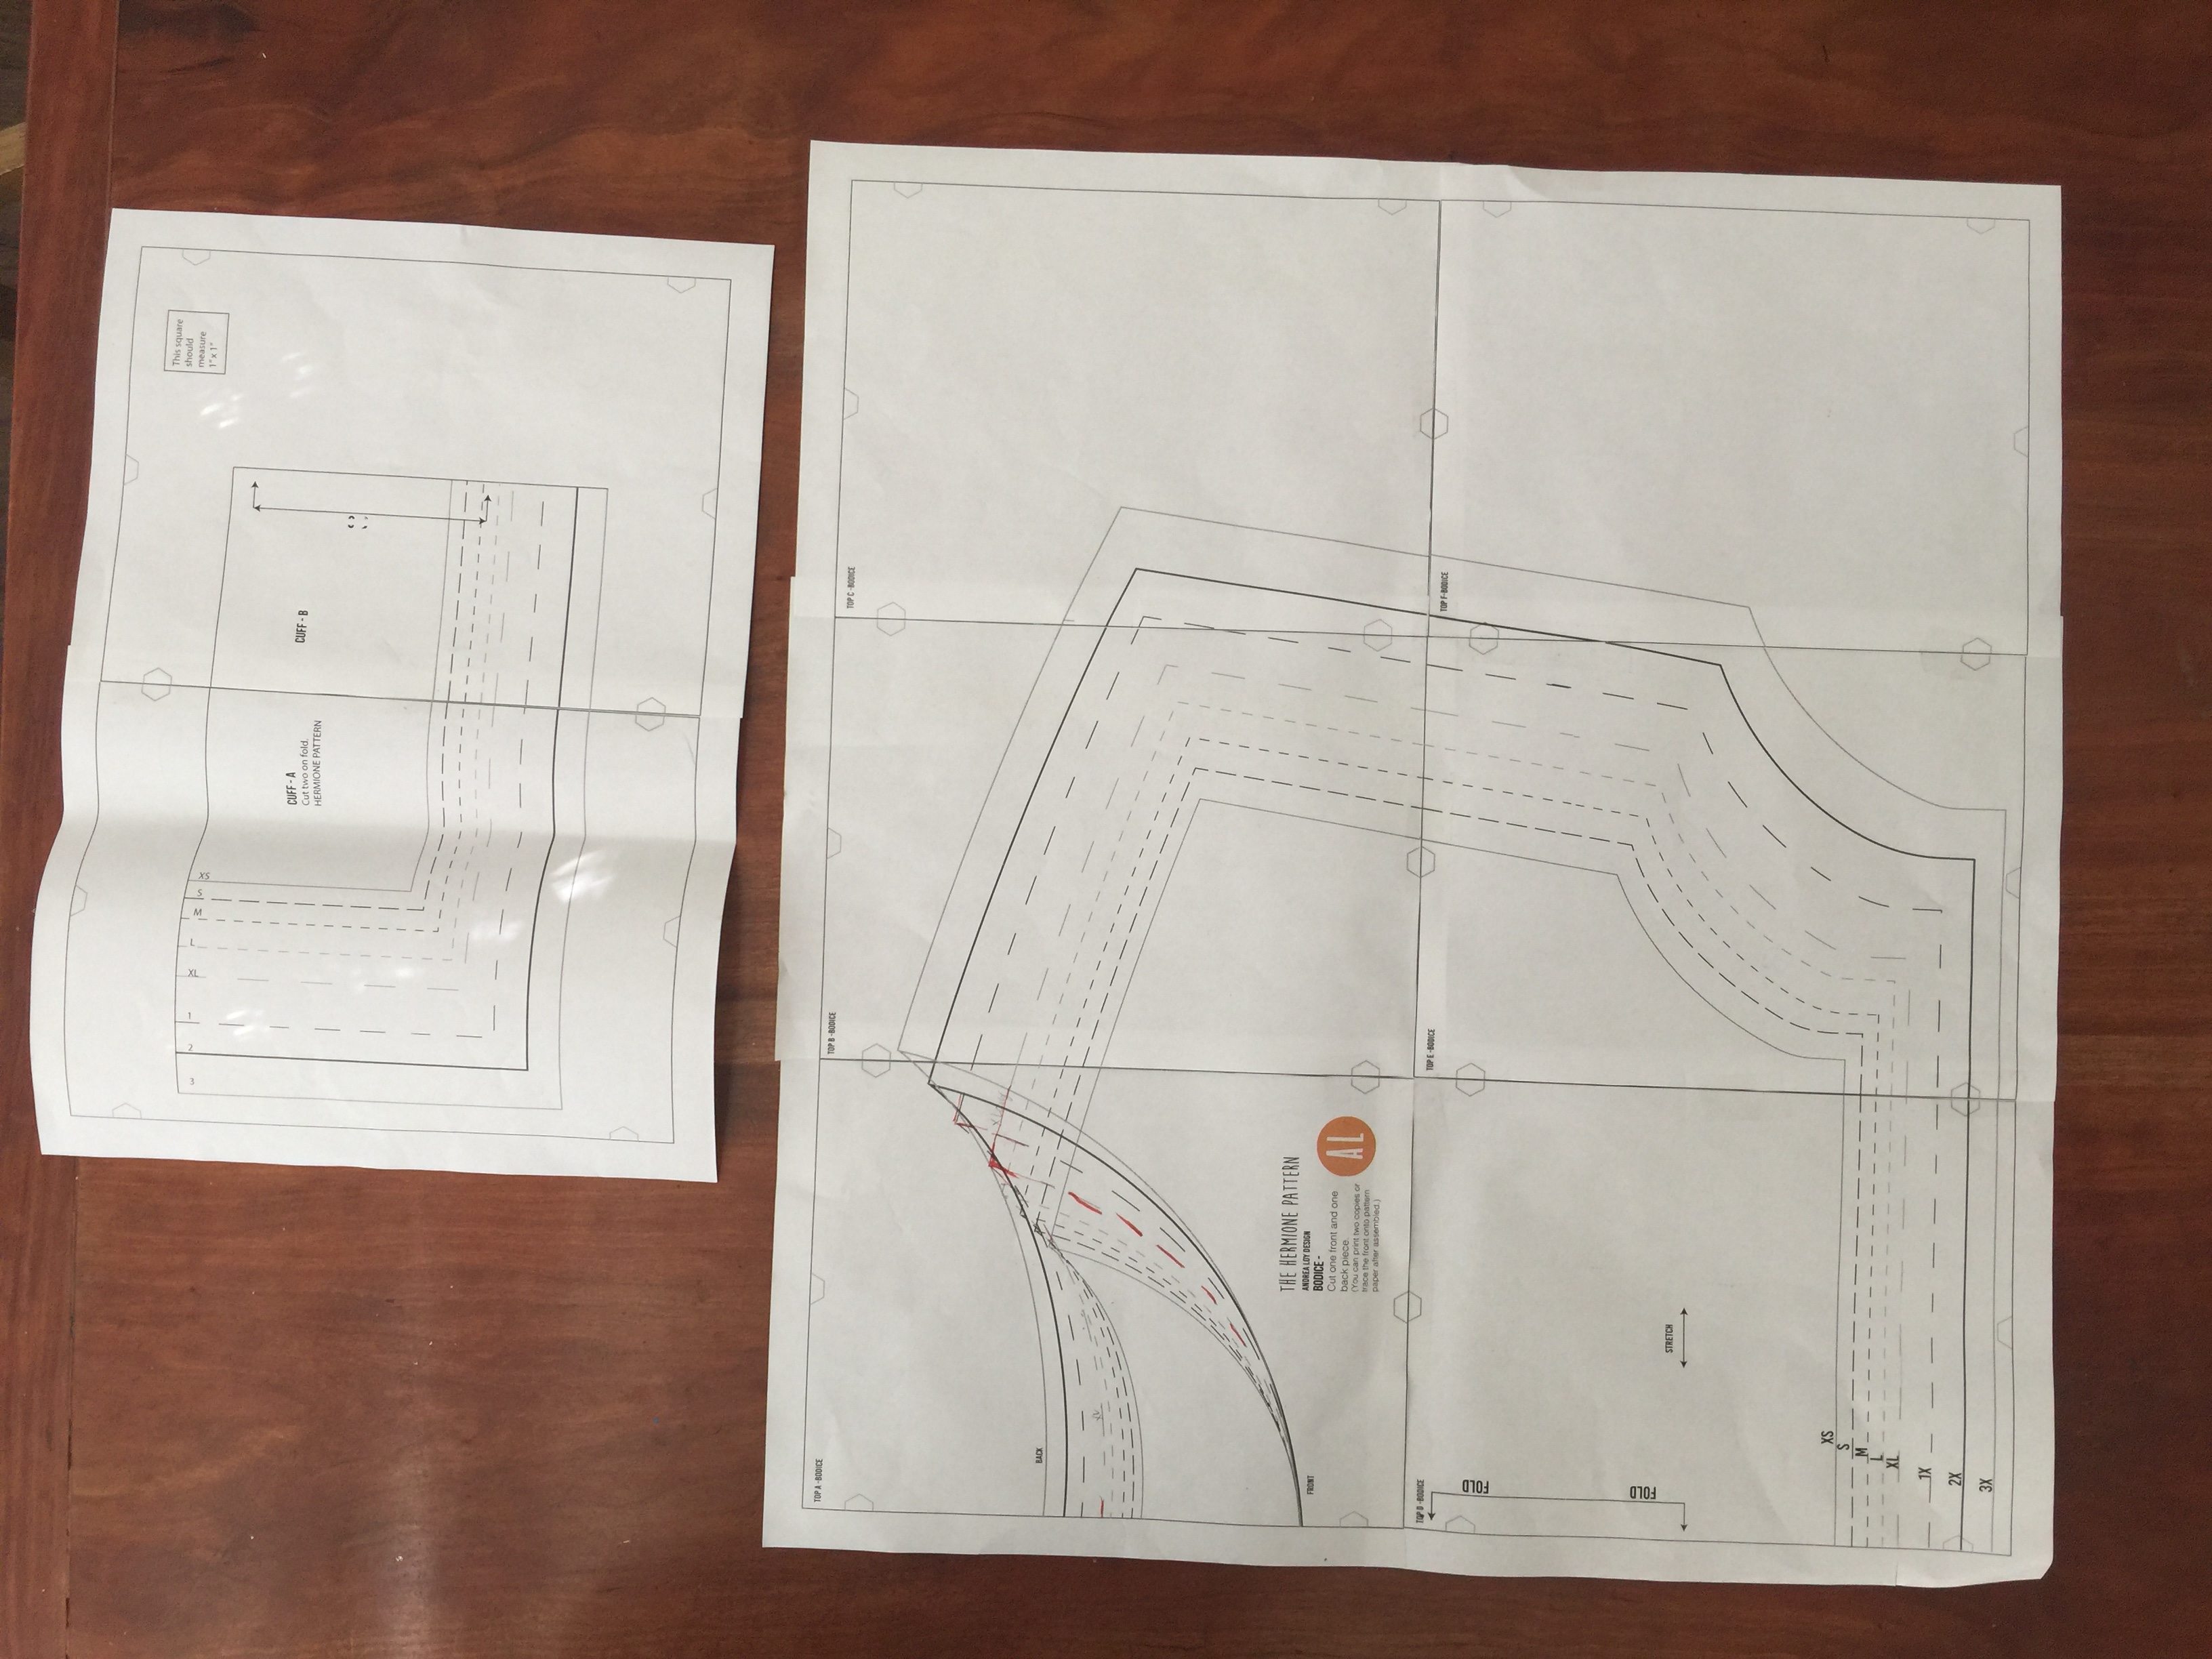
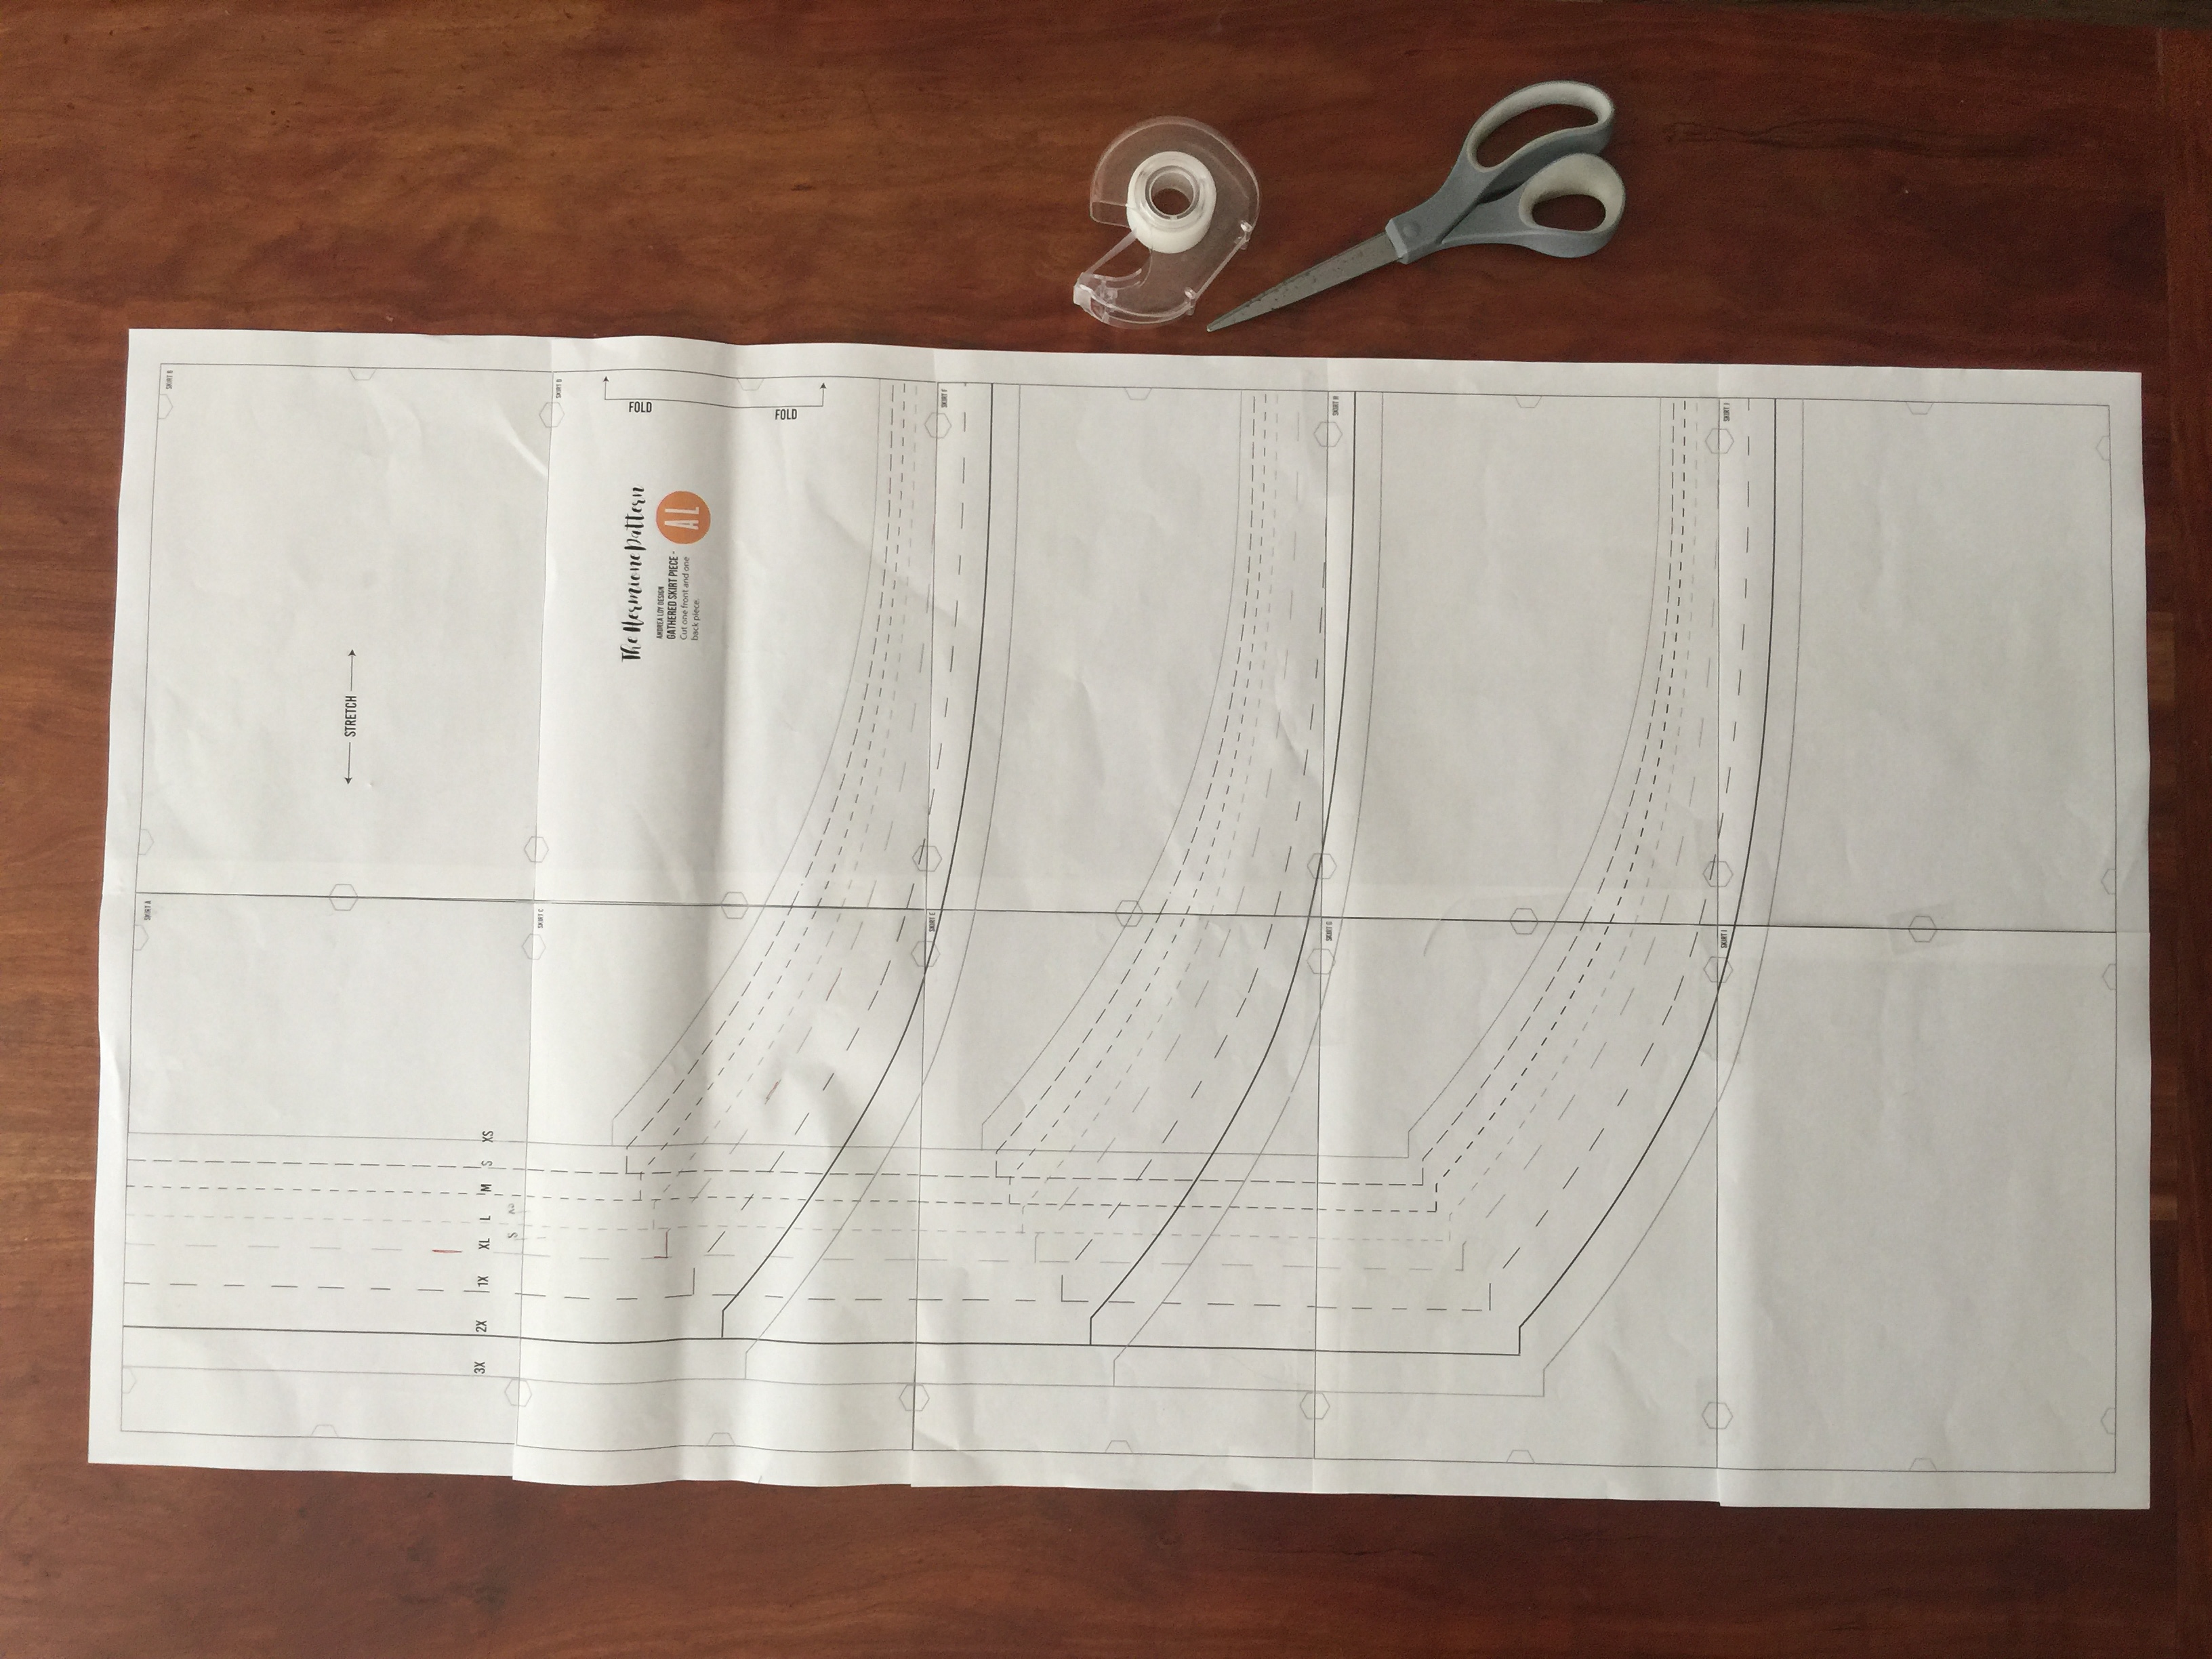
You shoud have 18 pattern pieces print out total. The cuff will have two pieces, the bodice will have six pieces, and the skirt will have ten total pieces.
After printing them out you will need to cut on the thin black line and tape them together using the hexagons to line the pieces up perfectly.
SIZE and TRACE:
So, for most people, one size DOES NOT FIT ALL. That’s part of the reason I designed this the way I did. I have a size 6-8 on top and a 10-12 on bottom…and that could keep changing! You can feel free to add a larger sized bodice to a smaller skirt or vice versa. Seriously, measure and fit to your own beautiful form.
Use a flexible tape to measure yourself and decide what size to cut or trace. This pattern was designed for a B sewing cup to fit just right across the bust so if you need a smaller size you should be ok, but if you need a full bust adjustment (FBA) use this tutorial to adjust your pattern: https://www.heyjunehand-made.com/dolman-full-bust-adjustment-tutorial/
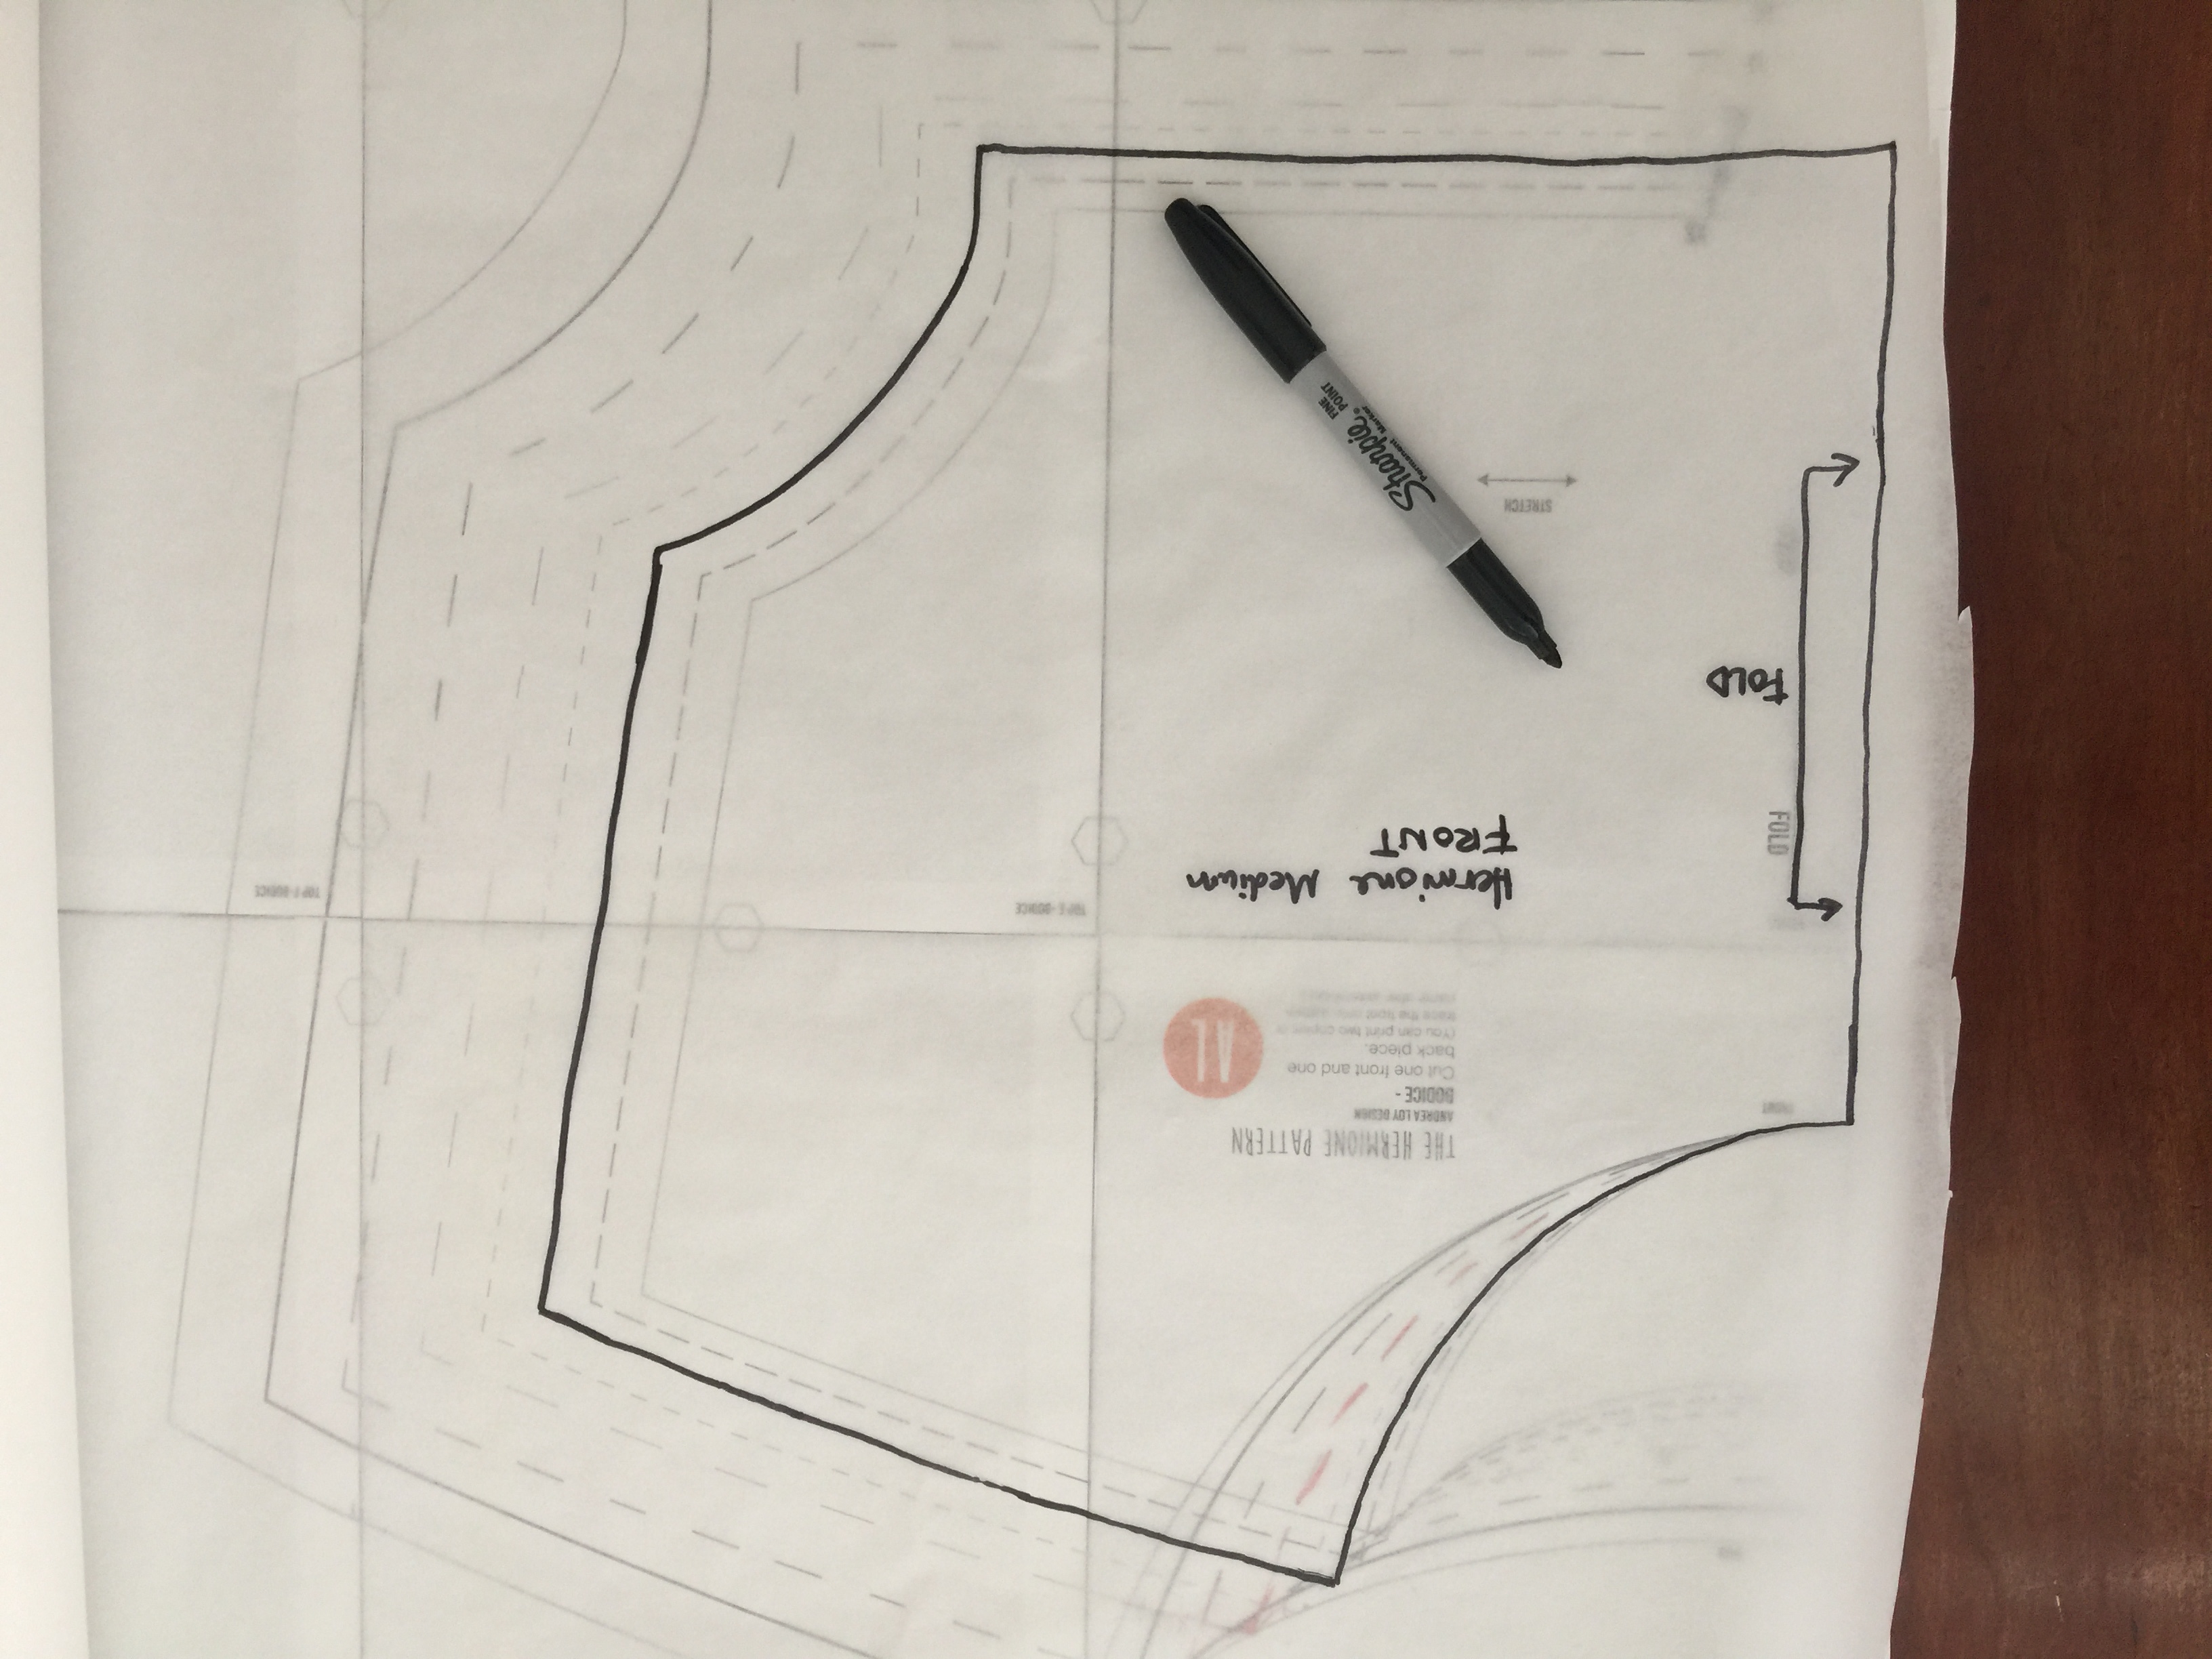
Once you have decided on your size, trace or cut your pattern. You can simply cut or to preserve all sizes and the work of reassembing the pattern, use either medical exam table paper or swedish pattern tracing paper.
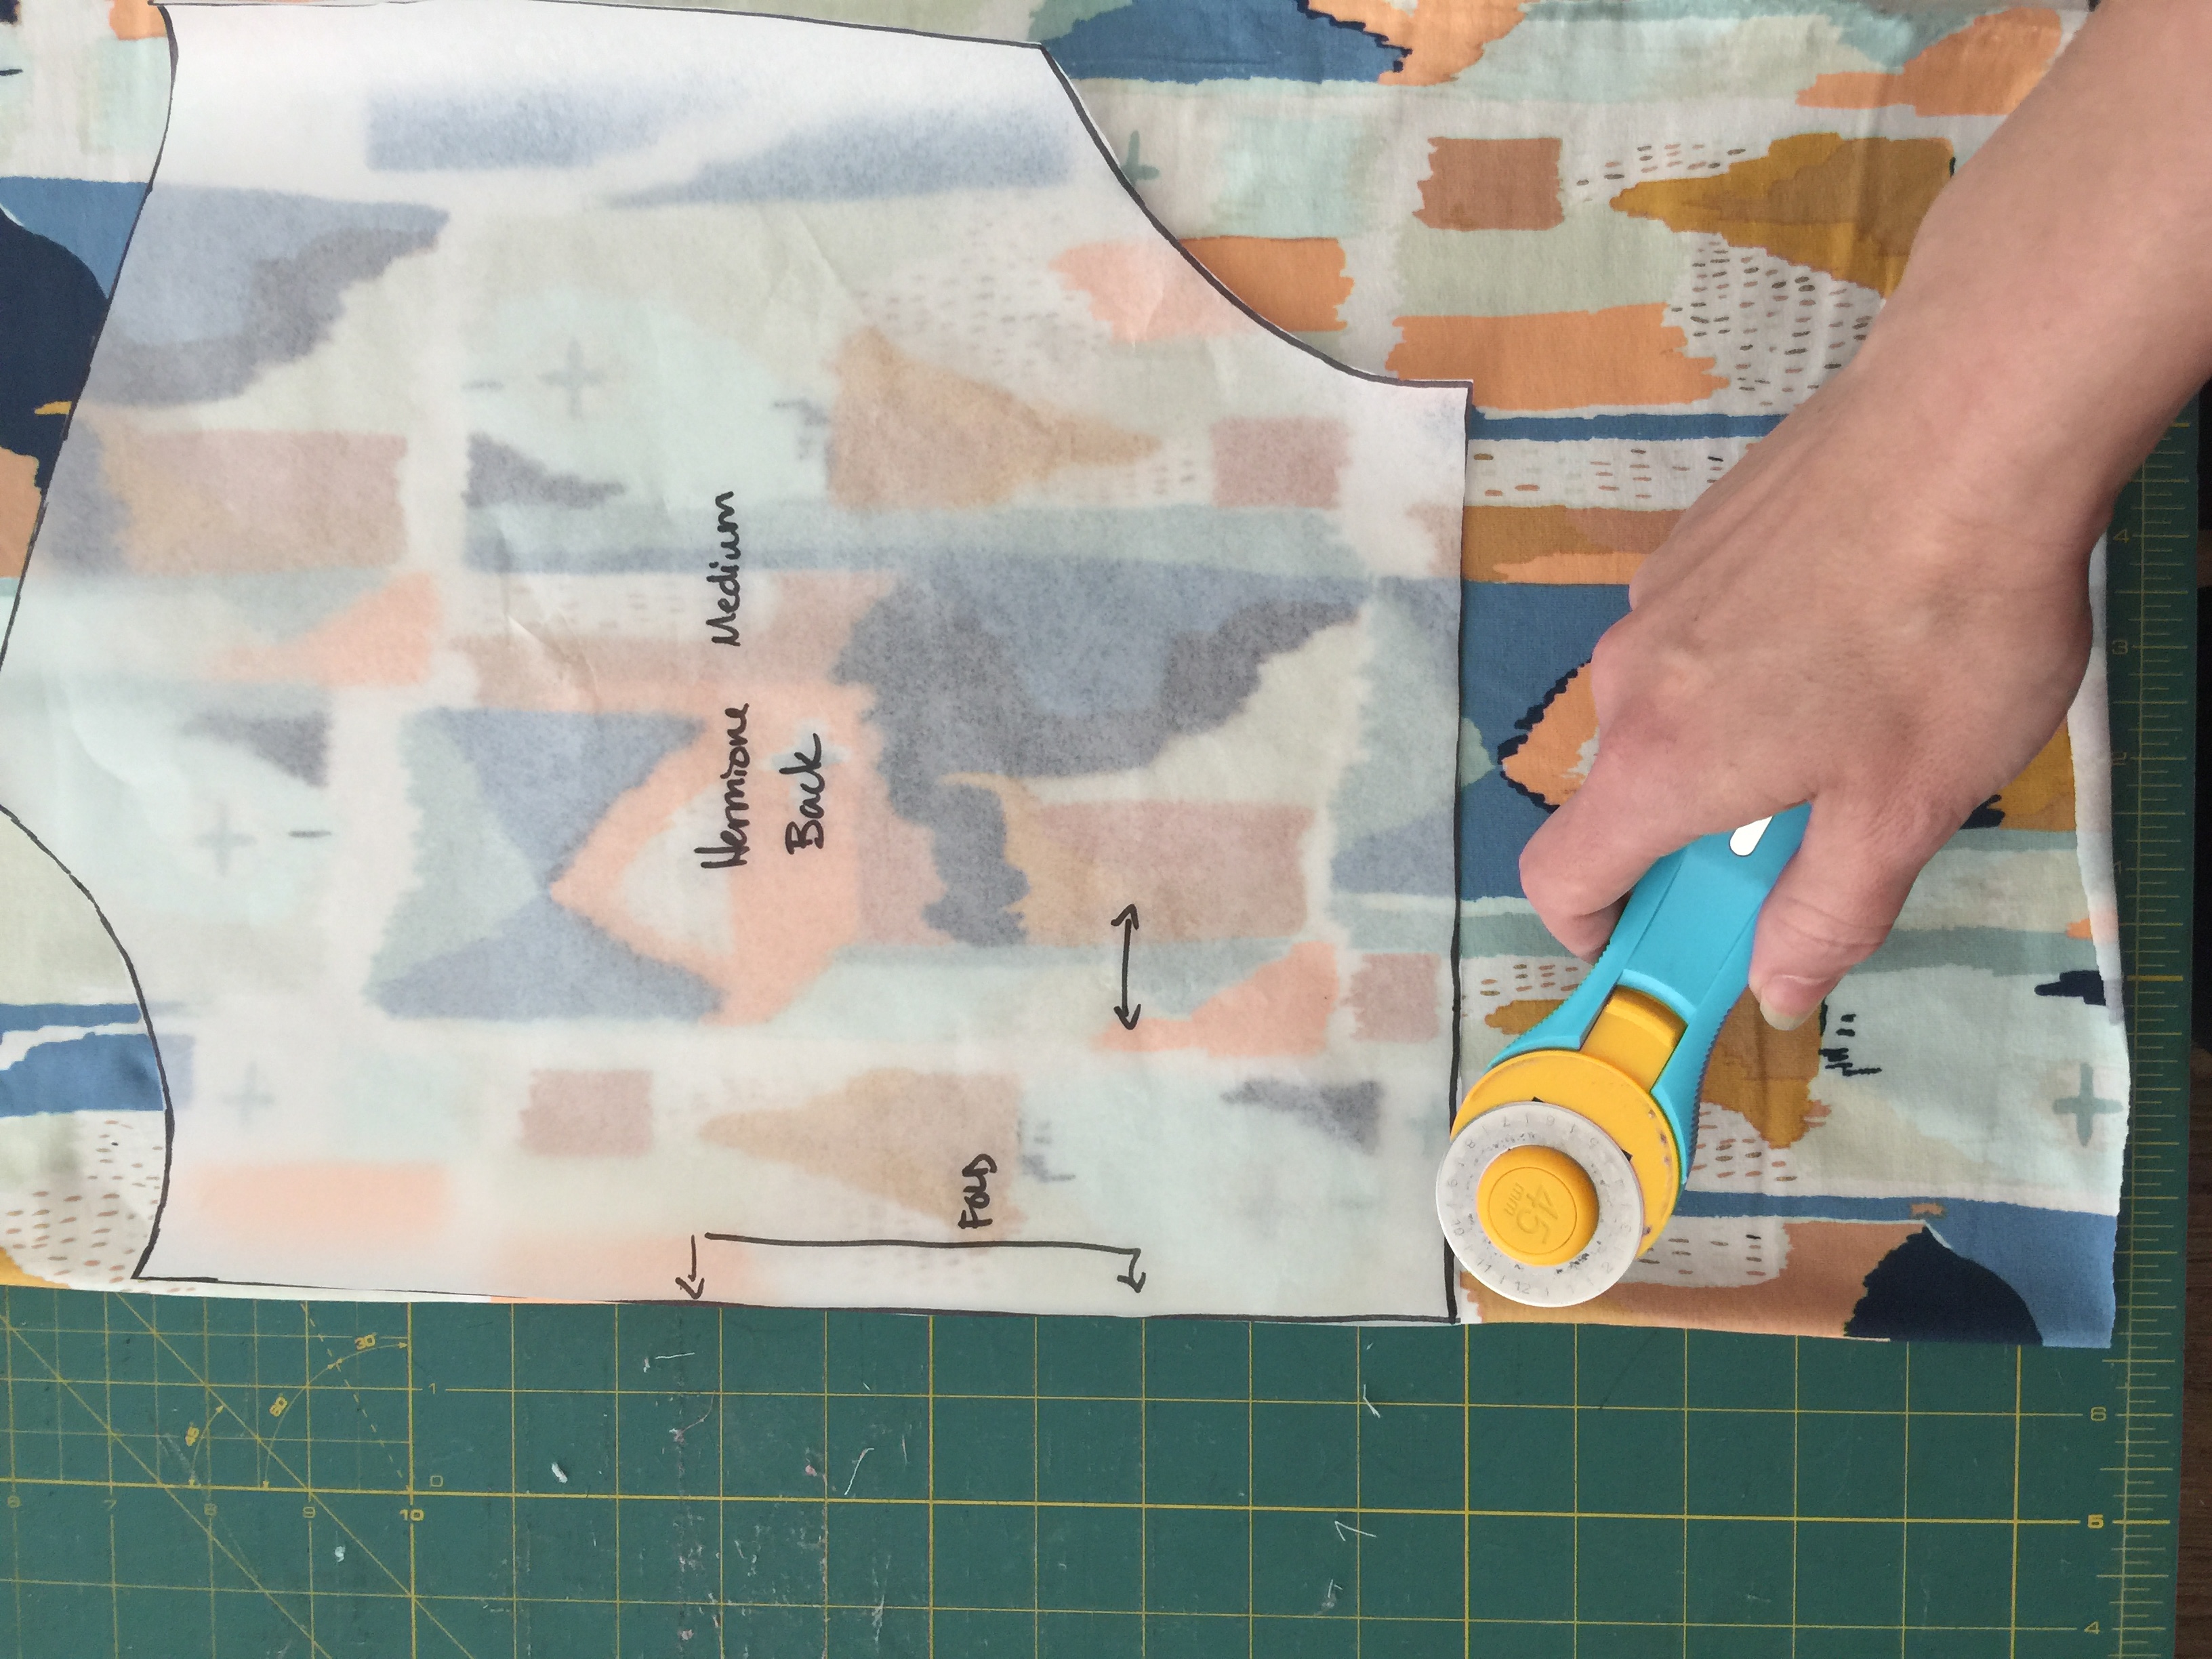
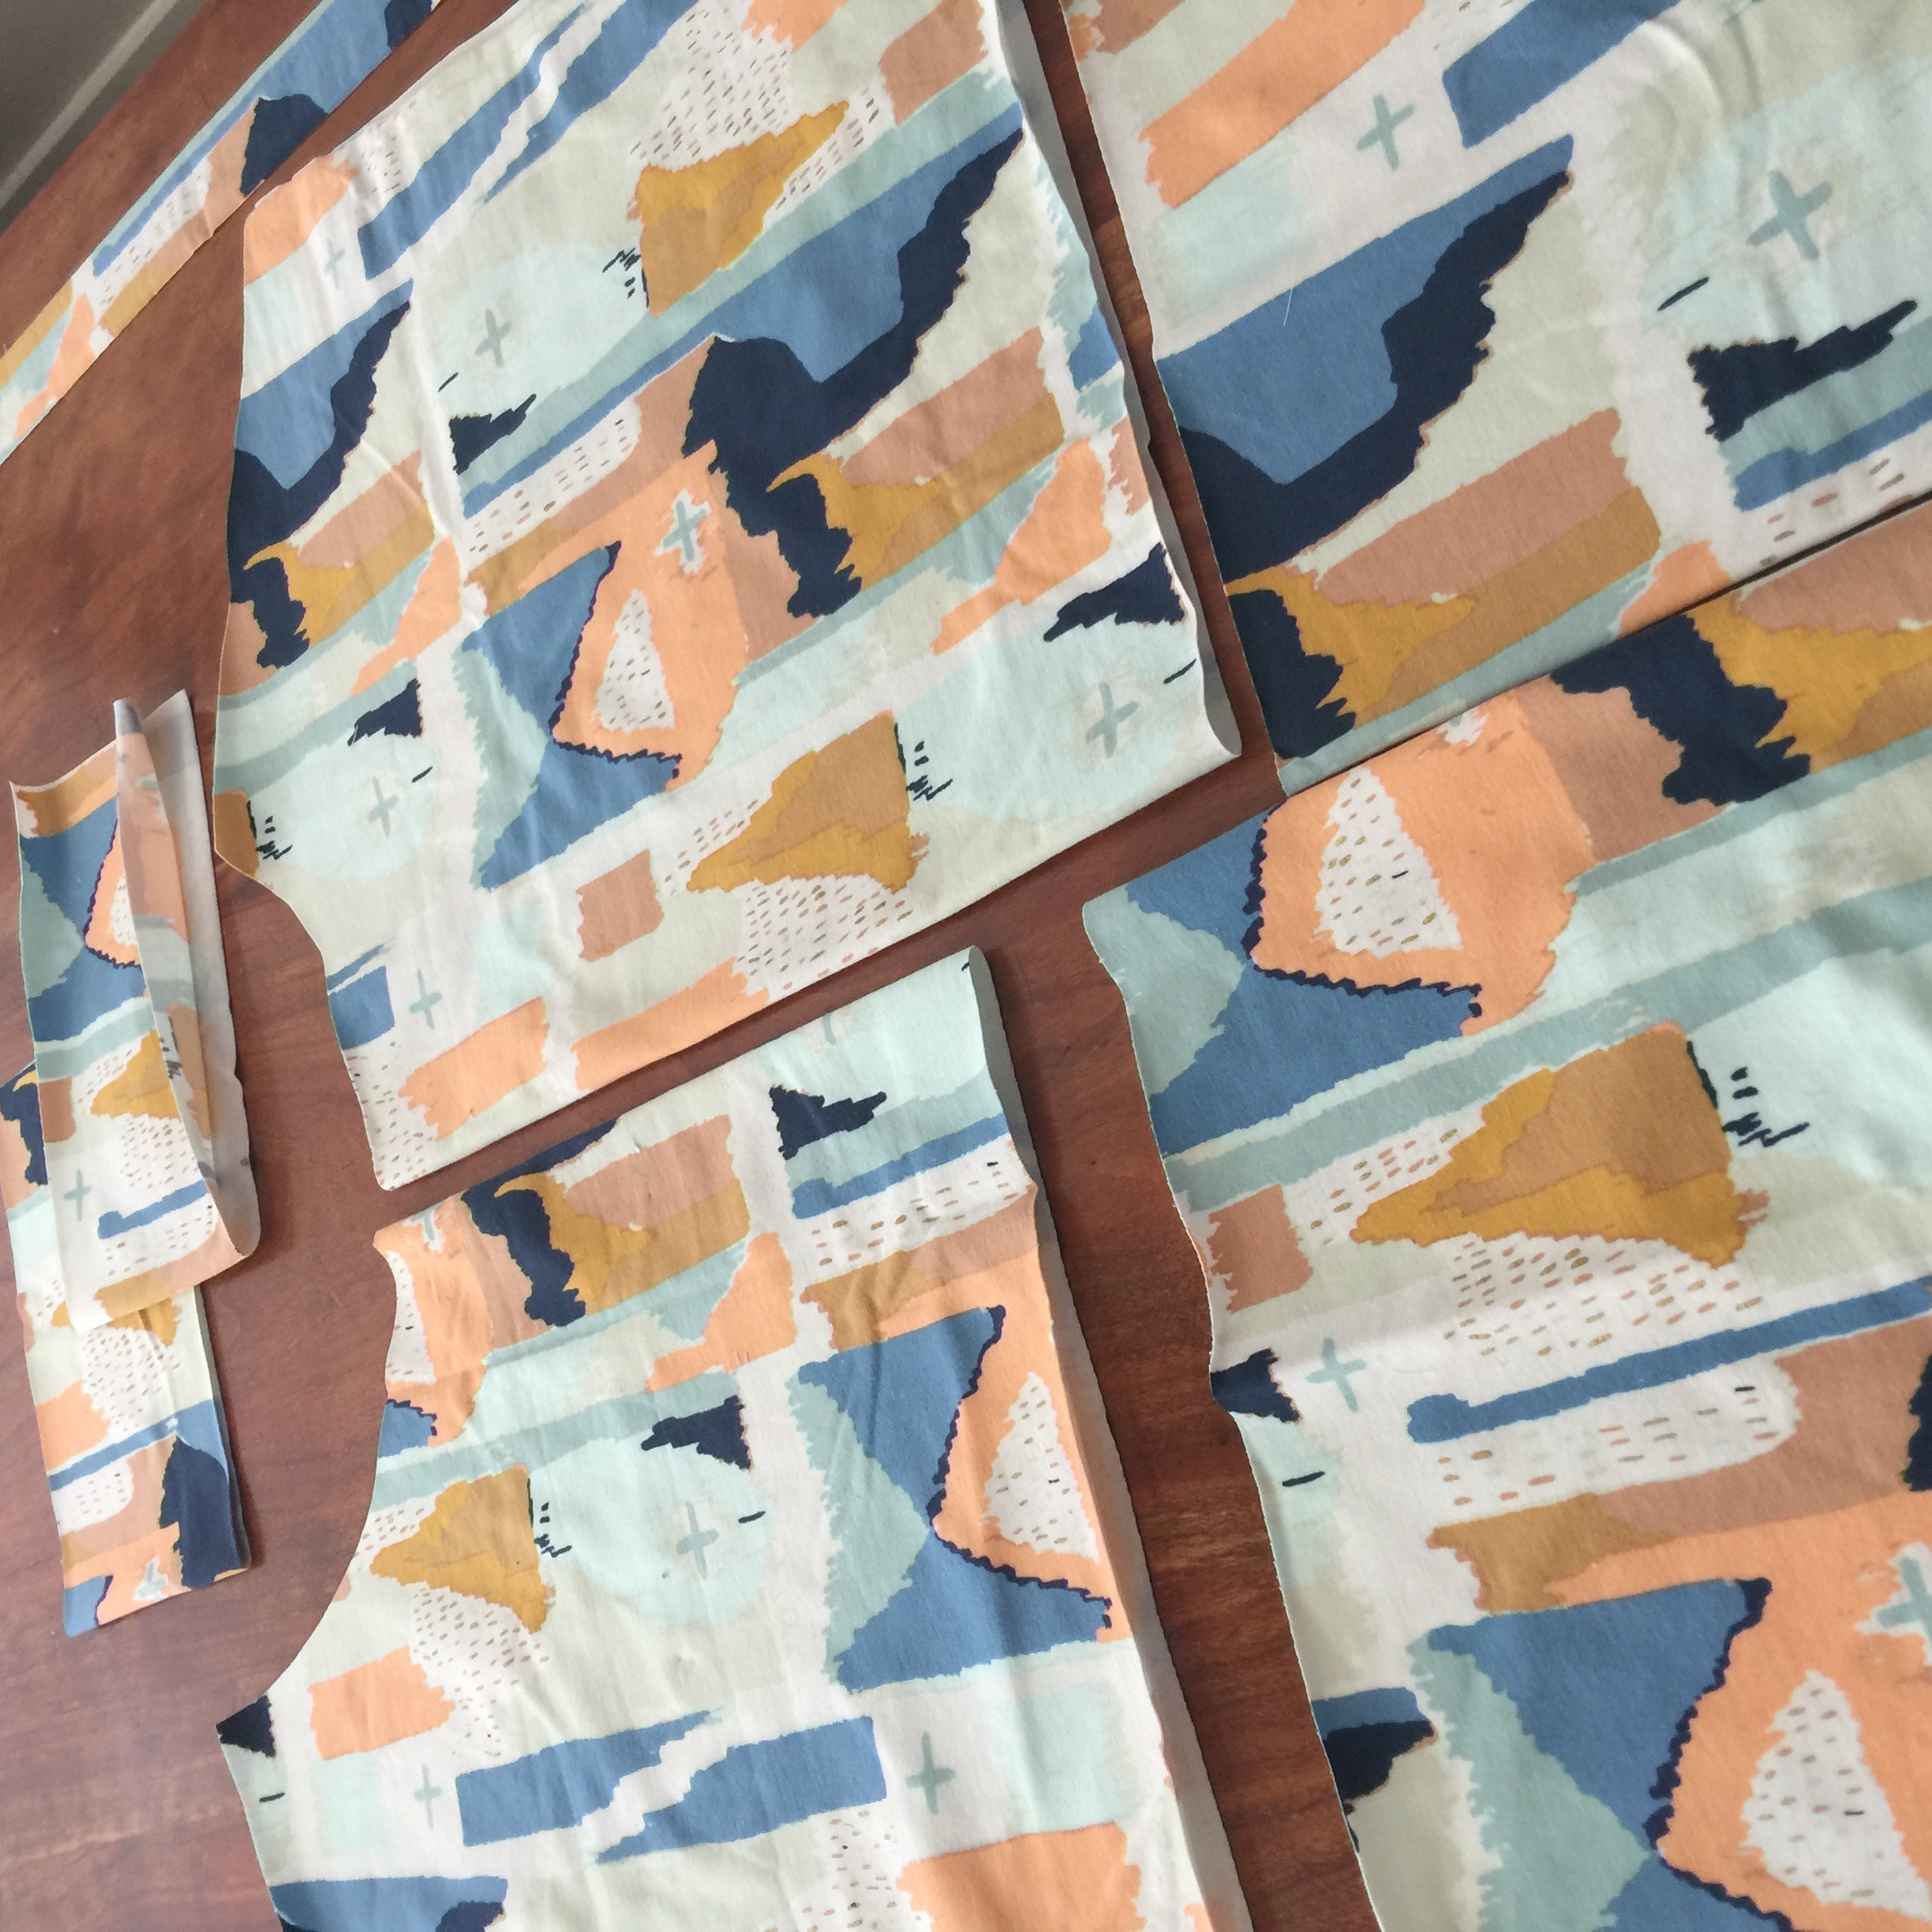
Cut out your fabric using a rotary cutter to speed the process along. If you are nervous, please be sure to pin or weight your pattern onto the fabric and cut with a nice sharp pair of fabric scissors.
A few tips to read on cutting out the neckband:
-There is no pattern piece for the neckband, just use the measurements.
-USE A CLEAR RULER, this is an epic game changer.
-IF you are using stiff and unstretchy knit jersey, add 1 inch to the neck band.
-IF you are using thin and super stretchy knit, try subtracting 1 inch.
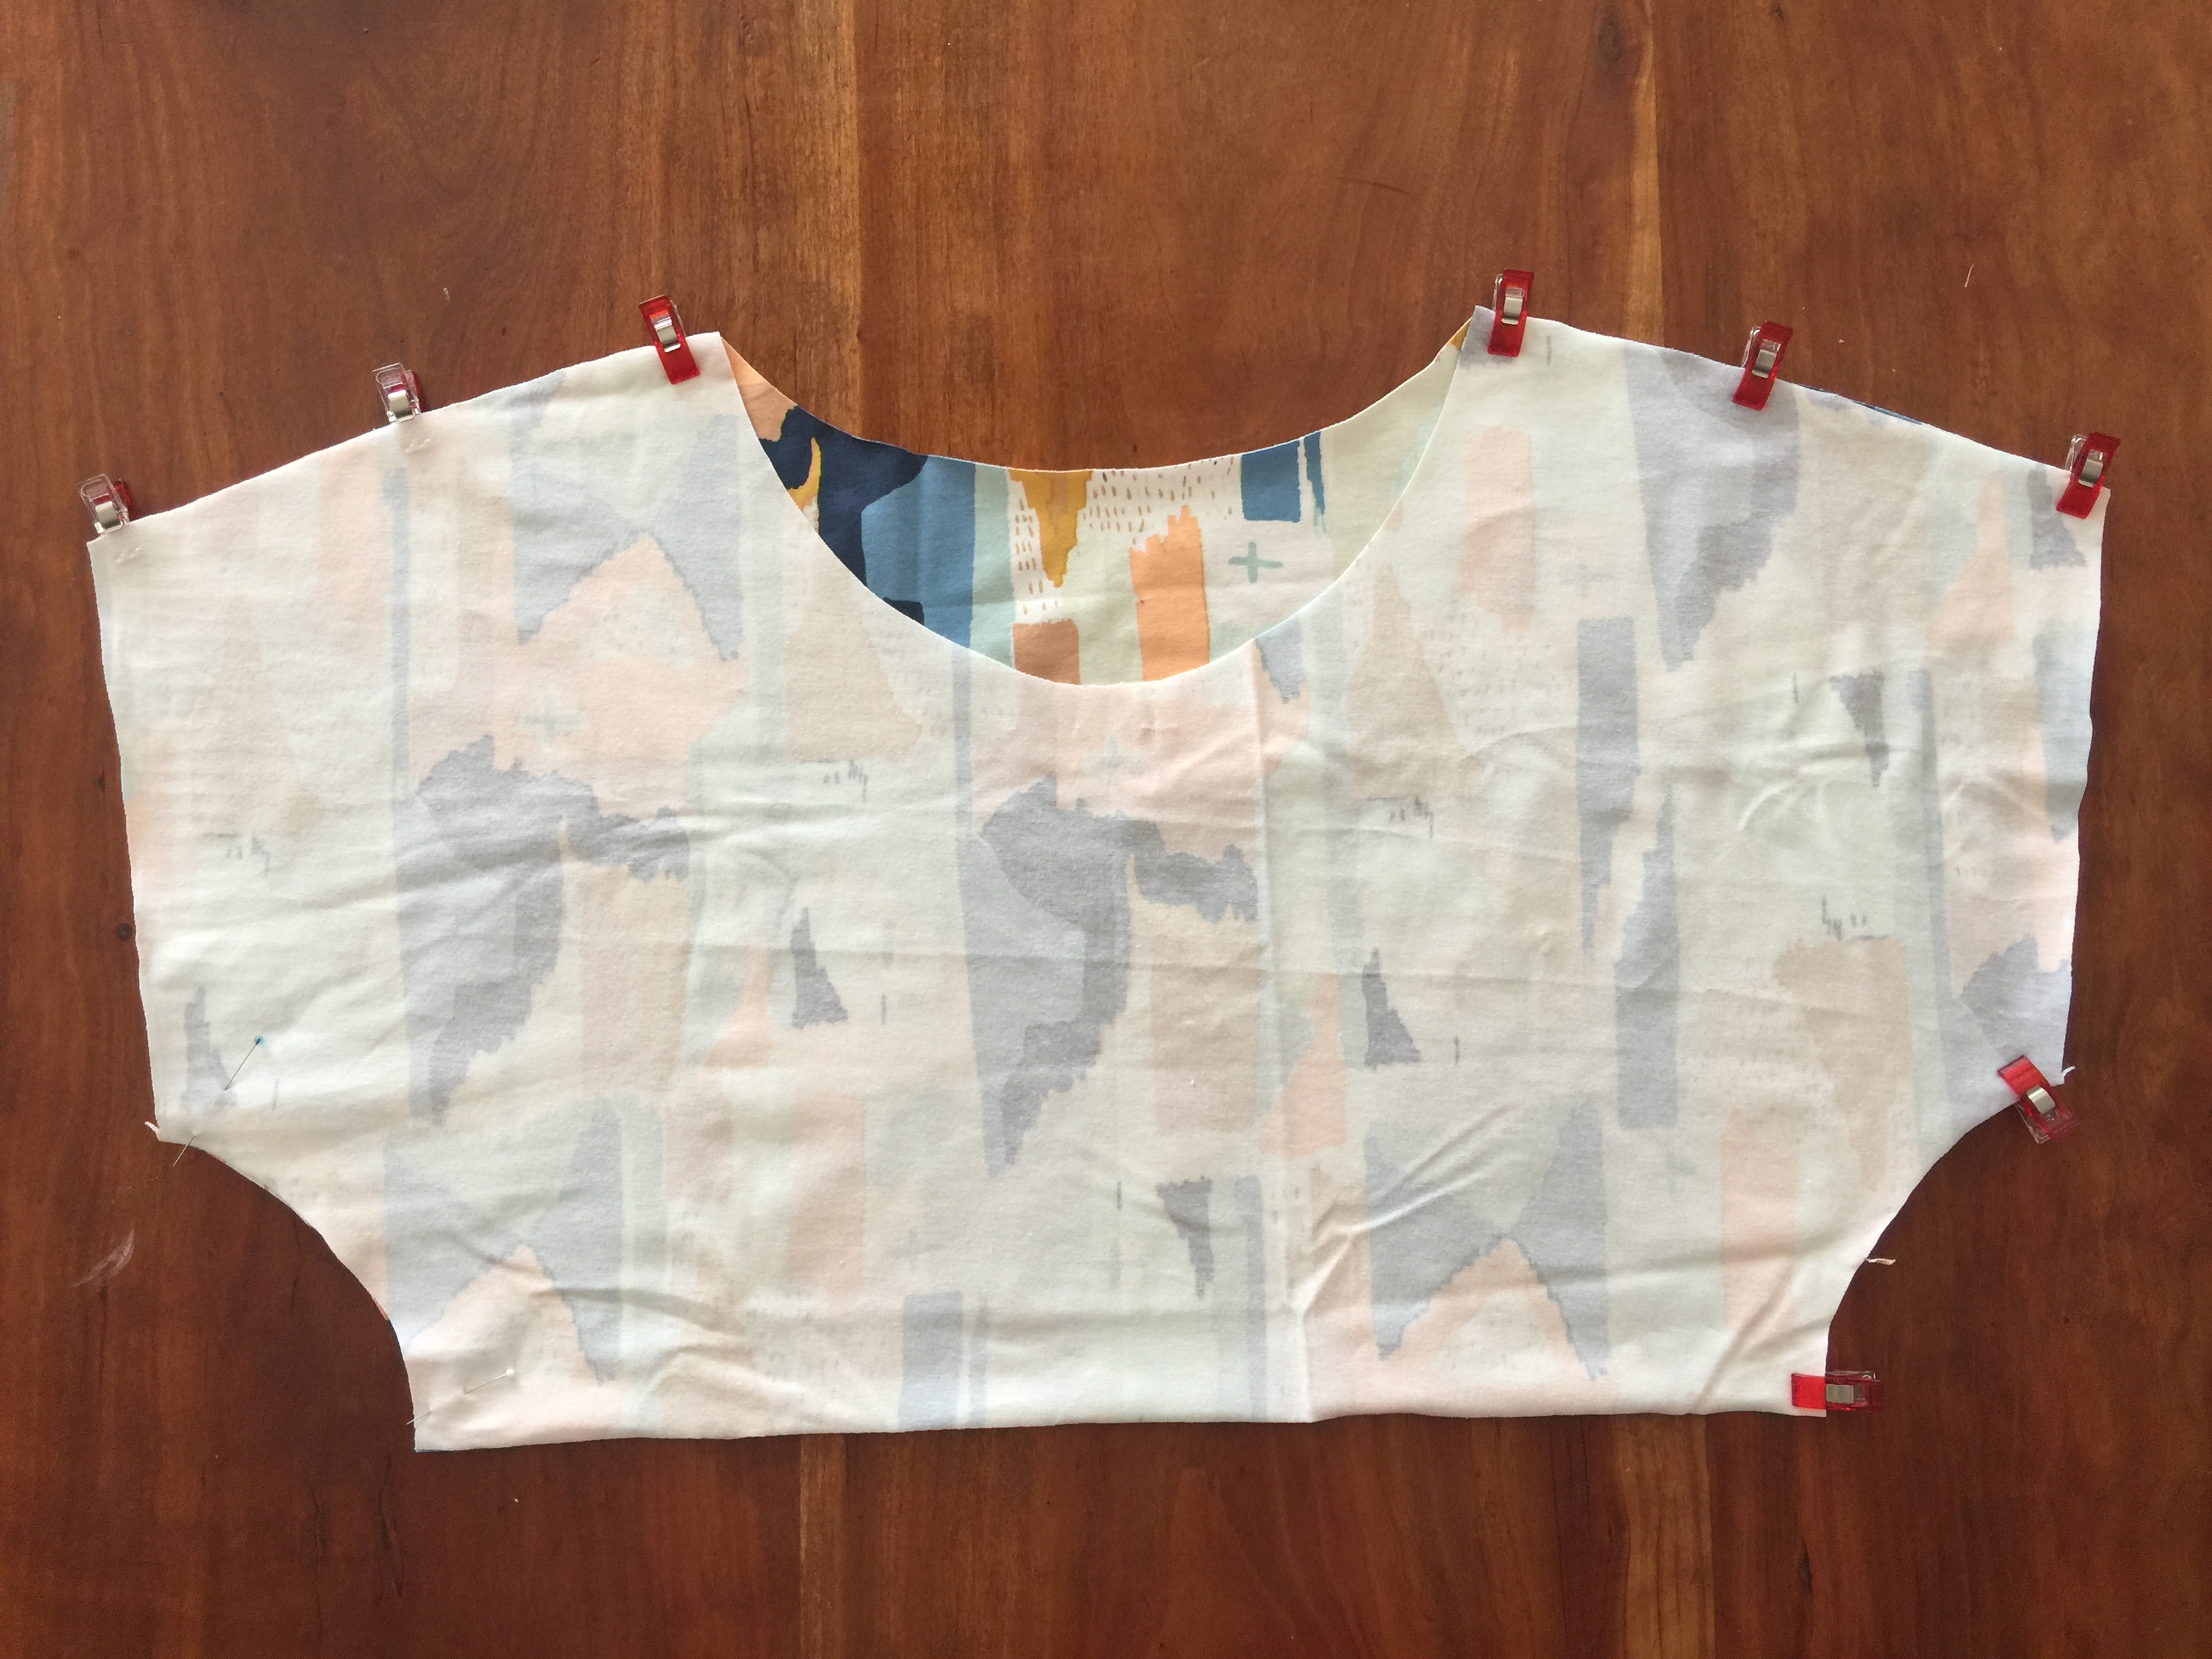
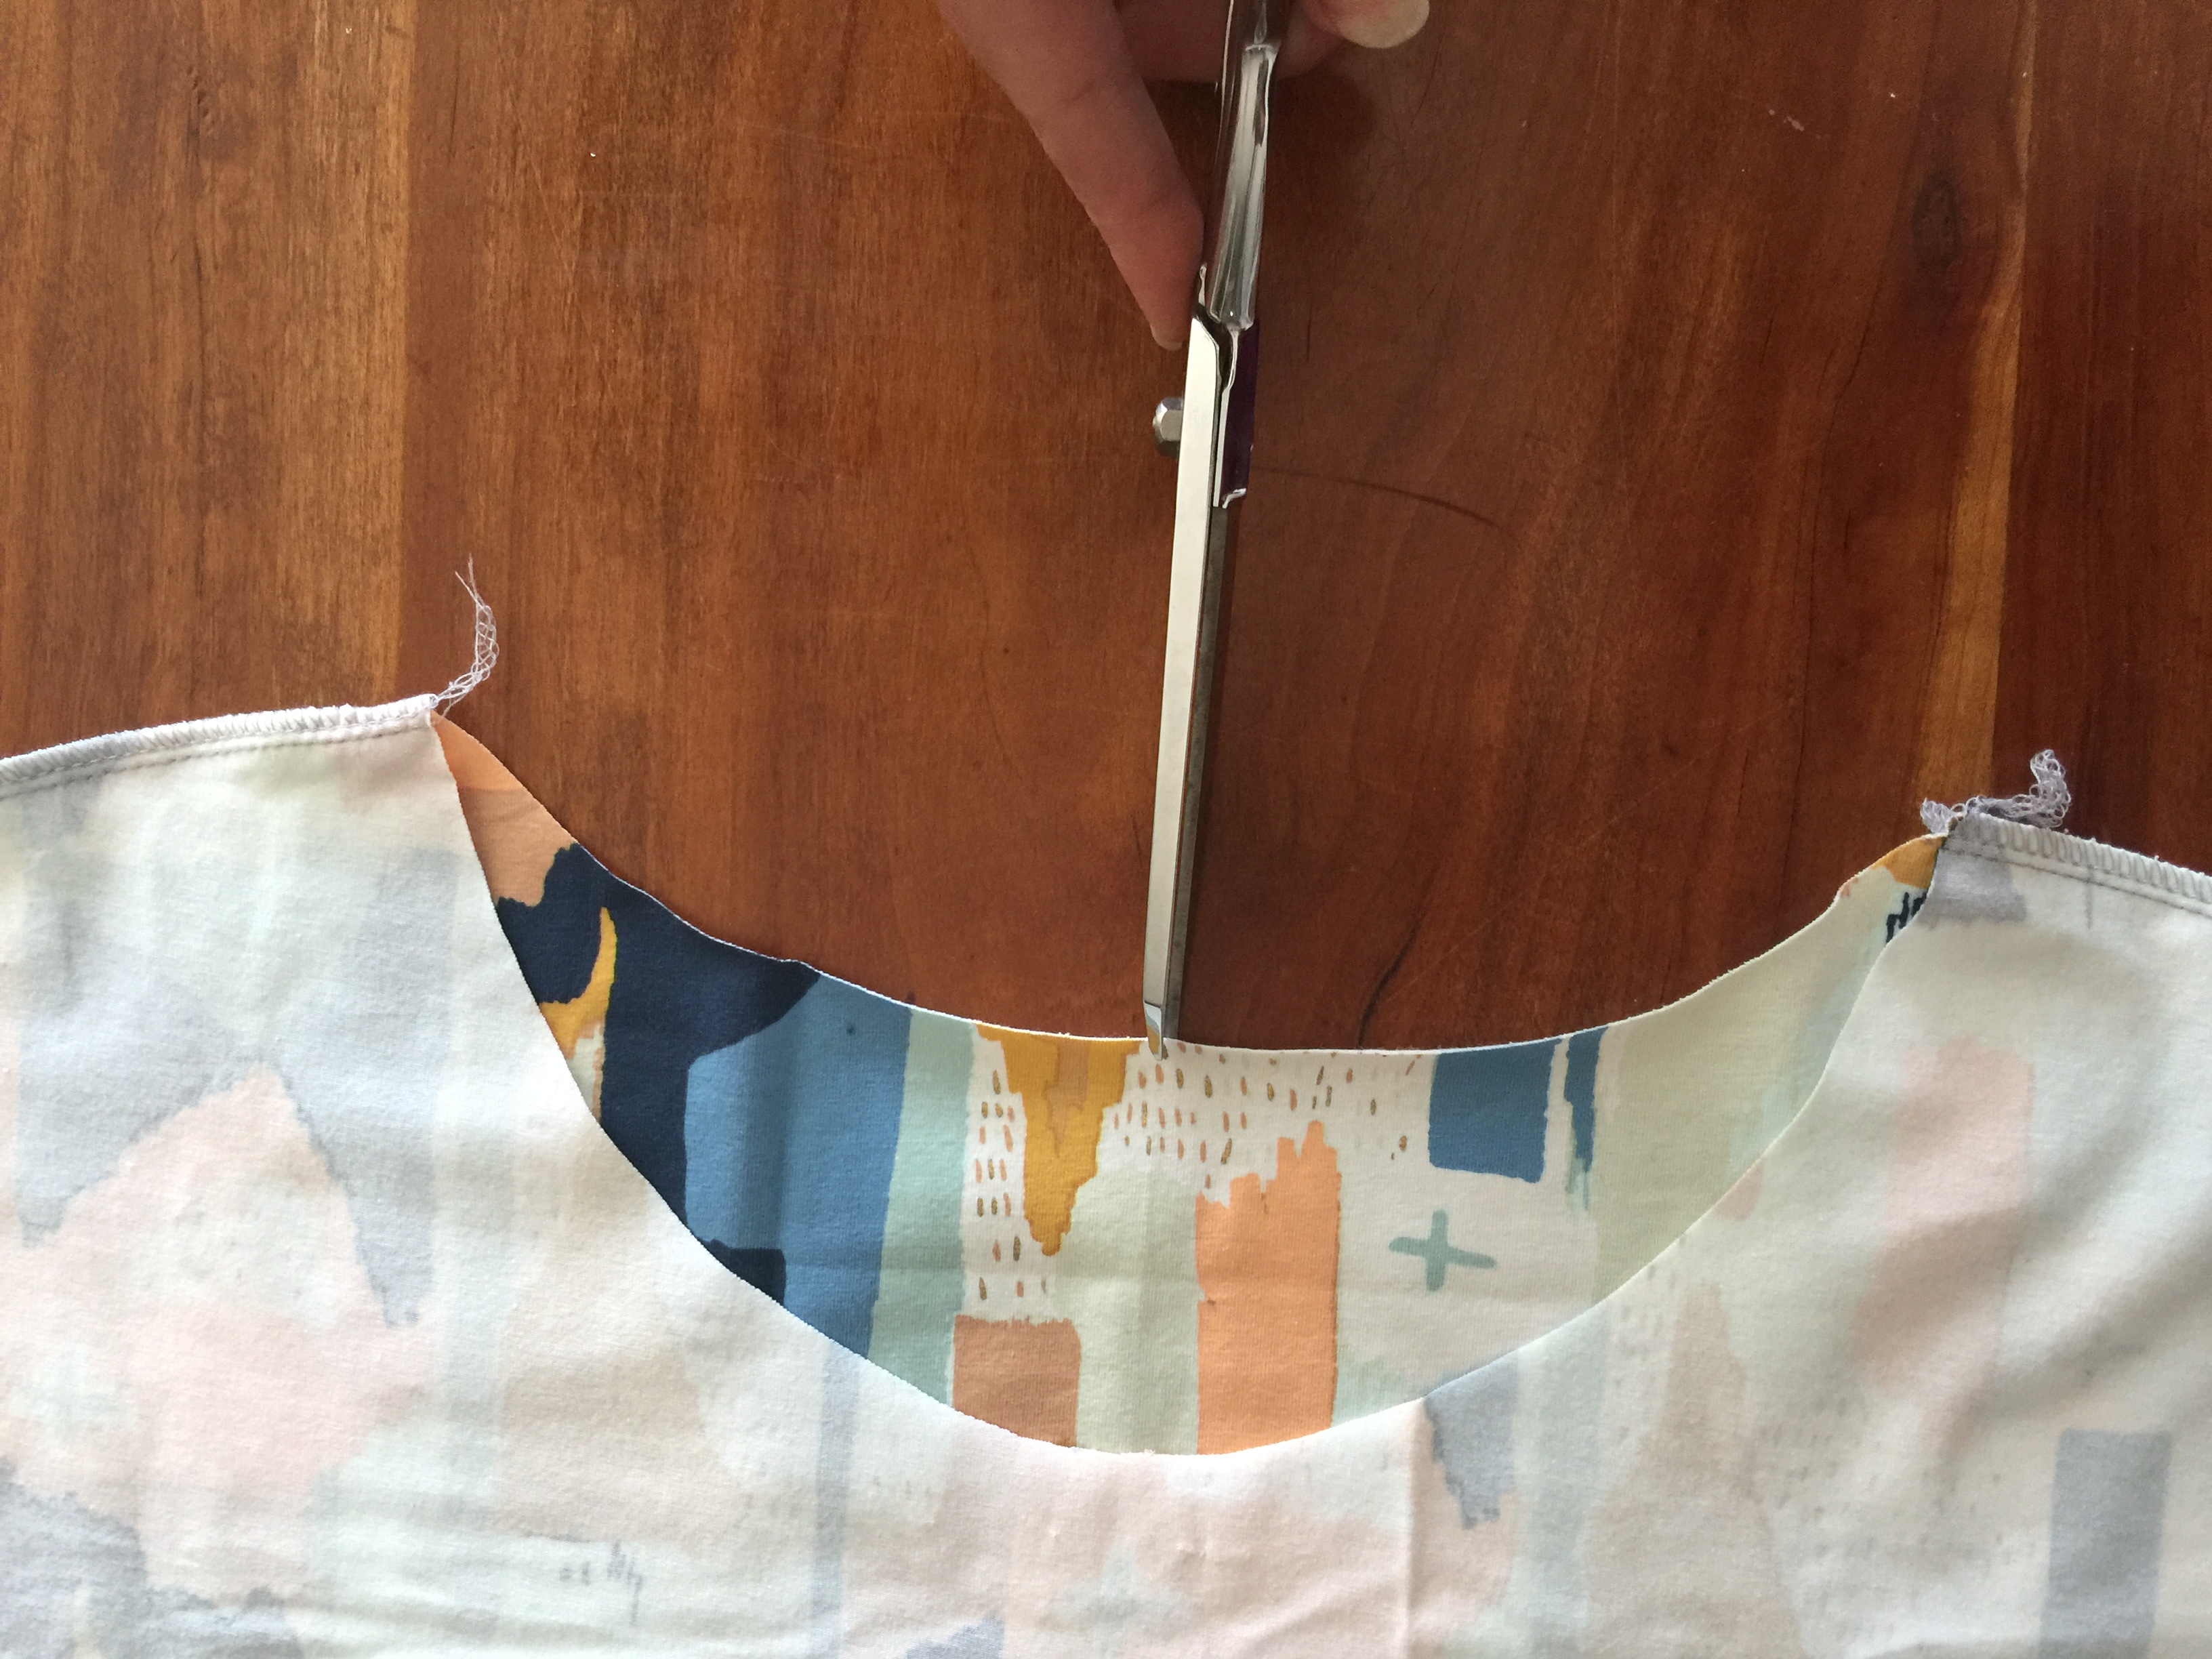
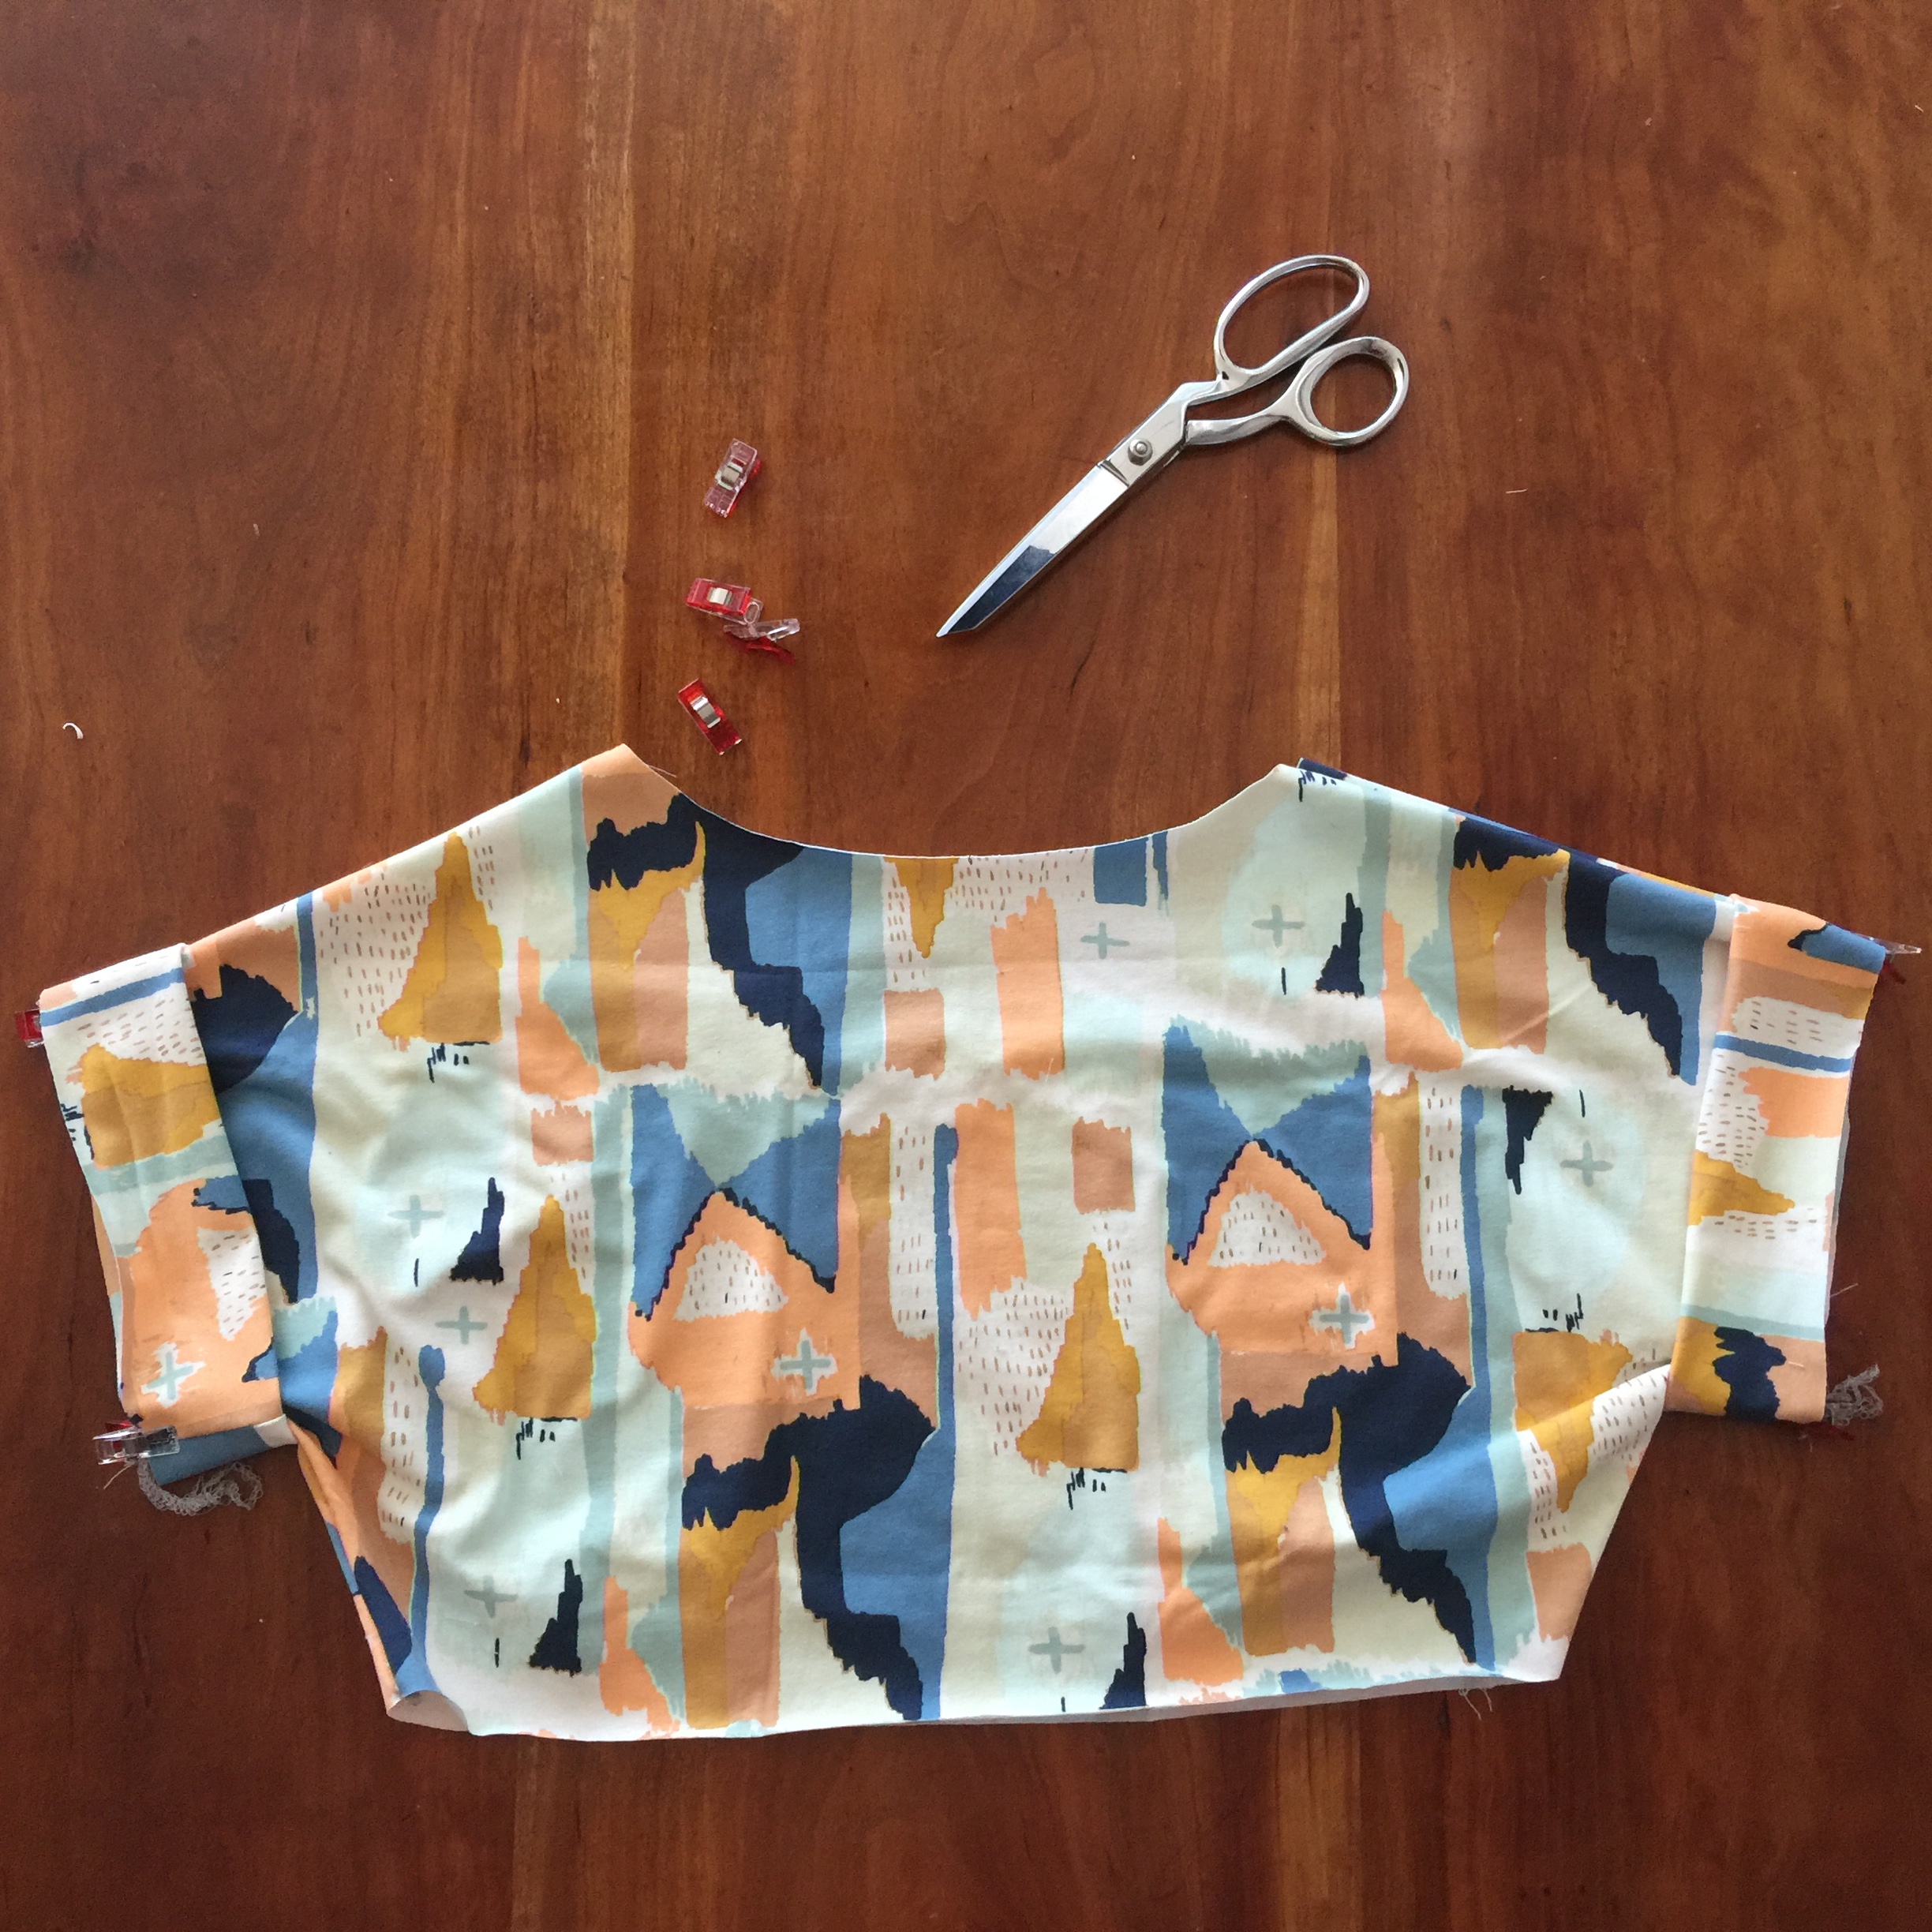
NEXT SEW THE BODICE and notch the centers of the neck as well as the center of the top of the skirt pieces.
-Wonderclips are the bomb. These are the best for serging ot not making holes in knits. you can use pins too. I don’t want any of my sewing friends feeling like they need a serger to sew this shirt. A regular zig zag stitch on your machine will do just fine. However, once you fall in love with sewing knits, you will get serger fever, coupled with serger fear. Just call me, I will hug you, and I will take that serger out of the box and thread that serger for you until feel all better.
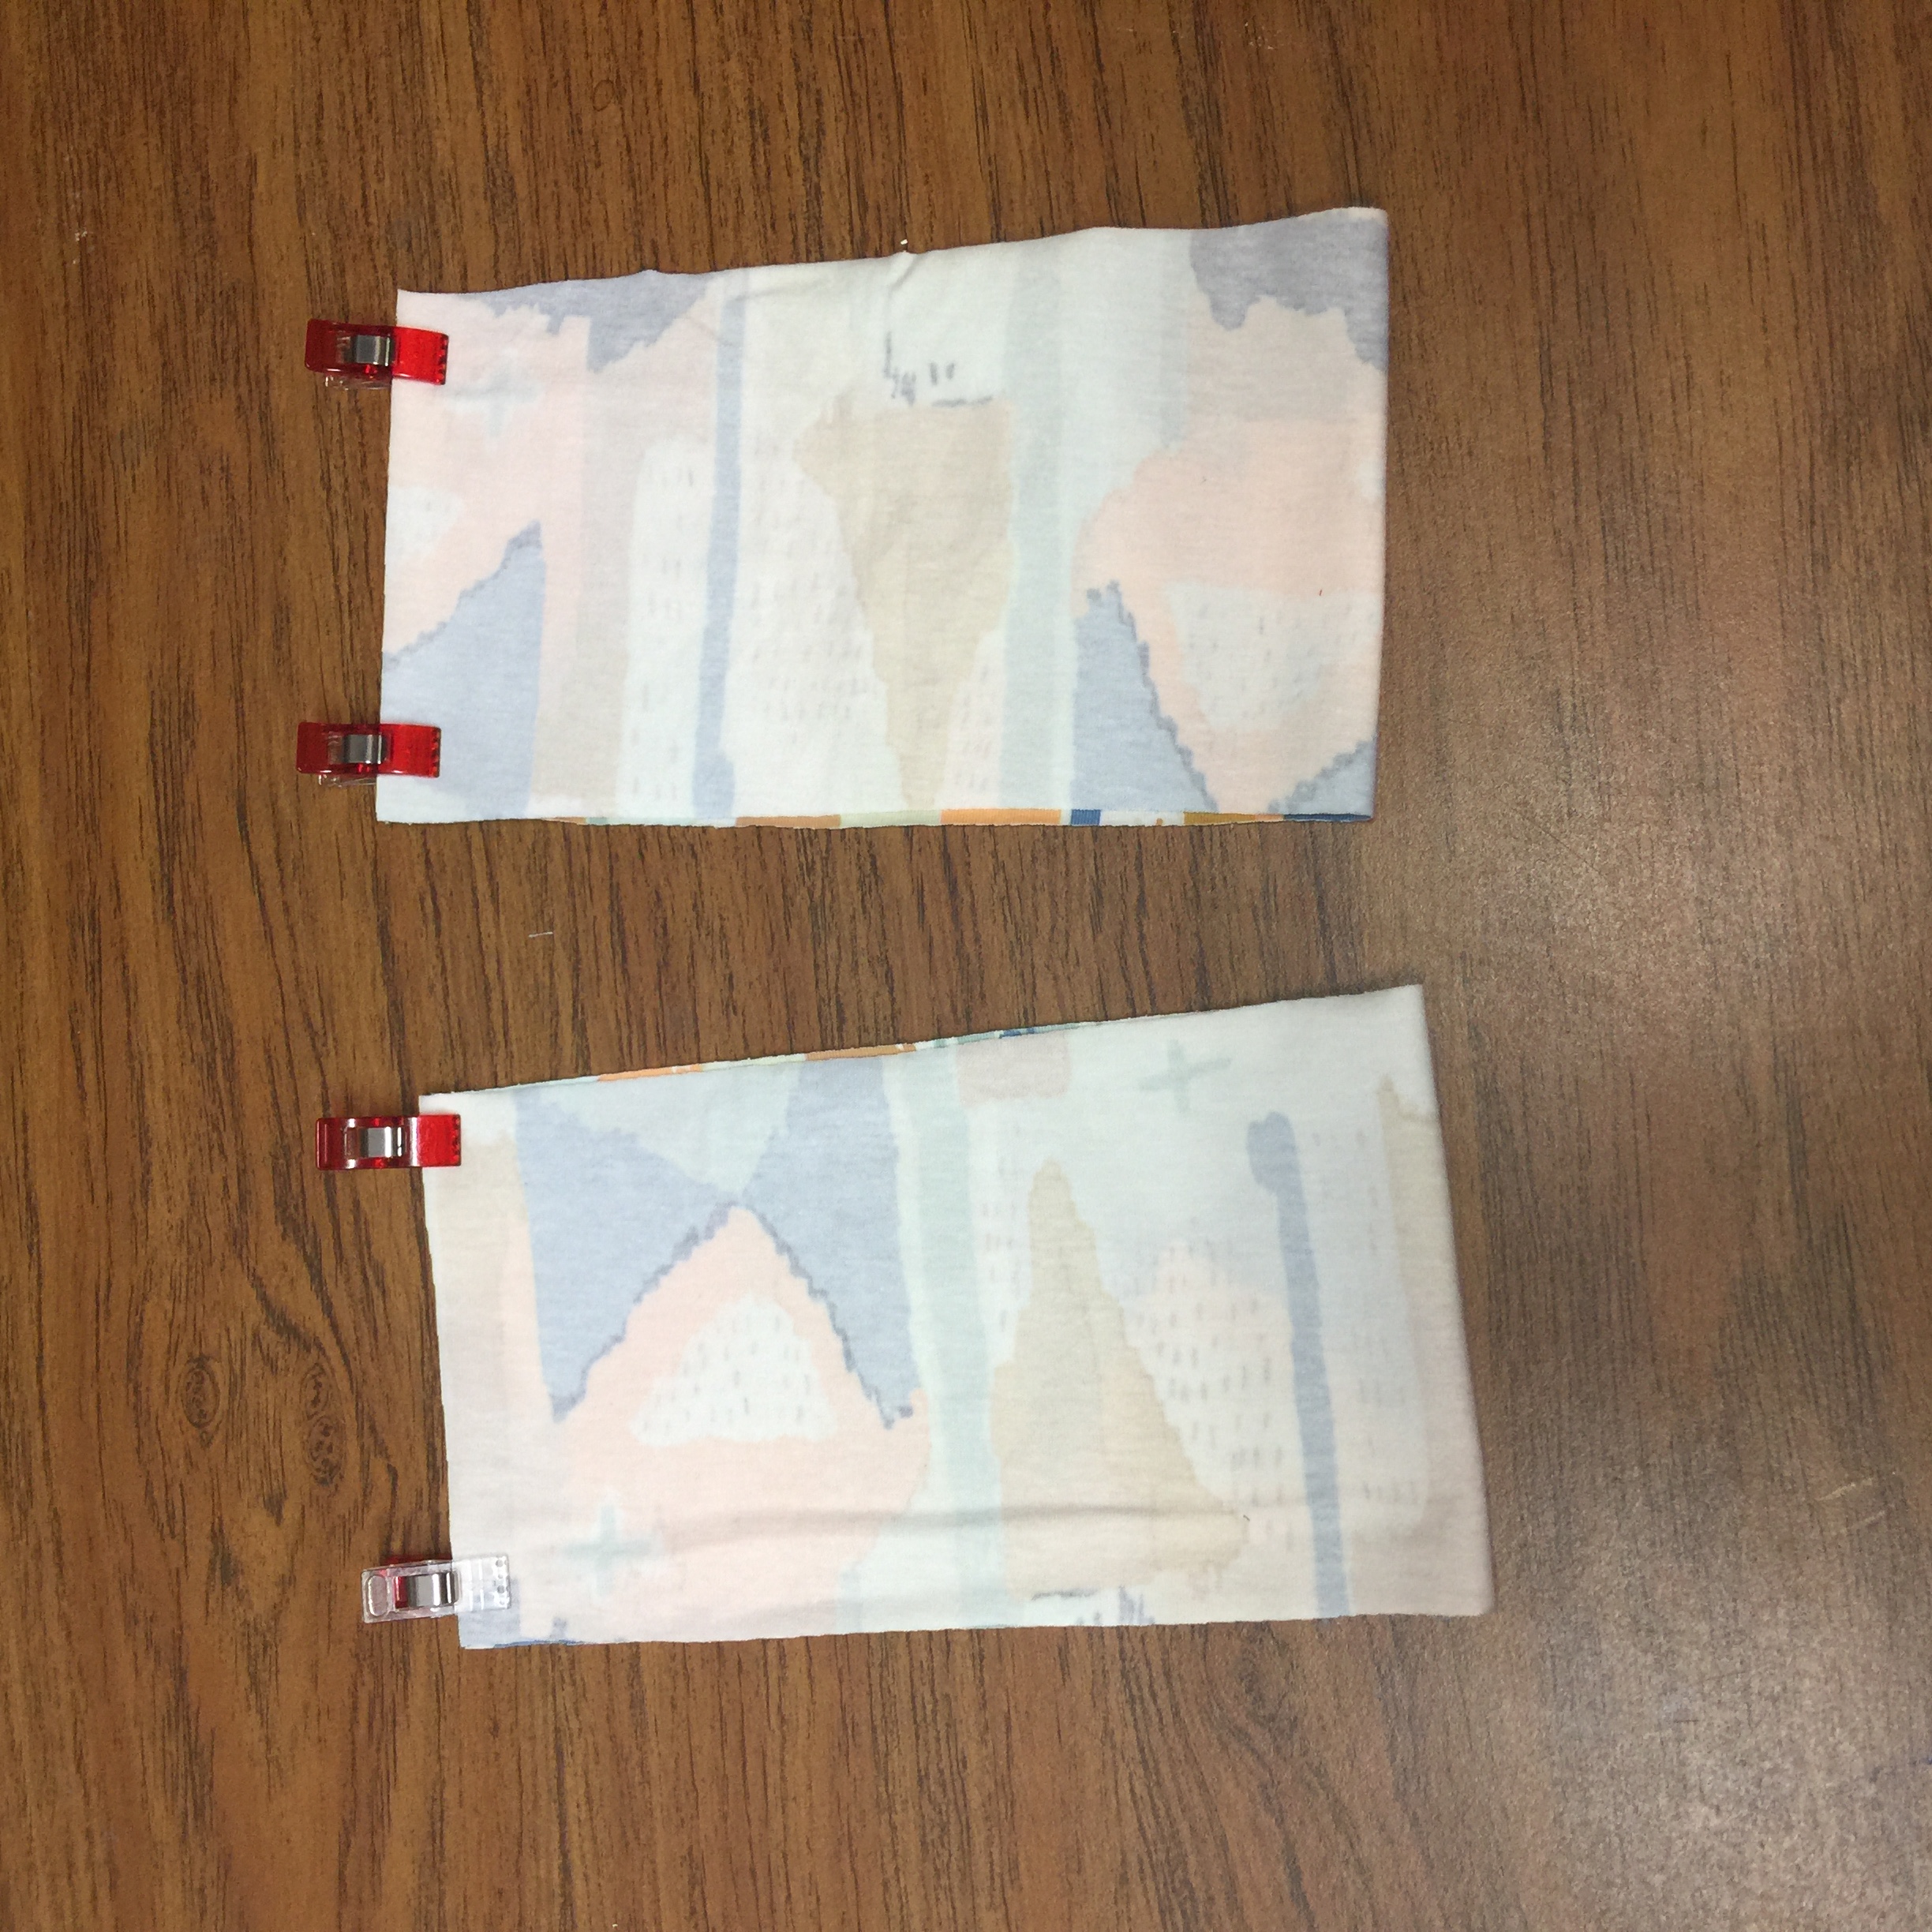
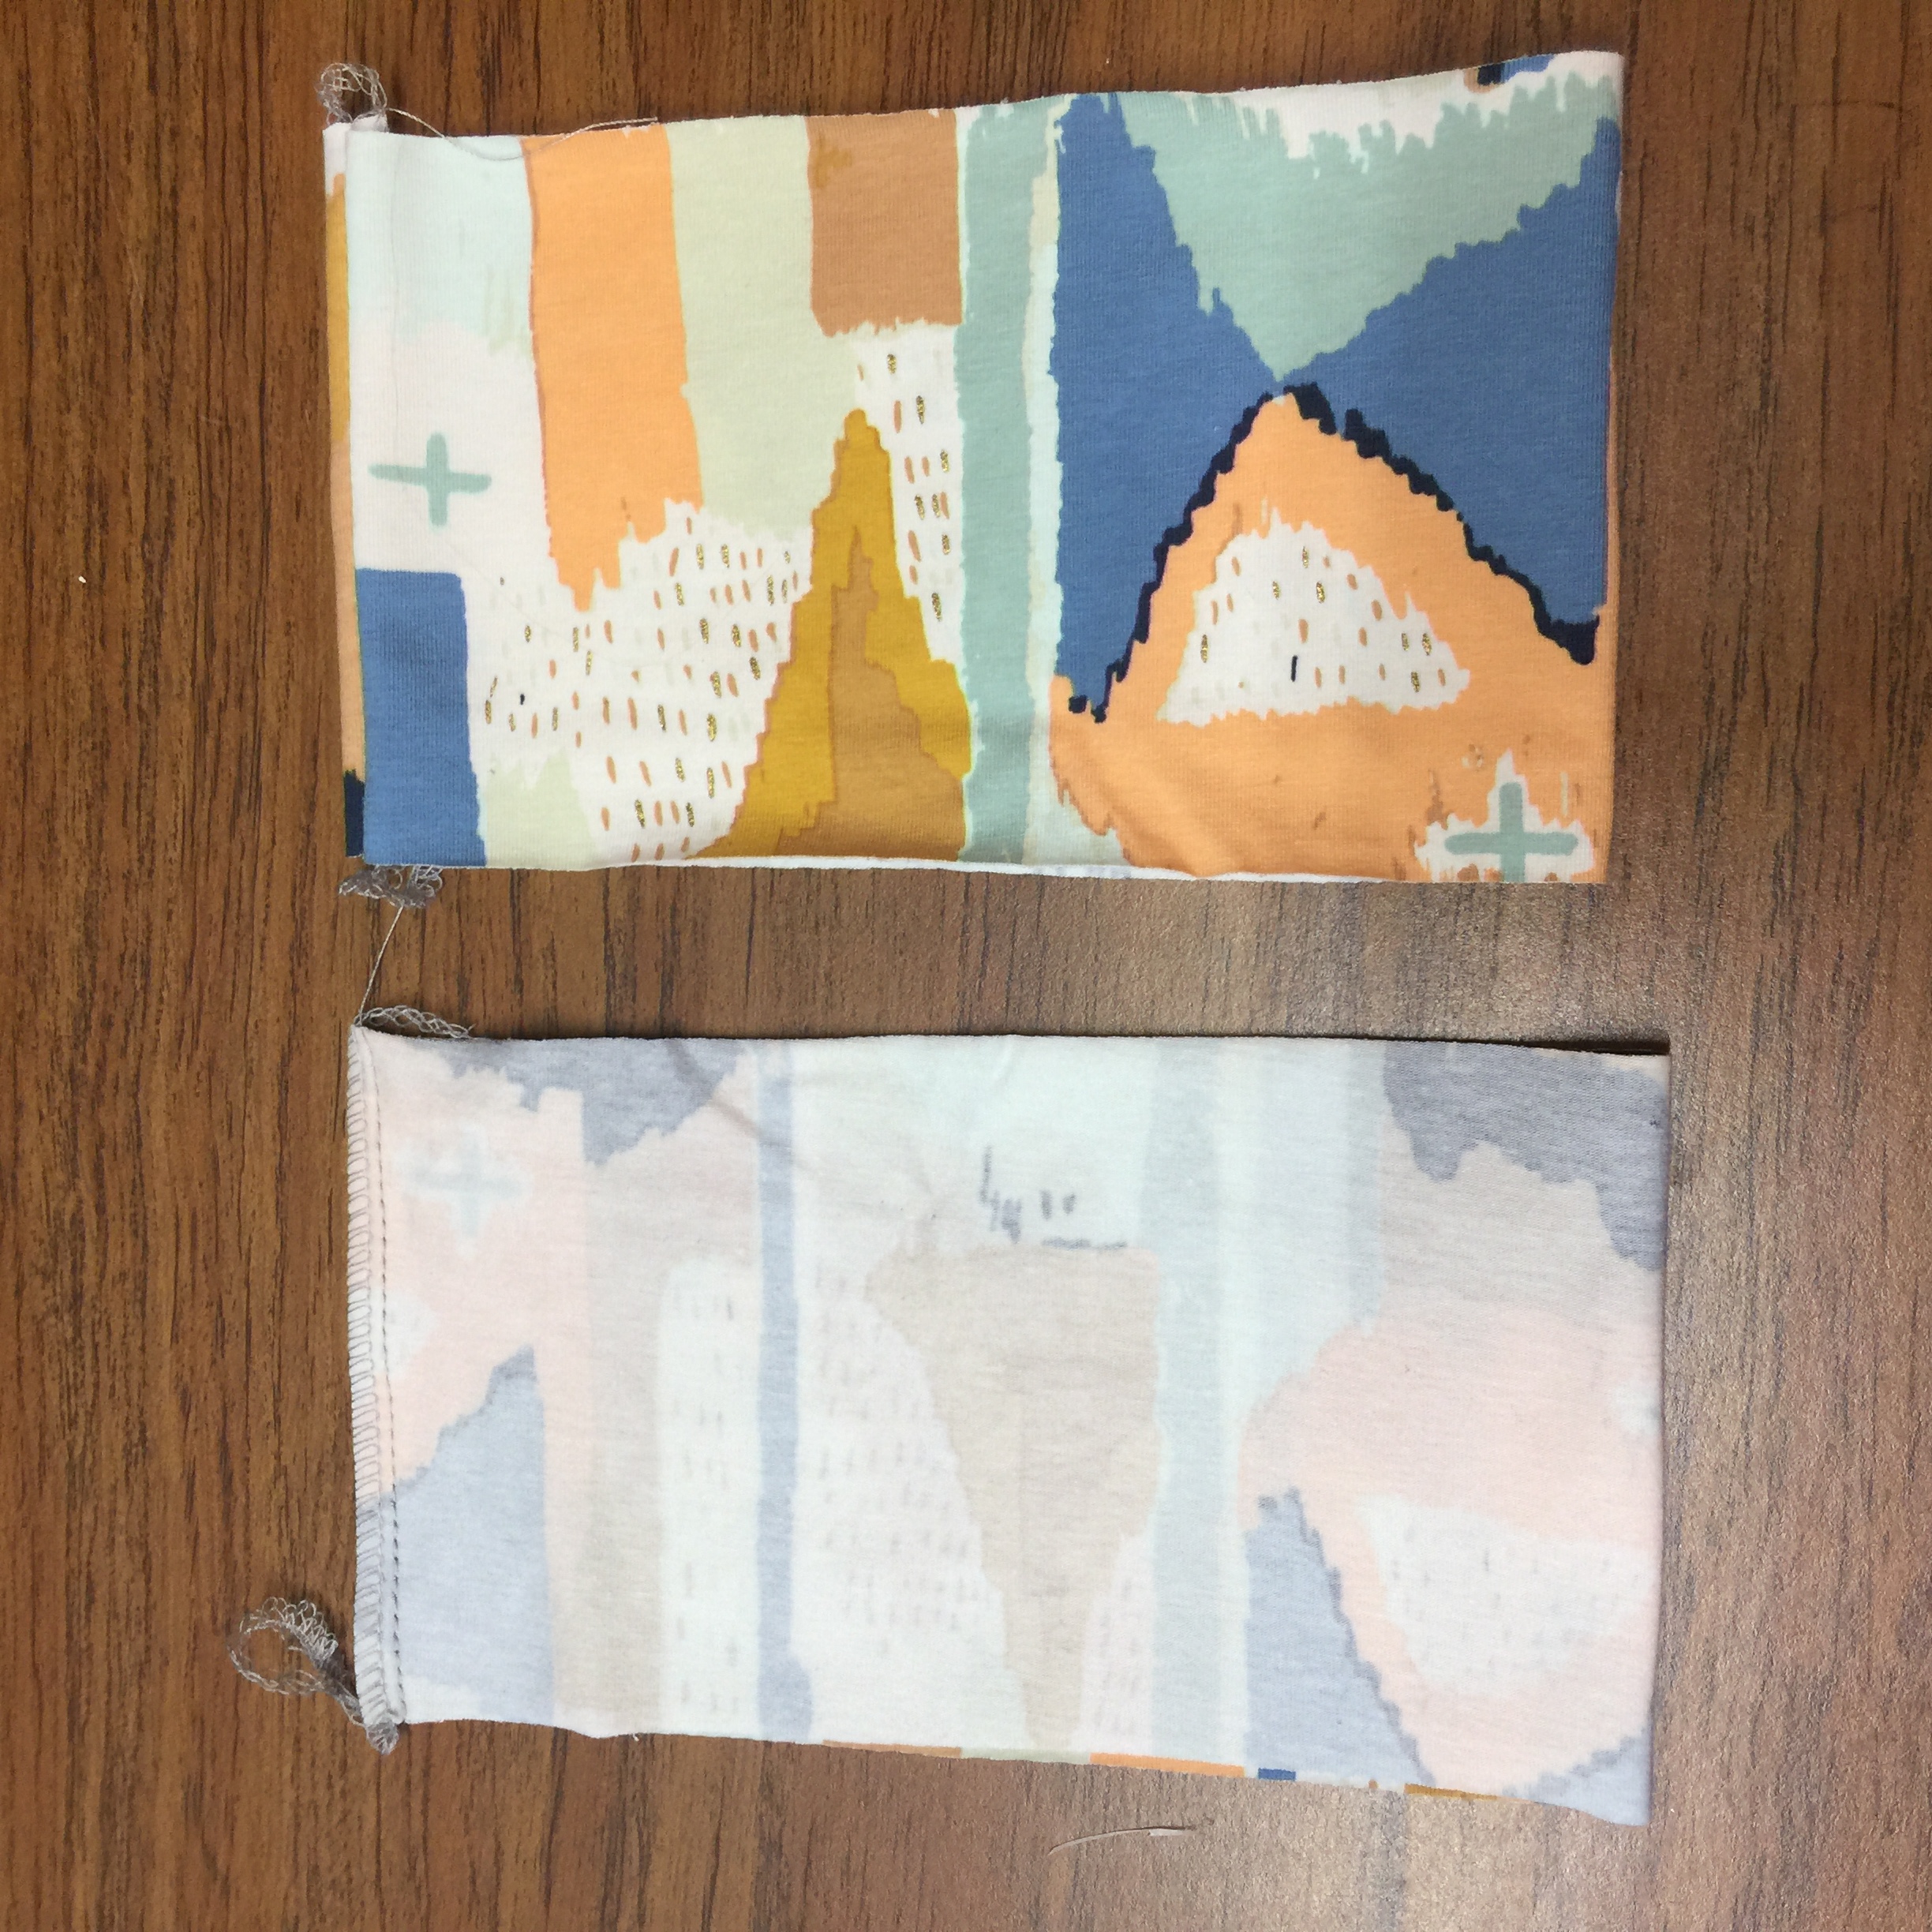
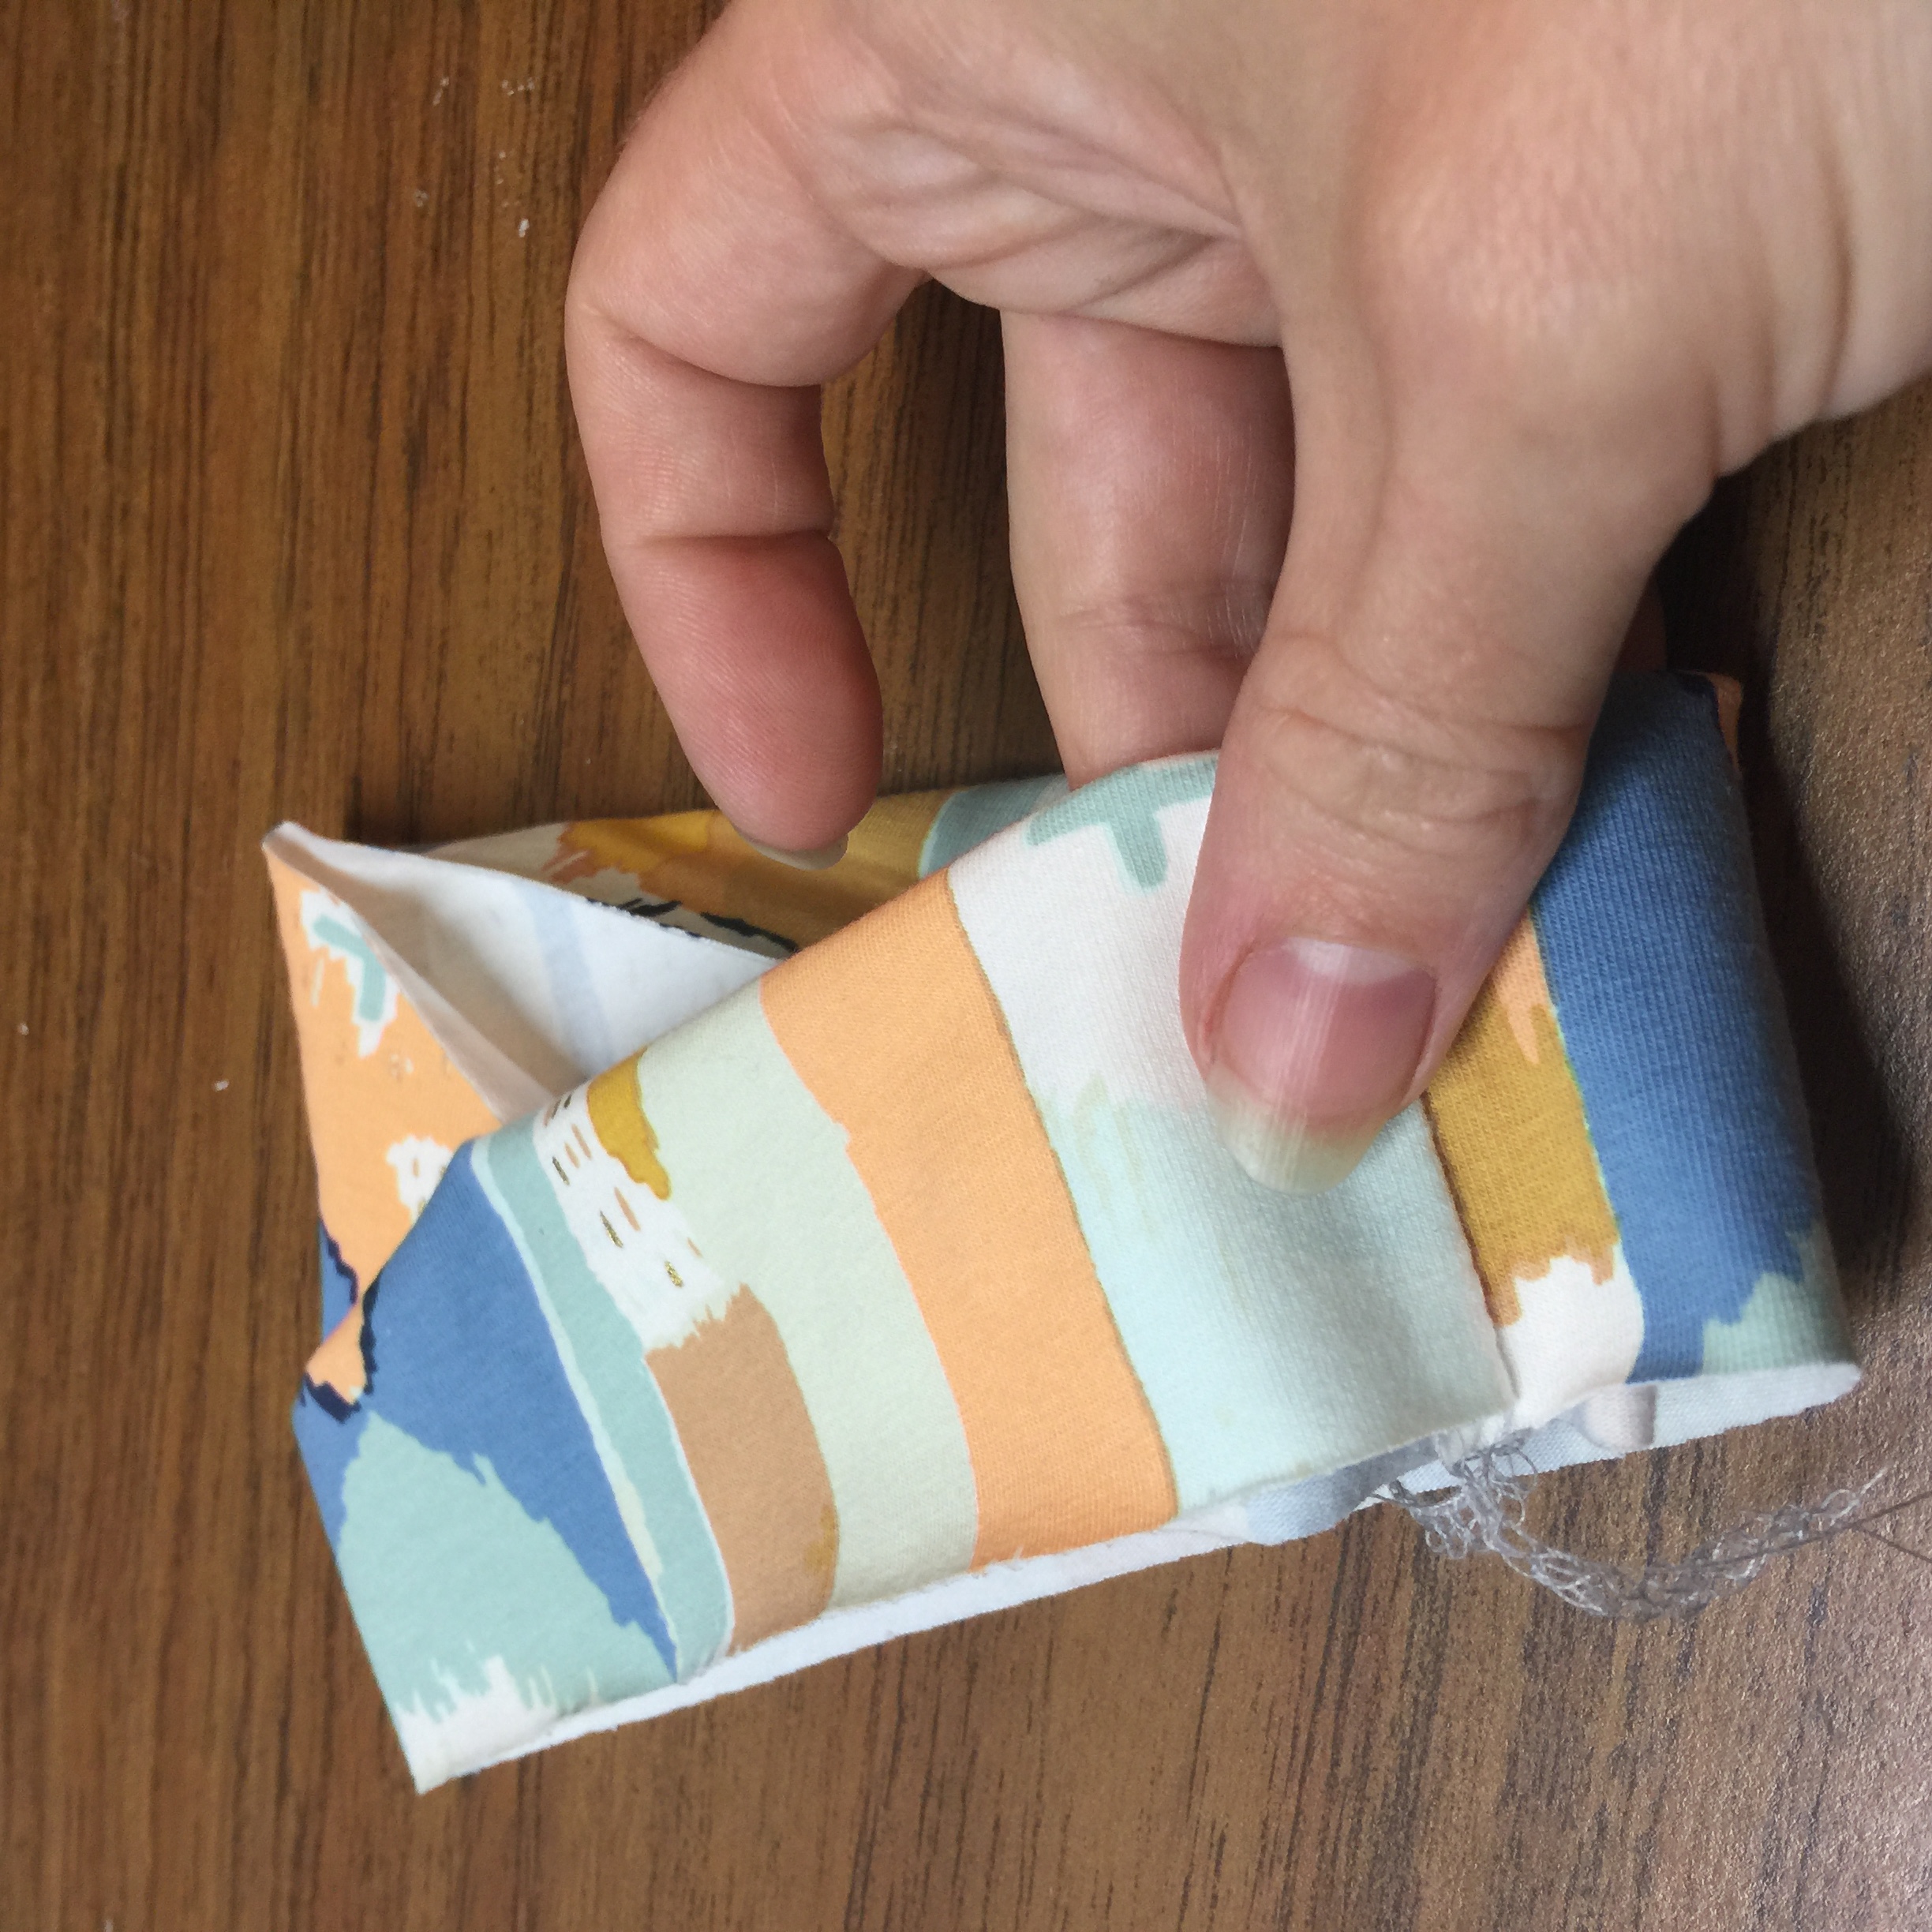
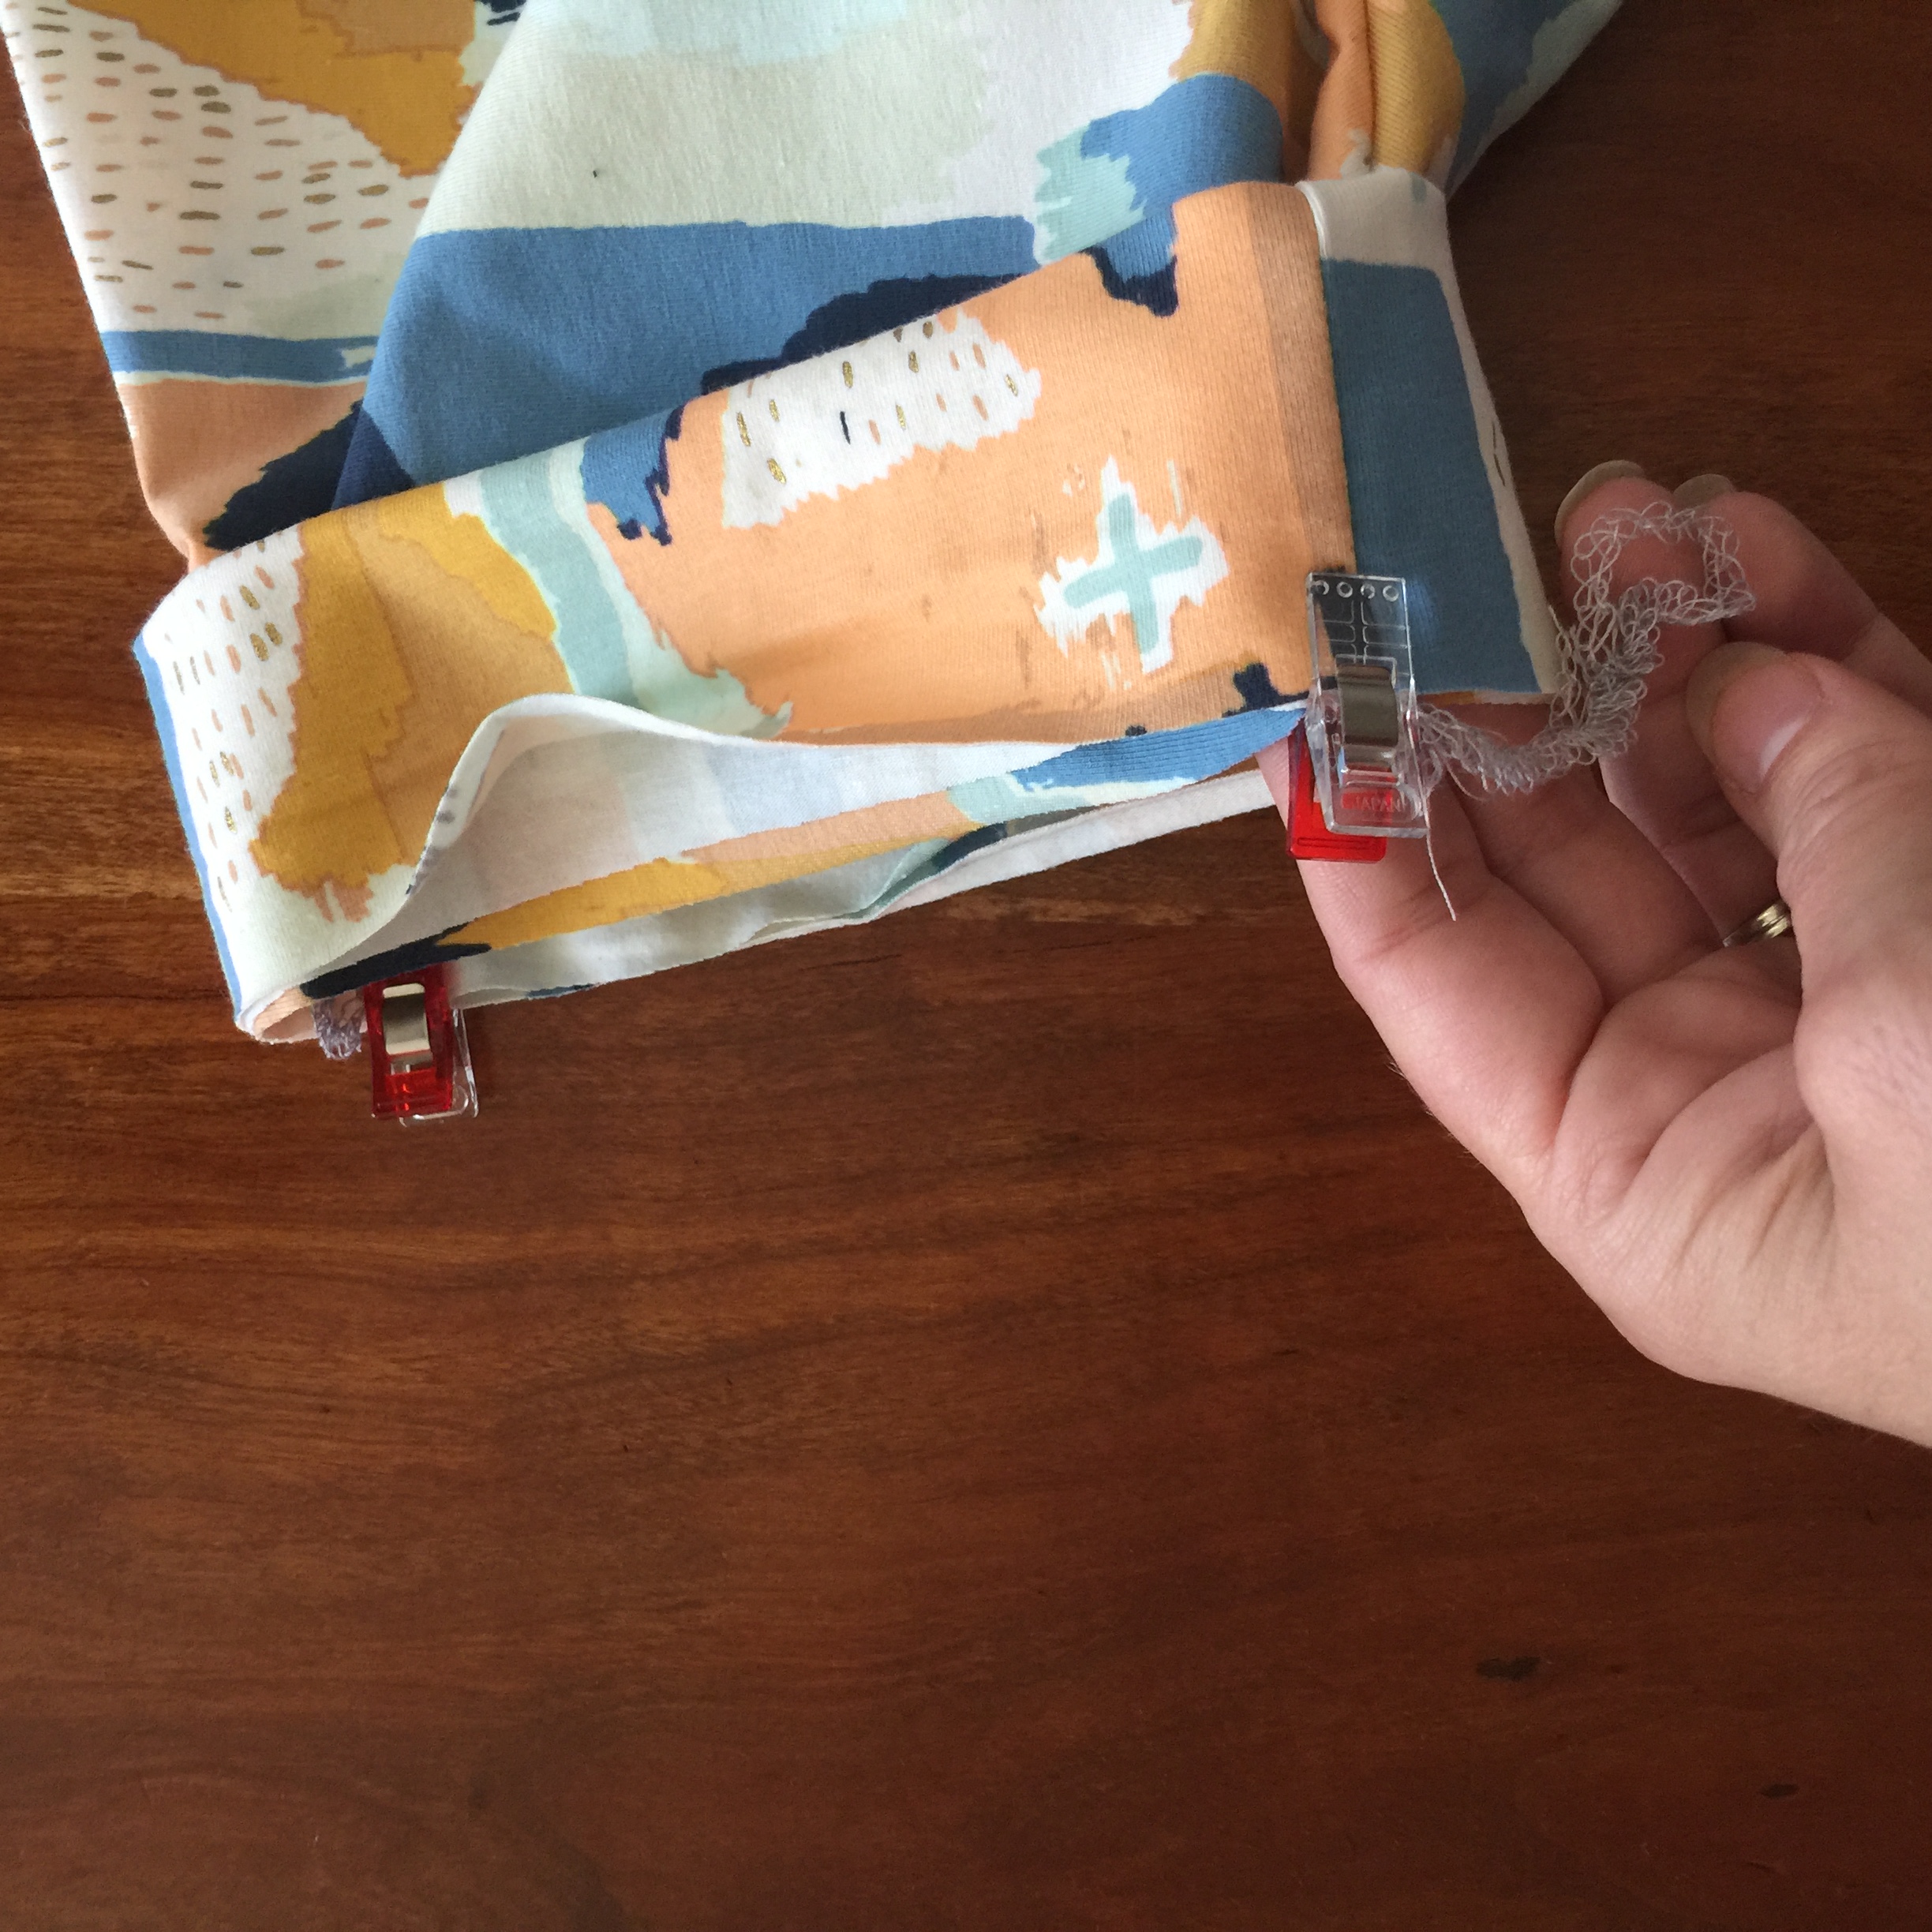
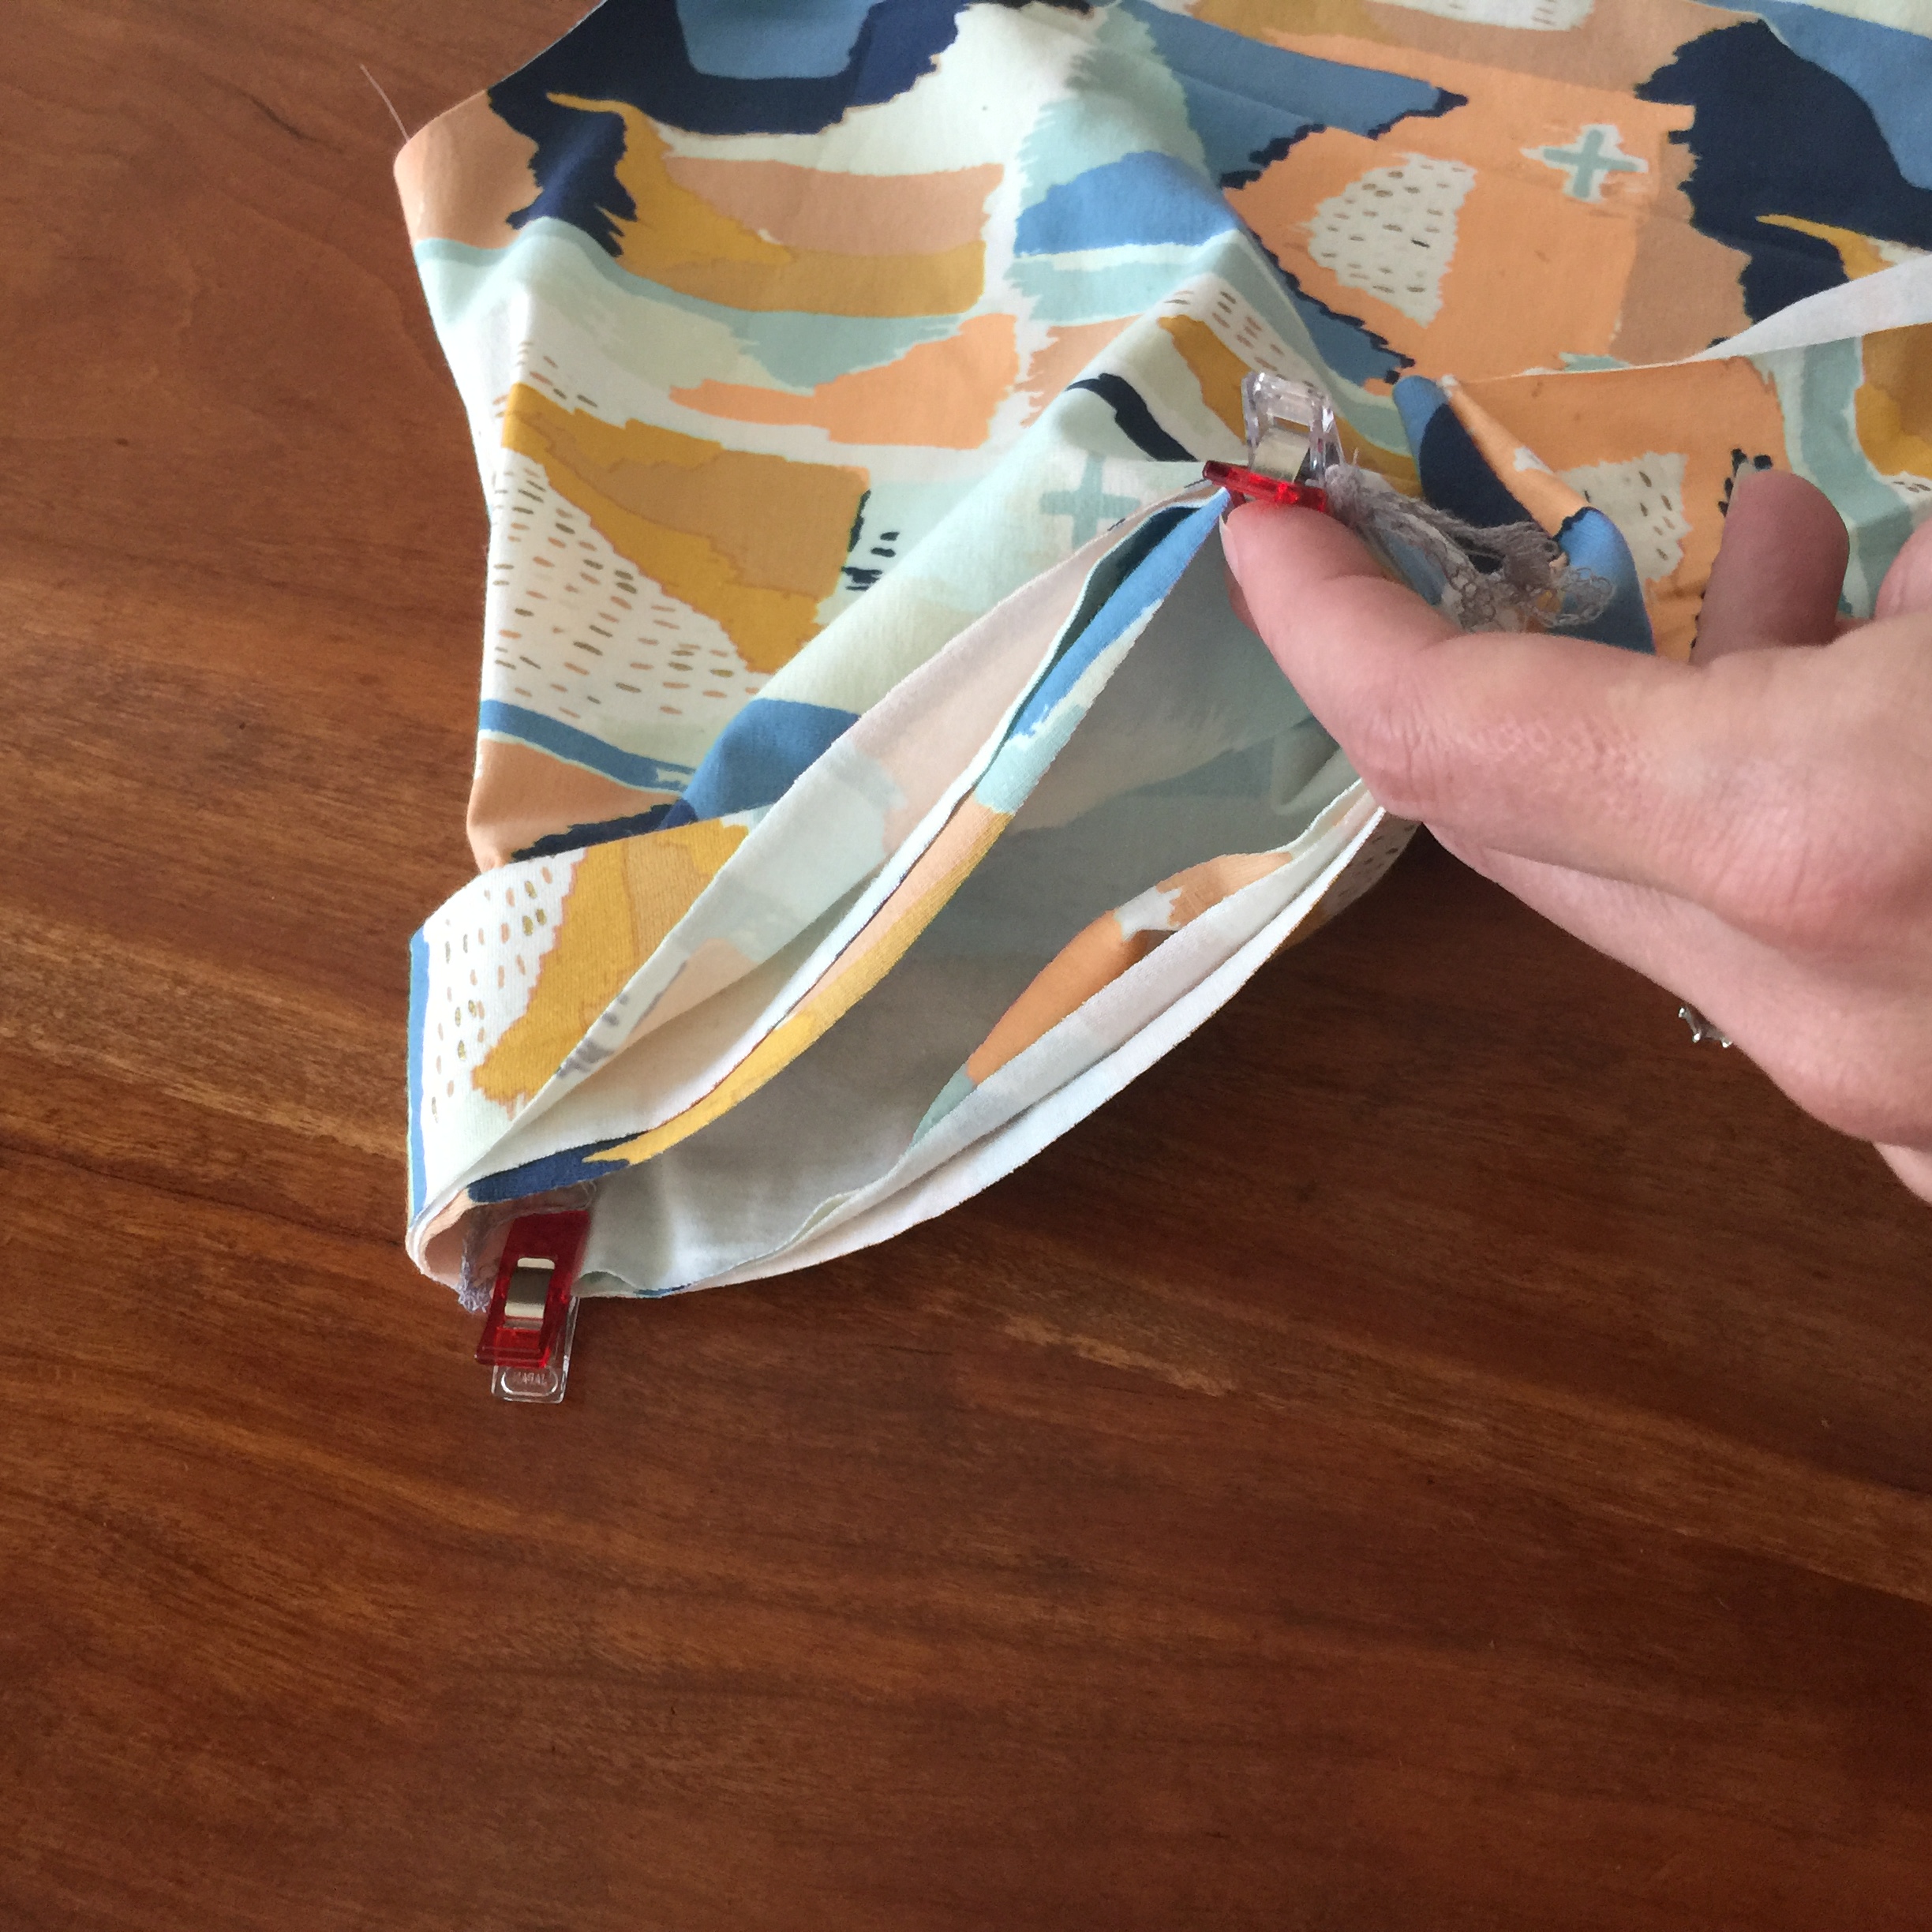
SEW THE CUFFS NEXT. Take the two rectangles and set them in front of you so that they are widest when horizontal to you. then fold right sides together so match up the short ends. Wonderclip or pin. Sew with zig zag or serge. Turn them right side out. Next fold that half and once you get it just right, clip it.
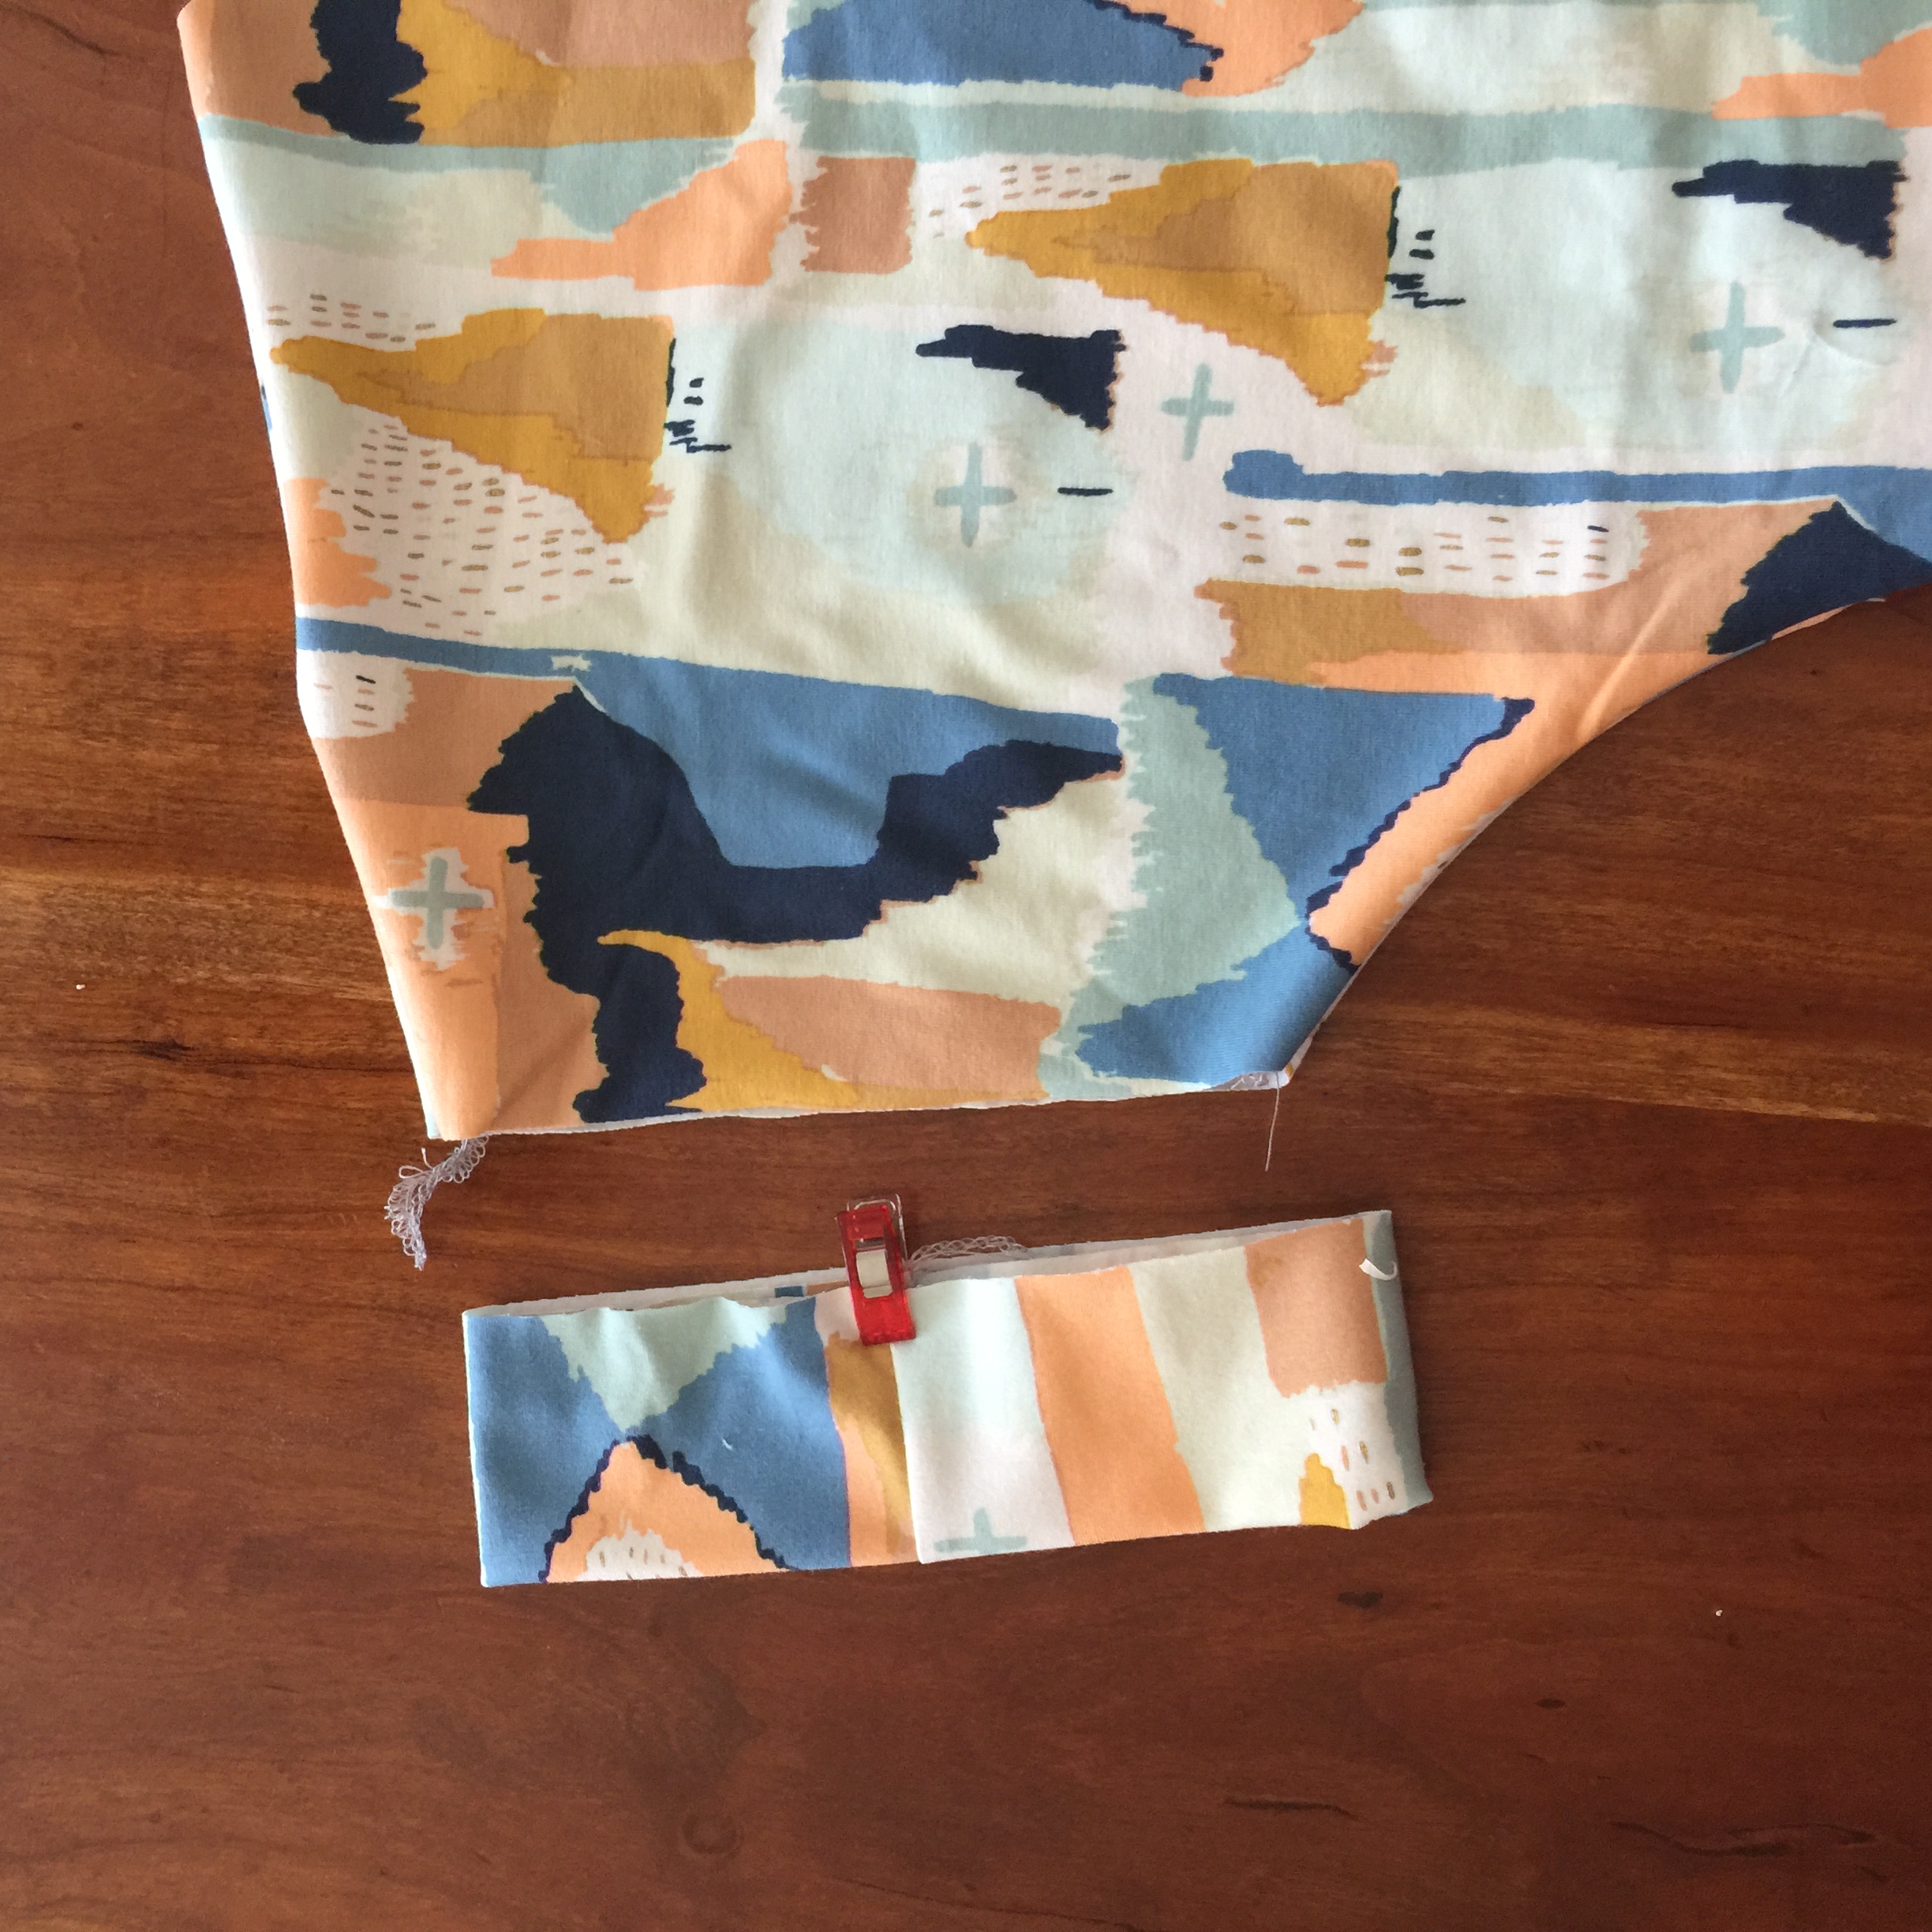
Pin the cuff to the bodice sleeve opening. Match the raw edges and be sure your cuff seam is matched up in the underarm seam of the bodice. Serge and press toward the bodice. Fold up the cuff toward the neckline and sew a tack by hand or machine to hold it in place at the top and bottom. TADA!
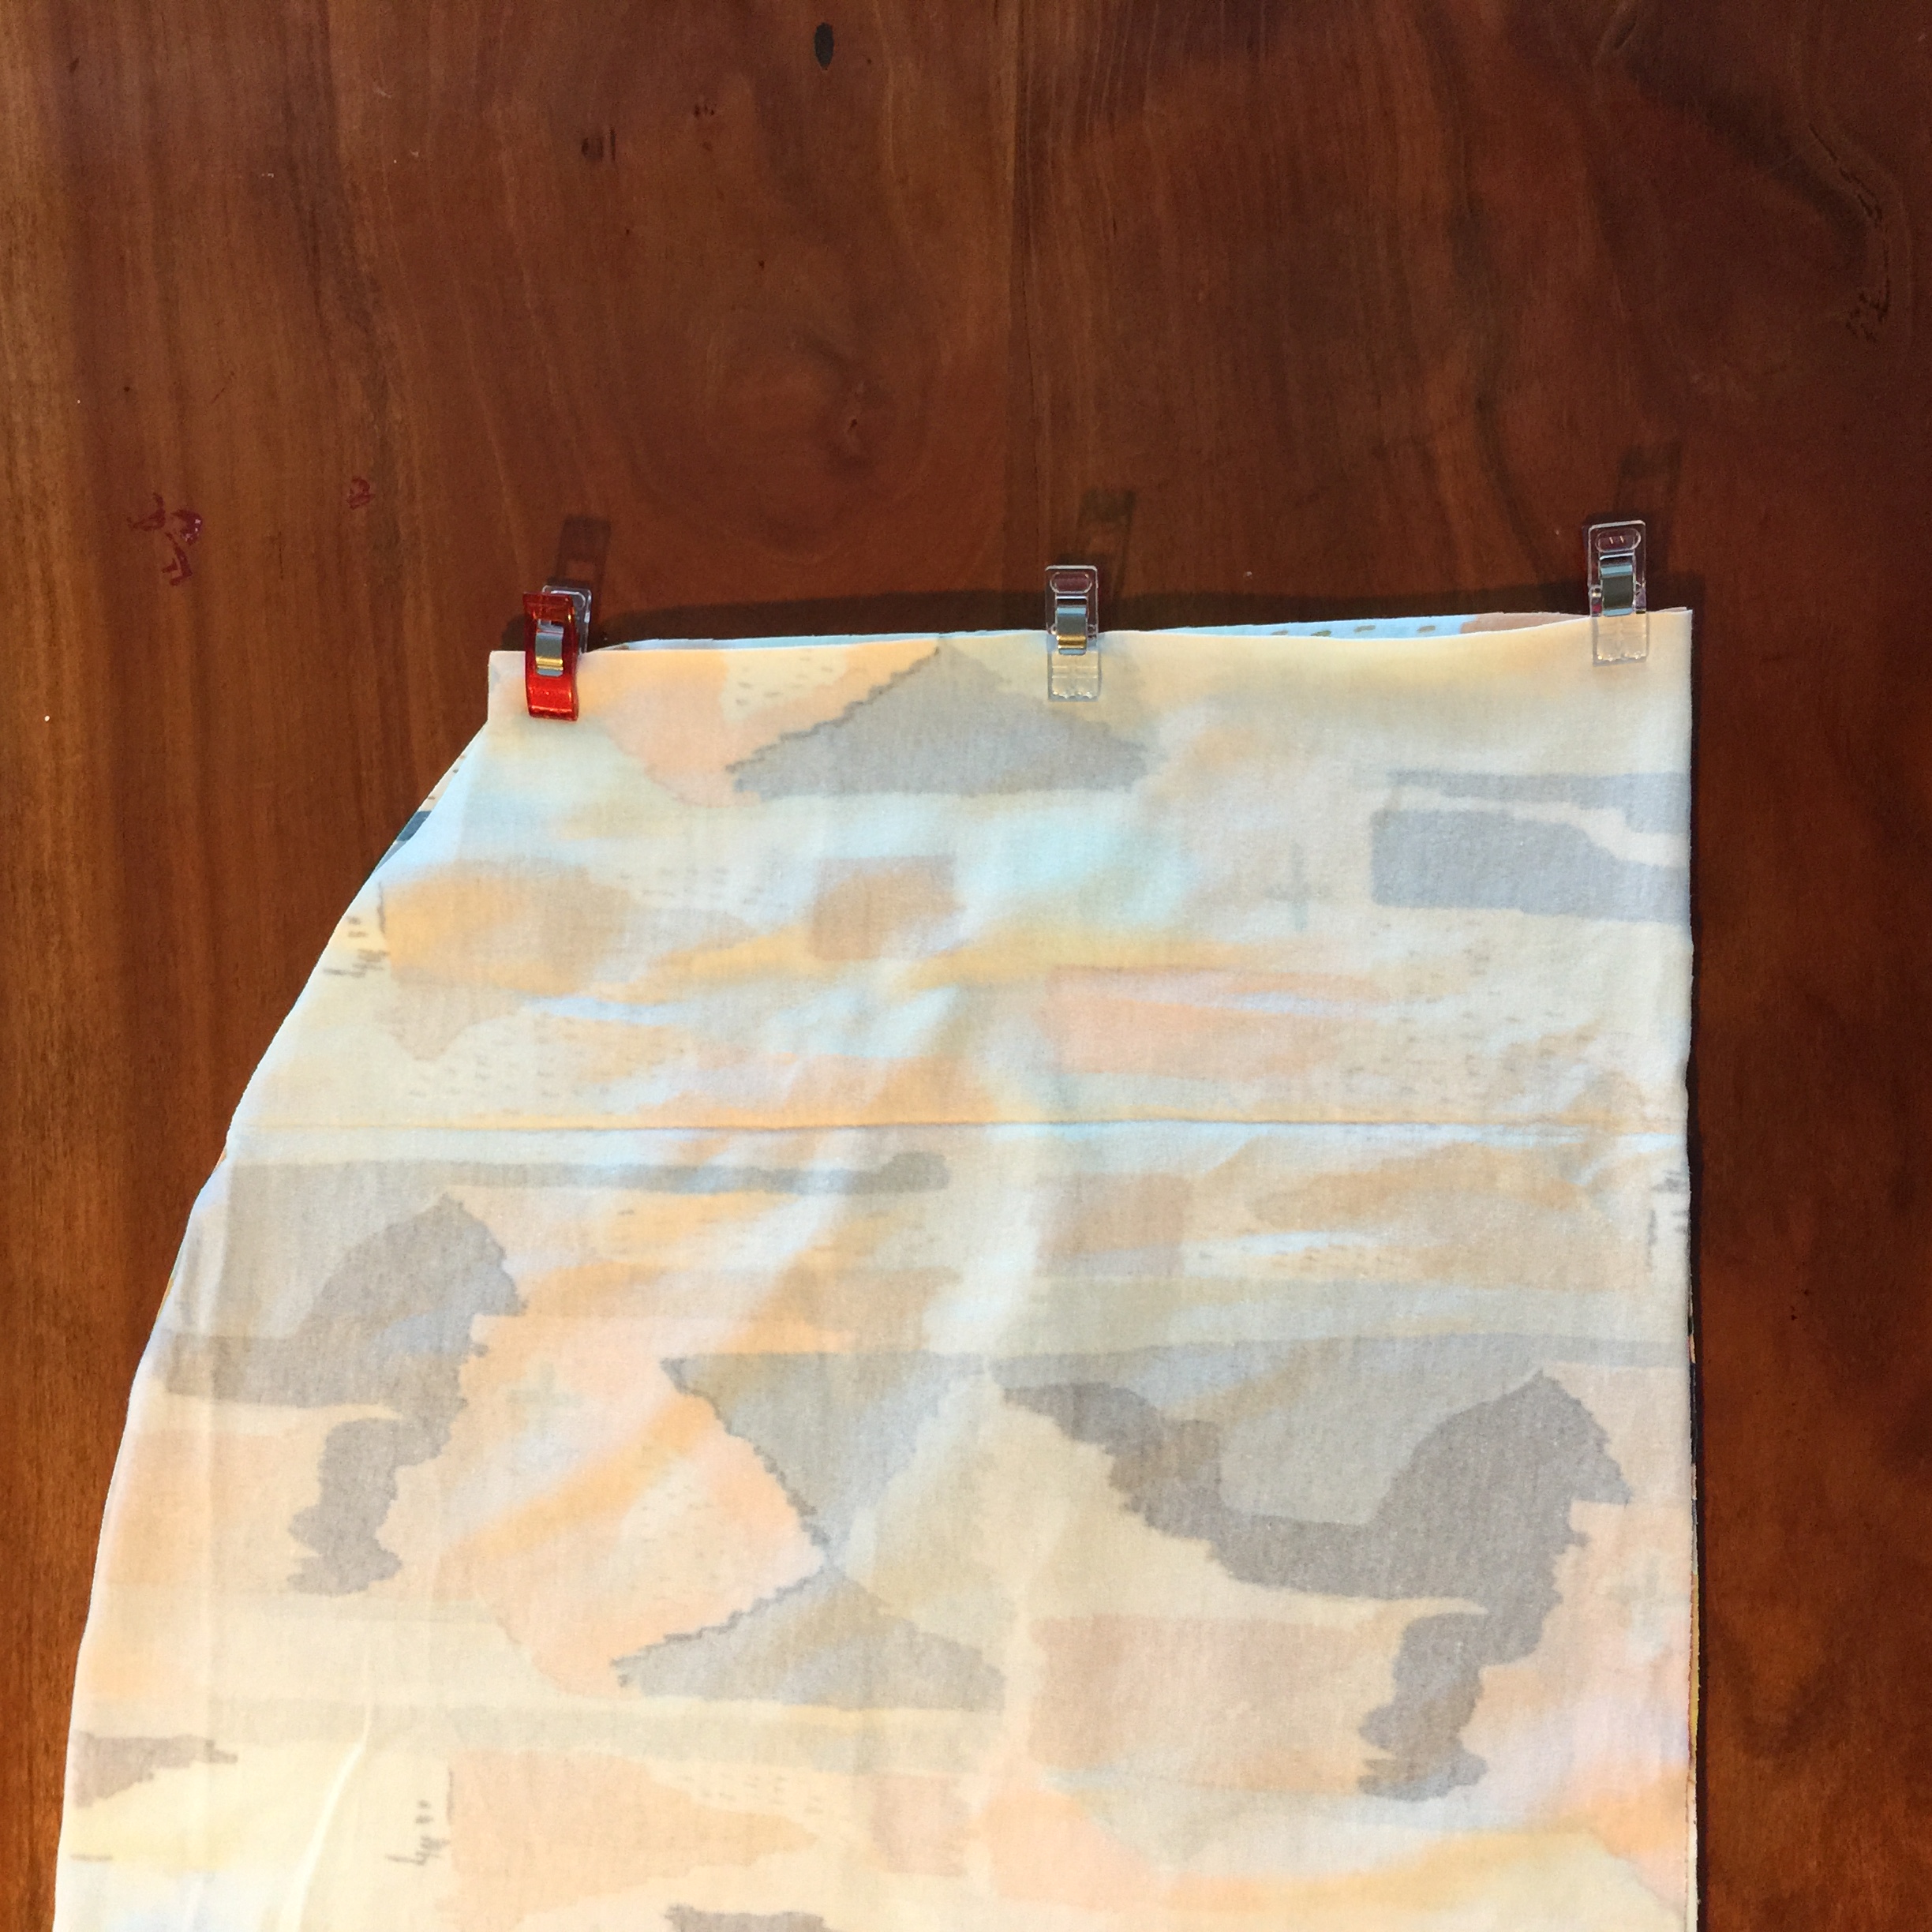
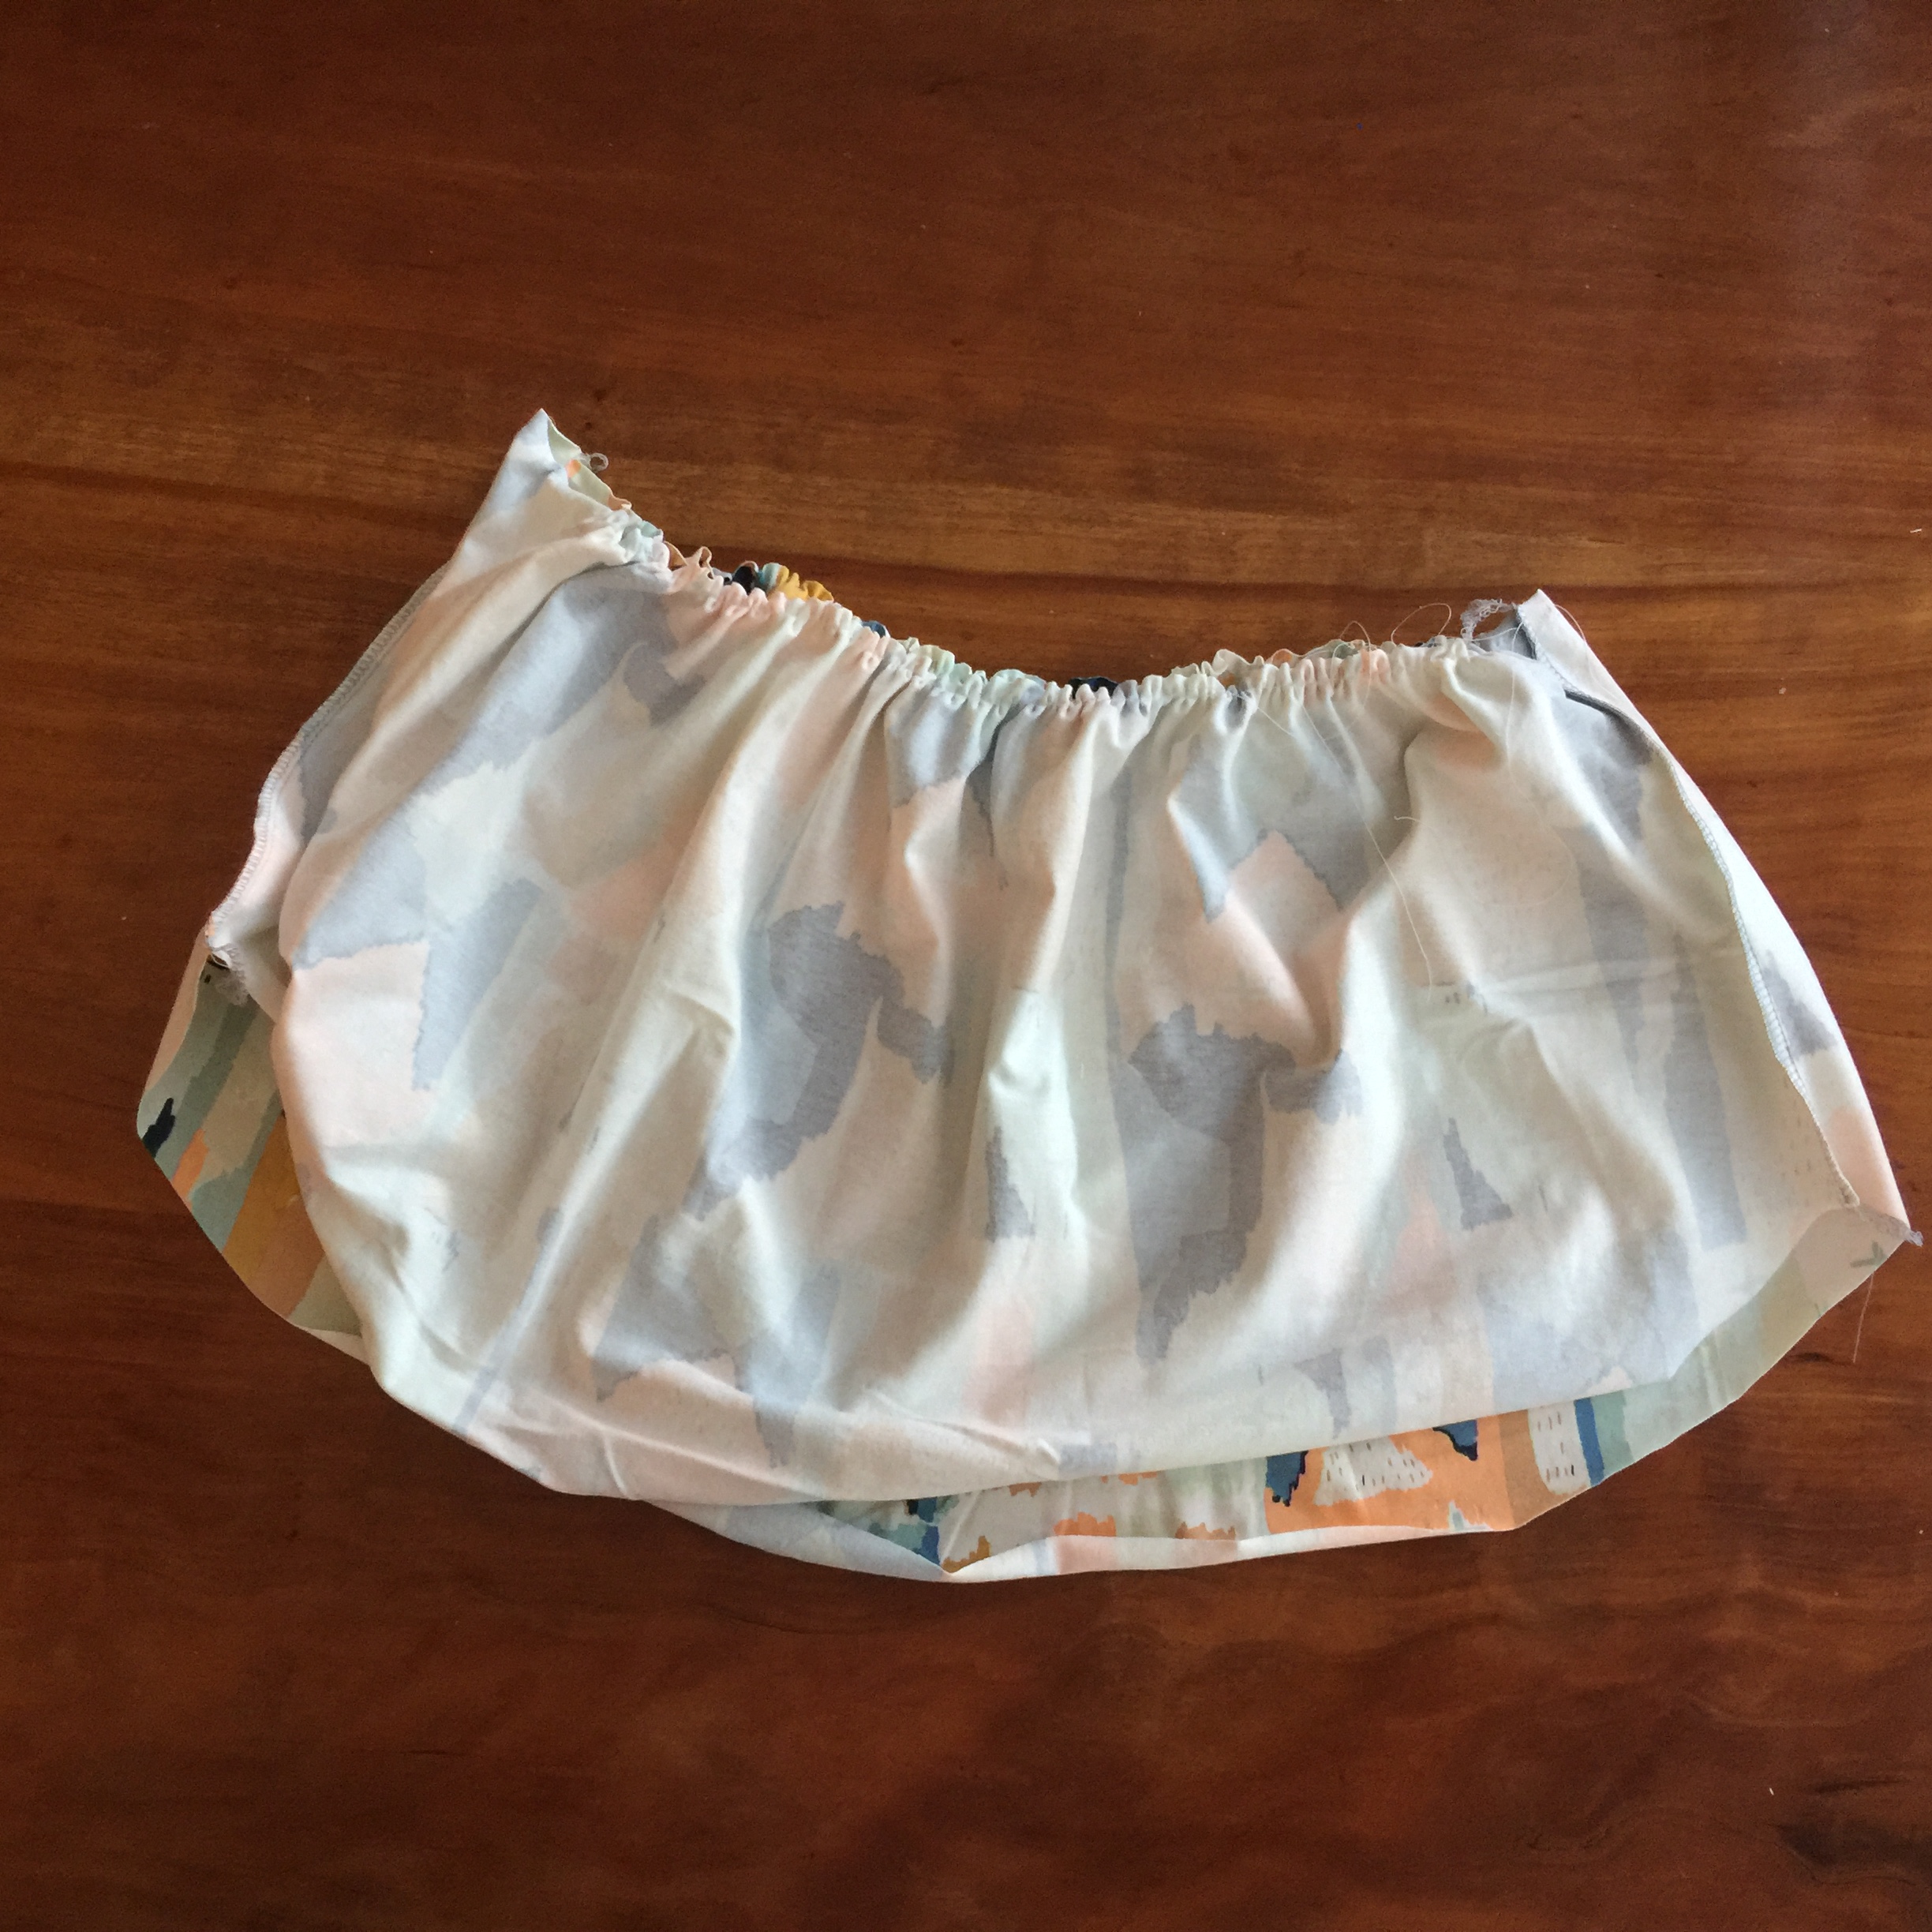
NEXT SEW THE SKIRT. Begin by pinning or wonderclipping the sides of the skirt piece, right sides together. Serge or zigzag. Now you can gather the skirt along the top raw edge.
-a nifty little gathering trick is to turn your stitch length up as long as it will go and adjust your tension to the highest setting. This configuration will gather the fabric slightly for you. Another nifty trick is to turn your stitich and tension back to normal settings after you are done gathering. I seldom remember the second one.
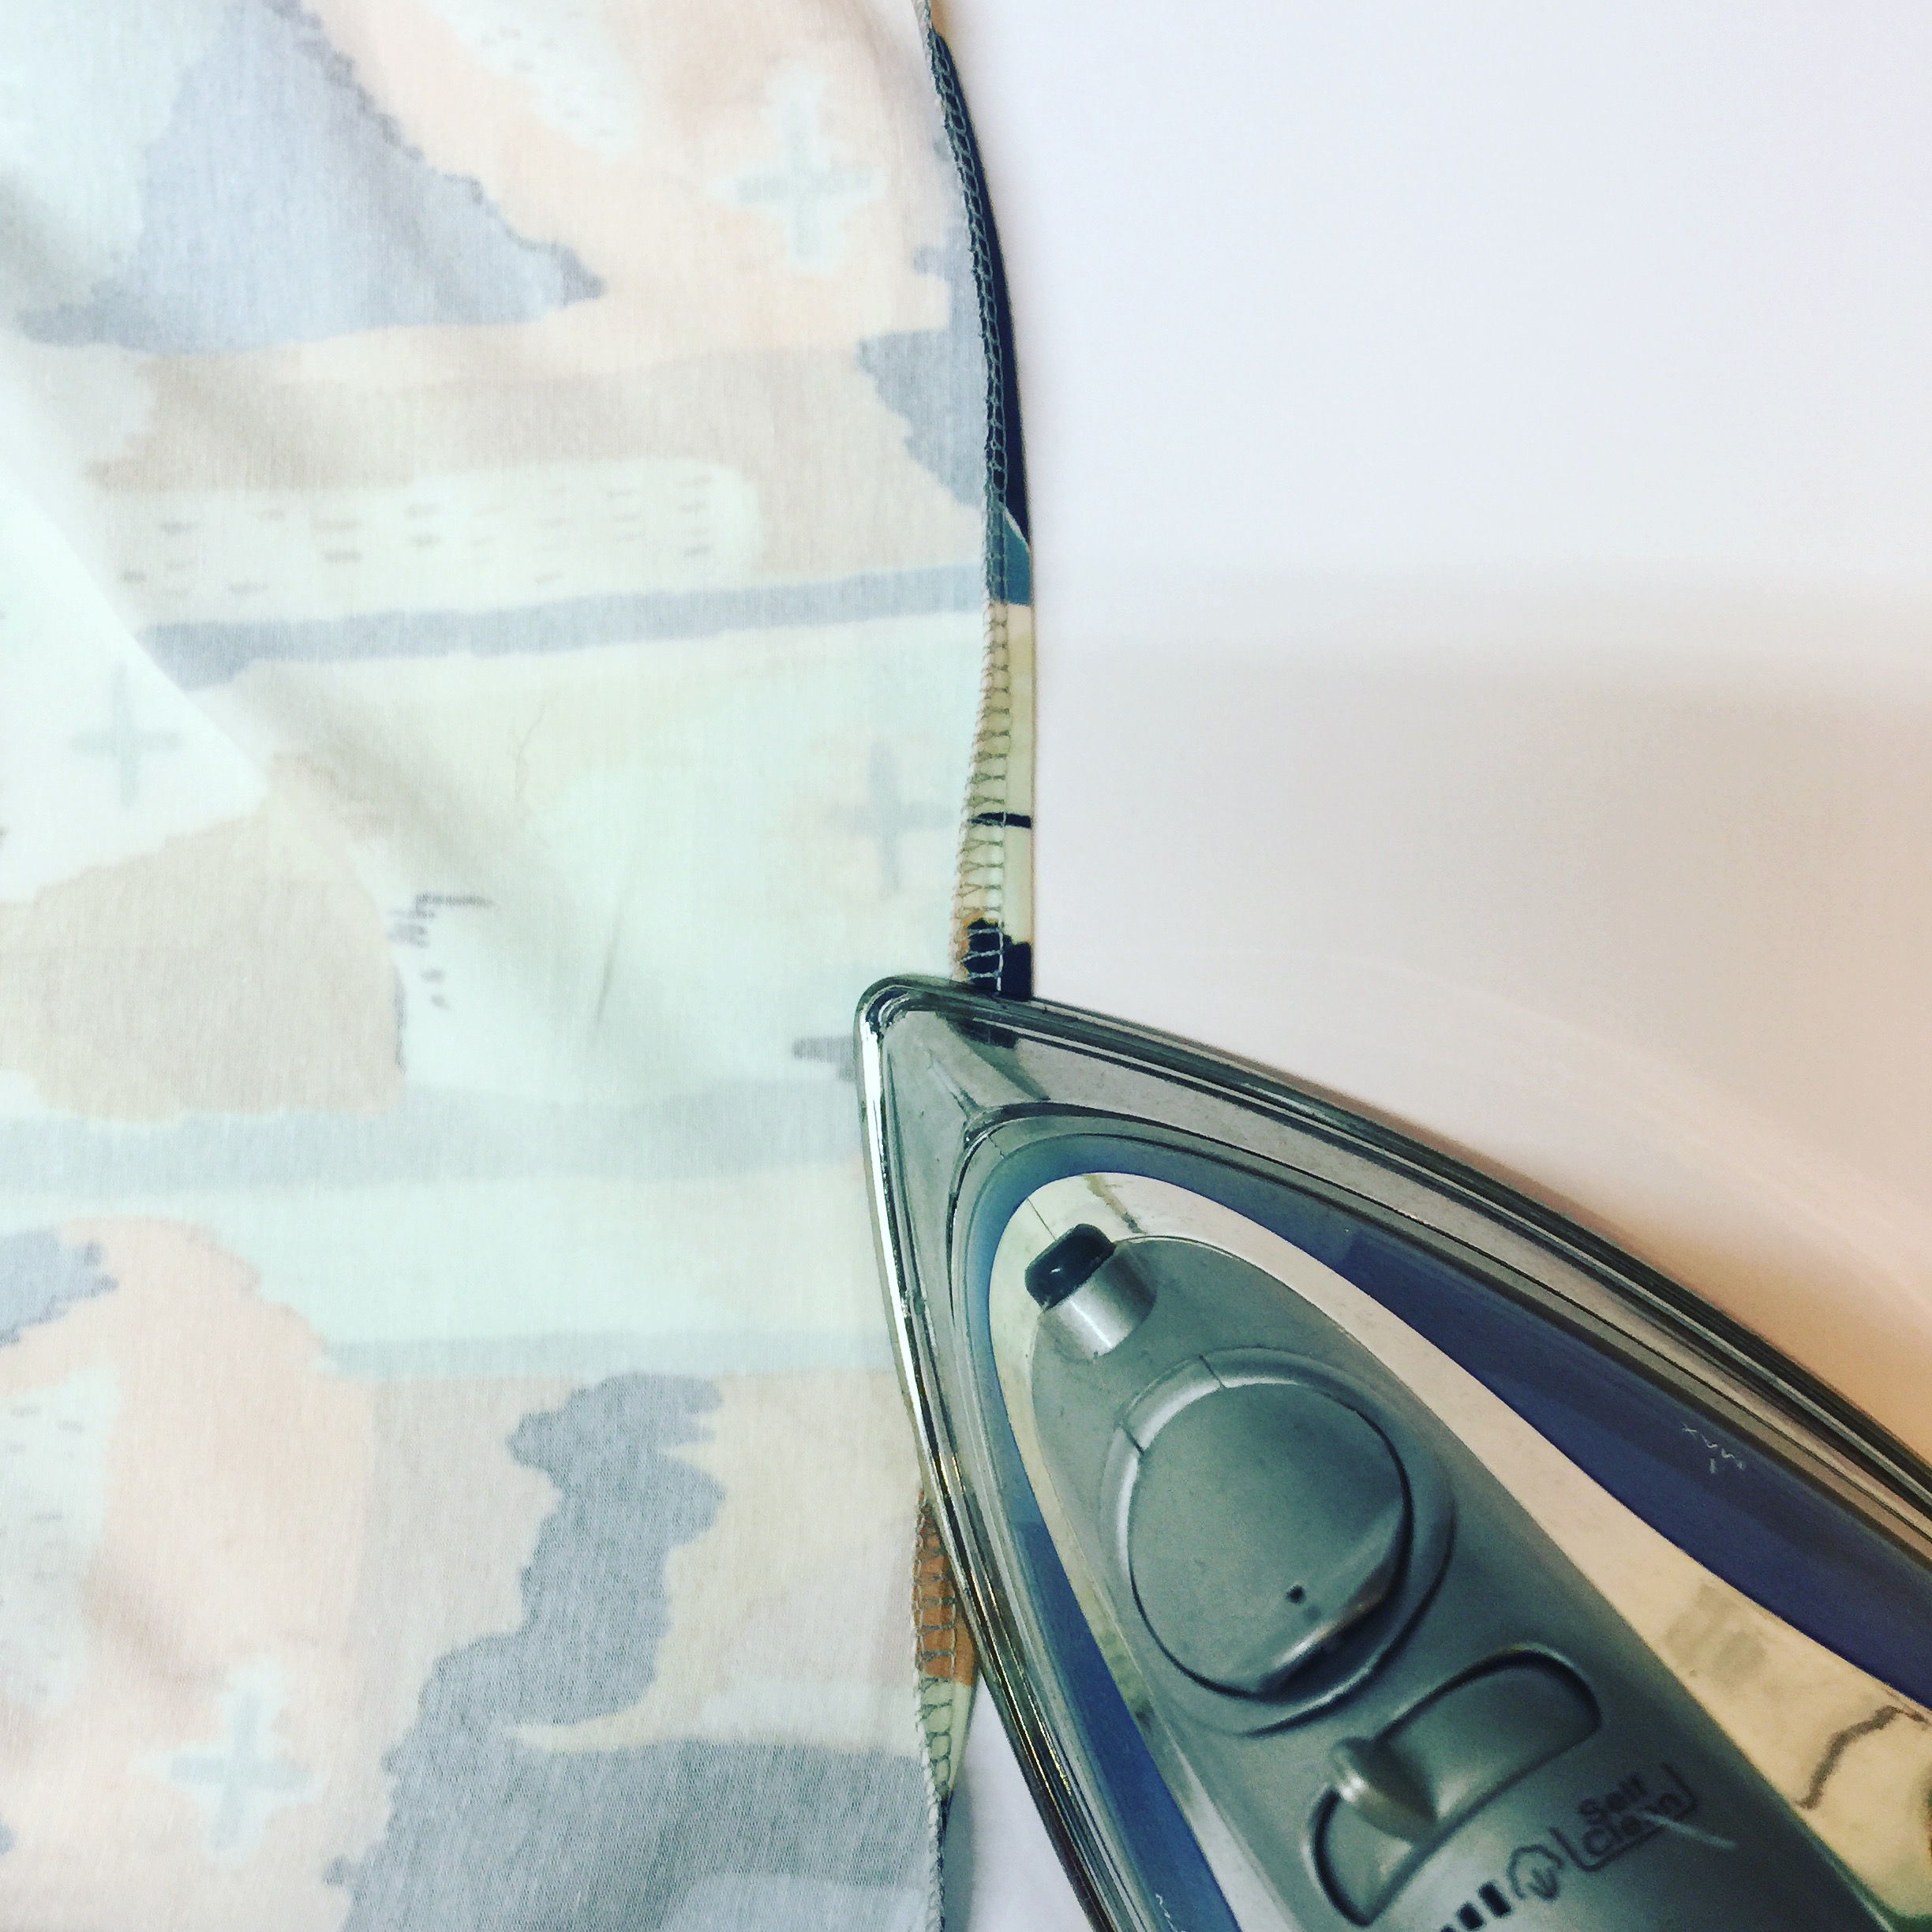
HEM your skirt. I like to serge or sew a zig zag along the raw edge and then press under. Next, sew a double hem line to secure and press again.
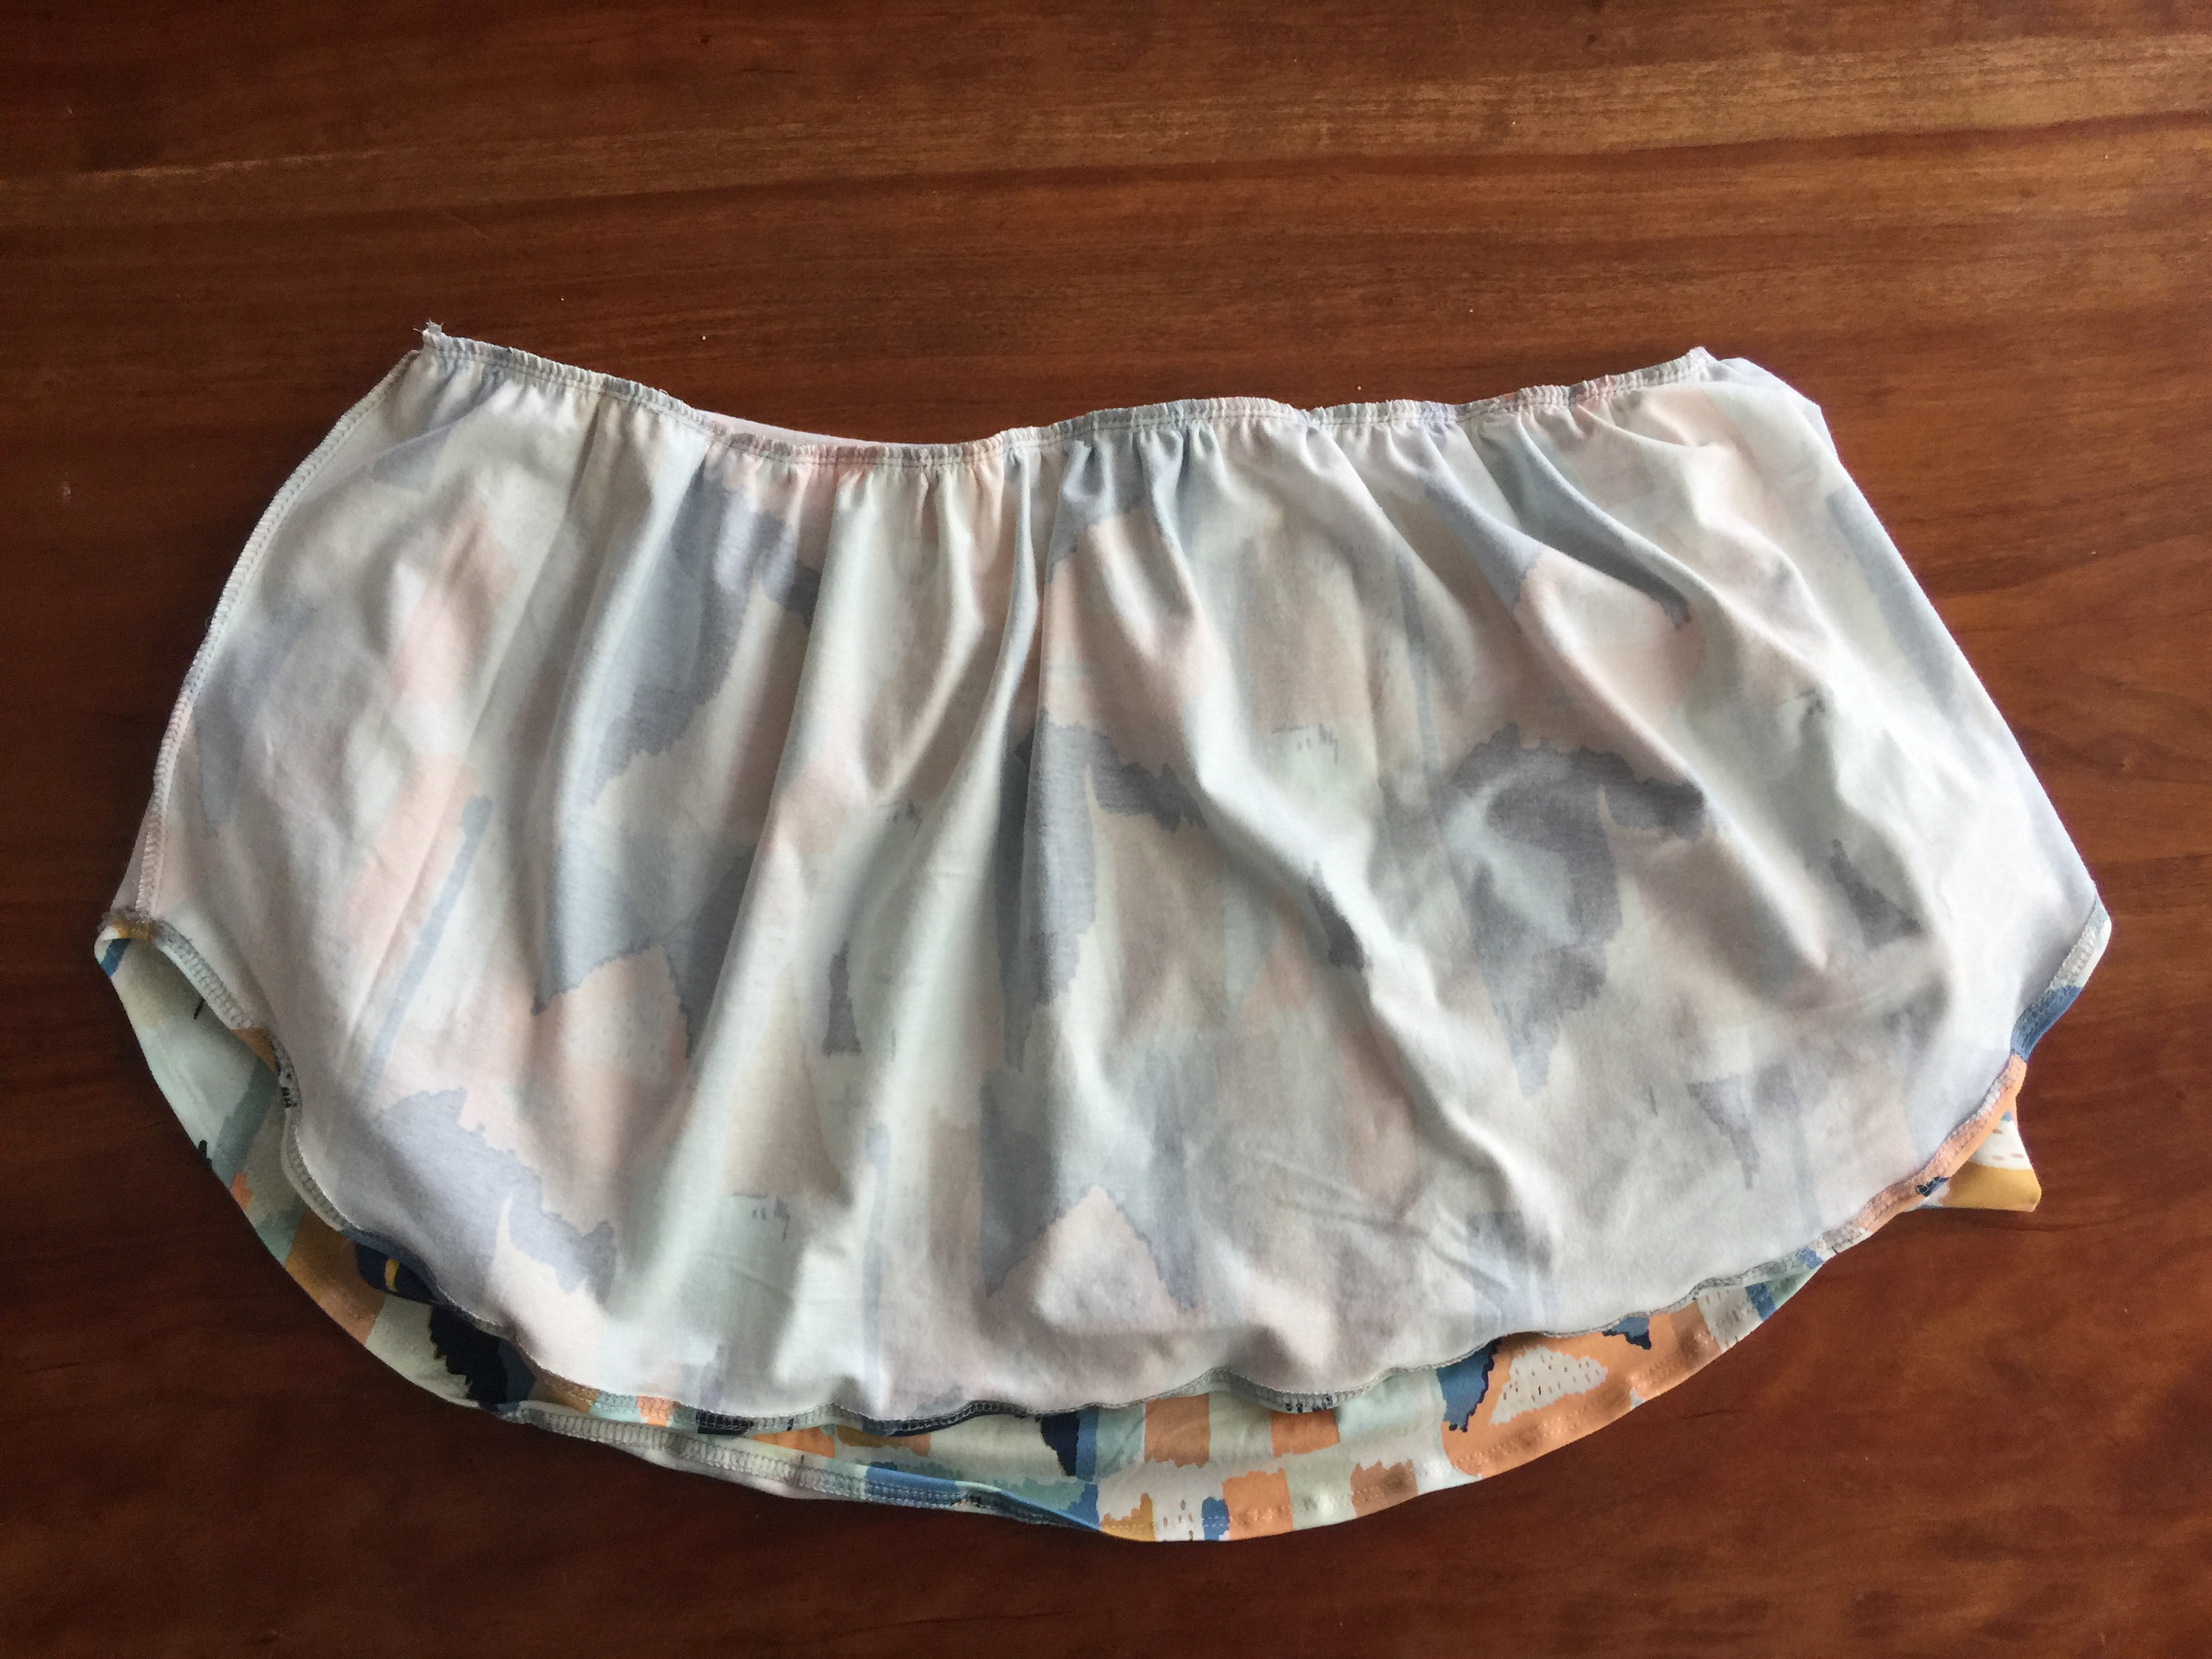
The best way to attach the skirt to the bodice is to turn the skirt inside out. Put the bodice inside the skirt piece. Right sides together and raw edges lined up. Pin at the side seams and adjust the gathering to fit the size of the bodice. Pin in the middle. (or wonderclip)
Stretch your bodice ever so slightly as you sew. If your fabric has poor stretch recovery or is delicate, try using clear elastic serger tape in the seam to reinforce this area. It will stretch a bit as it goes over your bust.
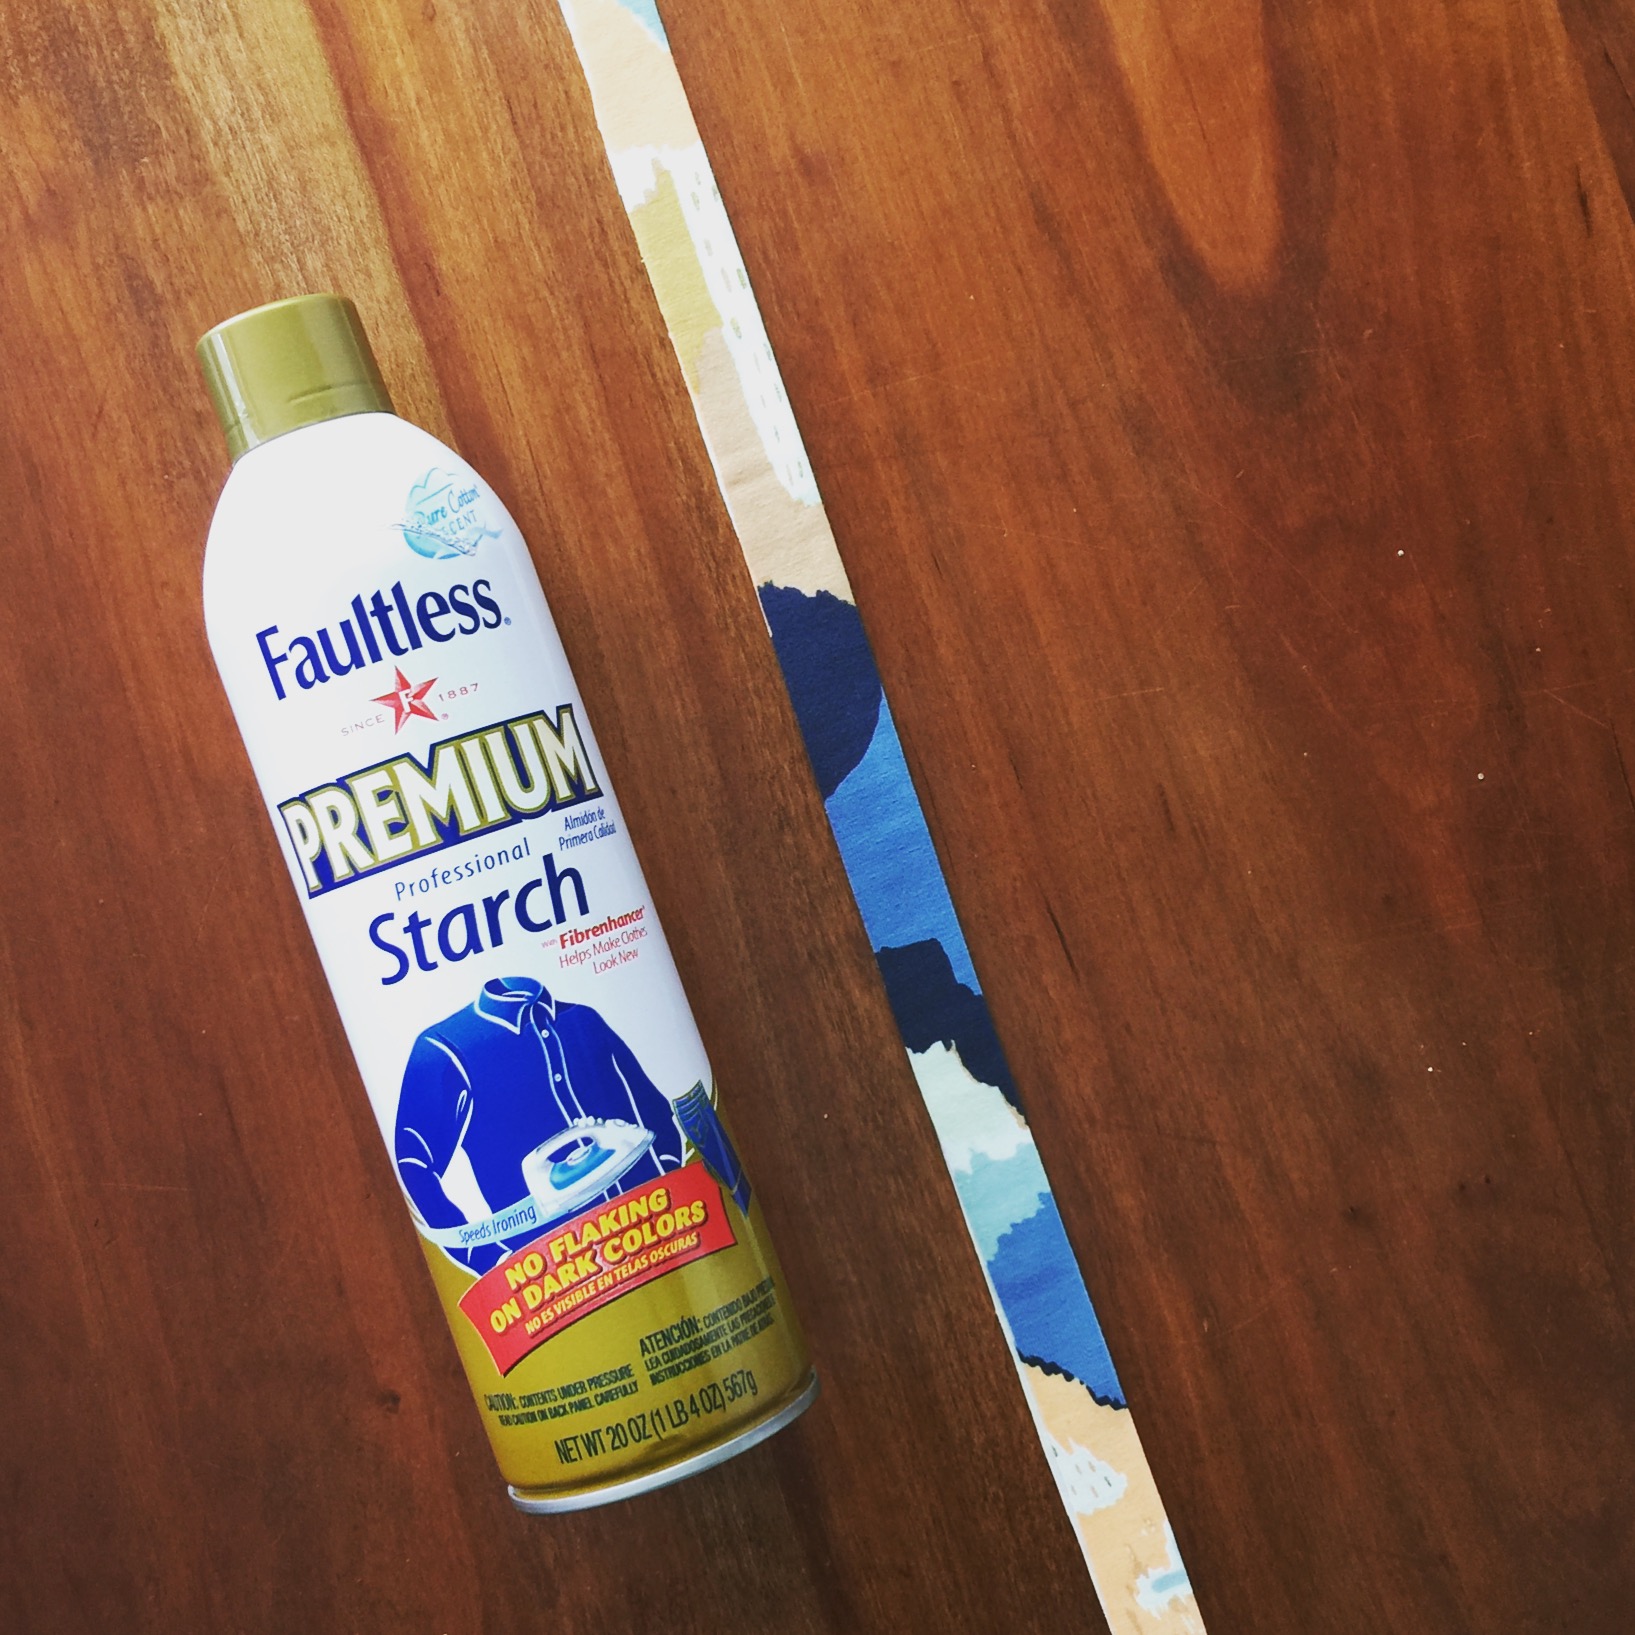
NECKBAND PARTY! Ok, deep breaths….make sure you notched the shirt bodice at the middle points of the neckline. If your fabric is curling, starch it. Fold it lengthwise and starch it again! Press it real good. (If starching neckbands is wrong, I don’t want to be right.)
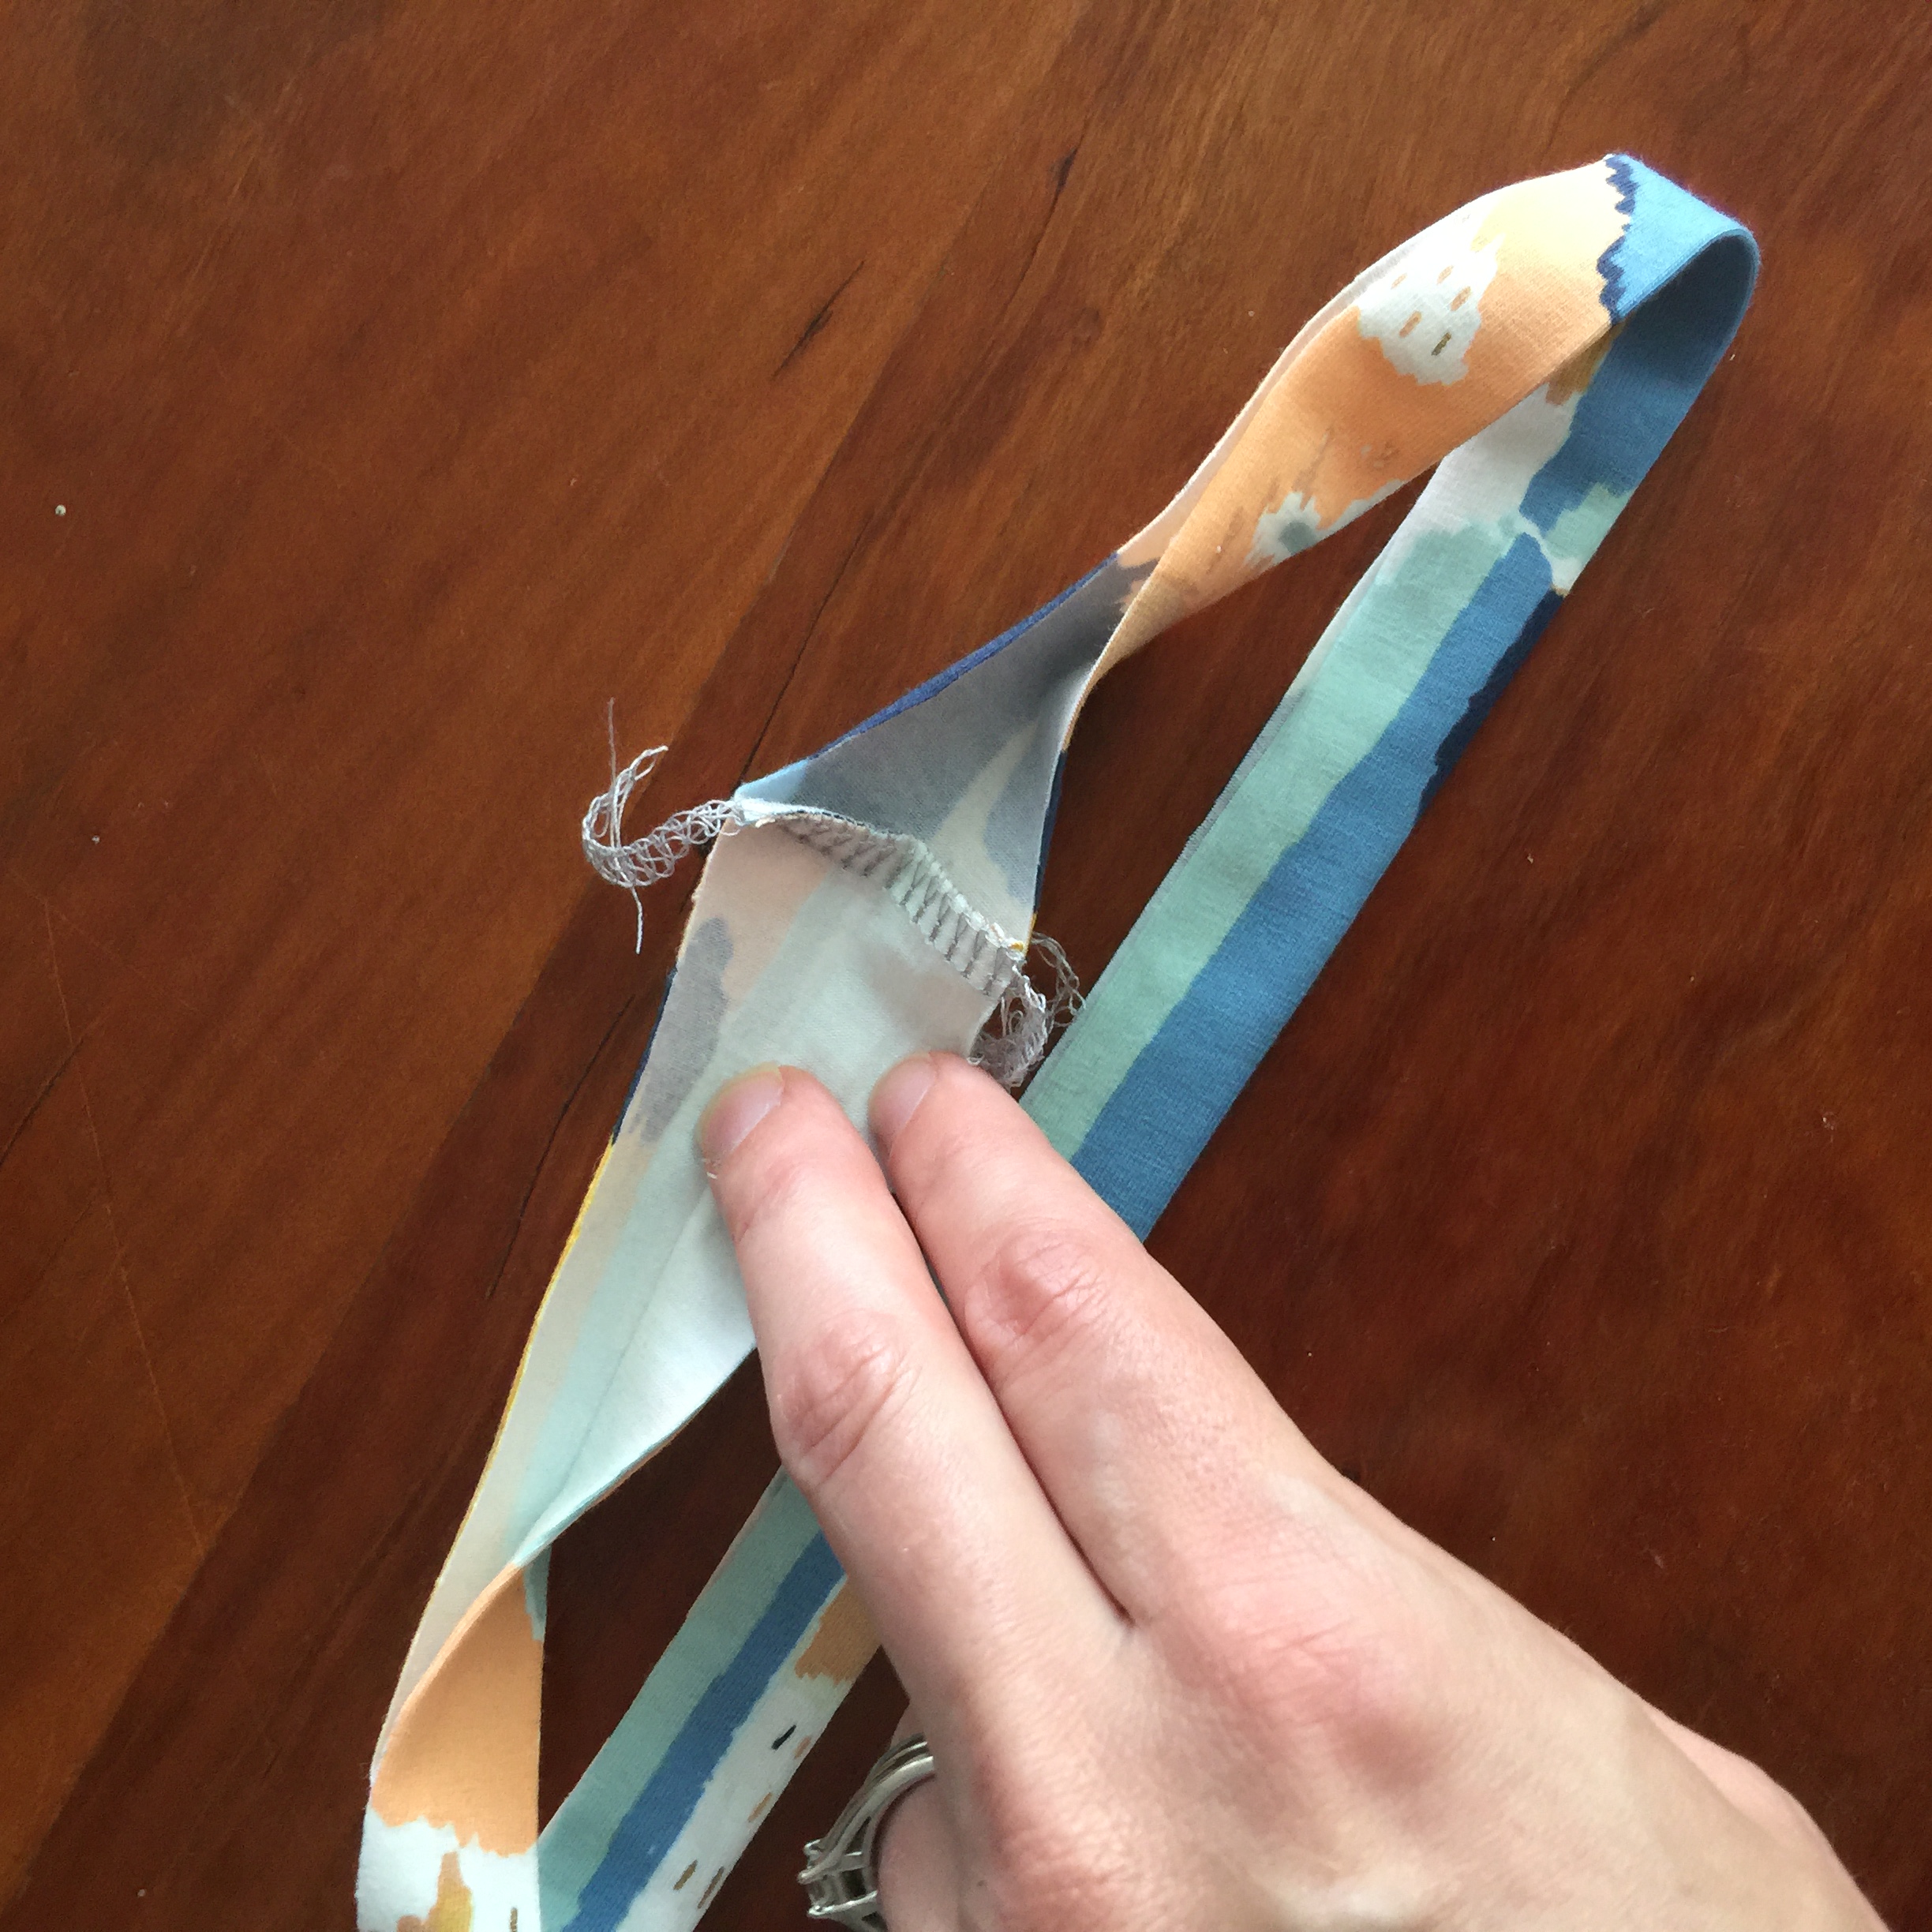
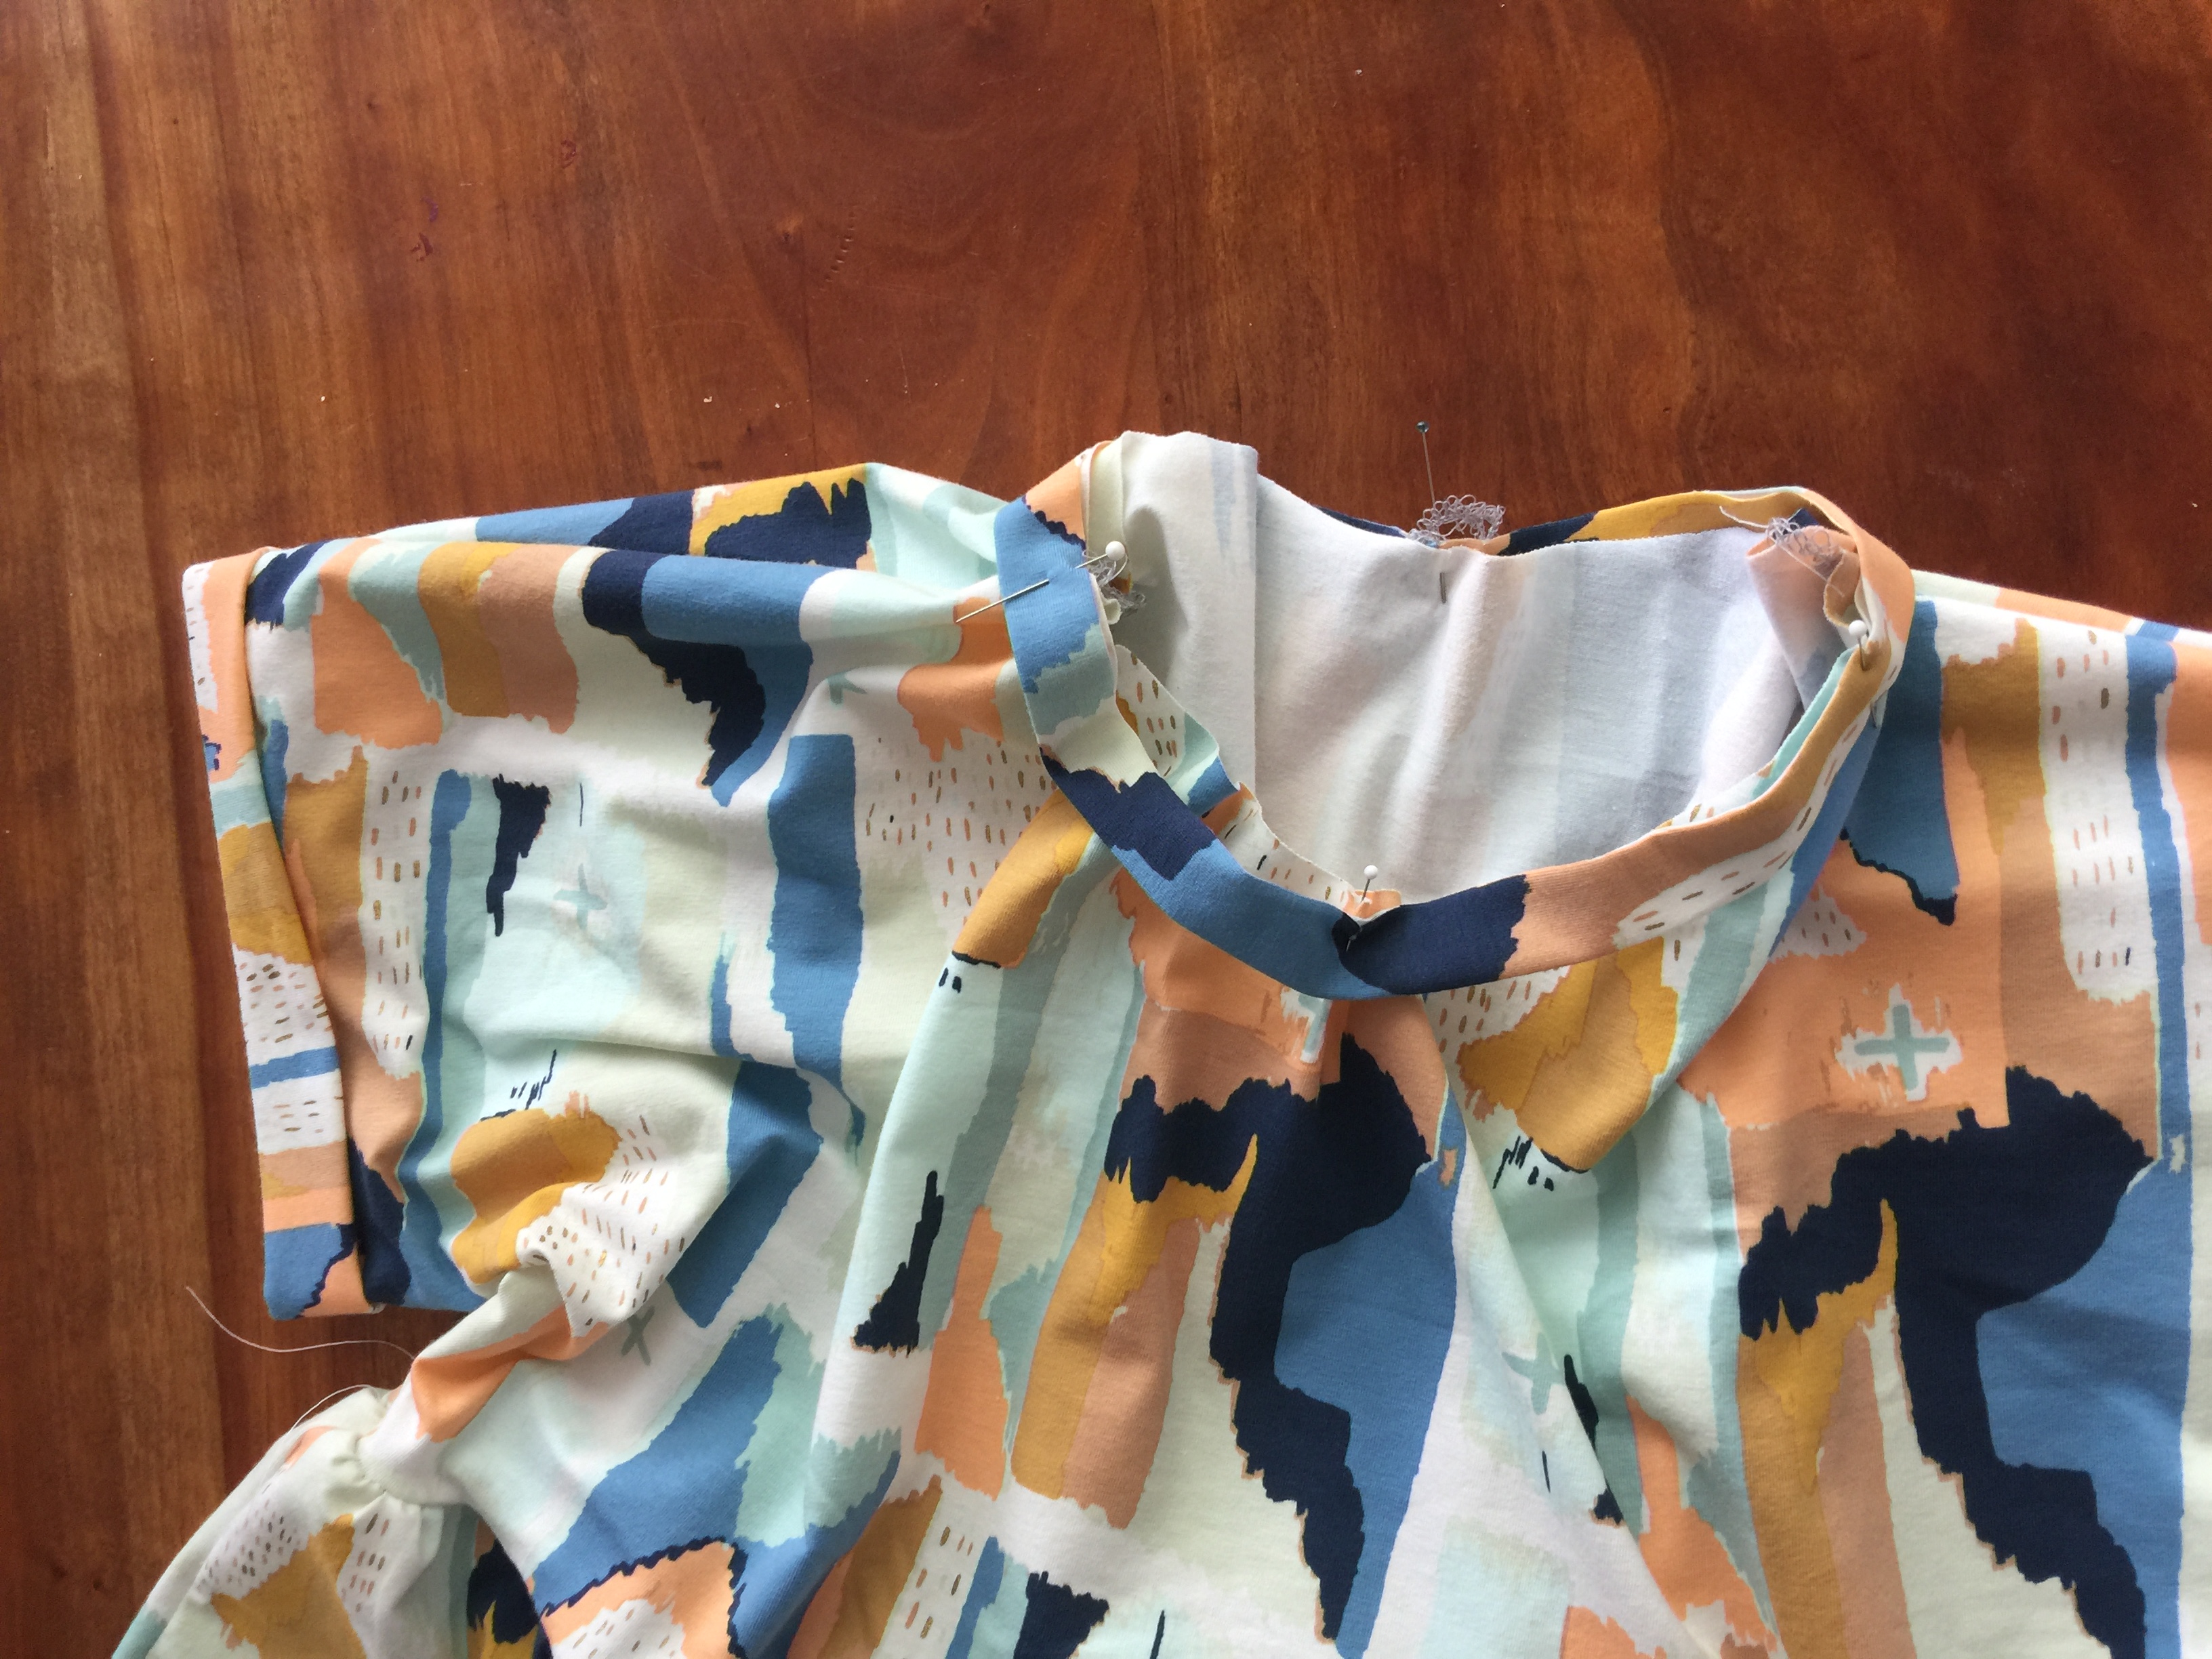
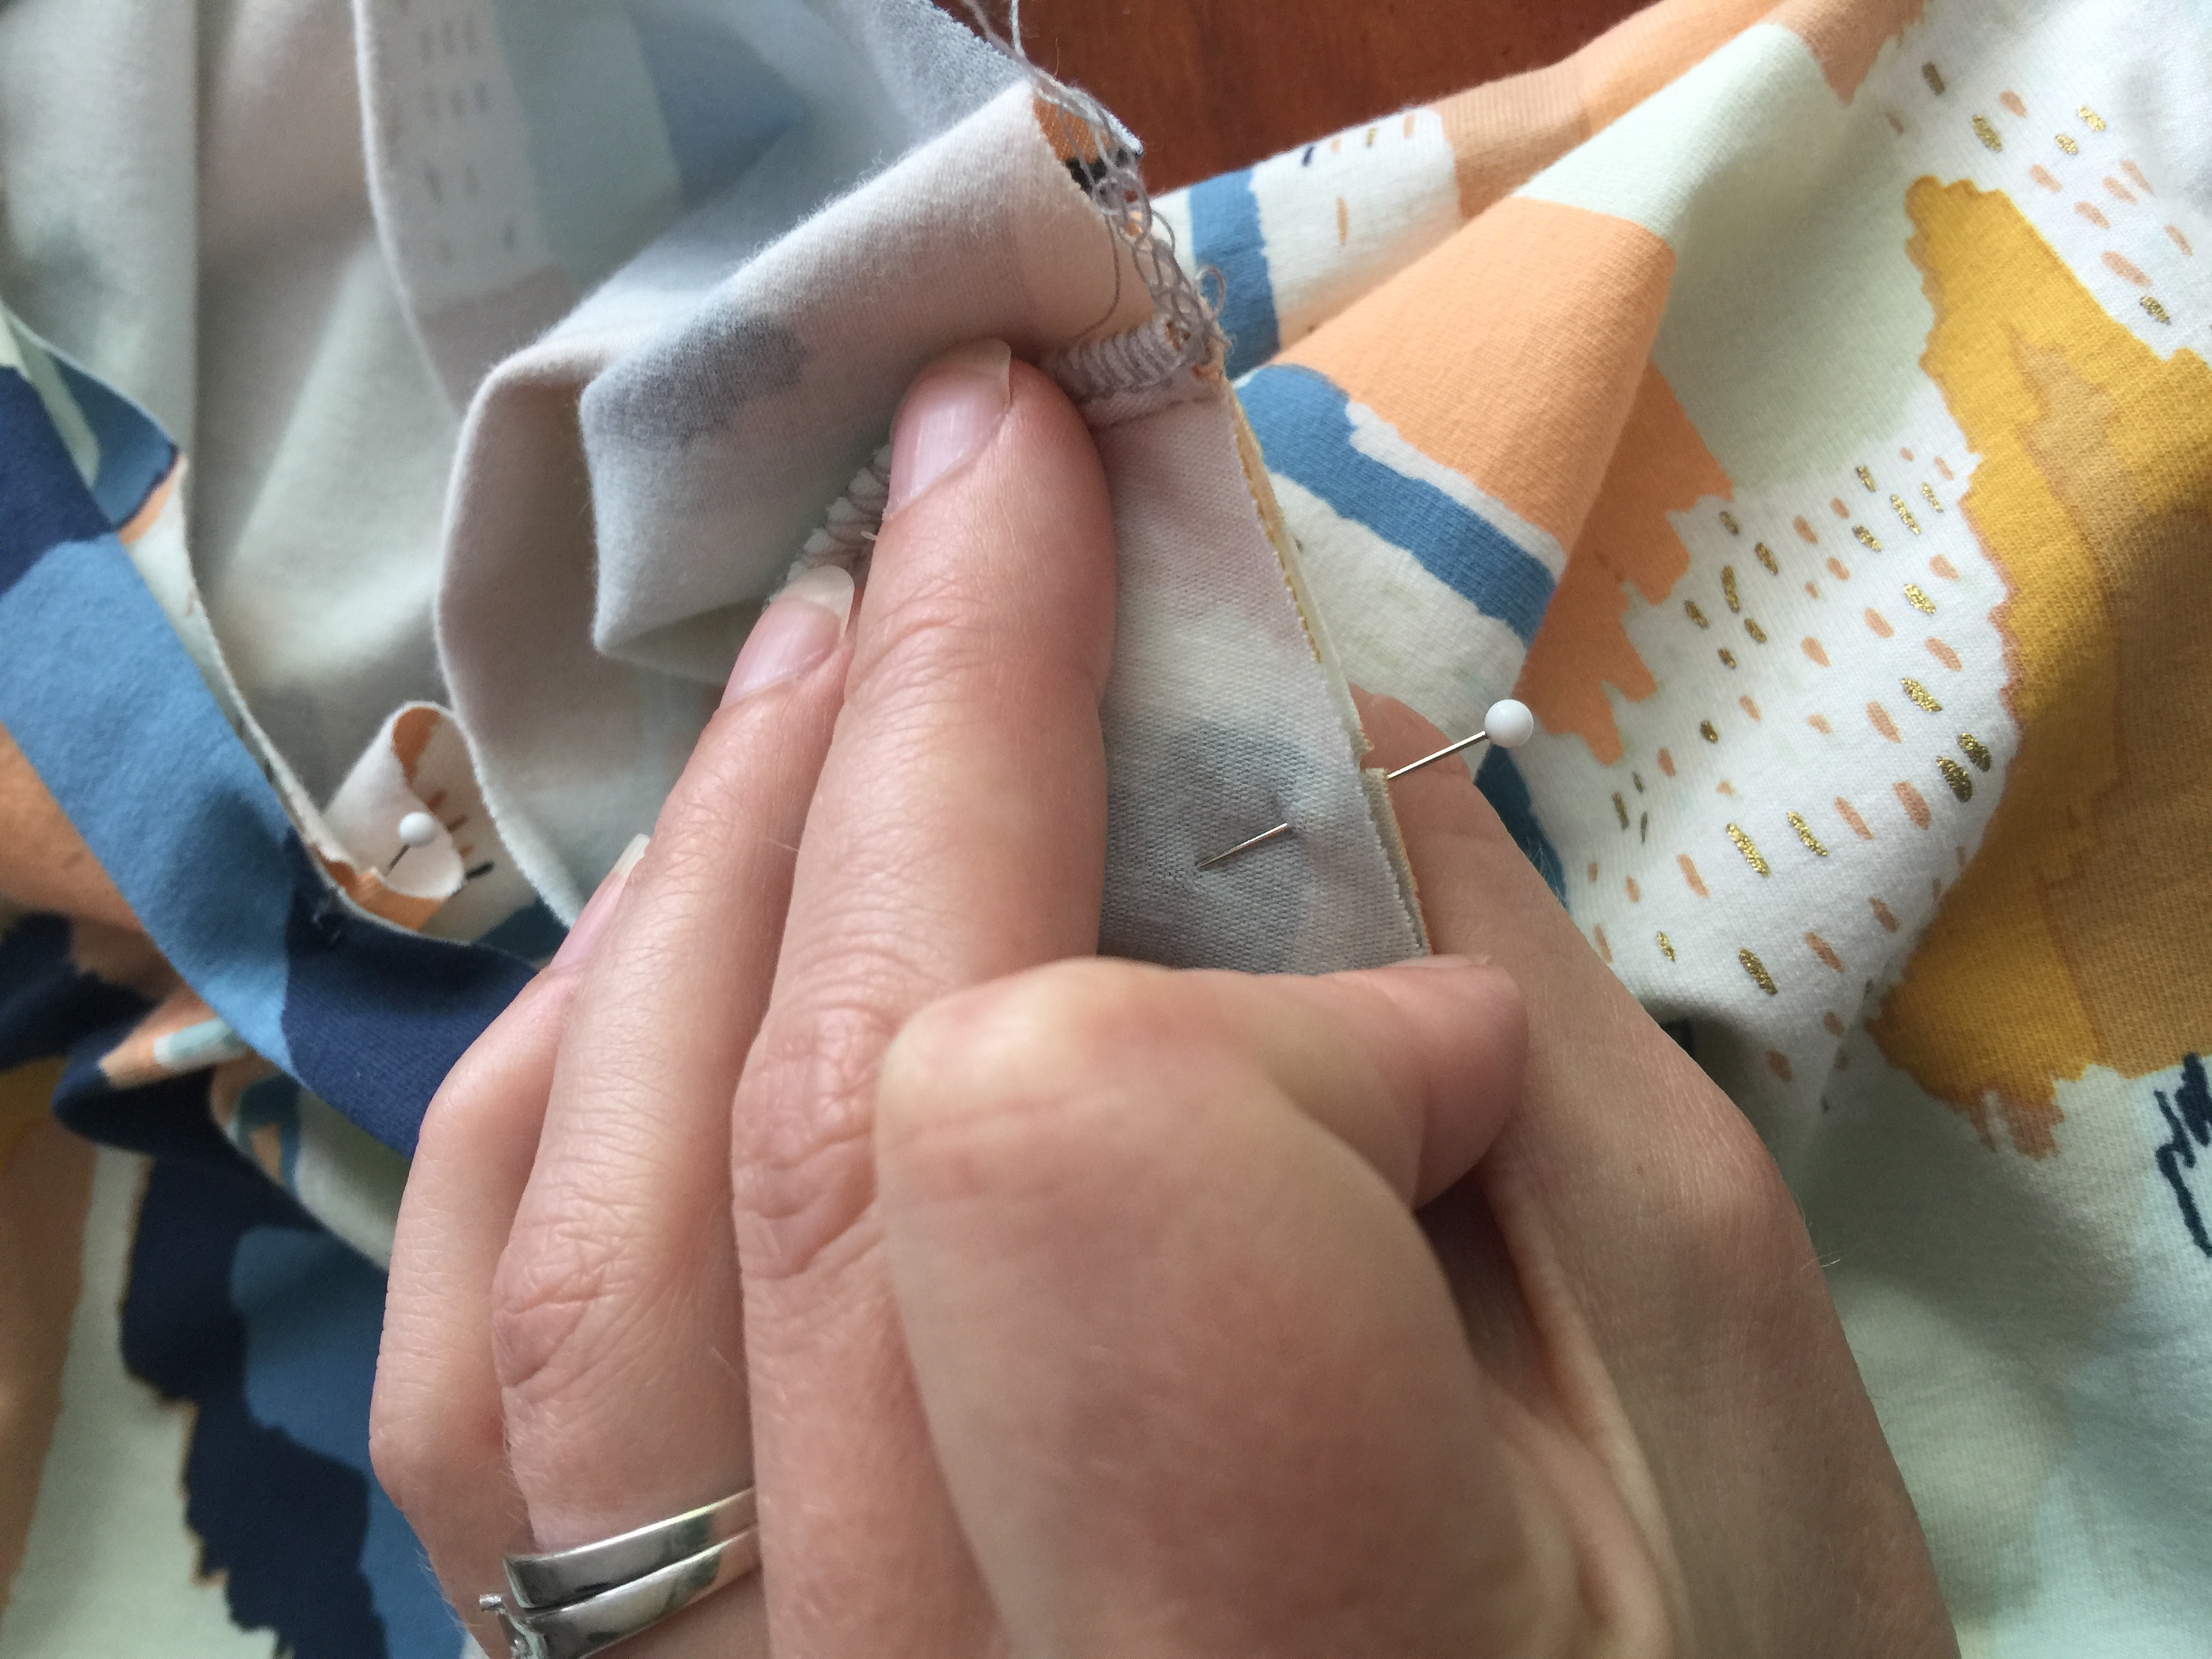
Sew/serge the short ends, right sides together. Fold it in half and put a pin at the half way point. Fold in half the other way and add two more pins. So you should have 4 equal points…The seam, and the three pins marking the quarter sections of the band. Pin the seam at the middle back of the neck. Then pin the front, then the sides about 1 inch away from the shoulder seam on the front bodice. Stretch the band as you sew to fit and ease into the neckline.
PRESS the neckband seam toward the bodice. For a professsional look and a band that lays flat, top stitch the neckline on the bodice a 1/4″ below the neckband and catch the seam allowance underneath. Press again.
Tada! Your done. If you have further questions or need something clarified just leave me a comment or send me an email and I would be happy to help!
Tag your photos on social with #thehermionepattern #andrealoydesign
Find me and my sewing projects on IG @handfulofarrows
by Andrea | May 5, 2019 | Uncategorized
Summer is just around the corner and if I had a dollar for everyone in Lynchburg who has asked me if I can teach them to sew….well, I probably would teach them all for free! I’m excited to offer small group sewing lessons for Modern Quilting and private sewing lessons! These classes will be for 4 weeks in June and include all the fabric and batting you need to complete your craft. Plus you will have me, helping you every step of the way! I’ve got four different options for all aspiring seamstresses!
Other summer plans include a few Maker’s Cottage Craft Nights for gals. Plus, a fun workshop for little girls to sew and craft for their American Girl dolls. My daughters are pretty excited for all of these classes and seem to think I planned them just for them, but I certainly hope you will join us too!
If there is enough interest I would be happy to teach an adult class on how to sew clothing for yourself. The possibilities are endless!
Here are the sewing classes available, there is a limited number of spots, so be sure to sign up once you check your summer schedule!
Modern Quilting 101 – Mother / Daughter Class

June 5, 12, 19, 26 -2019 $40 session/$160 total
2:00 – 4:00 pm
1301 Main Street #102
Lynchburg, VA
SIGN UP BY MAY 24
Recommended for girls age 8+ and their mothers
Modern Quilting 101 is the perfect class for a mother and daughter who both want to learn how to do basic quilting! The class will be broken down into four 2 hour sessions. We will gather once a week for four weeks. There will be some homework if you don’t complete each step during class.
Week 1: Threading your machine, making a bobbin, cutting out your fabric (the right way with the right tools).
Week 2: Sewing straight seams, seam allowances, piecing your quilt top.
Week 3: The quilt sandwich; assembling your quilt top, basting it, machine quilting and hand quilting techniques will be taught.
Week 4: Binding, you will learn how to make your own and attach it!
GOOD NEWS!
This class will include all the fabric and batting you will need to create a table runner or American Girl sized doll quilt.
WHAT YOU NEED:
-You will need a working machine with the sewing machine manual.
(If you are unsure if your machine is working right, I will meet with you beforehand to determine your machine’s condition for a small charge.)
-thread (gutermann thread is recommended)
-Sharp sewing scissors
-bobbins to fit your machine
-hand sewing needle with large eye/thimble
————–
Modern Quilting 101 Ladies Night

June 5, 12, 19, 26 -2019 $25 session/$100 total
7:00 – 9:00 pm
1301 Main Street #102
Lynchburg, VA
SIGN UP BY MAY 24
Recomended for women 18+
Modern Quilting 101 is the perfect class for women who want to learn how to do basic quilting! The class will be broken down into four 2 hour sessions. We will gather once a week for four weeks. There will be some homework if you don’t complete each step during class especially during Week 3. I will have wine and charcuterie! It will be a blast! Friends are encouraged to sign up together!
Week 1: Threading your machine, making a bobbin, cutting out your fabric.
Week 2: Sewing straight seams, seam allowances, piecing your quilt top.
Week 3: The quilt sandwich; assembling your quilt top, basting it, machine quilting and hand quilting techniques
Week 4: Binding, you will learn how to make your own and attach it!
GOOD NEWS!
This class will include all the fabric and batting you will need to create a table runner or infant sized quilt.
WHAT YOU NEED:
-You will need a working machine and the sewing machine manual.
(If you are unsure if your machine is working right, I will meet with you beforehand to determine your machine’s condition for a small charge.)
-thread (gutermann thread is recommended)
-Sharp sewing scissors
-bobbins to fit your machine
-hand sewing needle with large eye/thimble
Private Sewing Lessons

Sewing Lessons are available for all ages and abilities. Tell me a little about yourself or your child, what you want to learn to sew, and what time works best for you. Lessons are $25/hour.
American Girl Sewing & Craft Class

June 17 or 19 $50
9:00 am – 12:00 pm
1301 Main Street #102
Lynchburg, VA
SIGN UP BY MAY 24
Recomended for ages 5-10
Your child will learn basic sewing skills to create a doll skirt for their 18″ doll. Next they will create a pillow and a rug to decorate dolly’s home, and finally they will make a doll sized floral wreath. All materials needed and snacks will be provided.
by Andrea | Apr 11, 2019 | Uncategorized
Are you pro buffalo check? All the buffalo check, all the time. Are you in that camp!? I’ve loved it for a long time, and I’m thrilled it is so widely available in home decor fabrics. It’s a classic look. Buffalo check quilts popped up on Pinterest last summer and I thought it was both an amazing and yet totally rediculous idea all at the same time.
But if by rediculous, I define the process as cutting out little pieces of fabric from larger pieces and sewing them back together again, then all quilts are rediculous. I guess I’ve just proved myself wrong, Becuase for me and great deal of others, quilting is life. It’s about organizing the creative process in a supremely satisfying way. This process involves a deeper level of emotion and pleasure than watching tv or organizing a sock drawer or even painting a masterpiece. Quilting is the marriage of art, love, and functionality for me. It’s perfect for a type A creative who can’t stand the thought of making something for no other reason than to look at it.
Now, back to the Buffalo check quilt trend. I began to get the itch for this quilt not more than a few seconds after the Pinterest image flashed before my eyes. I filed it under “must do” in the sewing section of my brain.
Once I found out I was going to be an auntie again I decided that my sister in law (who already had a buffalo check chair in her nursery ) was going to be the fitting recipient of my buffalo check quilt. Little boy was going to need to know my love in quilt form.
Then I waited for the fabric to come to me. I watched my stash for inspiration out of the corner of my eye when daily passing my fabric shelves. I browsed online fabric stores, but one day I was walking down the aisle of my local Walmart looking for a button and I saw the little precut packages of Waverly solids. They were perched in a little row along the bottom. I immediately reached out to touch them and test for quality. They were well made. The store had all the right shades to compose the three values needed for a buffalo check.
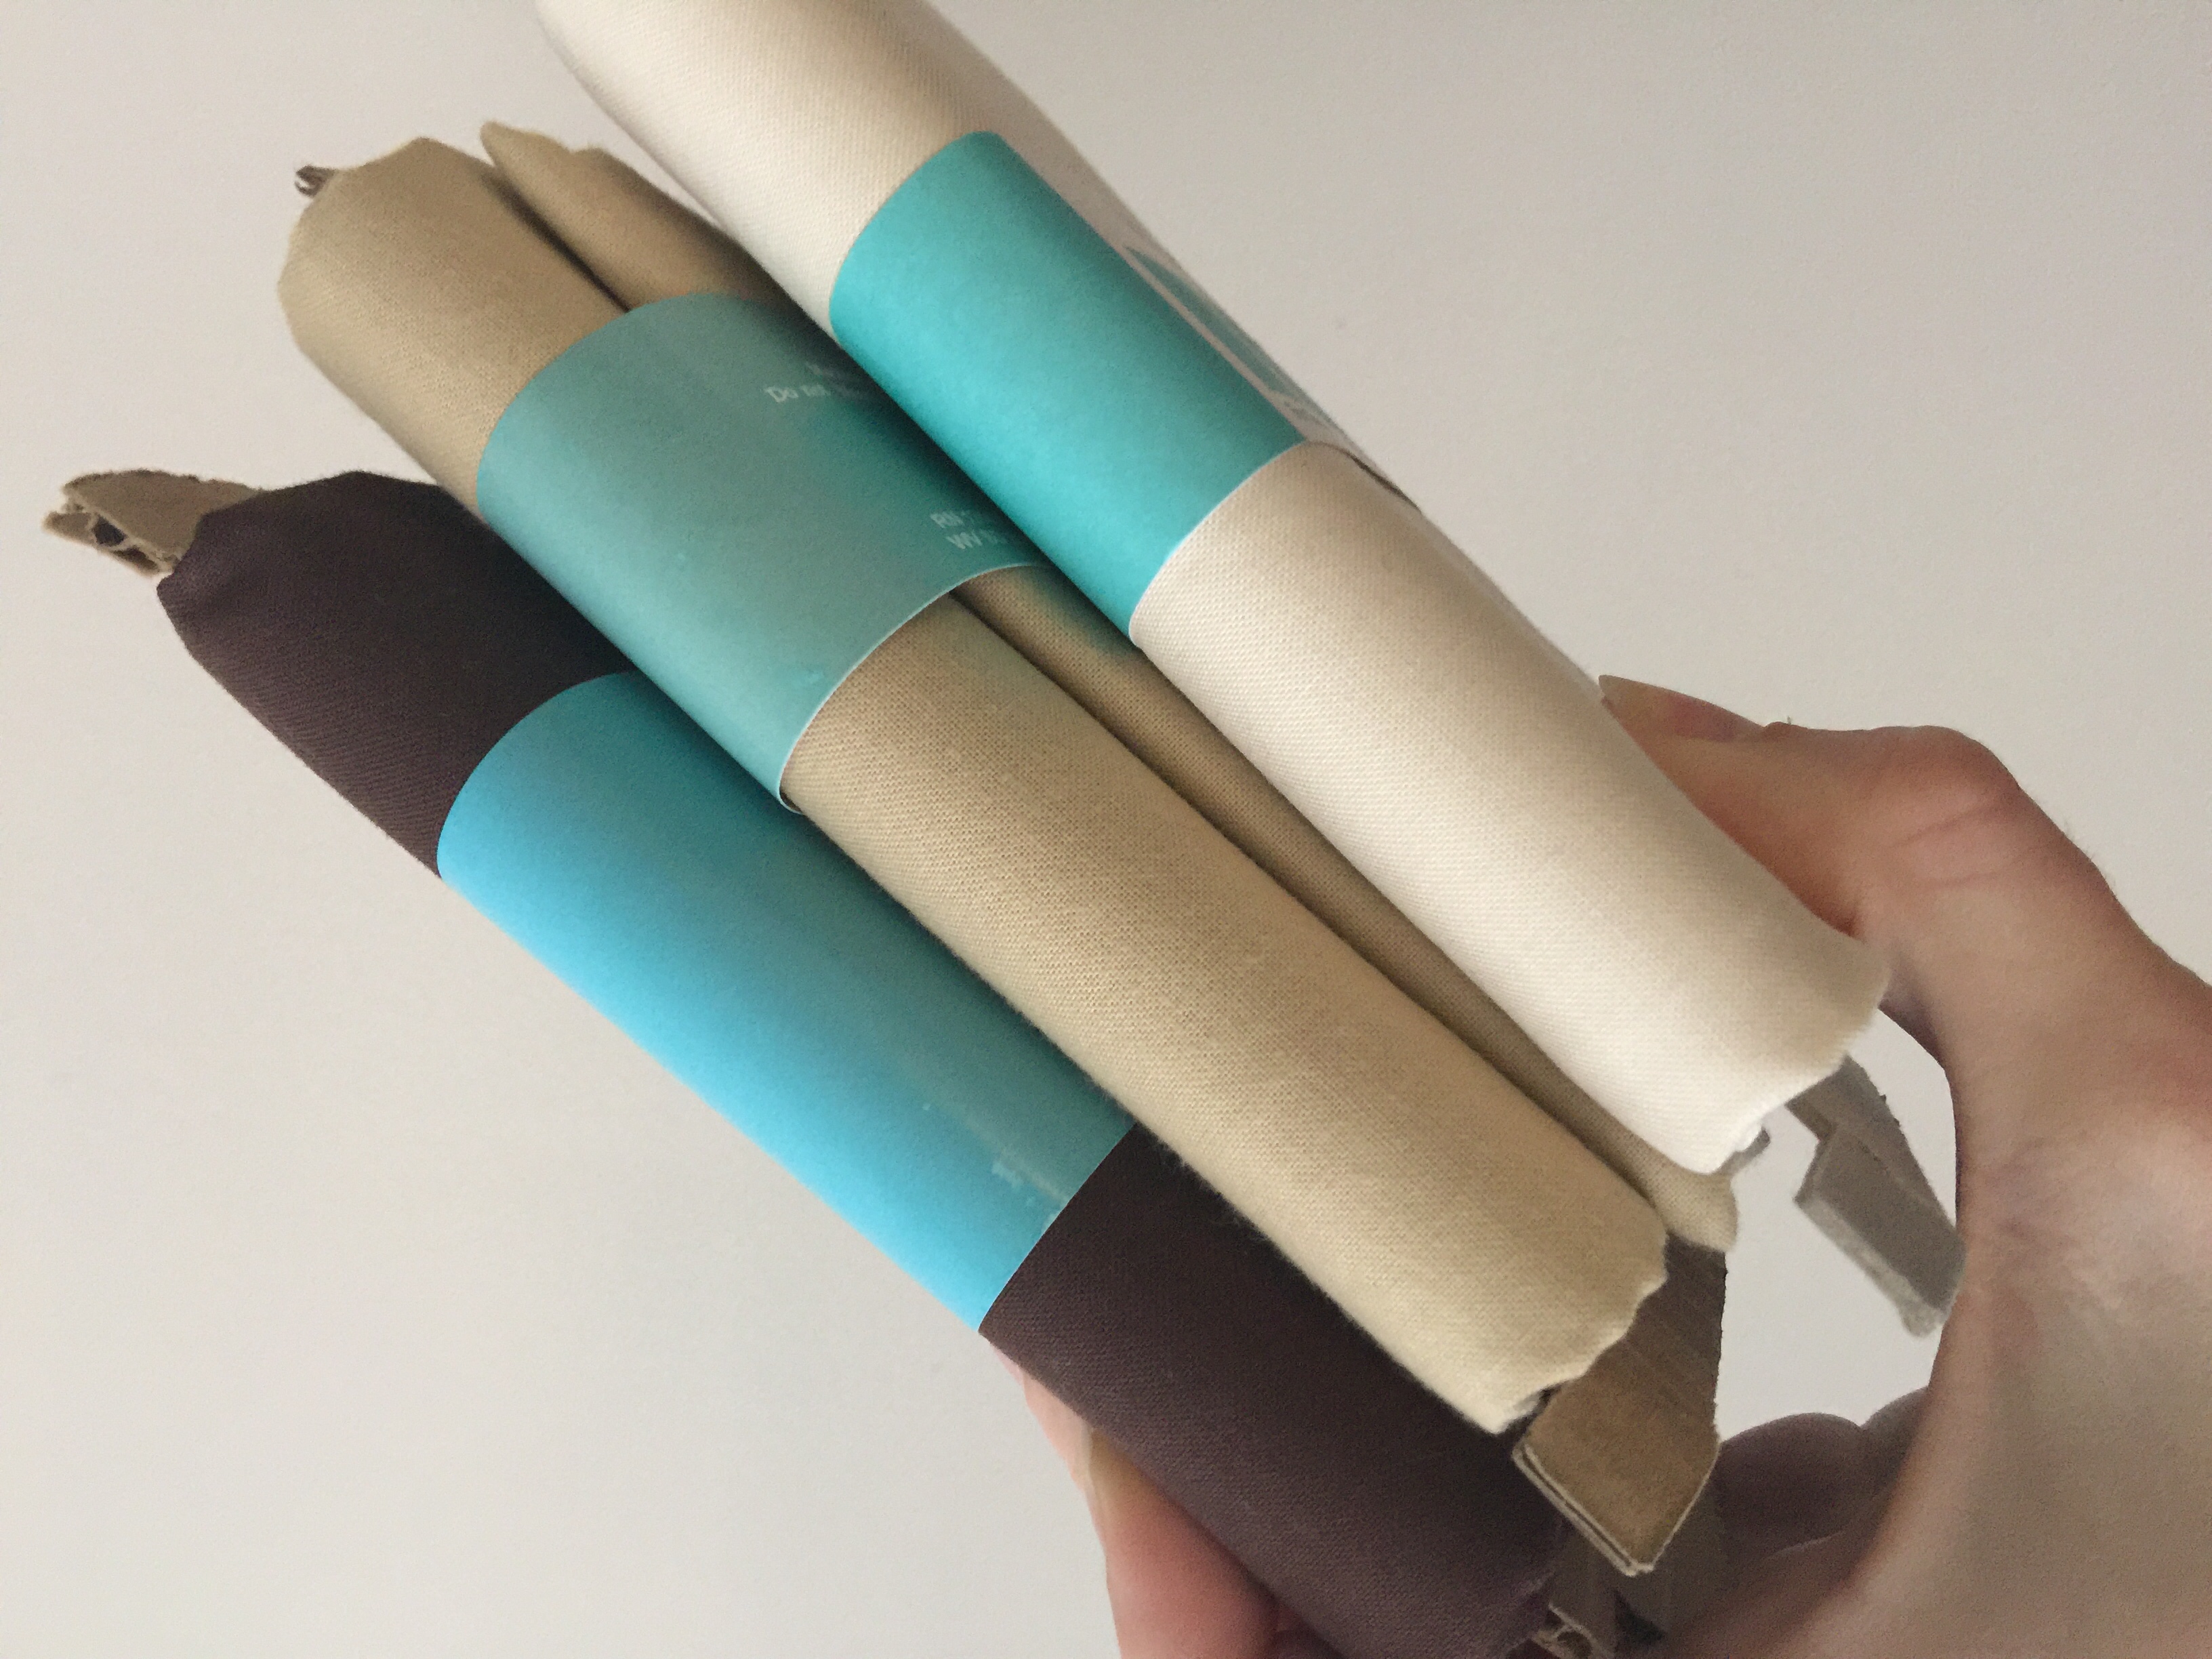
I took those little guys home with me and waited for Spring Break so I could have some uninterrupted sewing time.
Here is what I learned: Do not get sooo excited to start a project that you forget to think through the best process.
I could have cut strips and been very clever to piece this quilt in half the time I did. But I got excited, pulled out my accucut square die and chopped the yards up all into squares. About three rows into laying out the pattern on the floor I realized what I had done but it was too late.
I should have cut long strips out of my colors. Then sewed together Fabric A and B alternating and Fabric A and C alternating, so that I could strip piece.
But alas, I was just too excited.
Consequently, these squares are what I began my quilt with.
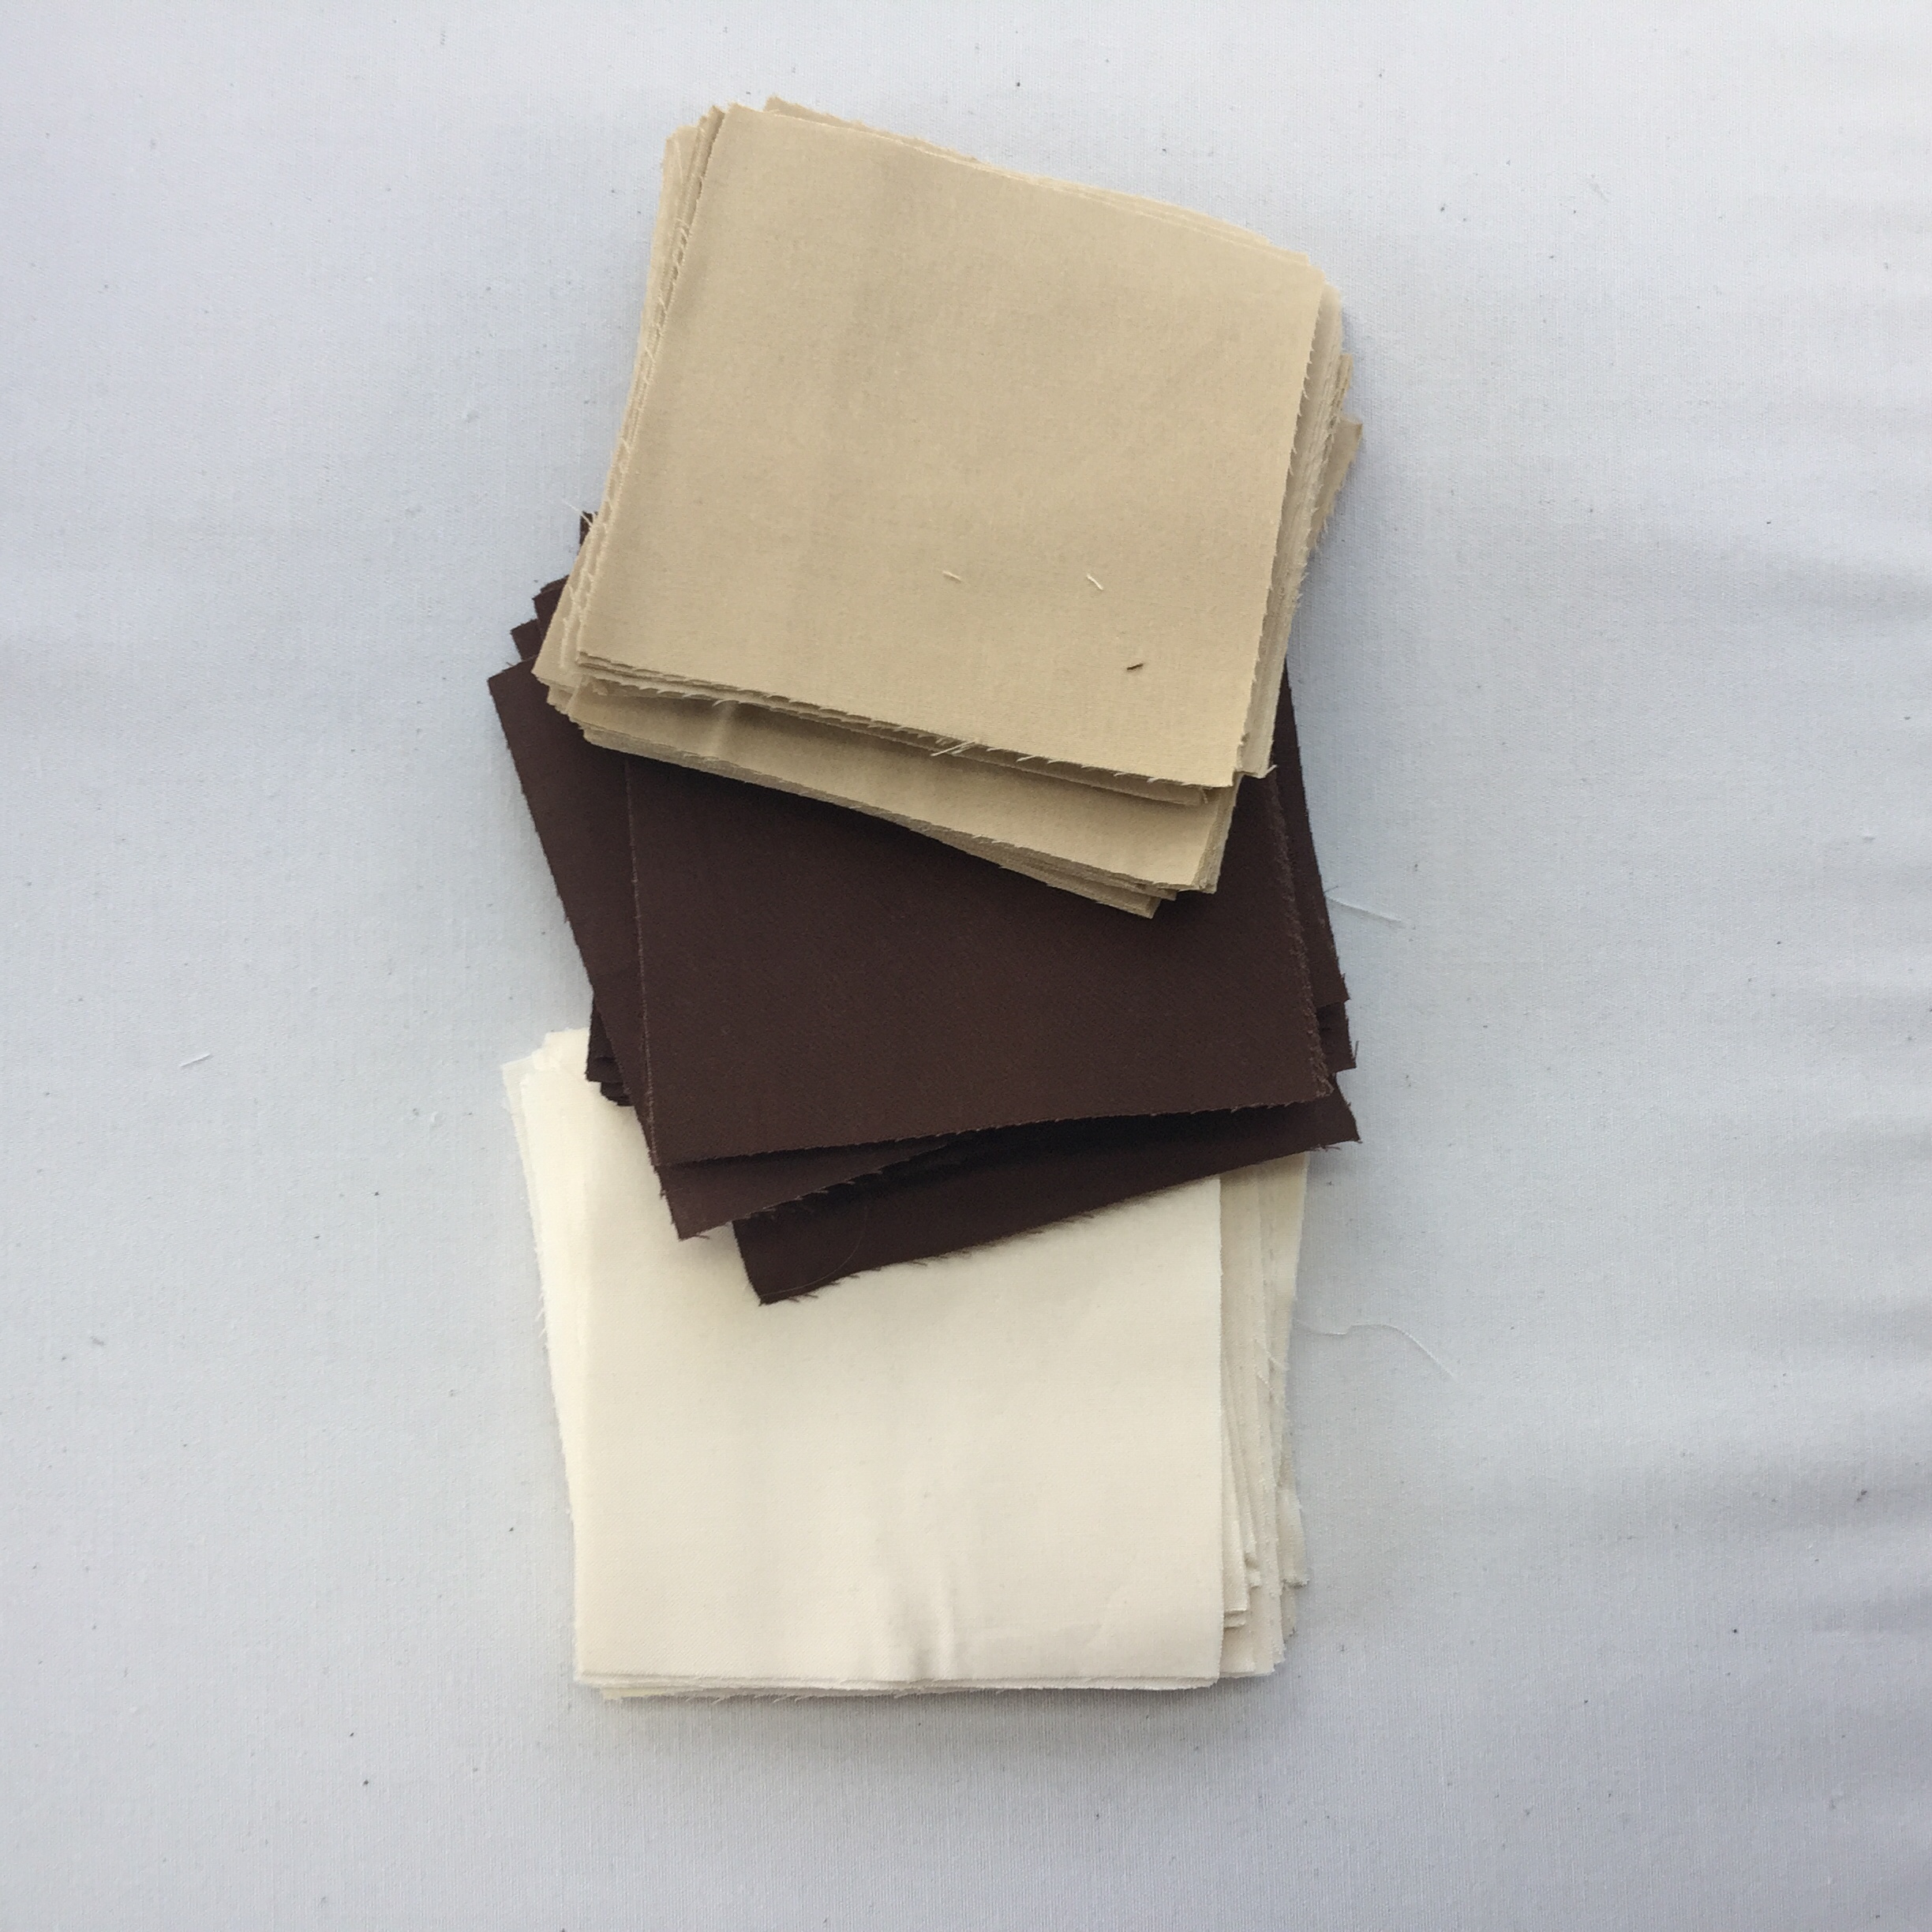
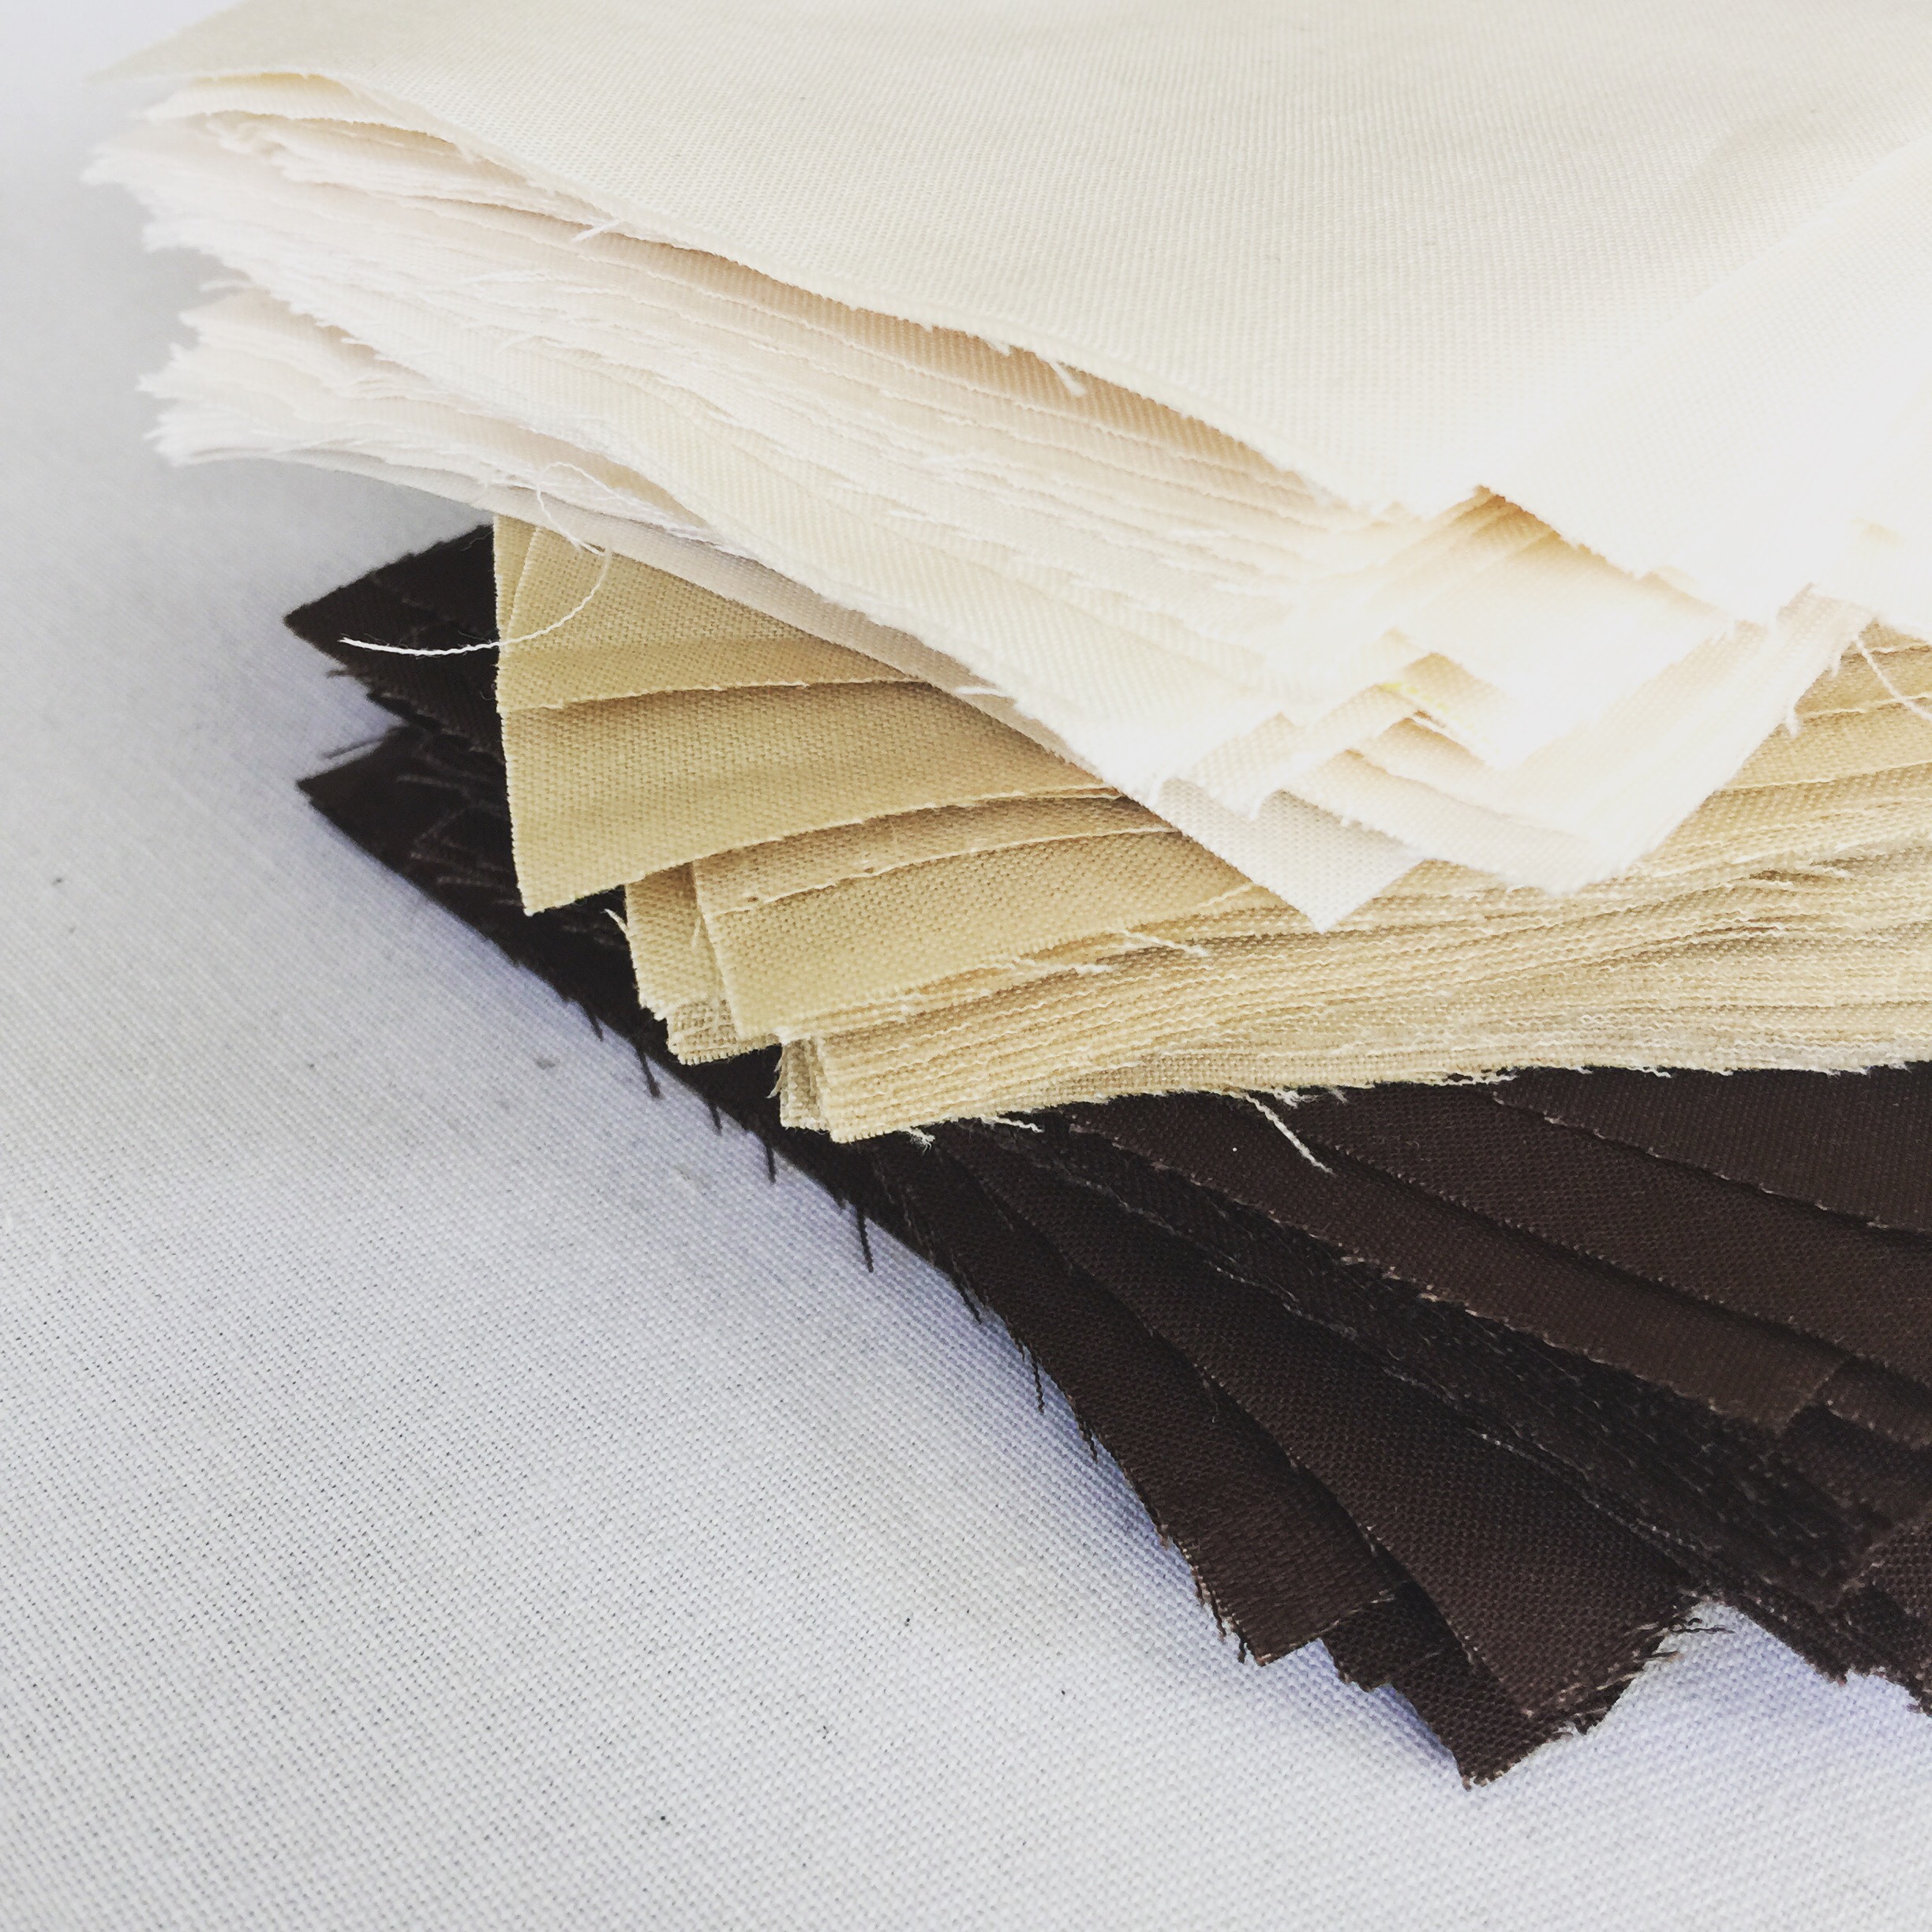
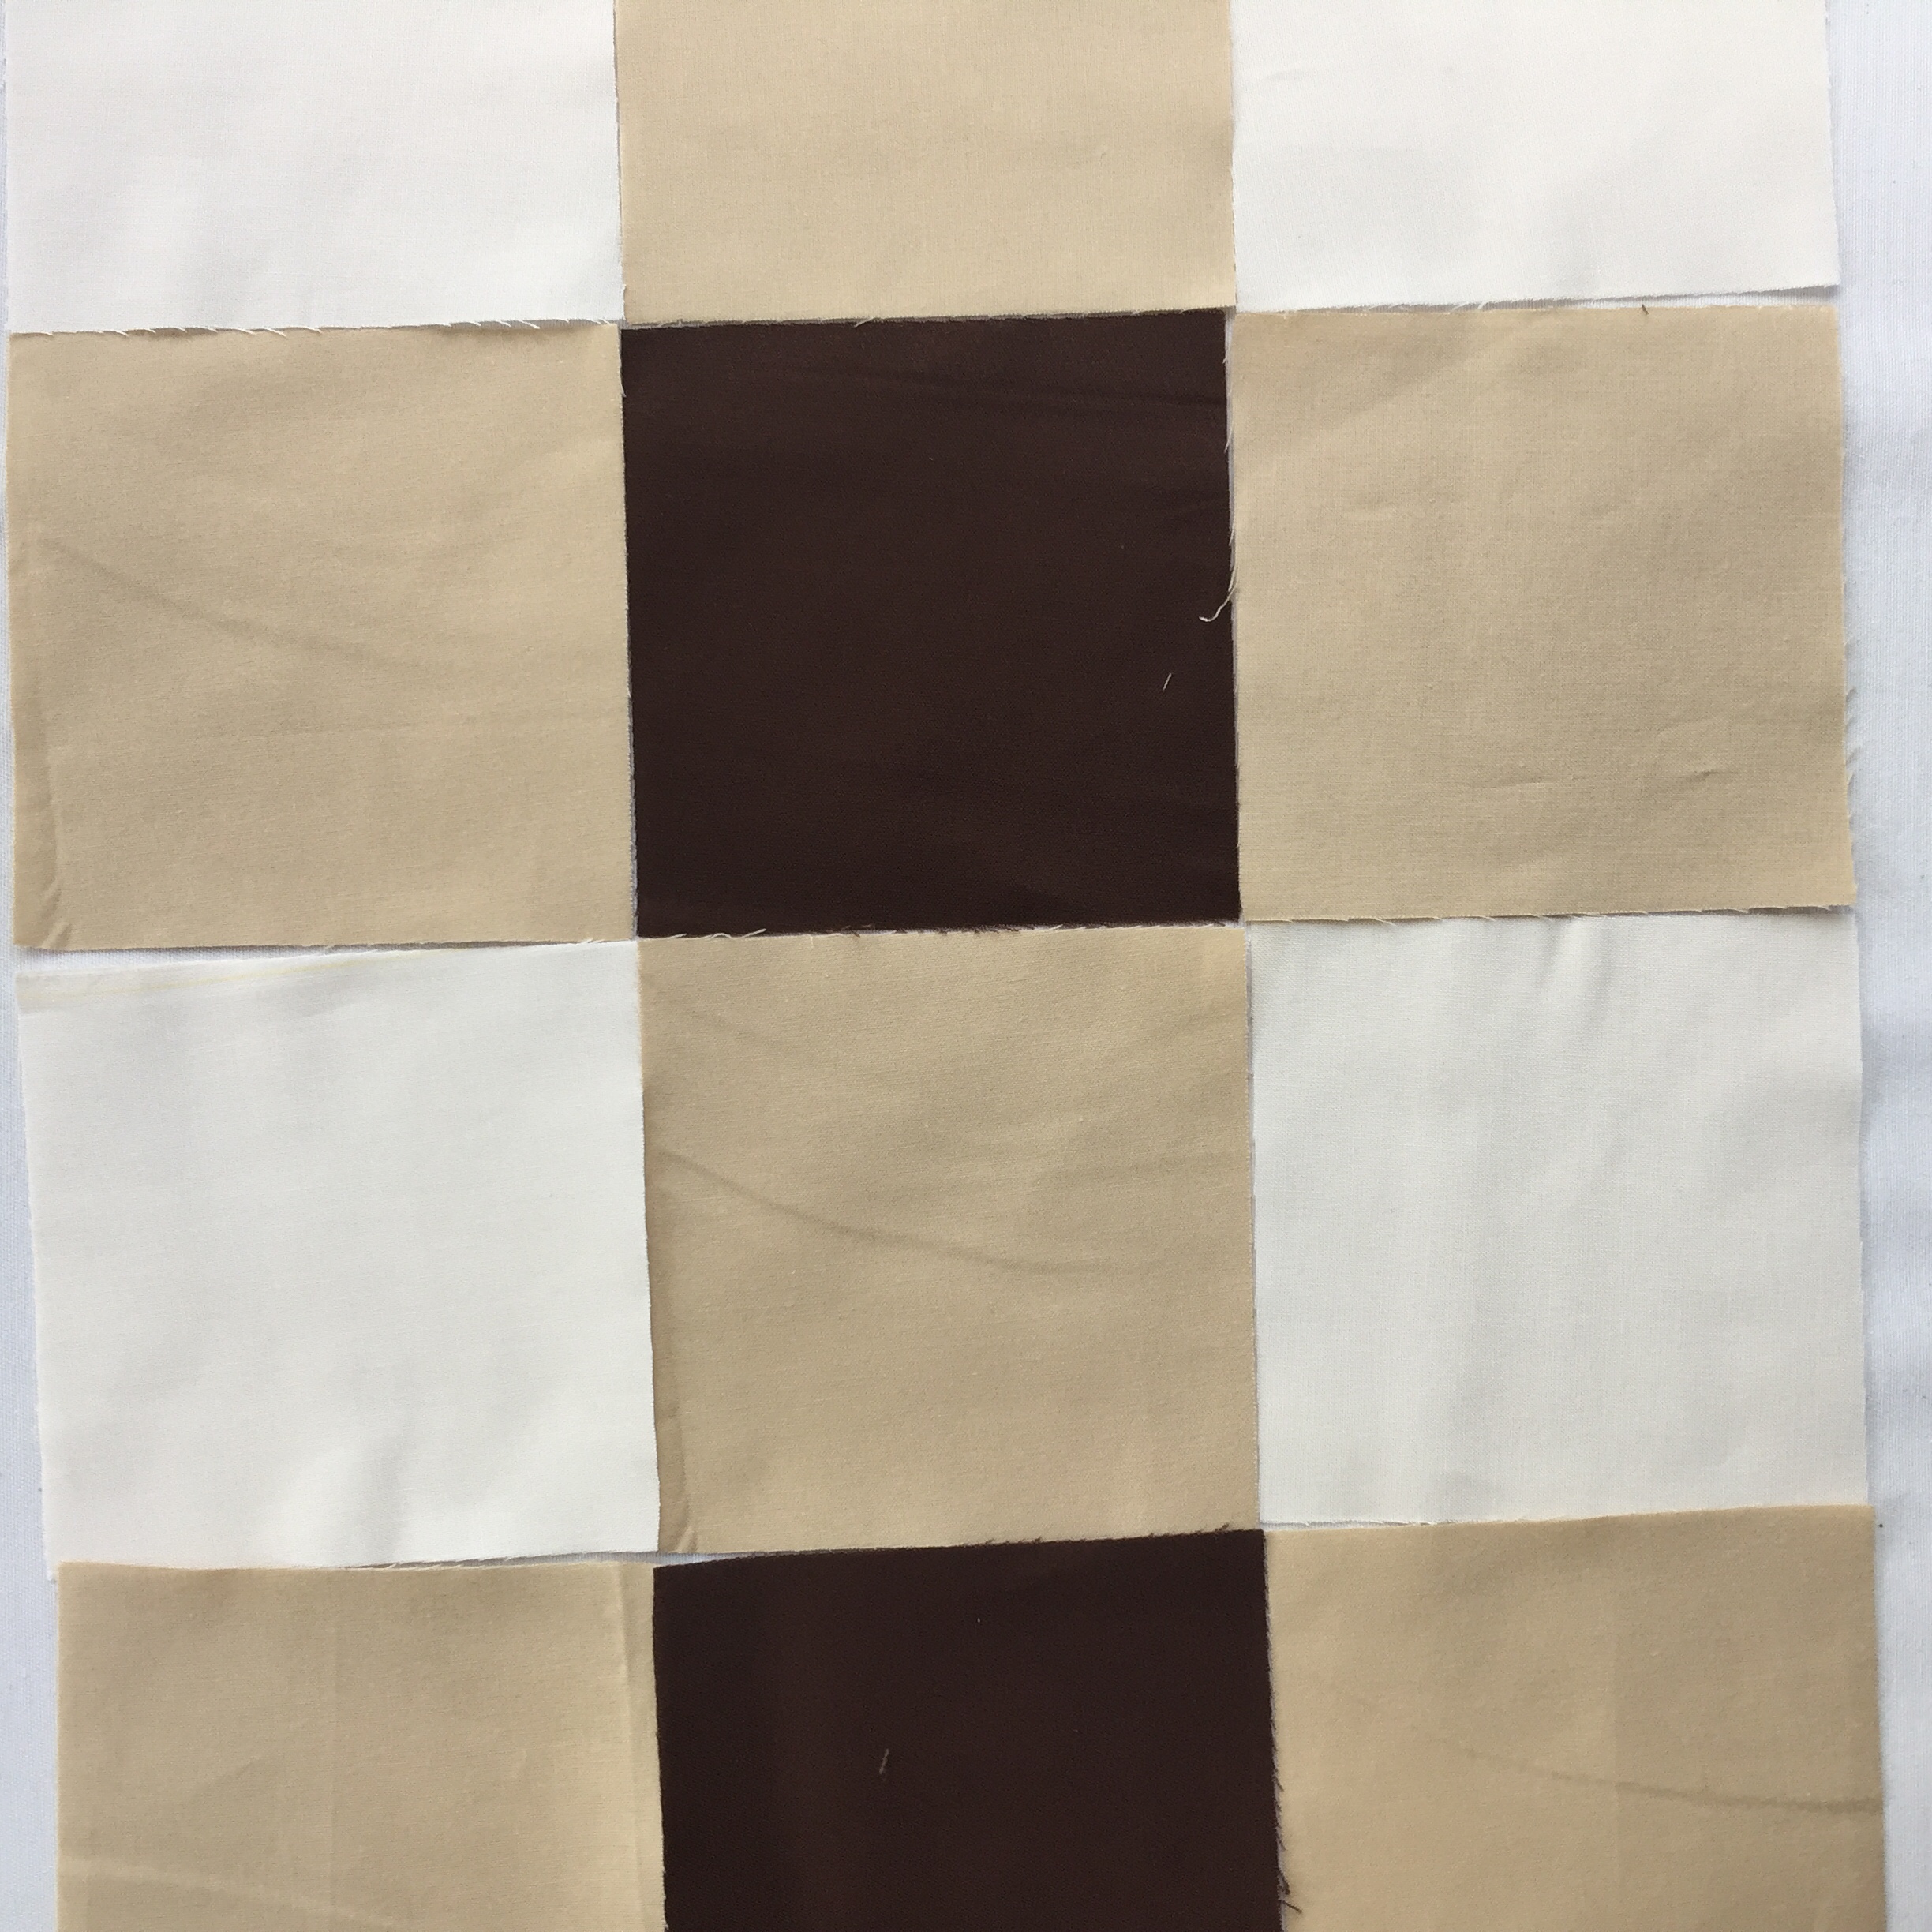
The top piecing was fairly easy after laying out the pattern. I bought one yard of each fabric. I ended up using the full yard of the medium value and only half or less of the dark and light values. I ended up with a perfect crib size quilt.
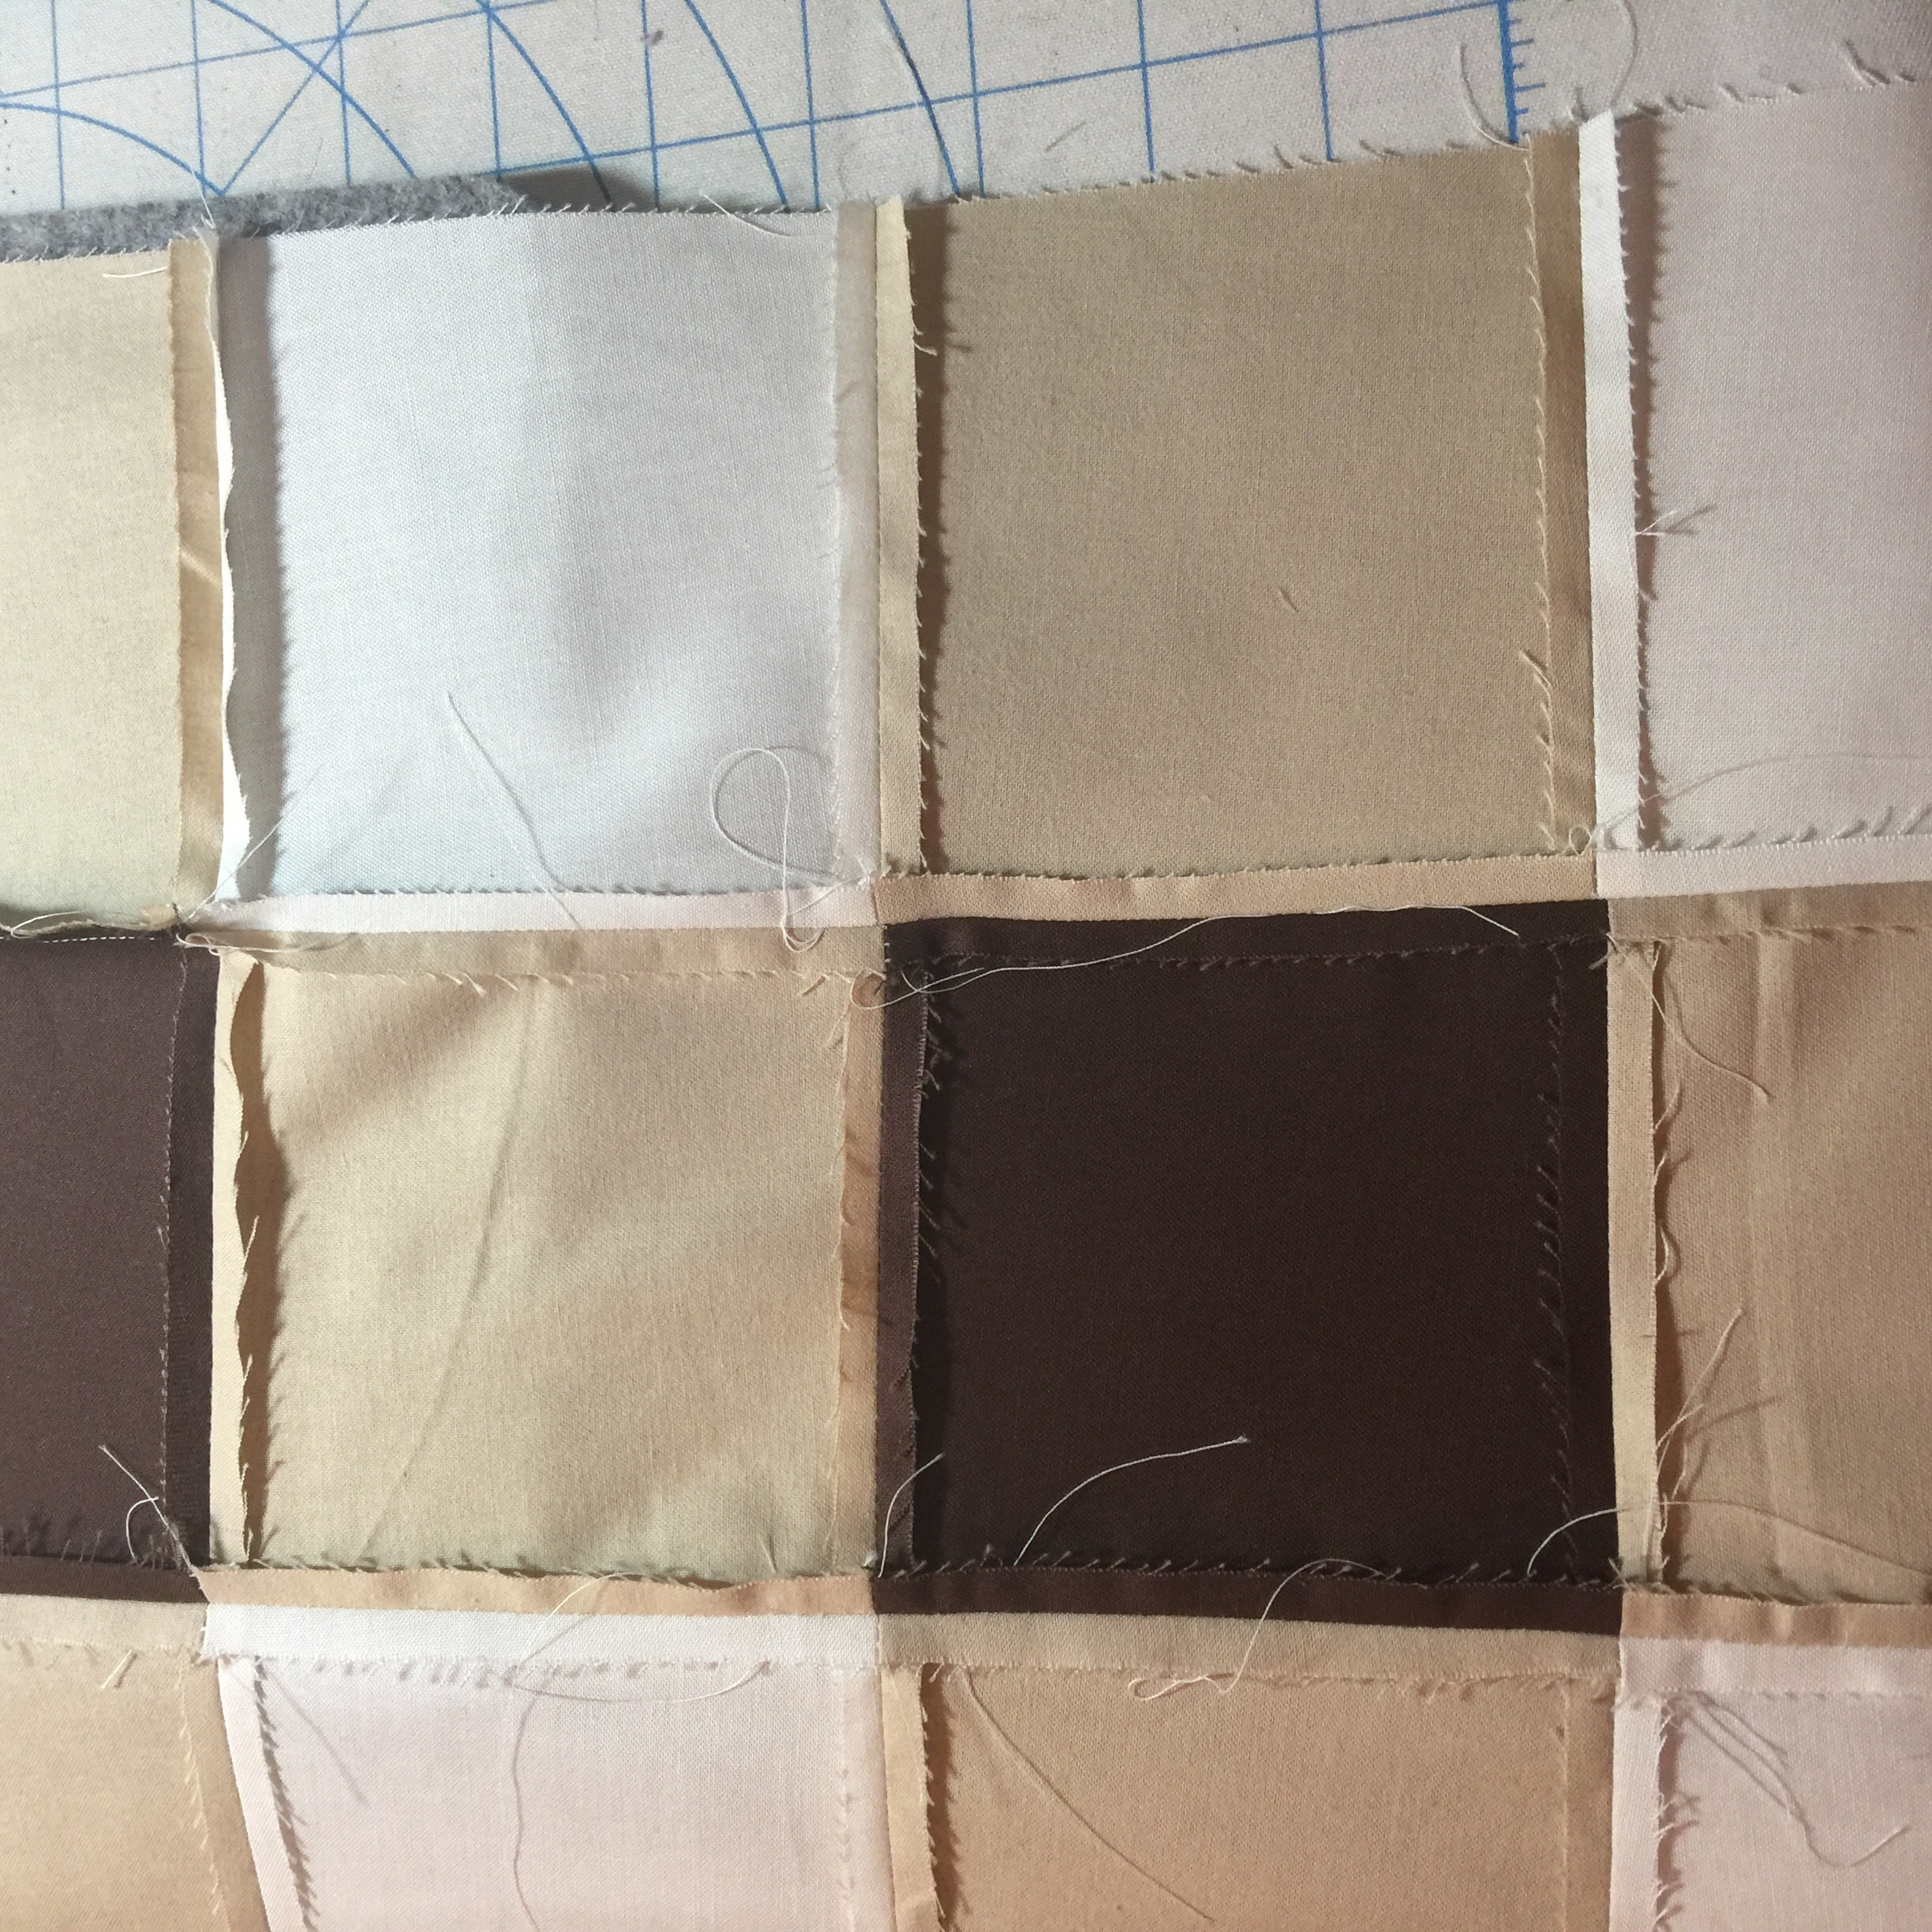
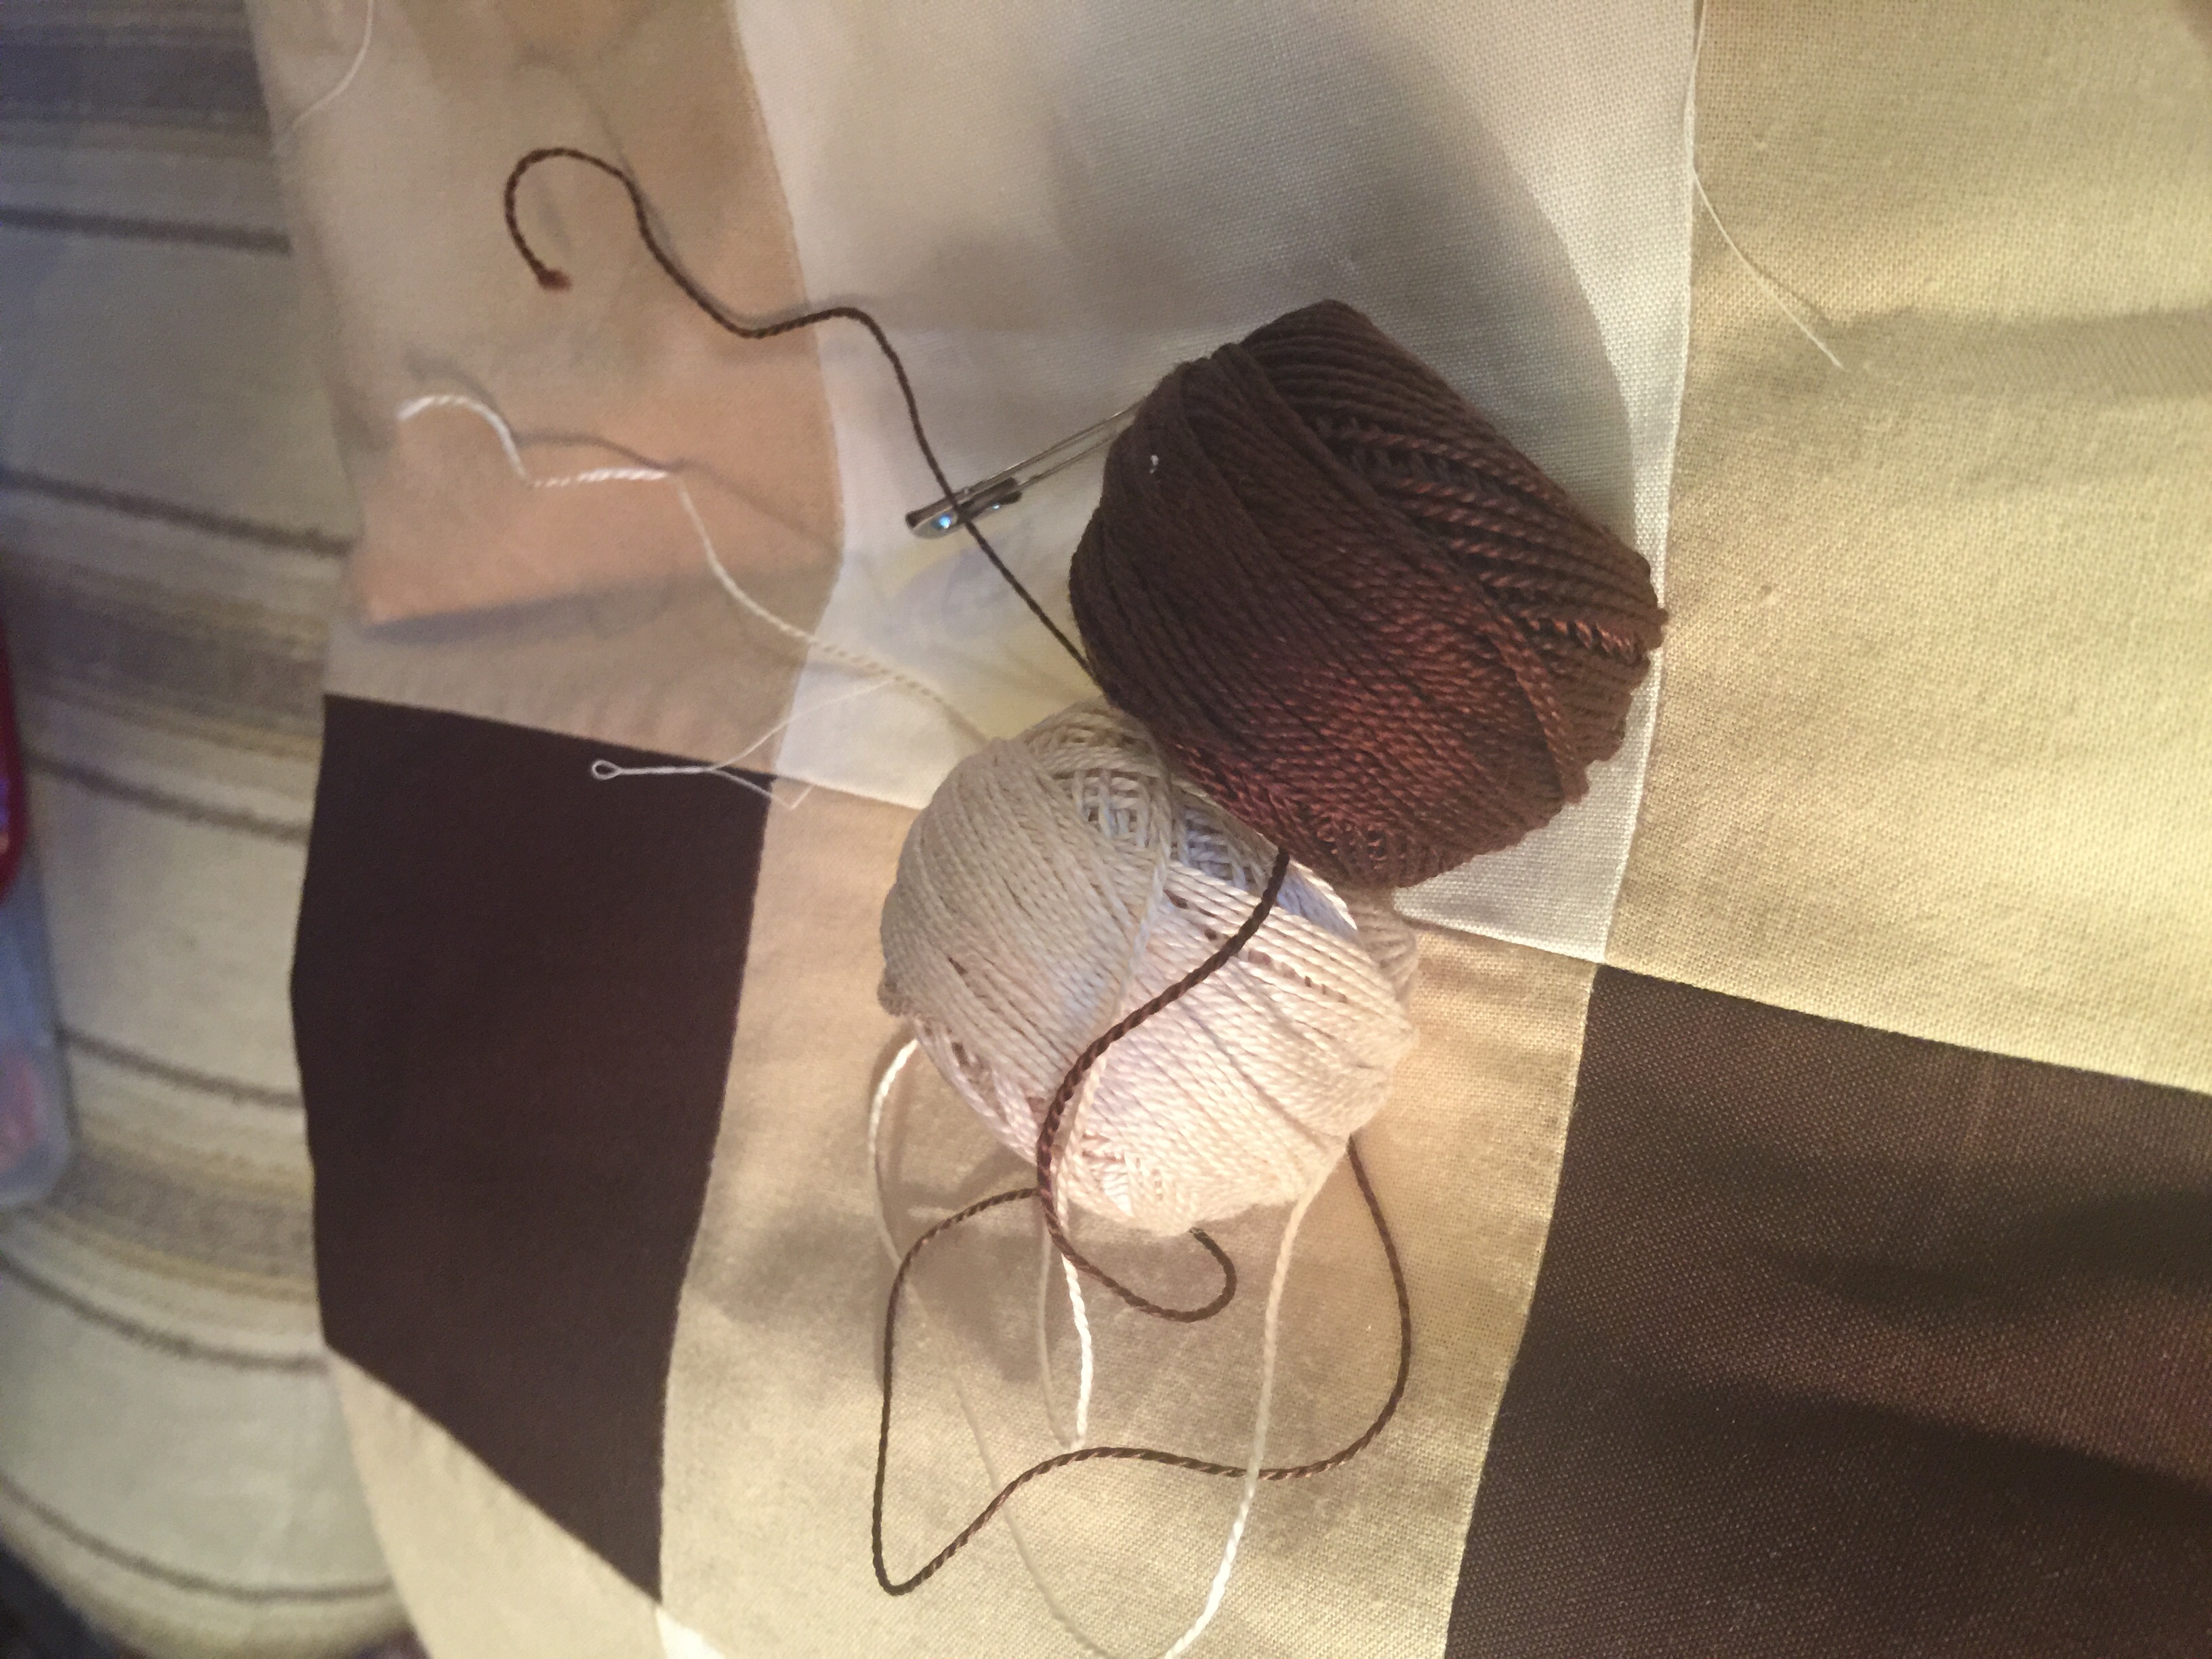
Choosing the thread and how to quilt it was the hardest decision. I landed on pearl cotton in two colors. After various texts to friends for their opinion and a few trial stitches I decided on dark brown for all the light and medium tone squares and off white thread for the brown.
The backing is tan and off white double gauze stripes! It’s so soft! I have no idea who made it.
Here’s how it ended up! I started out hating my color choices once I sewed the top together. I was actually wondering if I needed to start over, but after I hand quilted it with the pearl cotton, I fell in love with it.
And look at this amazing walnut quilt rack my dad made me while I was sewing!! Love it so much and am so thankful for his amazing woodworking skills. He always brings my designs to life.
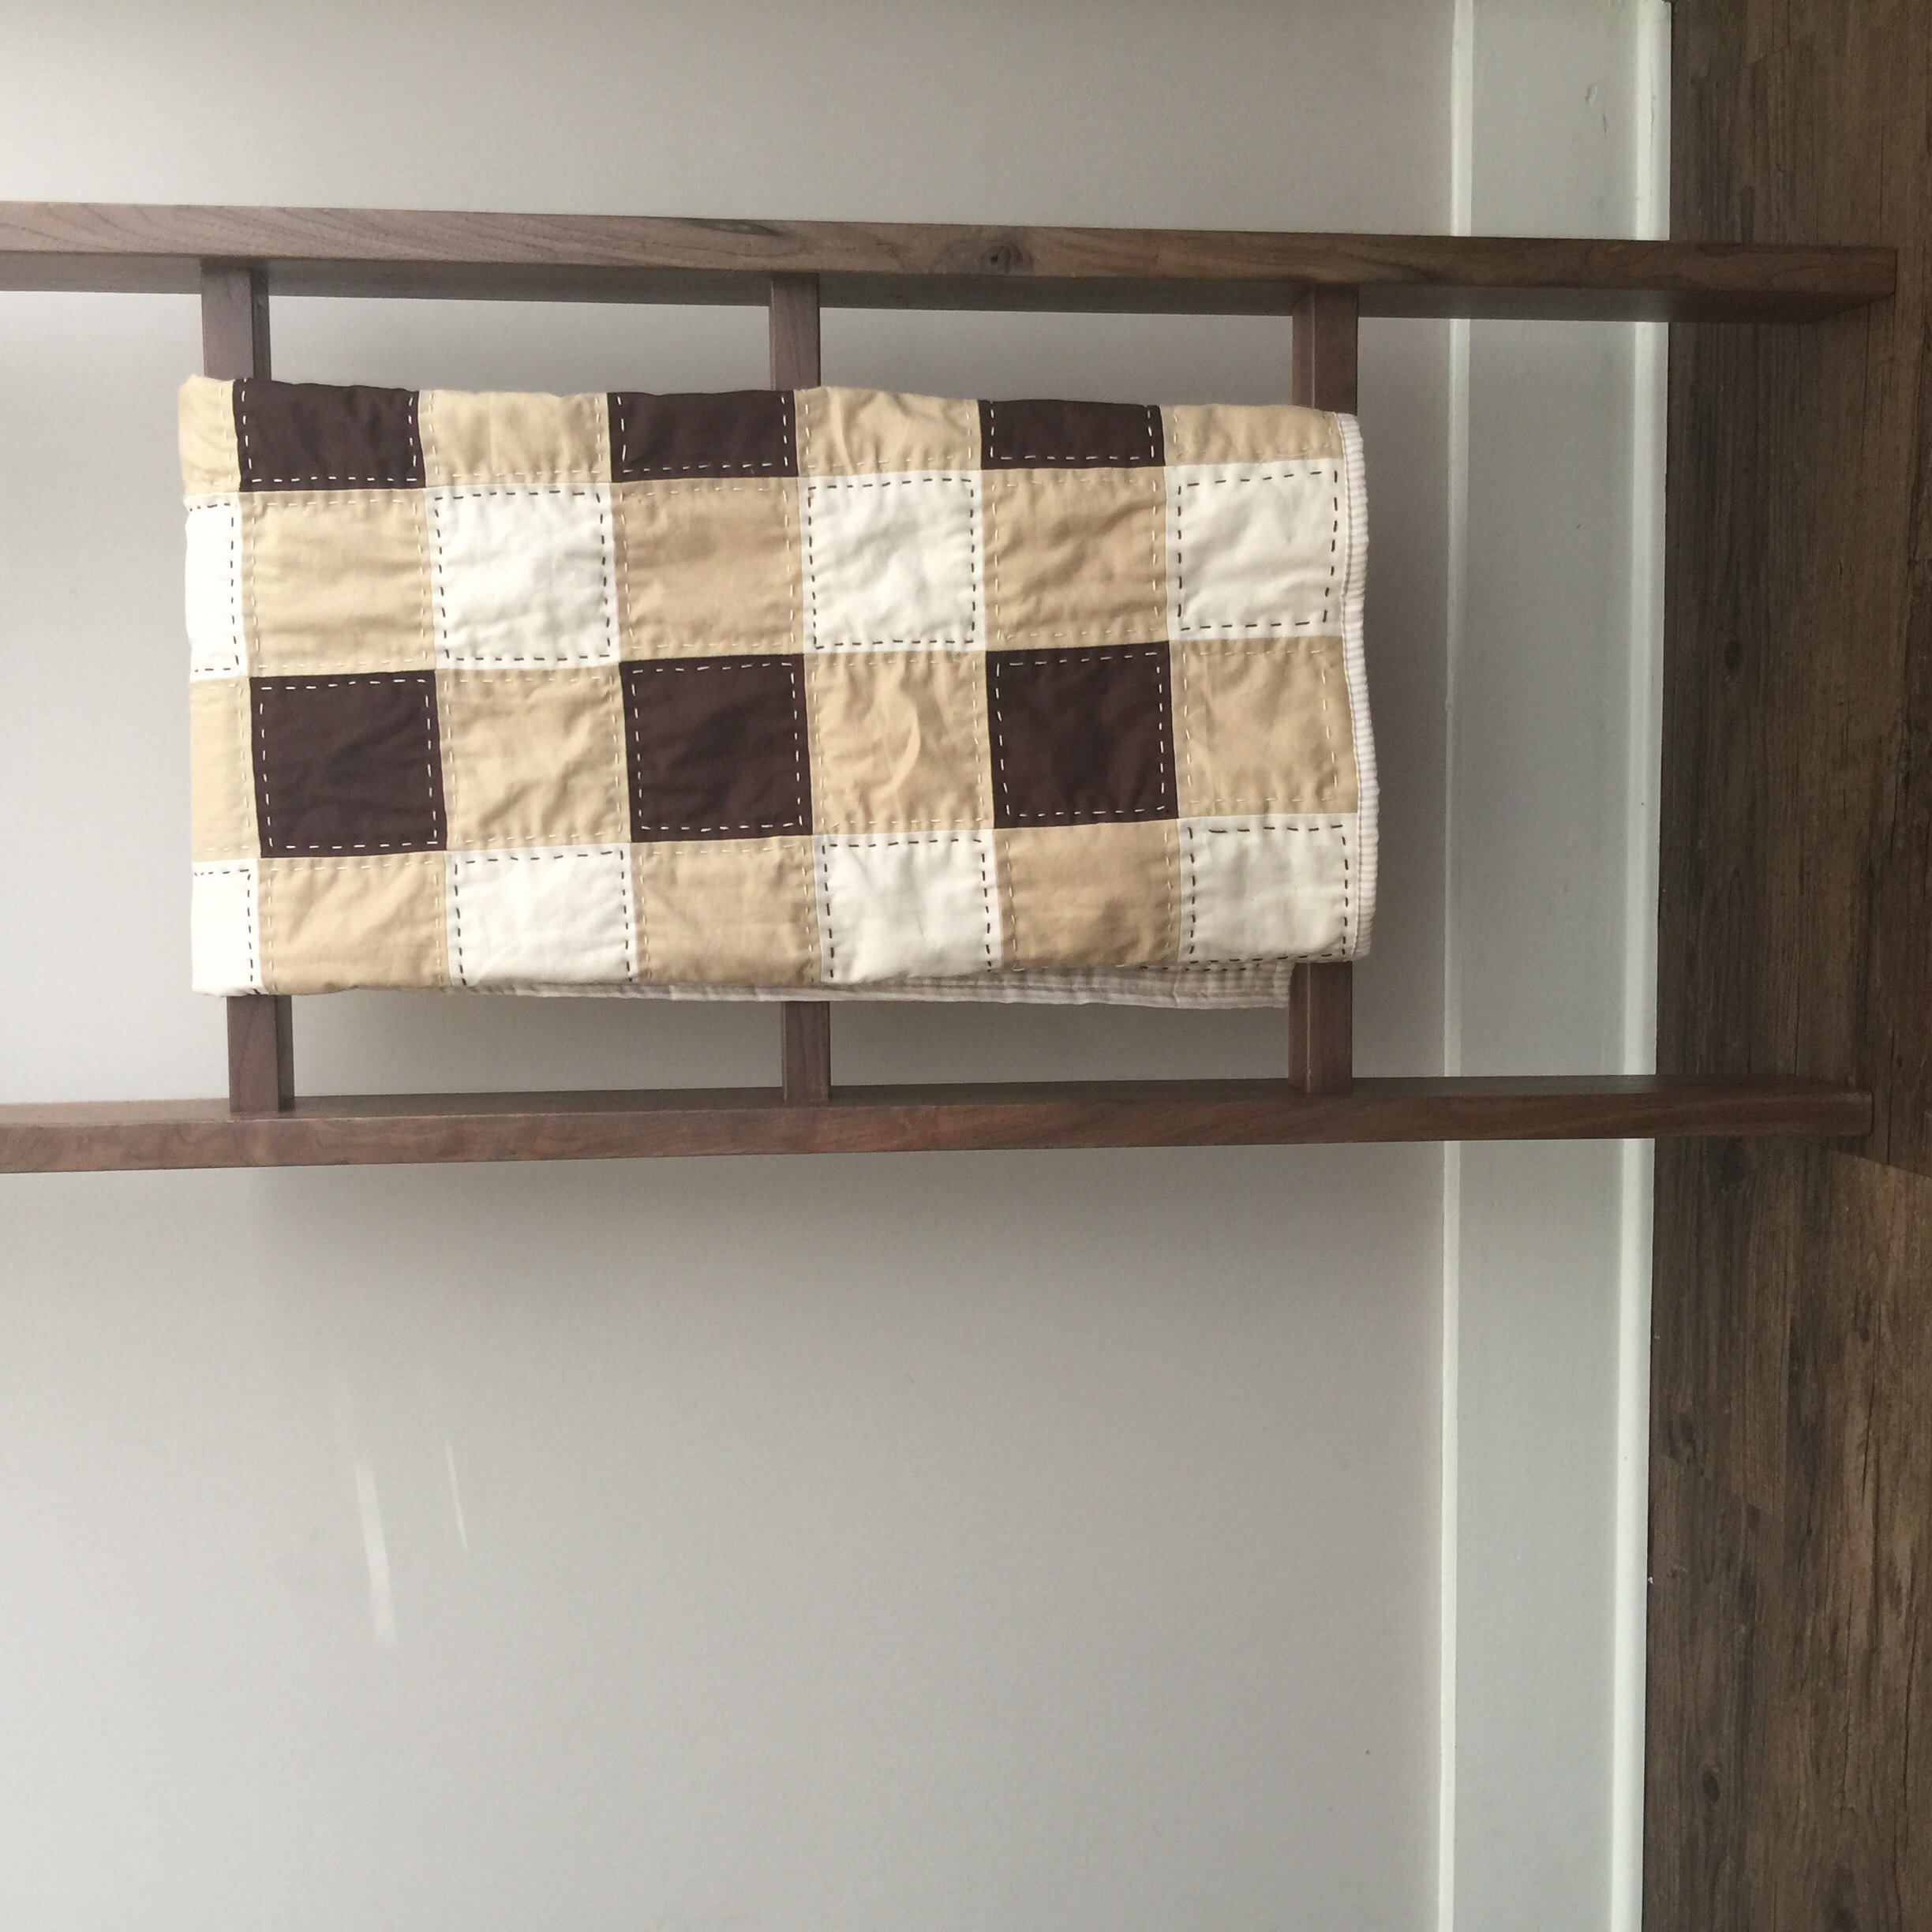
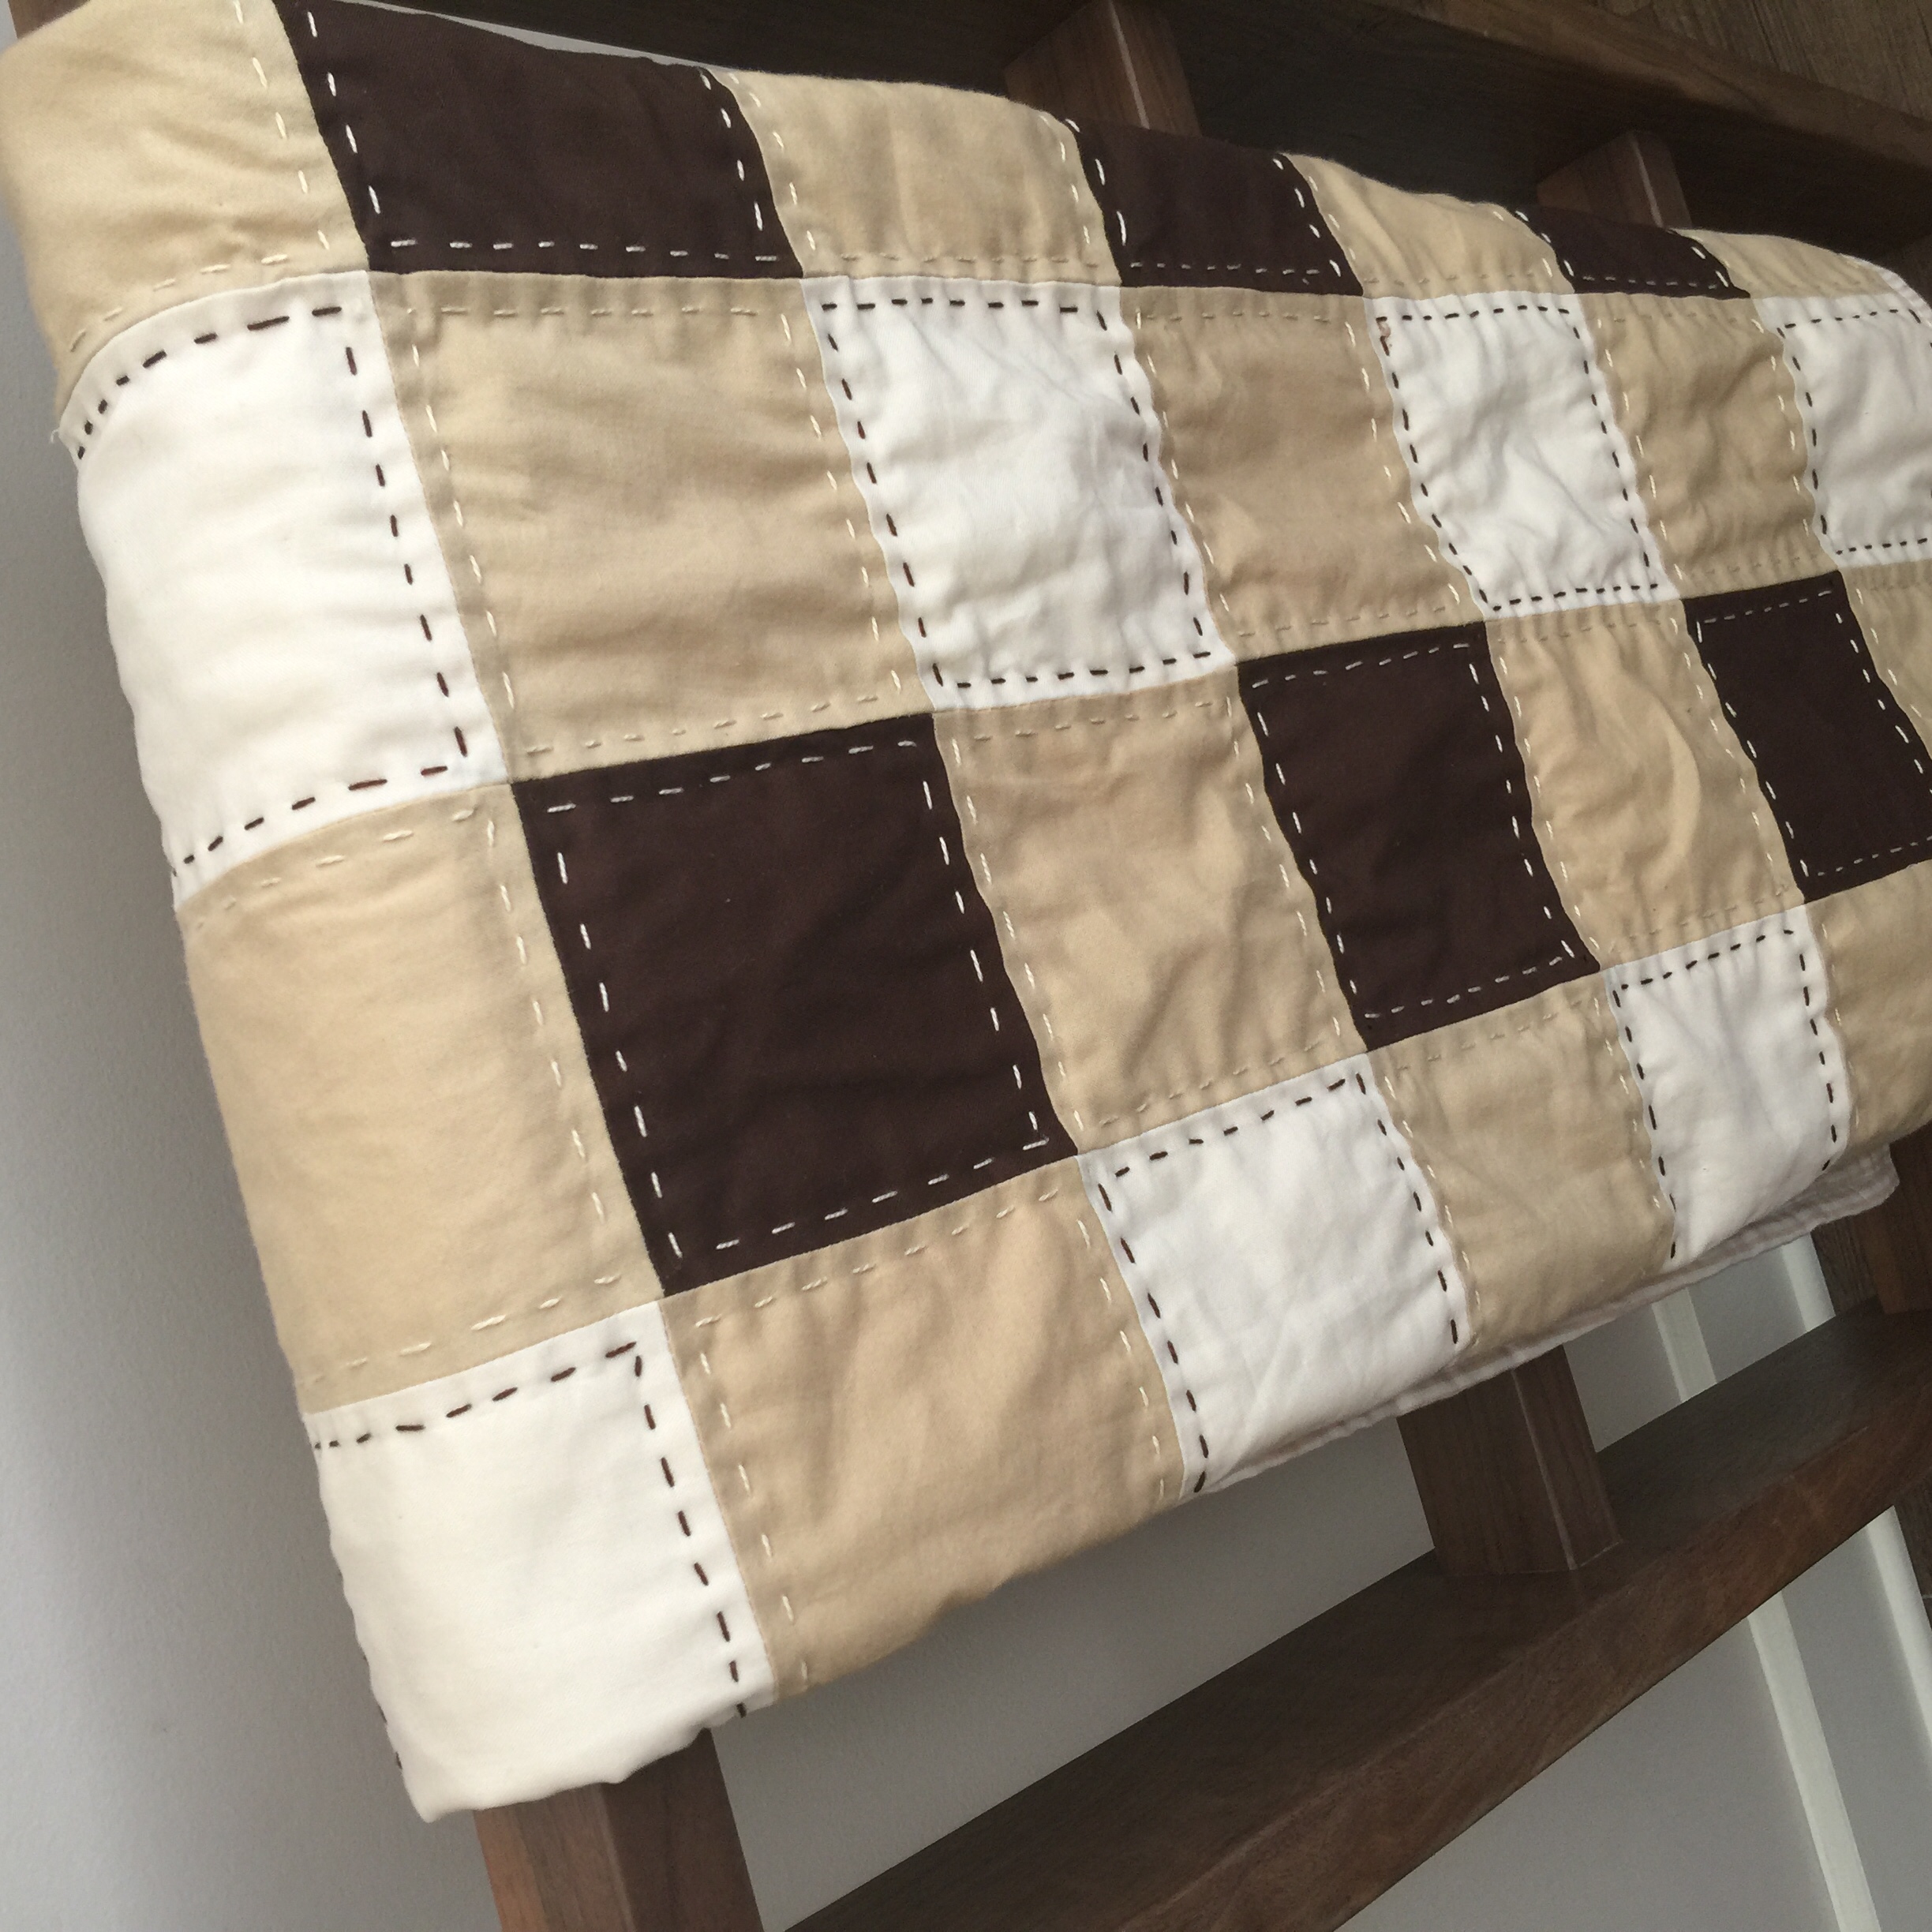
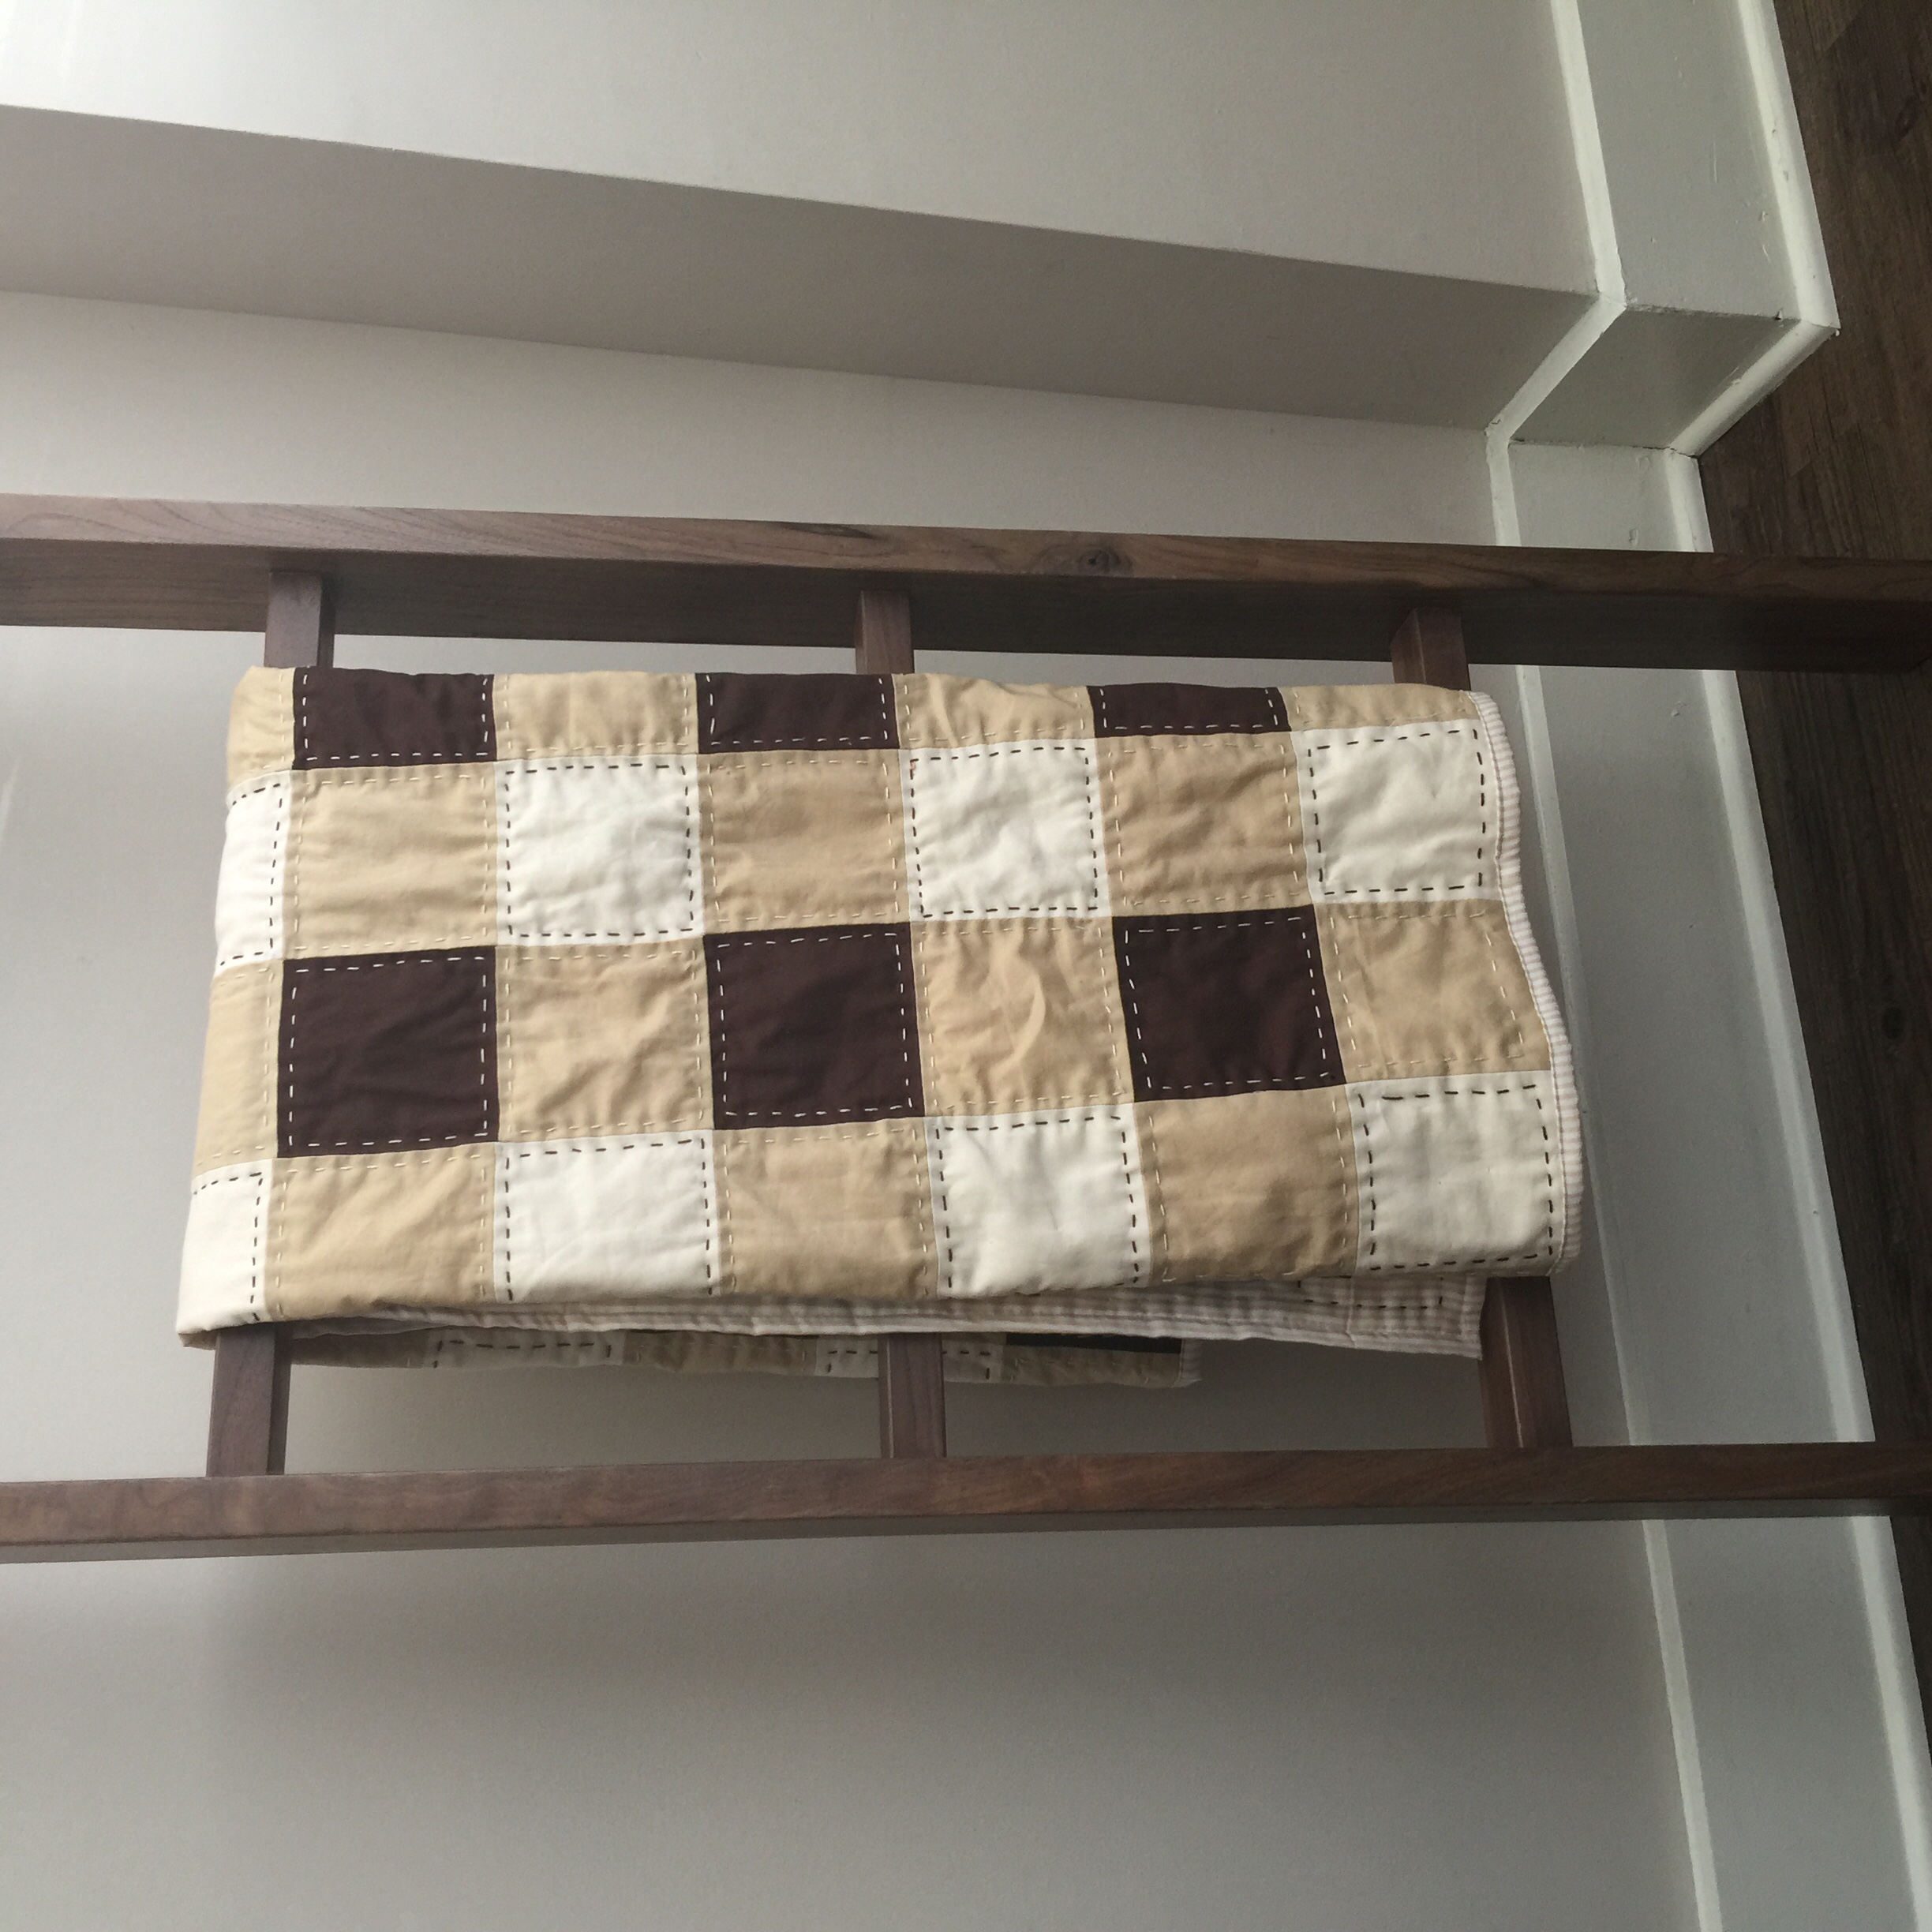
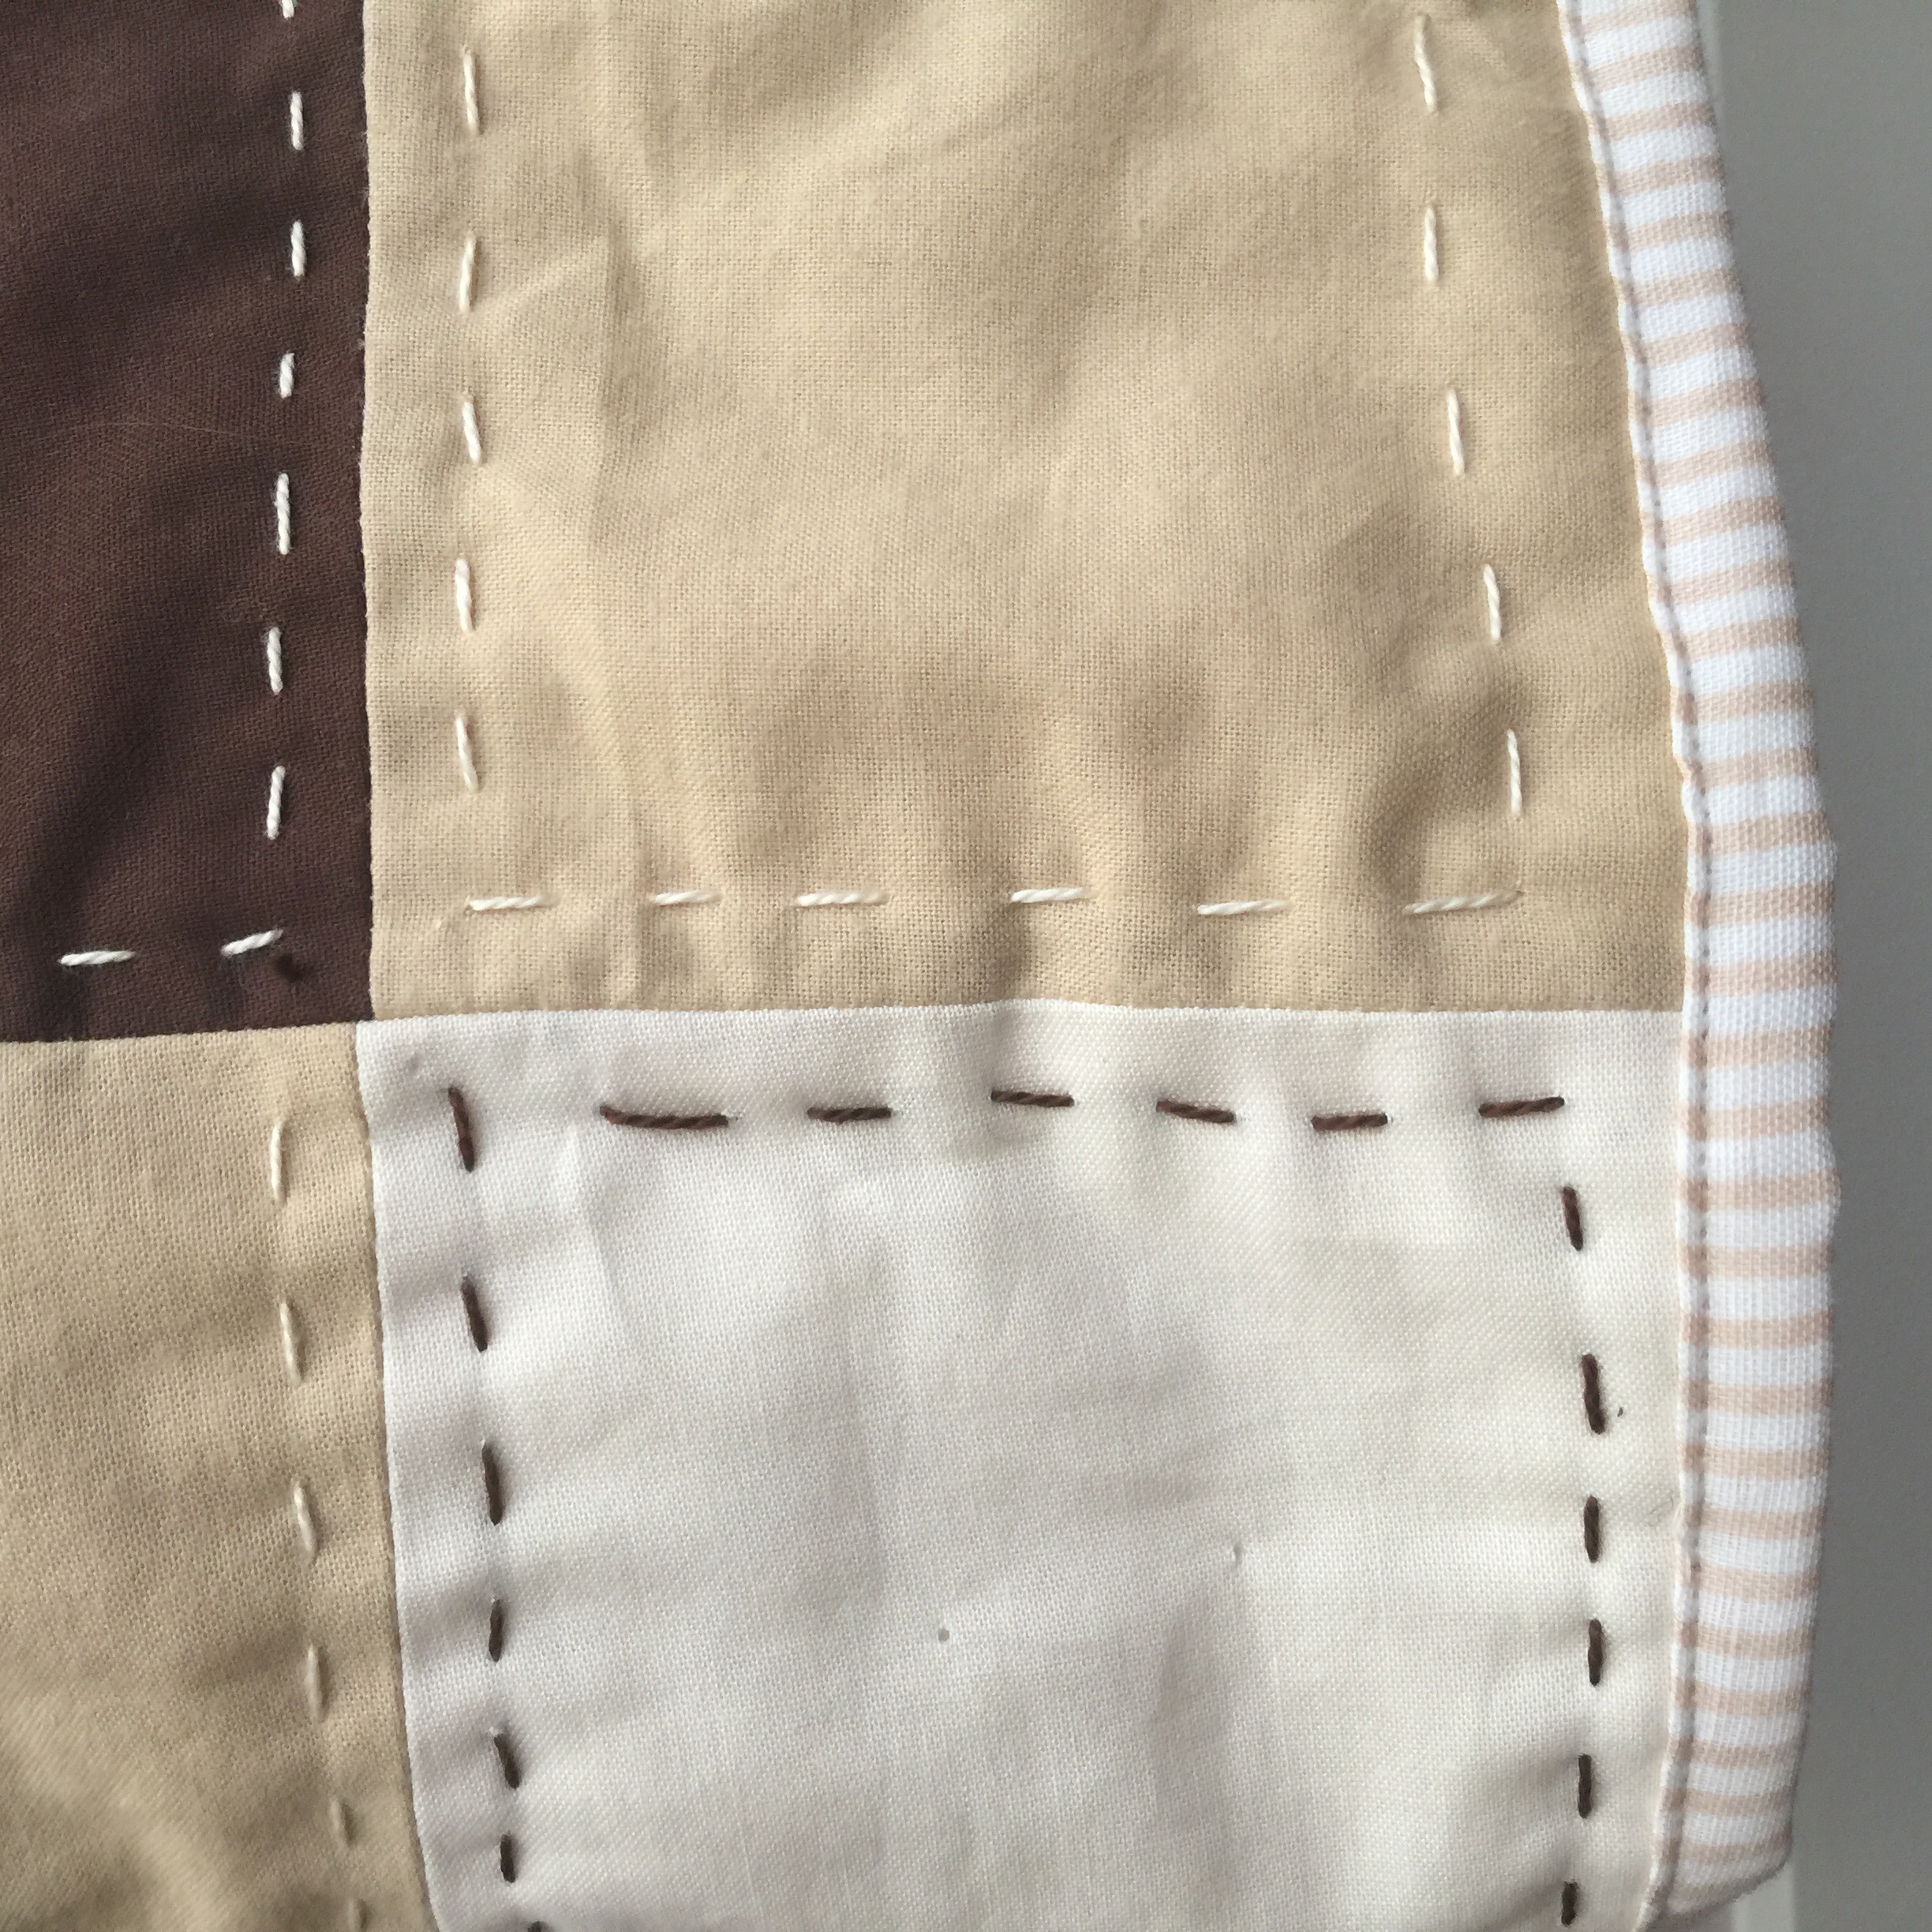
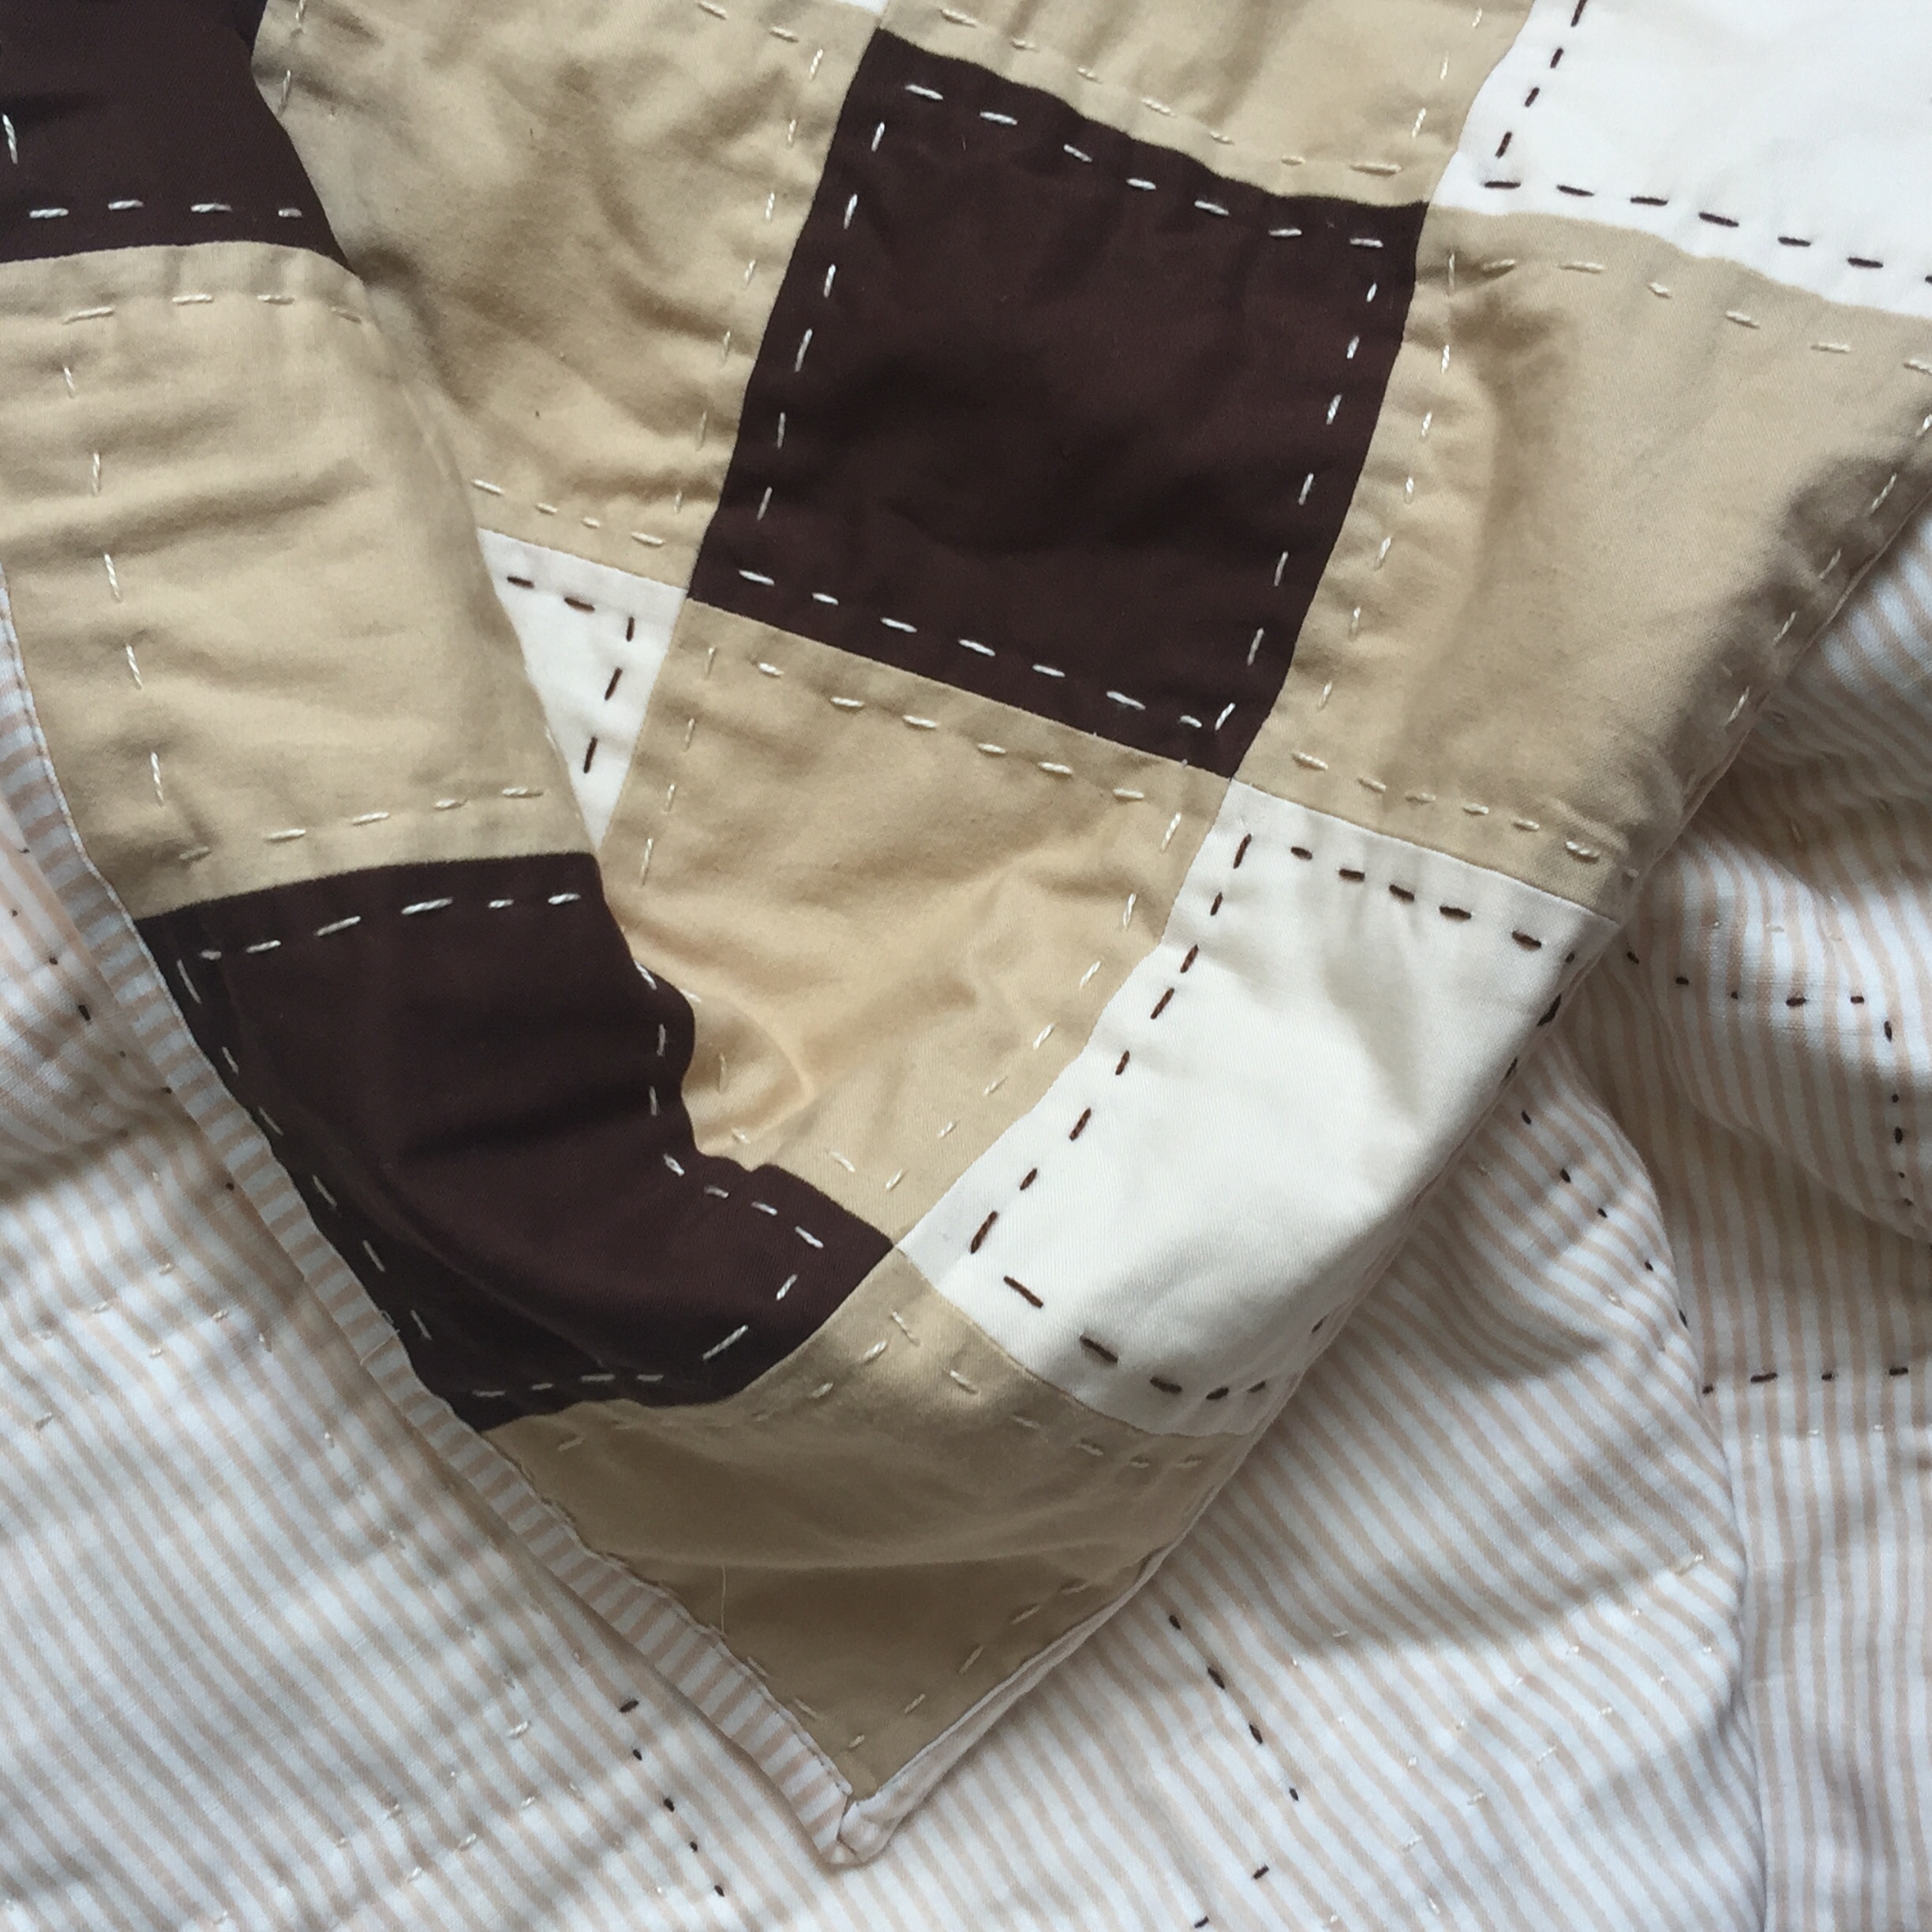

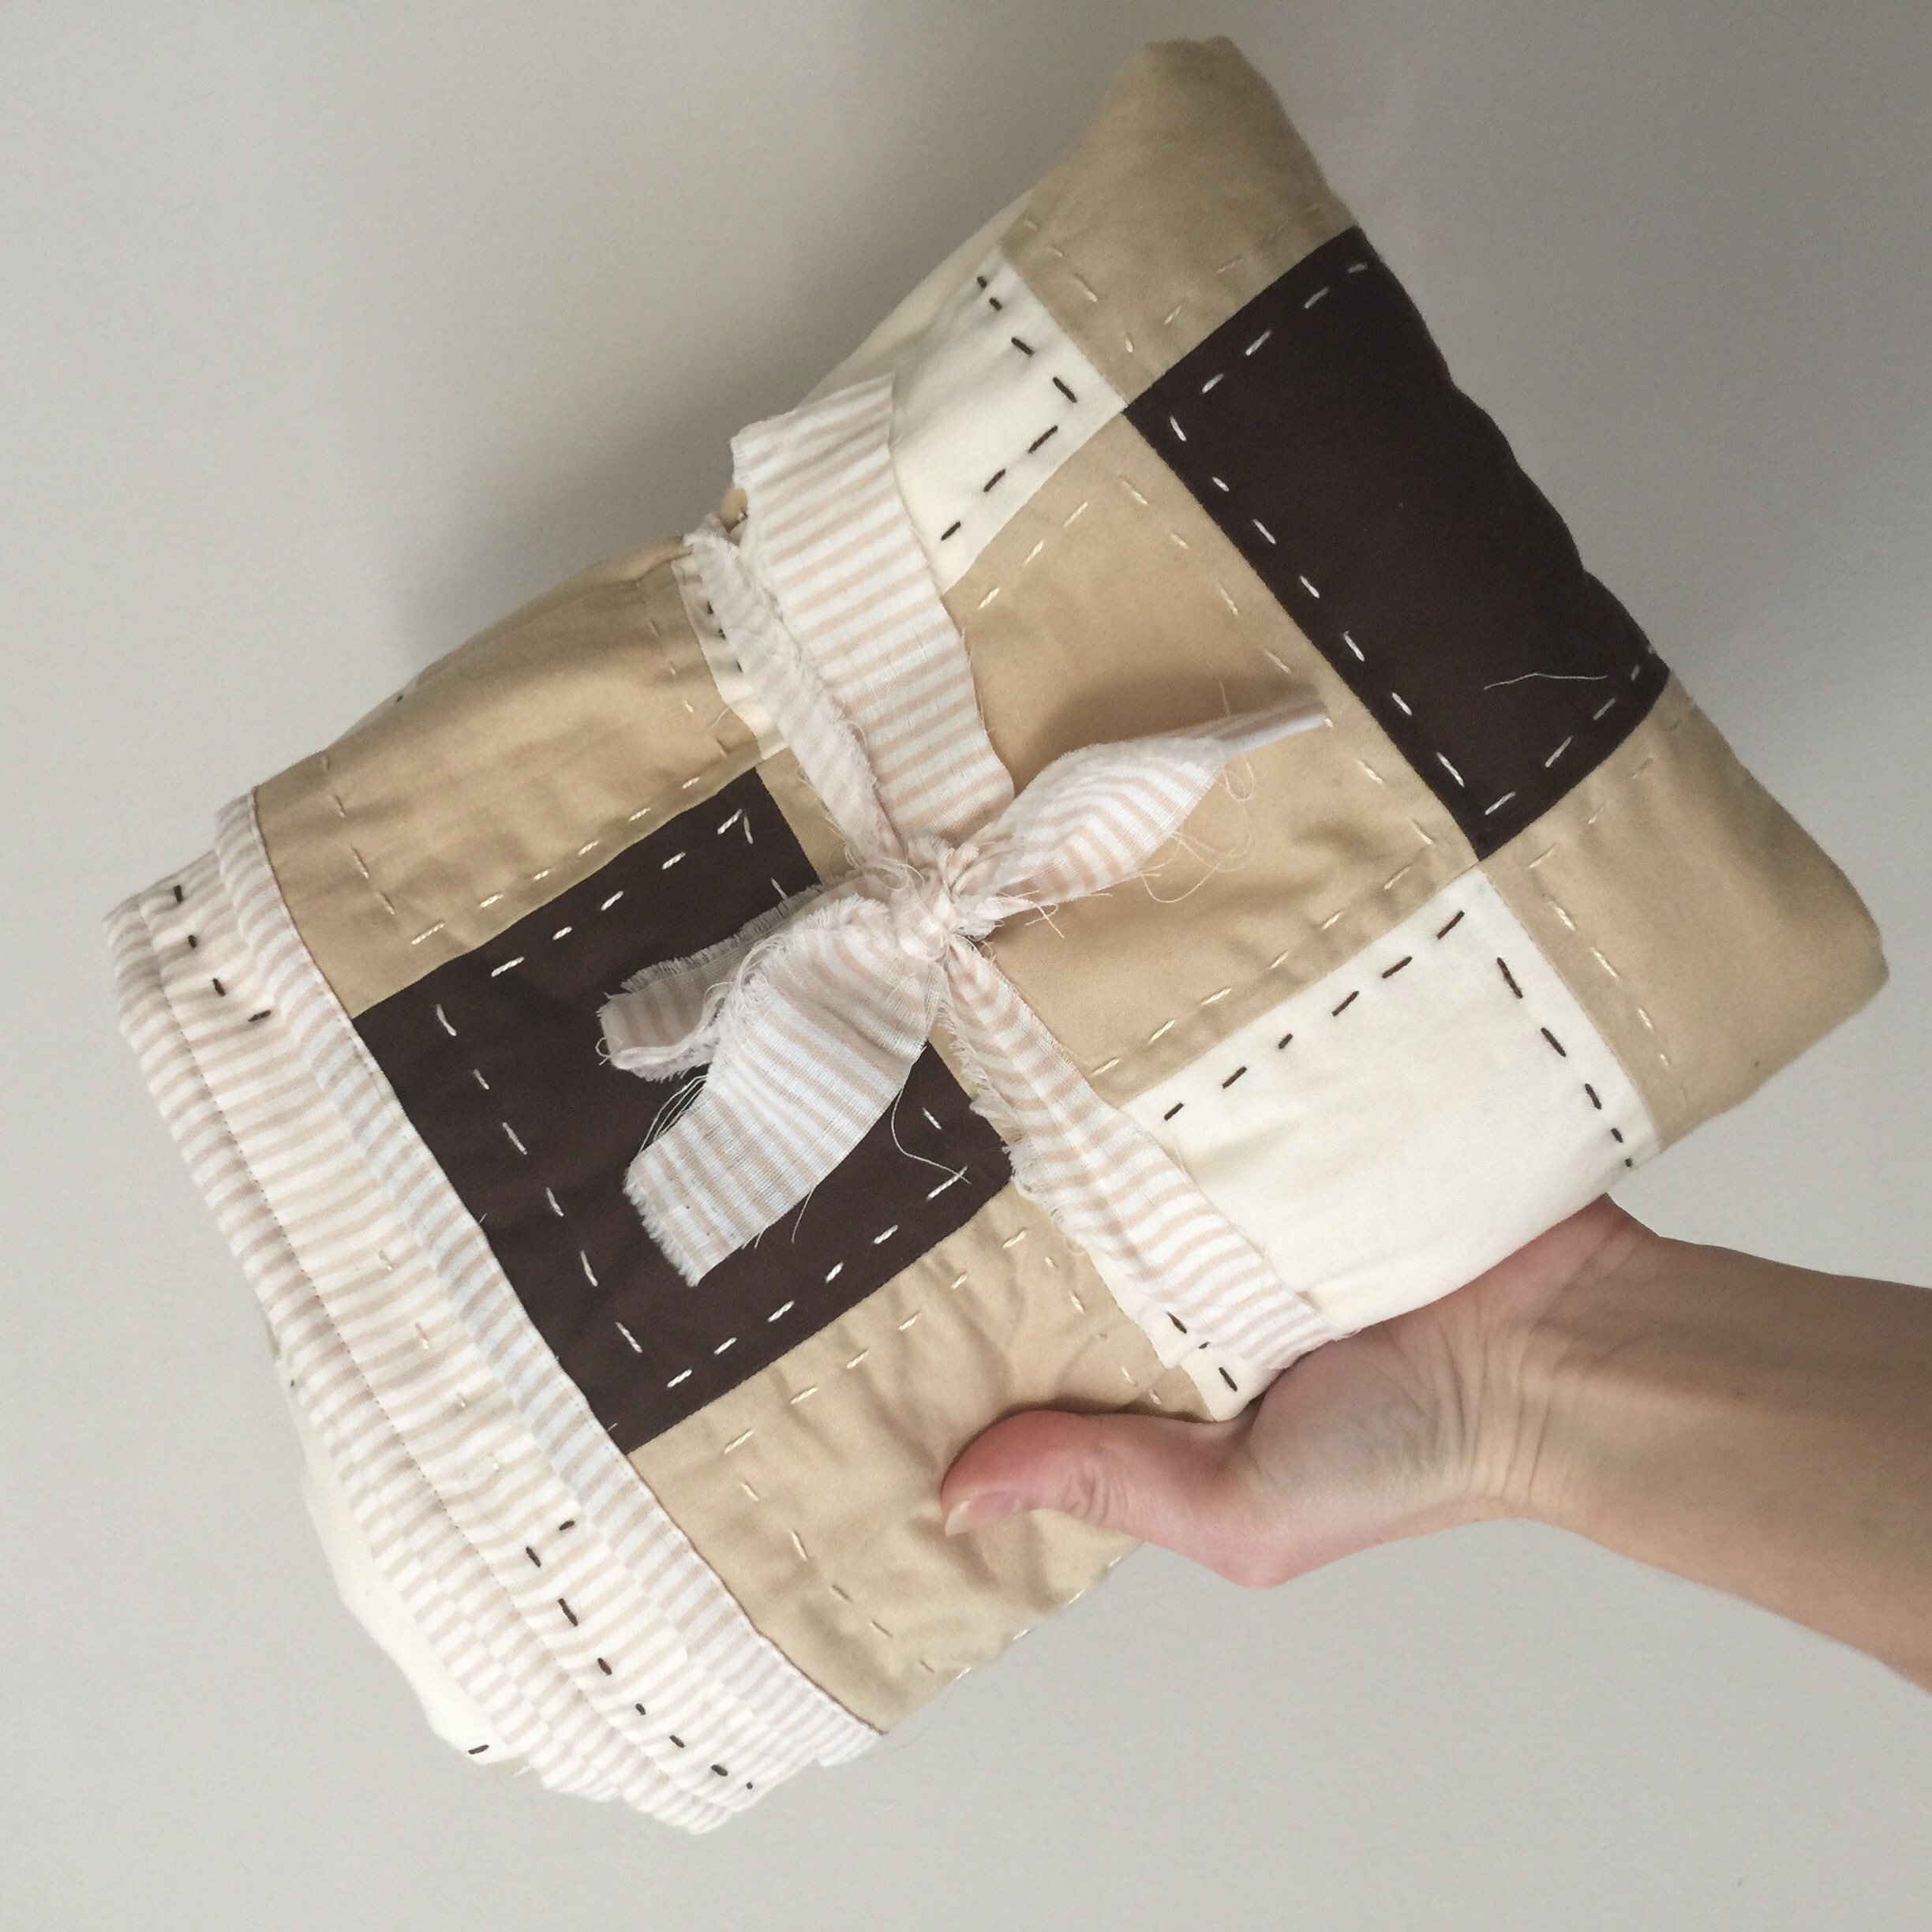
The stitching is wonky. I chose not to be a perfectionist and love how it looks. Kind of primitive and loose…
The best part of Little Boy’s gift, however, is this adorable wool teddy bear my twelve year old daughter designed and hand stitched, all by herself!
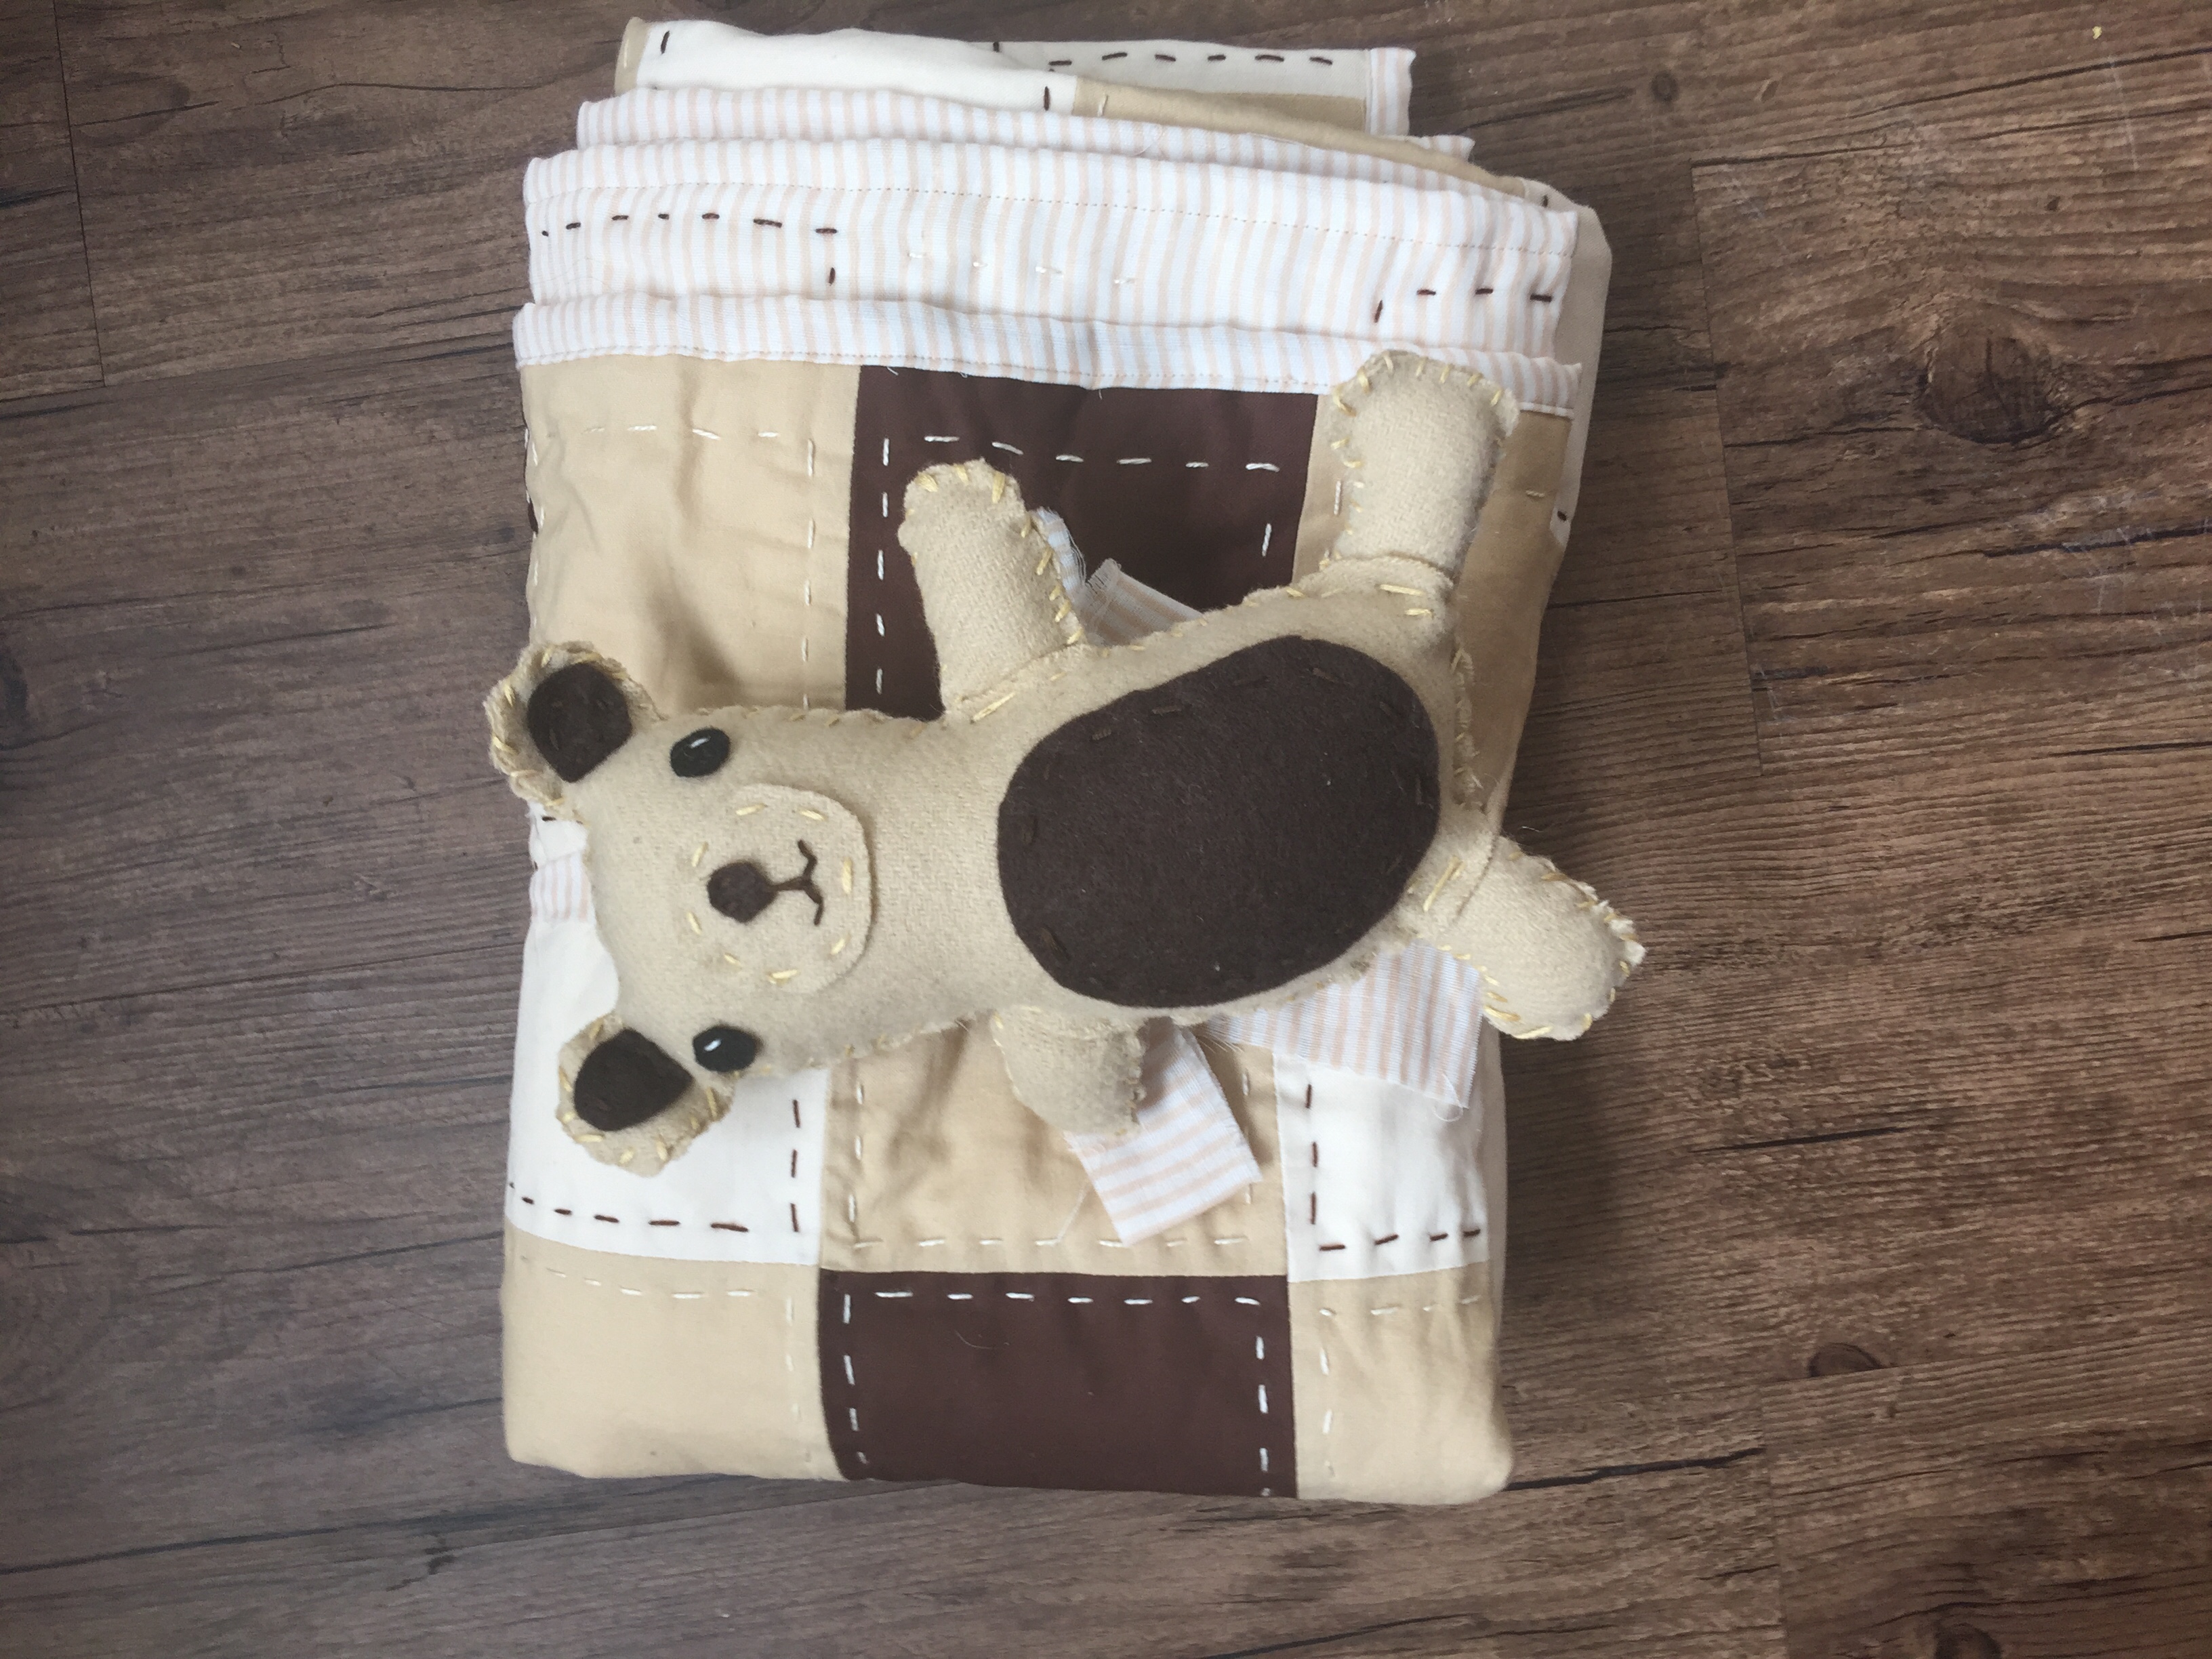
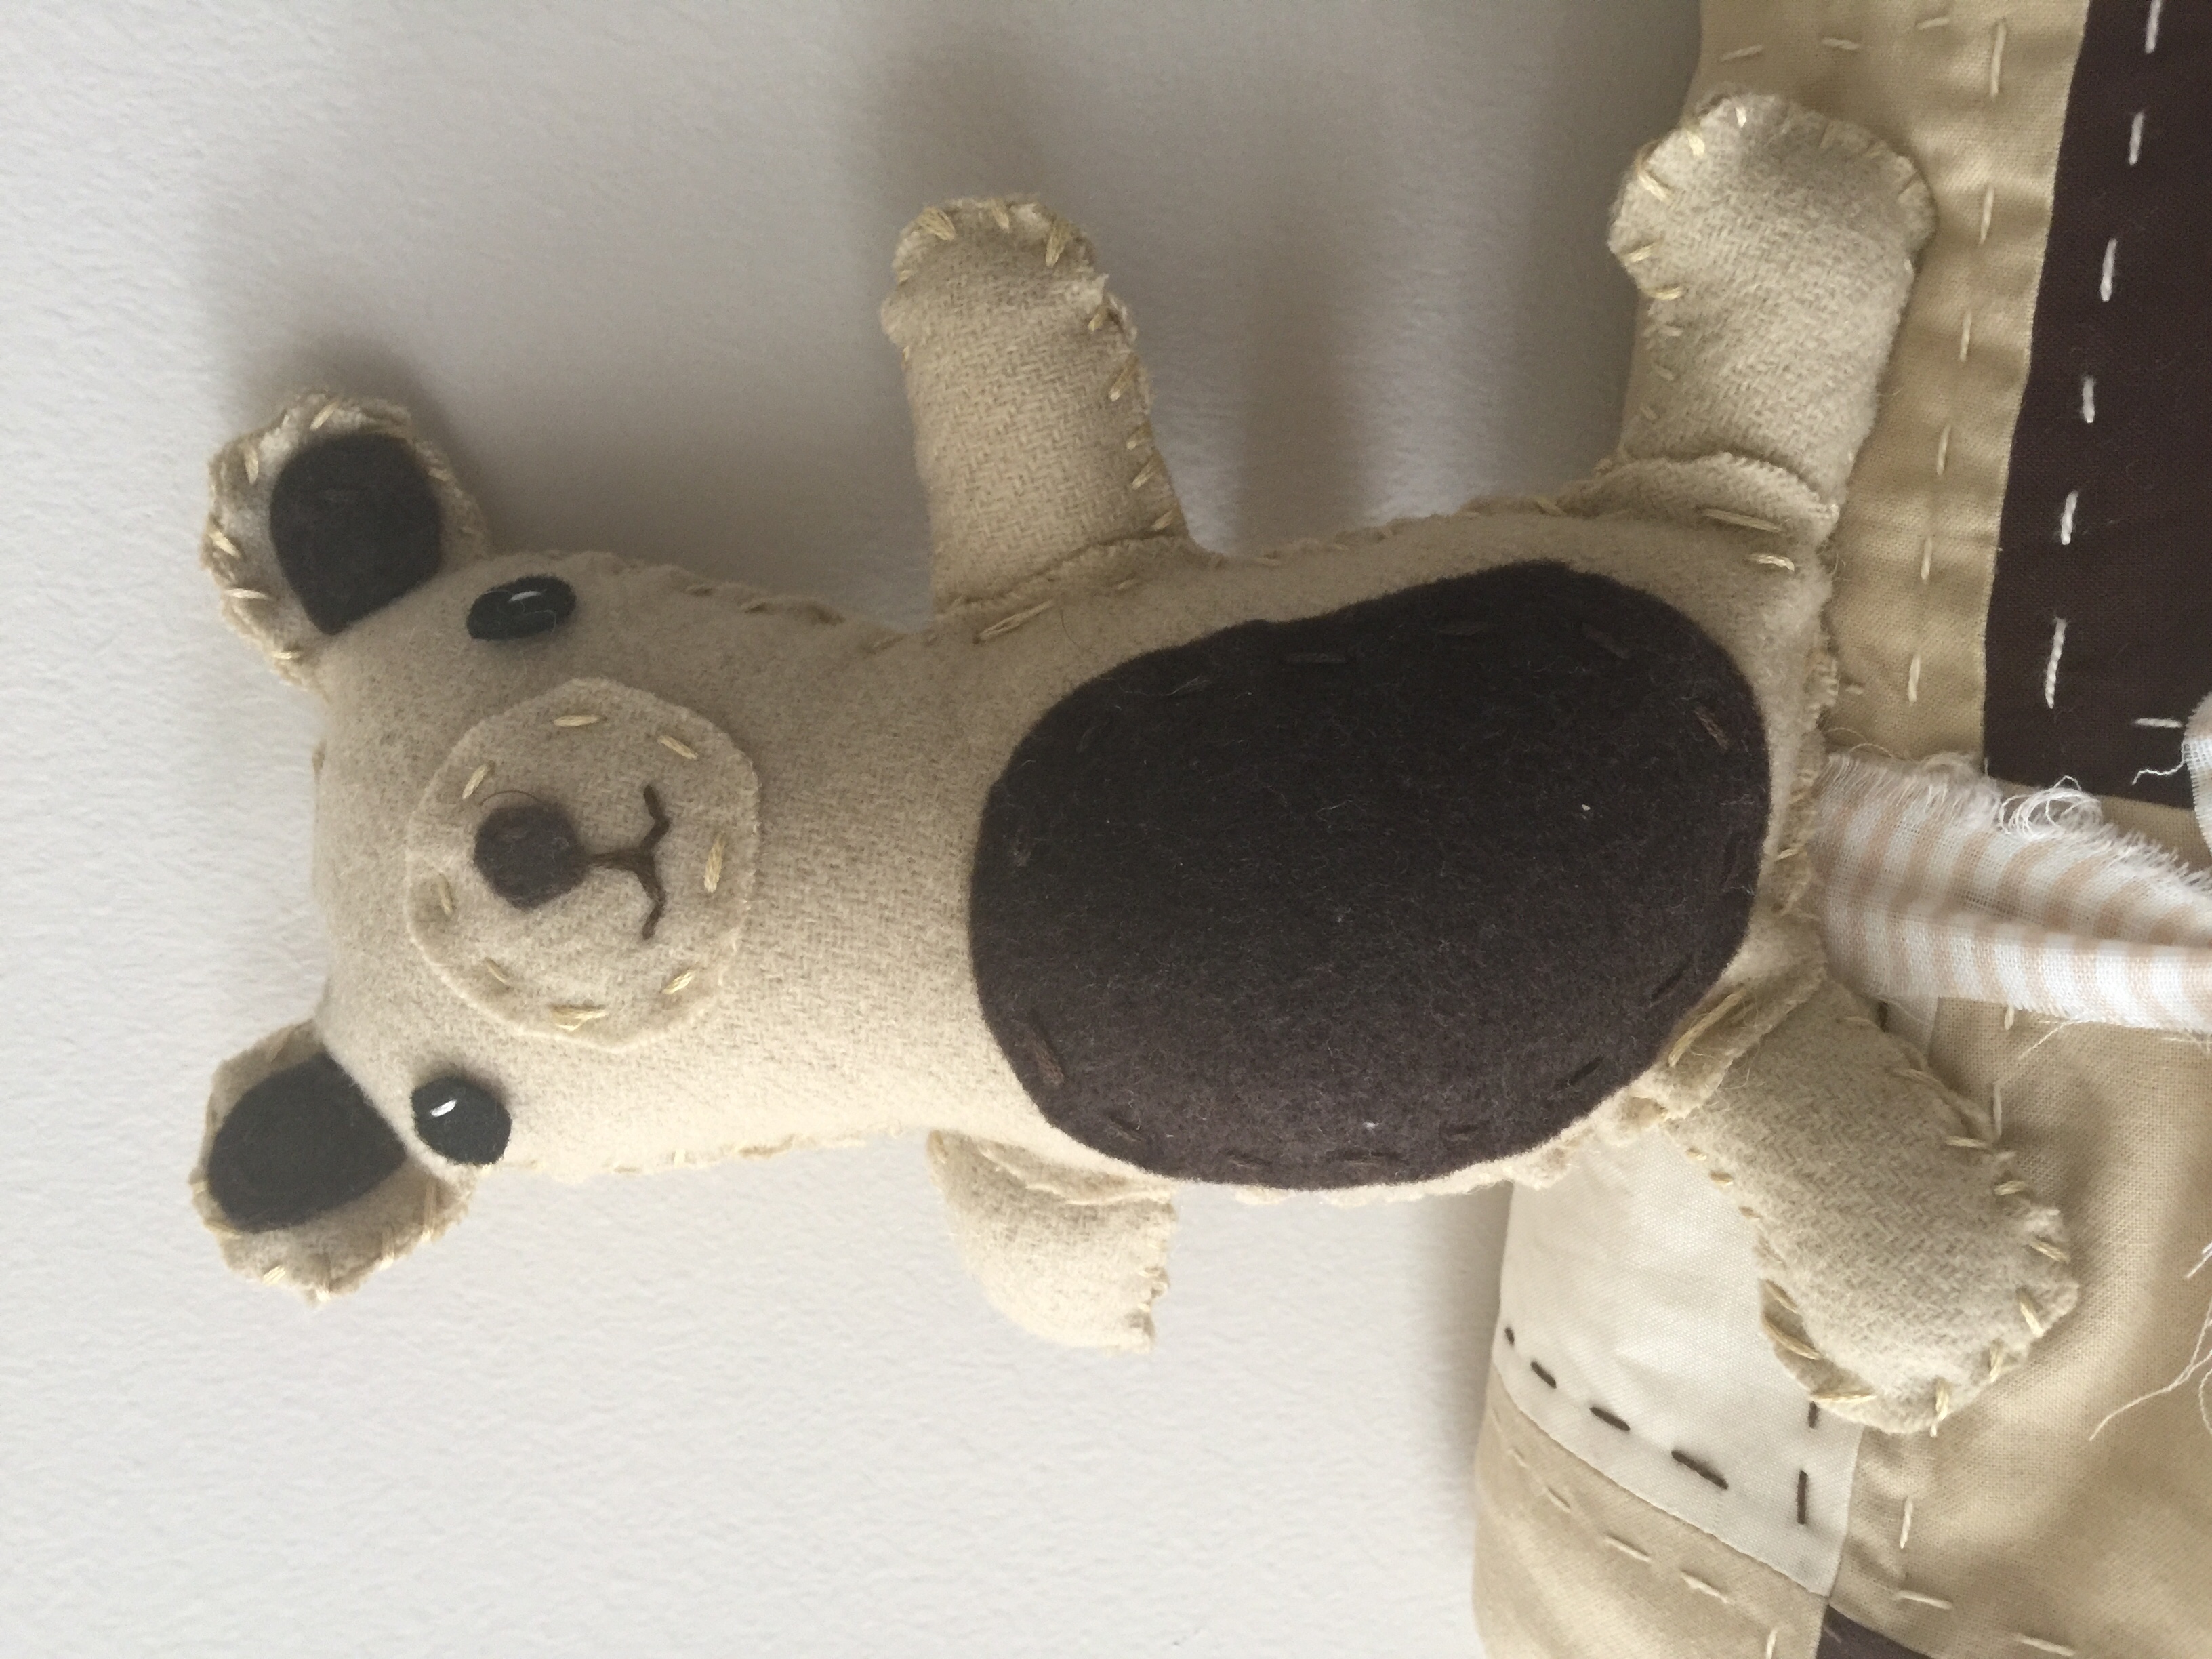
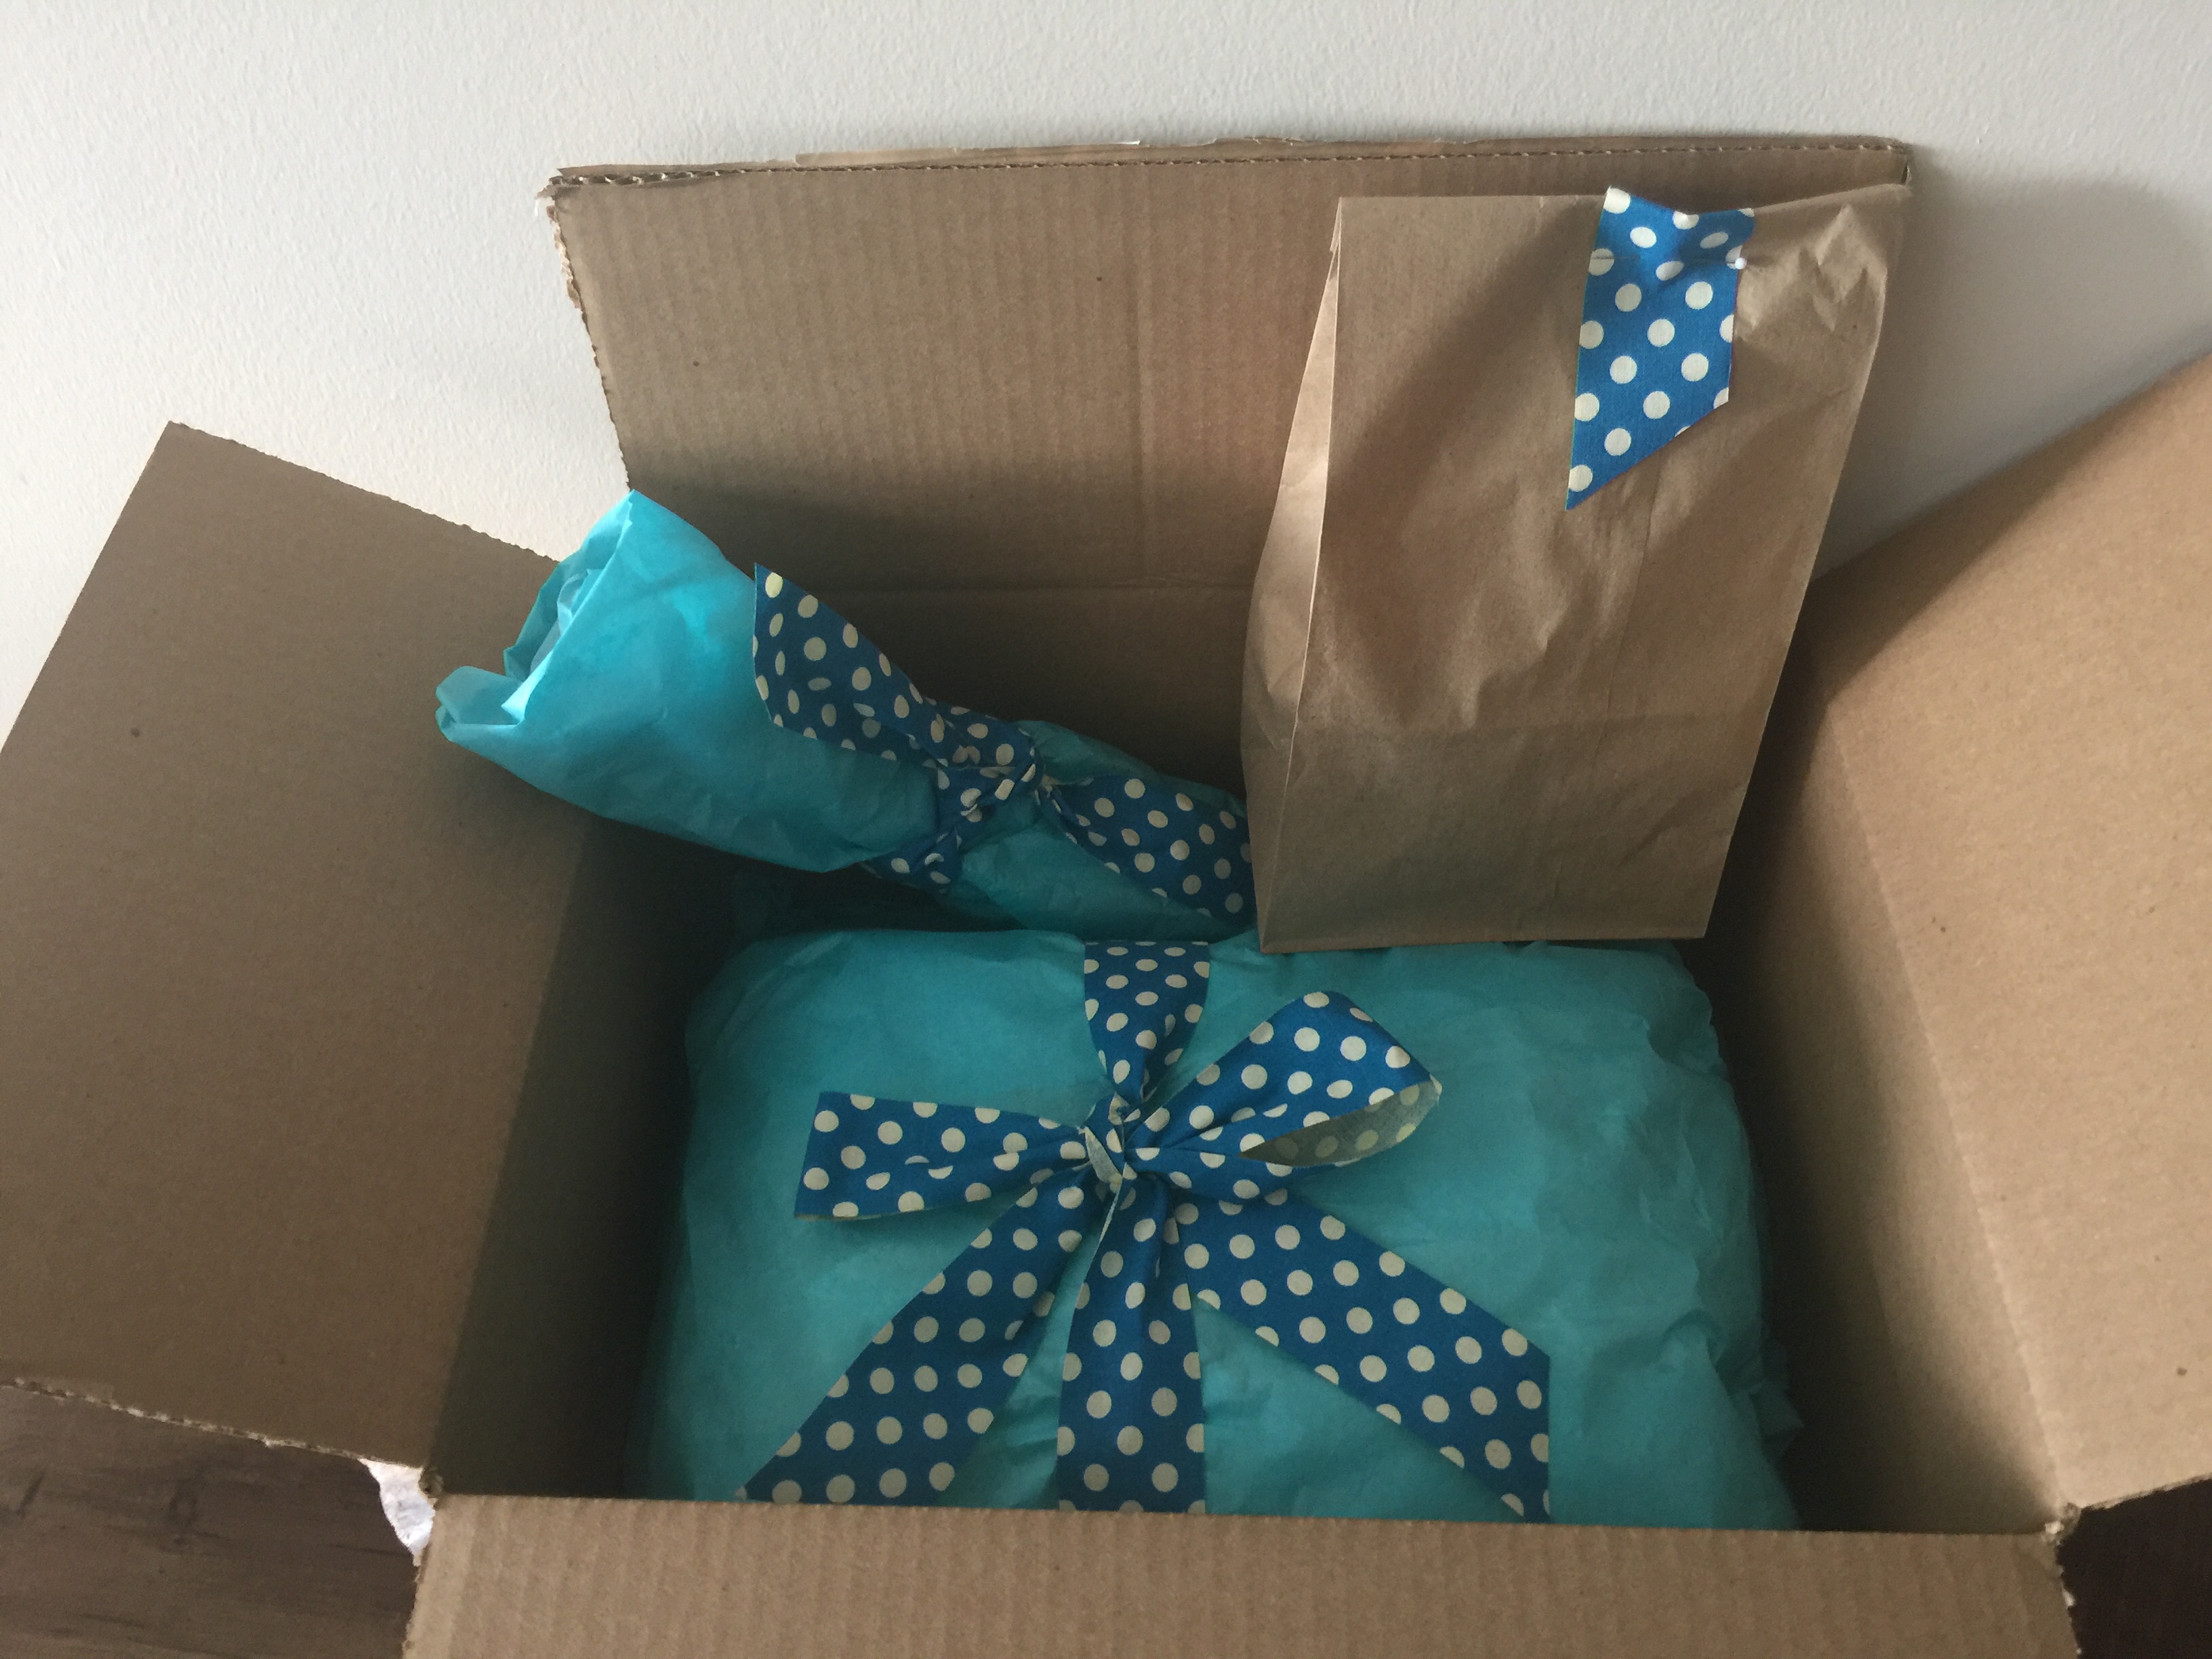
I wrapped it using some vintage ribbon I found at an estate sale 15 years ago!
Welcome little one, and thanks for giving me an excuse to quilt!
by Andrea | Jan 1, 2018 | Uncategorized
 Hey friends! I’ve got a lovely Magnolia Wreath Tutorial up on the blog today for you. I first came up with this several months ago for my Makers Cottage Night. I really wanted to make a tutorial for all the friends who requested it that live far away but I struggled with finding a good backdrop large enough for a wreath.
I’ll be throwing caution to the wind and using a much too small poster board for this while awaiting my newly ordered one to arrive.
Shall we get started? It’s really pretty easy and Hobby Lobby has everything you need! Make sure you use the weekly 40% off coupon in their app! If you time it right, you can buy the leaves when the greenery is on sale and use your coupon for the wreath part. That makes this project cost roughly $15…
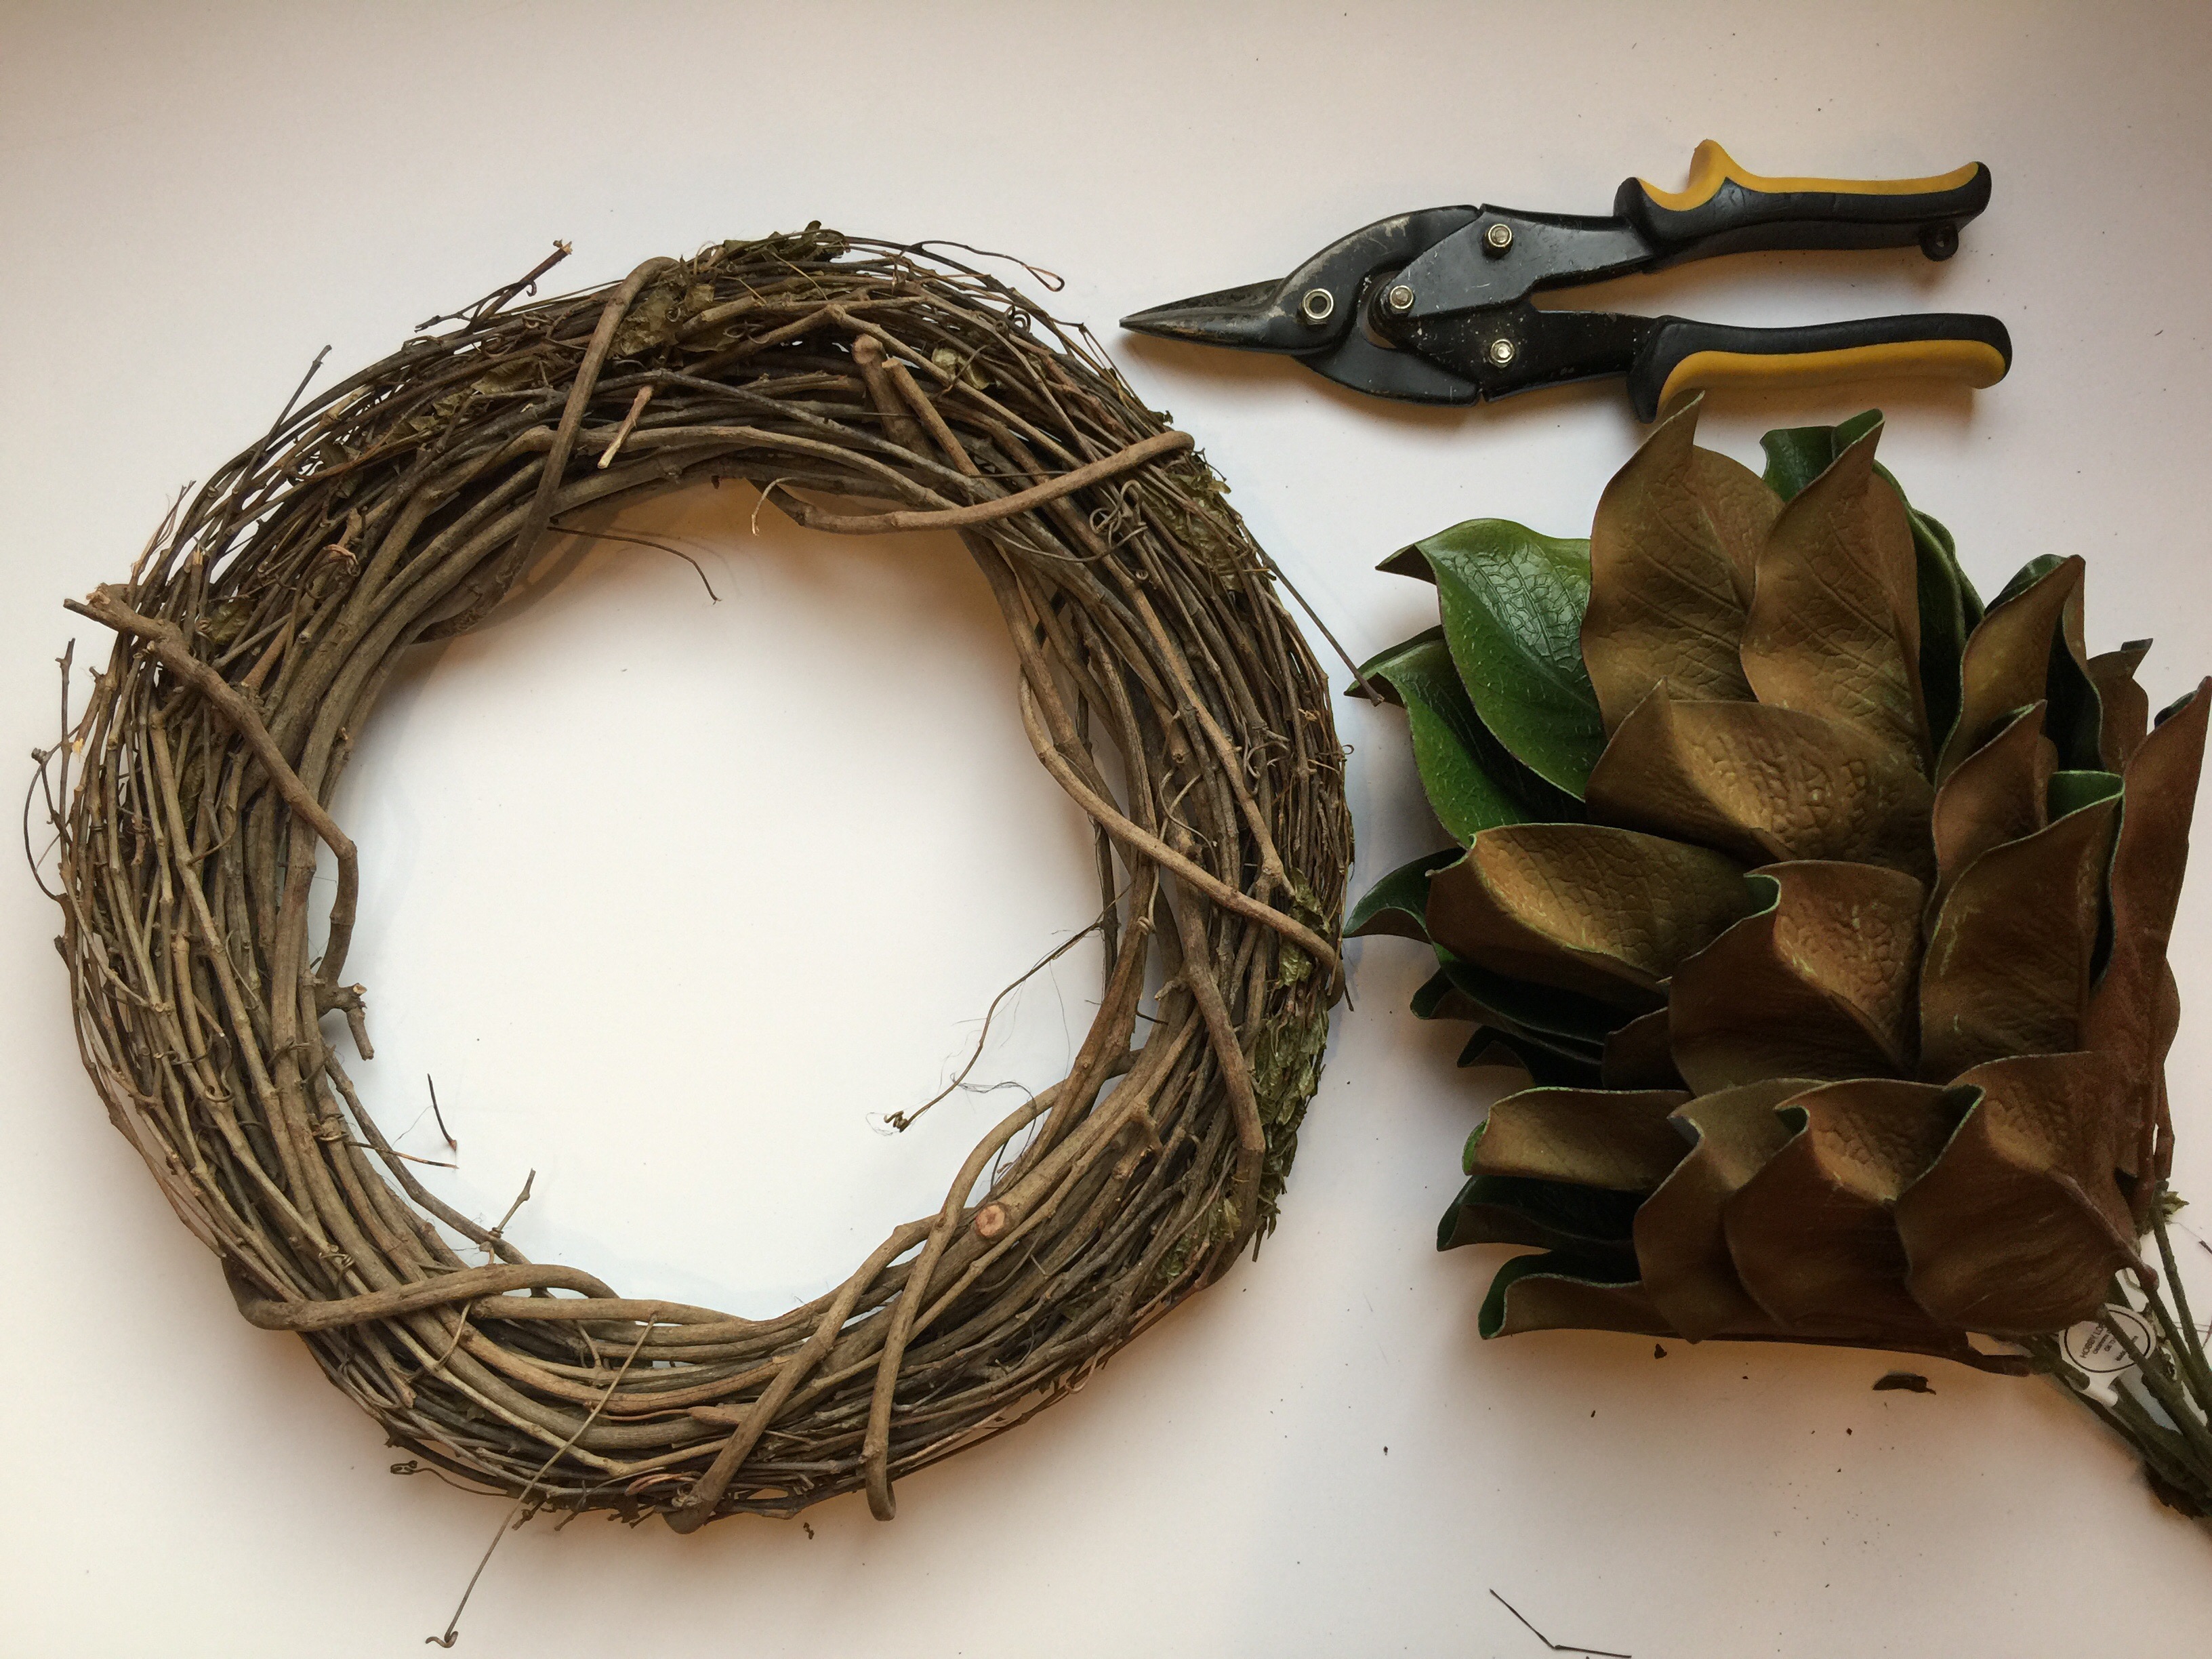 Supplies:
- One large bunch of Magnolia leaves from Hobby Lobby
- One 18” grapevine wreath
- Wire clippers or pliers
- Glue gun
- Glue sticks
Directions:
- Cut each stem off your bush. Each stem has three leaves. Each of these bushes should have 10 stems.
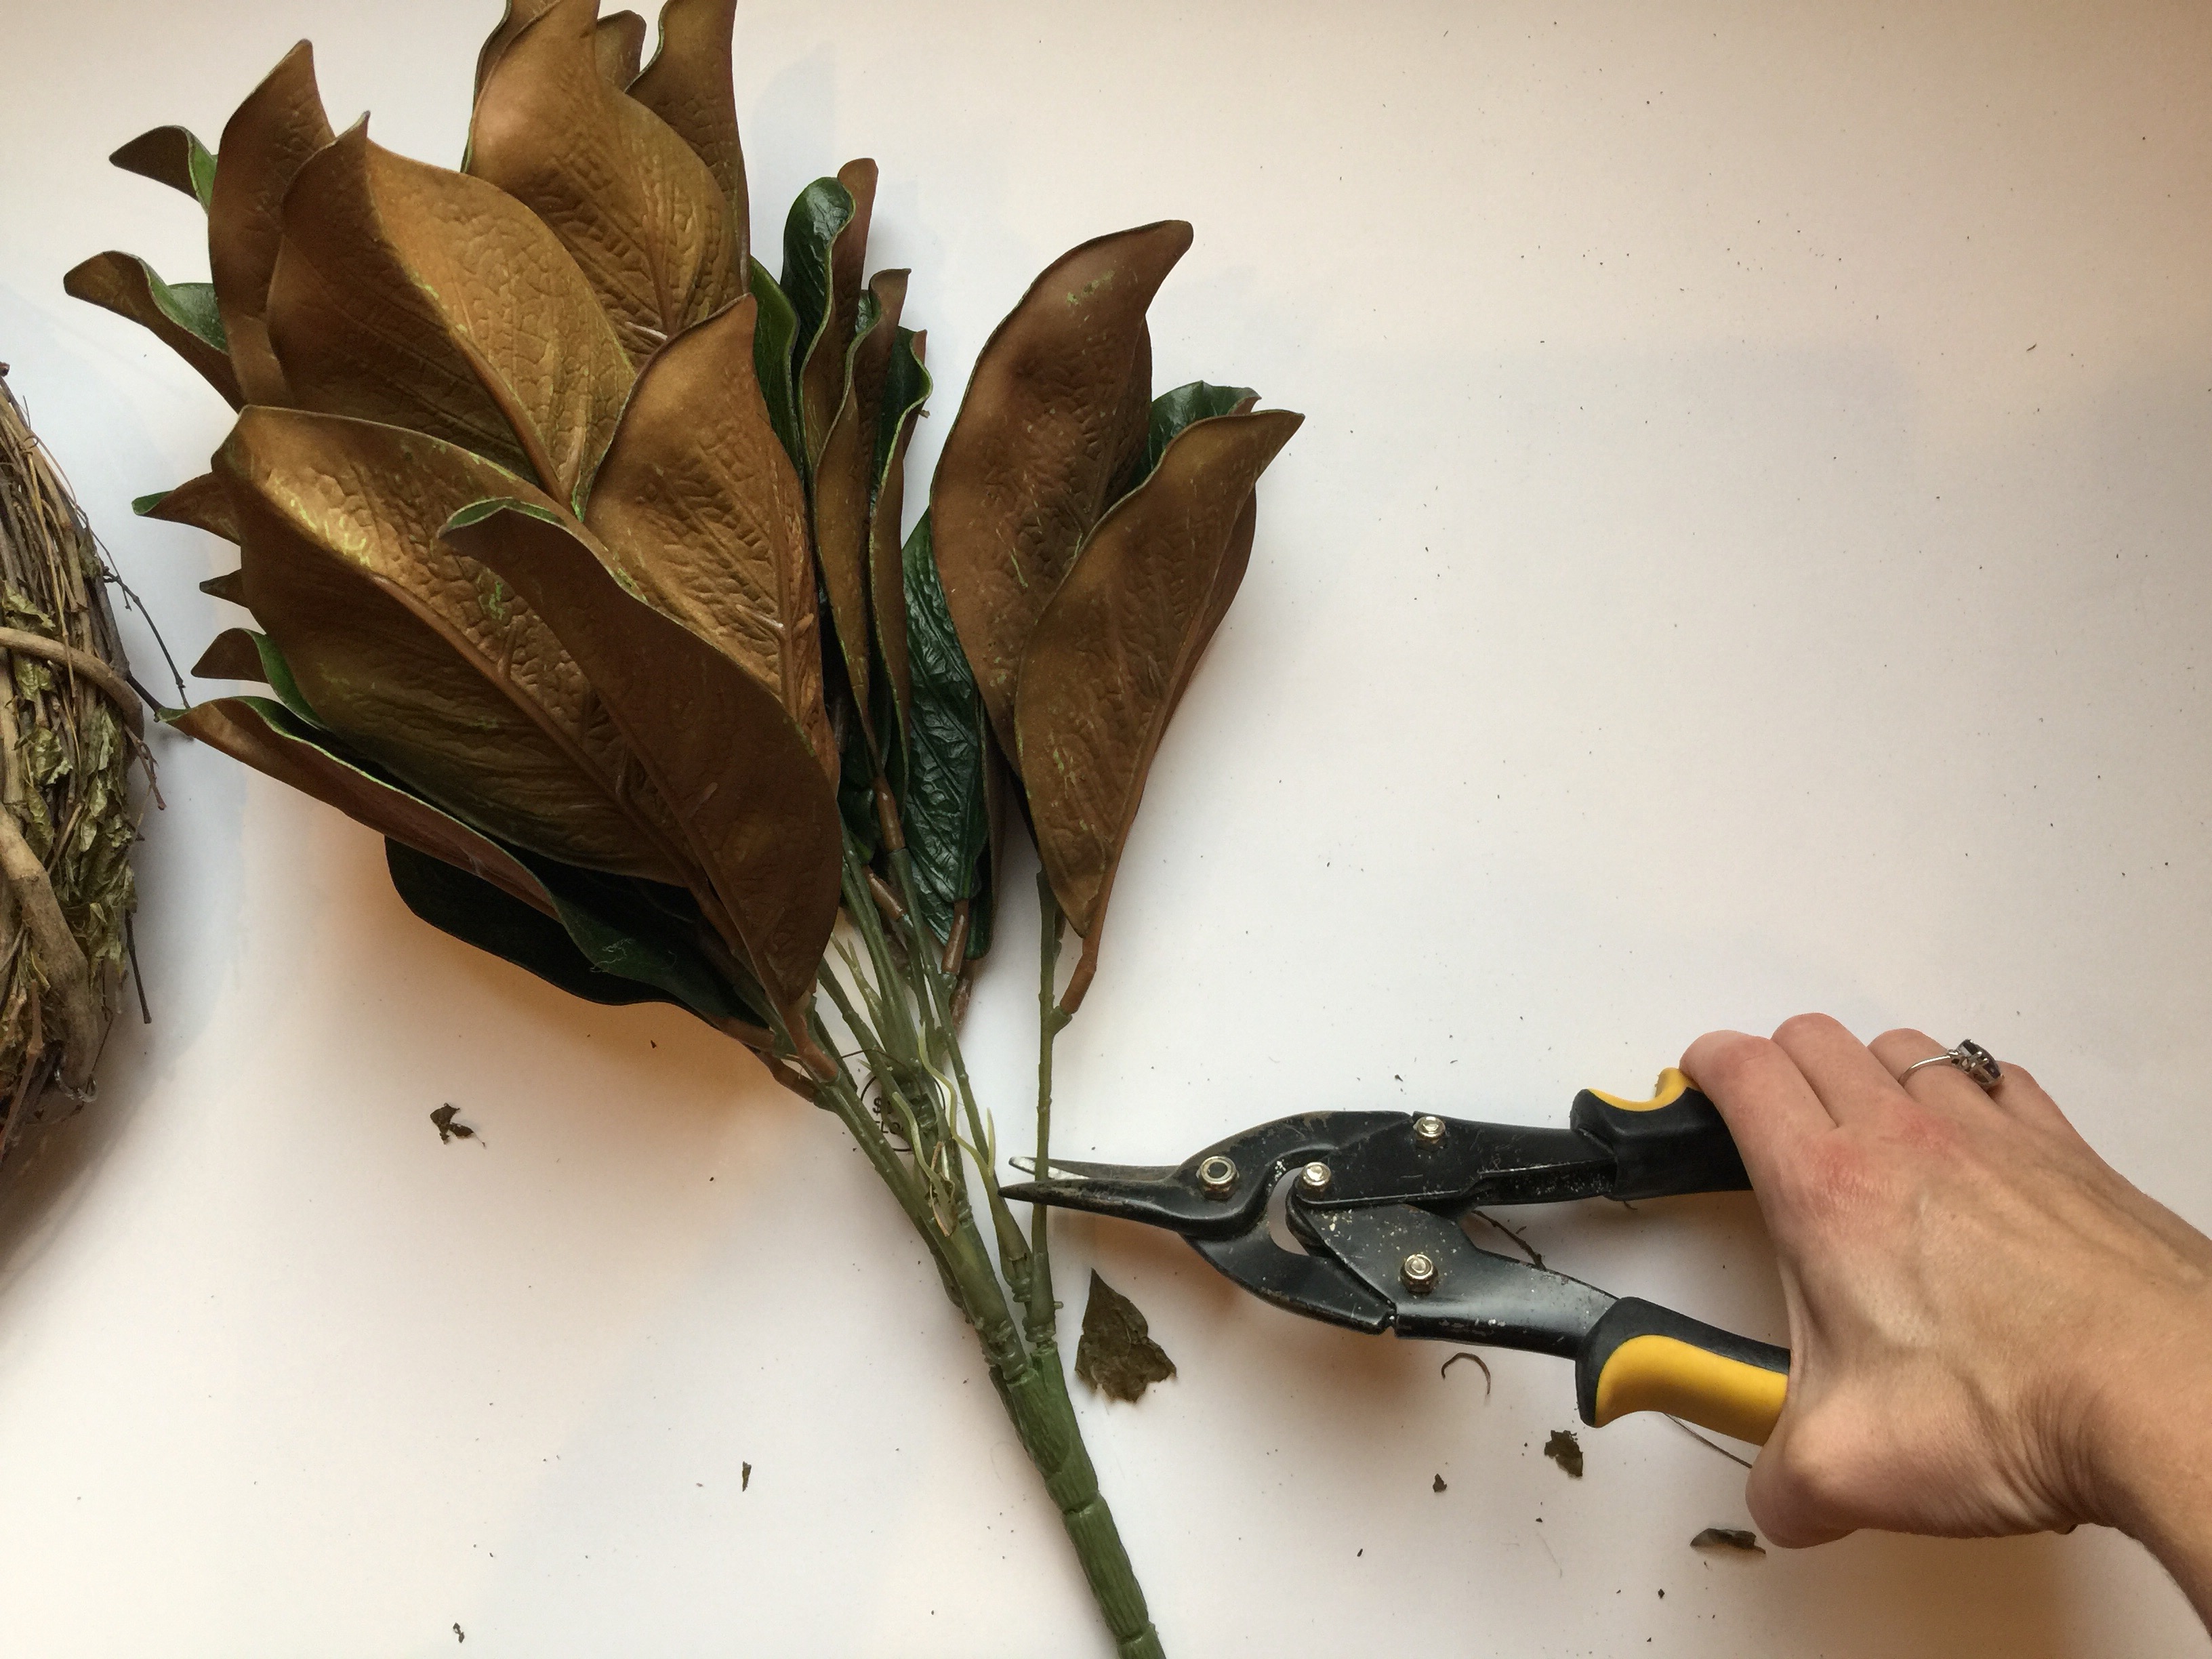
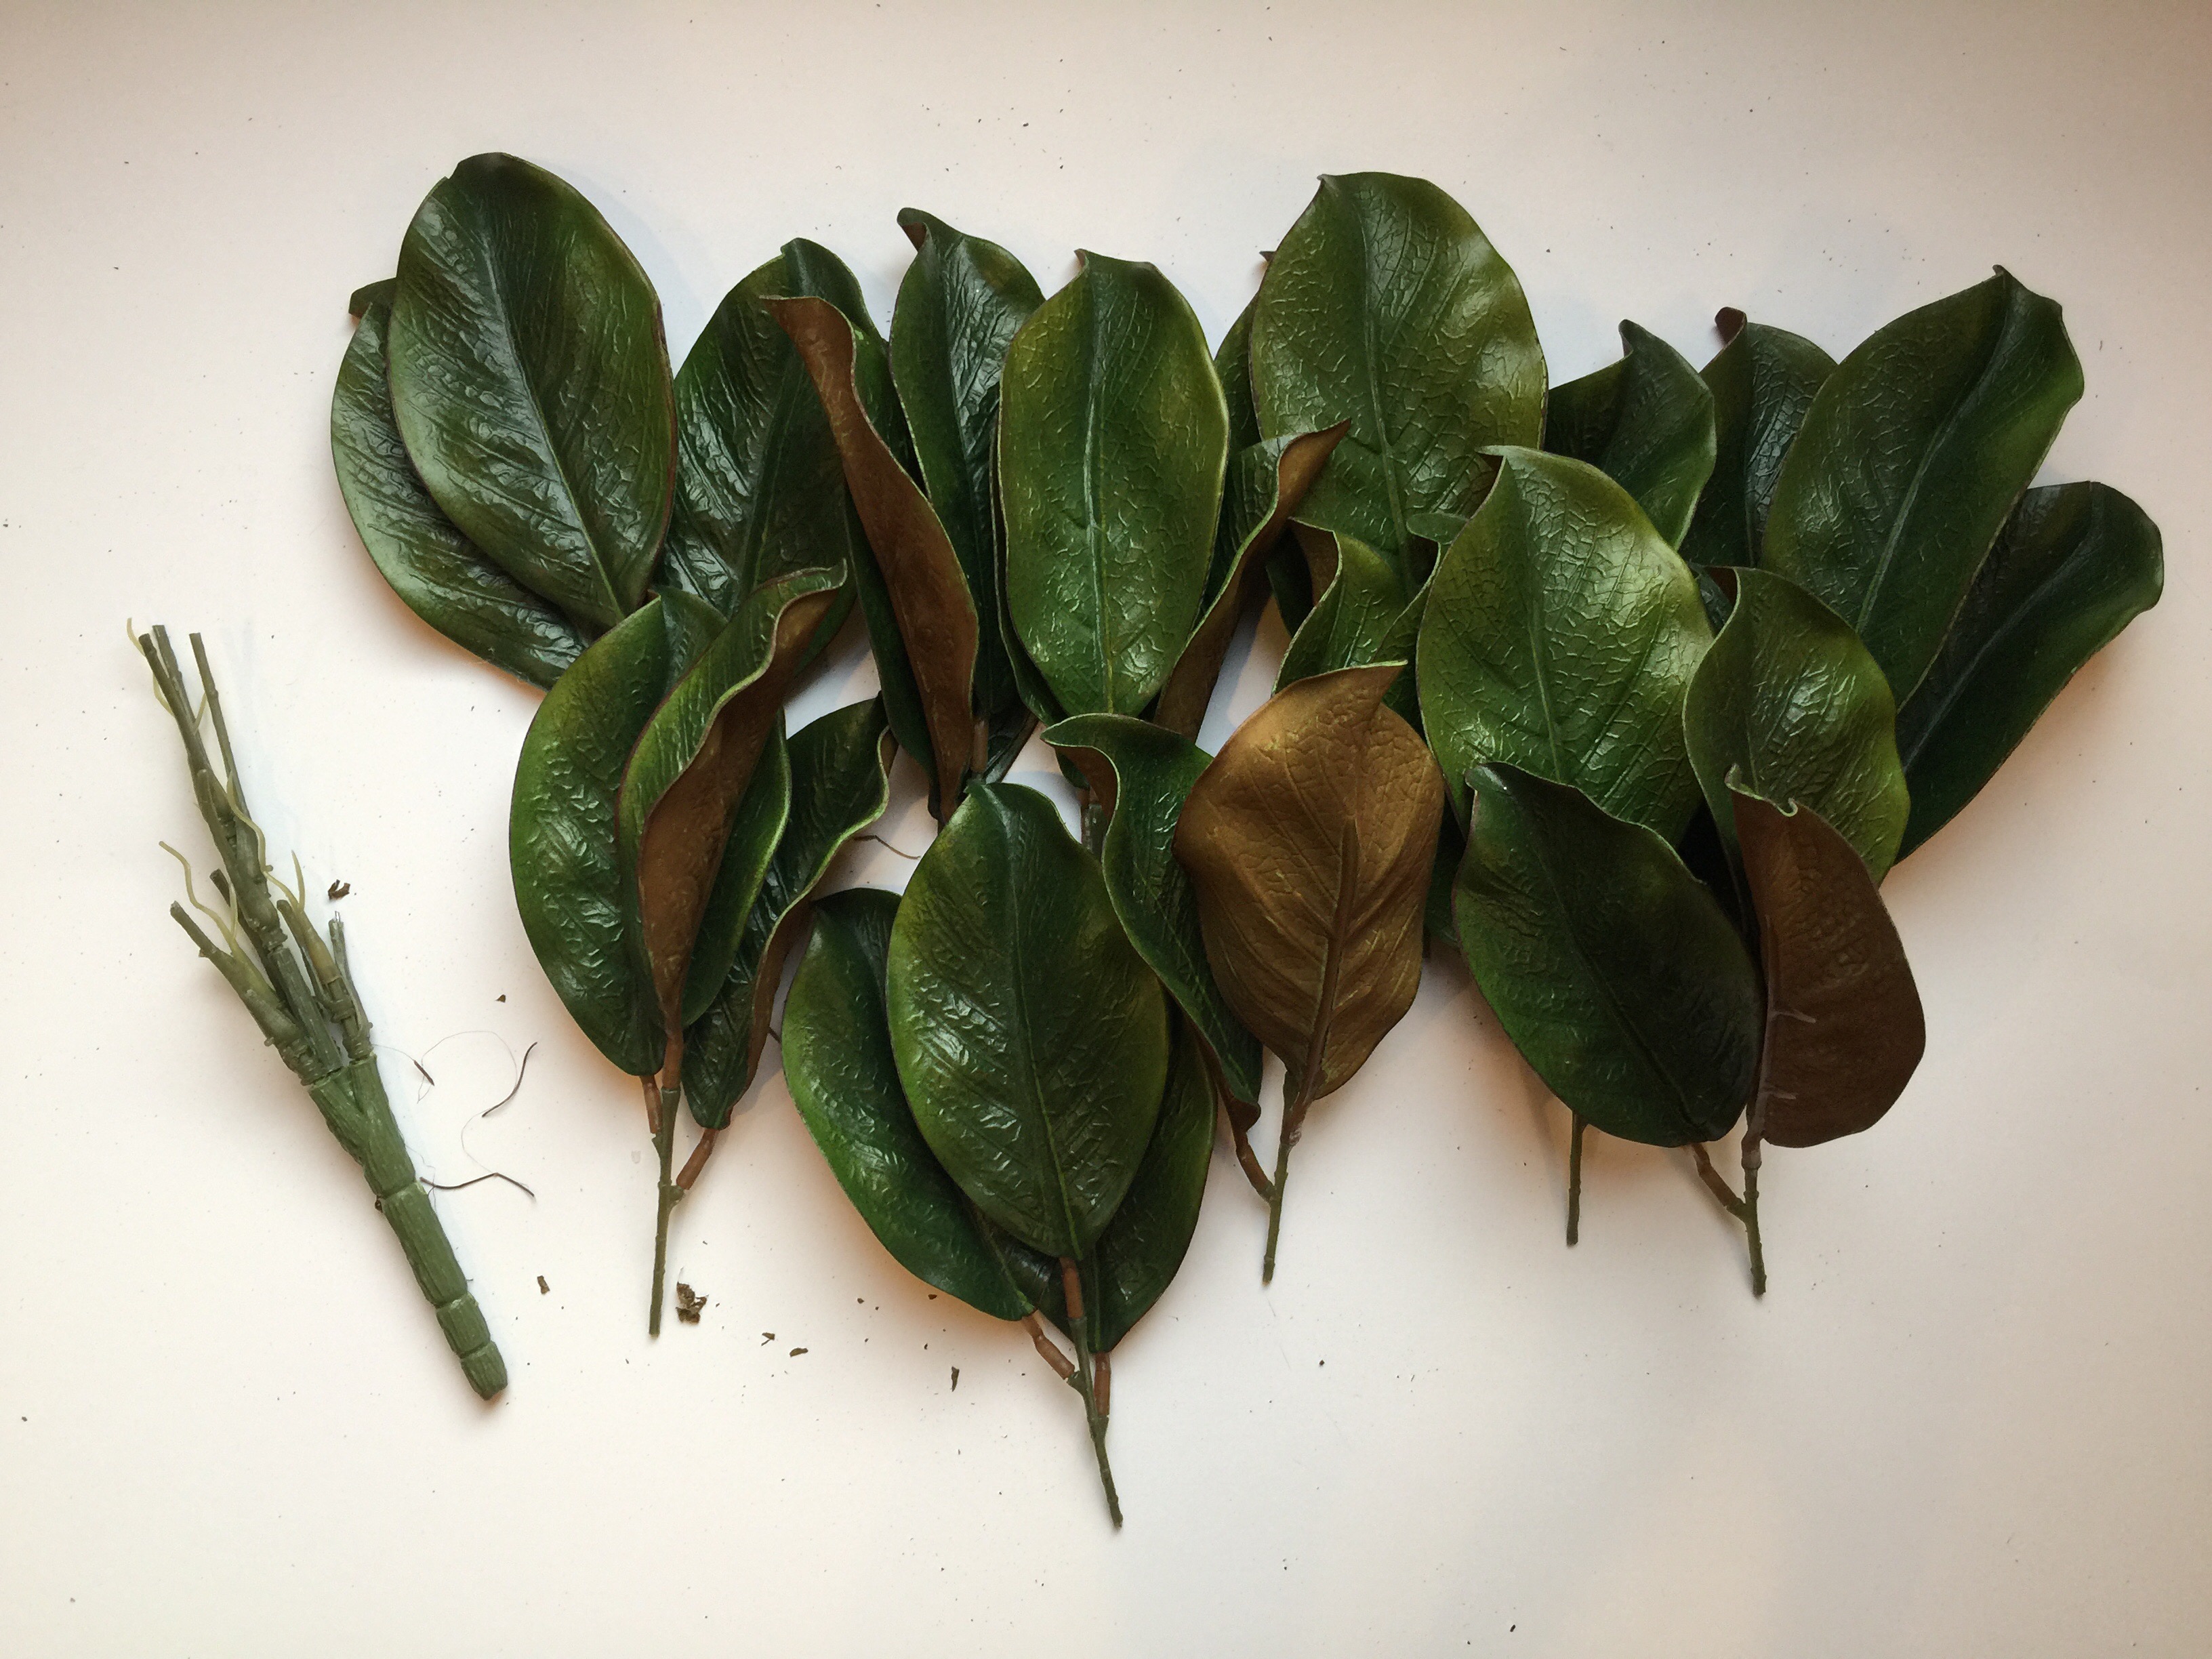
- Next, take each stem and turn all the leaves facing up. Spread them apart by slightly bending the wires inside the stems. They should lay flat.
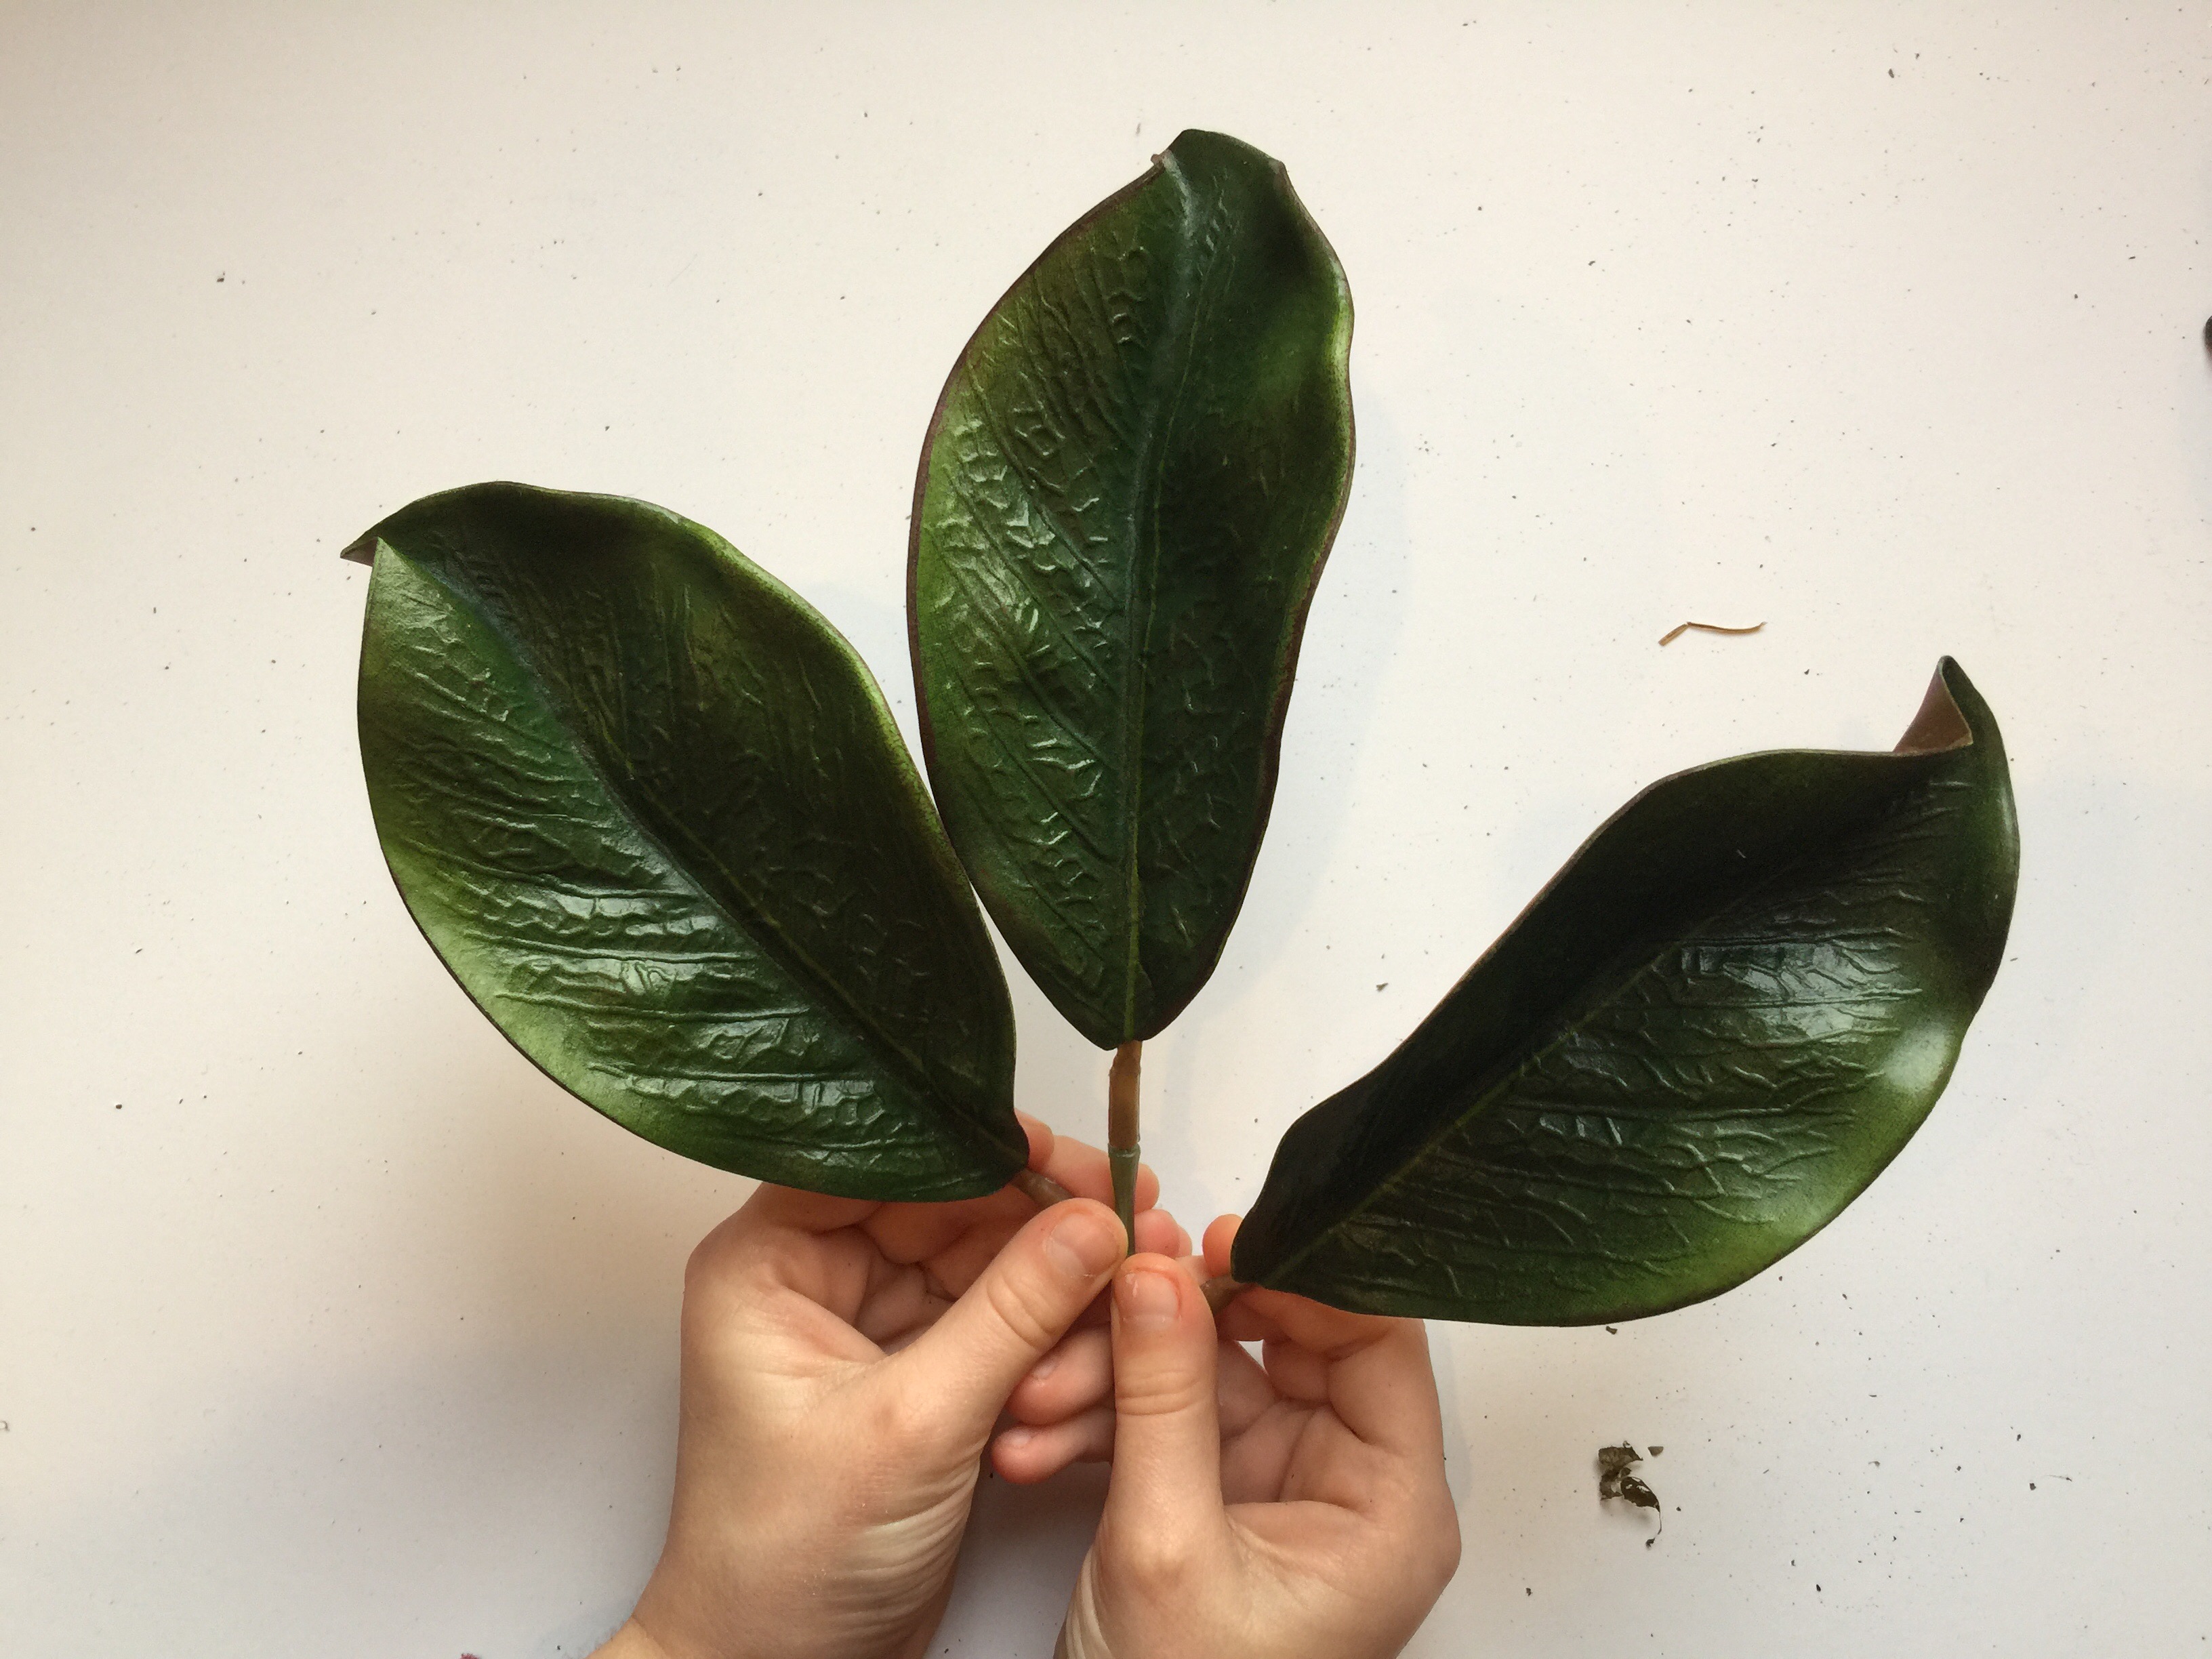
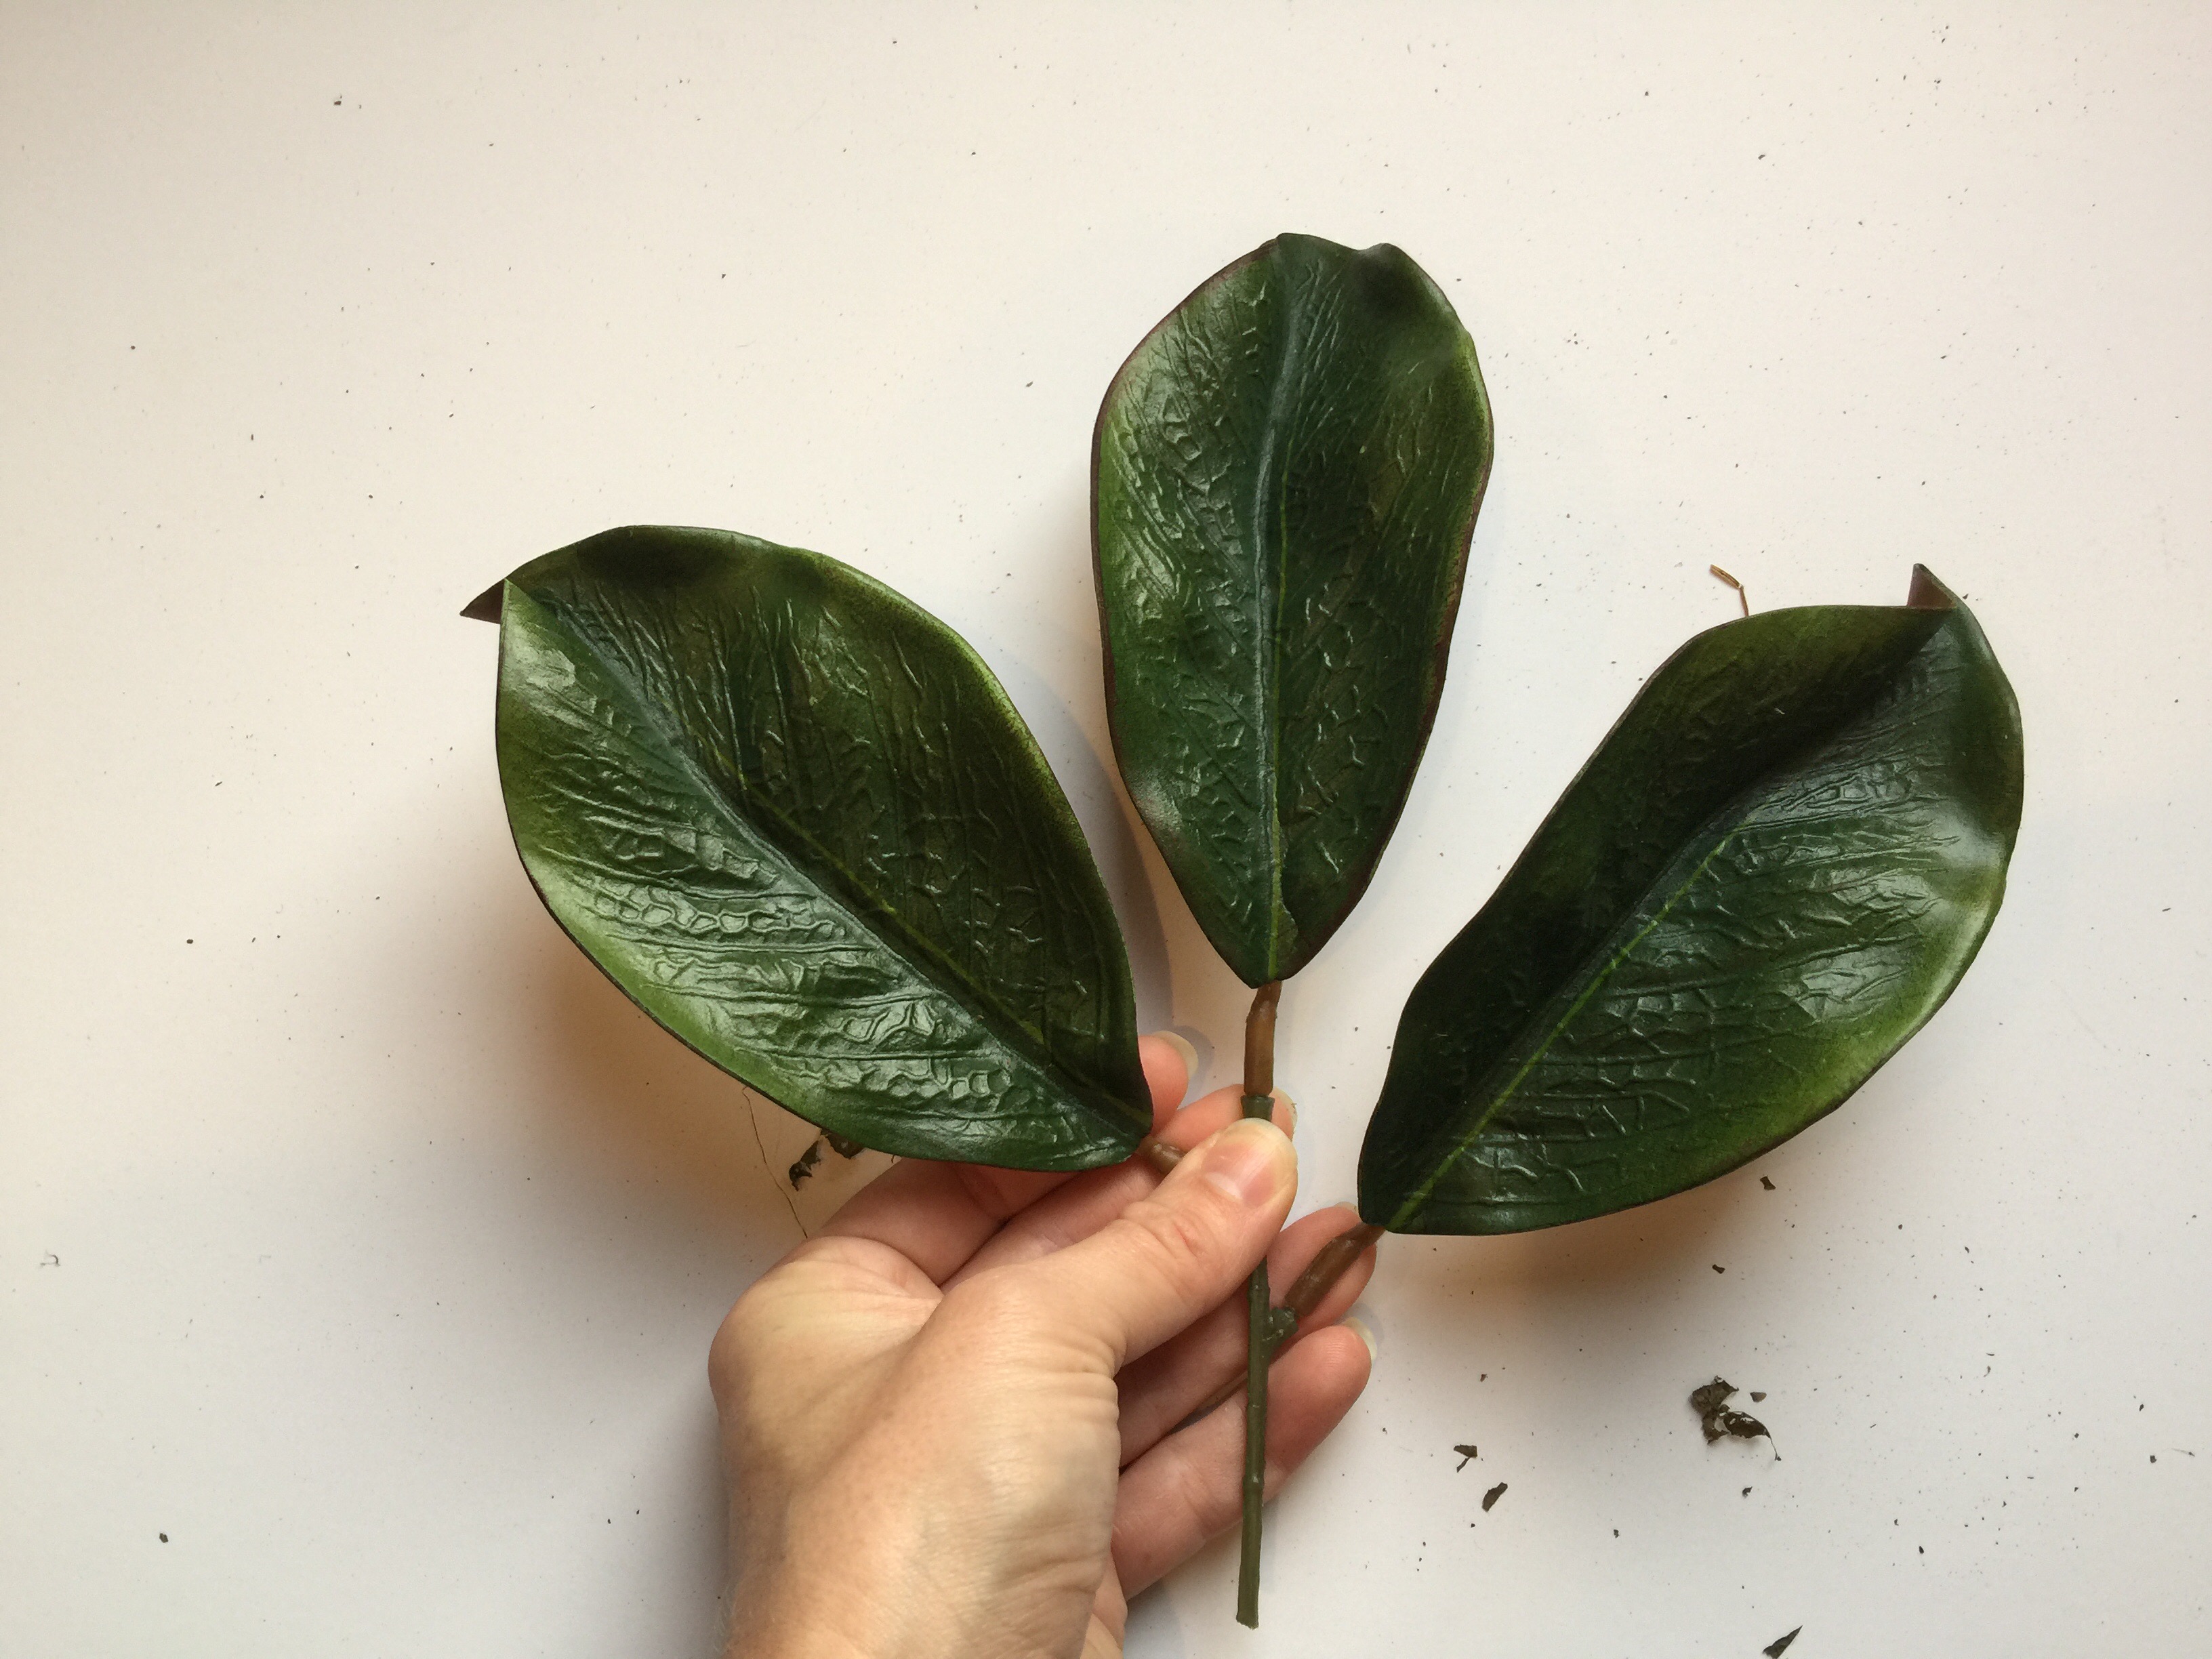
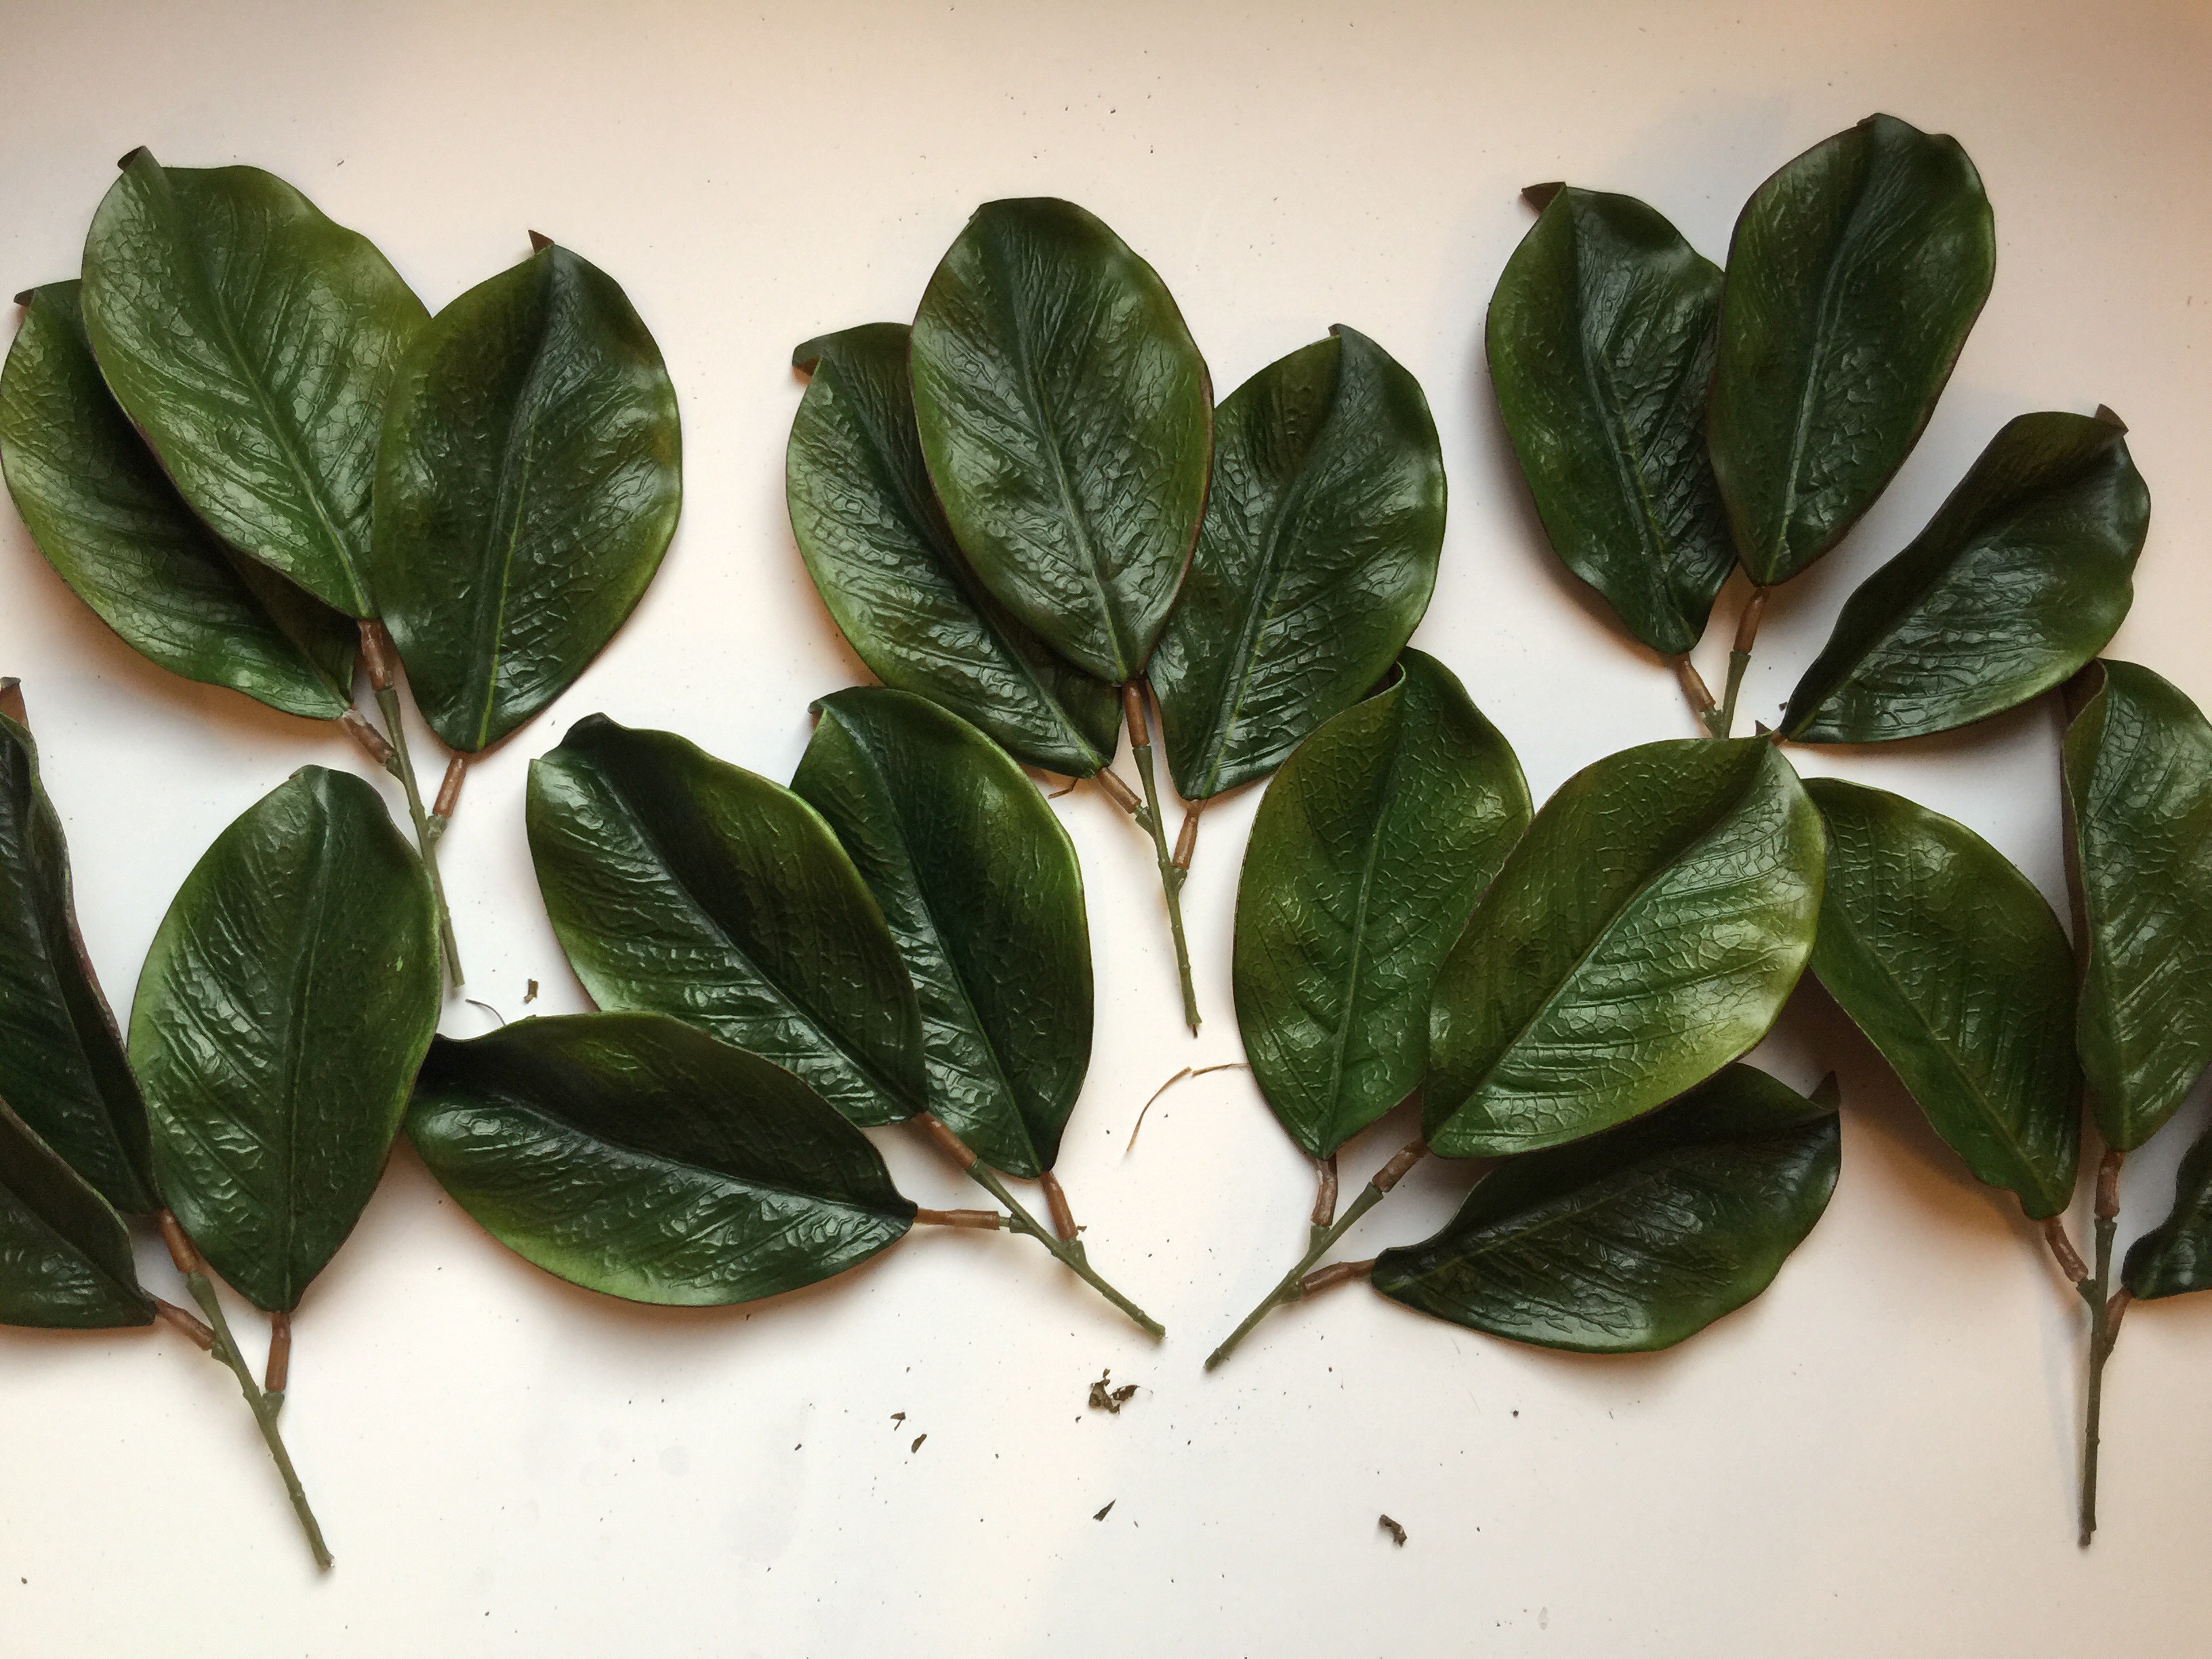
- Now get your wreath! It’s go time! Carefully find a spot to slide in your flattened 3 leaf stem horizontally. The goal is to make sure these puppies are as flat against the wreath as humanly possible.
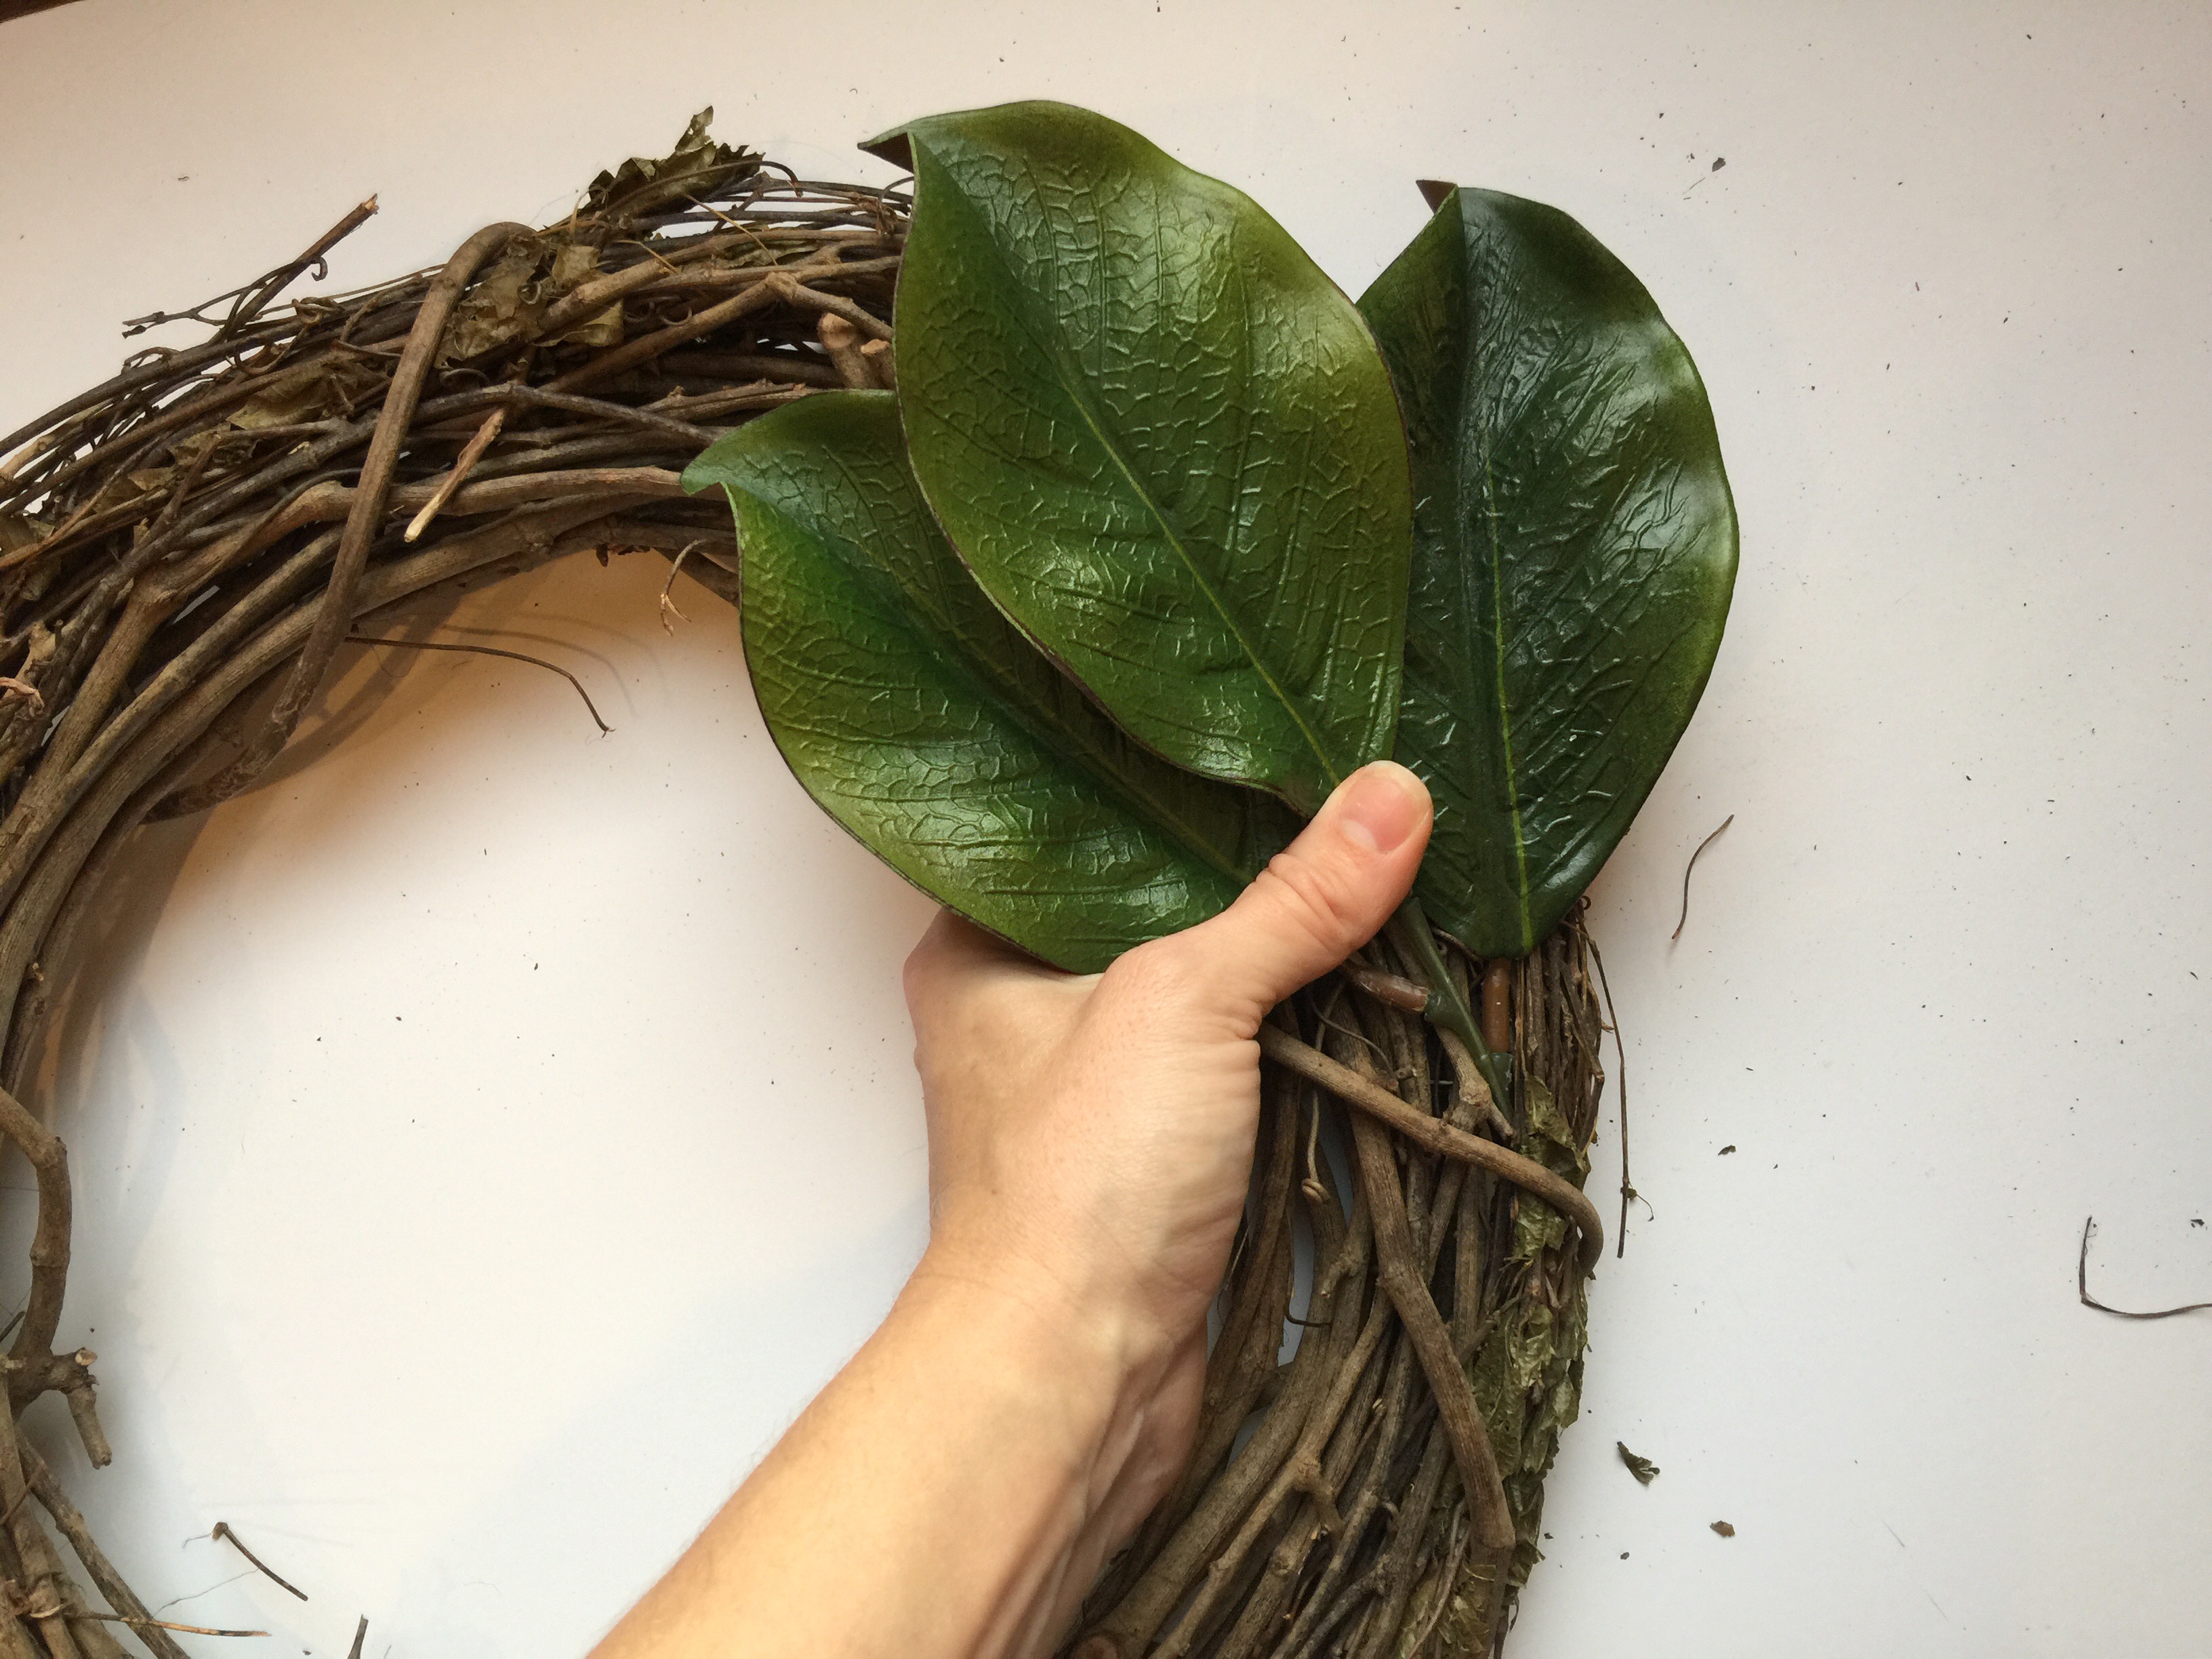
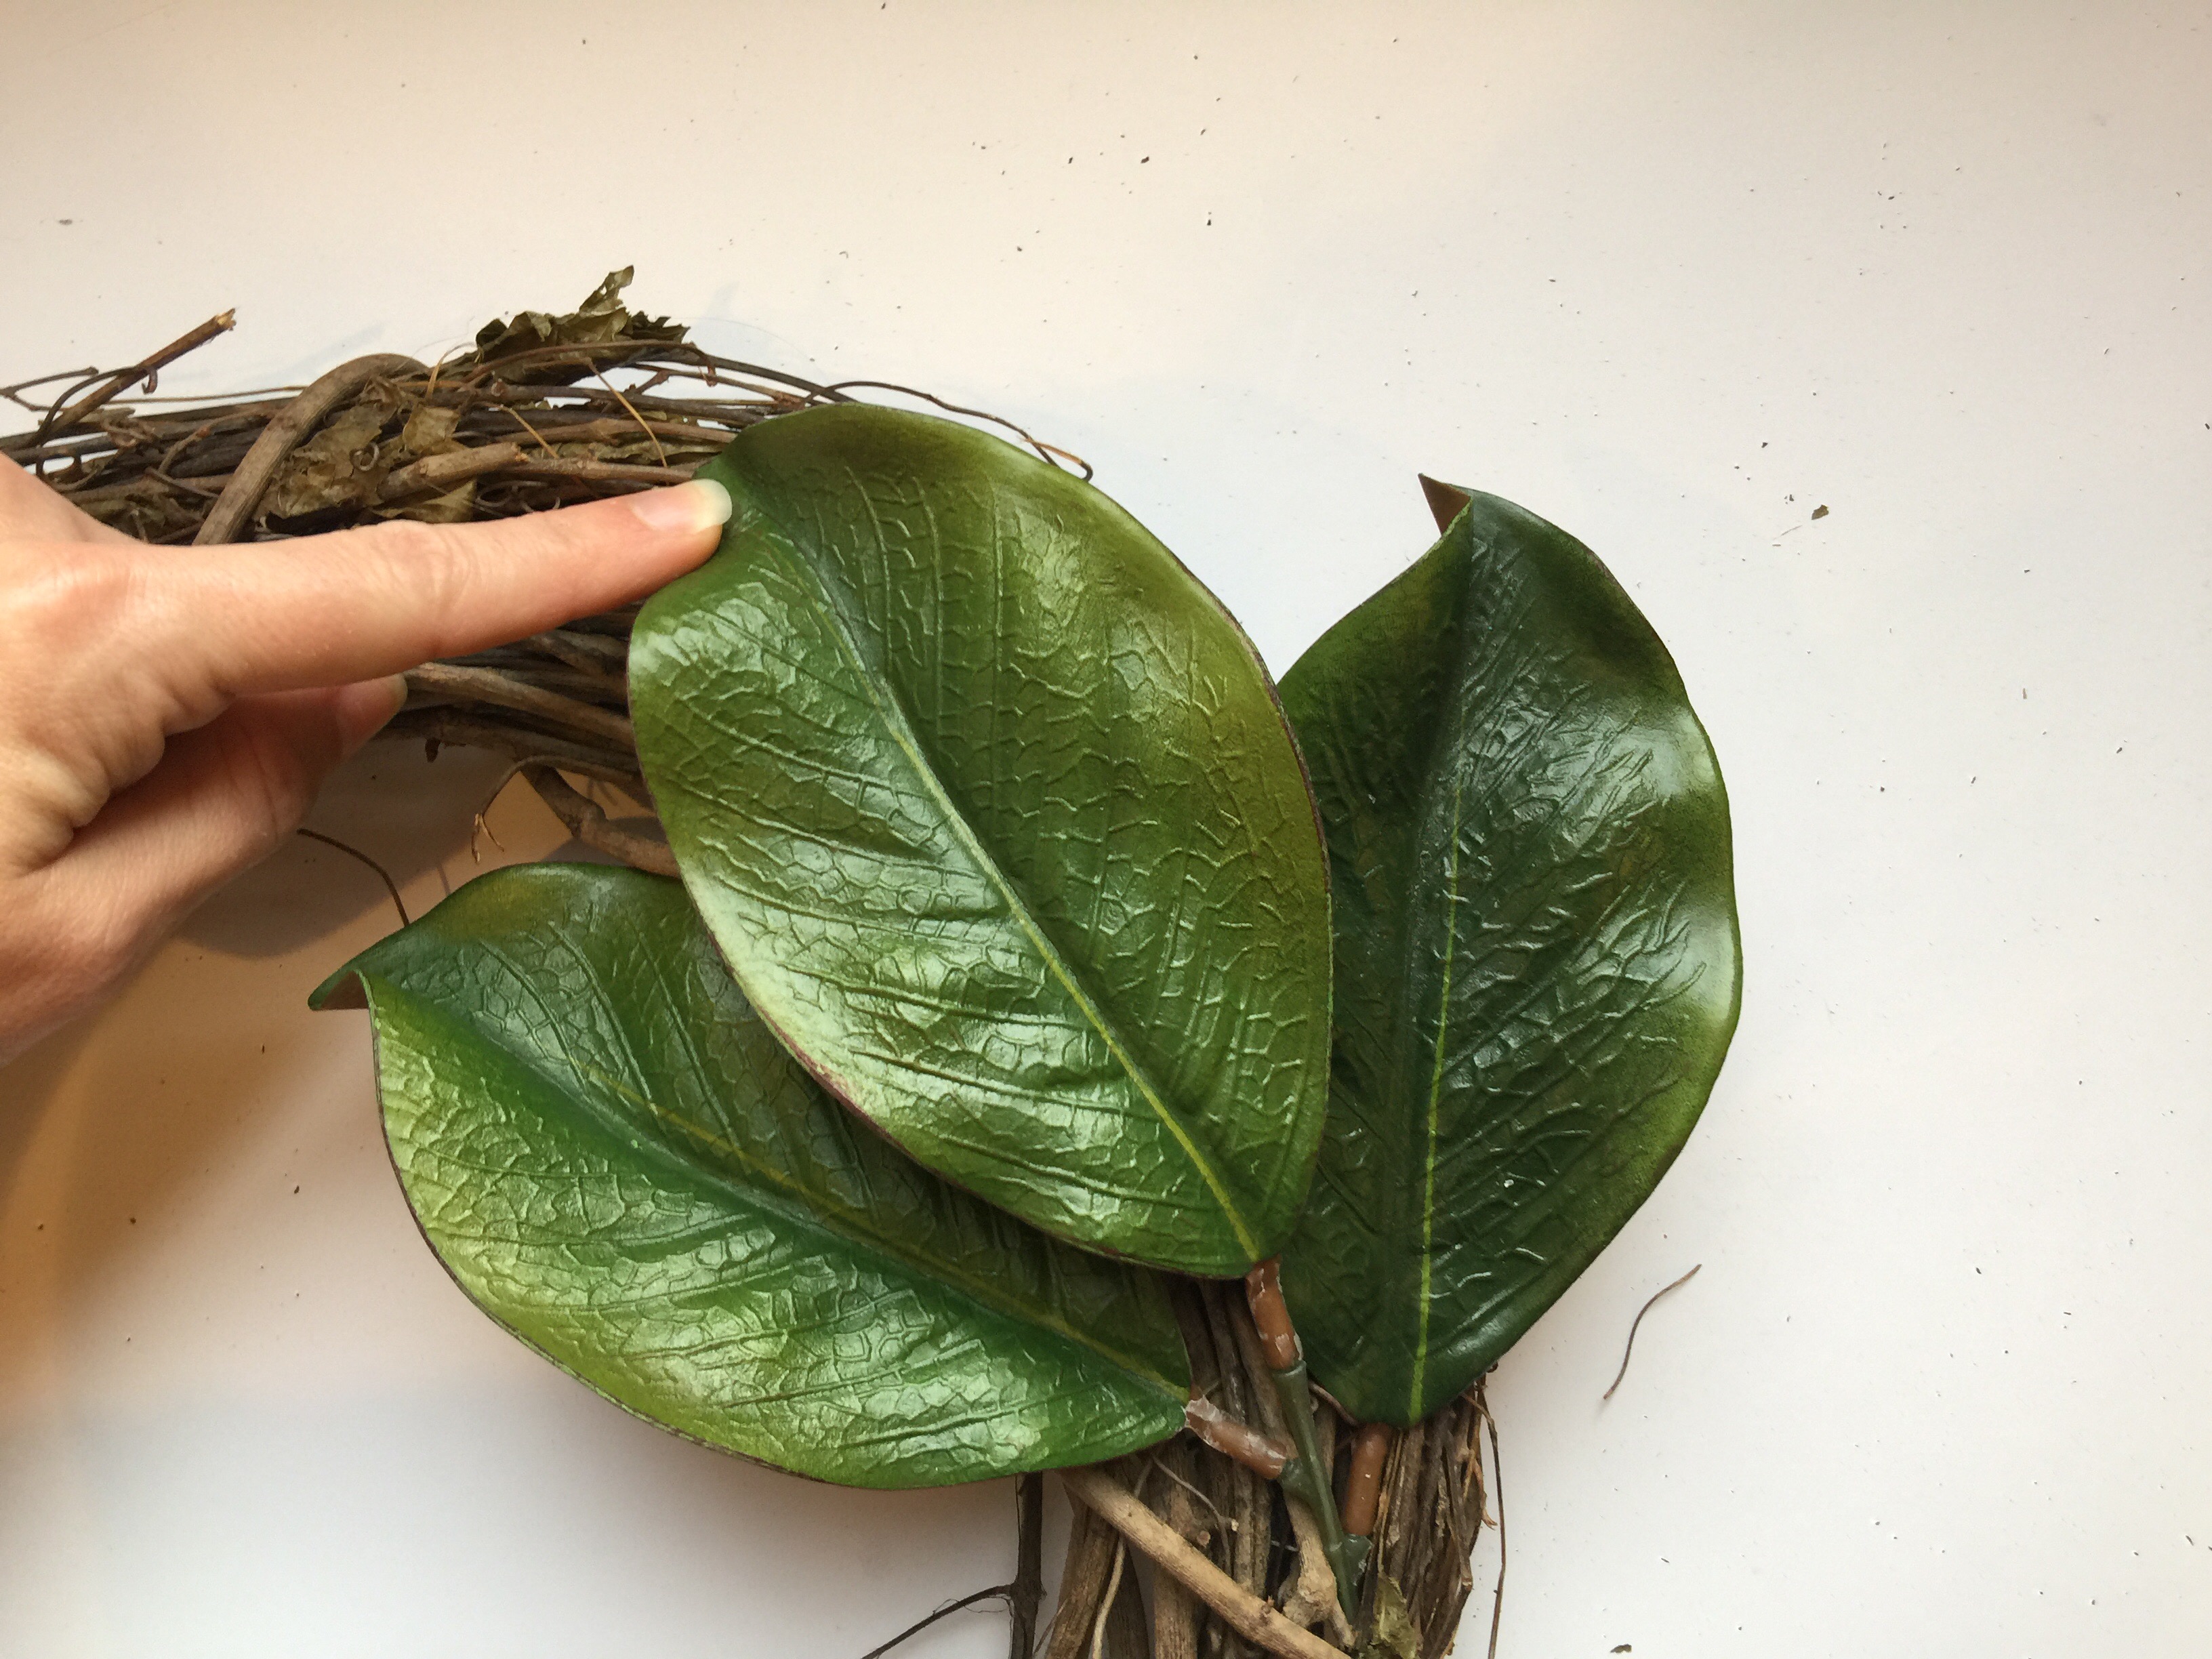
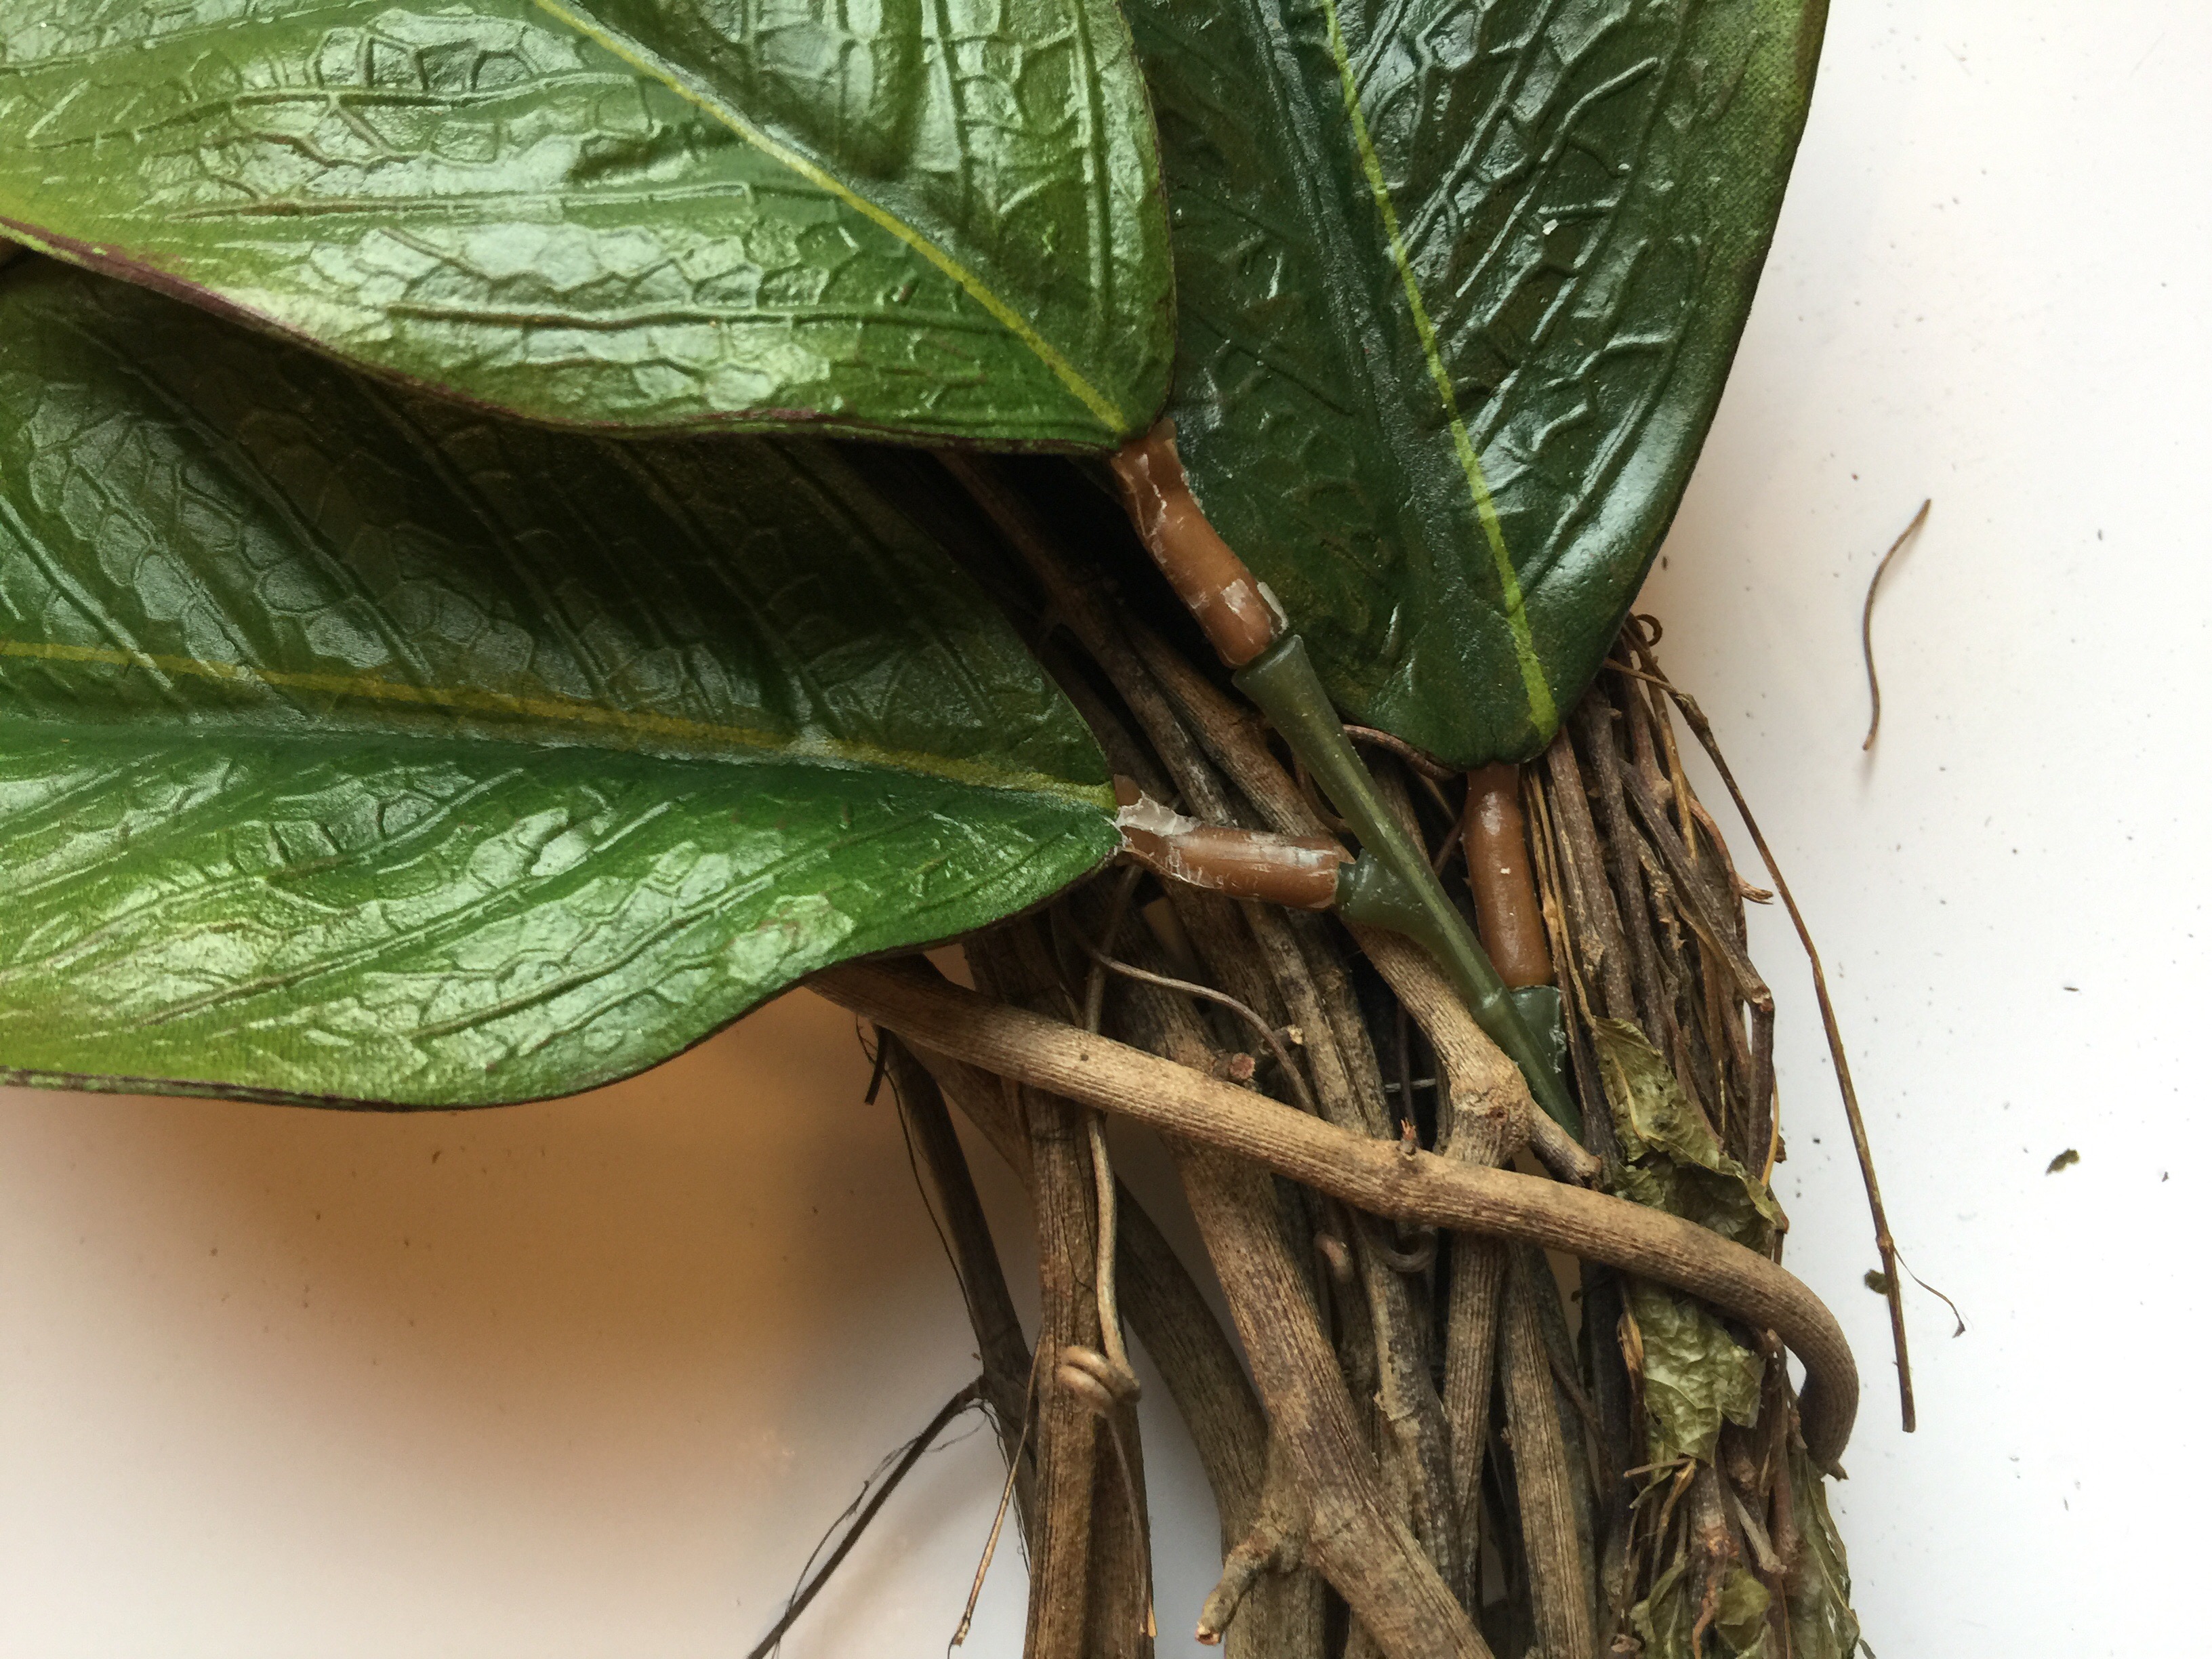
- This process will get trickier as you begin adding your next stems and spacing them evenly around your wreath. So keep sticking them in HORIZONTALLY. Don’t be afraid to get a little harsh with your stems if needed. They are pretty sturdy.
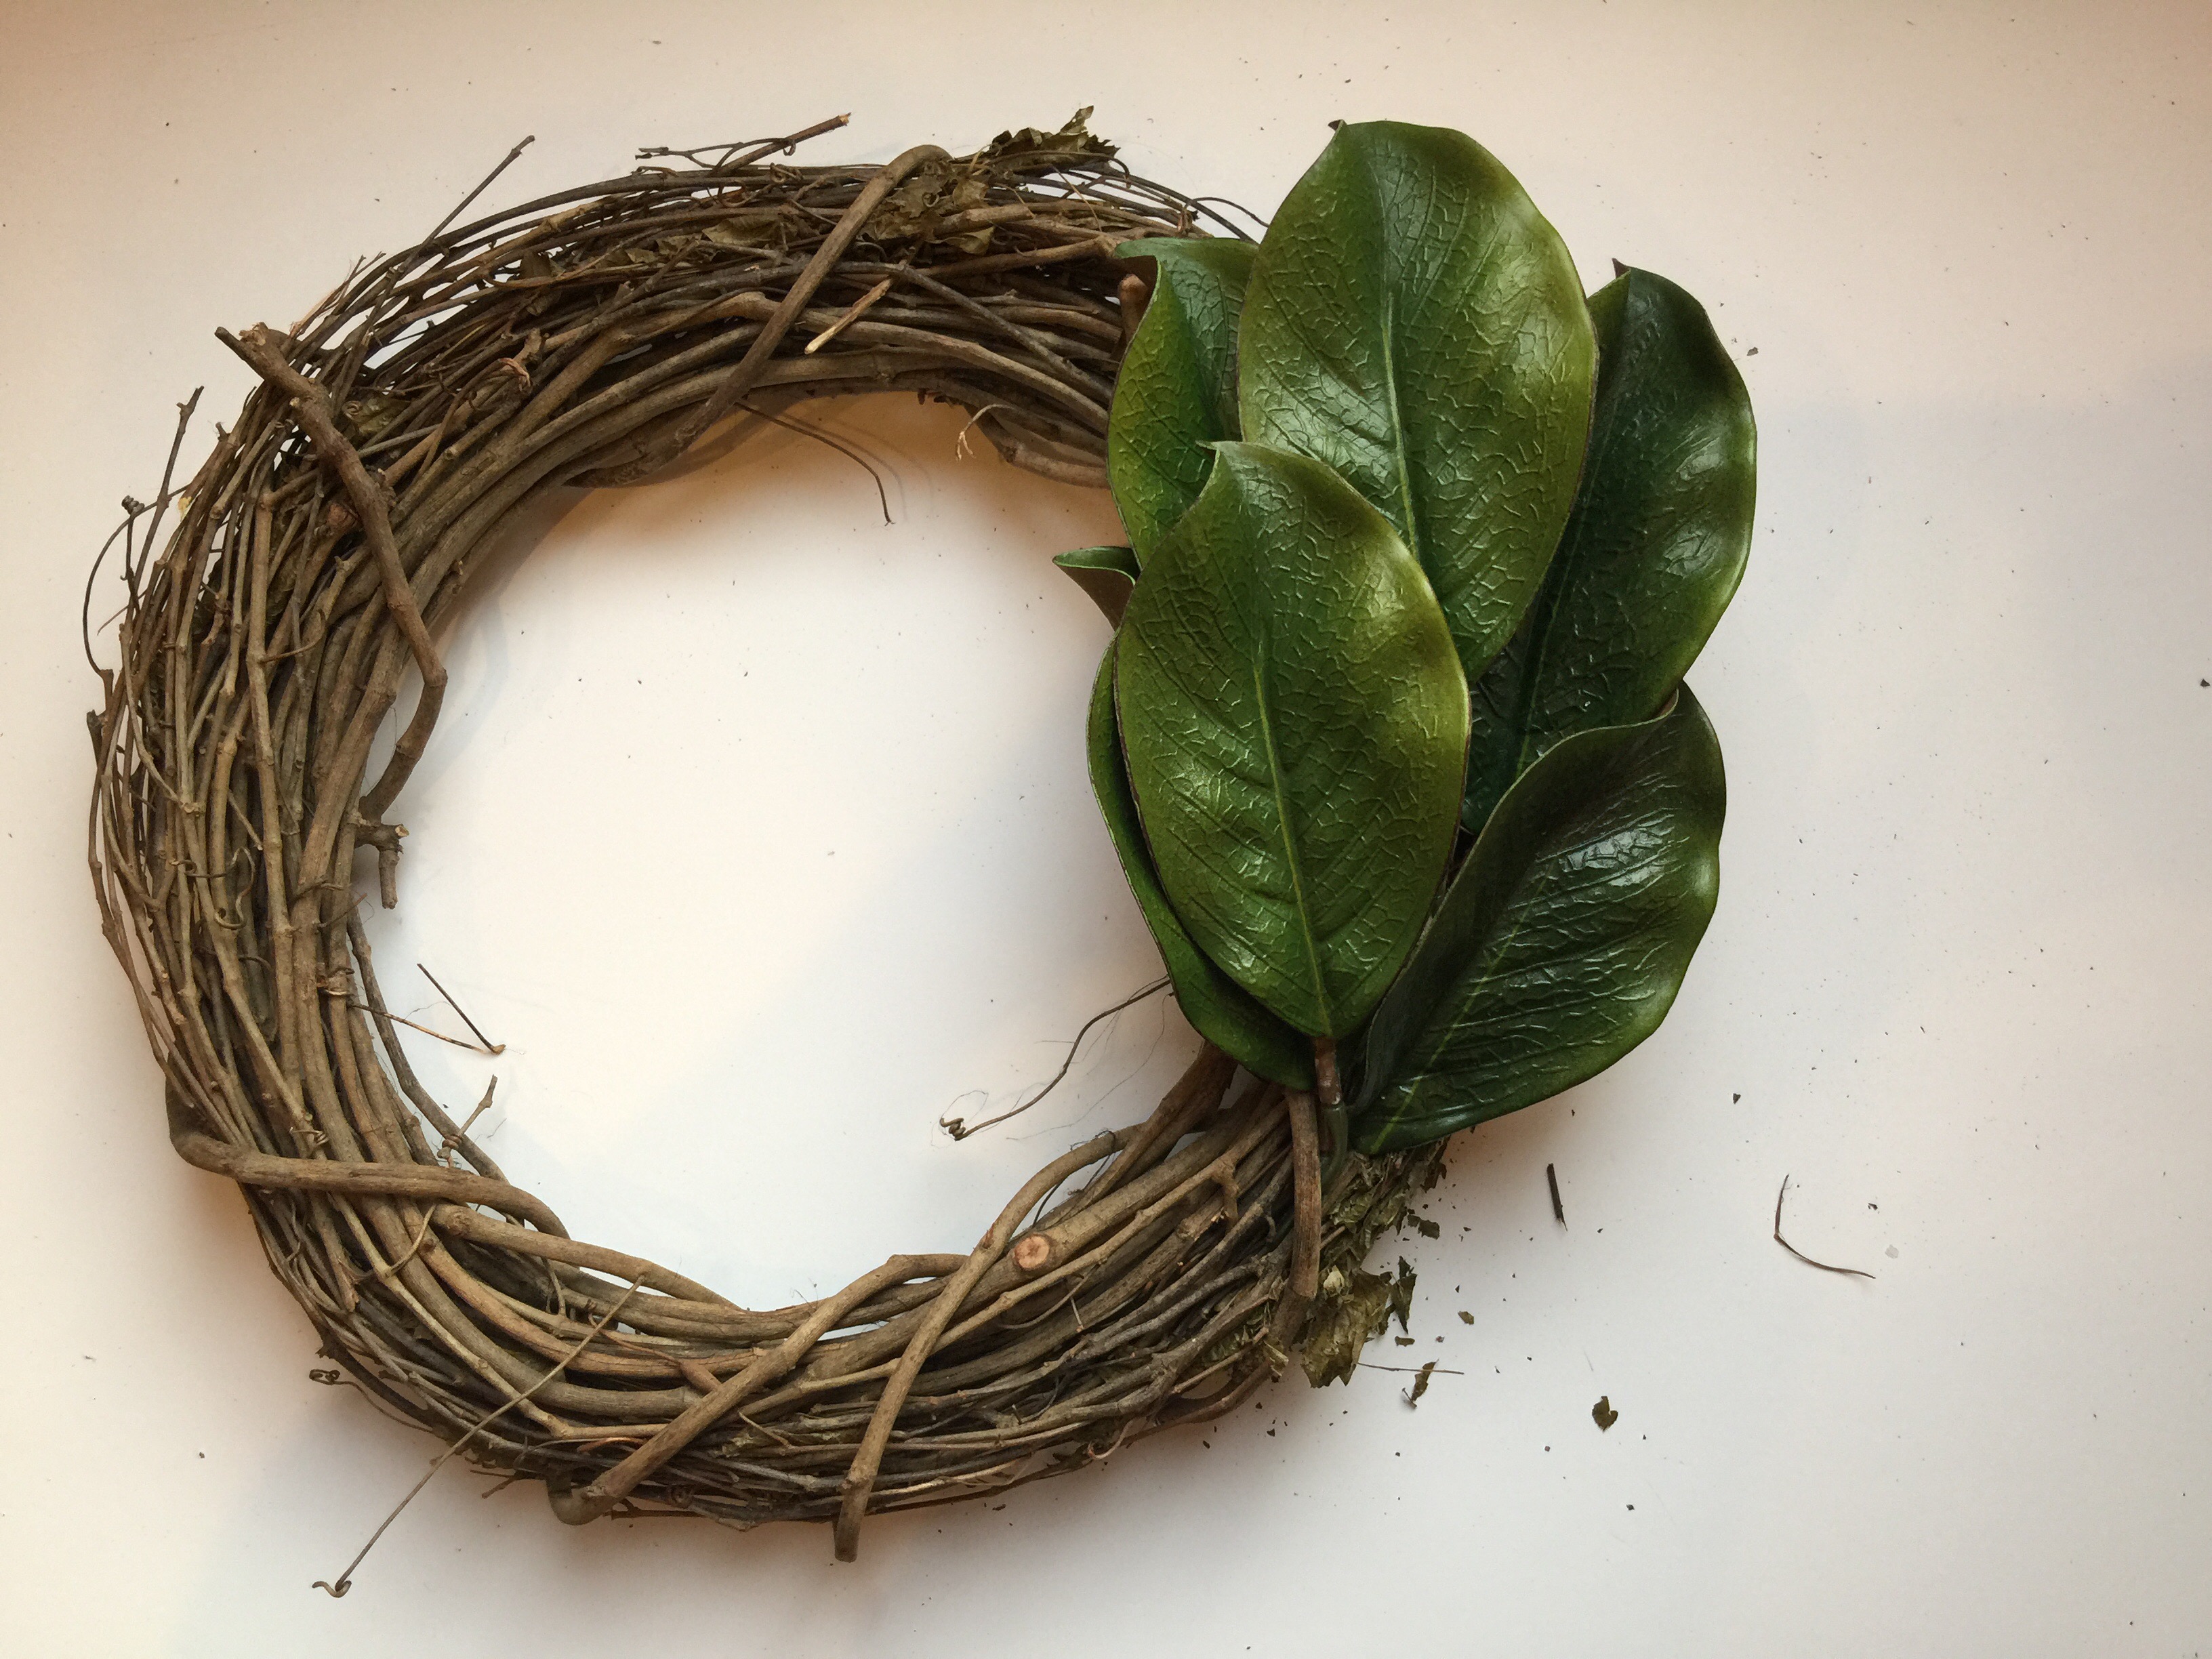
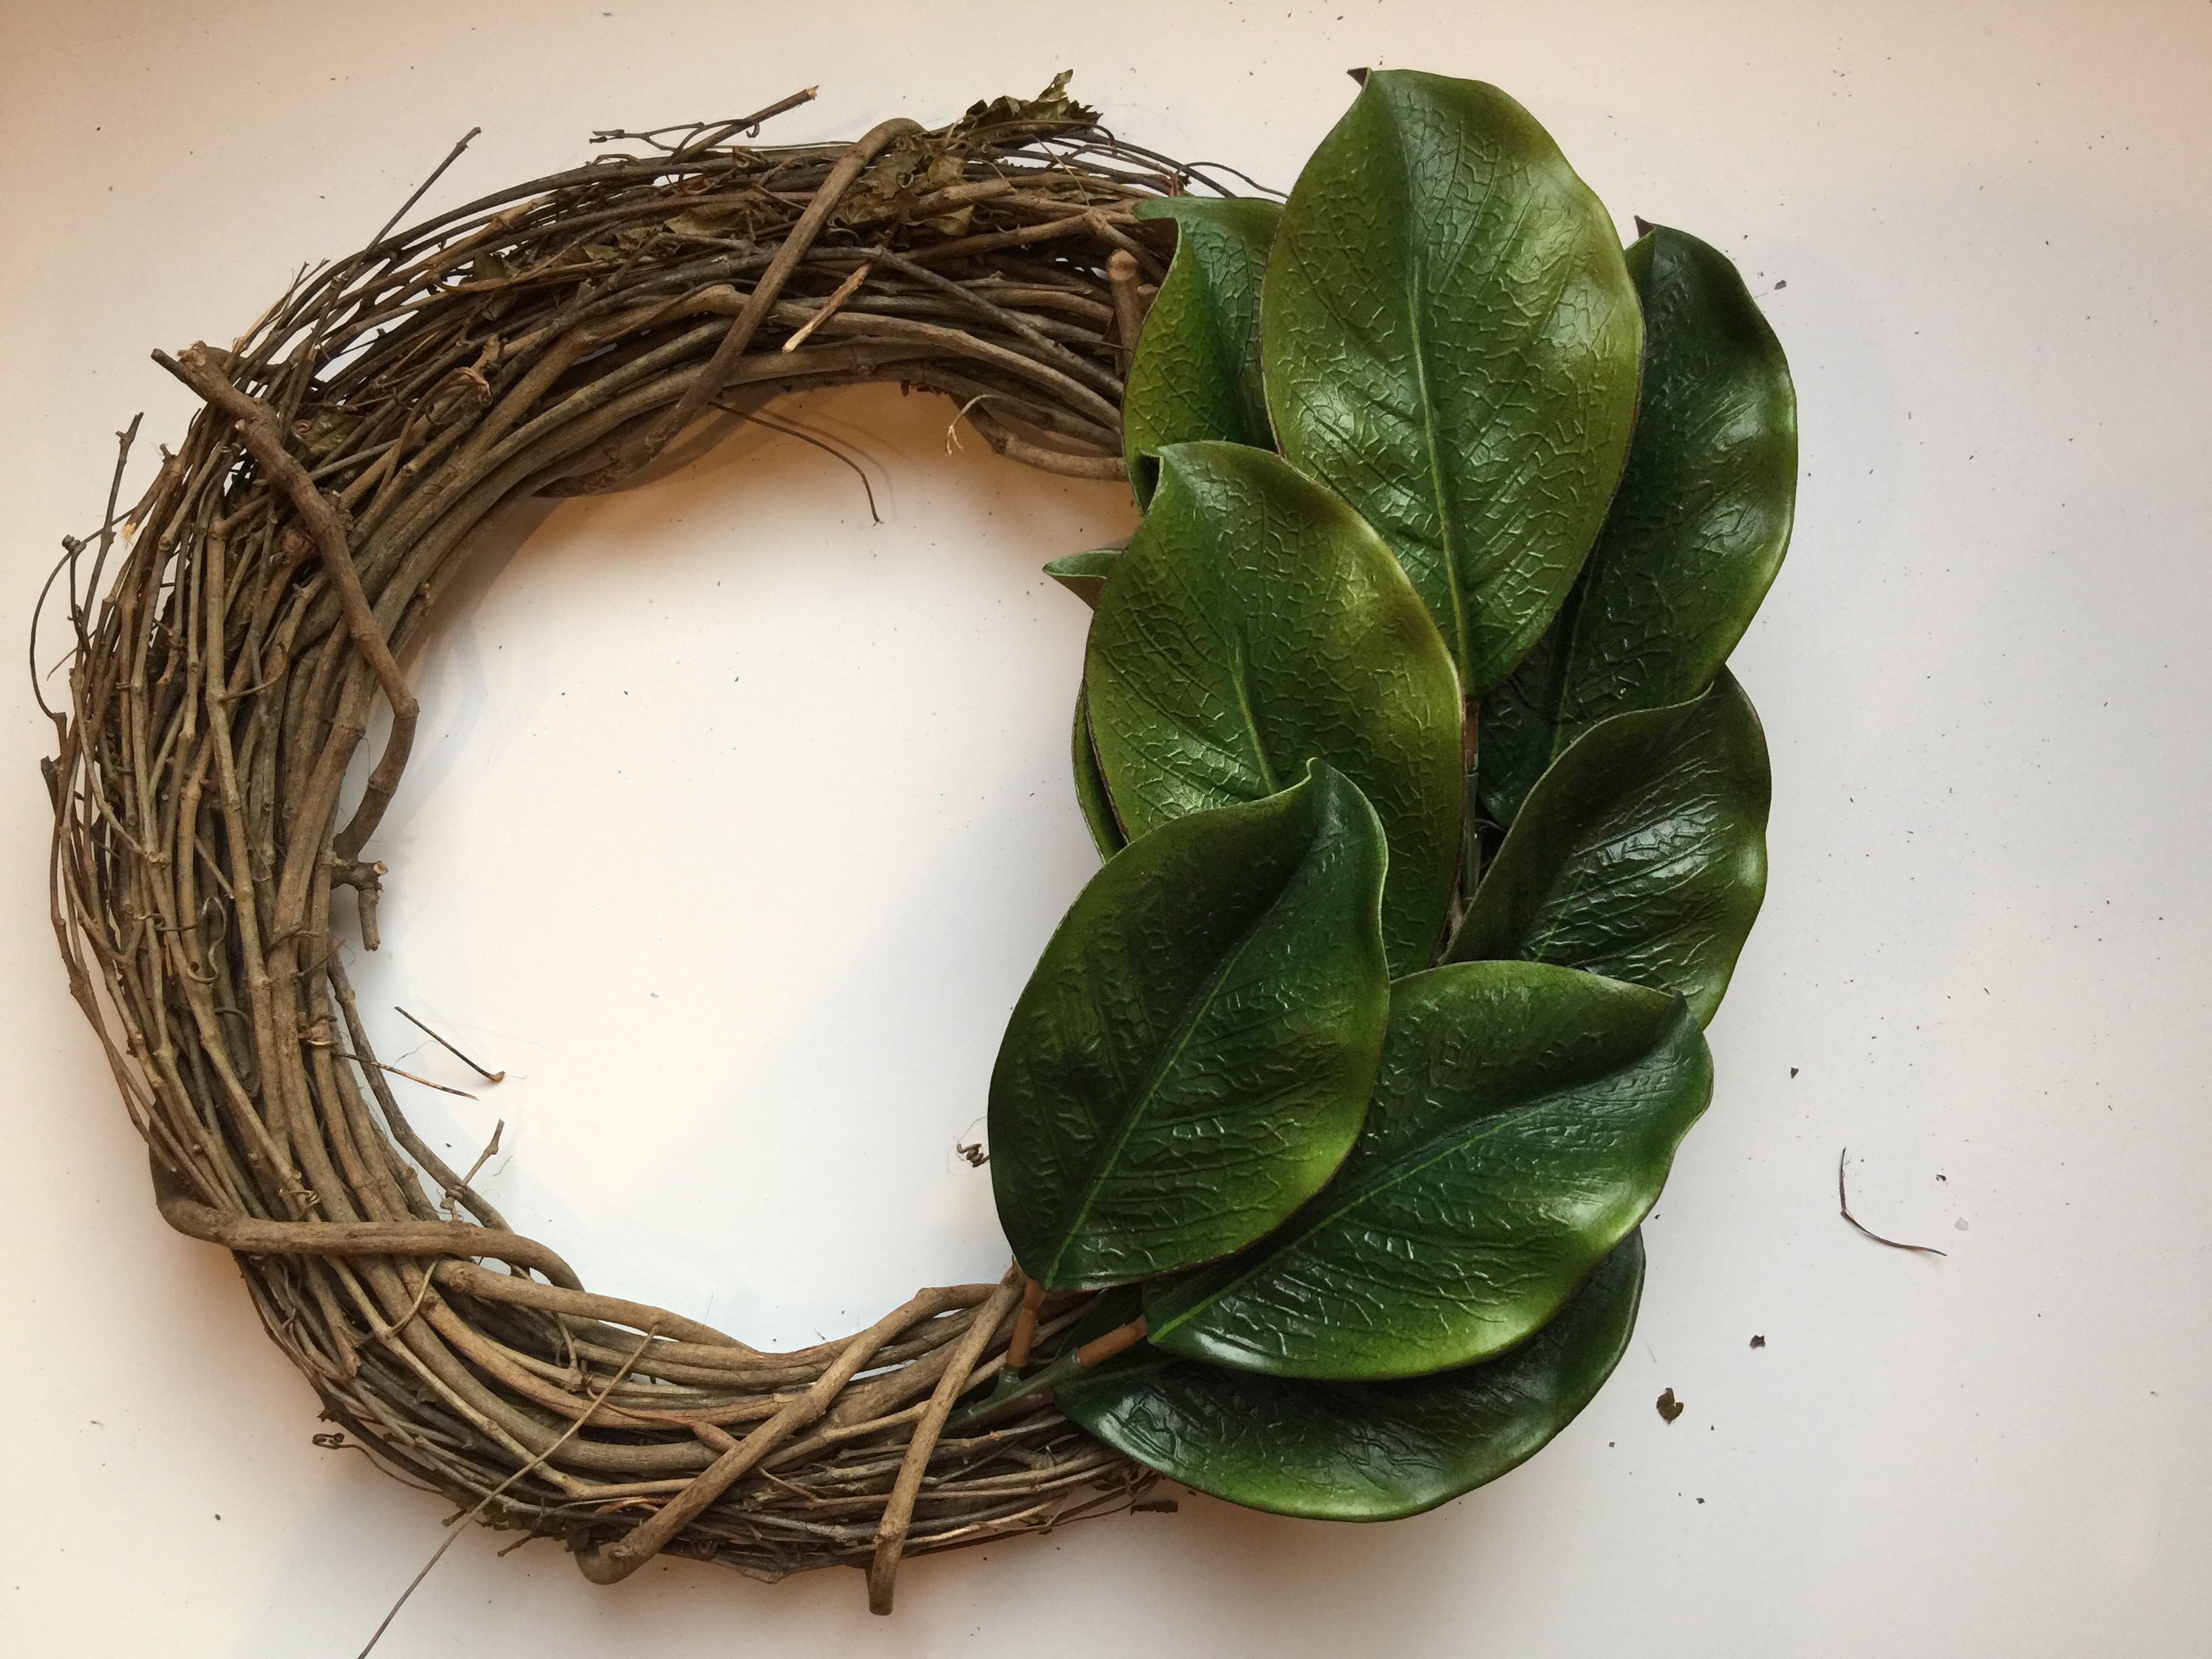 In the picture below, I’m showing you that to get even spacing on your stems, you’ll want to go about 2.5-3” apart for point of entry.
- Once you have all your stems placed, try to make sure the overall outside shape of your wreath is a circle. This may involve bending some wires to tame a wild leaf here and there. Scrunching and pulling are acceptable techniques! Avoid oval shapes or one leaf noticeably farther apart from another. Keep ‘em flat!
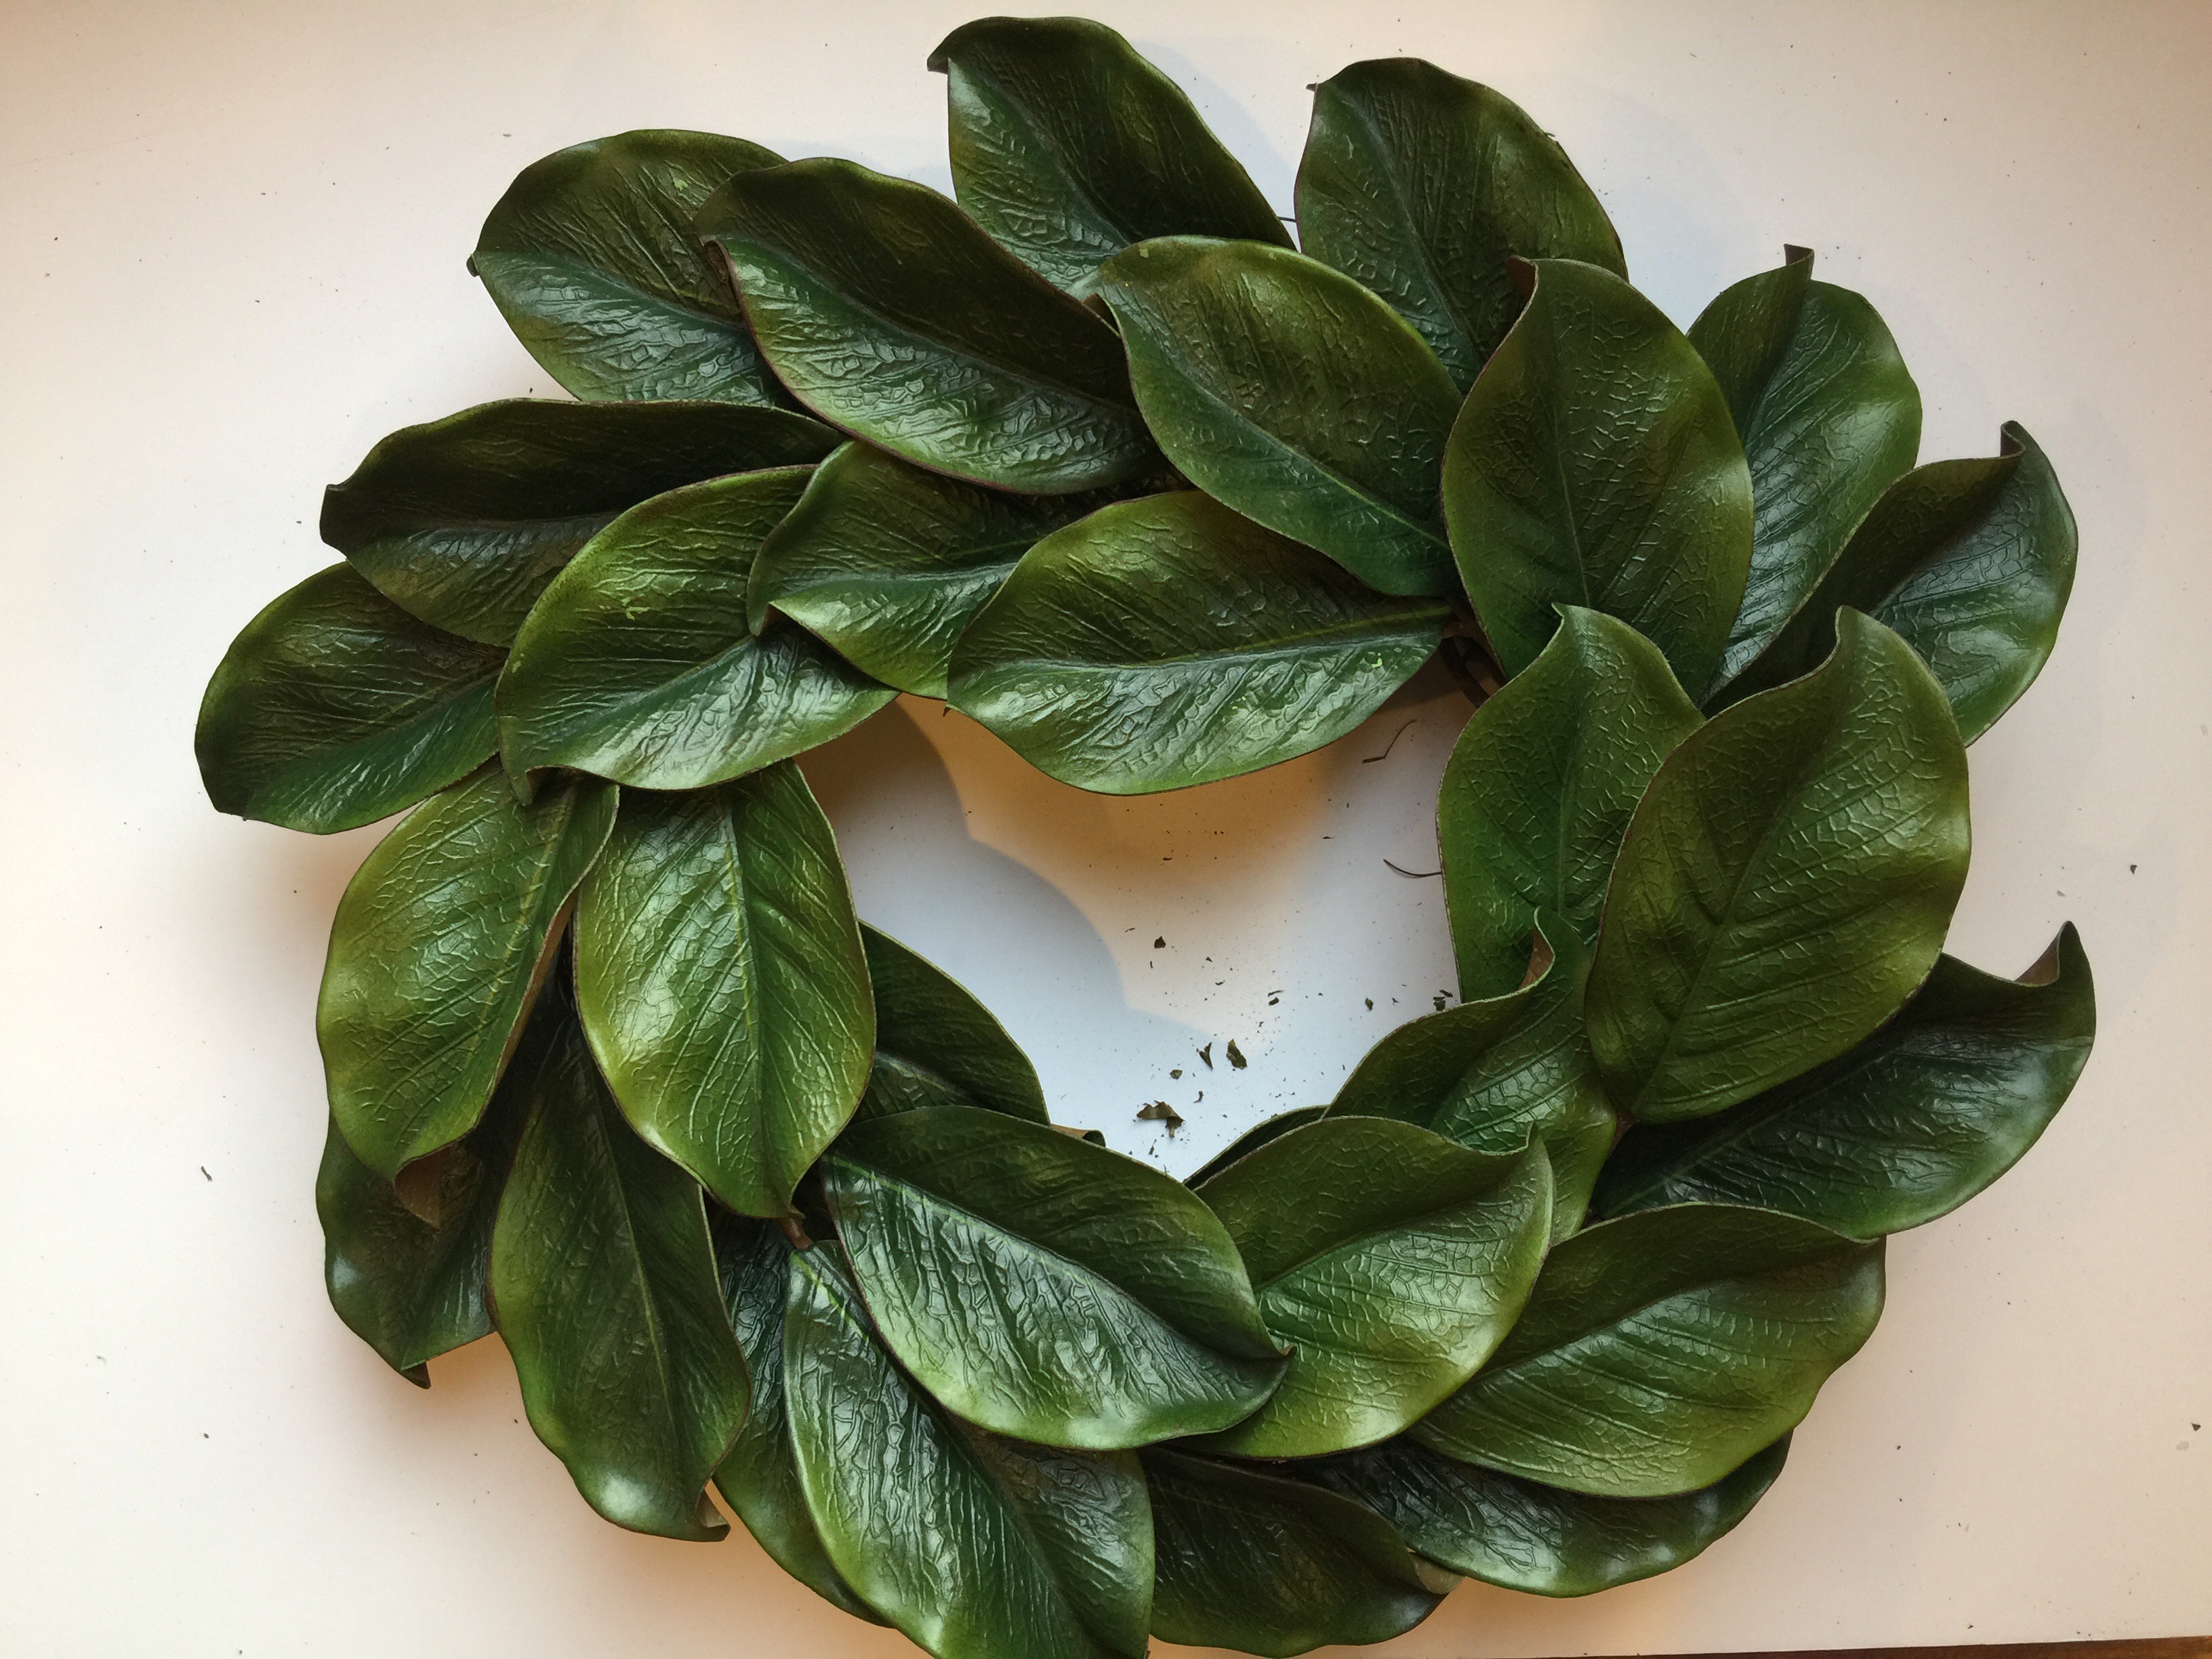
- Flip it over! Arrange leaves to be evenly spaced once more. No gaps or “ovally-ness.”
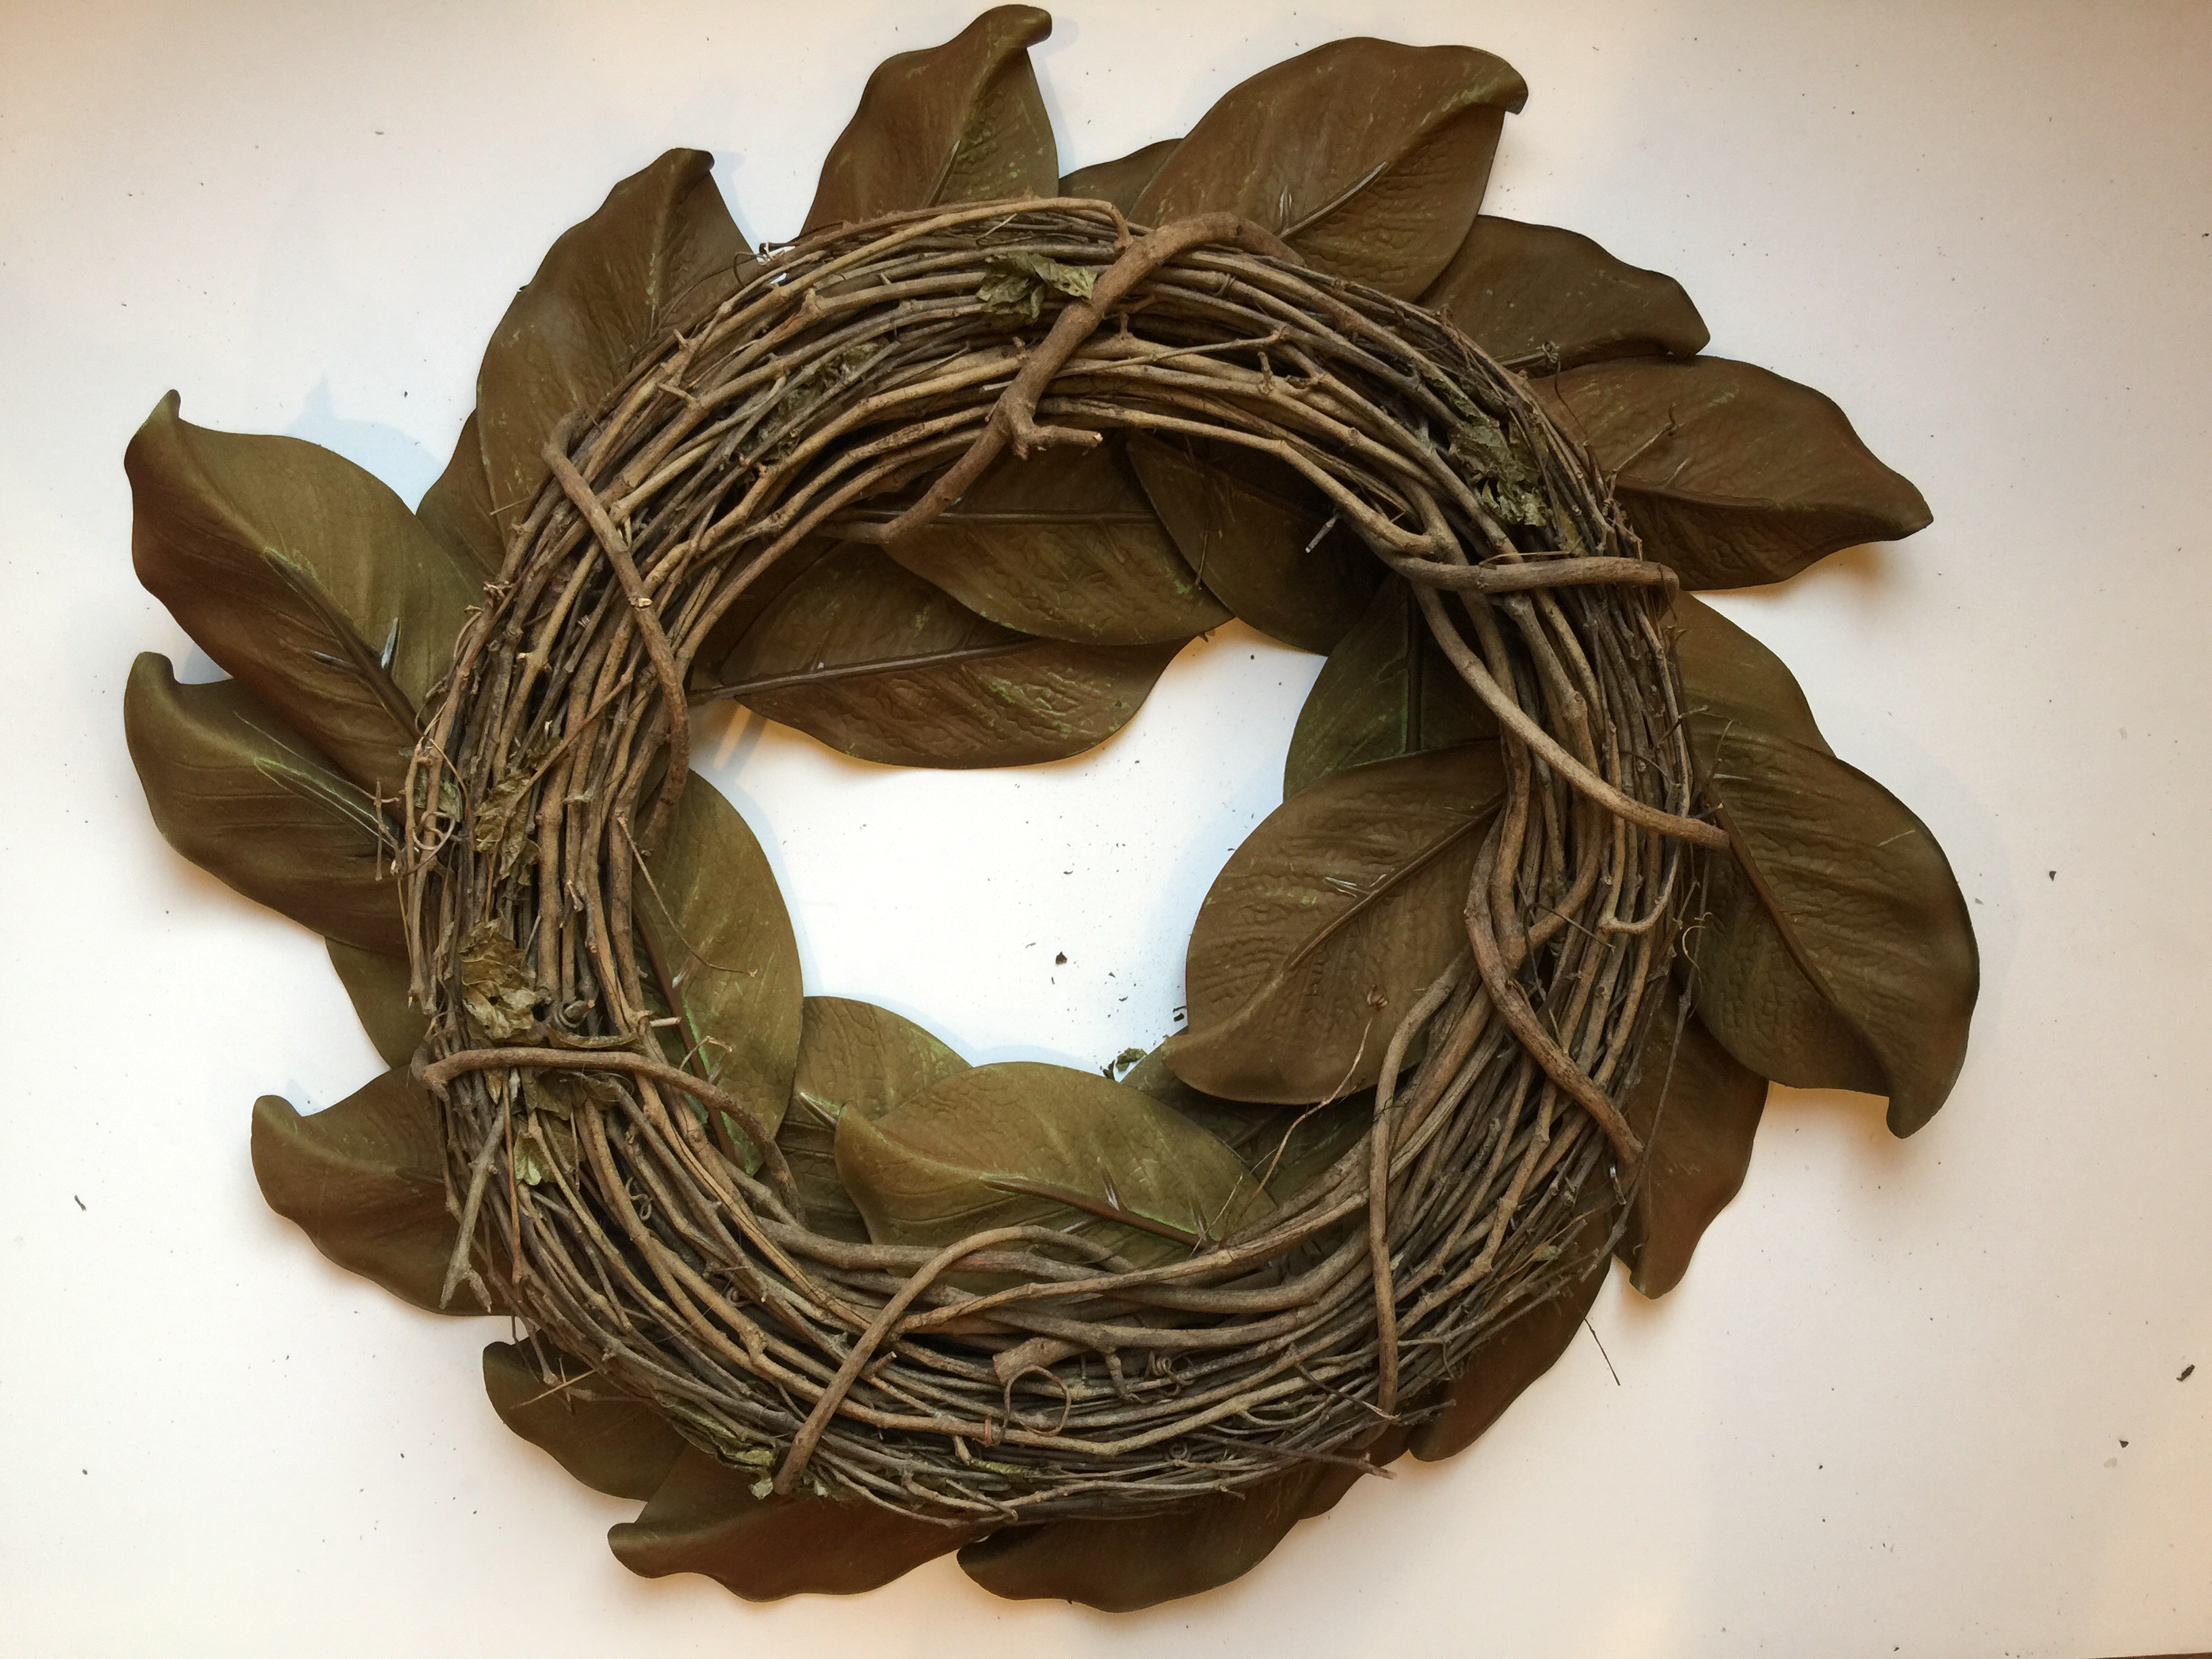
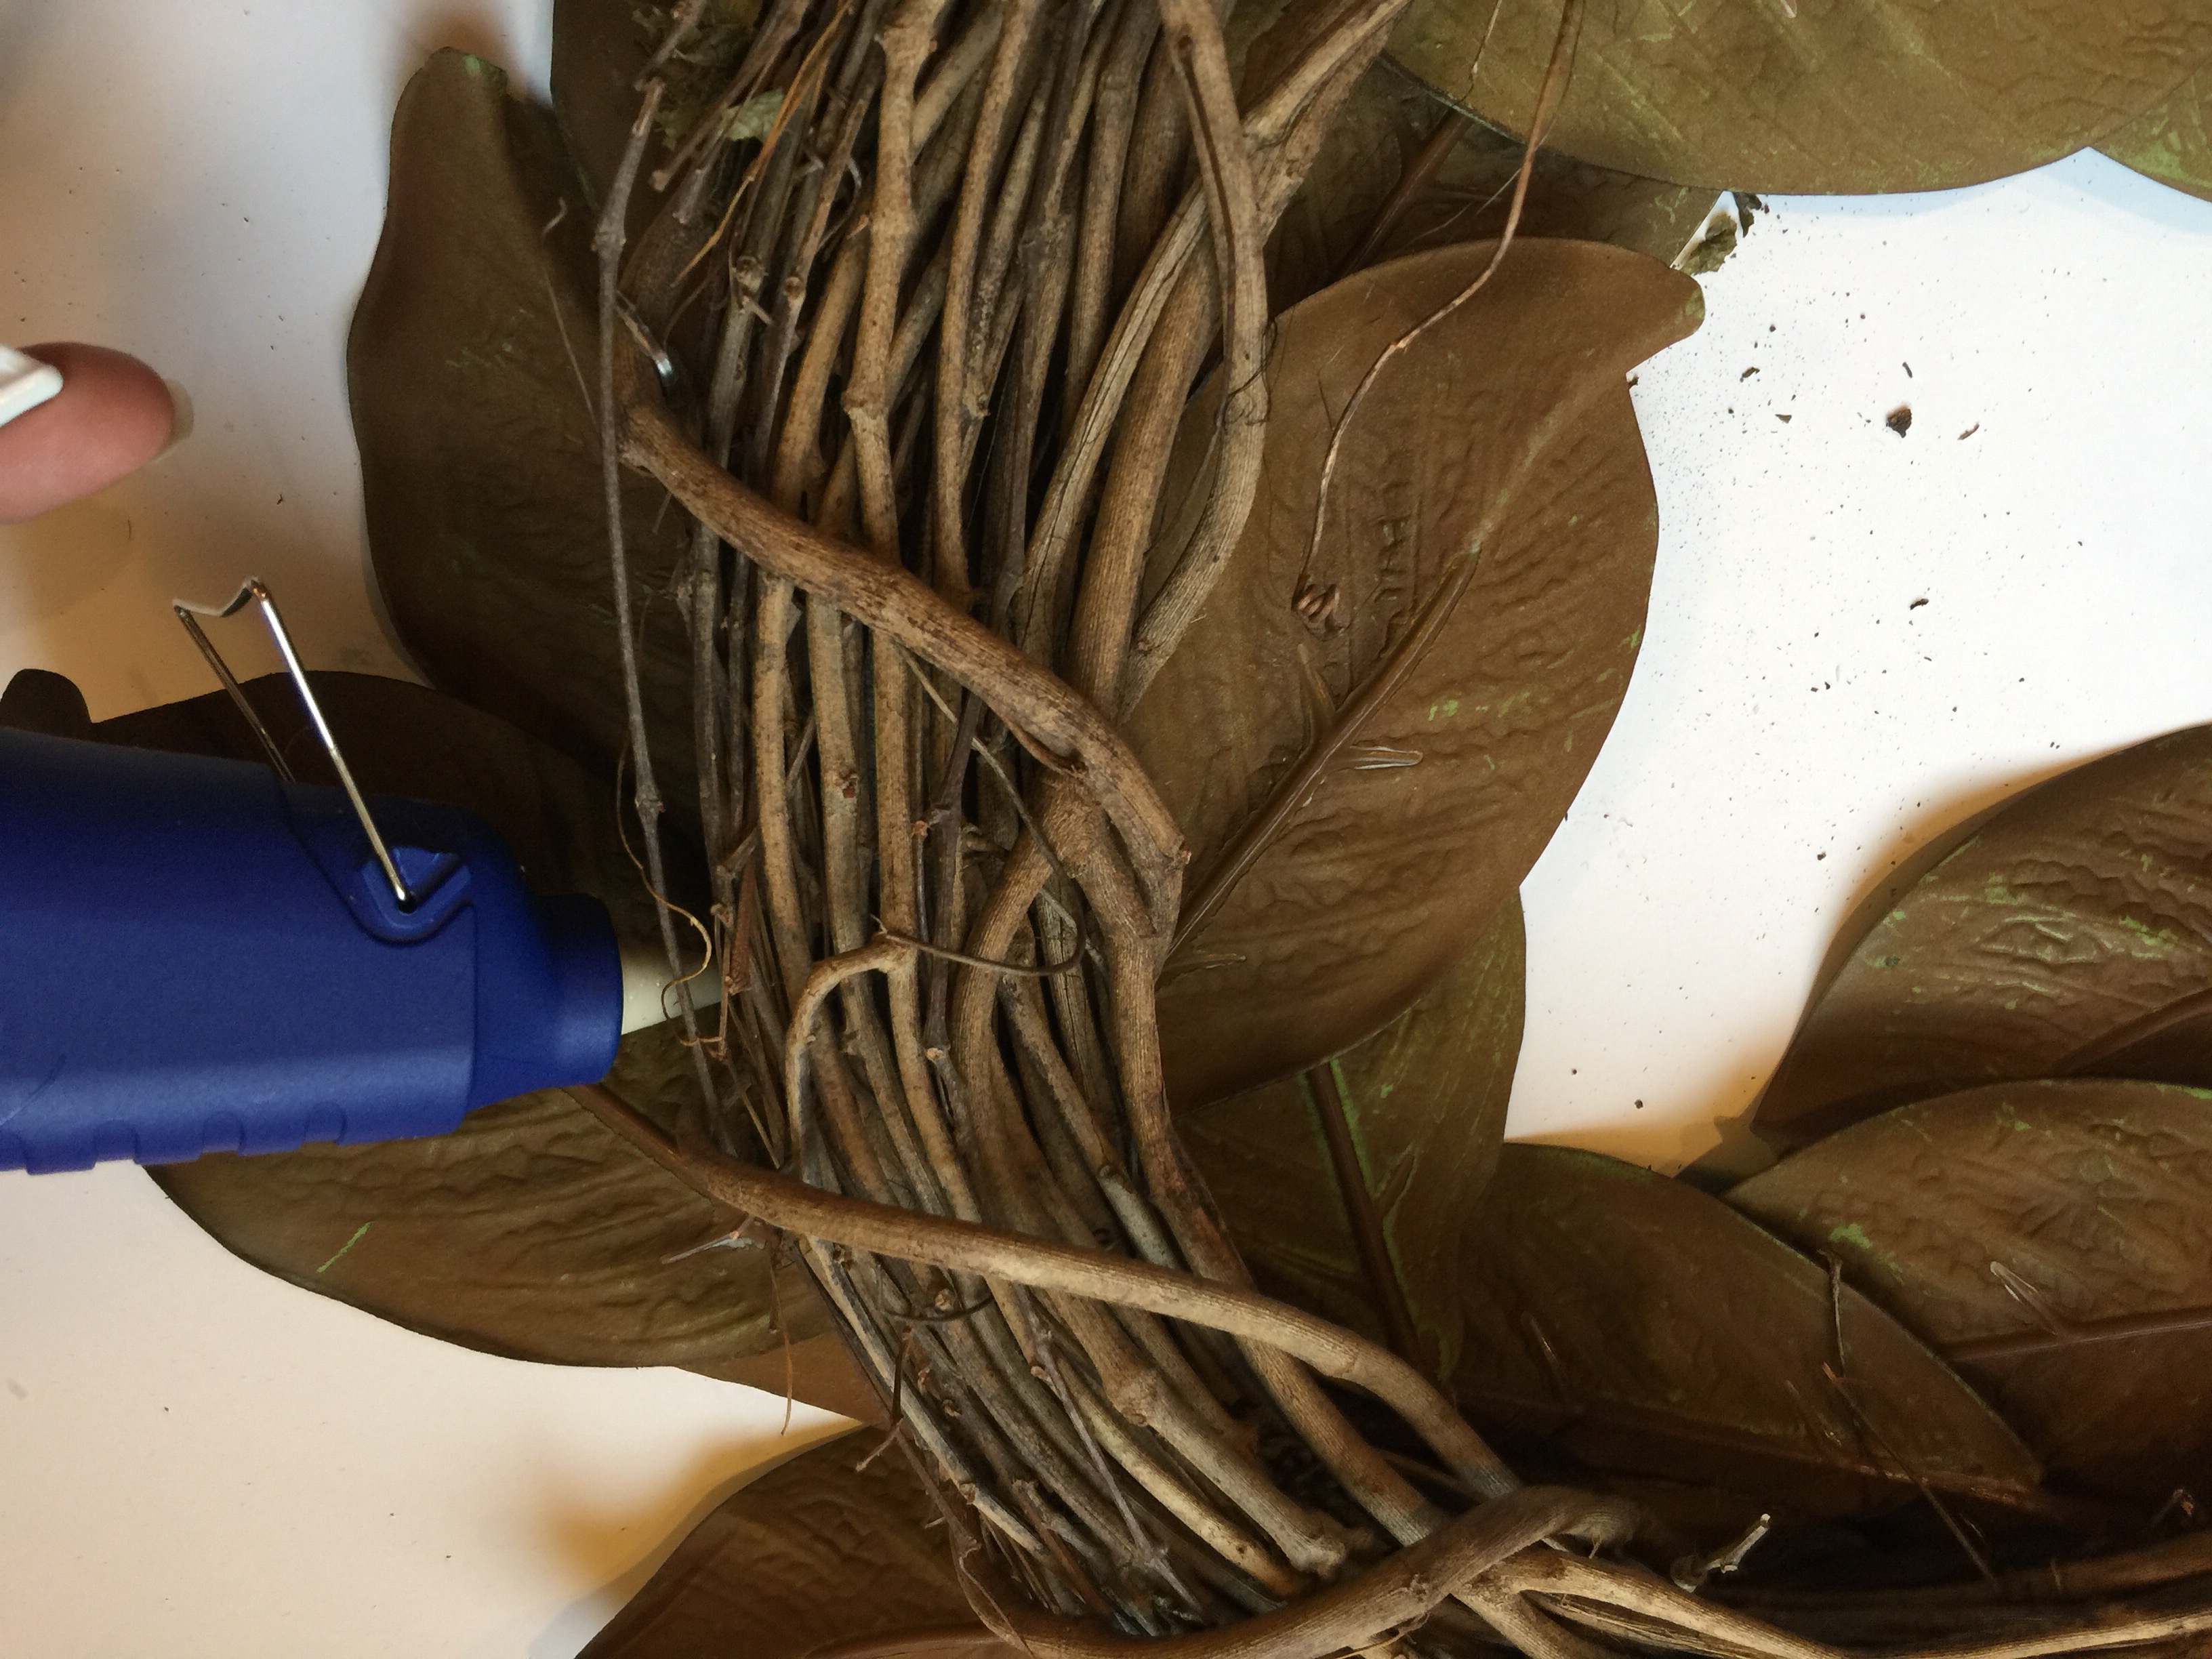
- At this point you are likely to discover that some leaves just will not stay in the perfect place. Here is where you grab your glue gun. Don’t use a mini cool temp one. Use a big momma. It’s like $3 extra and sooo much more efficient when it comes to wrangling a wreath. In this step your likely to need a little patience or Netflix. Hot glue takes a minute or two to cool and set. You’ll want to press down and hold each leaf until set because if you don’t, the finish will get ripped off the leaves and damage them. Make sure to secure each stem entry point as well.
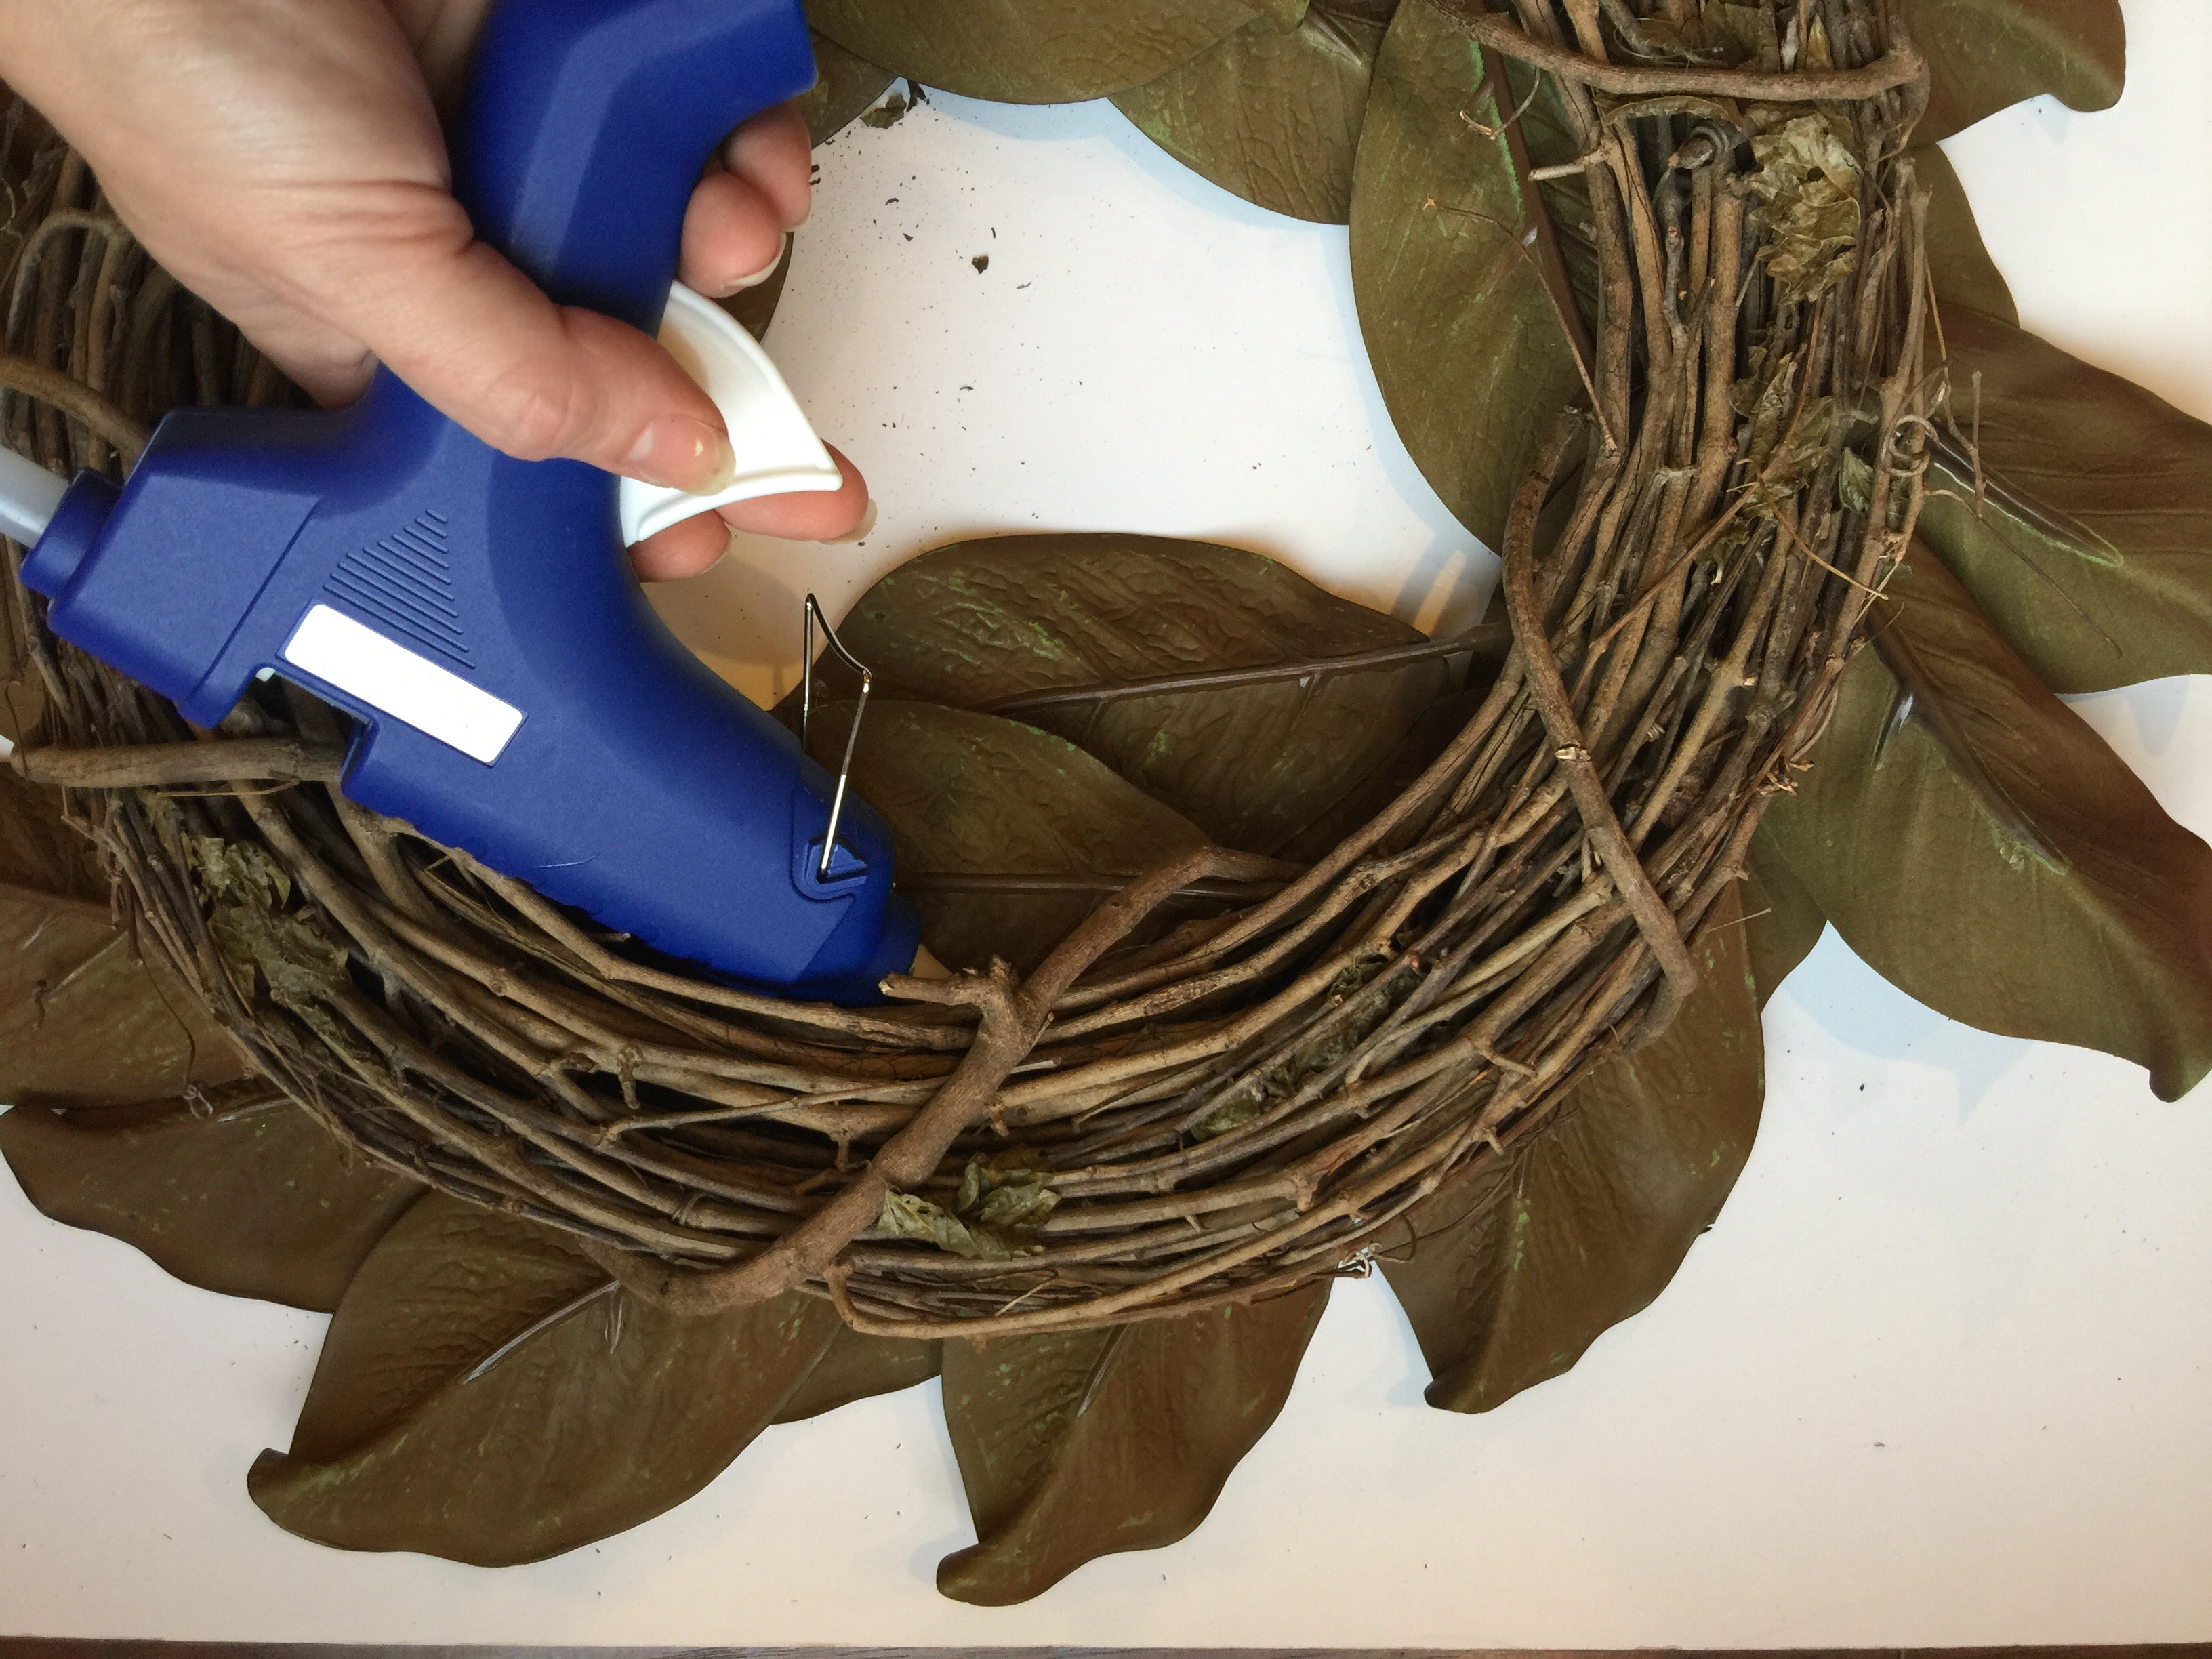
- Last step but most important! To get that “simple” look you want to press your wreath. Leave it facedown and put something on top of it. Like a textbook or a big pot. Leave it for an hour-ish. Go paint some shiplap or something.
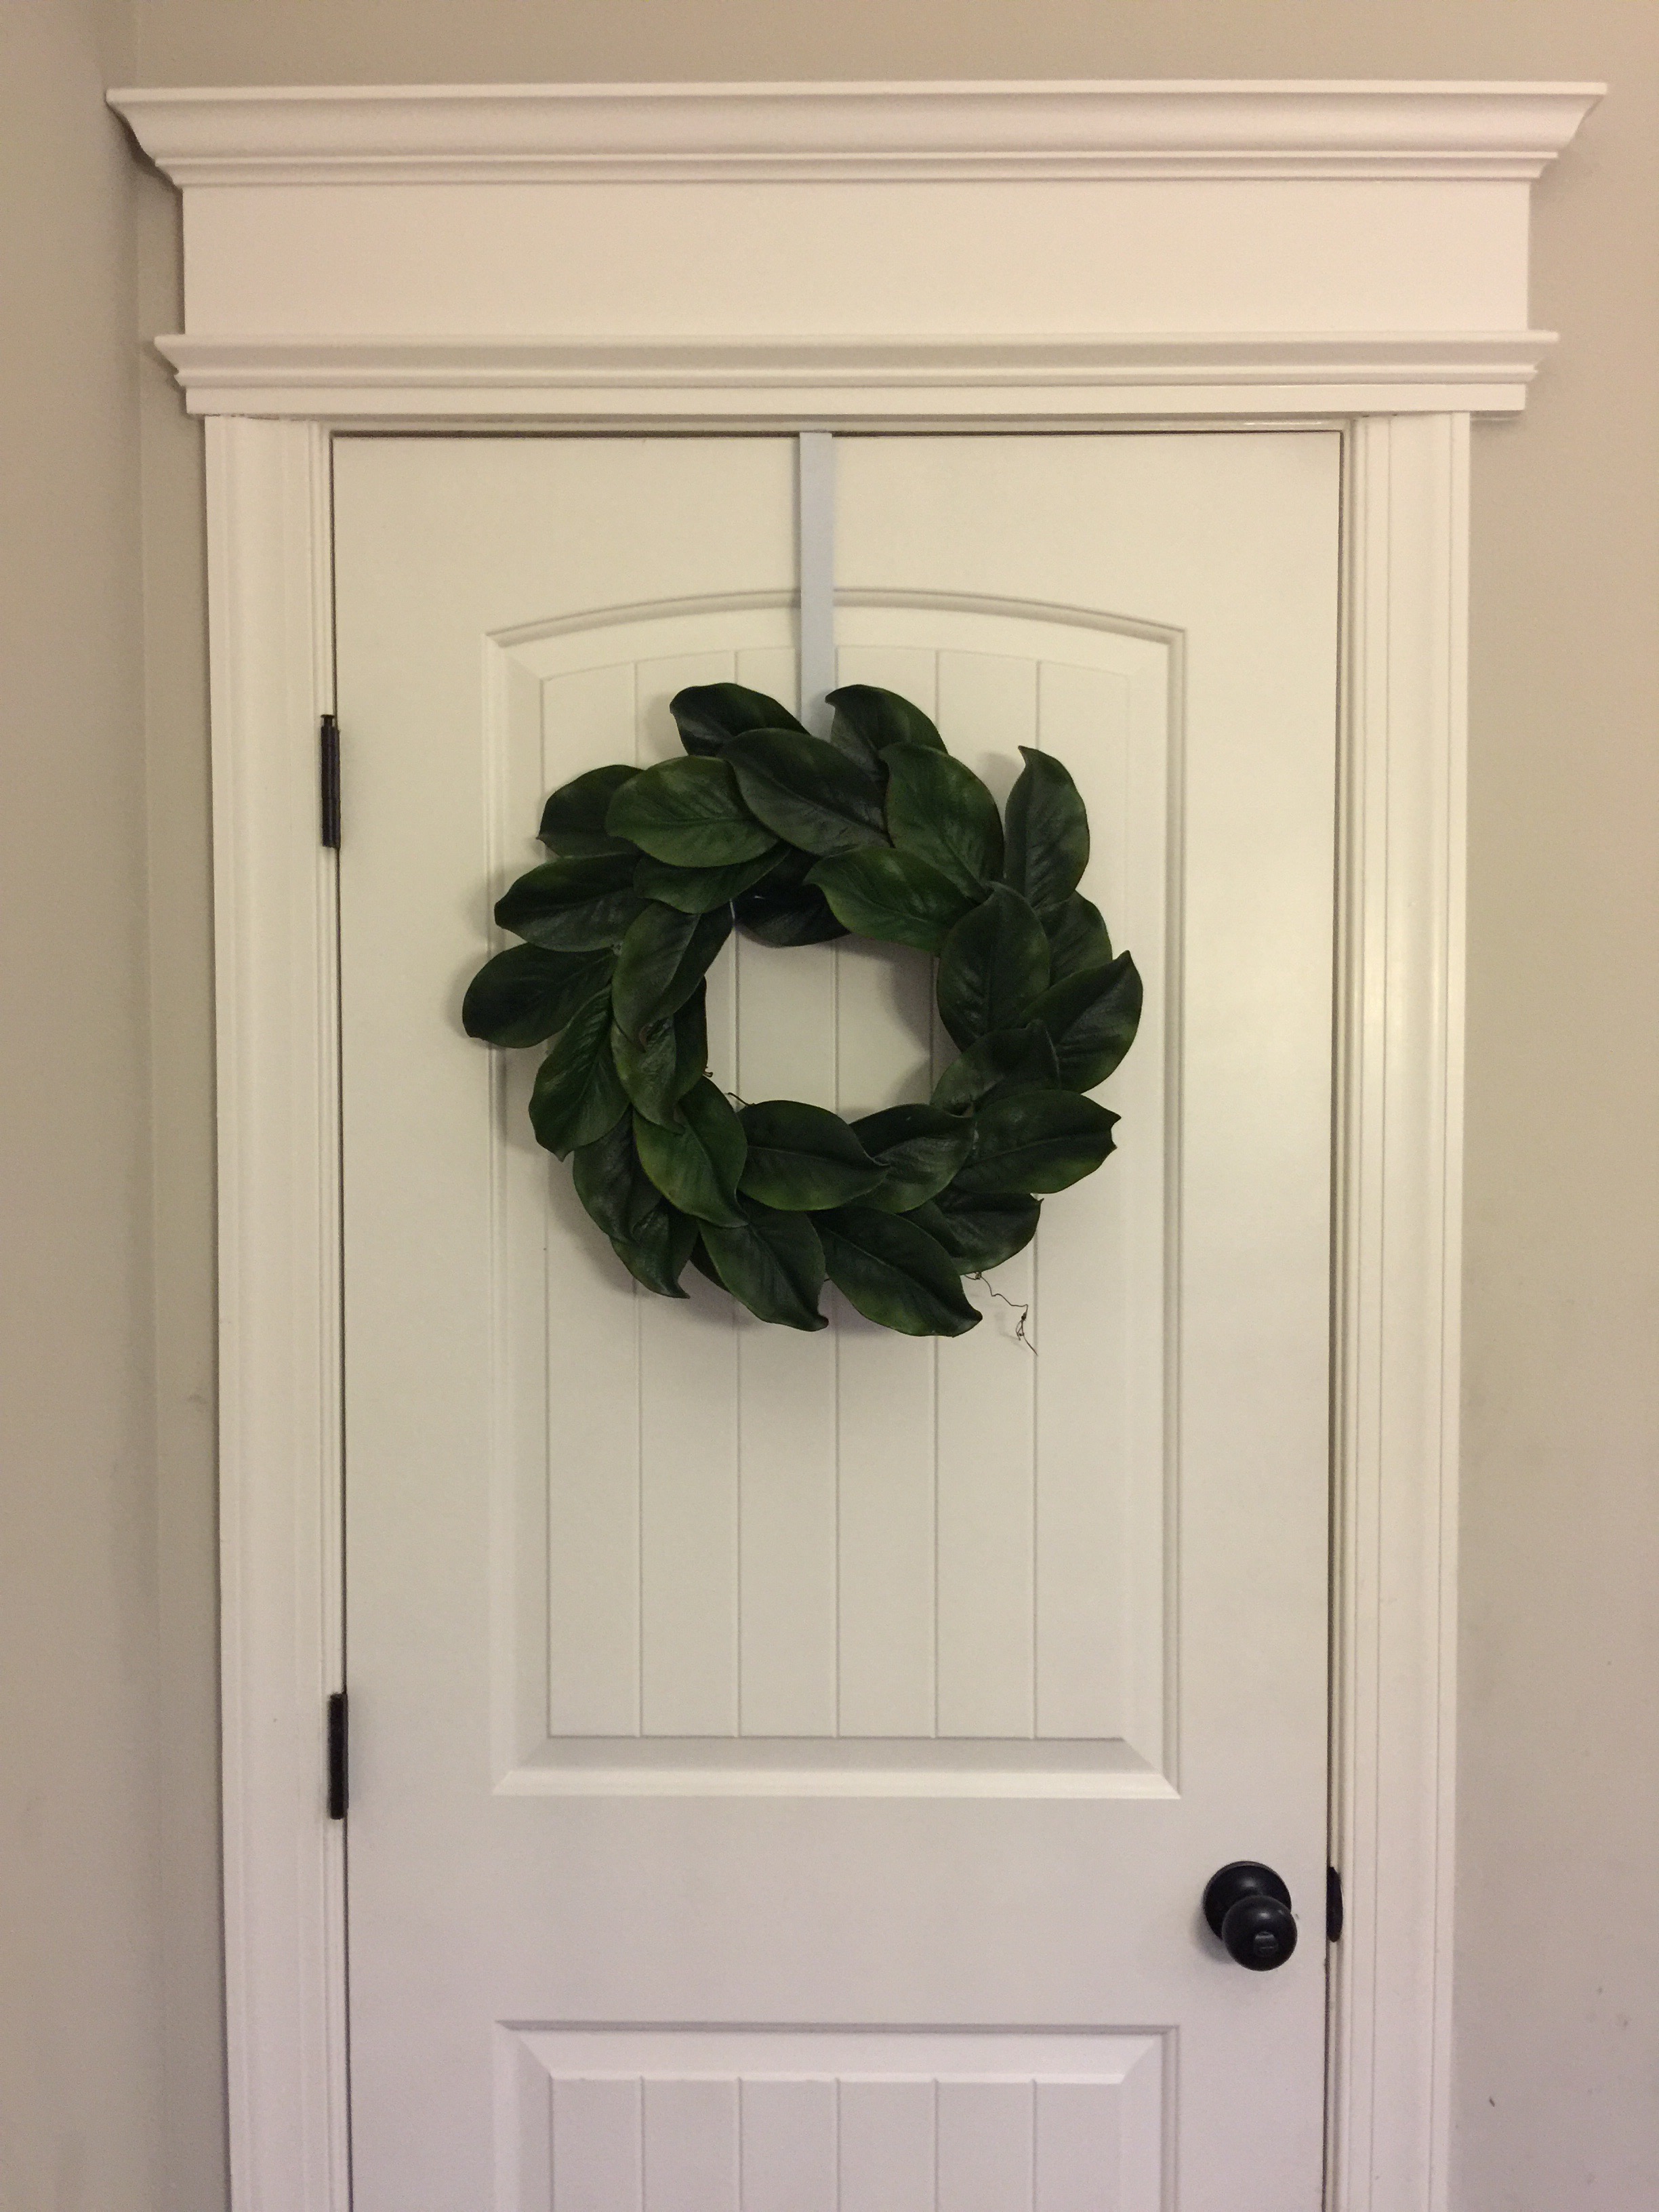
TaDa! Your done! Easy Magnolia Wreath Tutorial. So easy, right? Thanks for reading! Comments or questions? Leave them below in the comments box and I’ll get answers for you.
by Andrea | Jun 17, 2017 | handmade, Home Decor, quilting, Sewing, Uncategorized
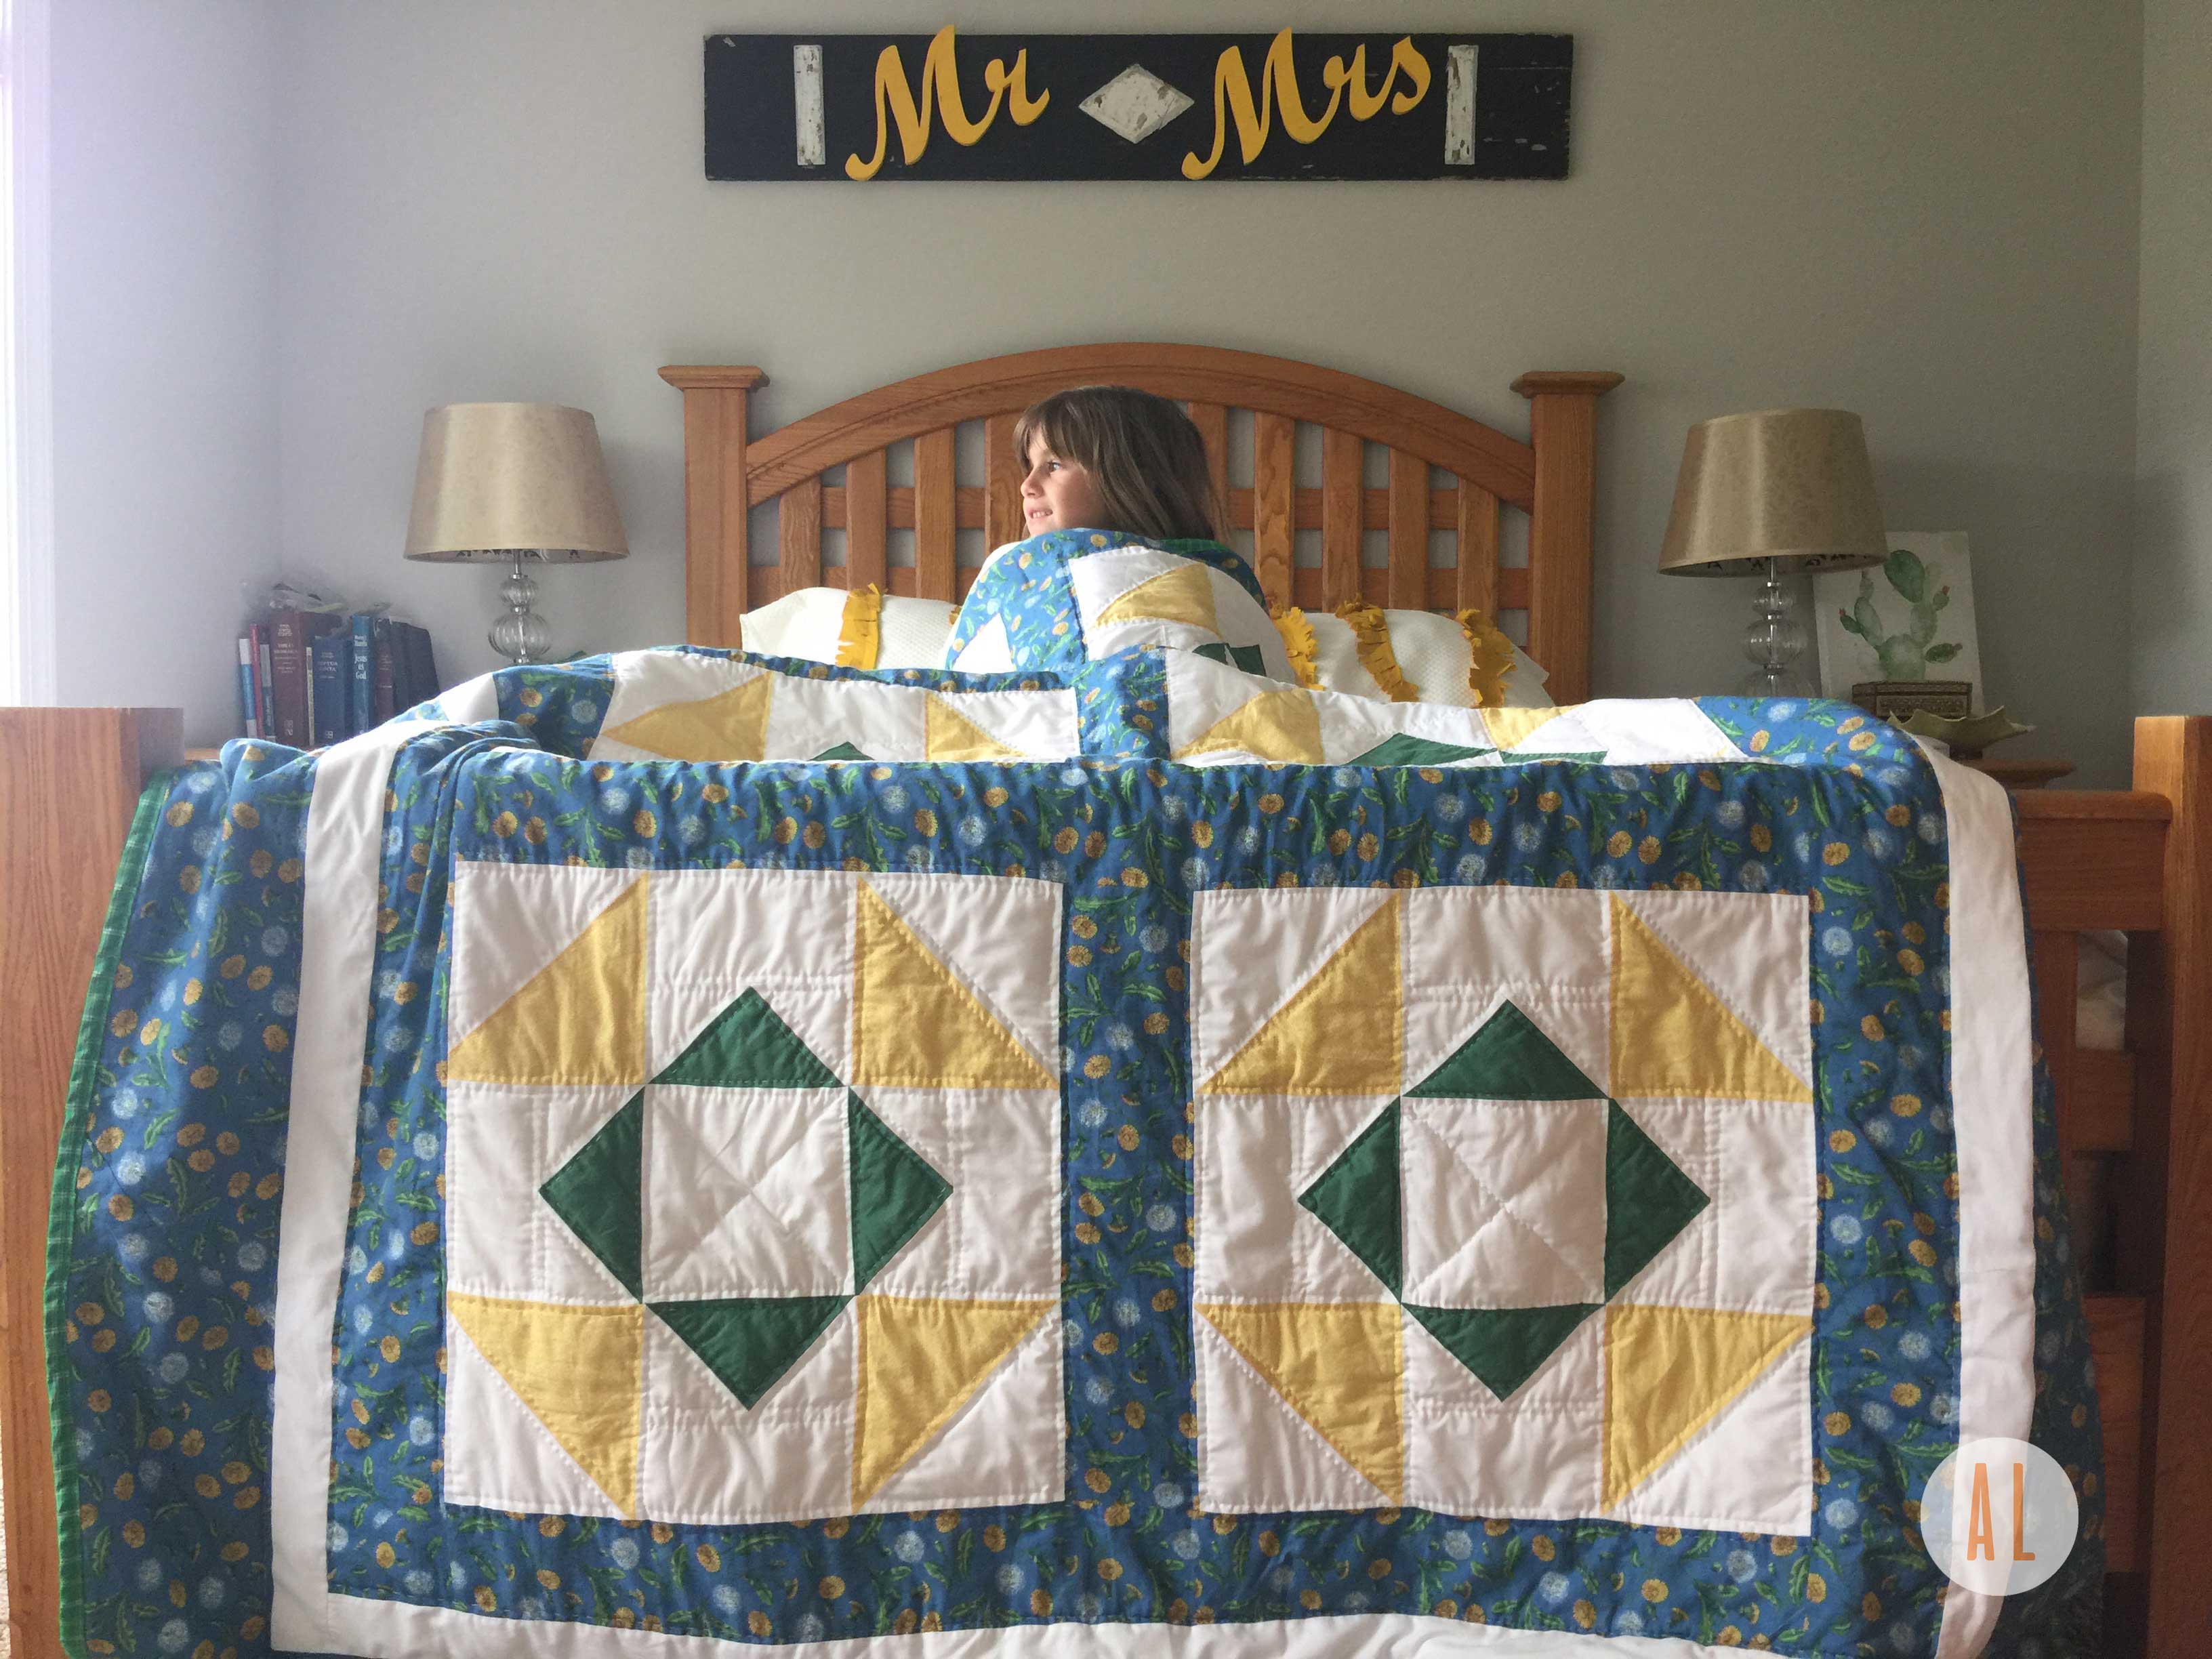
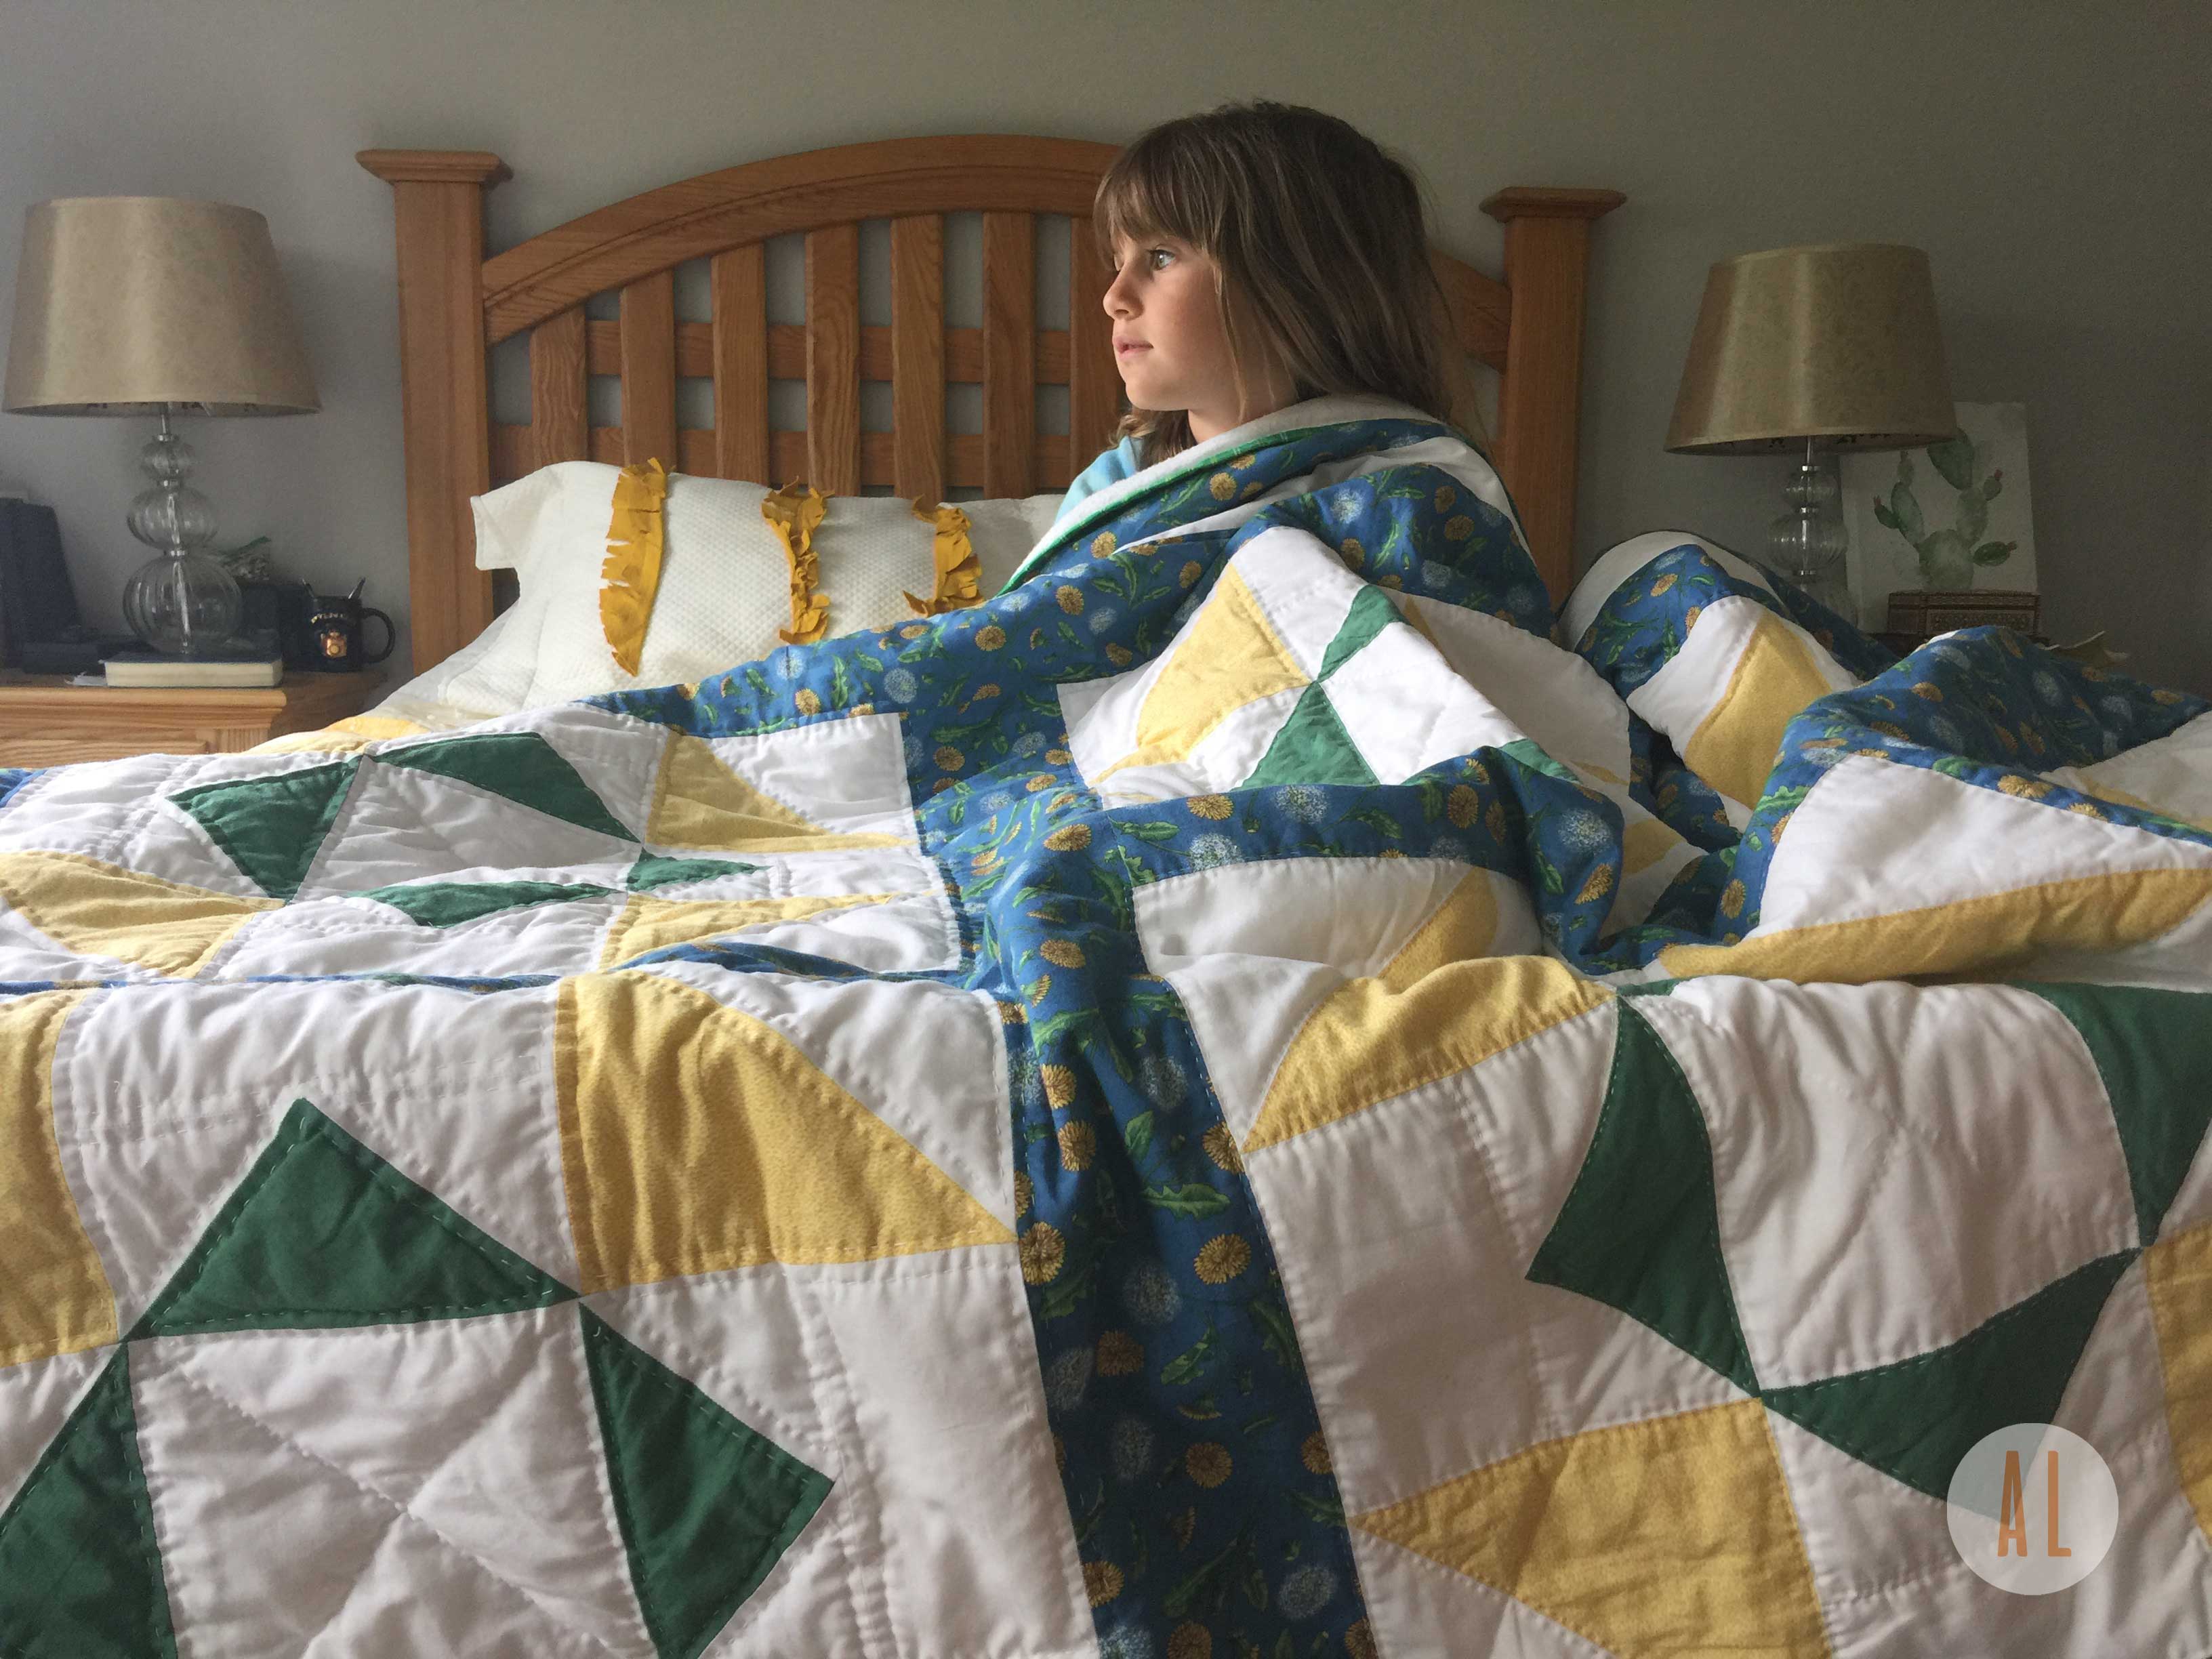
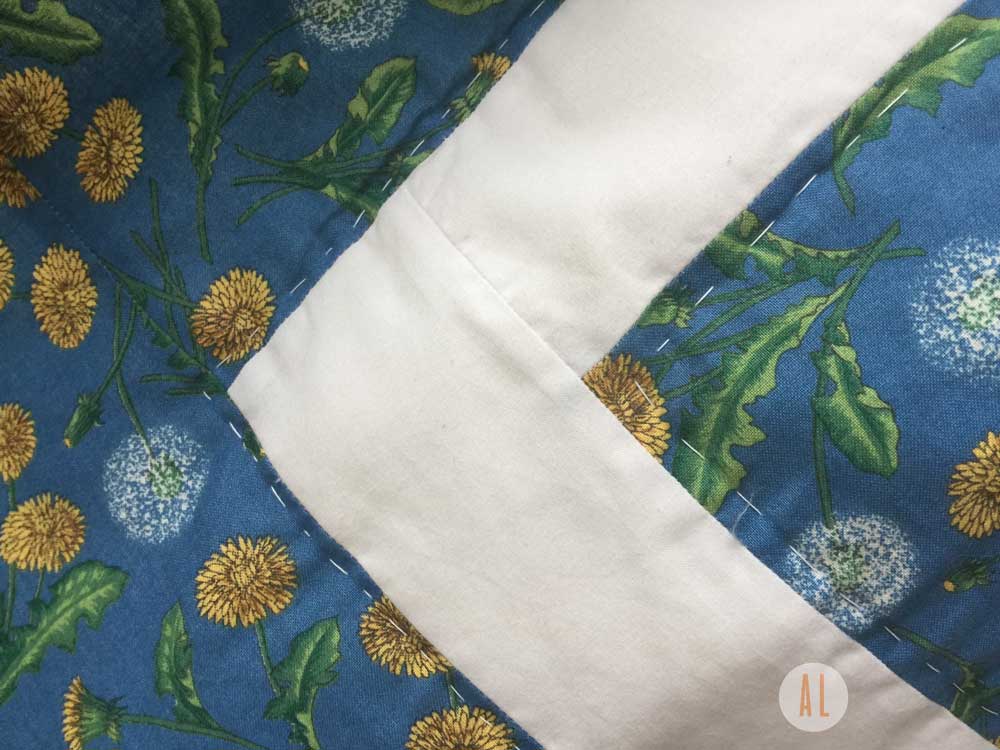
I started this quilt in 1994. It was the summer of my 7th grade year….Alanis Morissette was singing Ironic on my boom box cassette player. My cut offs were totally grunge and my mom was sponge painting the hunter green walls in our guest/sewing room. She taught me to quilt and I was hooked. For some reason though, life got busy when school started up again. The quilt top was left pieced but unquilted in the sewing room closet. I enrolled in 8th grade, got my Jennifer Anniston layered look and headed off to school with plaid flannel and dr. martens.
Several years later, I got married and my mom packed that quilt into my moving truck with me as we set off to rural Illinois. I was pregnant with our first child and the nesting of our home was in full swing. I got the quilt out and started working on it again. Slowly hand quilting here and there. I just never really stuck with it. I think part of it was because I didn’t like the style of the quilt. I never would have picked it out for my home now that I was a sophisticated newly wed hoping to decorate my farmhouse in trendy style. I put it away and purchased a Shabby Chic Quilt from Target!
After Illinois we had a long string of frequent moves and the quilt got moved about and lost in storage for several years. Fast forward to the most recent summer of 2016. 22 years after starting the quilt, I was mercilessly getting rid of everything I could because we were moving across the country for medical school and I did not want to haul anymore junk around for the rest of my life. I’m not a minimalist, but I decided we would sell everything and keep our moving expenses down.
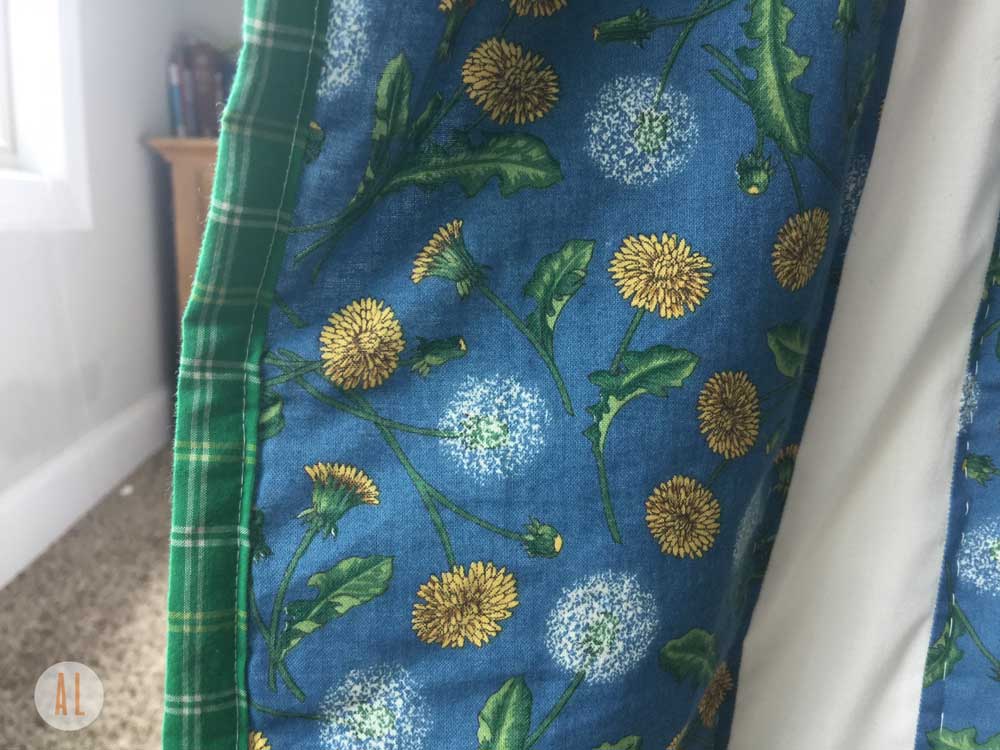
Despite my ability to get rid of tons of fabric and unfinished projects, I could not let that quilt go. I told my mom, I would finish it. She offered to take it home with her and keep it safe while we moved across the country. She set about quilting it for me this past year and in May she brought it out and we finished quilting it together. I bound it with some Ralph Lauren plaid sheeting I had been hoarding for about 8 years. It was finally done!
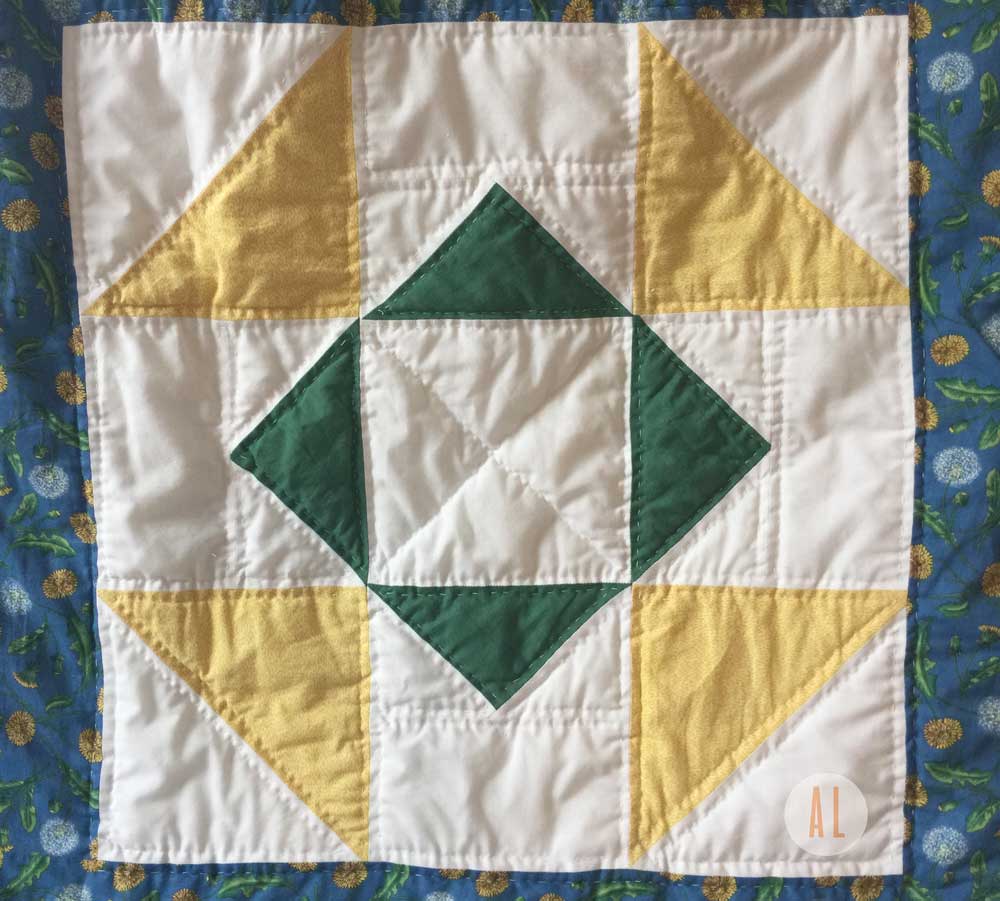
I love it because it is finished and it represents the beginning of my love of quilting. Do I love the colors and composition? Probably not as mush as I did in 7th grade! But I still love yellow and it’s a cheerful addition to our slowly growing collection of family quilts. It only took 23 years to finish!
This is the year I finish all the quilts I’ve started over the years! I am excited to get to work on the next one!
QUILTING MUST HAVES:
I tried out a new set of refill blades for my Olfa rotary cutter while I finished this quilt up and I have to tell you about these puppies! They were super sharp and came in a great little case. And the price made my jaw drop to the floor. You get 10 for less than the price of an Olfa 2-pack! Try them!
Also my 2 1/2″ strip die for my accuquilt cutter. I love it. It makes the binding go superfast.
This rubber thimble is my new favorite for hand quilting! Super comfy. It’s the best.
by Andrea | Nov 23, 2016 | Uncategorized
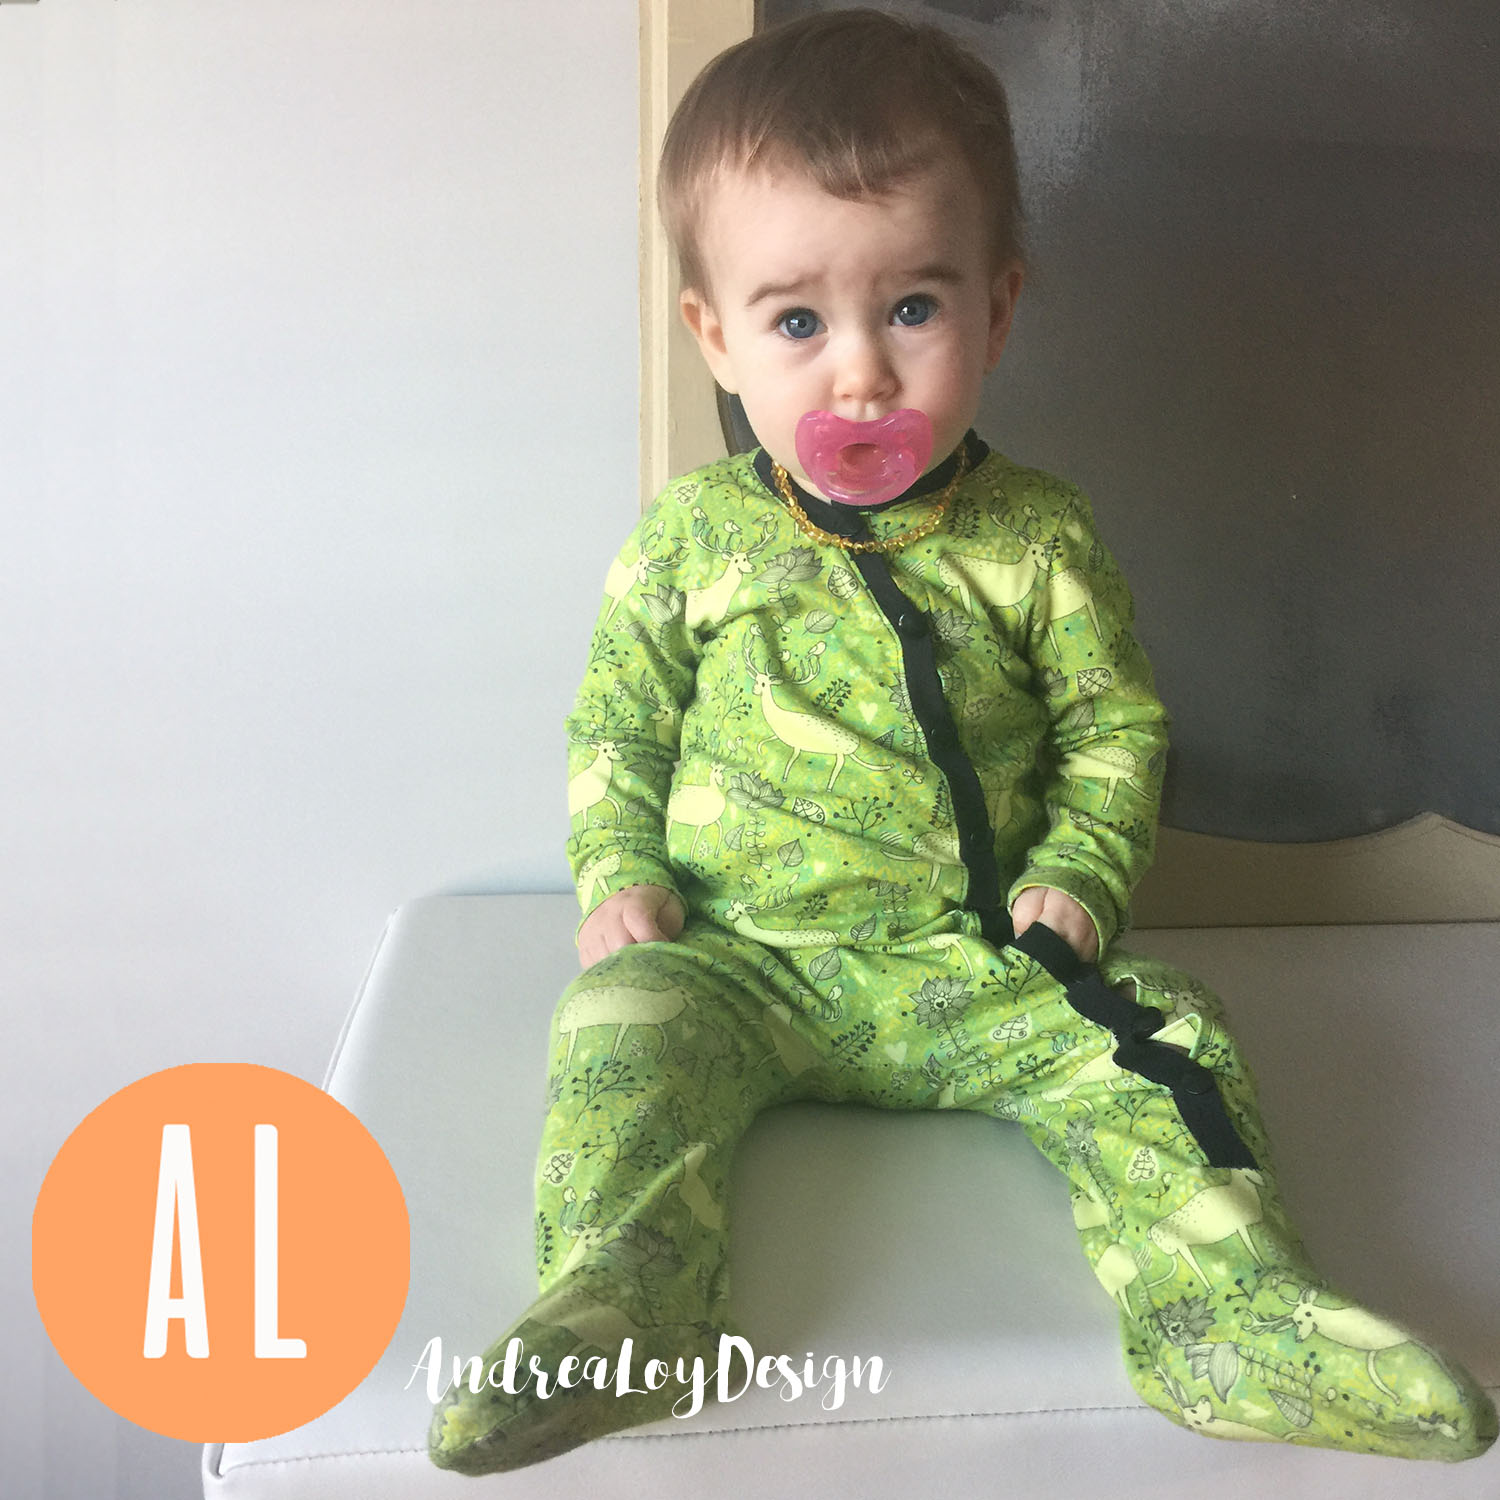
It’s getting colder here in Virginia and Ruby Jane is in need of some comfy sleepers and play outfits! I took the opportunity a month ago to sew up a couple of sleepers and test out some fabric I had the privilege of purchasing in the very first production line of Monkeys and Pumpkins Fabric. I got a small discount on 2 meters of fabric in exchange for my honest opinion. I was so excited to try out this fabric but I moved a few weeks after it arrived in KC so I packed it up and waited for all of the craziness to end before sewing it into baby goodies. This week I made up the play outfits. The sleepers we have been using for a month to test the wear with all of children! (Patterns used were the Brindille and Twig Footie Sleeper and Raglan Tee.)
First, I have to say that while I am not an expert at knit fabrics, I diligently try to increase my knit sewing skills. I have conquered my fears for the last 5 years with the help of a good friend. I really enjoy the benefits of sewing with knits. I have sewn with Art Gallery Knits, cheapy Joann knits, Riley Blake Knits, Birch Organic Knits and others….
THE PROS
Of all of those I prefer Art Gallery. Until now. Monkeys and Pumpkins Fabric is WONDERFUL! It’s got the soft delicate hand of Art Gallery knit but is slightly sturdier. I am so thrilled with it because I use it for the children. Ruby has worn these sleepers for a month and they are holding strong! No ripping, no fading, and the snaps are not pulling out of the fabric. The stretch recovery and breathability of the fabric are really great! The drape is beautiful and perfect.
THE COMPANY
Daria began the company in January of this year(2016). She is a “former neuroscientist and a forever fabric lover” HA! I love that. Smart women sew!!!!! She lives in Germany and her fabric is produced and printed there.
THE CONS
Since this is an honest review I should mention the cons. I really only have two minor ones. The first is that I really don’t love the designs as much as Art Gallery or Birch Designers, but I think this will probably improve over time as M&P grows and expands their fabric line. Their prints are more for children. They are very cute, vibrant and fun but I would love some sophisticated or understated prints and solids to make myself or my 13 year old some clothing as well!
The second con would probably be the price for me. I had to pay about $56 for two meters. I think this is too expensive. However it is a high quality fabric and I would consider purchasing it again if money were no object.
I am so thankful Daria allowed me this opportunity and hope my readers will check out her lovely fabric! It is truly a joy to sew with.
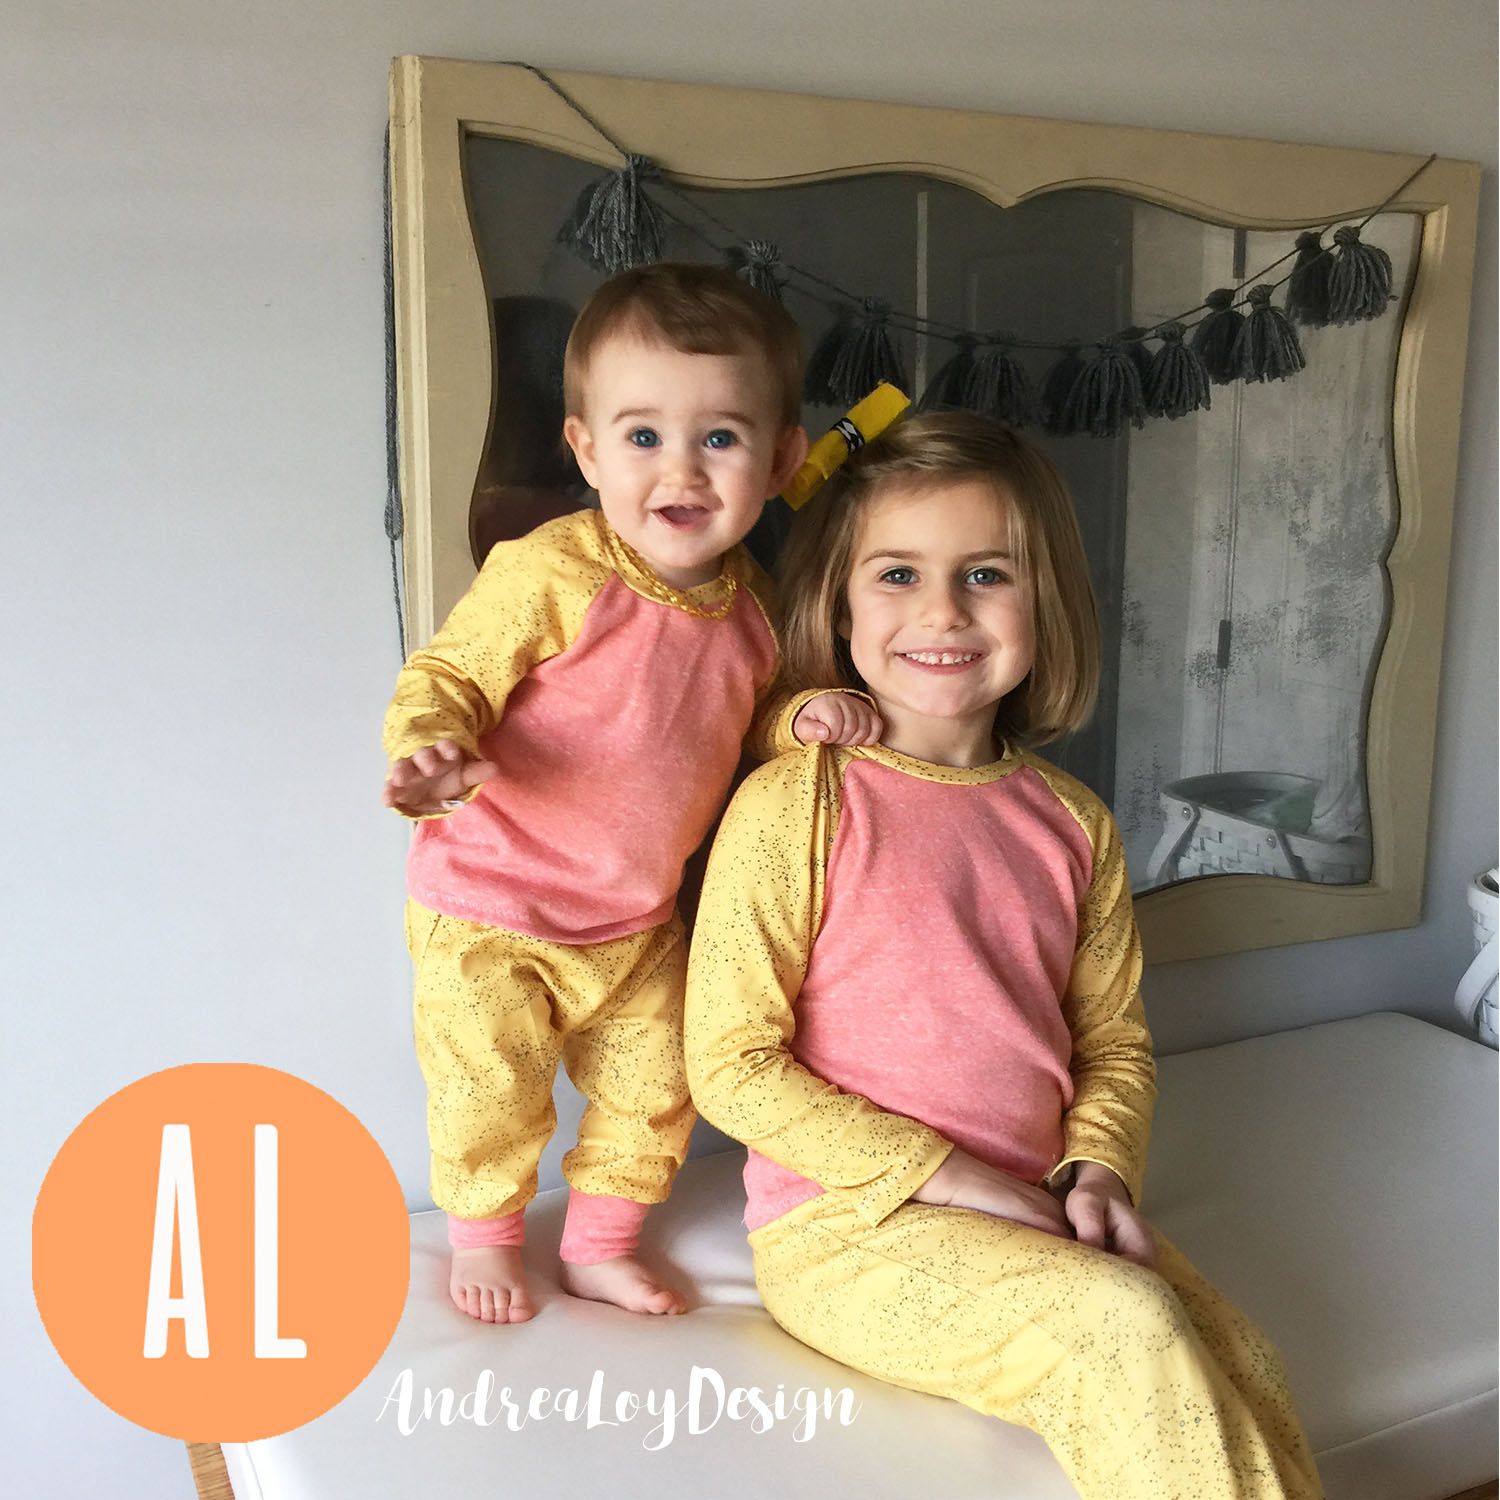
I made matching outfits for Ruby and Vivion with the yellow print from M&P and a French Terry from Joann Fabrics. The sleeper is M&P with the binding from JoAnn Fabrics. When I ordered the fabric I didn’t choose coordinates as well as I thought I did….hence the reason for filling in with JoAnn.
