by Andrea | Oct 28, 2018 | DIY, handmade, Home Decor, tutorials
One day, I hope to own my very own company, with a brick and mortor store. A place where art and craft meet. A place where fellowship and therapy happen over busy hands around a table of makers. A place that feels like your home away from home, only more heavenly.
It starts here…with Maker’s Cottage. Will you join me? I host small gatherings of modern makers where we rekindle the lost art of busy hands and beautiful handmade gifts.
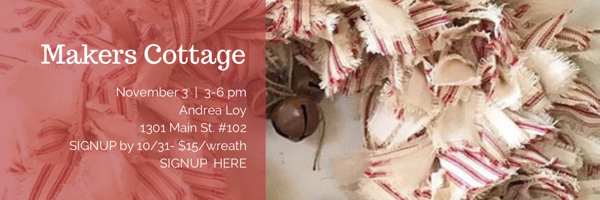
This month I’ll be kicking back into gear after almost a year hiatus from Maker’s Cottage. Our first event will be Christmas Rag wreaths. These wreaths will be made on wire frames and the only skill you need is knot tying! Come join the fun and sign up below so I have enough supplies ready.
I’ll be here to make sure you go home with a new skill and a giftable handmade craft. Click on the image below to sign up!
by Andrea | Aug 26, 2018 | handmade, quilting, Sewing, tutorials
I think I’m over being intimidated by new things. At least as far as quilting or sewing is concerned. I’ve looked longingly at clamshell quilts for far too long. These little pieces of rounded seashell shaped fabric began their siren call one Pinterest session long ago and it was an irresistible sound….
I’ve succumbed and over the summer I completed my first Clamshell Quilt. How did I do it? Is it something to be scared of? How did I make the cuts? Did it take forever? Did I feed my children at all during this long tedious quilting marathon?
Well, let’s see if I can unpack this all for you.
First of all. If there is a good clamshell quilt tutorial out on the wonderful wide world of web, then I have yet to find it. I’m of the ilk that there are always people who are more talented, more knowledgeable and certainly more skilled than I am at just about everything. However, a clamshell quilt tutorial must have not been on their list to share with us all because I had to go this one alone.
I’m going to share some tips with you because I don’t want anyone to go through what I did. I couldn’t get it started. The first two rows were painfully awkward. I want to spare you the insecurity….AND DID I MENTION I MACHINE PIECED IT? That’s the best part. I really don’t have time for hand piecing right now. Does anyone?
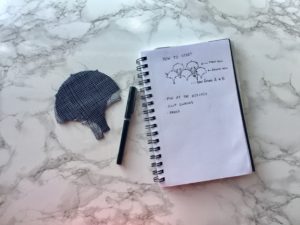
The key to a good start is using the accuquilt clamshell die because it cuts out points for you to line up your clamshells. If you don’t have one, you make marks but they are hard to see when you are sewing. For the first row you need the shells to be joined only at the bottom but the second row has to help out to hold up the row.
Here is a diagram:
Here are the tips:
1.) PINNING IS ESSENTIAL
2.) CLIP THE CURVES
3.) PRESS THE SEAMS IN ONE DIRECTION
At first it looks like a disaster. There is no quick joy found in this first foundational piecing of rows. You will wonder if you are doing it right. It’s floppy and shapeless.
Just press on my dear quilting friends. Because once you get past those first two rows you can start sewing the clams on in one fell swoop along the curve from point to point.
At this point, I throw on a good audio book and lose myself in the tedious pinning of points and just keep sewing. YOU MUST PIN!!! PIN PIN PIN and rejoice in the fact that you can sew the whole curve without stopping and the shape of the quilt is taking place. Each row grows more and more satisfying to add on.
I don’t think while I do this, and sometimes I rip it out of there is too much left over at the end of the clamshell. The reason being your whole quilt will go crooked… it will be a little beyond wonky. You can have a little leeway at the ends but I’d rip it out and realign if you have more than 3/8″ hanging off.
In the end you have to cut all the edges of the quilt off square to bind it. This part hurts me. Becuase all those little clams…..it feels wasteful. But it has to be done. RESIST THE URGE TO SEW A BORDER. THIS WILL MAKE YOUR QUILT LOOK KITSCH. And we can’t have that. Not after all we’ve been through to get this beautiful thing off the ground.
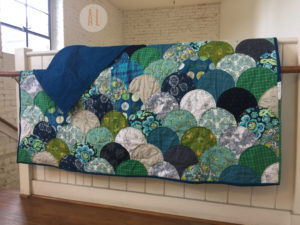
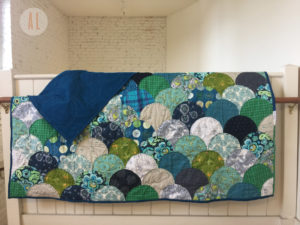
It sure does look cute, though, without a border, the scallops reaching from end to end. This kind of quilt has so much potential. From ombré, to mermaid, to dainty pink and white little girly room quilts. To dark and elegant….



Give it a whirl! It’s worth the try! I promise!!! Happy Quilting.
{I used the large Accuquilt Clamshell Die to make this quilt. Shown next to my sketchbook diagram are the smaller sized clamshells.}
by Andrea | Aug 1, 2017 | Baby, handmade, Sewing, tutorials
NEW SEWING PATTERN
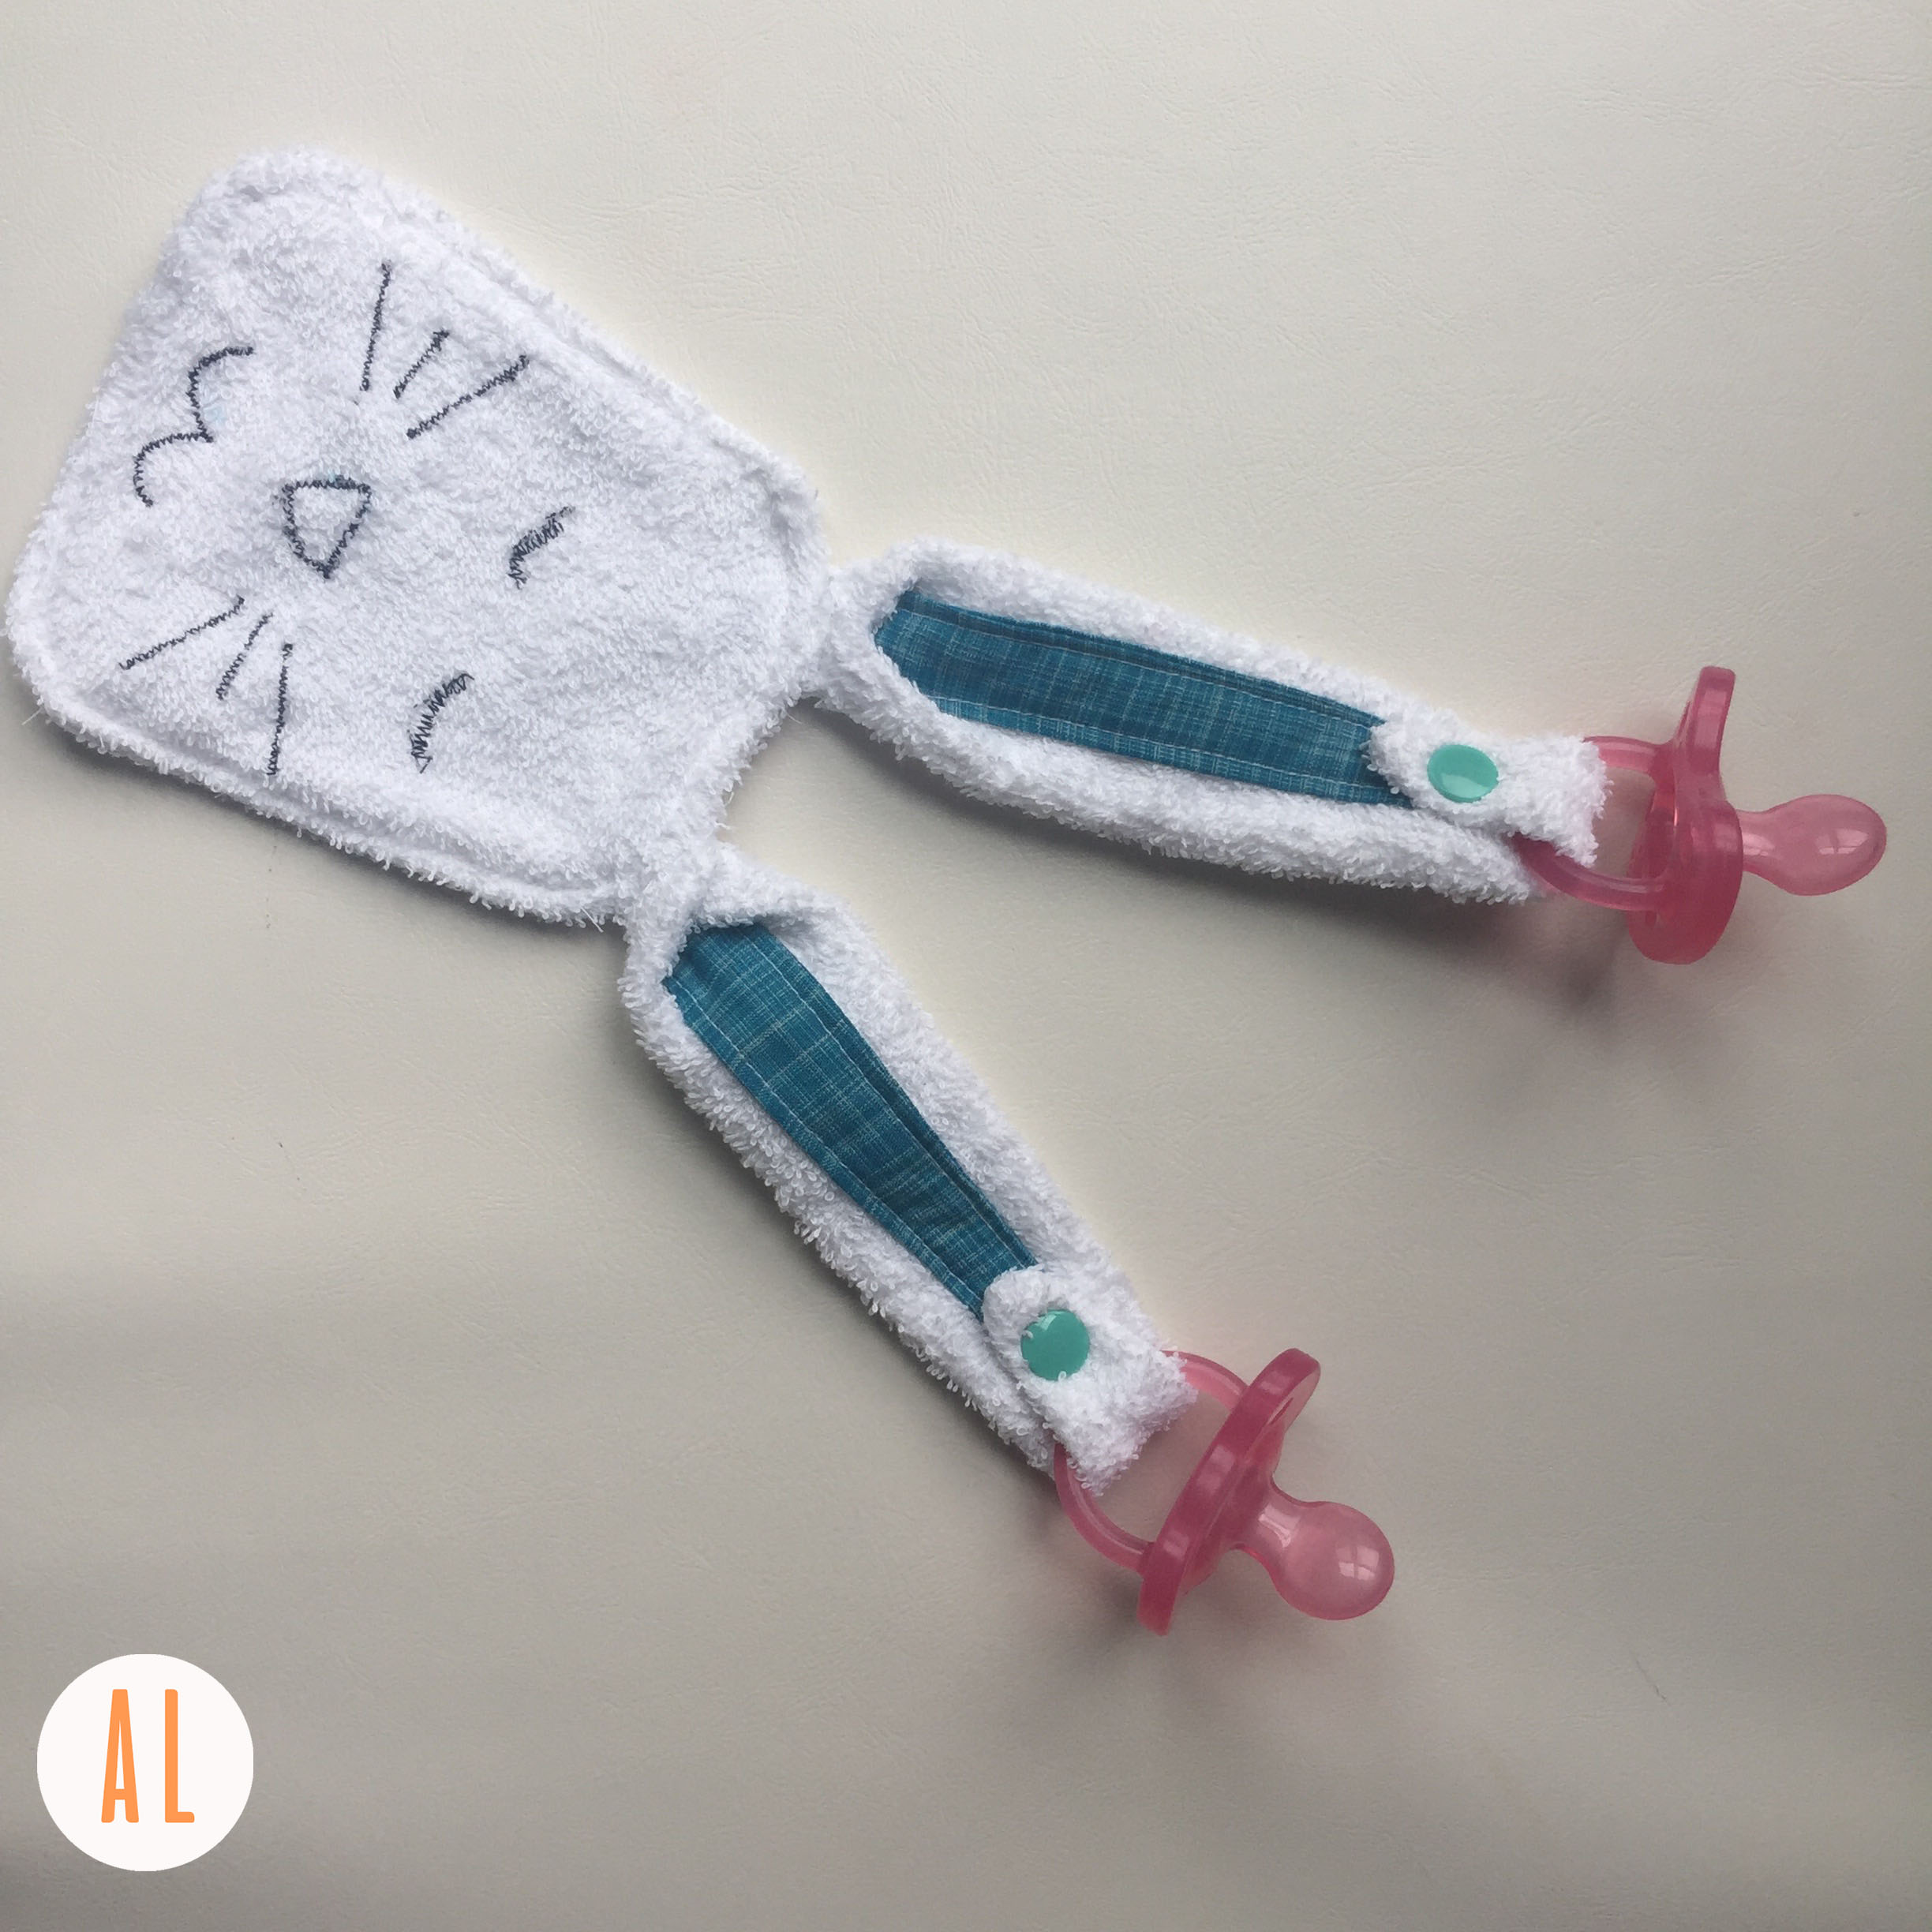
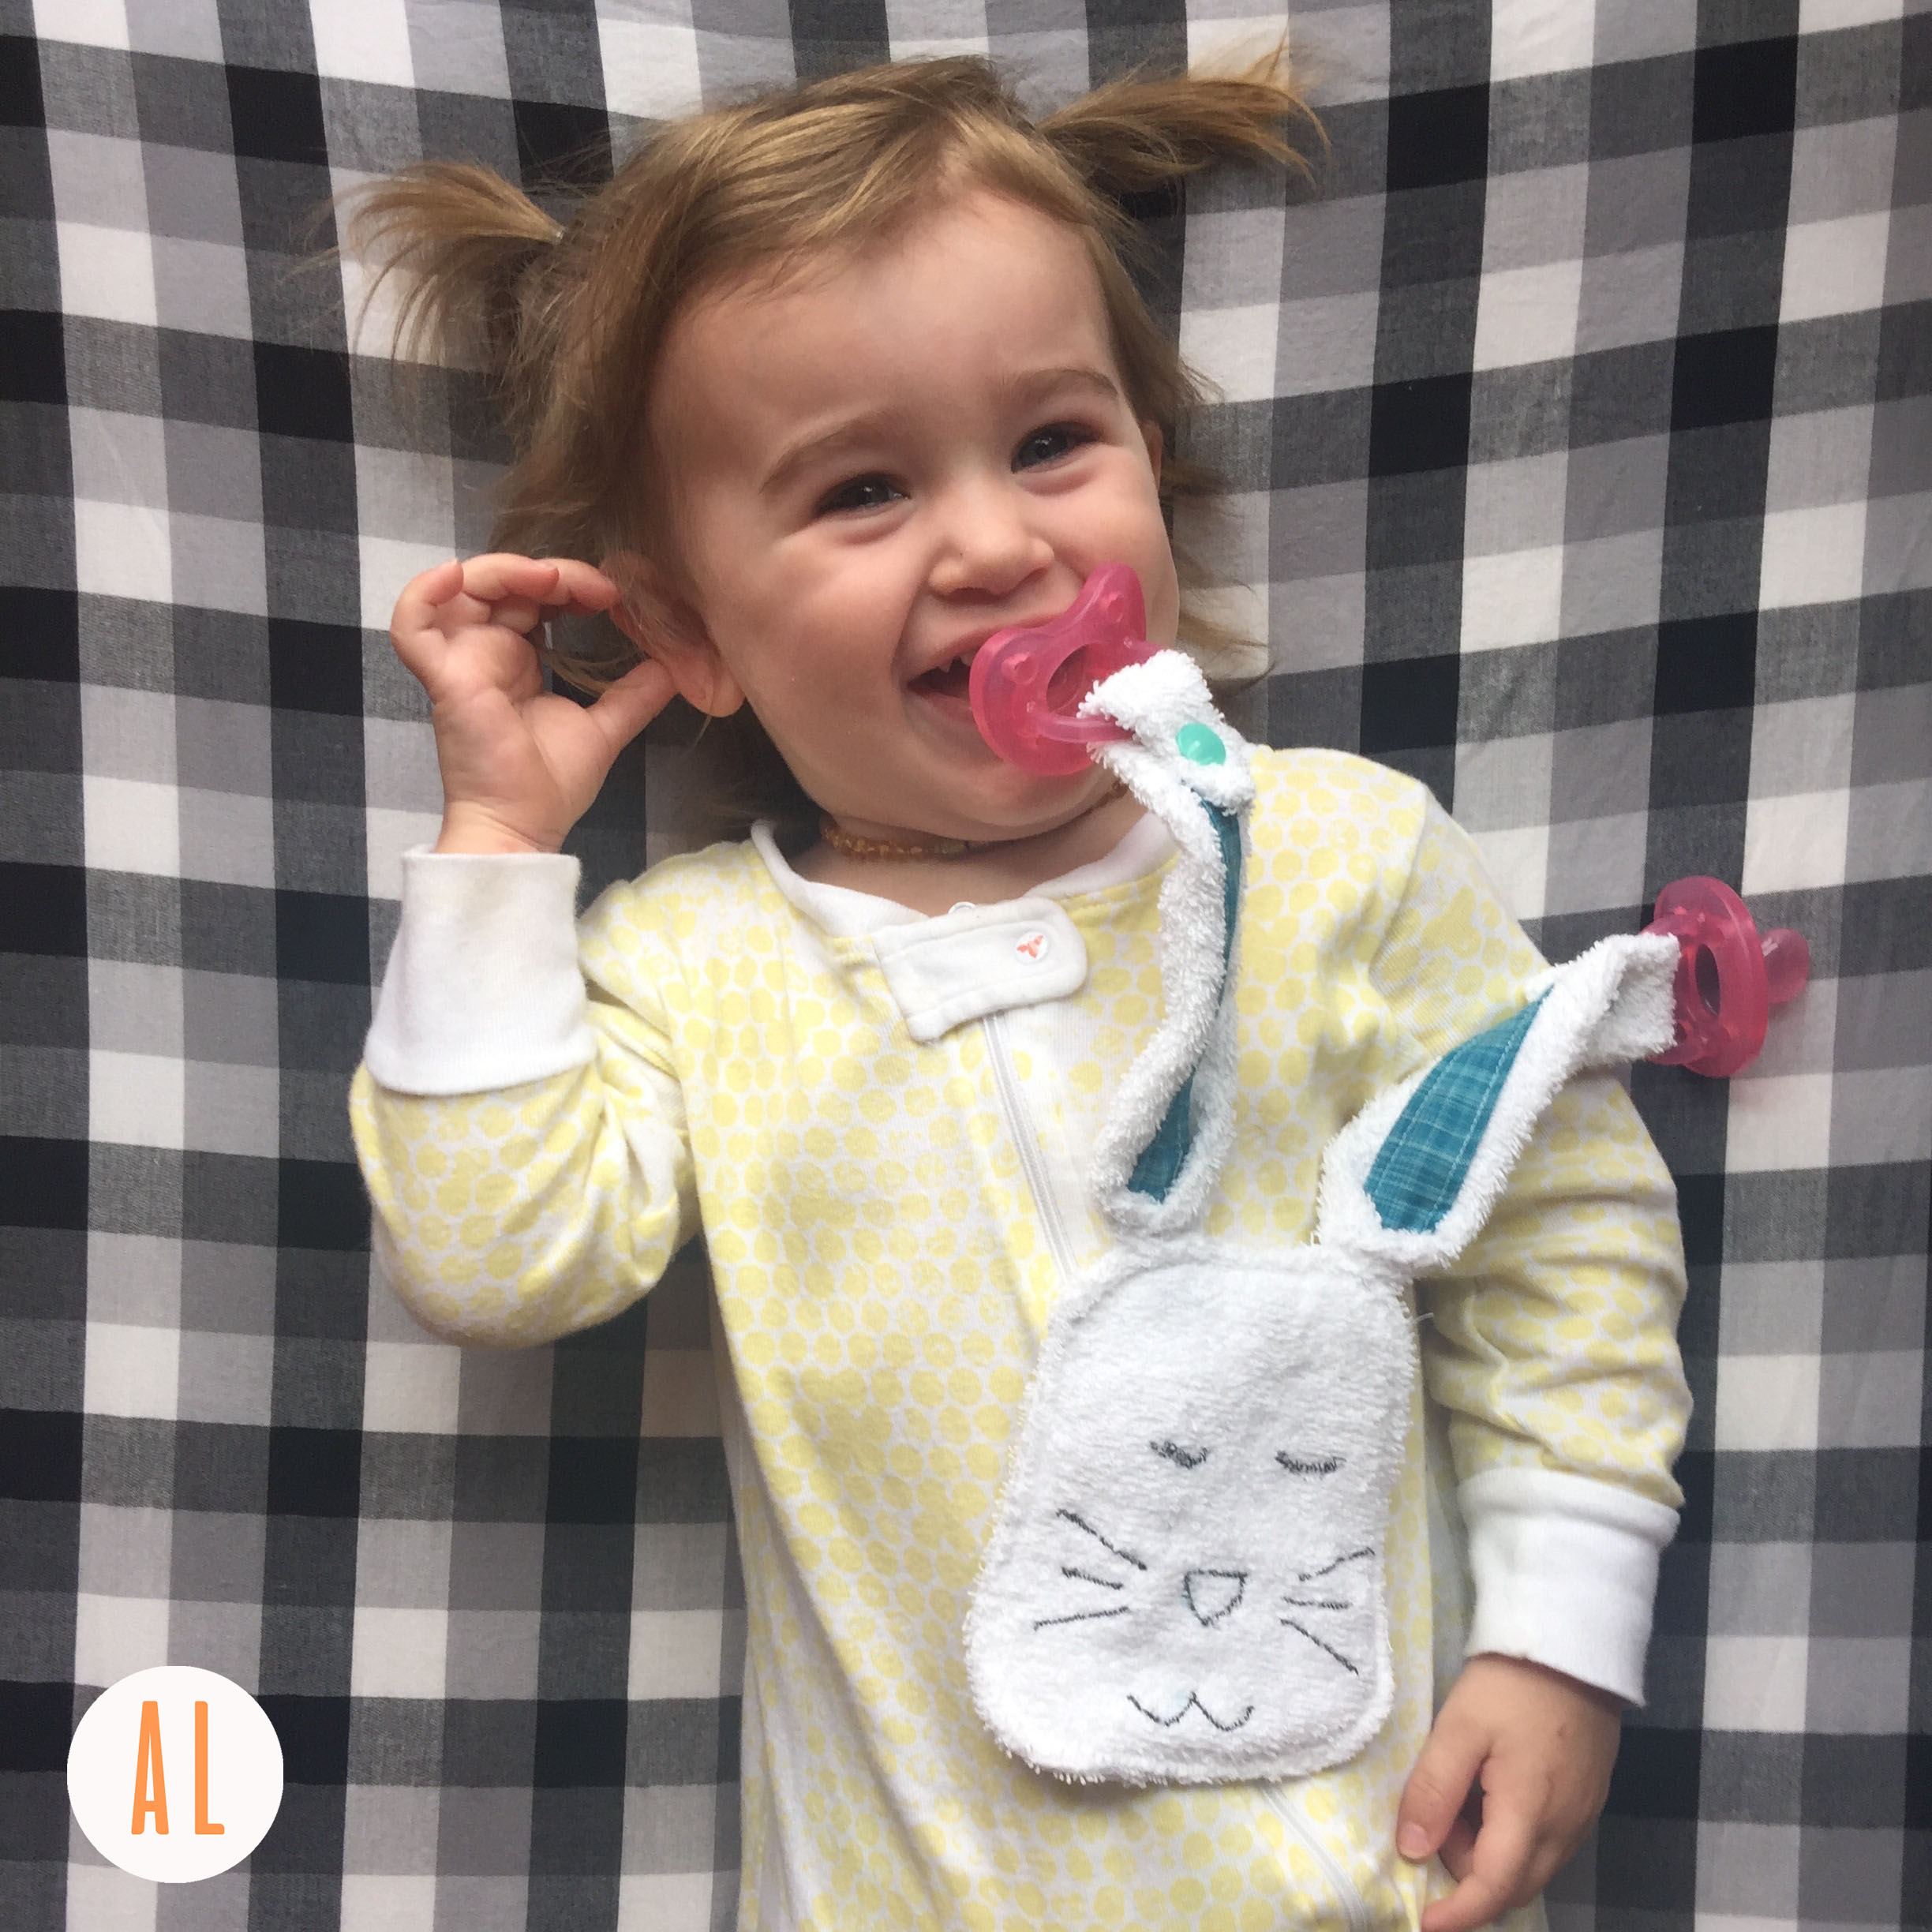
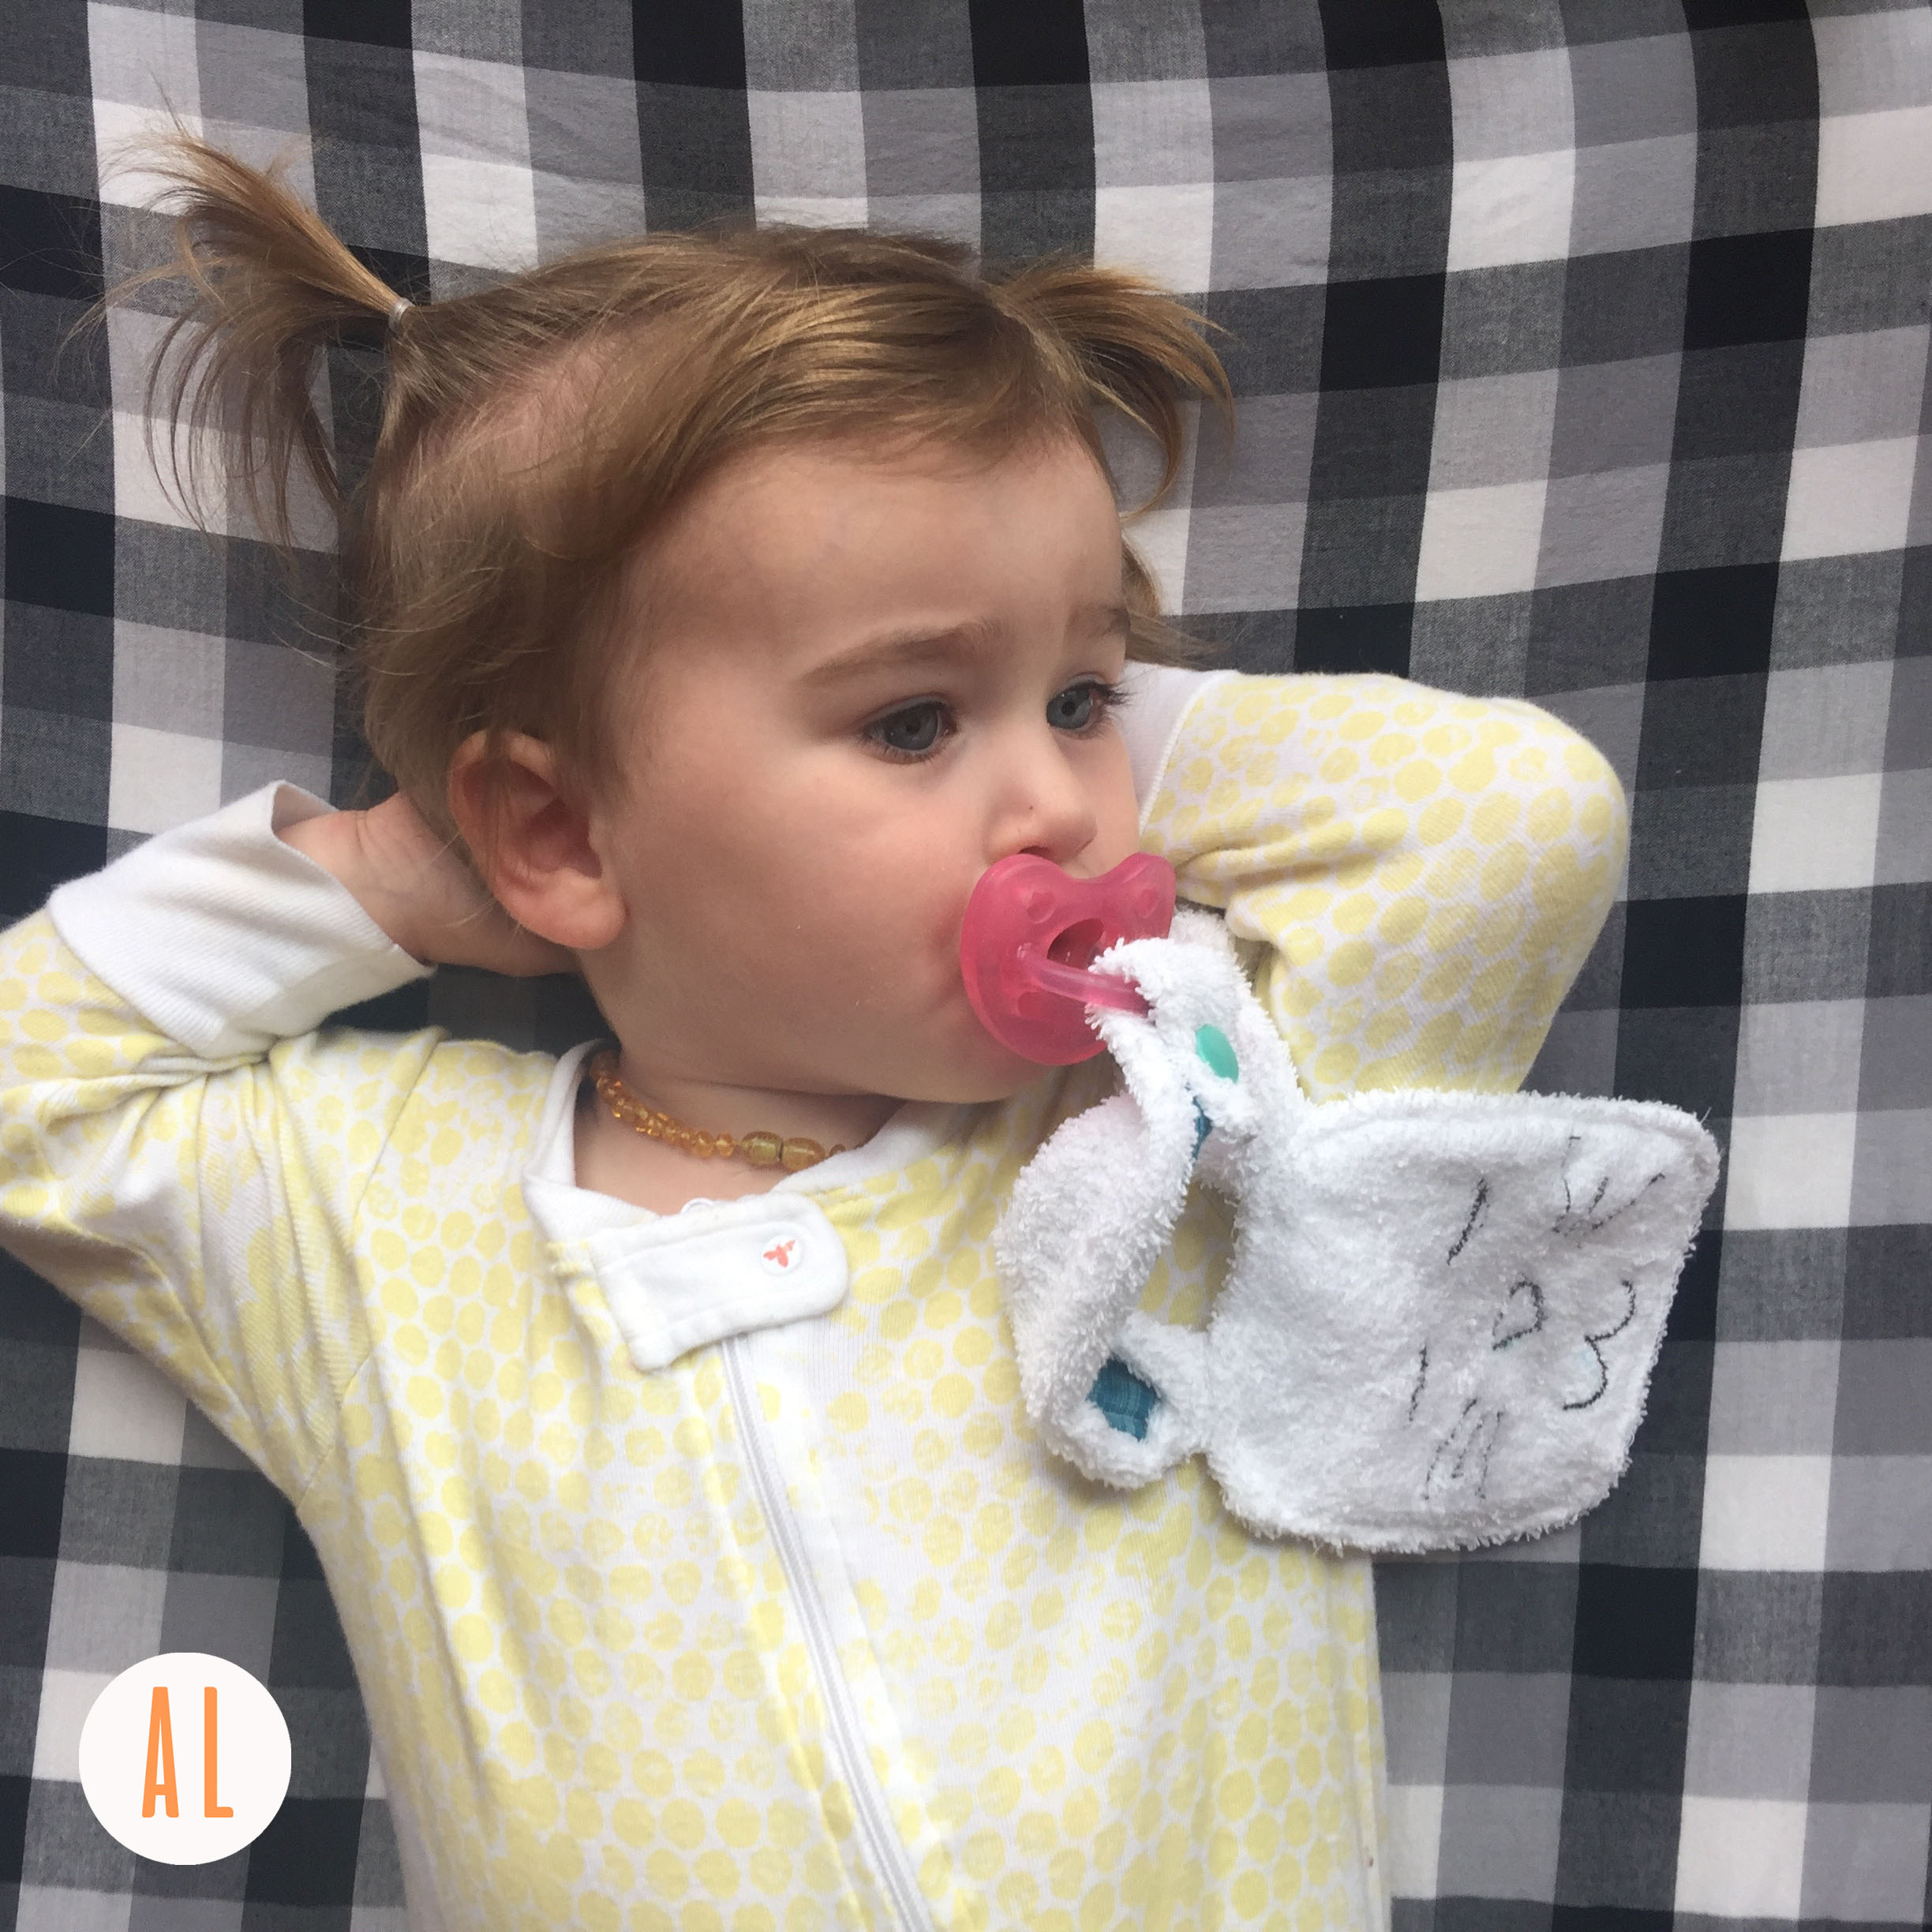
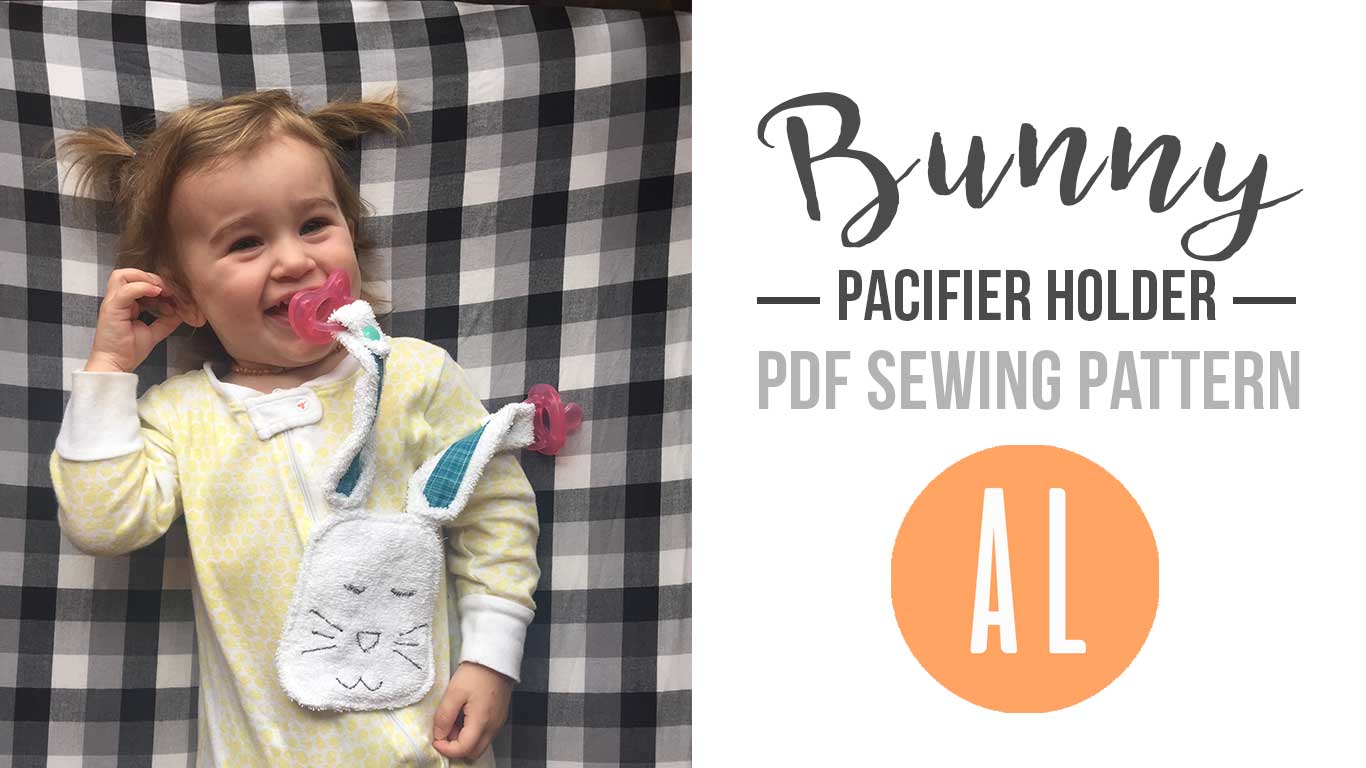
Hey there! Ruby and I worked on a pacifier holder pdf sewing pattern this Spring. It has a cute bunny shape and snaps to hold her paci’s. She really loves Chicco pacifiers and those are exceptionally hard to find when they are dropped under a crib or in the car because they are clear. Whoever designed those, must not have had actual children….
So here we are. Necessity is the mother of invention! We have not woken up in the wee small hours even once to find a paci since I made this! A few notes about this pattern. This pattern is NOT FOR NEWBORNS. This pacifier holder is for toddlers who have control of their arms and can run, walk, and play. I started using this for Ruby at 15 months of age.
FABRIC
The pattern works best with terry cloth or flannel for the main fabric and quilting cotton for the inner ear pieces. You only need a small amount. I used this terry cloth from the Fabric Shack. The inner ears were Anna Maria Horner’s Loominous Collection.
SNAPS
The snaps need to be really high quality for safety reasons. I suggest using KAM SNAPS. Here is a great little set of pliers and snaps on Amazon that I use for just under $20.
The pattern comes in an easy to print pdf download. The pattern is on one 8.5 x 11″ sheet of paper and the instructions include pictures and are contained to one sheet of paper as well. It’s really a quick and easy project. You can make one in about an hour. May your nights be filled with uninterrupted sleep from now on!
Email subscribers will receive this pattern for free! So if you sign up in the next 24 hours you can get in on the freebie!
Happy sewing!
by Andrea | Mar 16, 2017 | Baby, DIY, handmade, Home Decor, quilting, Sewing, tutorials
Here it is friends. This is the LAST post in my Magical series. The people who need this post, won’t want too hear it… Honestly everyone is able to do this, at least for a season. You will have lots of excuses why you can’t, but if you love something, you will make the space and time for it.
To make more time for sewing you MUST LEAVE YOUR SEWING MACHINE OUT AND SET UP. You must find a space. You must make your kids share a room or have them eat outside on the deck or sew in your bedroom or even train your baby to go to sleep with the sound of the sewing machine whirring near her crib….all of these things I have done at one point or another. We have lived in a slew of tiny houses and apartments off and on over the years and the key to getting stuff sewn was and always is leaving my machine out.
I want to encourage you to “Just Do It” Nike doesn’t consider sewing a sport, but if they did I would totally be sponsored. HAHA.
Right now I am very fortunate to have a nice finished room to sew in. I share it with the girls so that if there are moments during school that I can sew, then I can! Here are a few creative ways to leave your machine out if you don’t have a sewing room.
THE PLASTIC STORAGE BIN
Just get a bin with a lid and shove it in there and slide it under the kitchen table. If it’s already there then you will be more likely to use it. Here is good one.
THE NOOK
There is always a place for a sewing nook. Get a nice wooden or sewing specific folding table, that way if you have company or need the space temporarily{ for something less fun than sewing }you can move it and put it back up easily. When my husband was in seminary we lived in the campus apartments. SO FREAKING TINY. Someone had left a wooden folding table in our apartment so we used it for that.
THE PLACE YOU DONT LIKE
Is the basement your sewing lair? Do you hate it so much? Is it watery and smelly and dark? Just set up your supplies and organize in such a way that you can have your project out and ready to grab easily so you can bring it up to the kitchen table for the afternoon or evening.
Give up on the ideal places you see on blogs and pinterest and give yourself the freedom to enjoy your sewing time. Sewing has been such a great way for me to lose myself and relax. I listen to a book on Audible, pop my headphones in my ears, and start making! Just do it!
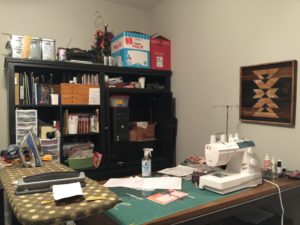
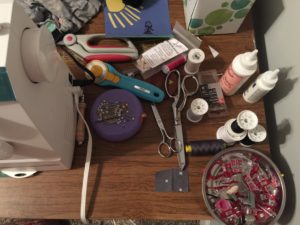
Here is a picture of my non pinterest worthy sewing space. I sure am thankful for it and I get so much more sewing in. My plans for it include painting the cabinet a bright happy color, but then I wouldn’t have as much time to sew….the struggle. 🙂
Happy Sewing Friends! JUST DO IT!
-Andrea
by Andrea | Feb 6, 2017 | DIY, Graphic Design, handmade, quilting, Sewing, tutorials
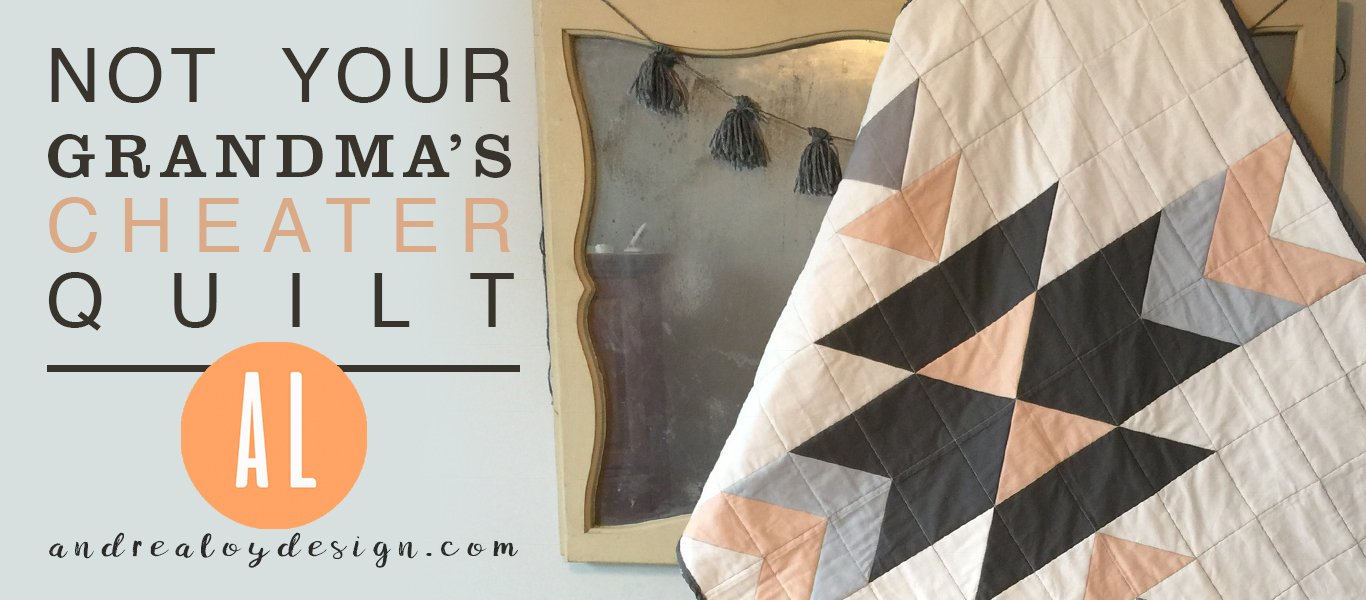
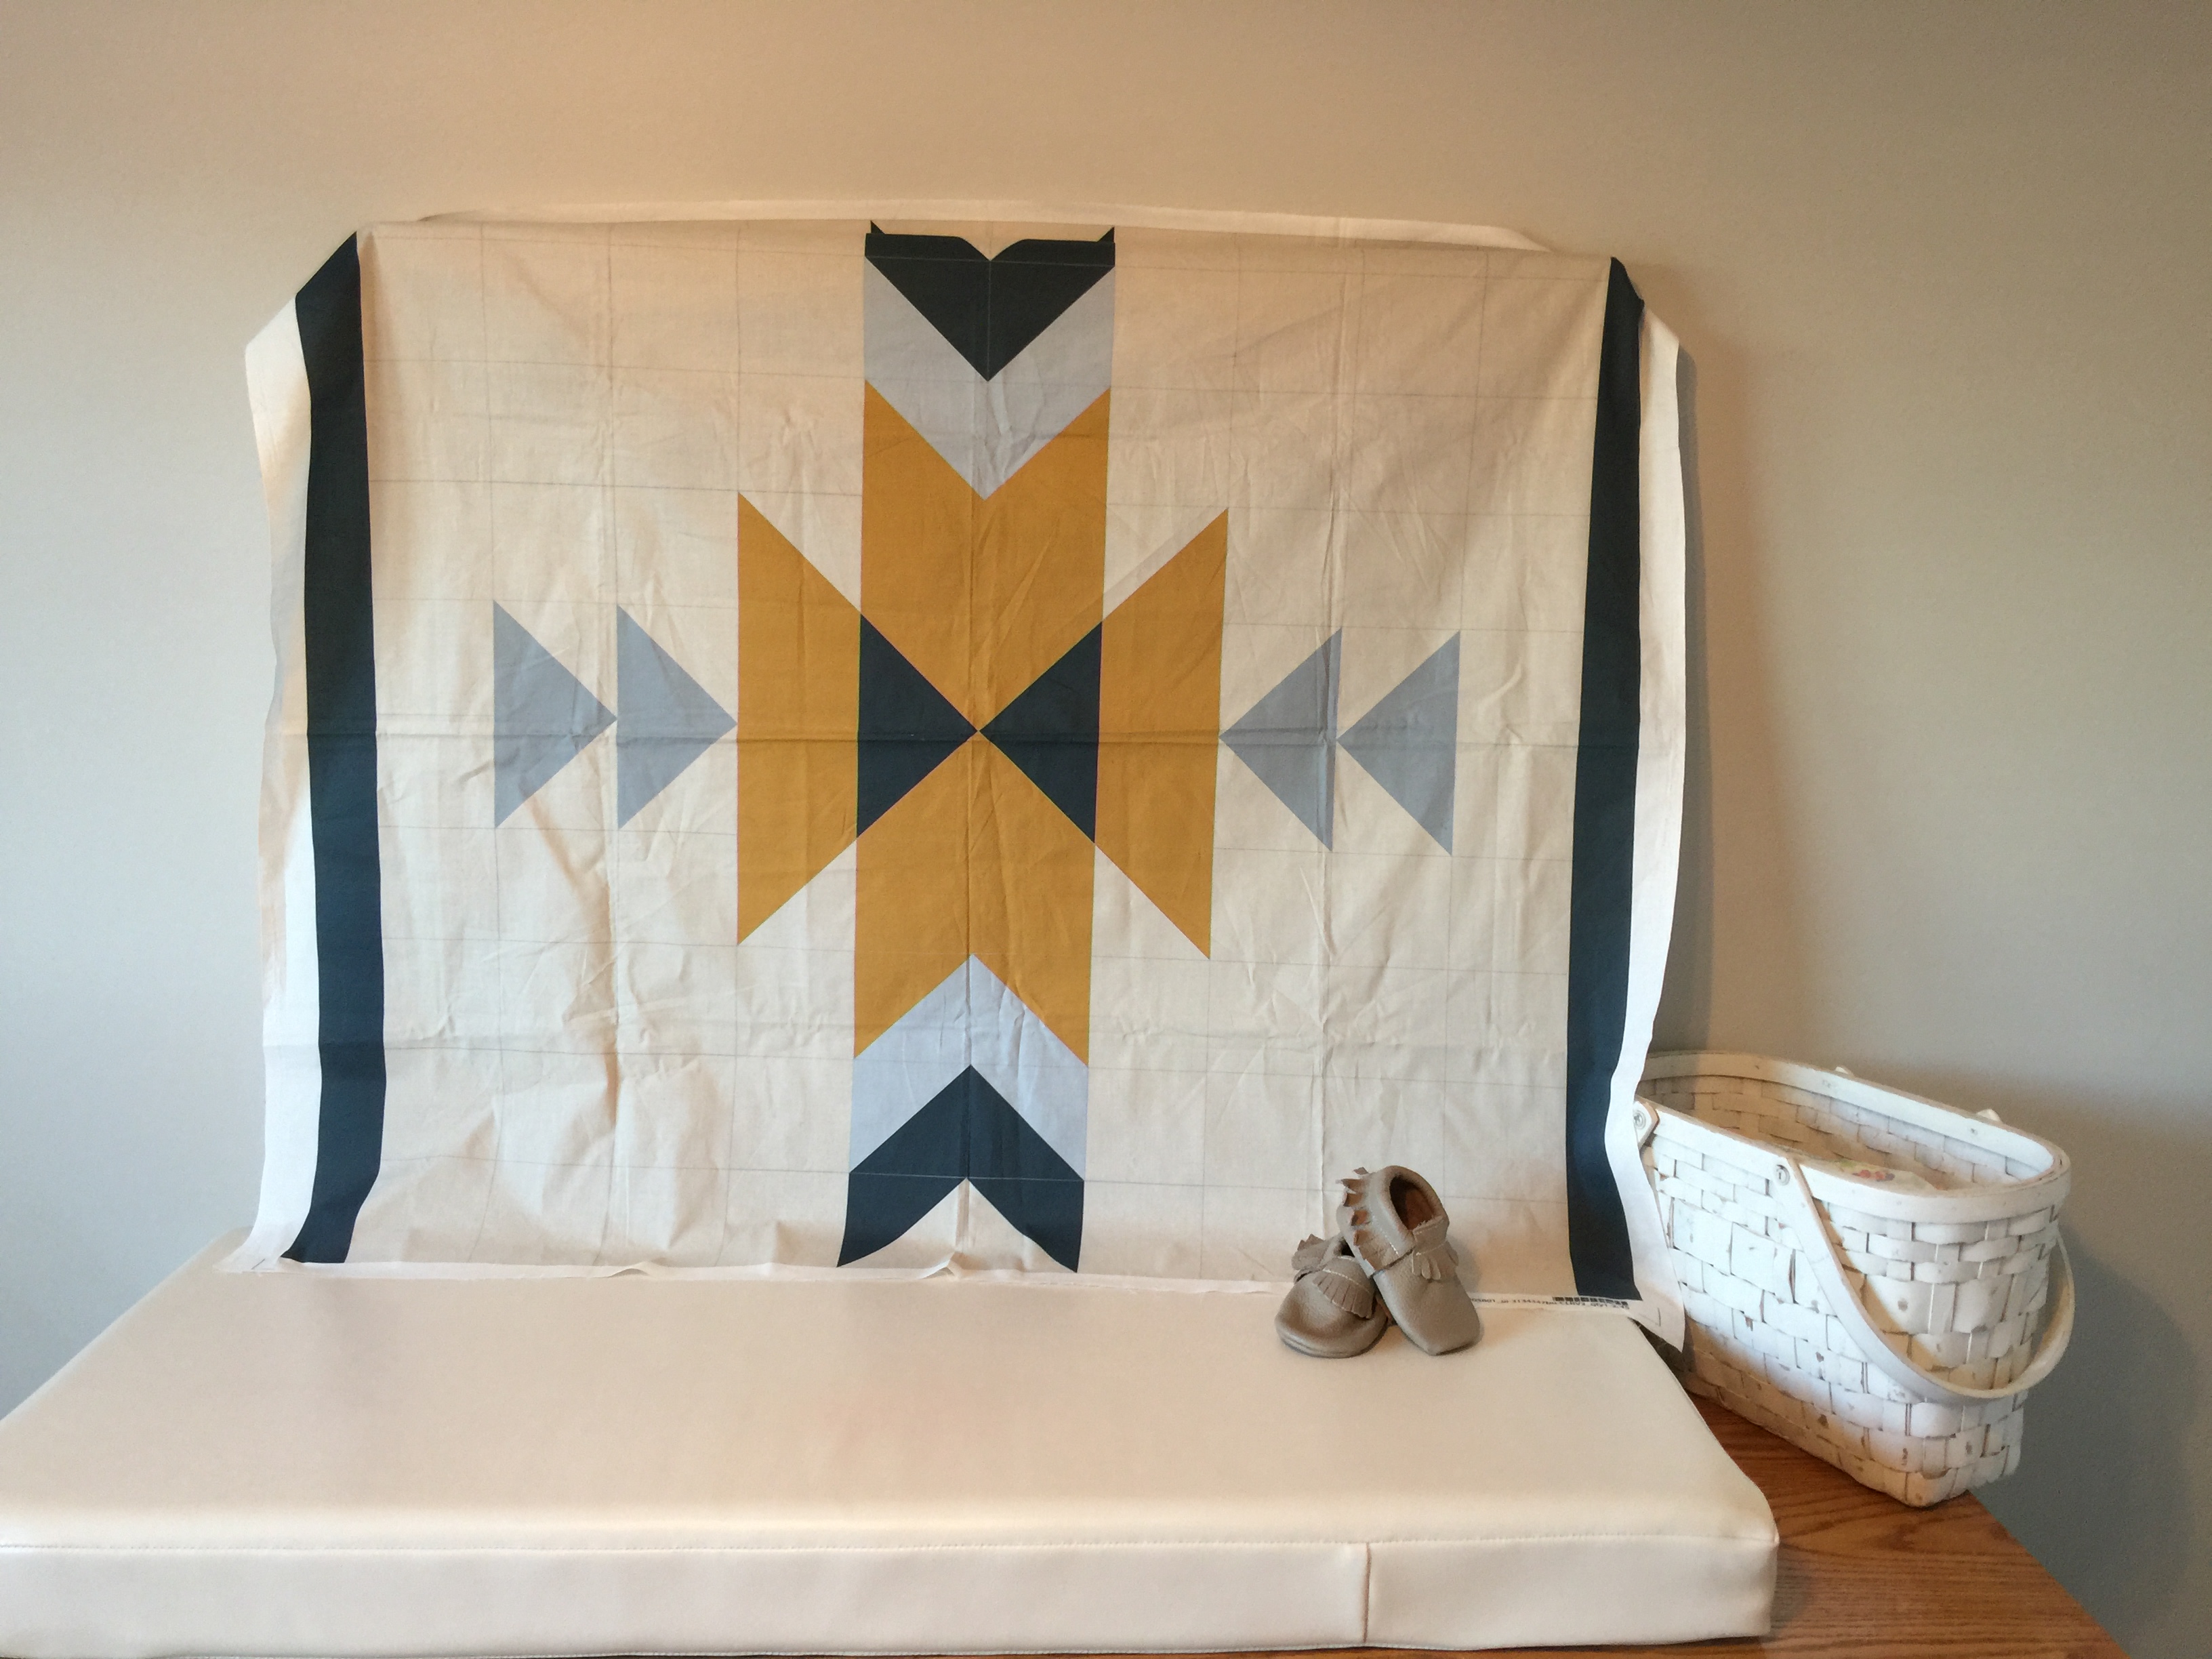
Welcome to the blog today! Several months ago I designed a fresh take on the old cheater quilt. After testing it out, I’m finally ready to share the whole process with you. Ever heard of Spoonflower? The company offers an amazing service that I’ve been wanting to take advantage of for years. So this is my year! I’m doing lots of things I’ve never done before. I’m seizing the day – Carpe Diem! Or perhaps I’m seizing the year? Carpe Anno! Spoonflower Fabric allows customers to upload a design to their website and have it printed on fabric. {They also offer wallpaper and wrapping paper.} If you aren’t a designer but want a custom piece of fabric you can shop the Spoonflower fabric site with thousands of designers from all over the world to find your perfect piece! They operate a bit like Etsy in that, you can look at each designers shop, not just the designs themselves. So I invite you to look at my Spoonflower shop and buy a modern cheater quilt to start with!
I love the idea of cheater quilts, they are fast and fun! Sadly, though, most cheater quilts are very ugly and outdated. In fact, I haven’t really seen a good cheater quilt until Spoonflower hosted a contest last year on them. It got me thinking about it. I wanted to incorporate some of the tried and true quilt blocks from the past and yet I wanted a modern airy feel to the cheater quilt. I chose a squash blossom pattern, enlarged it on a grid big enough for one yard of fabric, used half square triangles to construct the pattern and quilting lines. The panel is available in two color ways of cheerful, calm solids.
My Peachy version contains a few shades of grey, pale peachy pink, and a light smoky blue on navajo white. This design is great for a modern baby quilt, but also finds it’s home amongst cozy couches, and master bedrooms. You can make a large quilt out of several yards/panels. I included a border on two sides to help you implement this concept.
I hope you catch the cheater quilt bug…. You can buy it in my Spoonflower shop and whip it up in an afternoon….
Here’s a shot of the Teal Colorway panel. I’ll be sewing it up soon. It has dark and light teal, mustard, and navajo white.
by Andrea | Jan 19, 2017 | quilting, Sewing, tutorials
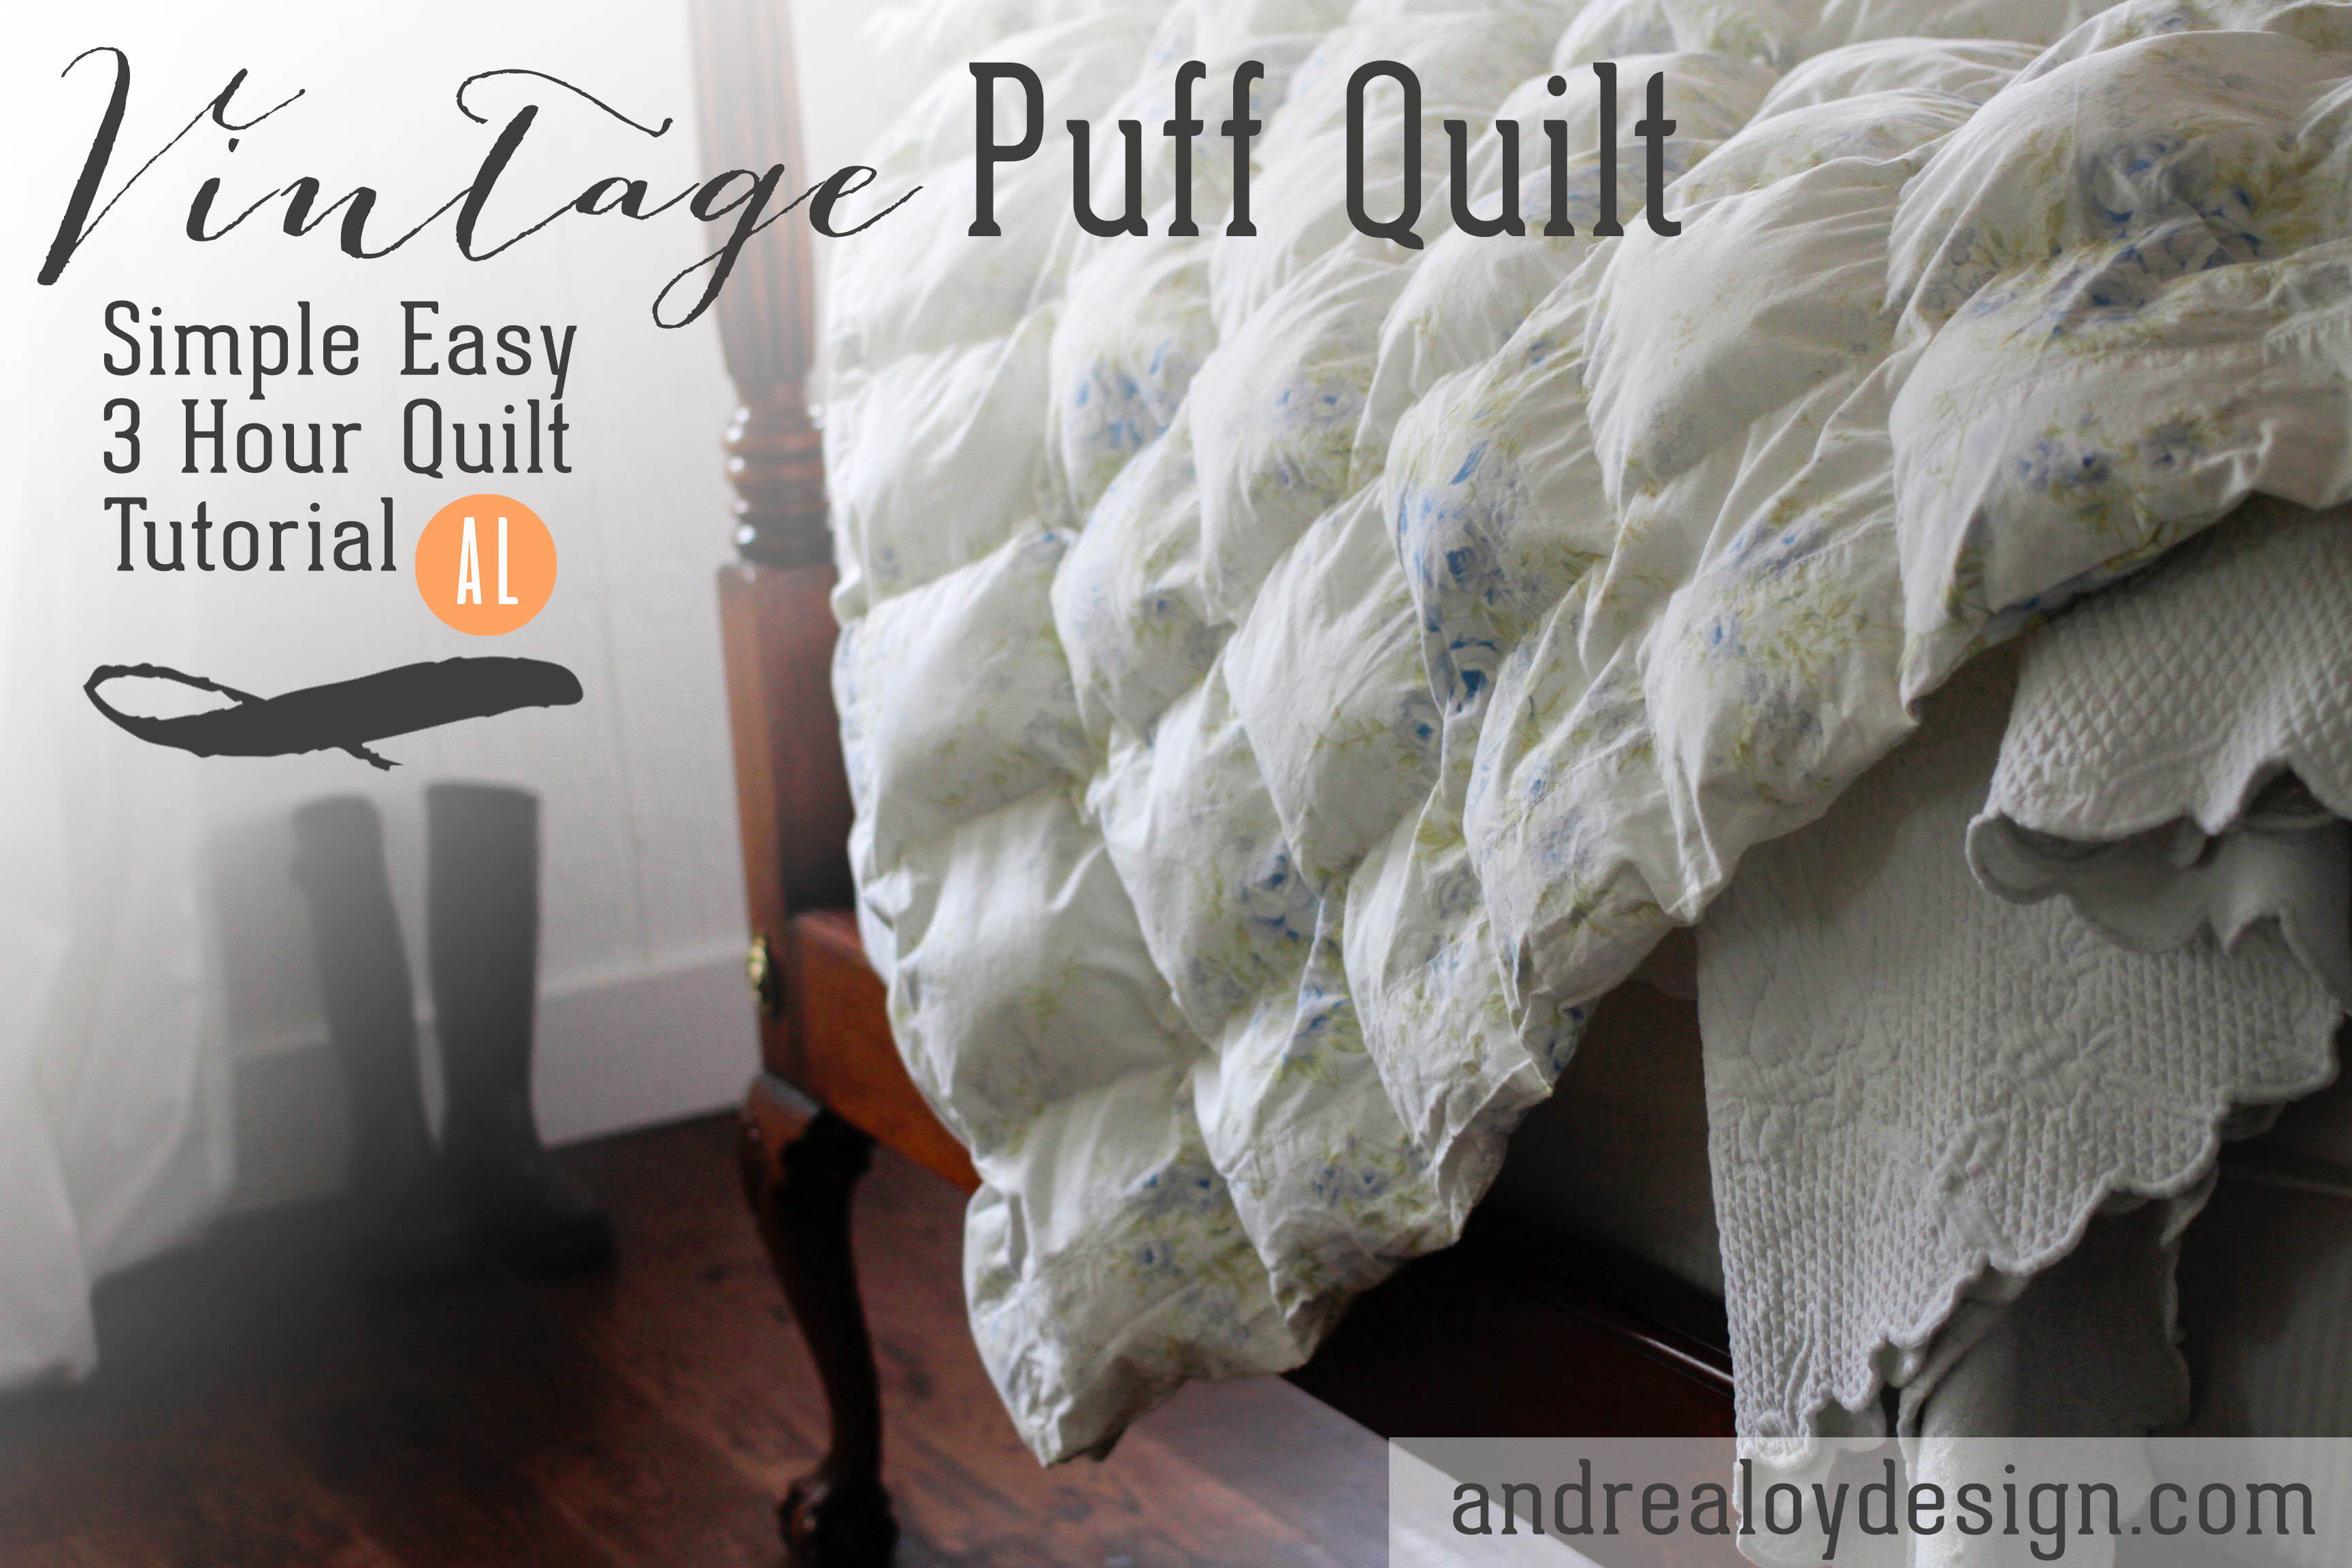
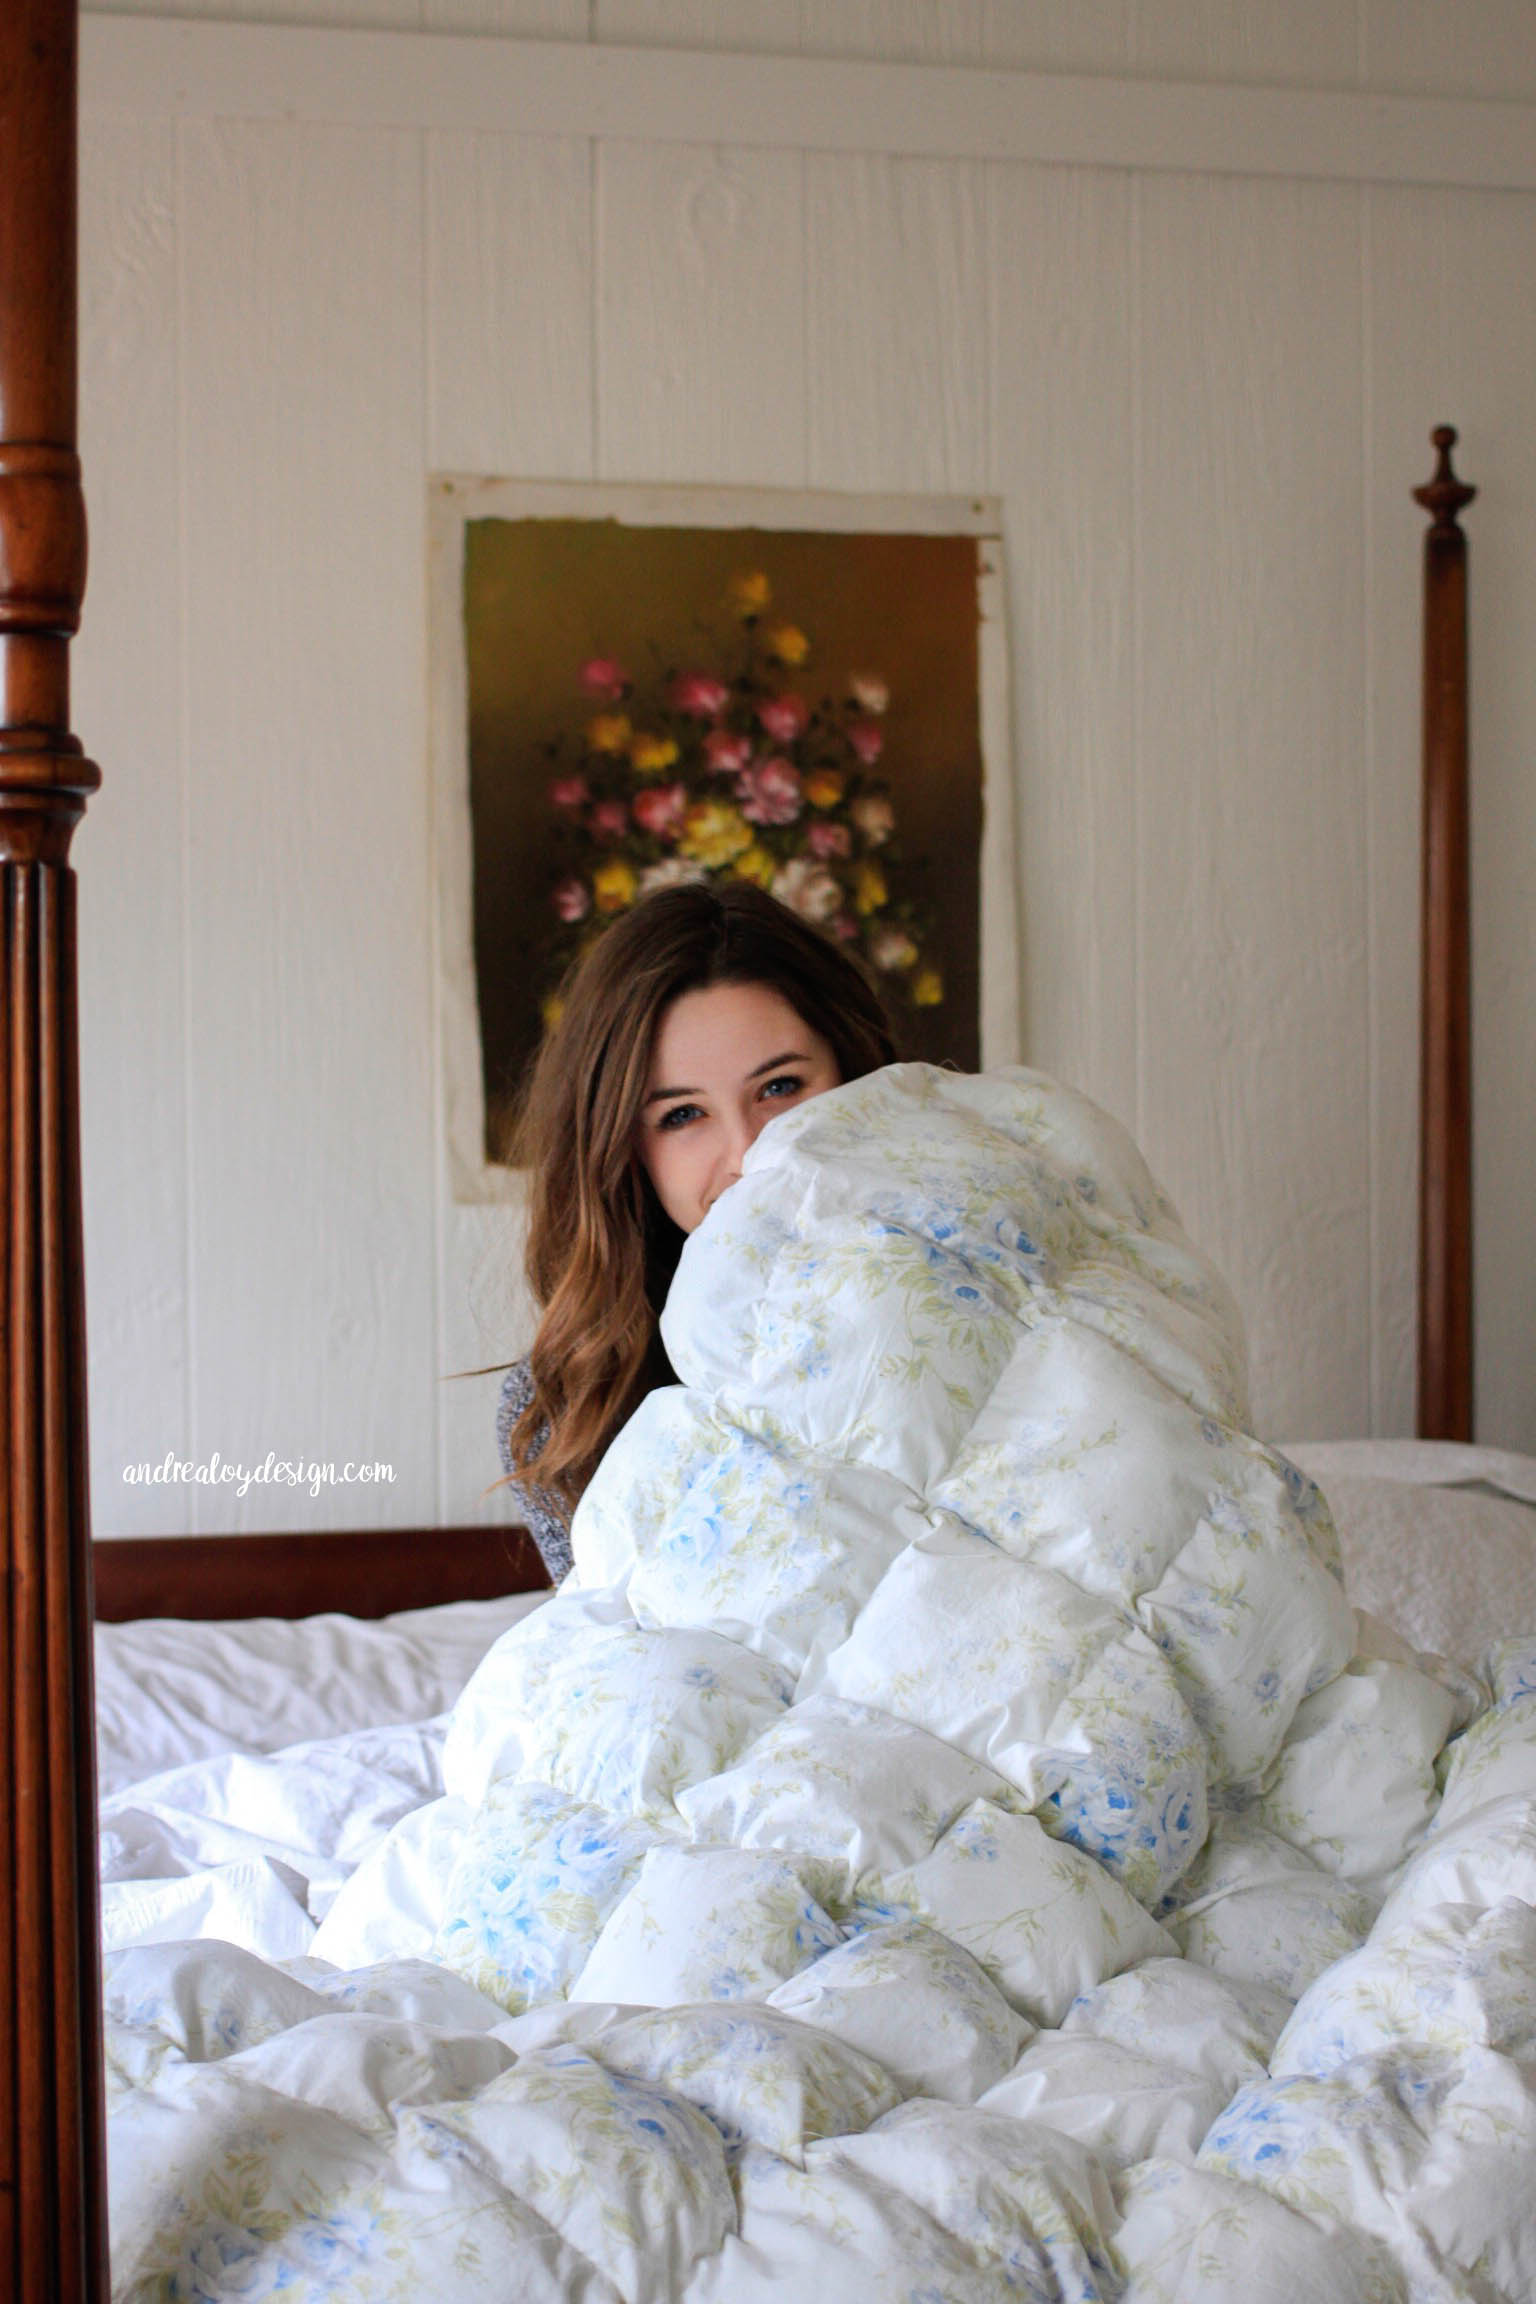
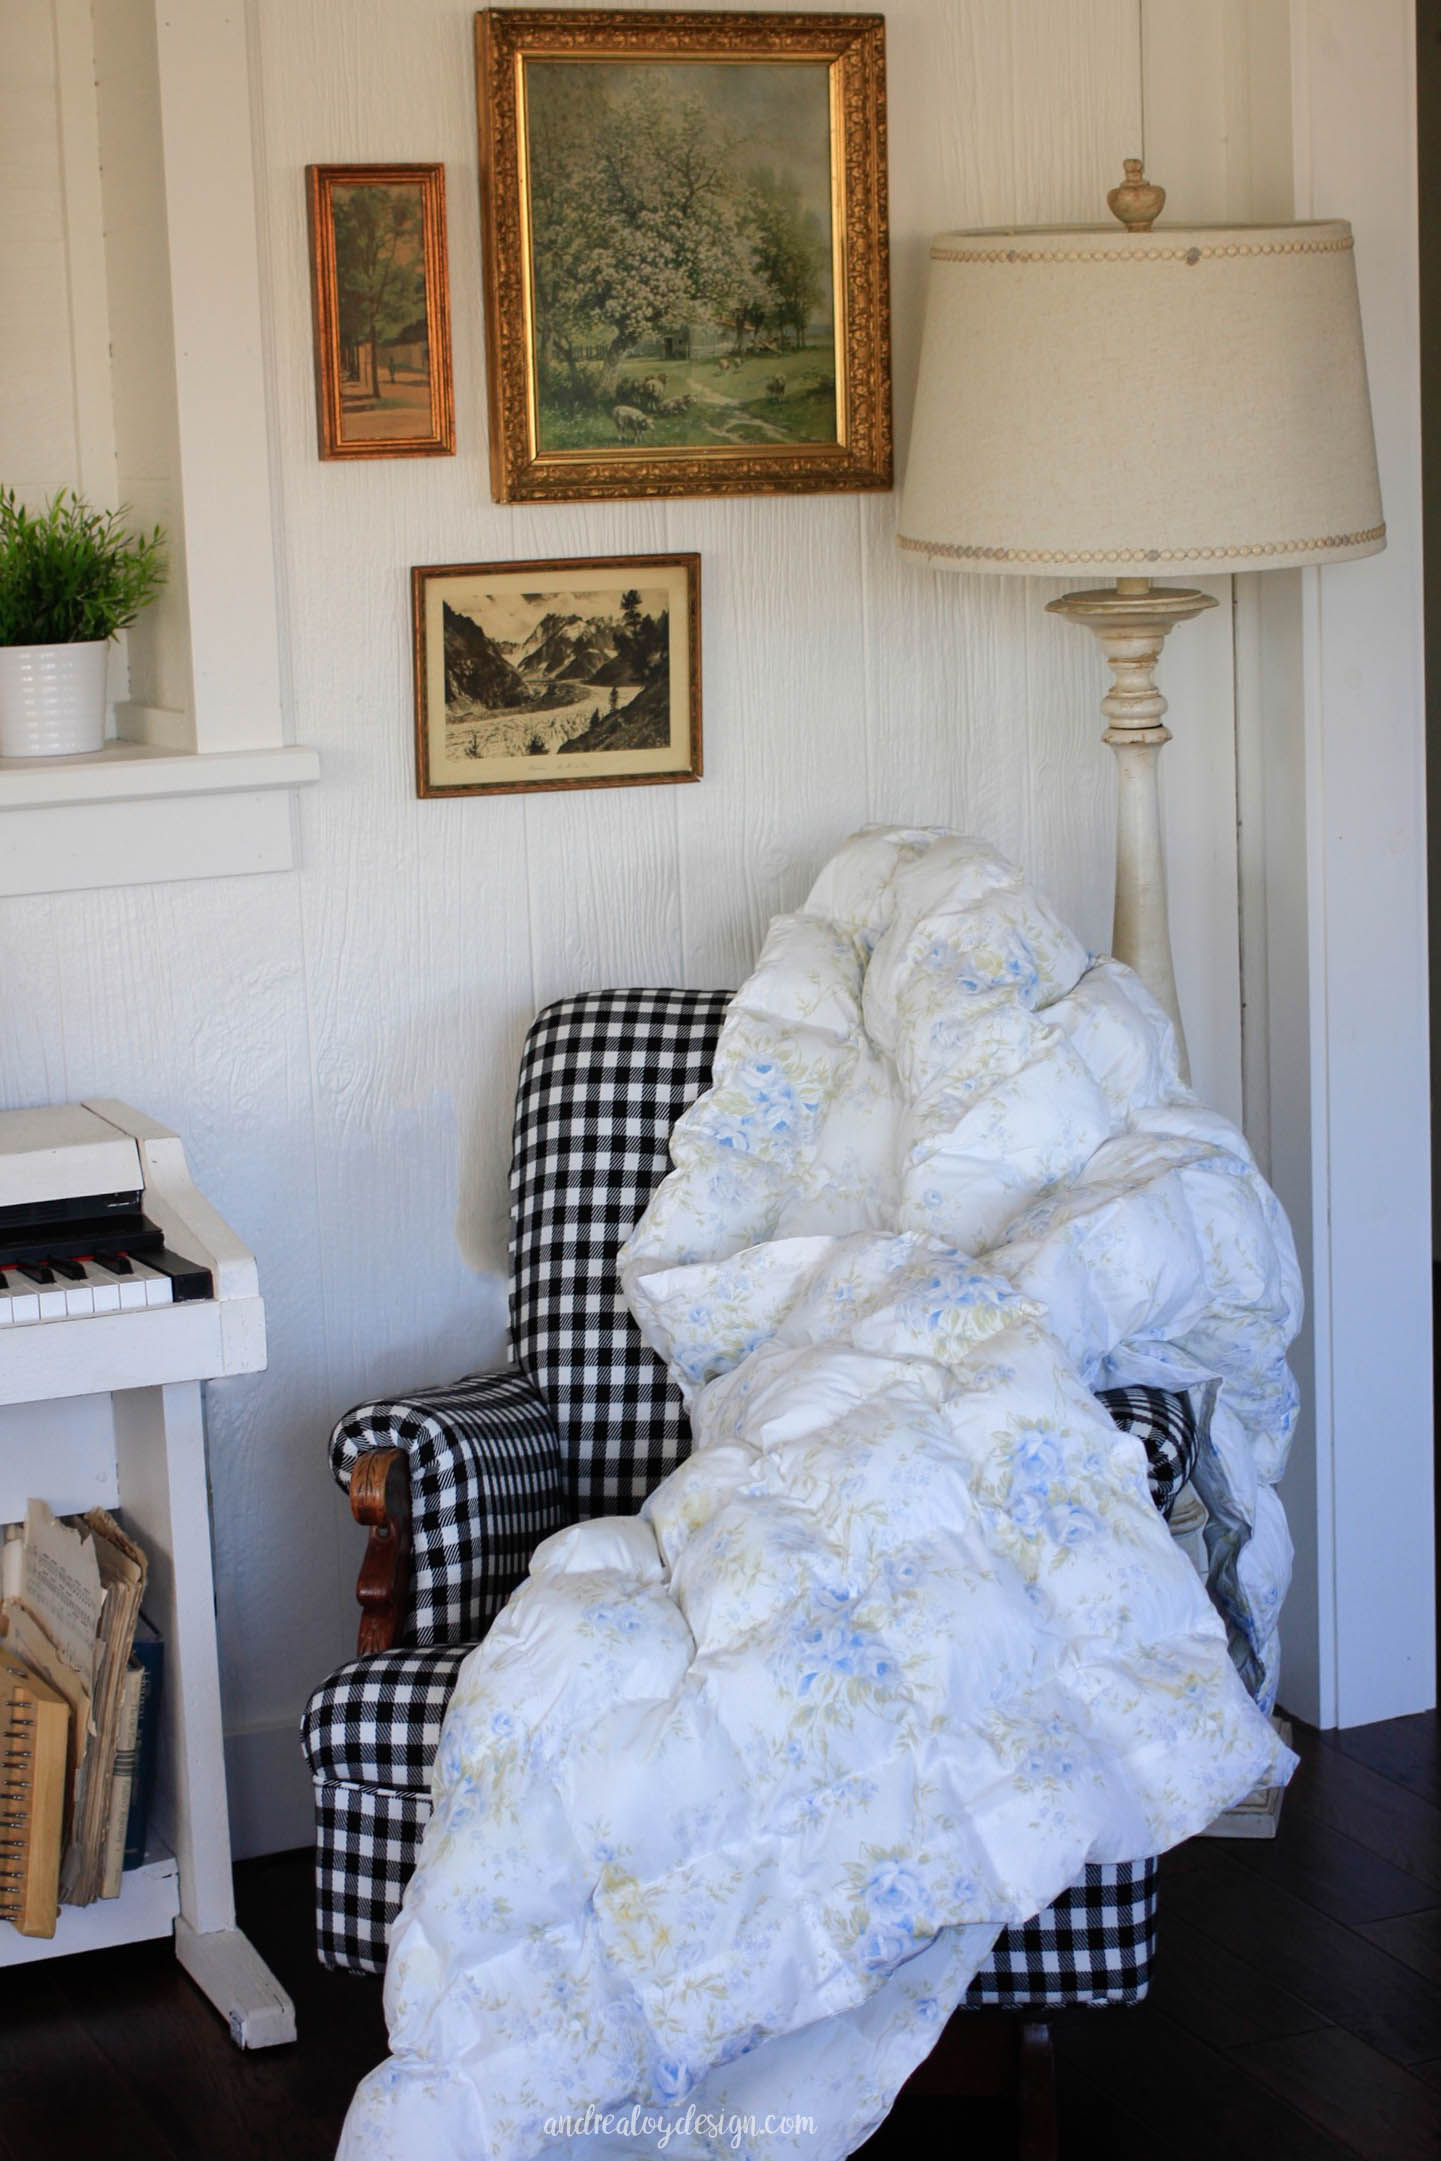
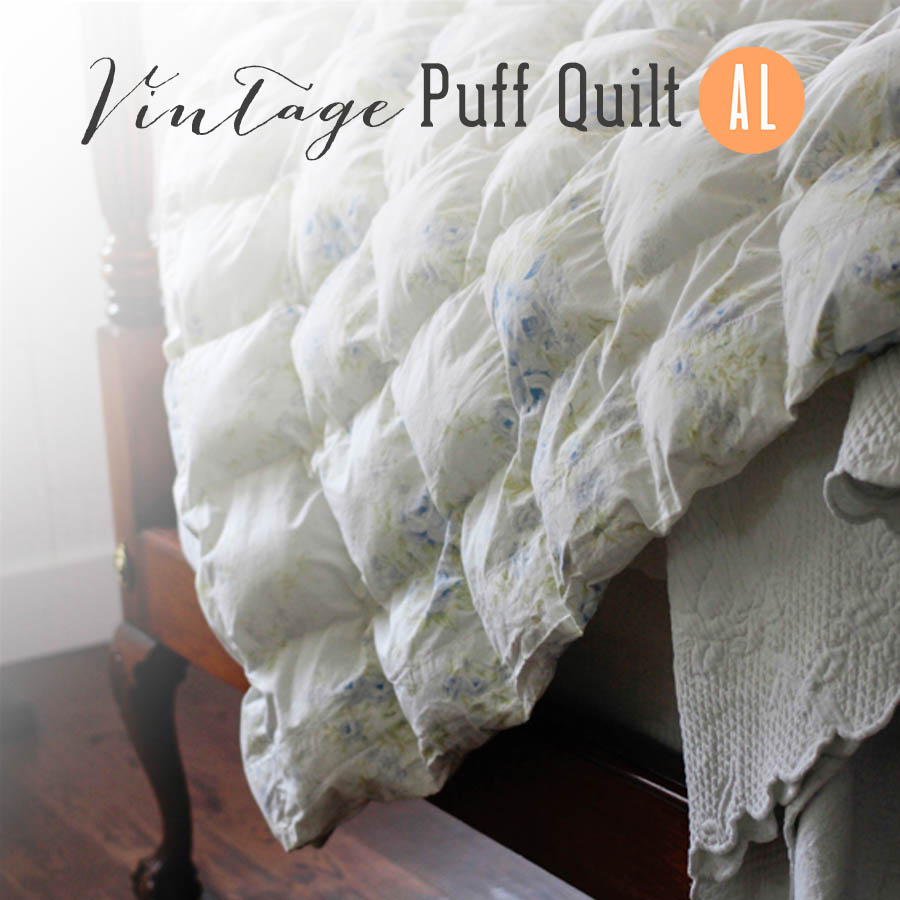
Interested in puff quilts? I saw some very ugly ones last summer and I haven’t been able to get them out of my mind ever since. This Vintage Puff Quilt happened because I have a problem. When I can’t get to sleep at night I lie awake and solve design problems in my head.
PROBLEMS
Problem One: Most puff quilts are ugly. I wanted a puff quilt that was not ugly.
Problem Two: Most puff quilts are pieced squares, therefore time consuming. I wanted to make a beautiful puff quilt quickly. {Like in a day or less.}
Let’s face it, I wanted to make a puff quilt just to spite these glaring problems. It also occurred to me that children would love these. The texture is so fun! I have lots of children, therefore I must make one. My children don’t really have a huge need for blankets, seeing as I make so many quilts already….and I come from a family of talented quilters. So I still lacked a little in motivation even after I had solved the afore mentioned problems in my head.
I was thinking about the puff quilts in Mary Poppins one night at the end of Jane and Michael’s beds and it occurred to me how lovely they would be as a gift to someone starting a home.
Well, my lovely sister in law decided to grow up, move out of her parents house and turn 21 so I finally found the proper justification to indulge myself in a puff quilt making marathon.
It’s quite simple, really. I hope you’ll be encouraged to make one soon once I reveal just how easy and quick it really is.
MATERIALS
2 flat twin sheets
2 bags stuffing, Fiber-Fil
Thread
Clear Quilting Ruler
Pencil
Sewing Machine
INSTRUCTIONS
1.) First, find two flat sheets or curtains. Preferably soft vintage fabric or just a high quality set with a soft hand. I used the vintage Shabby Chic Curtains from my first bedroom that I had been hoarding for a long time for this project. They were 60″ x 84″ roughly the size of a twin blanket. I had four, so that means I will be making another one very soon!
2.) Sew your sheets right side together on both long ends and one short end. You’ll need the fourth end open for stuffing. *Turn right side out. (CRUCIAL)
3.) Make a grid. You’ll be sewing a grid of squares to stuff and puff! Measure your sheet and divide into equal square sections. I used less math than you might think. An easy way to do this is divide your sheet in half then keep halving the sections. Mine ended up being 6.5″ wide. I measured across the shorter measurement, the width of the sheet. and marked each using a clear quilting ruler and a pencil. Once you’ve made a mark at each equal point, draw these lines vertically up the entire length of your sheet.
Now measure 6.5″ up and make a horizontal line. Continue until you have marked a grid of squares entirely over your whole sheet.
4.) Sew & Stuff. Sew the vertical lines starting at the bottom of your quilt. Sew only two-three squares up at a time. You can’t fit your arm all the way dow the entire vertical column of the quilt, trust me(*wink, wink) I know from experience. Grab a handful of stuffing. Put a handful in each colomn all the way down and sew your horizontal line across to secure your squares of puff stay put. Next stuff a hand full of stuffing down each vertical column again and sew your horizontal line across the quilt to secure.
5.) Just keep sewing and stuffing your way to the top. If your sheet doesn’t end up with a perfect square at the top (mine didn’t) that is OK!
6.) Finish the top seam. Fold the ends of your quilt down inside the quilt 1 inch. Pin and iron….Then sewed across. No binding. No lengthy finishing process. Whoo Hoo!
The whole quilt took me 3 hours. That’s all! It was a blissfully fun project! I hope you’ll make a puff quilt and share it with me! Happy Sewing! -Andrea


