by Andrea | Mar 9, 2016 | handmade, quilting, Sewing
It’s time for Sewcation 2016. I’m super excited! Sometimes you have to buy a whole lot of fabric and “get the heck out of Dodge” for a quiet weekend of sewing. “It’s therapetic!” -Barney Fife. Almost every year I try to take this little trip. Back in 2011, my bestie and I took off for a few much needed days of uninterrupted sewing. There was a family condo in the Ozarks with plenty of space and my birthday and hers were a great excuse…We loaded up my nursing 9 month old, 3 rubbermaid bins of fabric, two sewing machines, a serger, and lot of snacks. It was THE BEST. We jokingly dubbed it a sewcation. I made easter dresses for my girls and started a massive quilt for my master bedroom. She sewed her daughter’s entire Spring and Summer Wardrobe. We’ve tried between babies, and husbands, and kids to make it work every year. It hasn’t always happened.
This year I have the opportunity to invite 8 of my closest family and friends who love to sew for an epic Sewcation 2016! My MIL has recently built a guest house with a gazillion bunks and bathrooms. For my Christmas gift, she offered to host Sewcation 2016! Just for fun I have designed a logo, and I plan on staying up late to make some memorable swag for the occasion! I’m so thankful for this opportunity in the midst of a stressful and busy season of life.
Make time for what you love, despite your limitations….you need to. Give yourself grace so you can give it to others. Make your —-cation!
I plan to sew a quilt that my daughter has been wanting. I’ll be using a pattern called Fancy Fox Quilt by Elizabeth Hartman! I was inspired by this version pinterest.
Here’s the logo! I’ll share more when we get back!

by Andrea | Feb 8, 2016 | Baby, handmade, Sewing
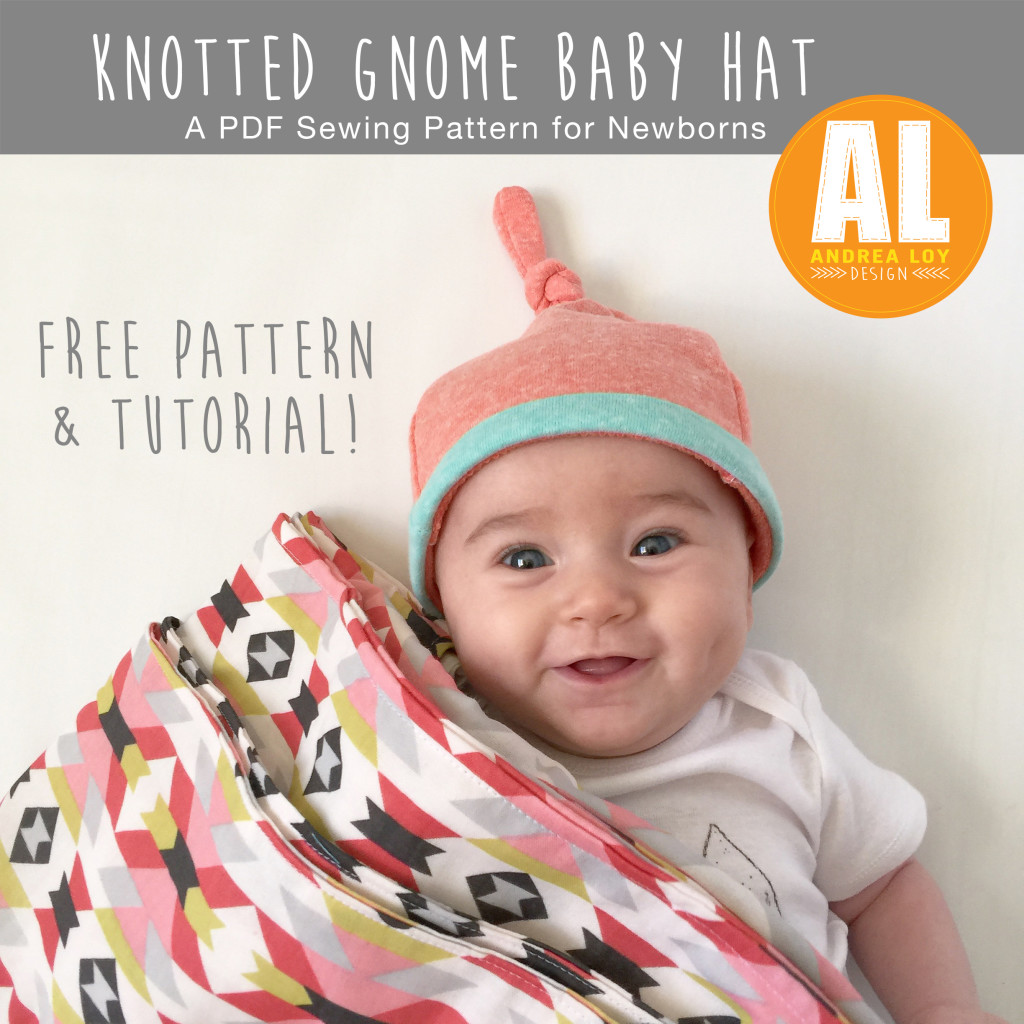
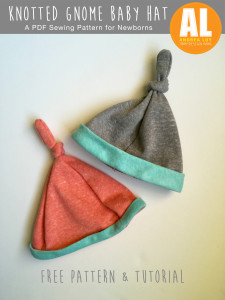
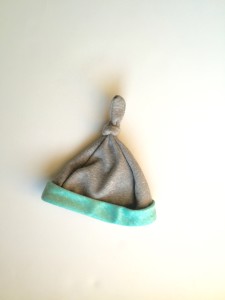
Free baby hat sewing pattern! My little Ruby likes to have her head covered at all times. I’m really not happy with the newborn hat selection in stores. The hats that come with most layettes are two pieces of cotton with no stretch recovery and barely stay on. They are all a little too big and ill fitting. I’ve made this cute little knotted hat pattern for her and it fits just right! I call it the Knotted Gnome Baby Hat.
I’m sharing the love today with you. Download the Knotted Gnome baby hat sewing pattern for free and sew right along with me! It’s very easy and makes a great baby gift! I have a skinny or wide band option on it. I’ll be grading it for all sizes to sell in my Etsy shop, Handful Of Arrows soon. I’ve used a nice french terry from JoAnns with a good stretch. You can use any knit stretch fabric.
Here’s a quick tutorial. This hat takes about 30 minutes to make. Or 5 minutes to buy in my Etsy Shop. Ha! You can do it, don’t be afraid of stretchy fabric.
TUTORIAL
{DOWNLOAD HERE}
1.)Cut out your pattern pieces and tape together A & B
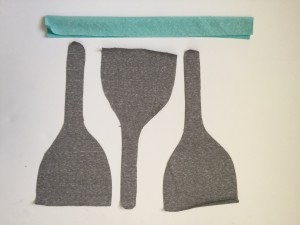
2.) Cut 3 pieces out of knit fabric
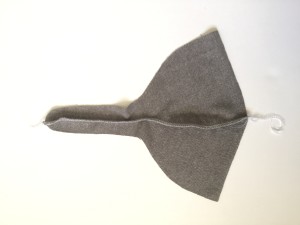
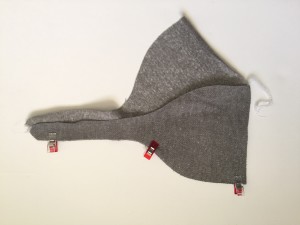

3.) Serge right sides together or sew with zigzag stitch
4.) Cut out band: Skinny 2” x 15” strip Wide 2.5” x 15” Strip
5.) Fold band in half and press
6.) Serge/zig zag right sides of band together on shorter width end. Fold band back in half.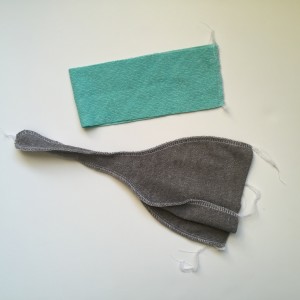
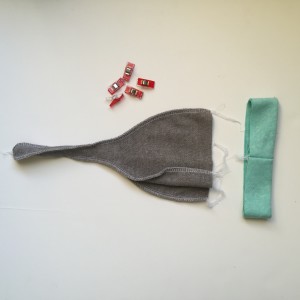
7.) Pin folded band with raw edges right side against wrong side of hat evenly at four points.
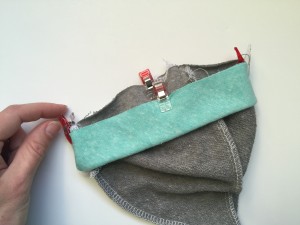
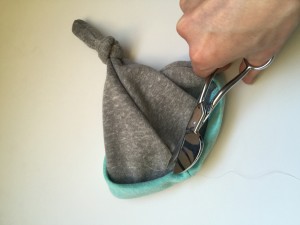
9.) Serge or zigzag, stretching to fit. Turn hat right side out. Poking with a pencil to get the skinny end. Turn band to right side of hat and press.
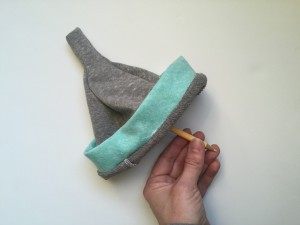
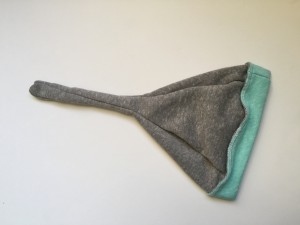
10. Tack band to hat inside the band with a knot stitch by hand. Tie a knot!
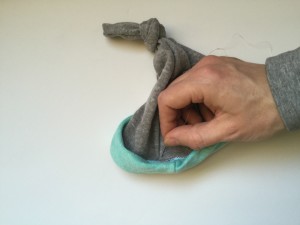
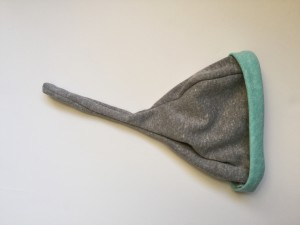
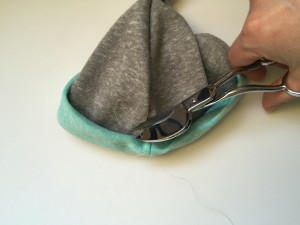
There you have it. A cut little knotted gnome hat 🙂 Enjoy! -Andrea
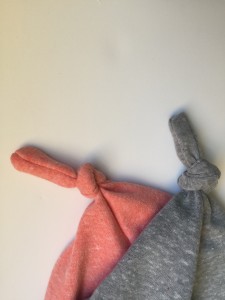
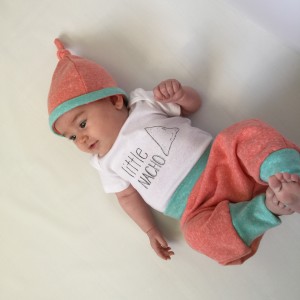
Photos by Me, Andrea Loy
Cuteness by Ruby Jane
Please do not share pictures of my children without permission. Please share design credit when using the pattern for business. Thank you! – Andrea
by Andrea | Oct 10, 2015 | Baby, DIY, Sewing, tutorials
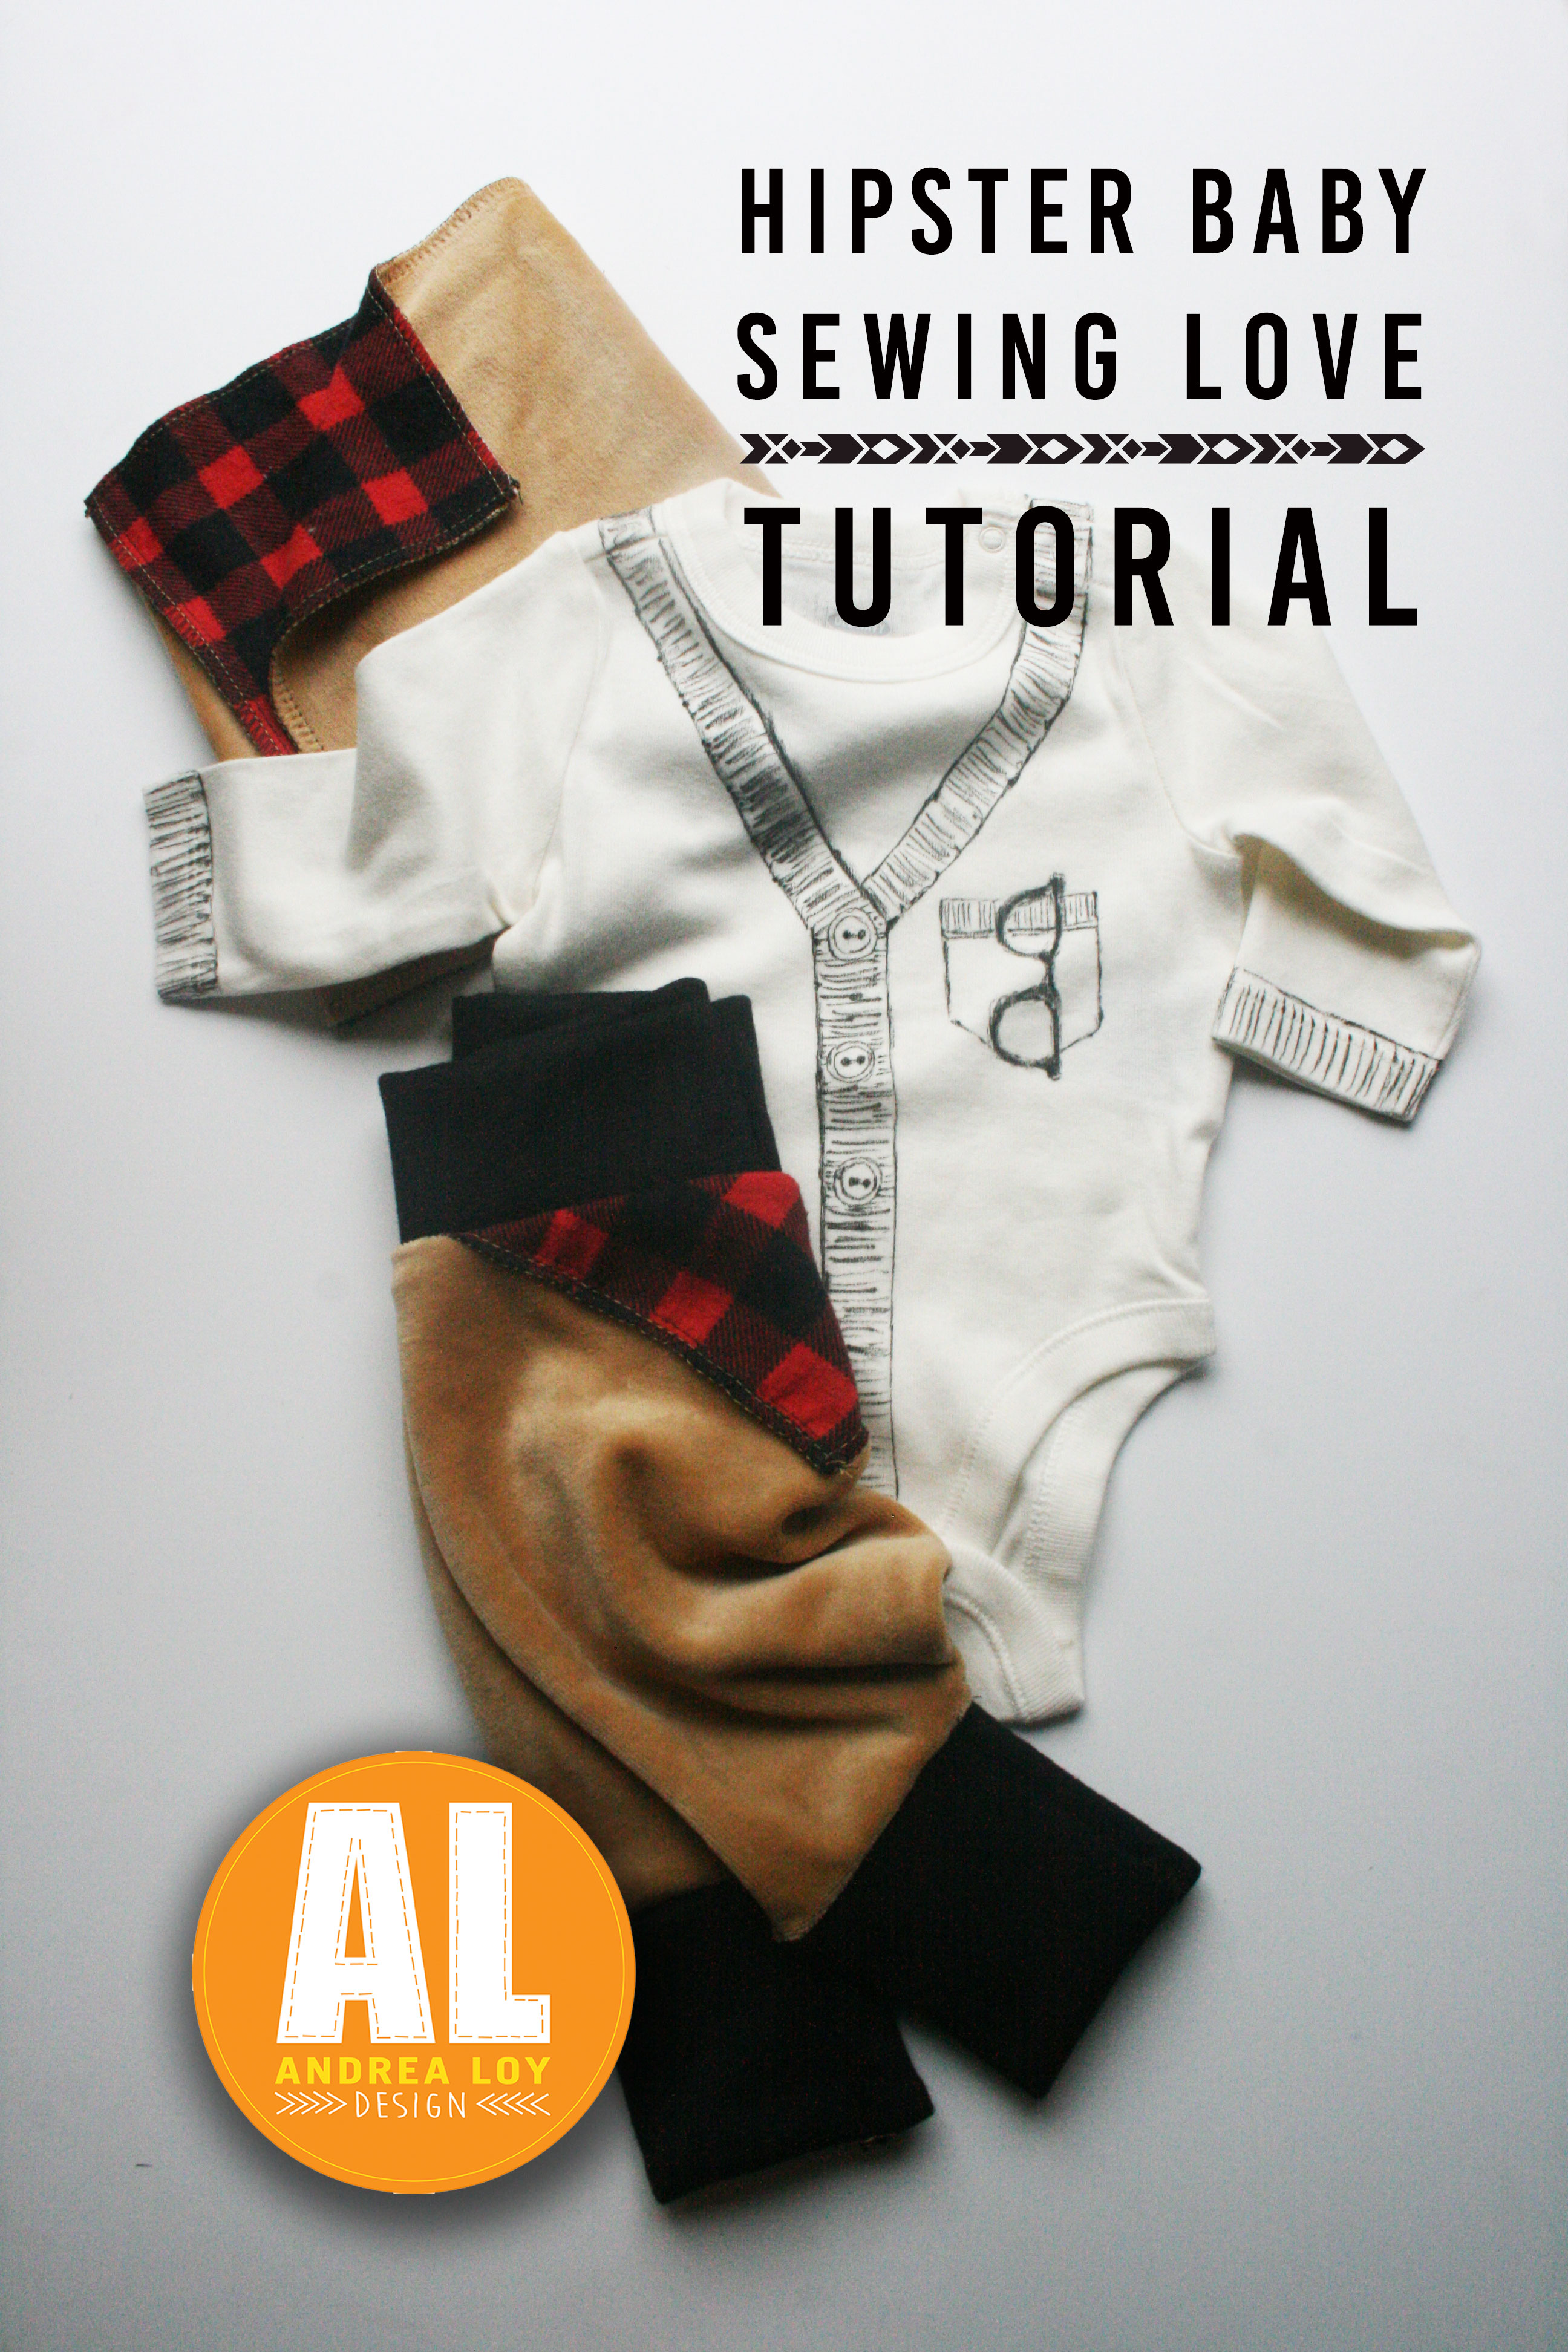
Hipster Baby Sewing Love Tutorial Back Story:
I’m always inspired to create something new when I have too much to do. Creativity never occurs out of boredom. At least not for me. It’s usually a product of boundaries. Or limitations. Mine were time, money, and boy fabric.
So anyway, my bestie and I are due with babies a week apart! I know right?! So we had a mutual friend throw us a double shower! She managed to sew me up some Hipster Baby Love for the Baby Shower, I had good intentions too and that was it. New job, four kids, husband in school full time….I just didn’t get there.
{ For the first three months of her and my pregnancy I did NOT know I was PREGNANT. She was so sick and miserable and I was all like ” Oh gosh, I’m sorry your so sick, lets go to Trader Joes and get snacks!” Then she went with me to my first ultrasound and the lady was like “your 17 weeks”, and we looked at each other and laughed! }
I finally stole a few hours one Saturday to sew her up some little things for the baby boy….I don’t get to sew baby boy stuff very often cause we don’t make those around here, and as I was digging through some scraps of fabric I came across some sweet red and black buffalo check from Christmas Jammies last year and the spark was ignited! Then I found some light brown velour and a hipster baby lumberjack theme popped into my head and I couldn’t do anything but sew. But then I realized how much she loves serged edges on things and I had to go to Joannes and buy brown and black serger thread. AND CHANGE MY SERGER THREAD. THAT IS TRUE LOVE AND FRIENDSHIP.
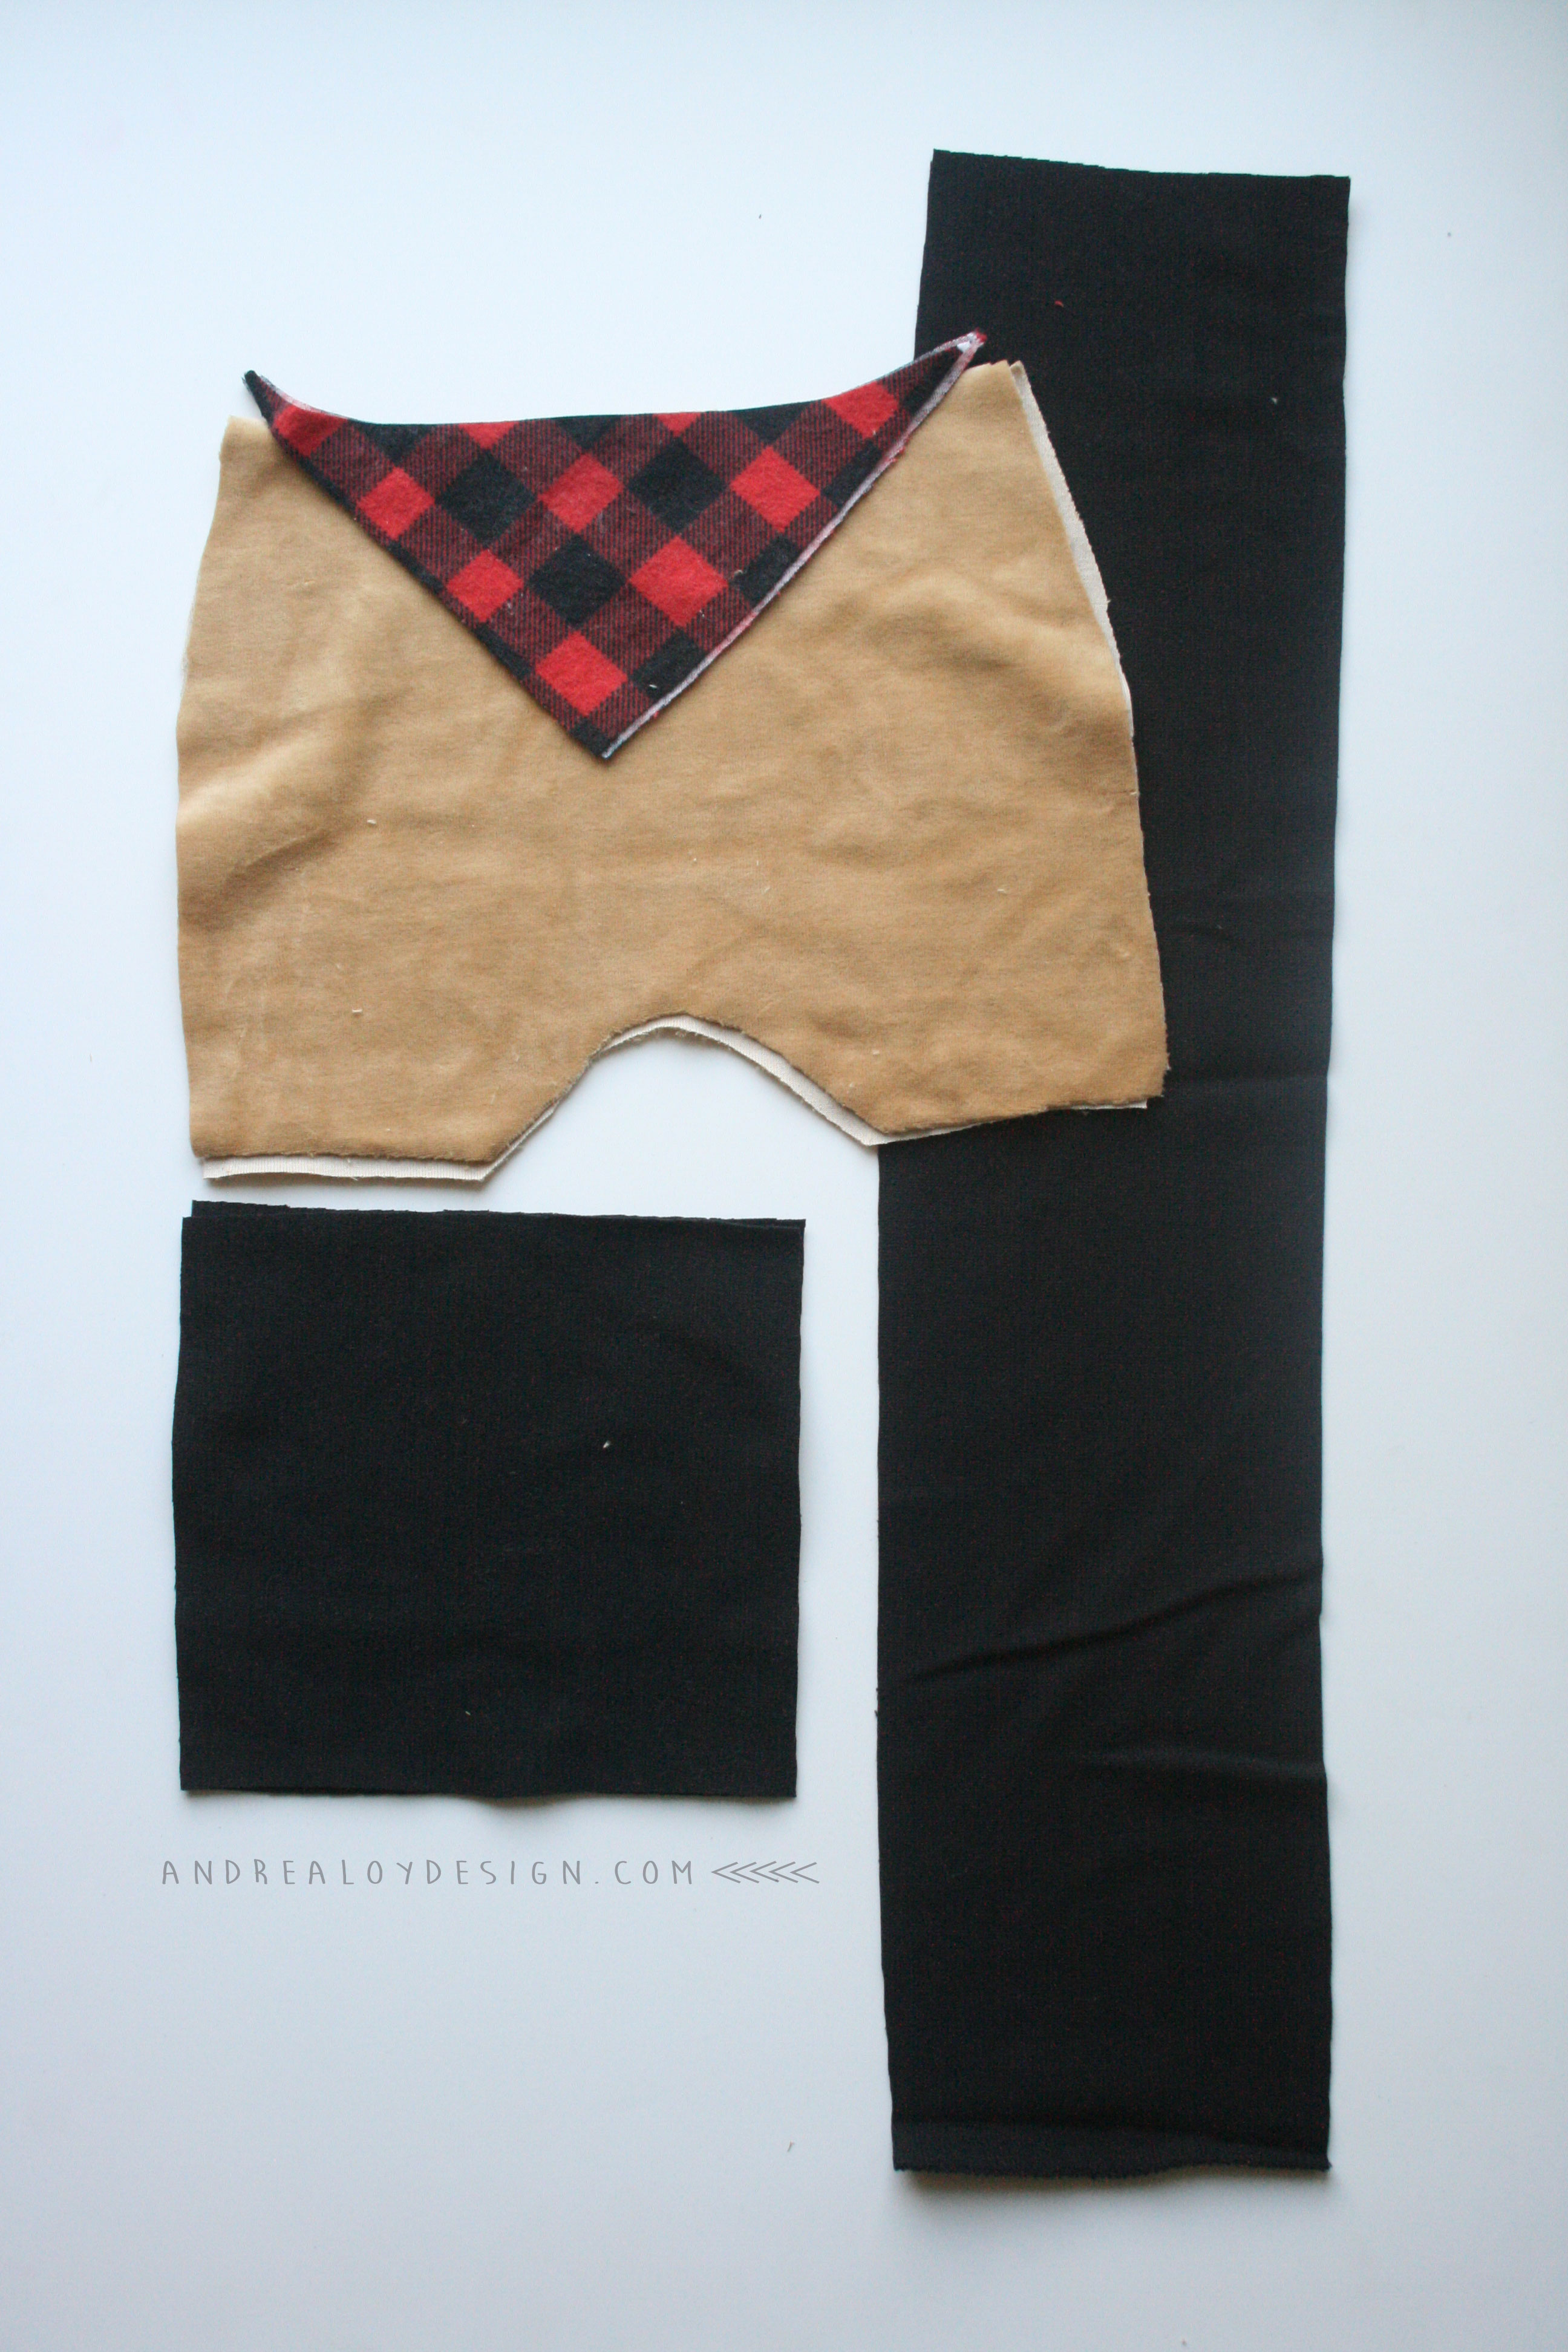
First I cut up some velour into harem pants by tracing the pants she had made for me! She later shared the pattern she used with me. It’s by Brindille and Twig! I love her patterns!
TUTORIAL:
Trace the pants from baby pants you already have or buy the pattern from Brindille and Twig Here.
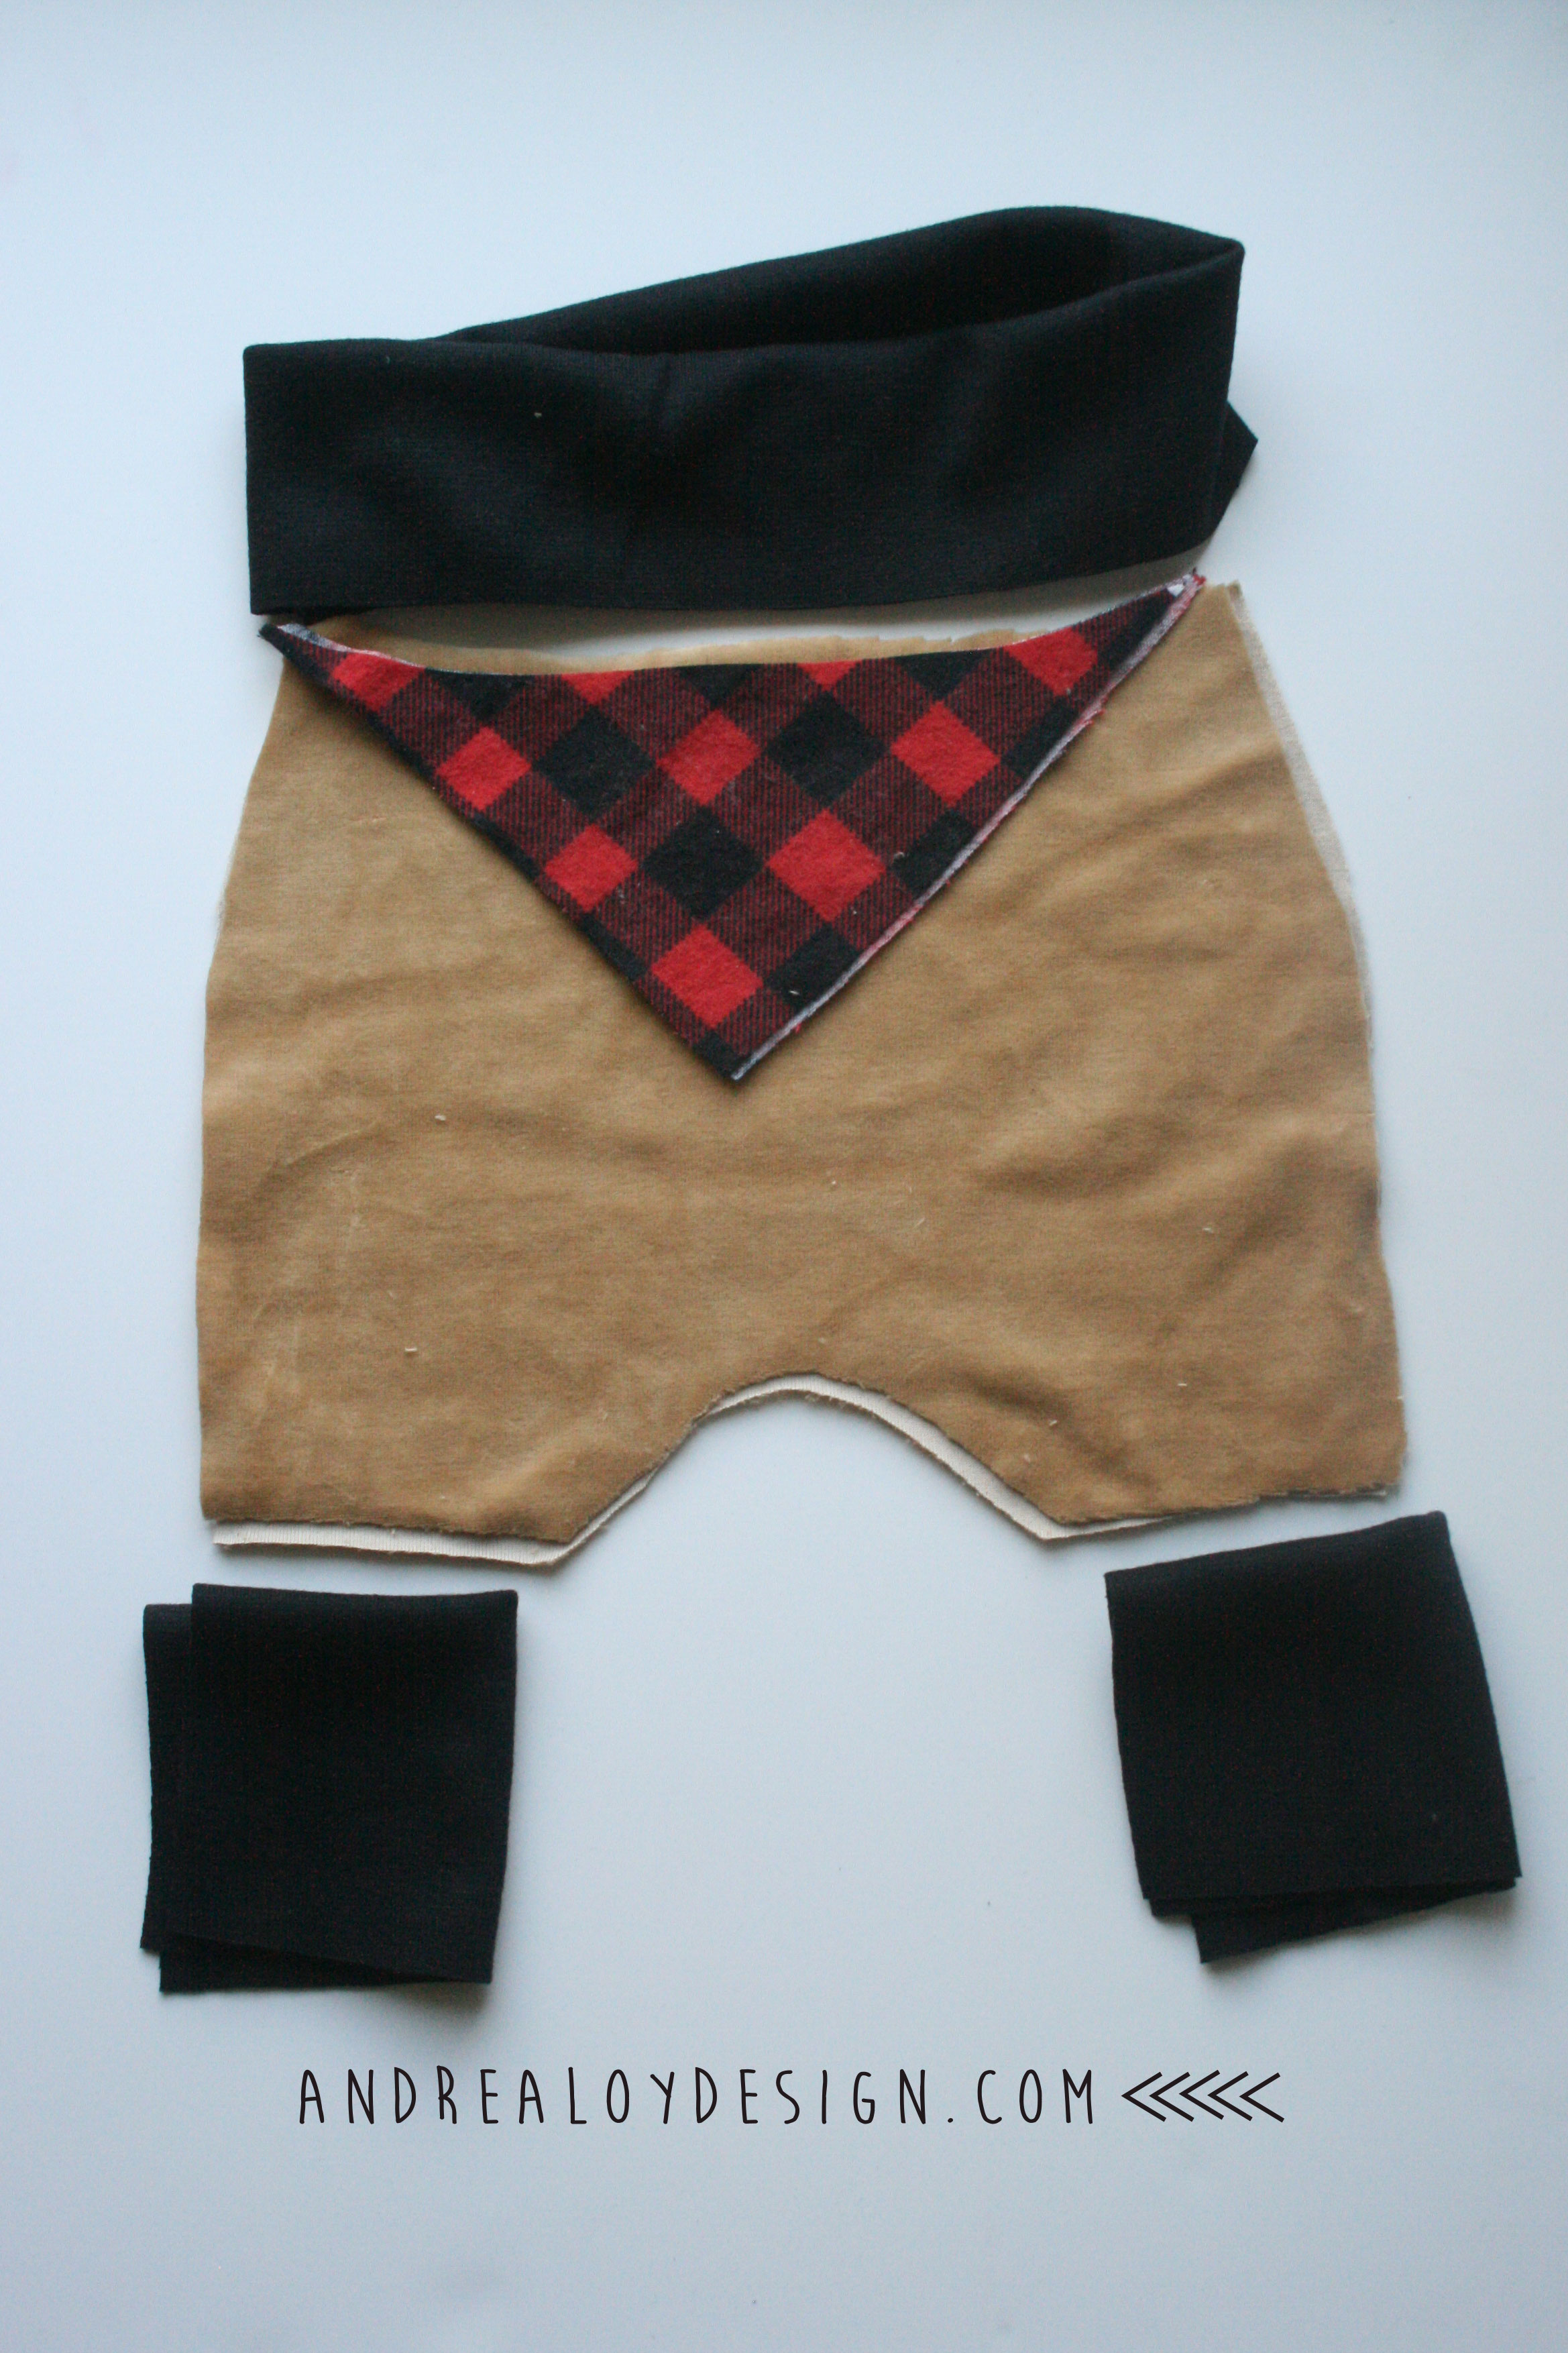
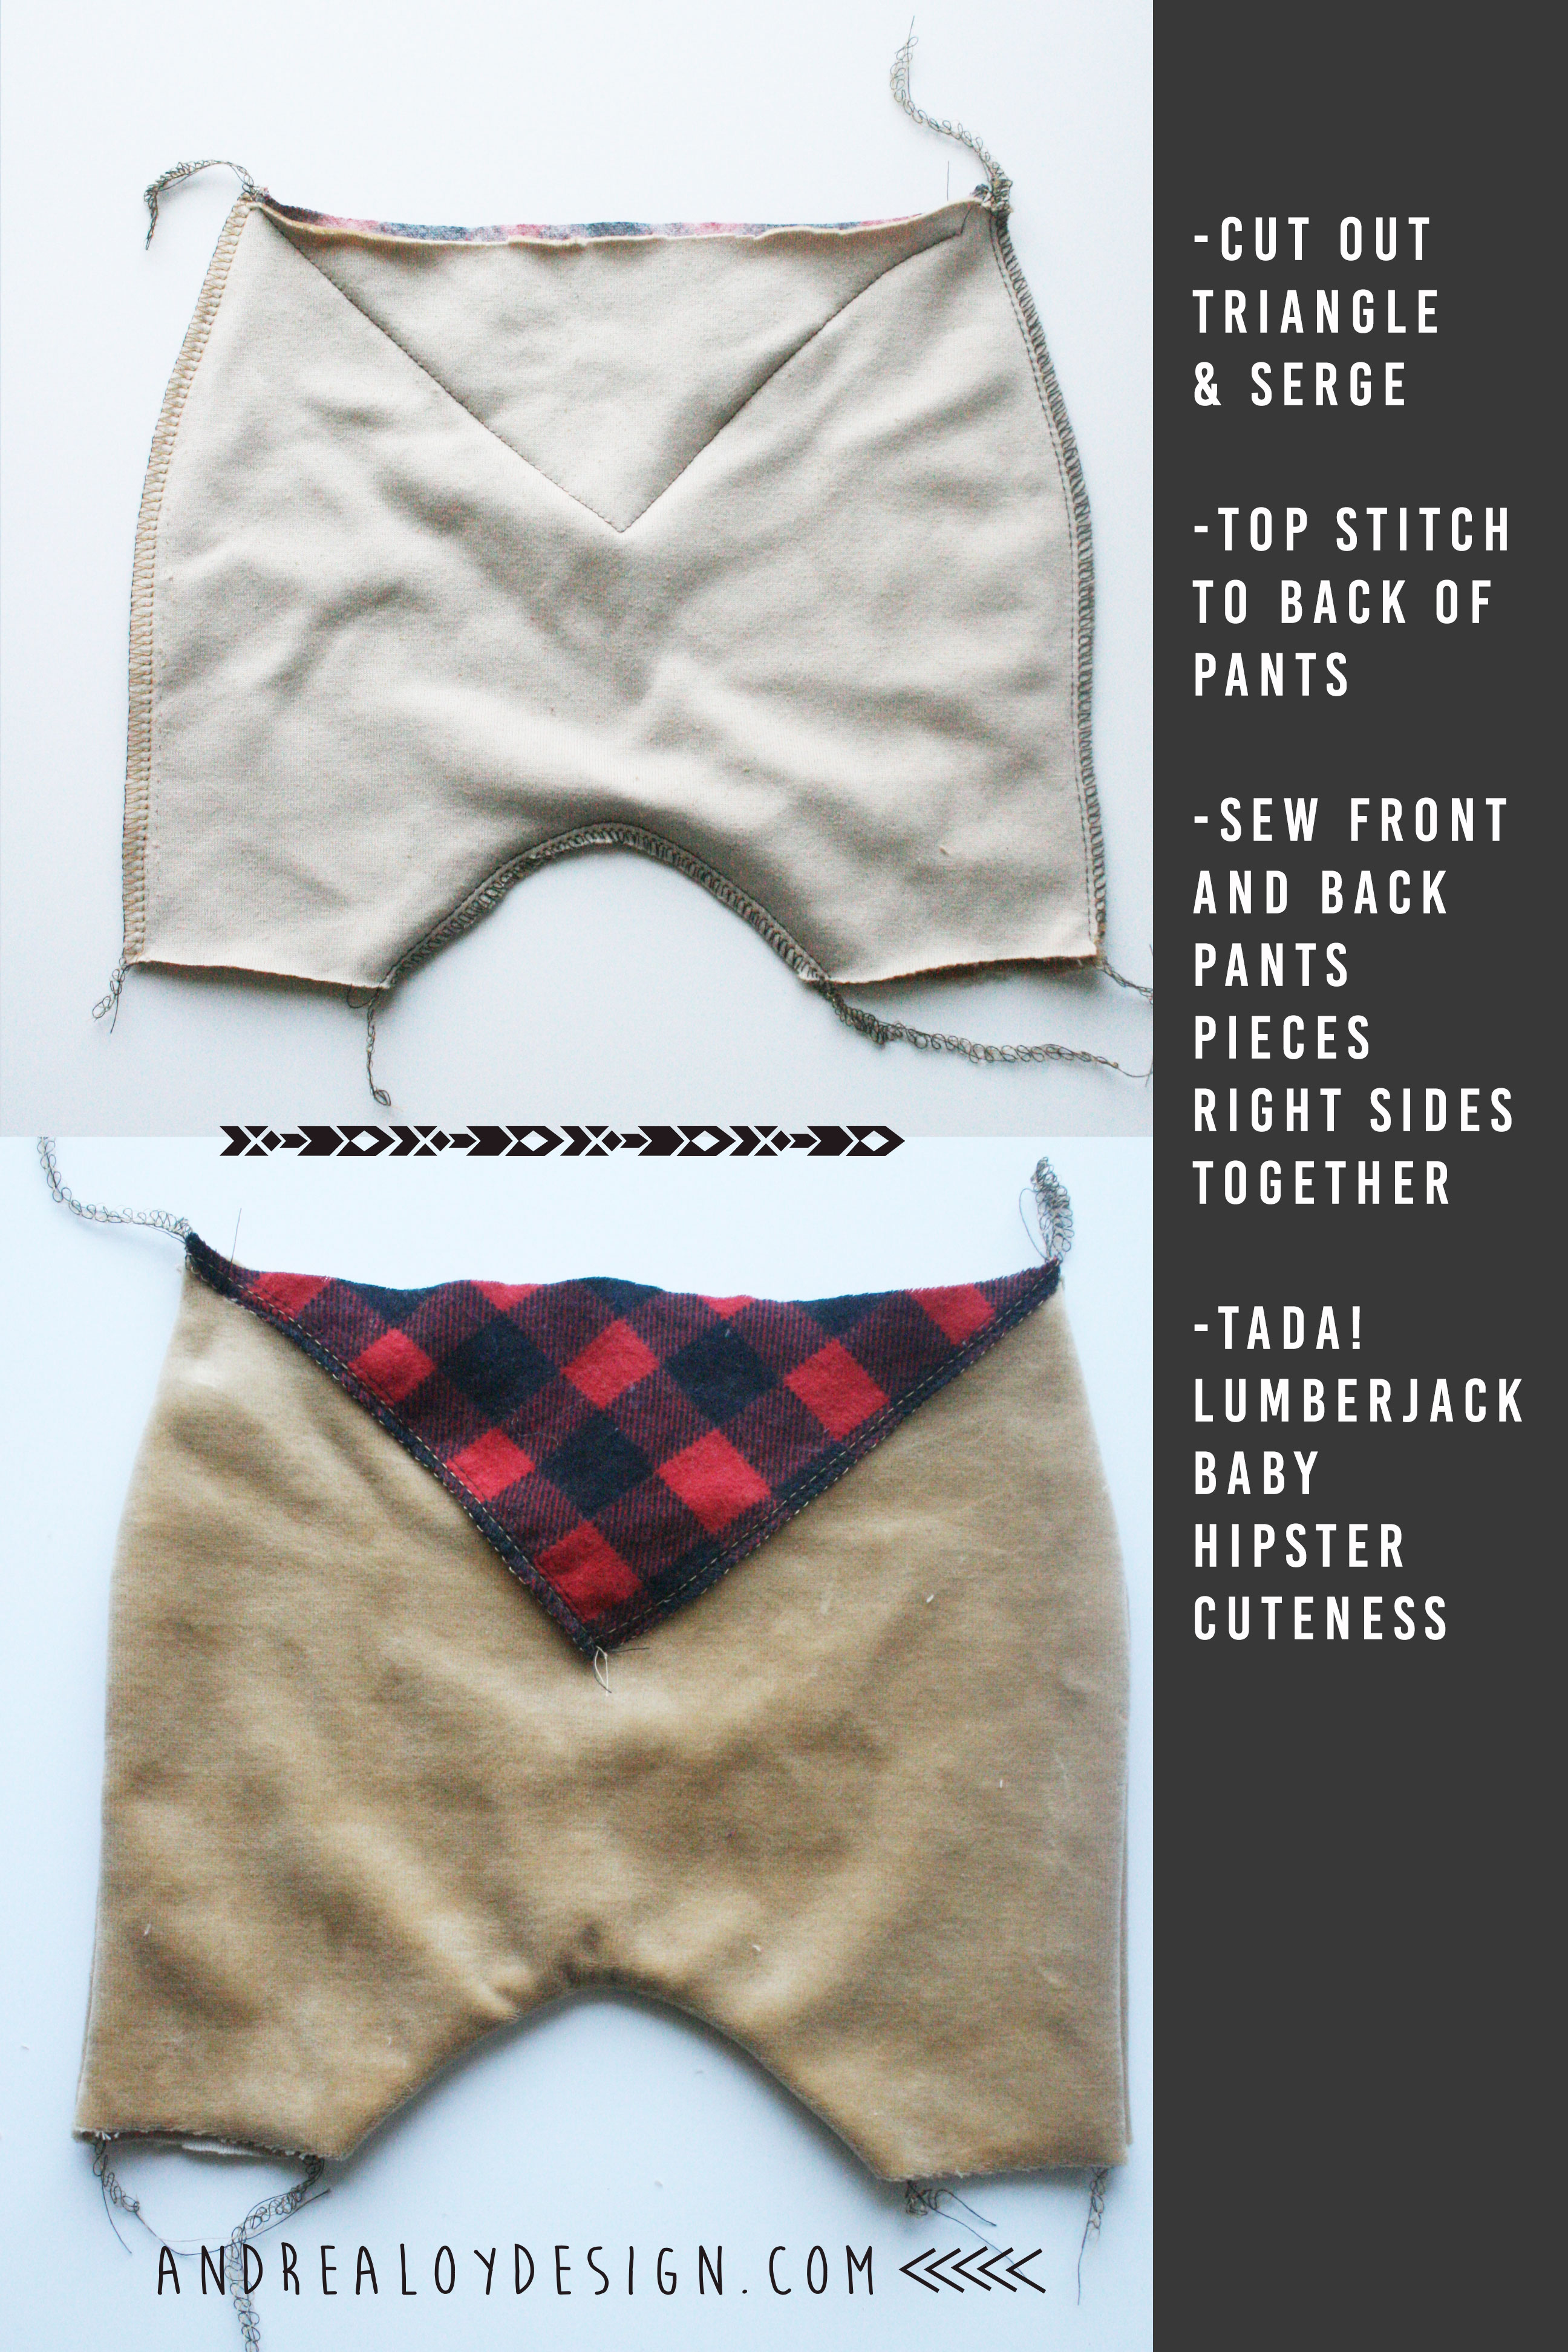
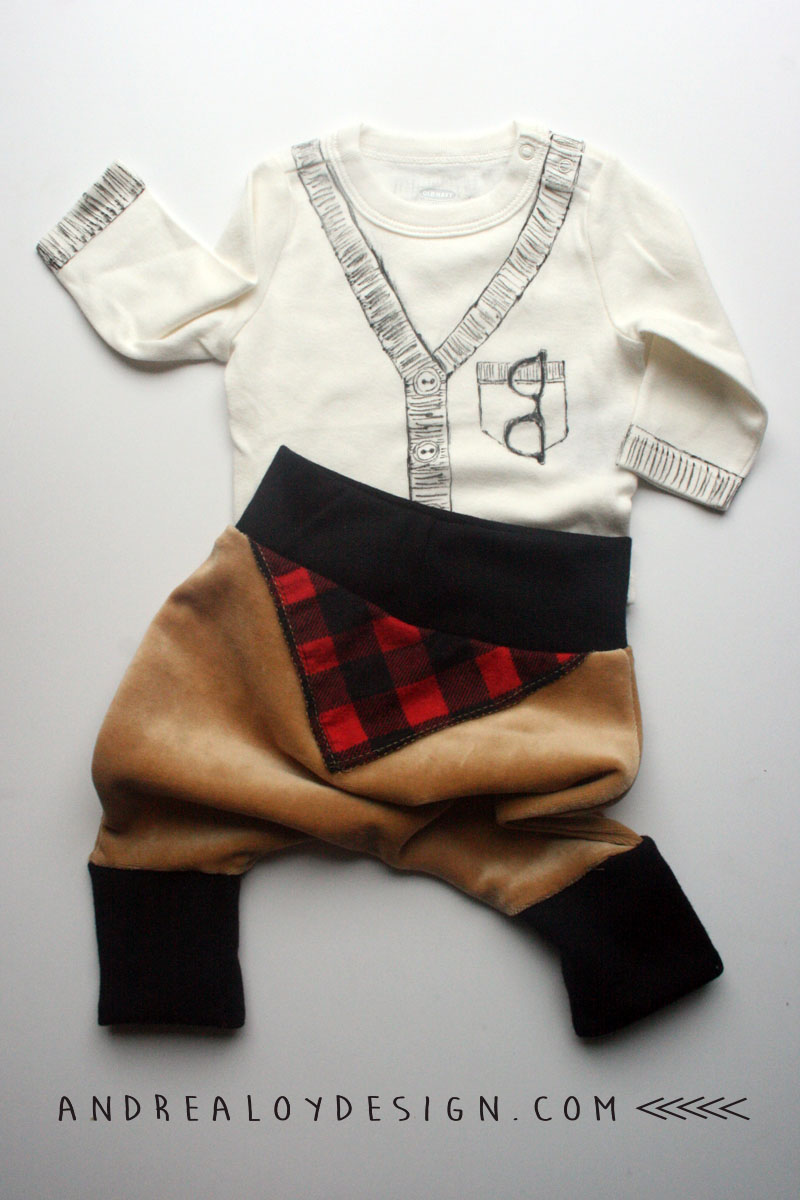
Cut out a little lumberjack triangle for the back of your pants and serge around it. Top stitch it to the back of the pants. Then serge front and pack pants together.
Next make cuffs and waistband….
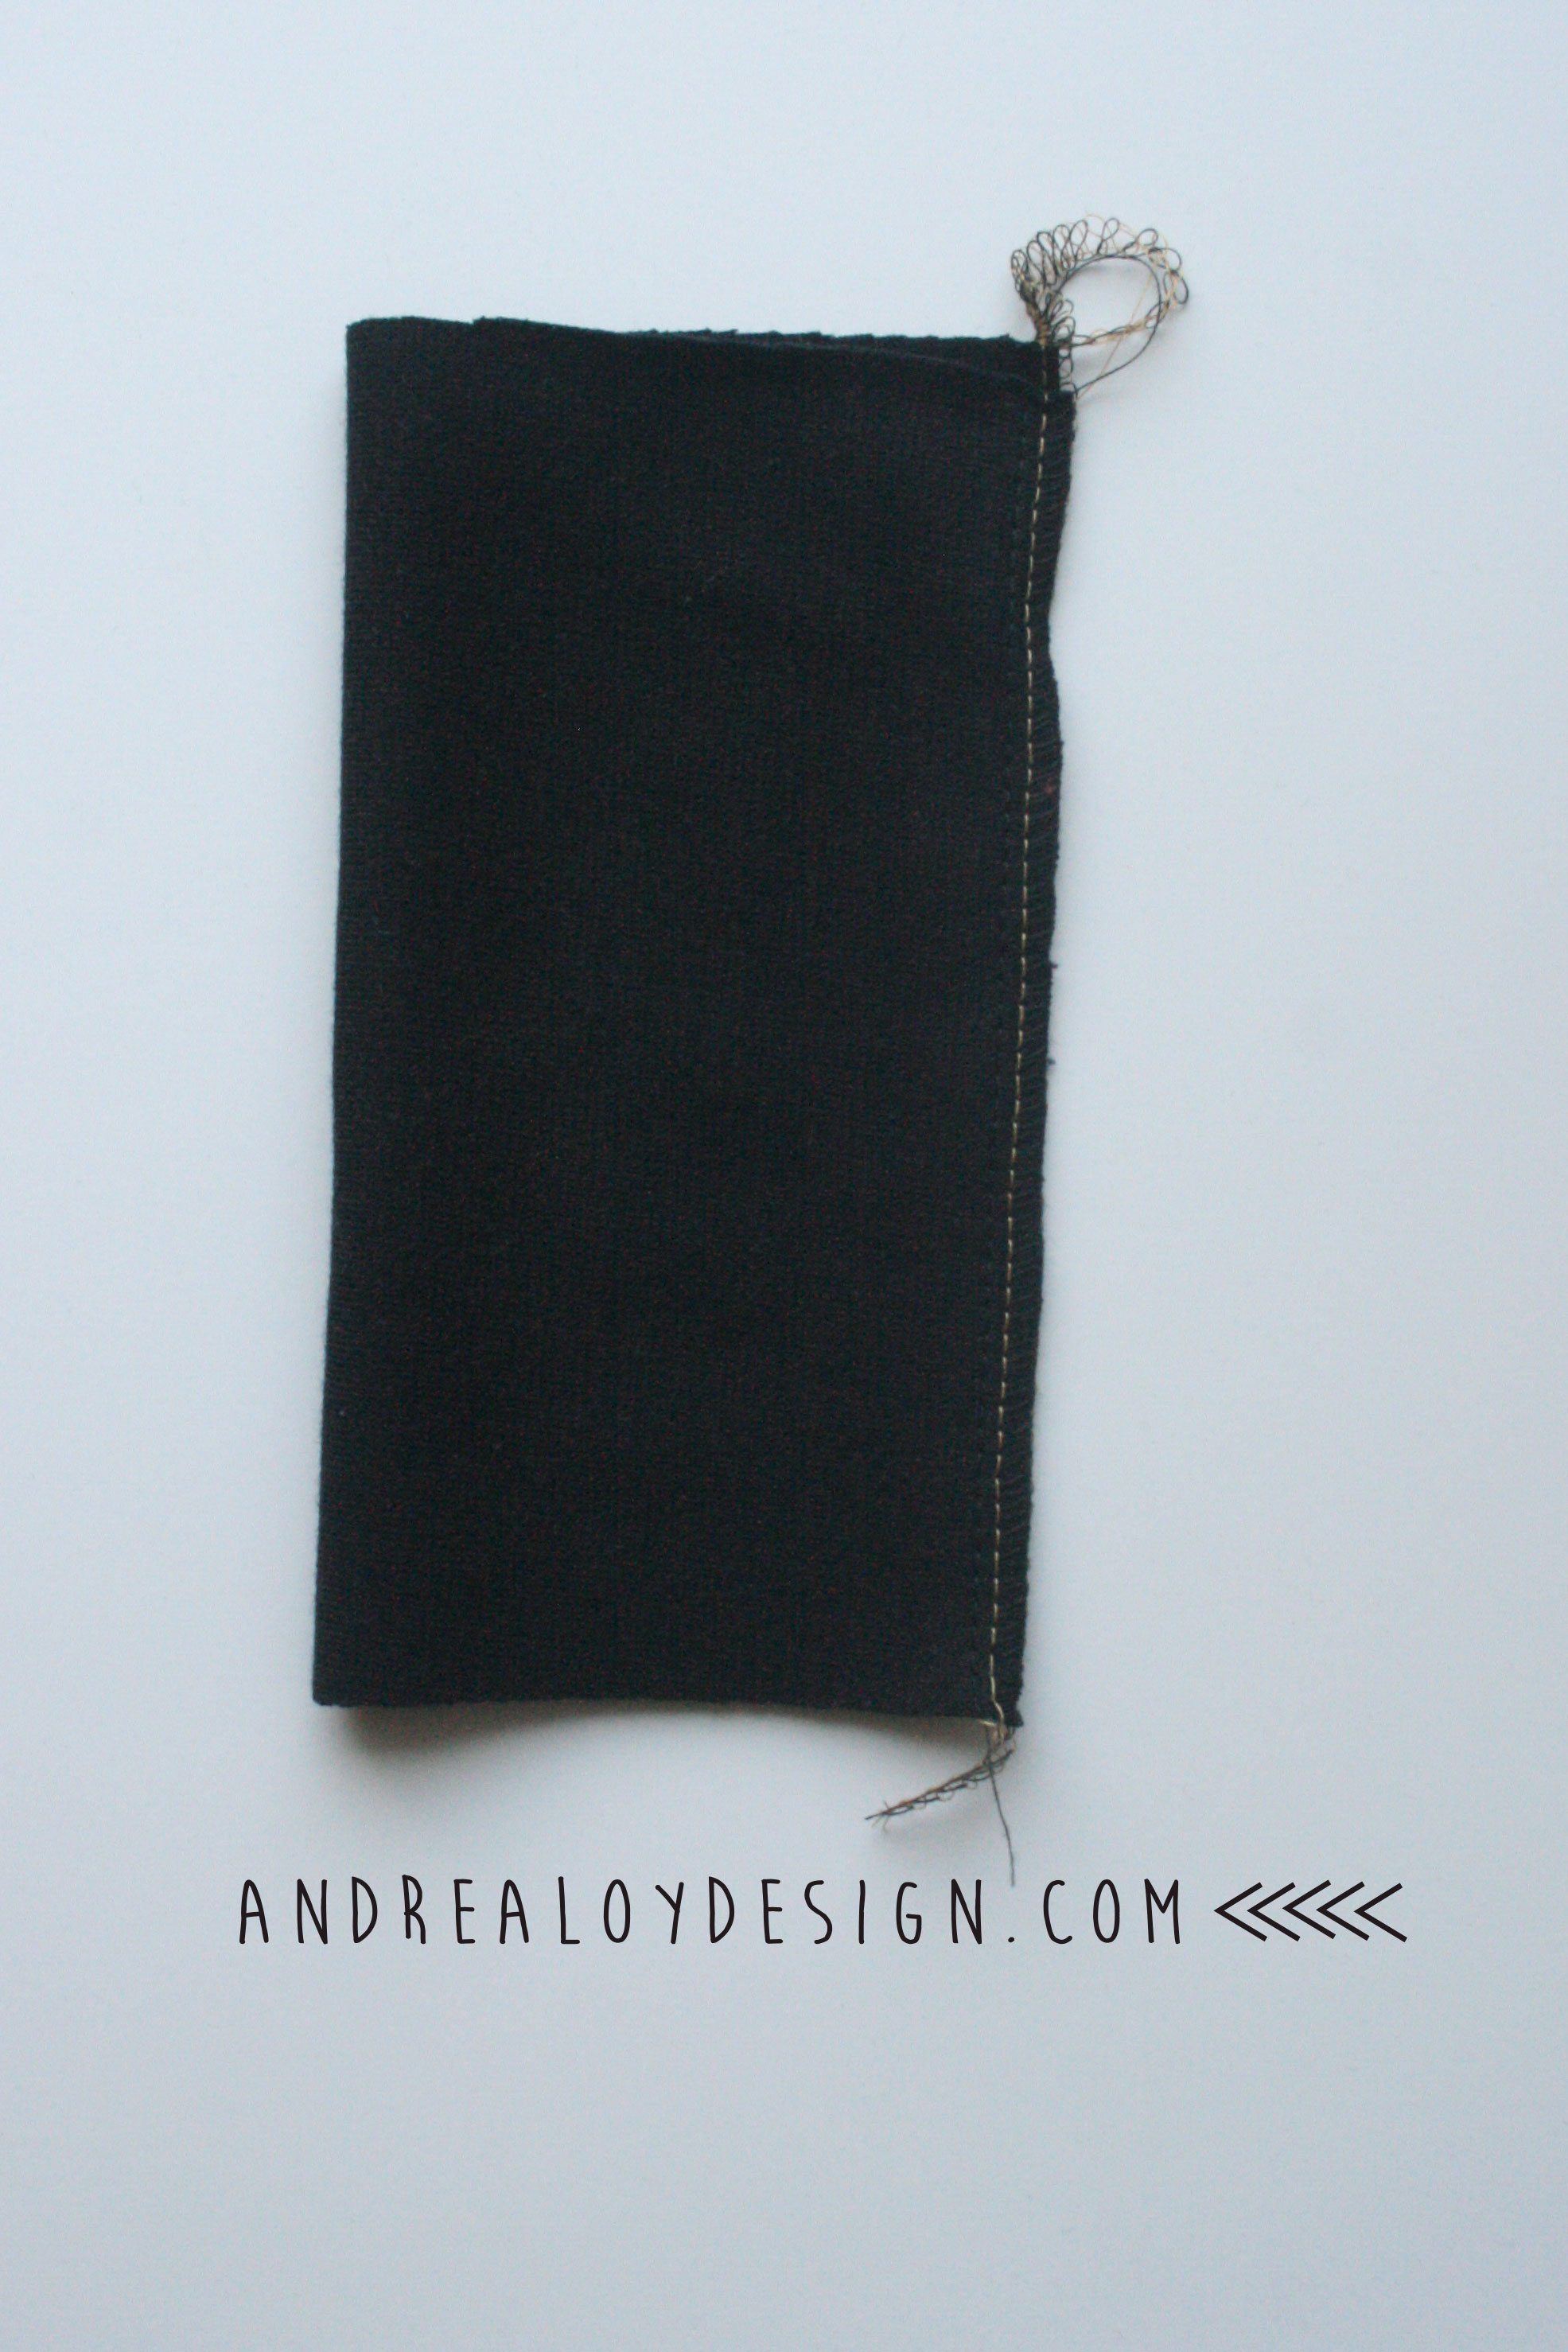
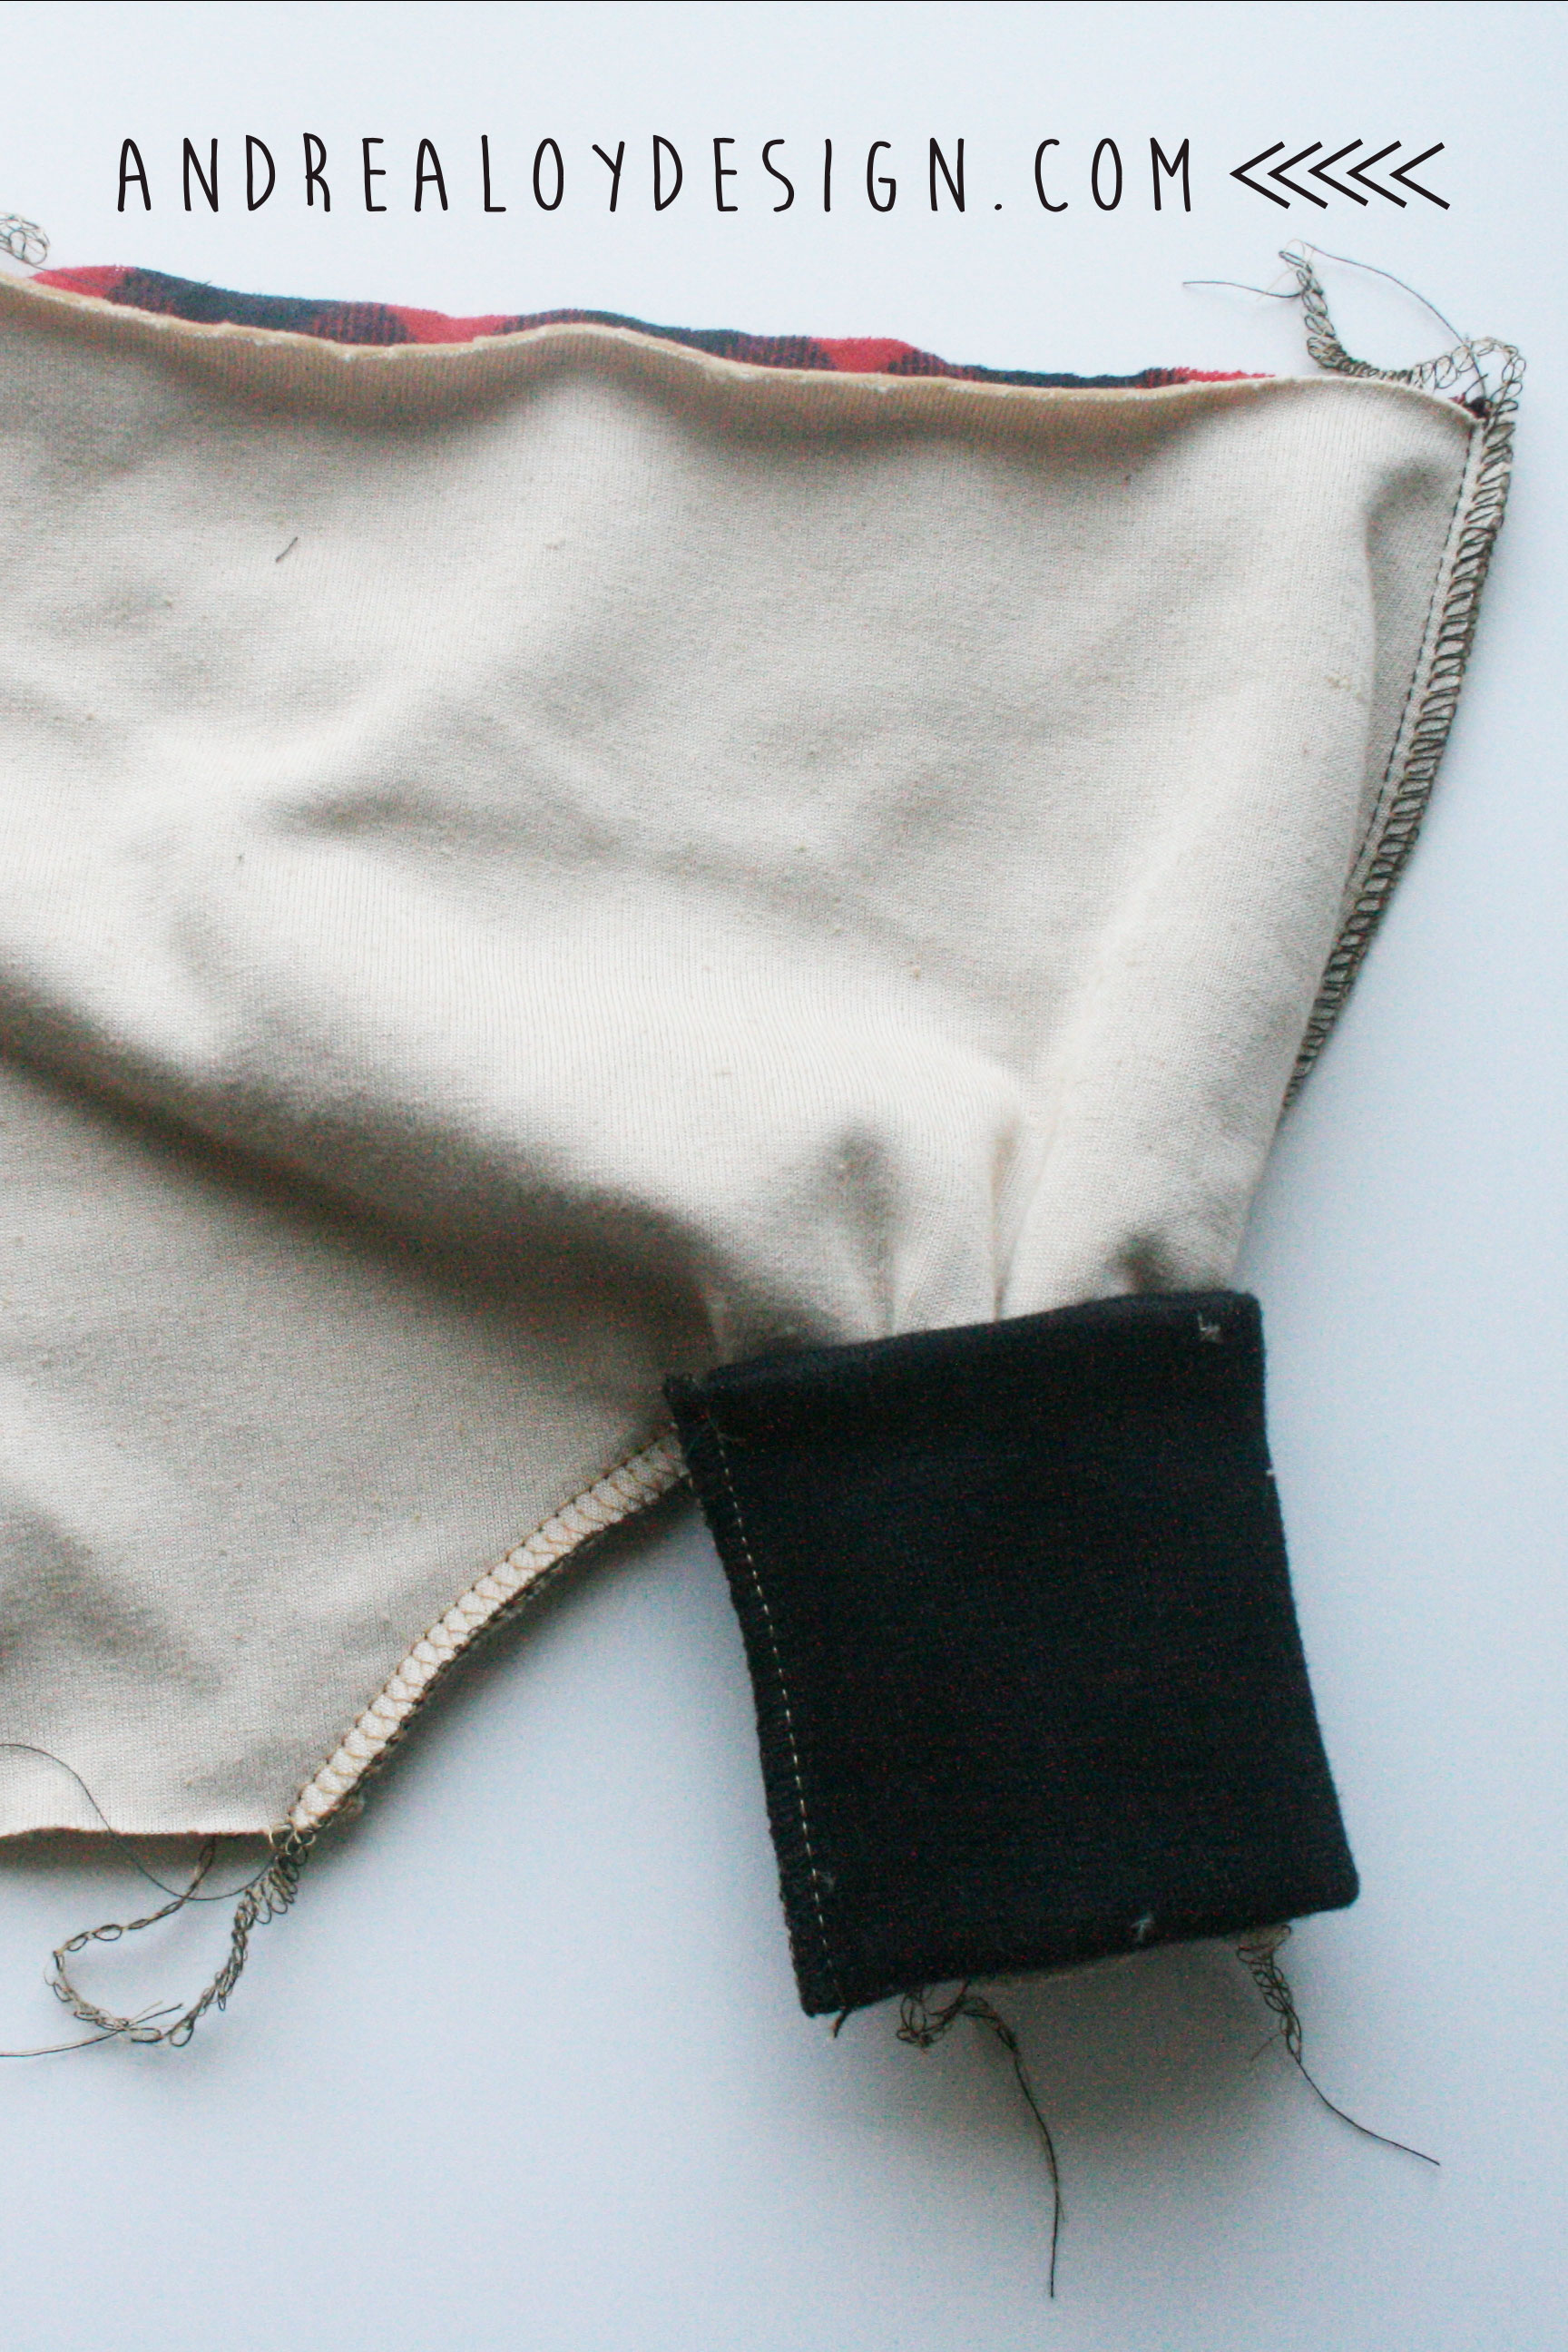
I estimated the cuffs, I cut two 6″ x 6″ pieces of black jersey ribbing. (I miraculously had this in my stash as well….Thanks MOM) I did this wrong. The waist I measured at 5″ x 14″. When sewn length wise first, you then get 3″ wide cuffs and 2.5″ waistband. The steps would be: 1. sew lengthwise….2. turn inside out… 3. sew open ends all together. But then you have a bulky seam. {#facepalm} I have sewn waist bands for maxi dresses before. All I can do is blame this on pregnant brain.
I SHOULD HAVE: sewn/serged the short sides together, then folded in half with the seam to the inside. This would make a perfect cuff or waistband ready to attach to the pants. Again, let’s blame it on being pregnant.
Attach the cuffs and waistband by turning the pants inside out and clipping to the bands. Then serge or zigzag sew while stretching to fit.
HOW CUTE ARE THESE!
THE CHANGING PAD:
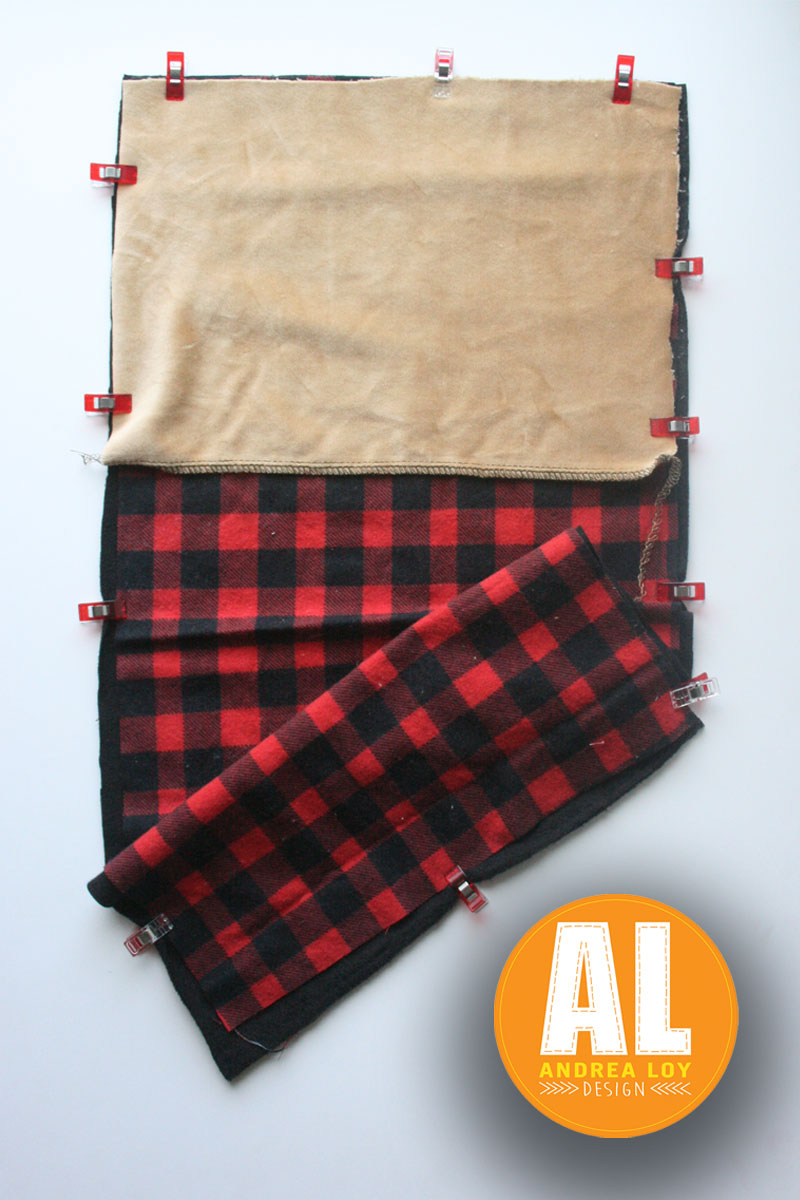
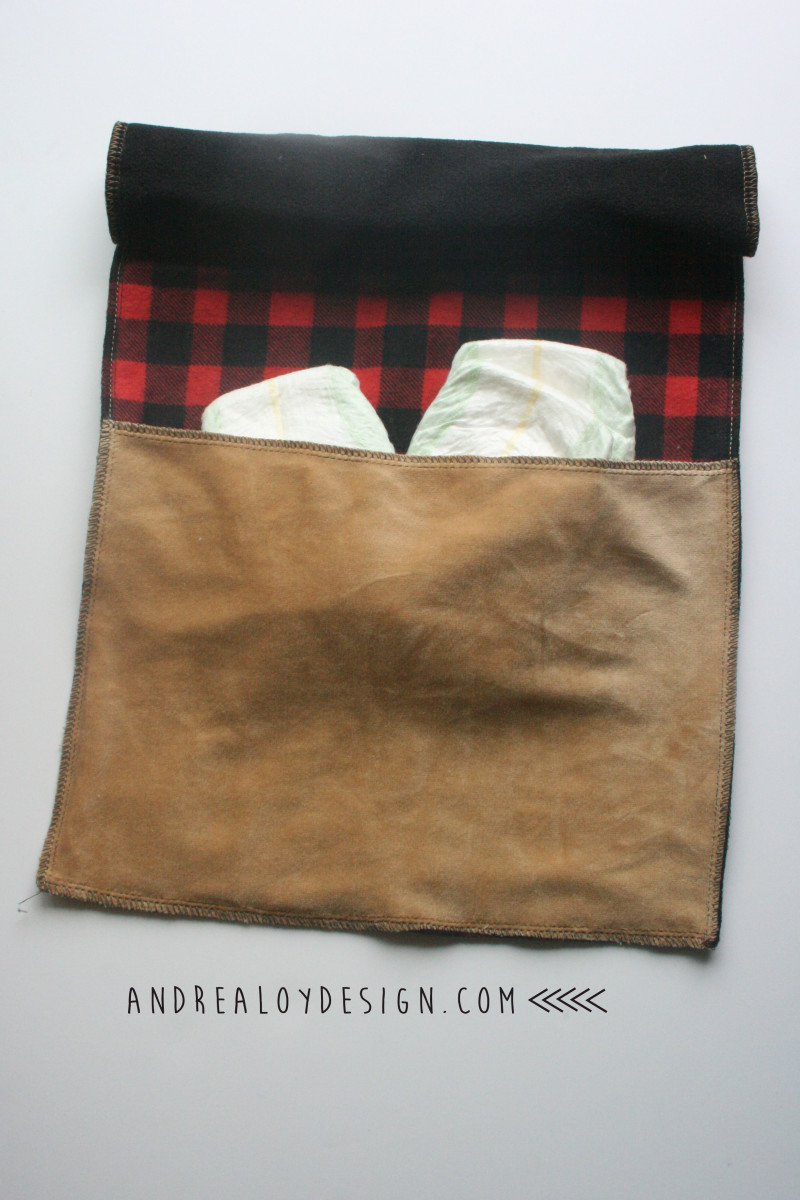
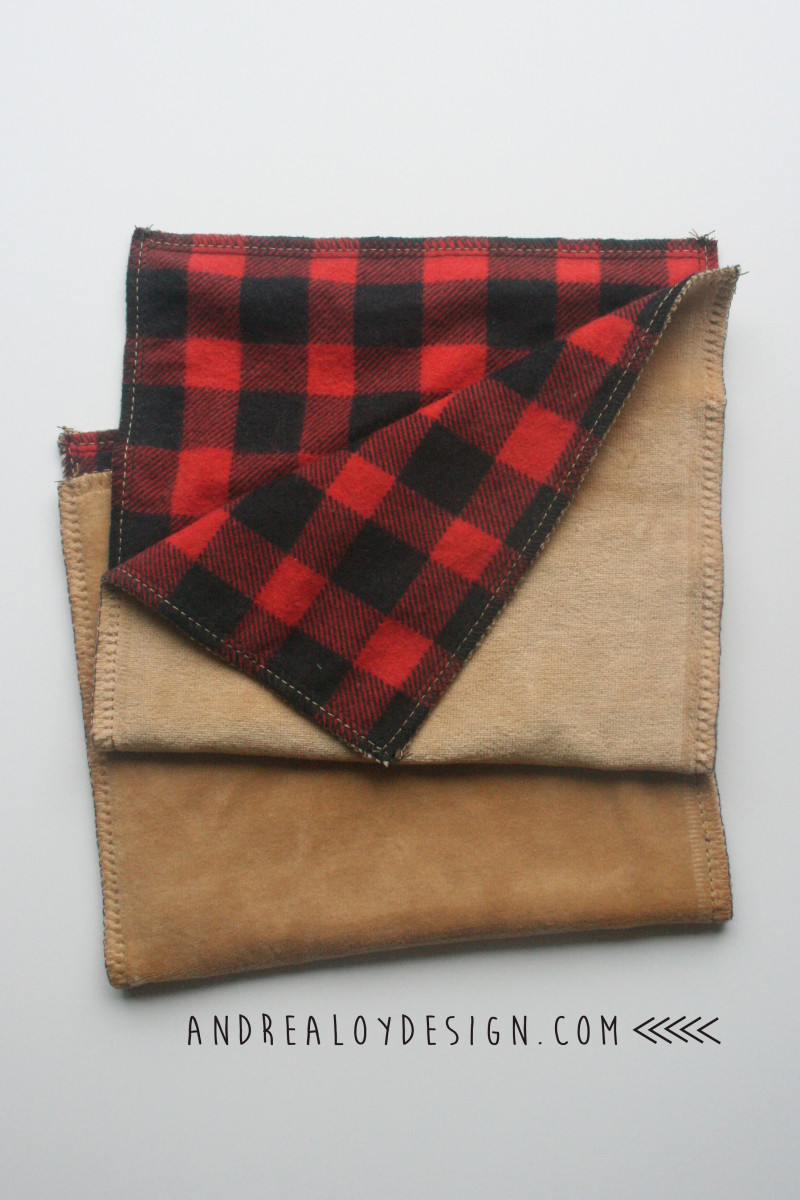
I started in on a changing pad with a pocket. Sort of a campy sleeping bag look! I used microfiber black polar fleece, brown velour, and flannel buffalo check. I made the pocket by serging around the brown stretch velour. Then I clipped all three layers together and serged. Have you seen these Clover Wonder Clips? They are the best! You can get them on Amazon for a great deal or use your coupon at JoAnnes! I made my pad really long but it is thin and you can roll it up and stick it in your diaper bag. You can add some wipes and diapers to the pocket and fold up also. The velour, fleece, flannel combo sort of stick to themselves which is nice.
I repeated this cut, clip, and serge method for my two layer burp cloths with brown velour and buffalo check flannel. I made them 7″ x 14″. Then I cut out two 36″ squares of fabric for the swaddle. I made the swaddle of black jersey stretch knit and brown stretch velour with a triangle in the corner for hipster style 🙂 I think swaddles are better when stretchy. Wonder Clipped. Serged. Bam. Your Welcome. I love them.
THE CARDI:
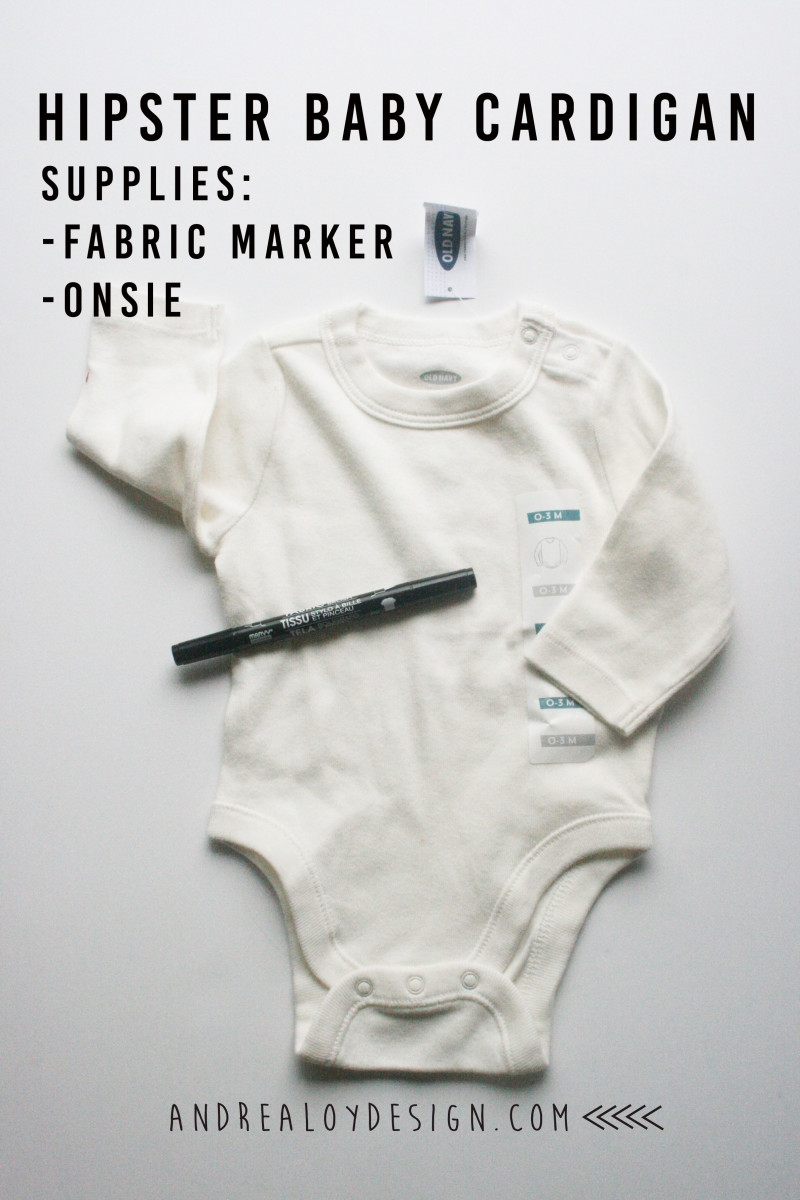
Last but not least we have the essential cardi. All you need is a good soft onsie. I felt it crucial that the onsie be off white. I don’t why. It just looked better. I found one at Old Navy’s half off baby sale while buying my oldest child all new clothes. Because she grows out of all her clothes every two months right now. It’s killing me. 11 yr olds don’t like shopping. For this third excruciating trip, I left her at home and picked everything out myself. She stayed home and watch Dr. Who. It was a win win.
Oh right, THE CARDI! Grab a black fabric marker and sketch plan first with pencil. I got this marker at Michaels and it doesn’t require heat setting. But I have not tested it to see how long it lasts through washes. I had a hard time deciding between pocket with glasses, suspenders, or bowtie….Obviously pocket, cardi, & glasses won. My husband thought it might be cute to draw a pipe or cigar in the pocket, which I agreed. But some people wouldn’t find it as funny as us, so I caved and stayed conservative. Here it is:
by Andrea | Jul 3, 2015 | DIY, quilting, Sewing
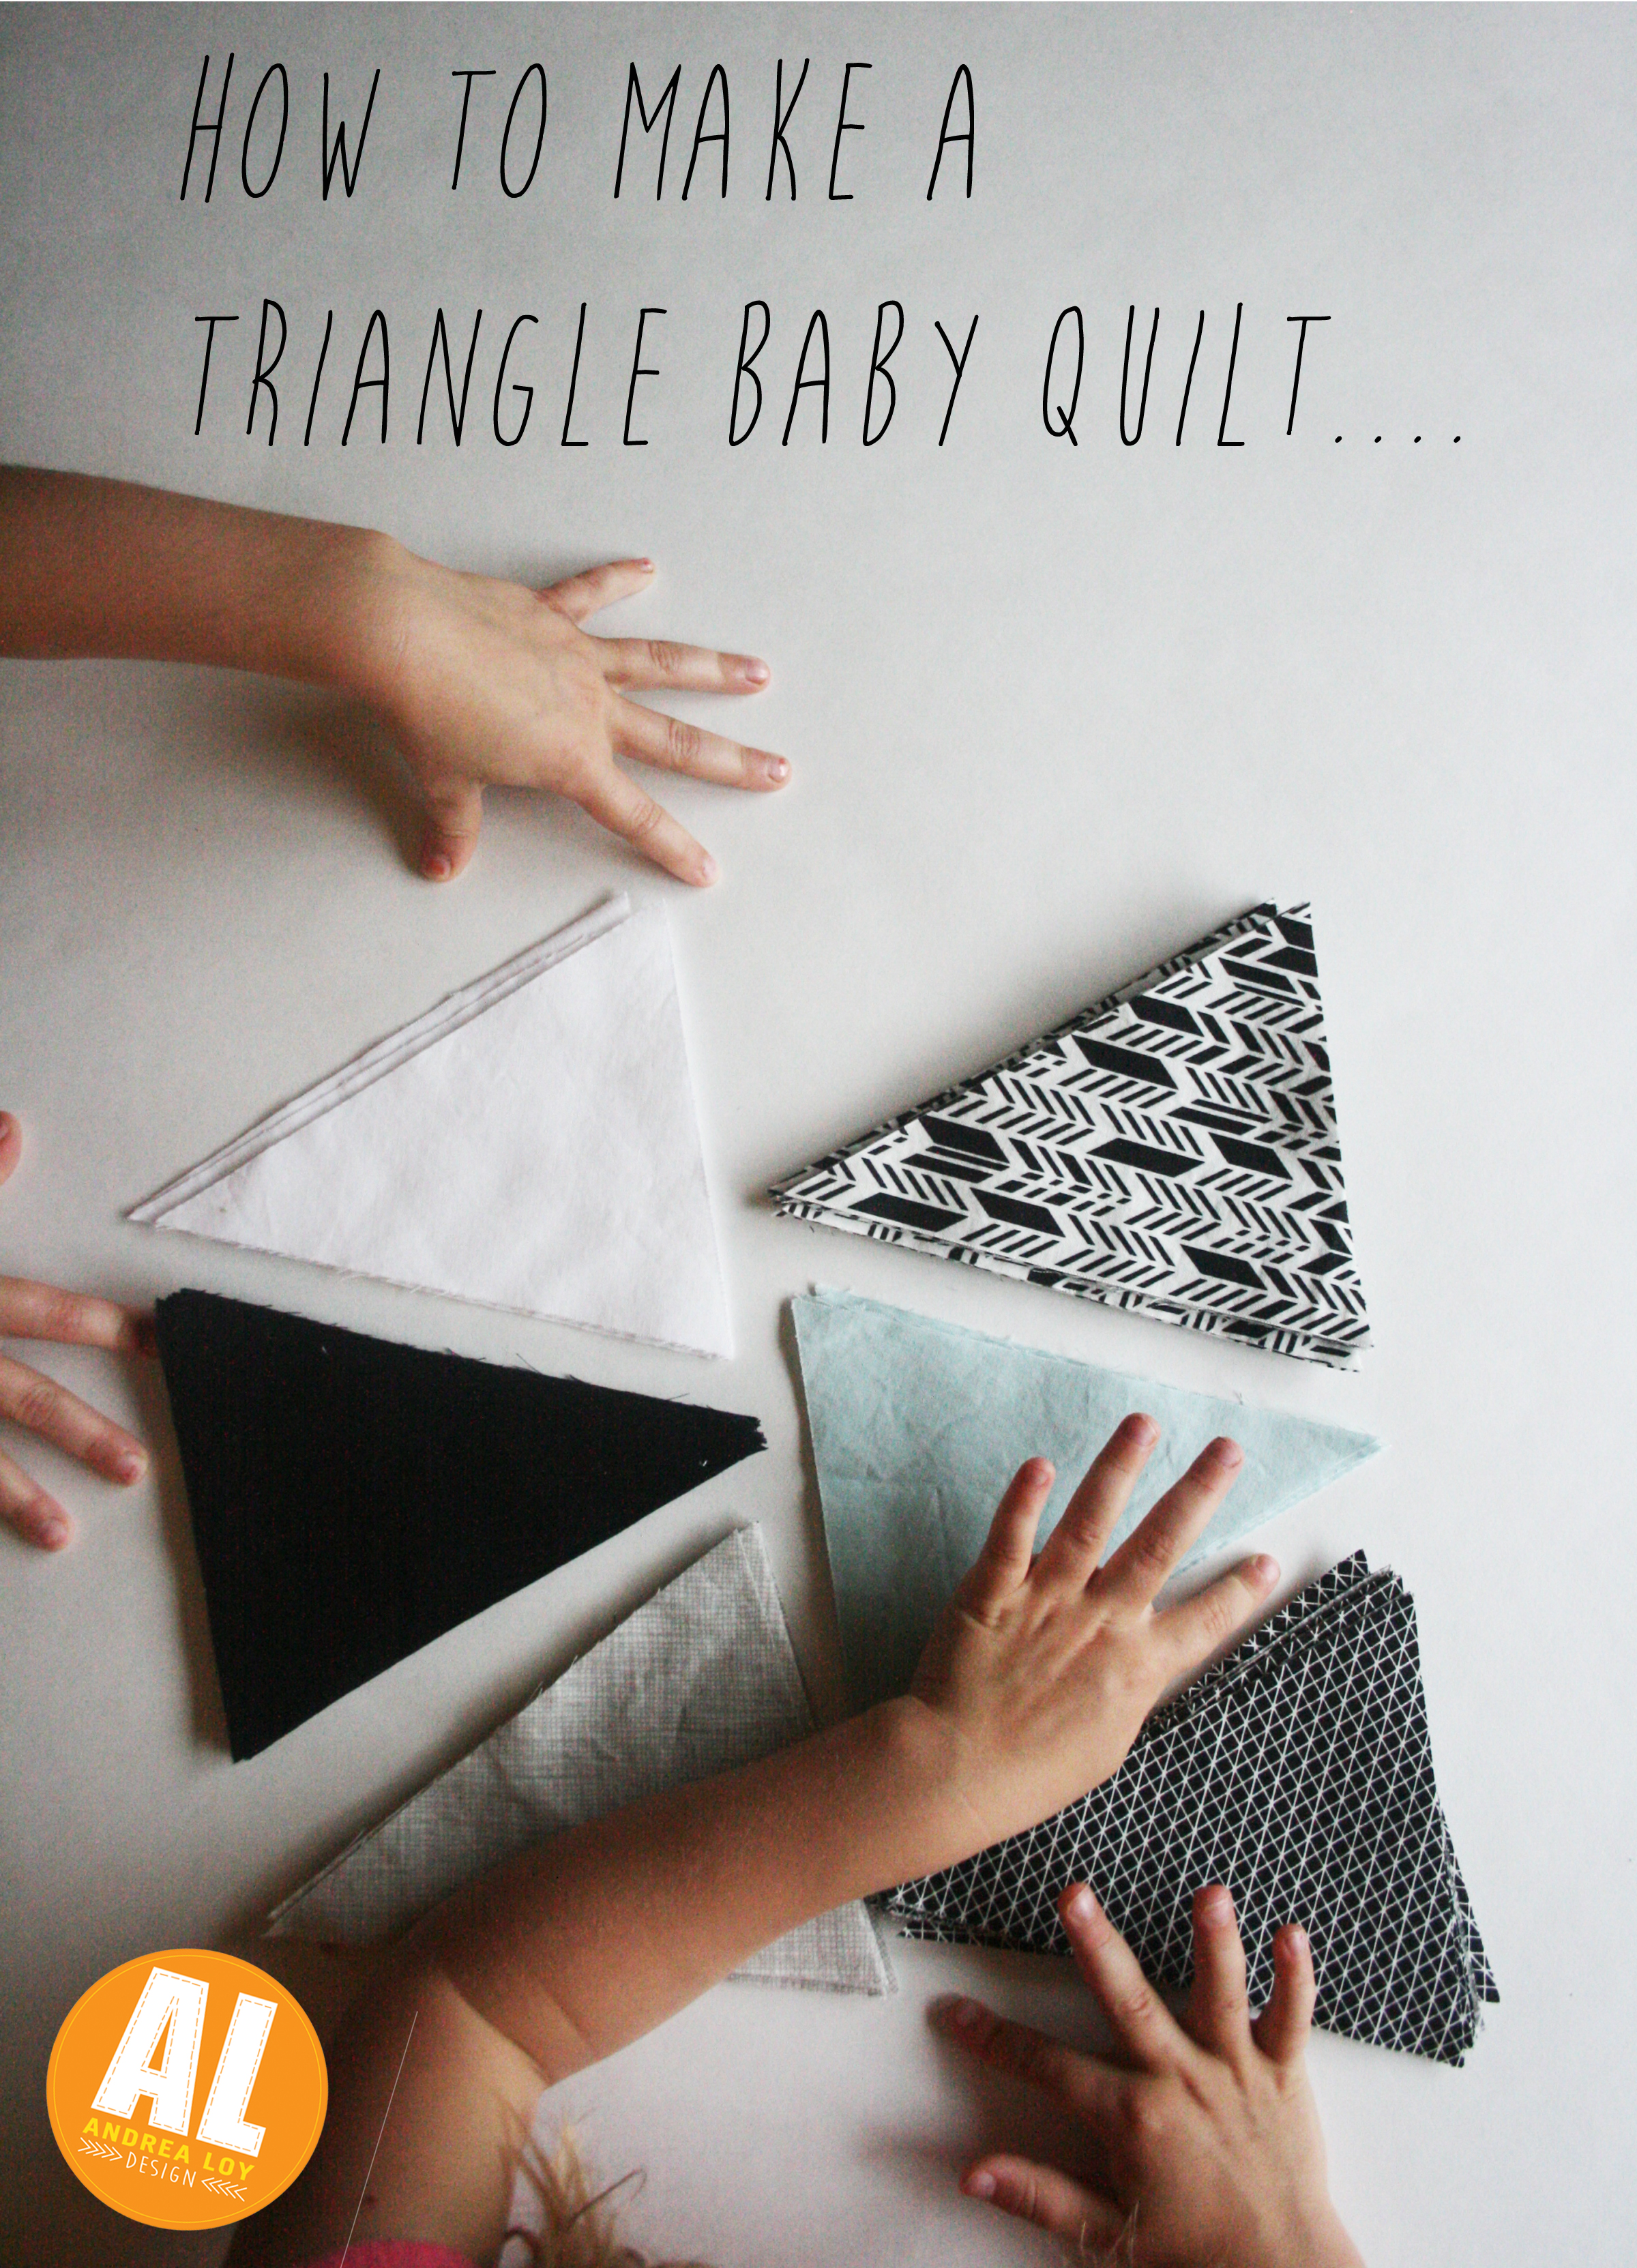
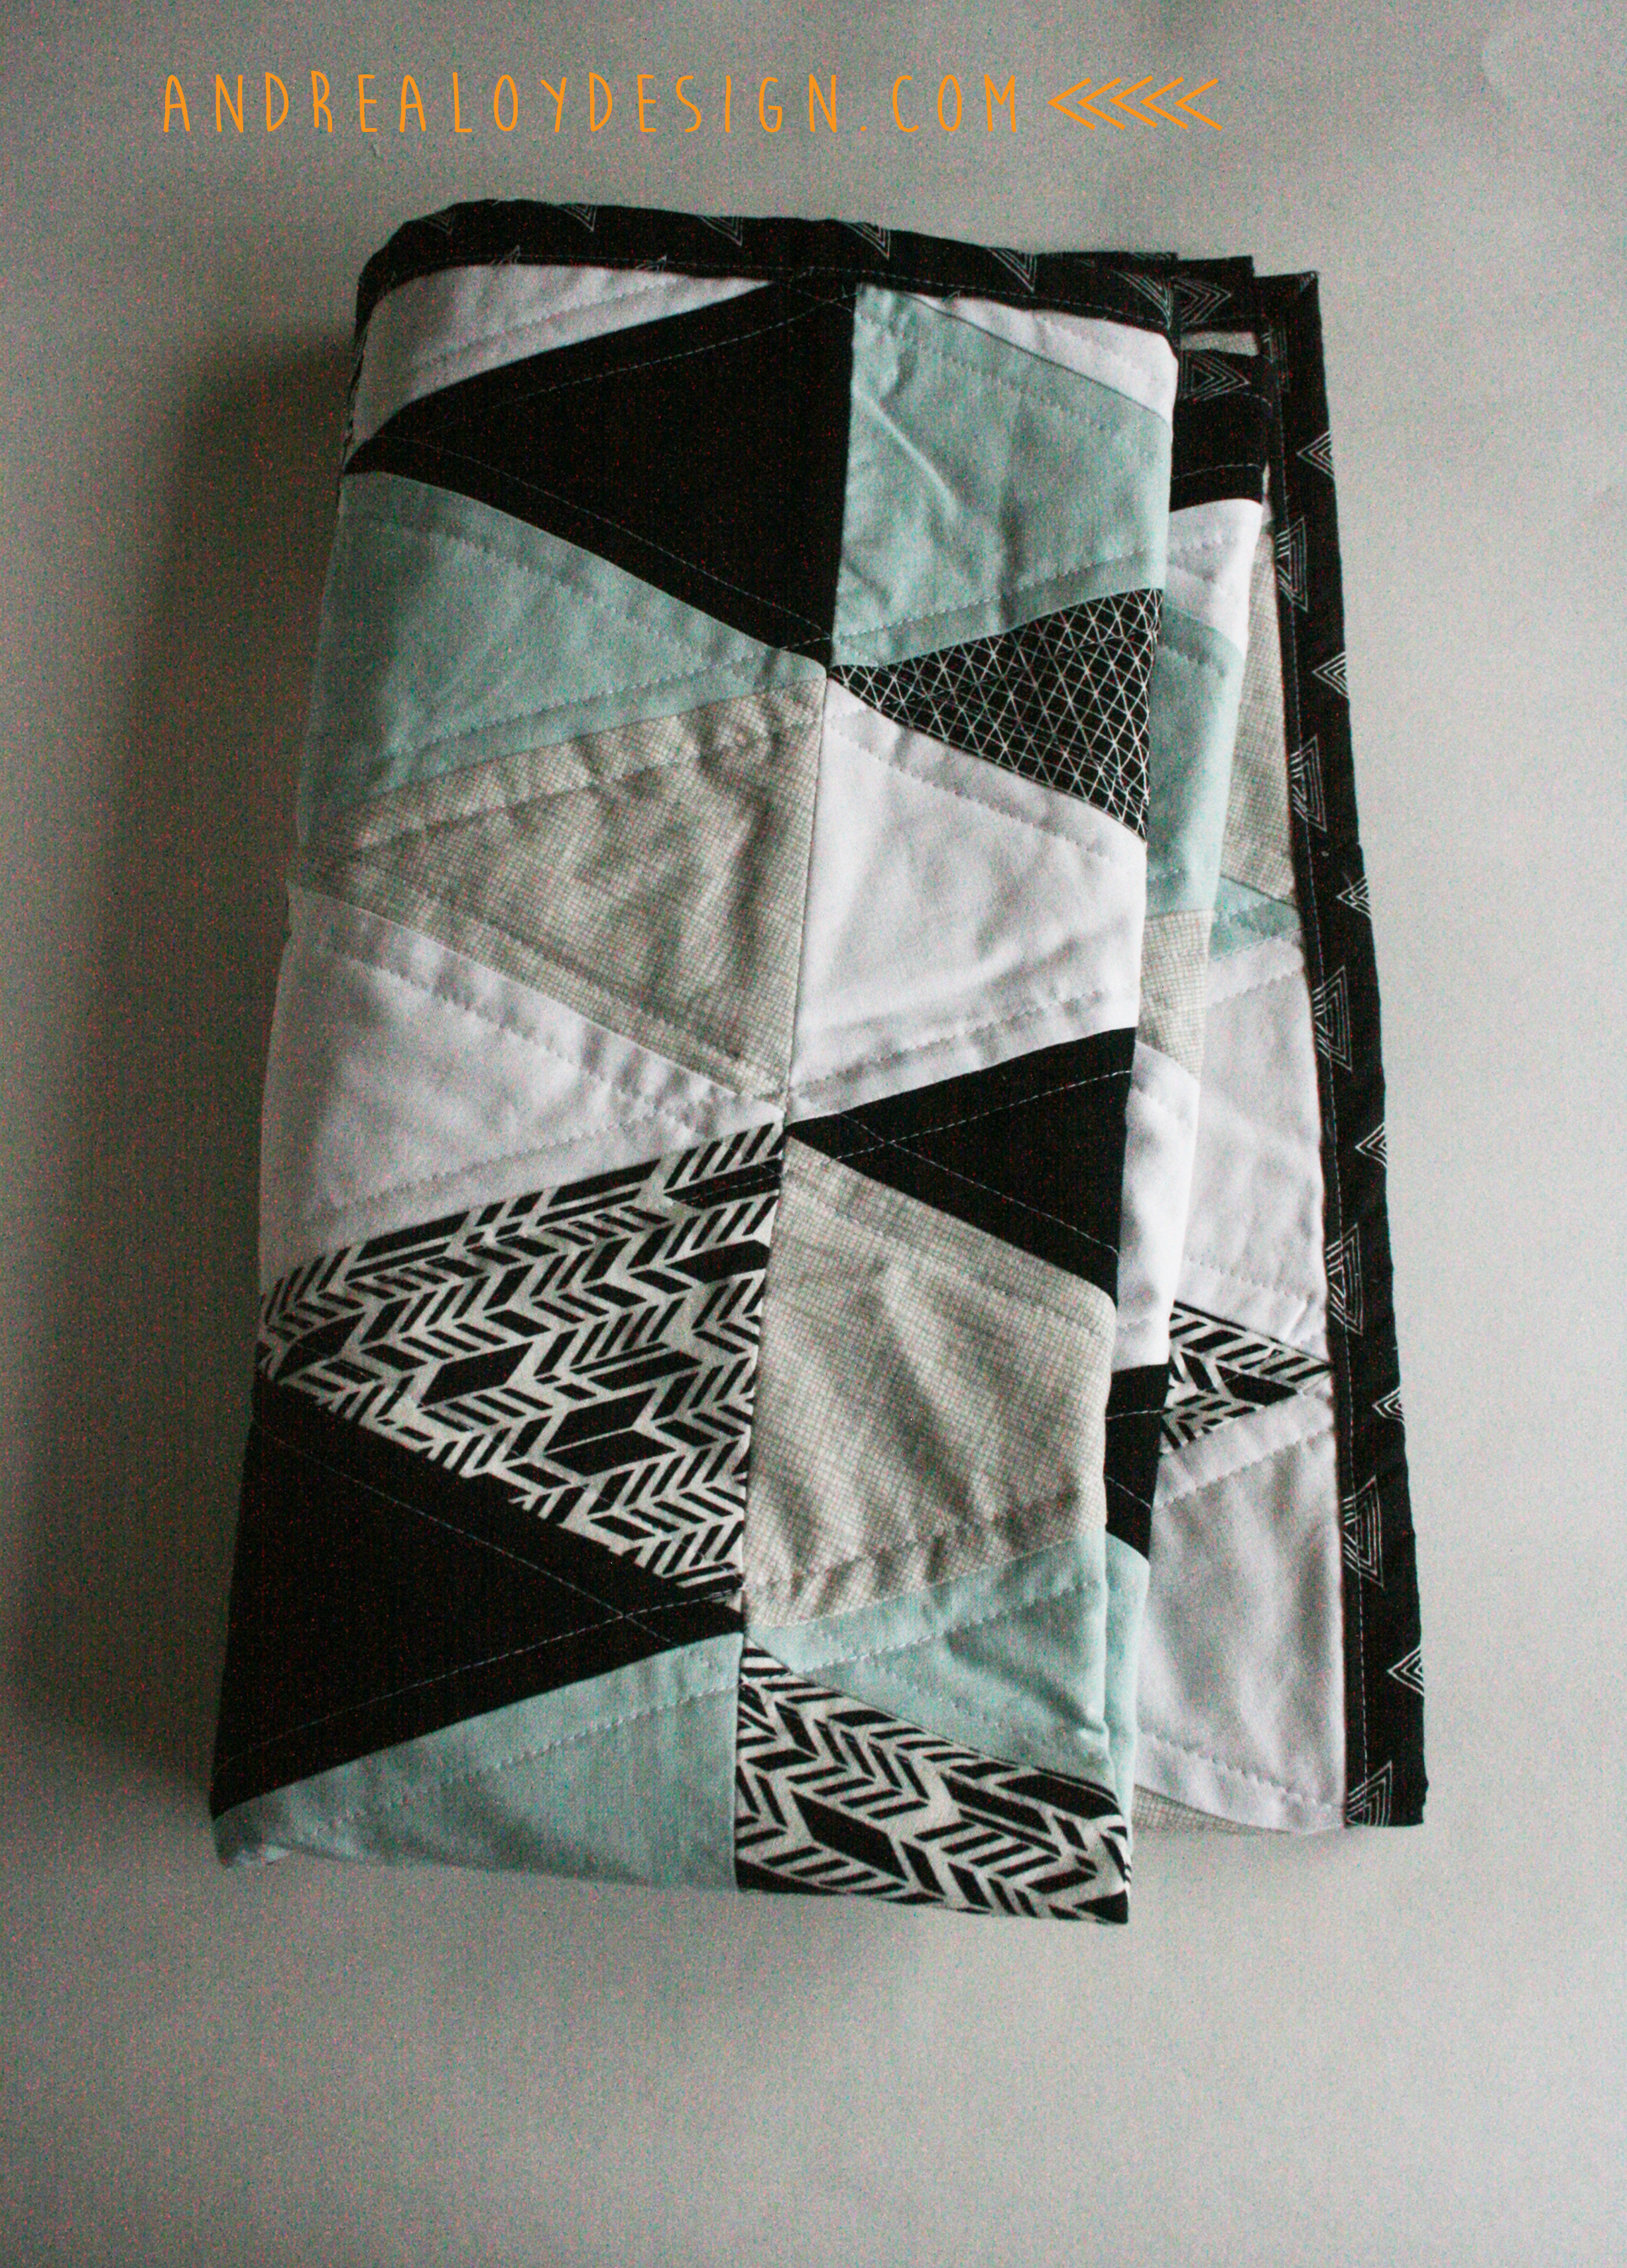
Triangle Quilts are my favorite. They are so fun. I prefer isosceles triangles, but I won’t berate all you equilateral lovers out there. To each her own…..I made my first triangle quilt out of all my baby crib sheets. I couldn’t bear to throw them away, or give them away, but it felt silly to keep them when I didn’t plan on having any more children. So I bought a triangle die for my accuquilt studio cutter and started in on turning all those sheets into triangles. I made two quilts. I was really stressed at the time. Sewing all those triangles together was therapy. When a woman can’t do anything to change her circumstances it feels nice to sew something together. With each stitch, I was reminded that God is near to the brokenhearted and He binds up the fiercest wounds to the human heart.
You really should get an accuquilt cutter if you can afford it and you quilt a lot. And also mainly, if your kind of a perfectionist….Just start saving!
But enough back story….So my very talented sister in law and bro are having their first little one and she requested a triangle quilt. She is an amazing graphic designer, so naturally I made sure to get paint swatches, design preferences, and lots of samples she liked before I nervously picked out the fabric for this piece. It took a lot of deliberation and shopping trips to quilt stores like Missouri Star Quilt Co. and The Fabric Shack……I may have purchased some other quilting fabric while there. I’m not sure. It was sort if like a fabric addicts heaven, and I can’t be responsible for being let loose in there.
Anyway, so my little helpers and I cut the painstakingly perfect triangles in like two minutes on the accuquilt cutter with the decided upon fabrics and I began to lay out the top pieces. When you do a triangle quilt, it’s easier on the eye to make a random pattern. You need to lay it all out to be sure you have it looking the way you want.
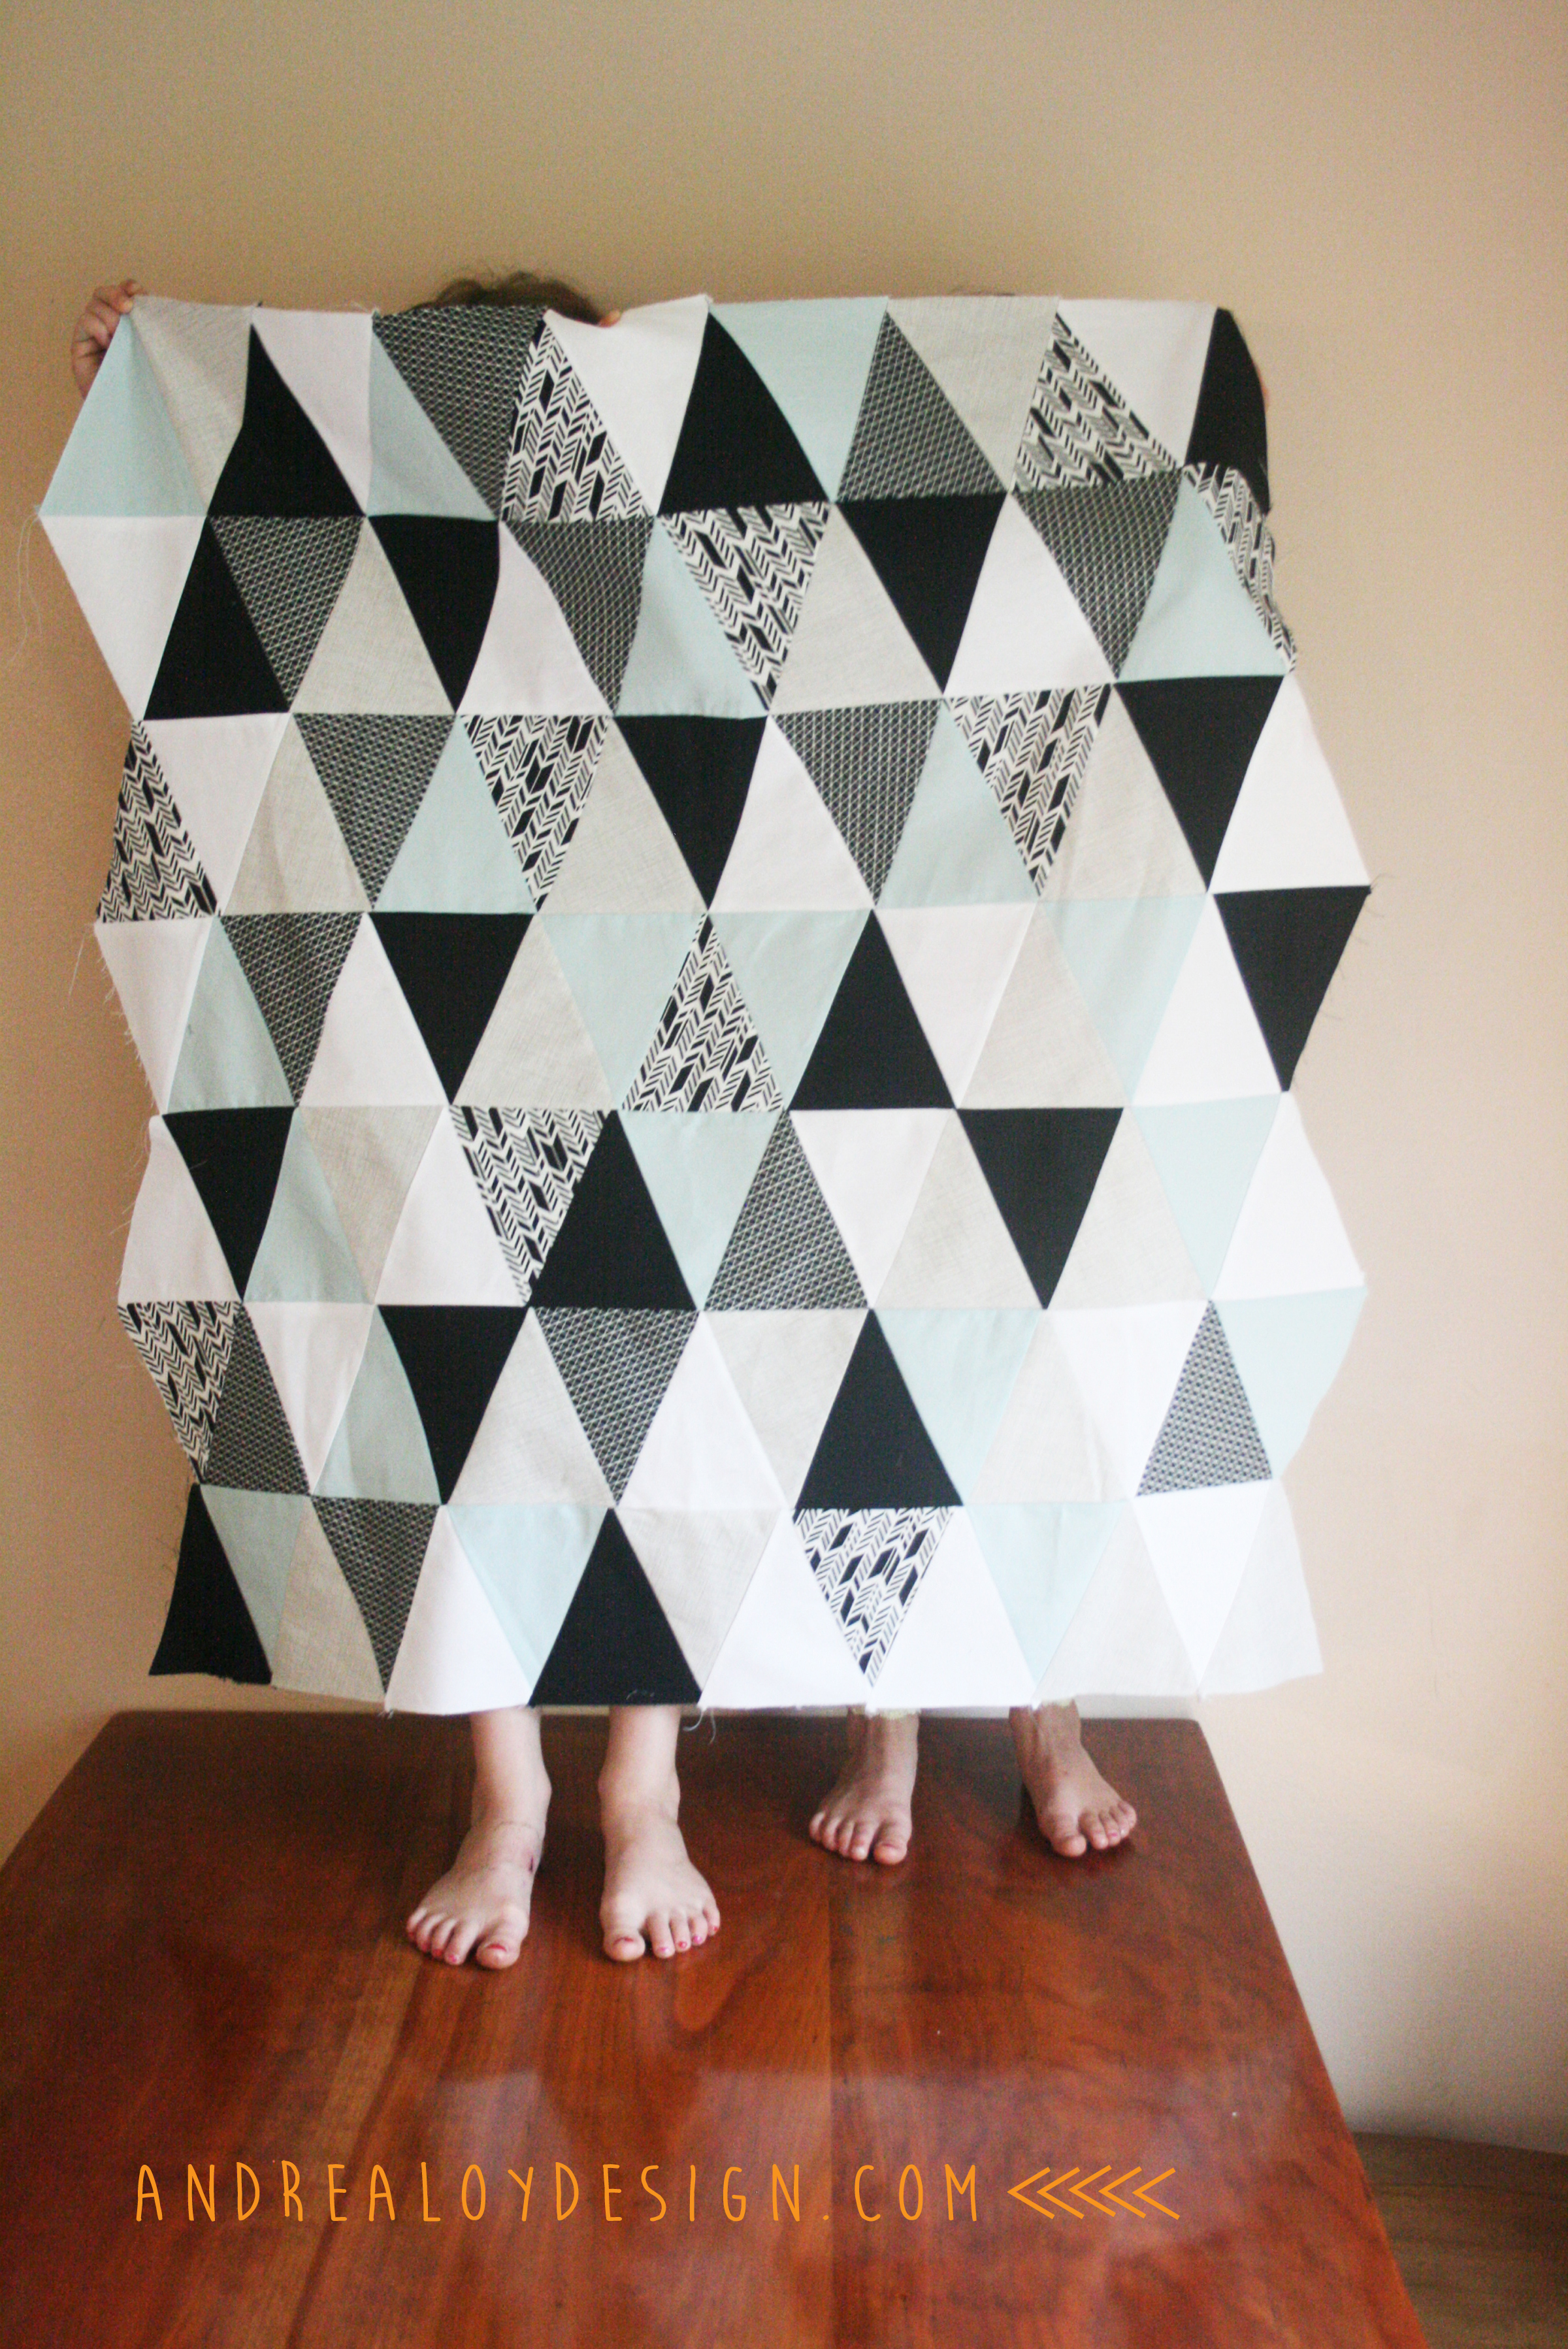
This quilt was supposed to be 36″by 36″ but sometimes you run out of the perfect pool blue Kona Cotton or you don’t know exactly how many triangles of each color your going to use….It ended up 31″ by 36″. I used 7 rows of 15 iscosoles triangles 4″ long. So if you wanted to make a baby quilt just plan on a bit more of your favorite color or be less picky than me! A twin size quilt would require triple the amount of triangles. I had a few triangles left over but basically not enough to do anything other than make a small pillow with. I purchased 1/2 yard of each of the 5 fabrics. You’ll want to prewash your fabrics and iron them to get a good precise unwonky quilt. Triangles are a little tricksy if you don’t. Plus, my MOM says you should always prewash and iron your fabric. She’s always right.
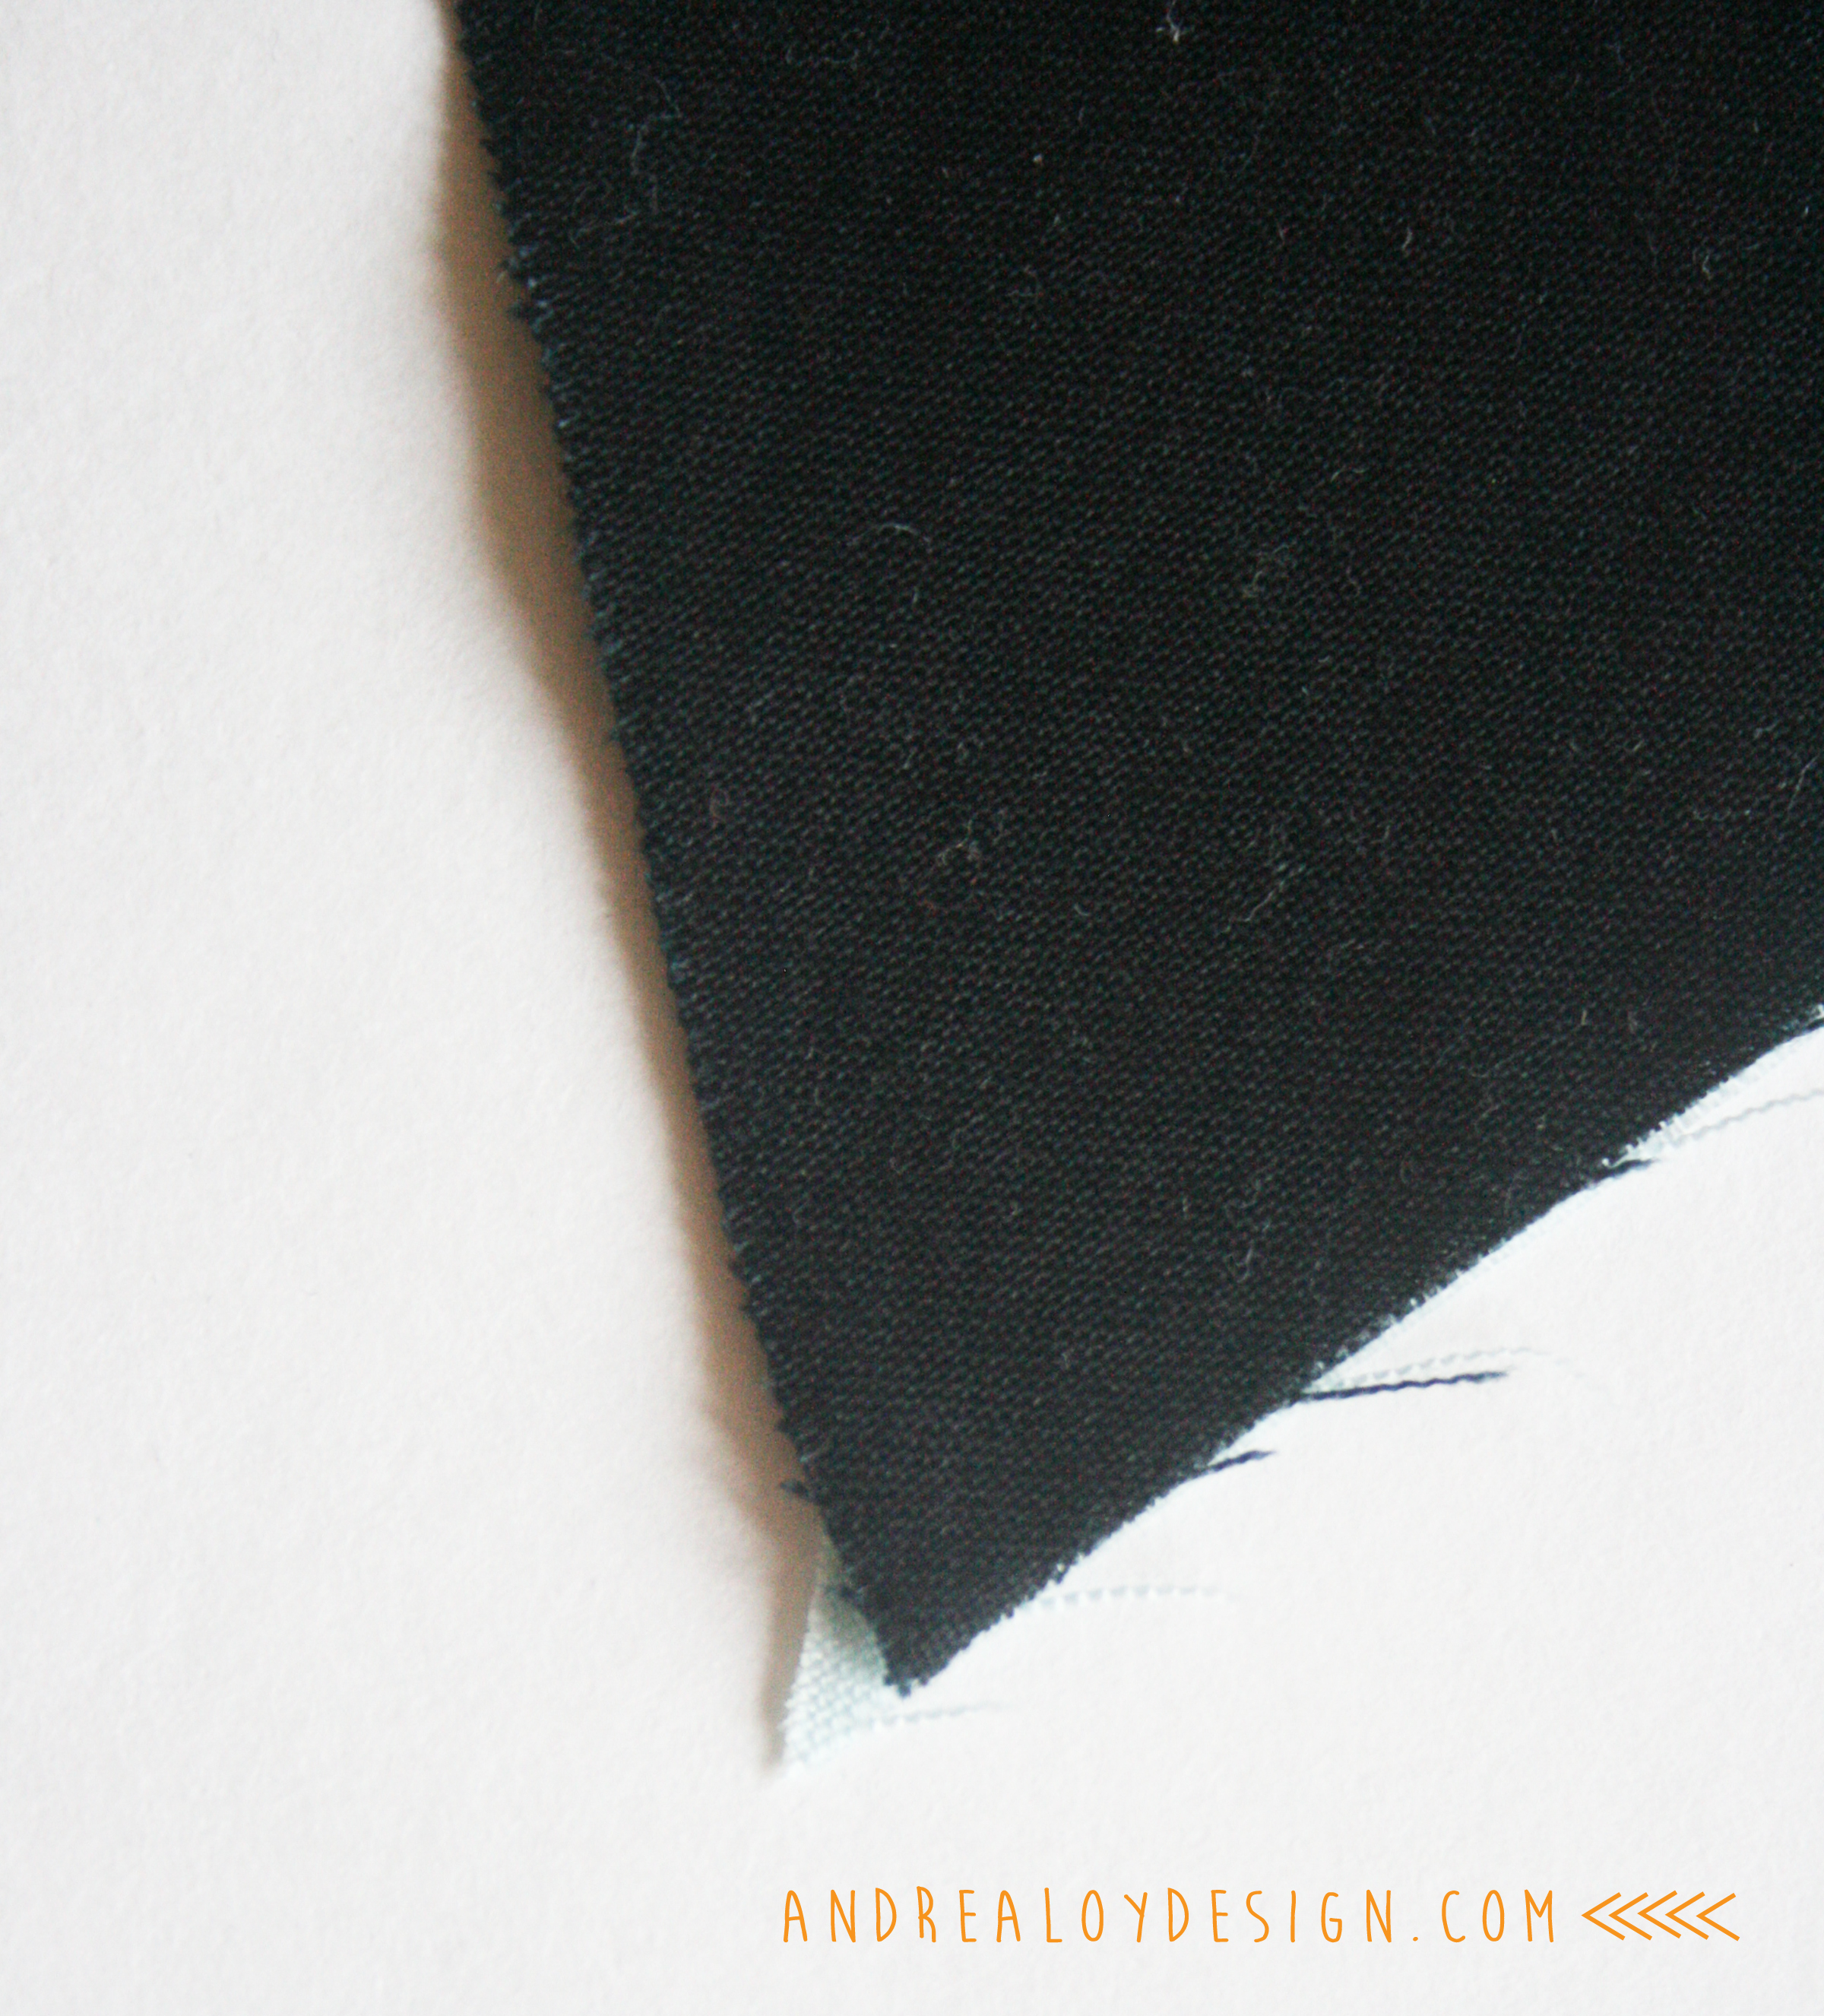
TIP: Be sure to leave a tiny over lap when sewing your triangles together. The thin point of the triangle should hang past a 1/4″ or 3/8″ depending on your seam allowance of course. Here is what I mean:
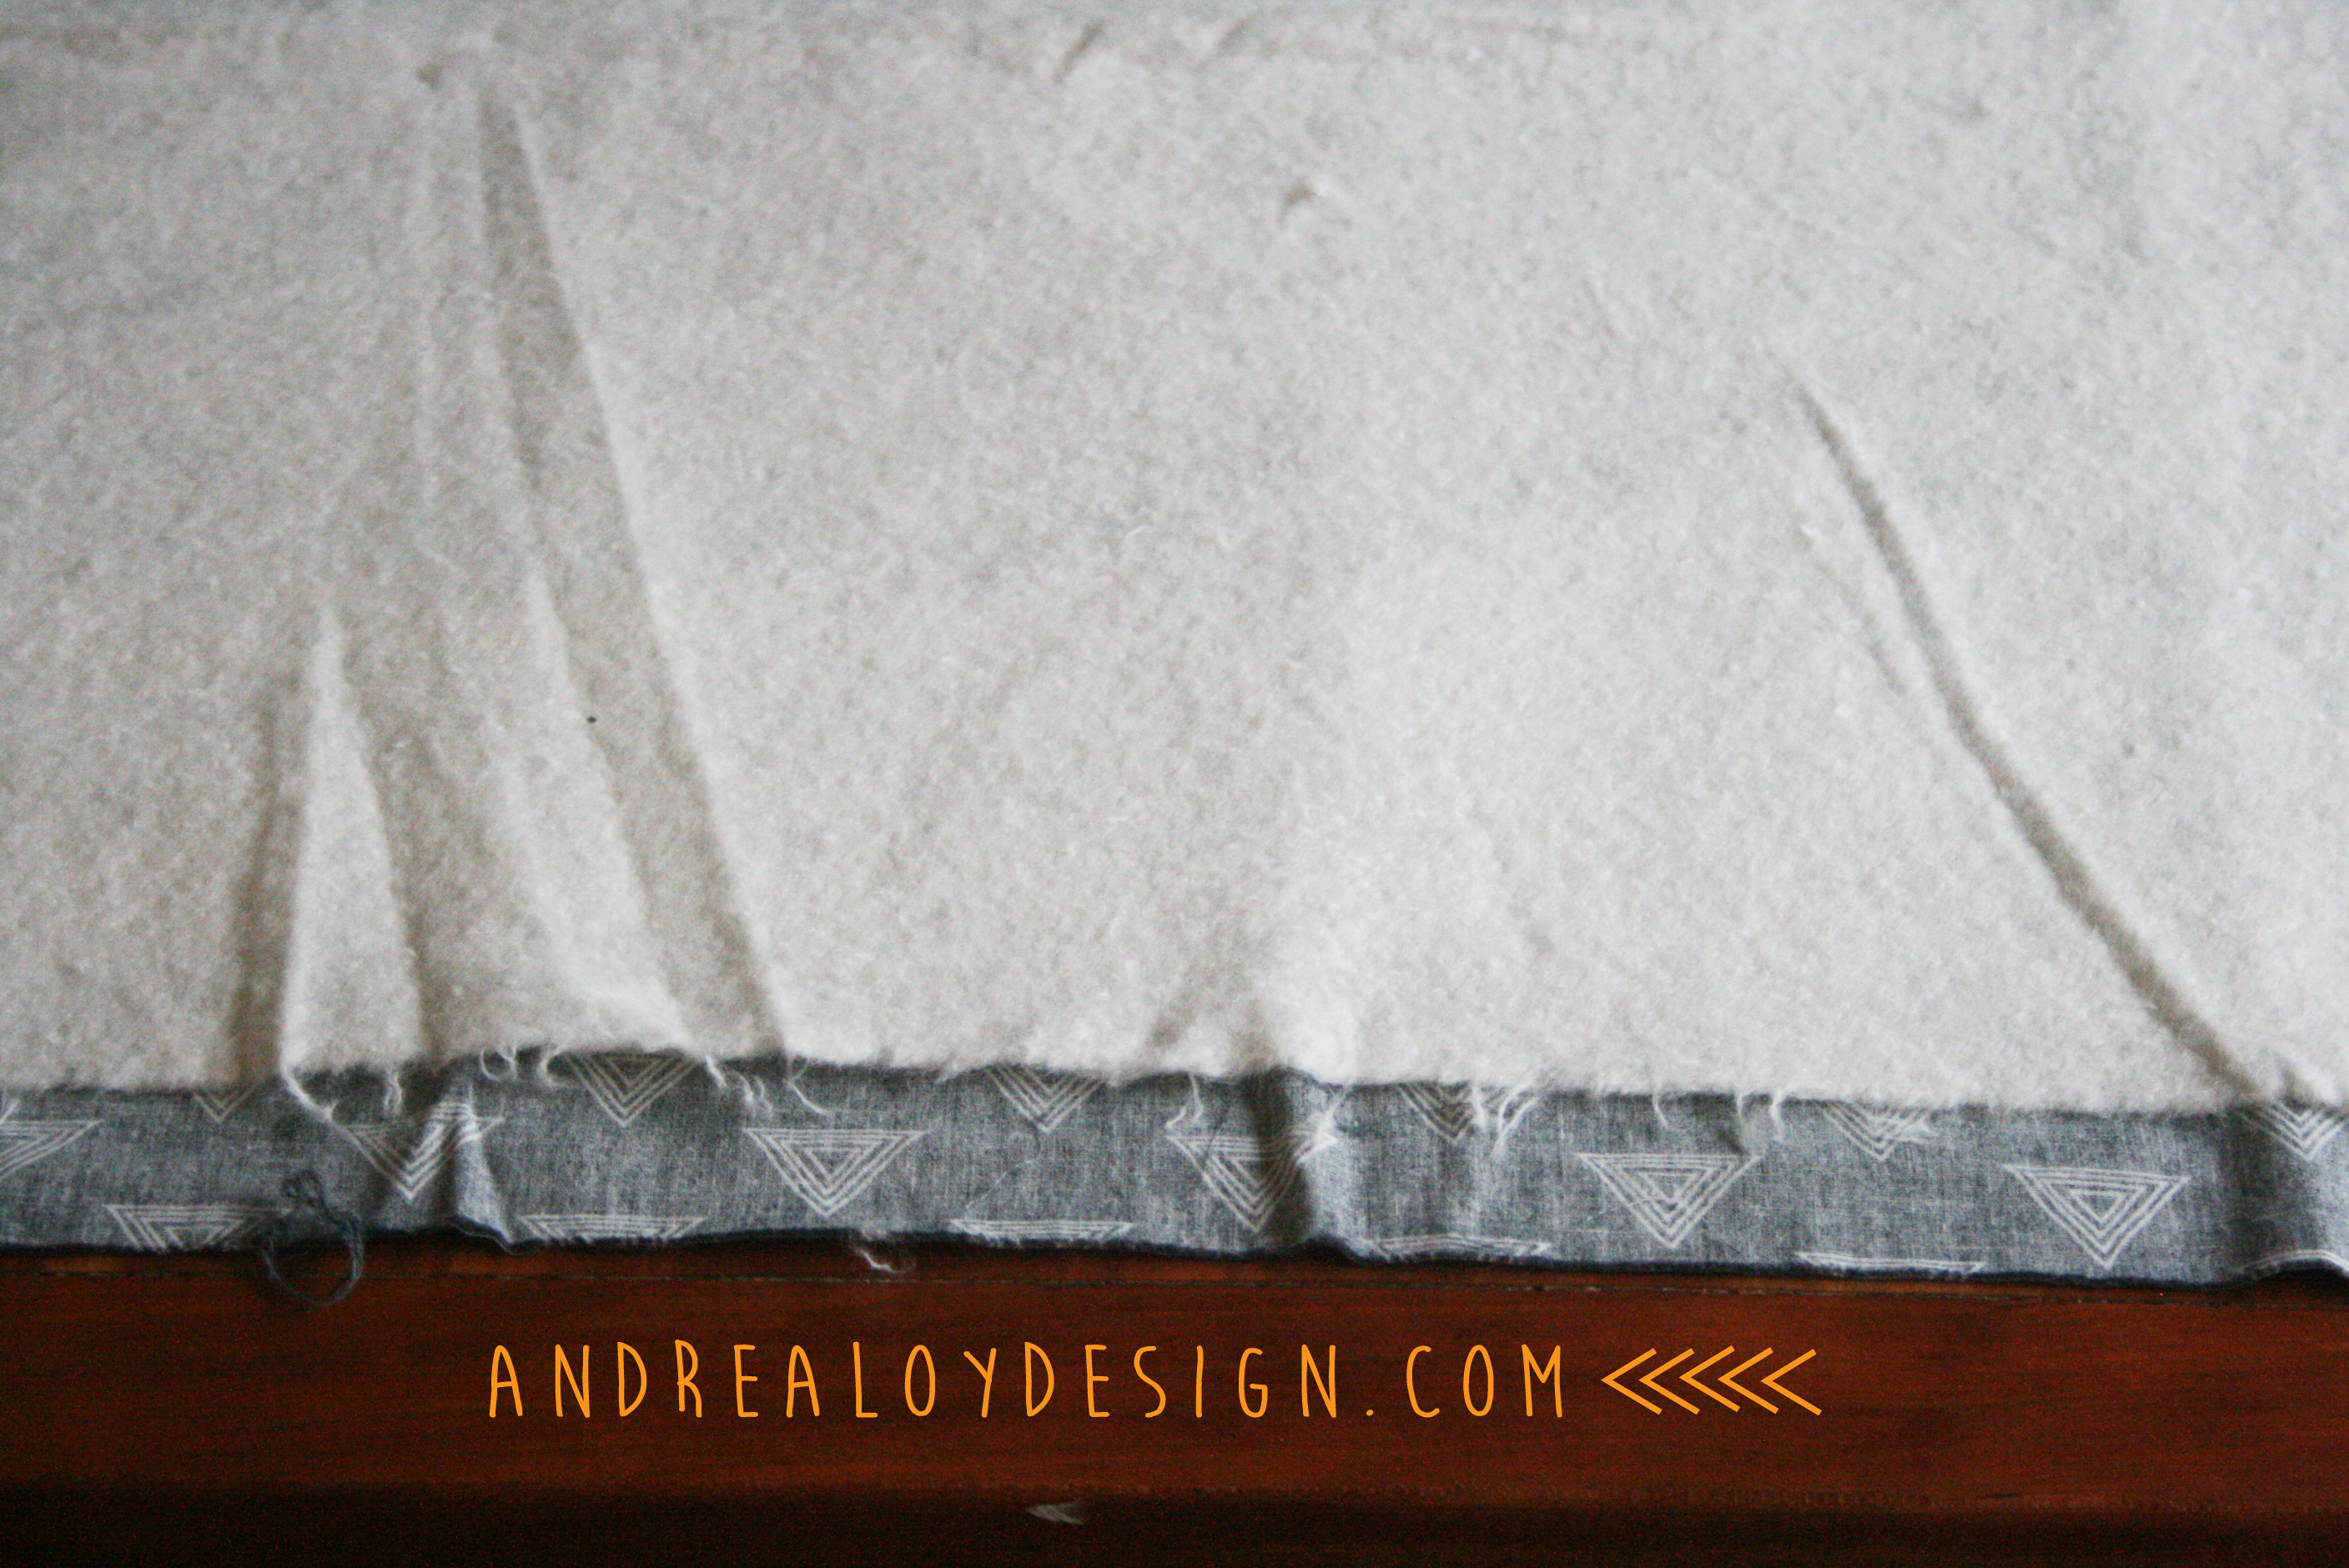
At this point in the process there are some missing pictures. Not sure why. I blame the children. First, sew all your horizontal rows of triangles together and iron the seams to reduce bulk. Then, pin the rows together one at a time, matching the seams and sew your quilt top together. As you can see above, I chose Mountain Soft thin cotton quilt batting. I like that one or Warm and Natural. It’s easier to quilt through the thinner, natural fibers of these types. Joannes always has their batting on sale, so you should never have to buy it full price. I absolutely love the backing fabric for this quilt! It’s Art Gallery’s Prism Elements line!!!! I’m so glad I didn’t buy the backing until I was ready because they just came out with it. There are a variety of colors and simple patterns in this line to go with all your quilty projects!
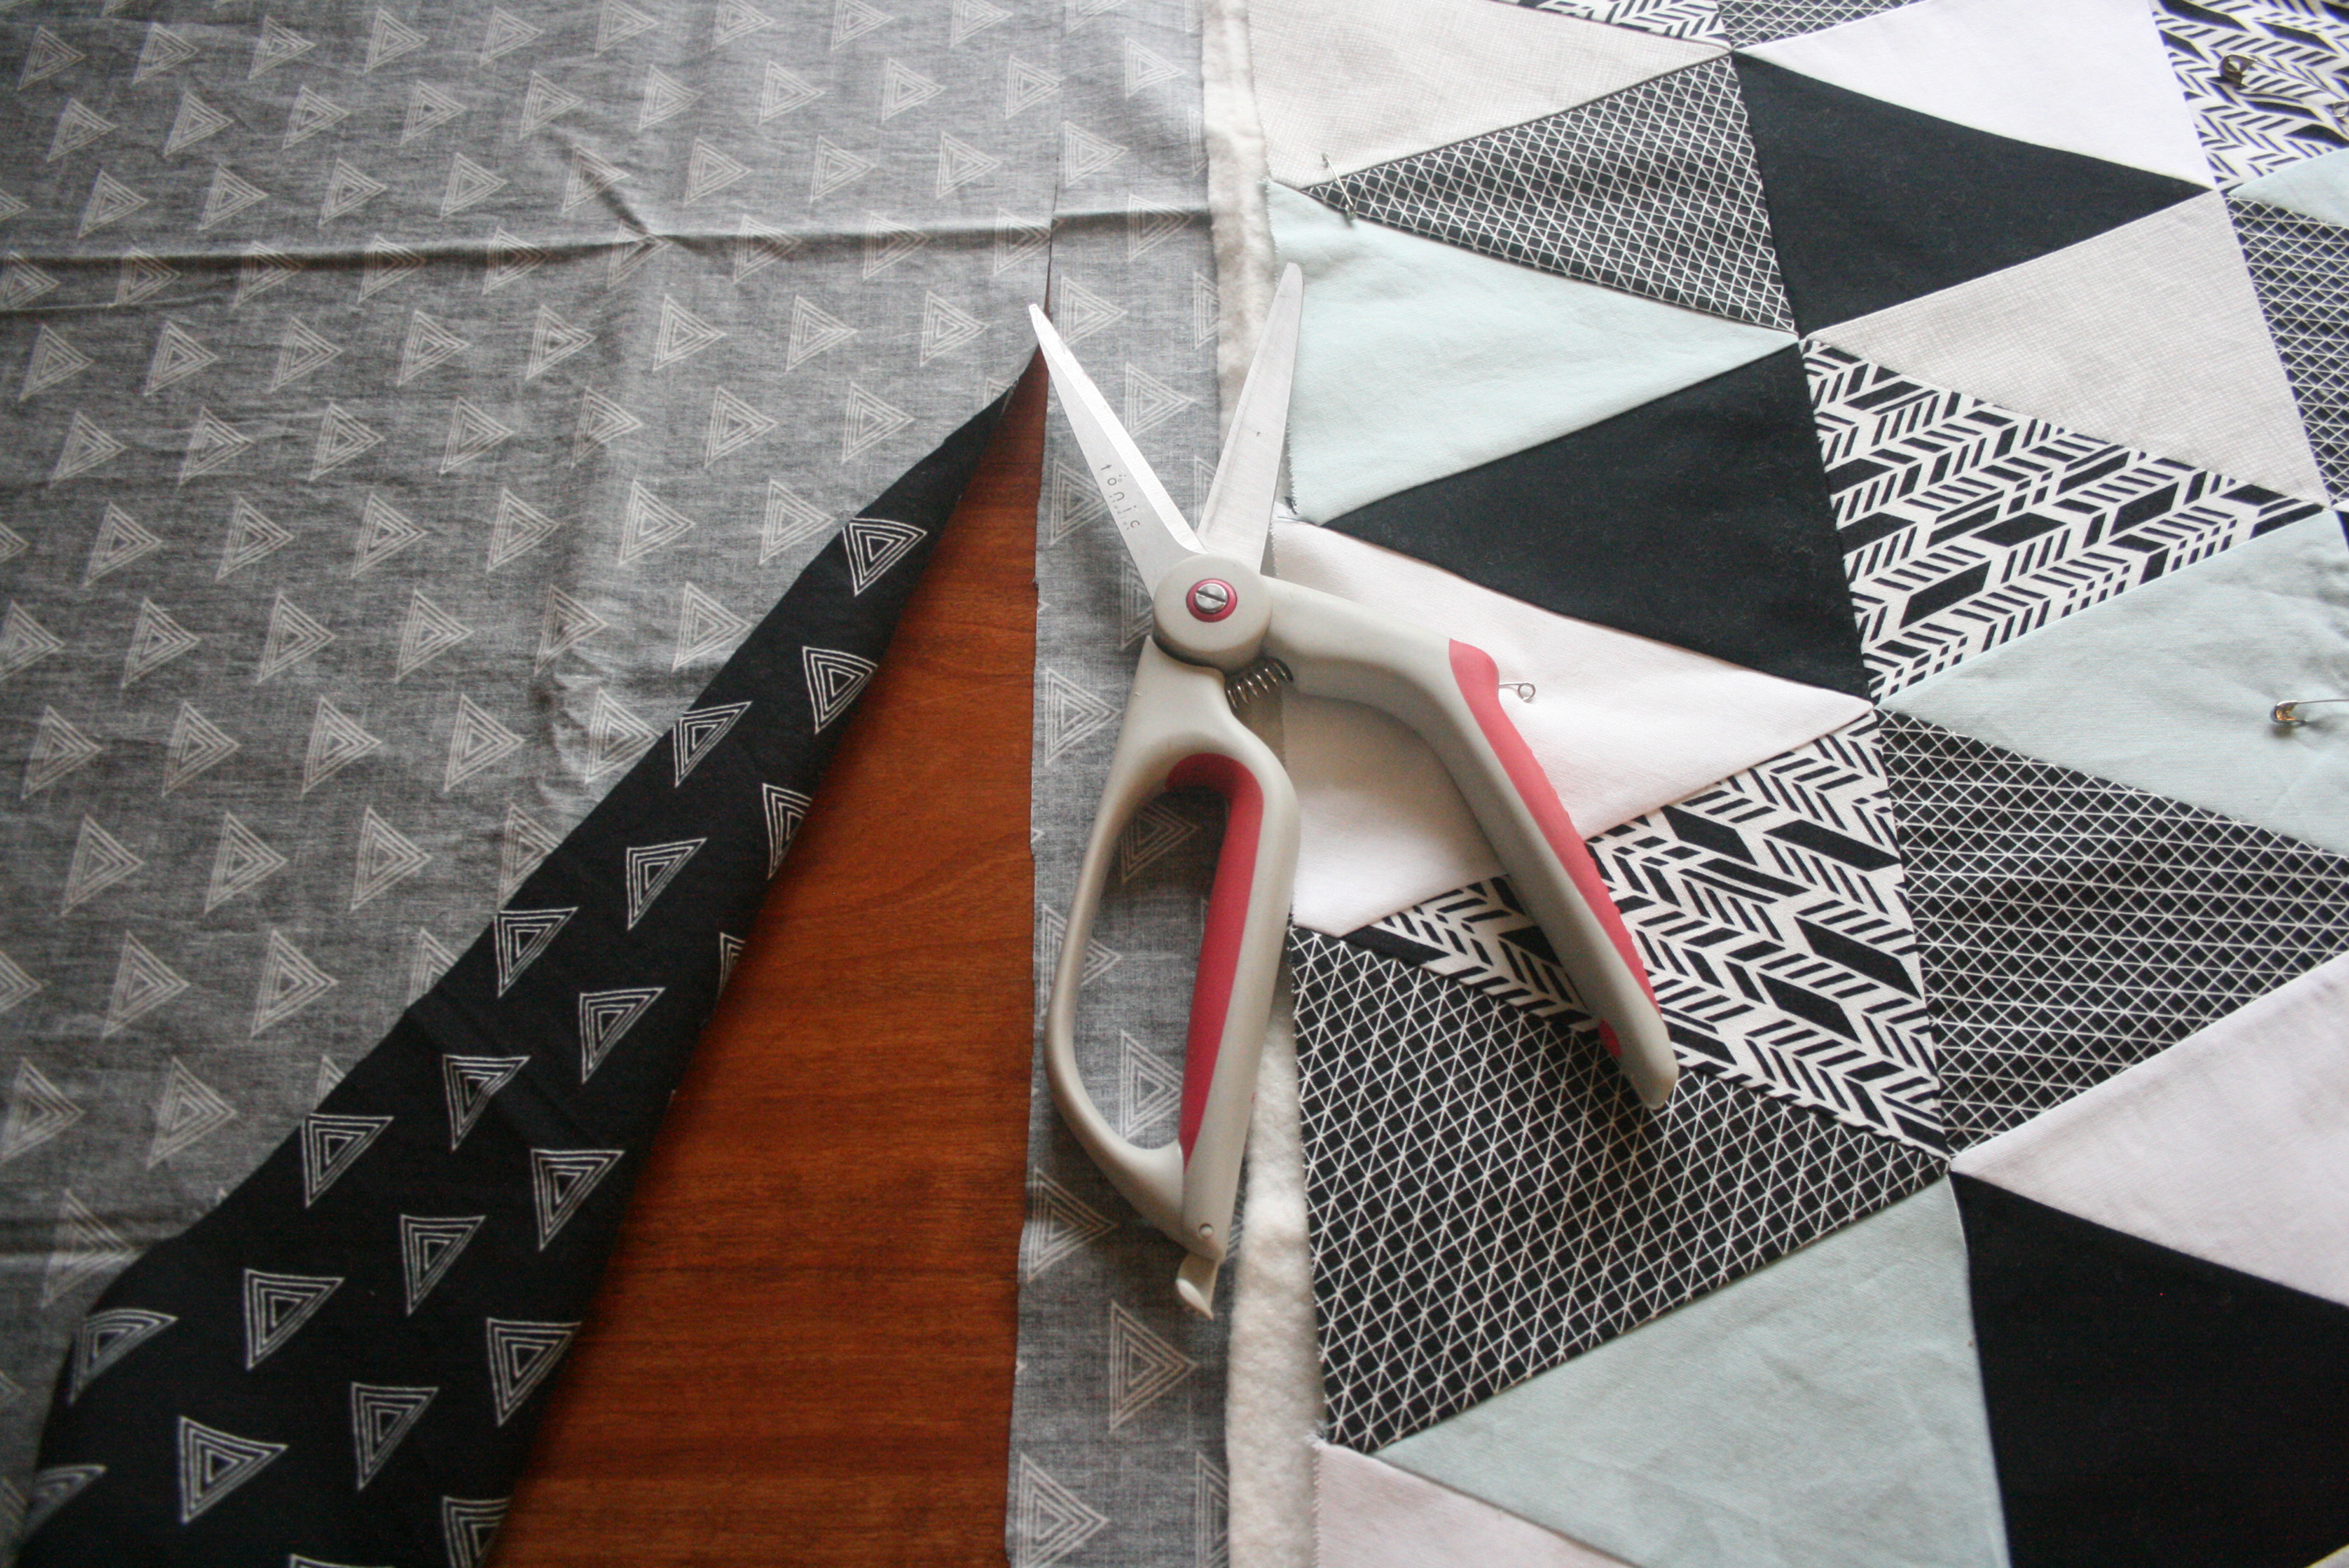
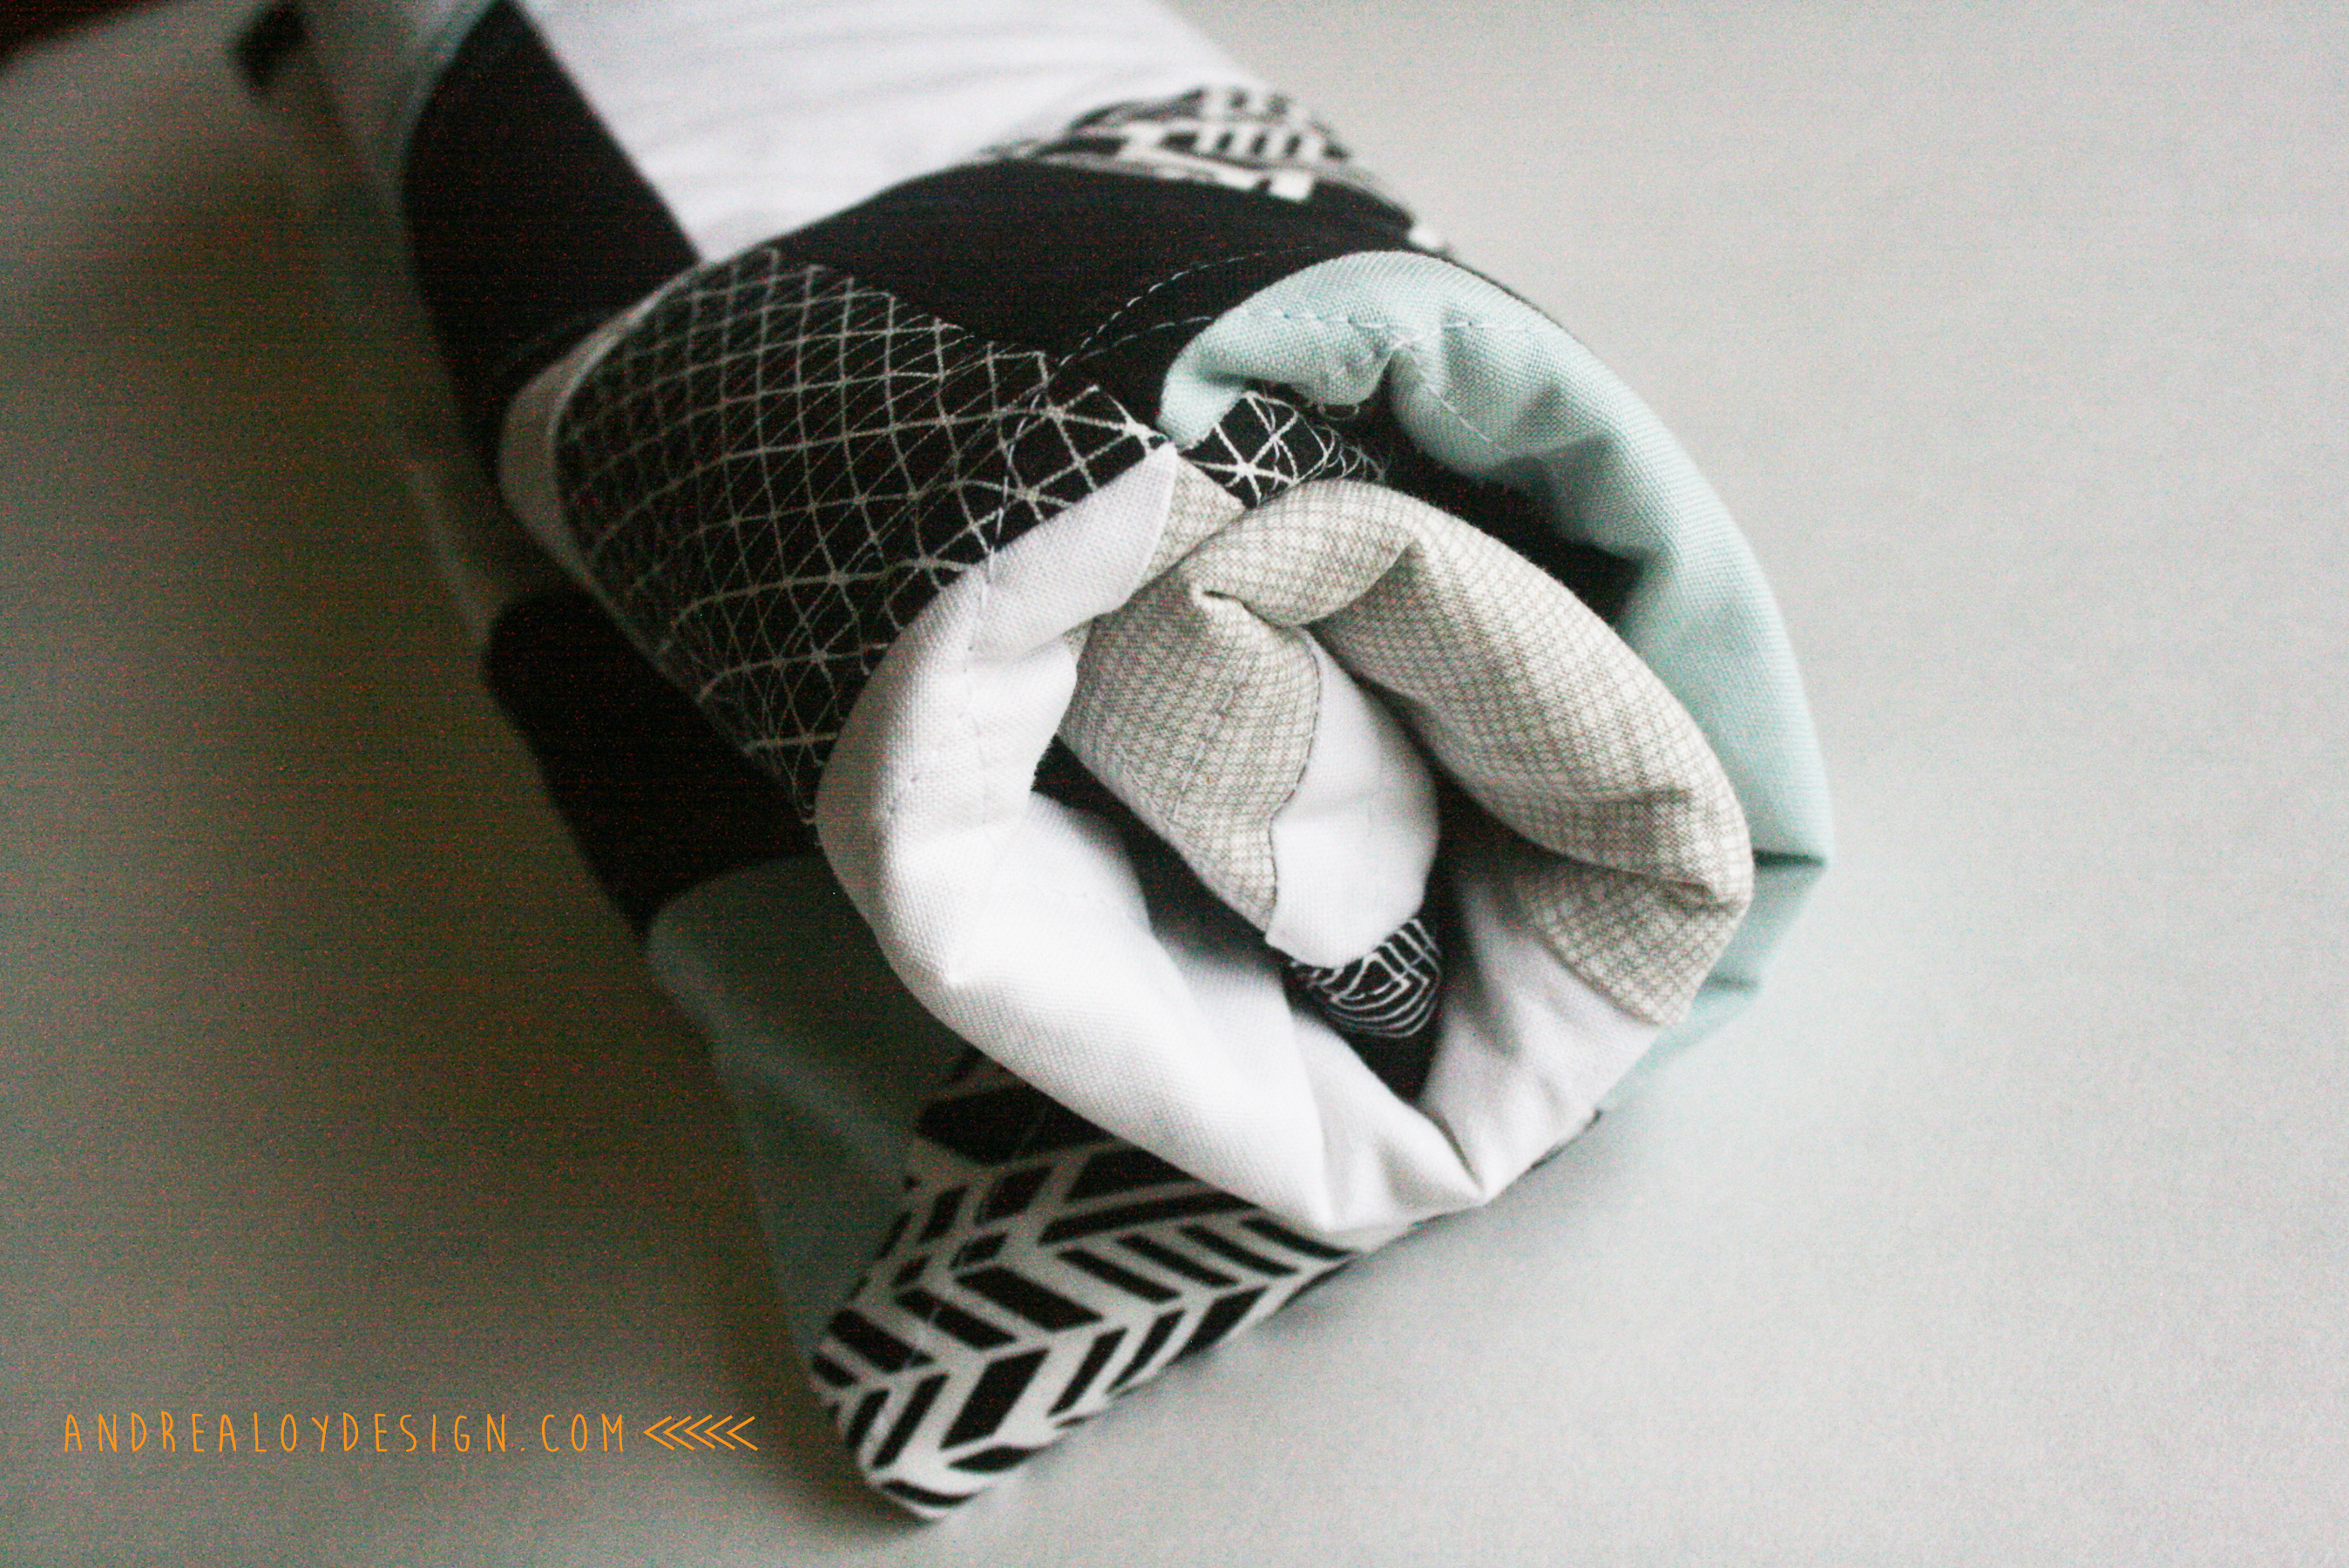
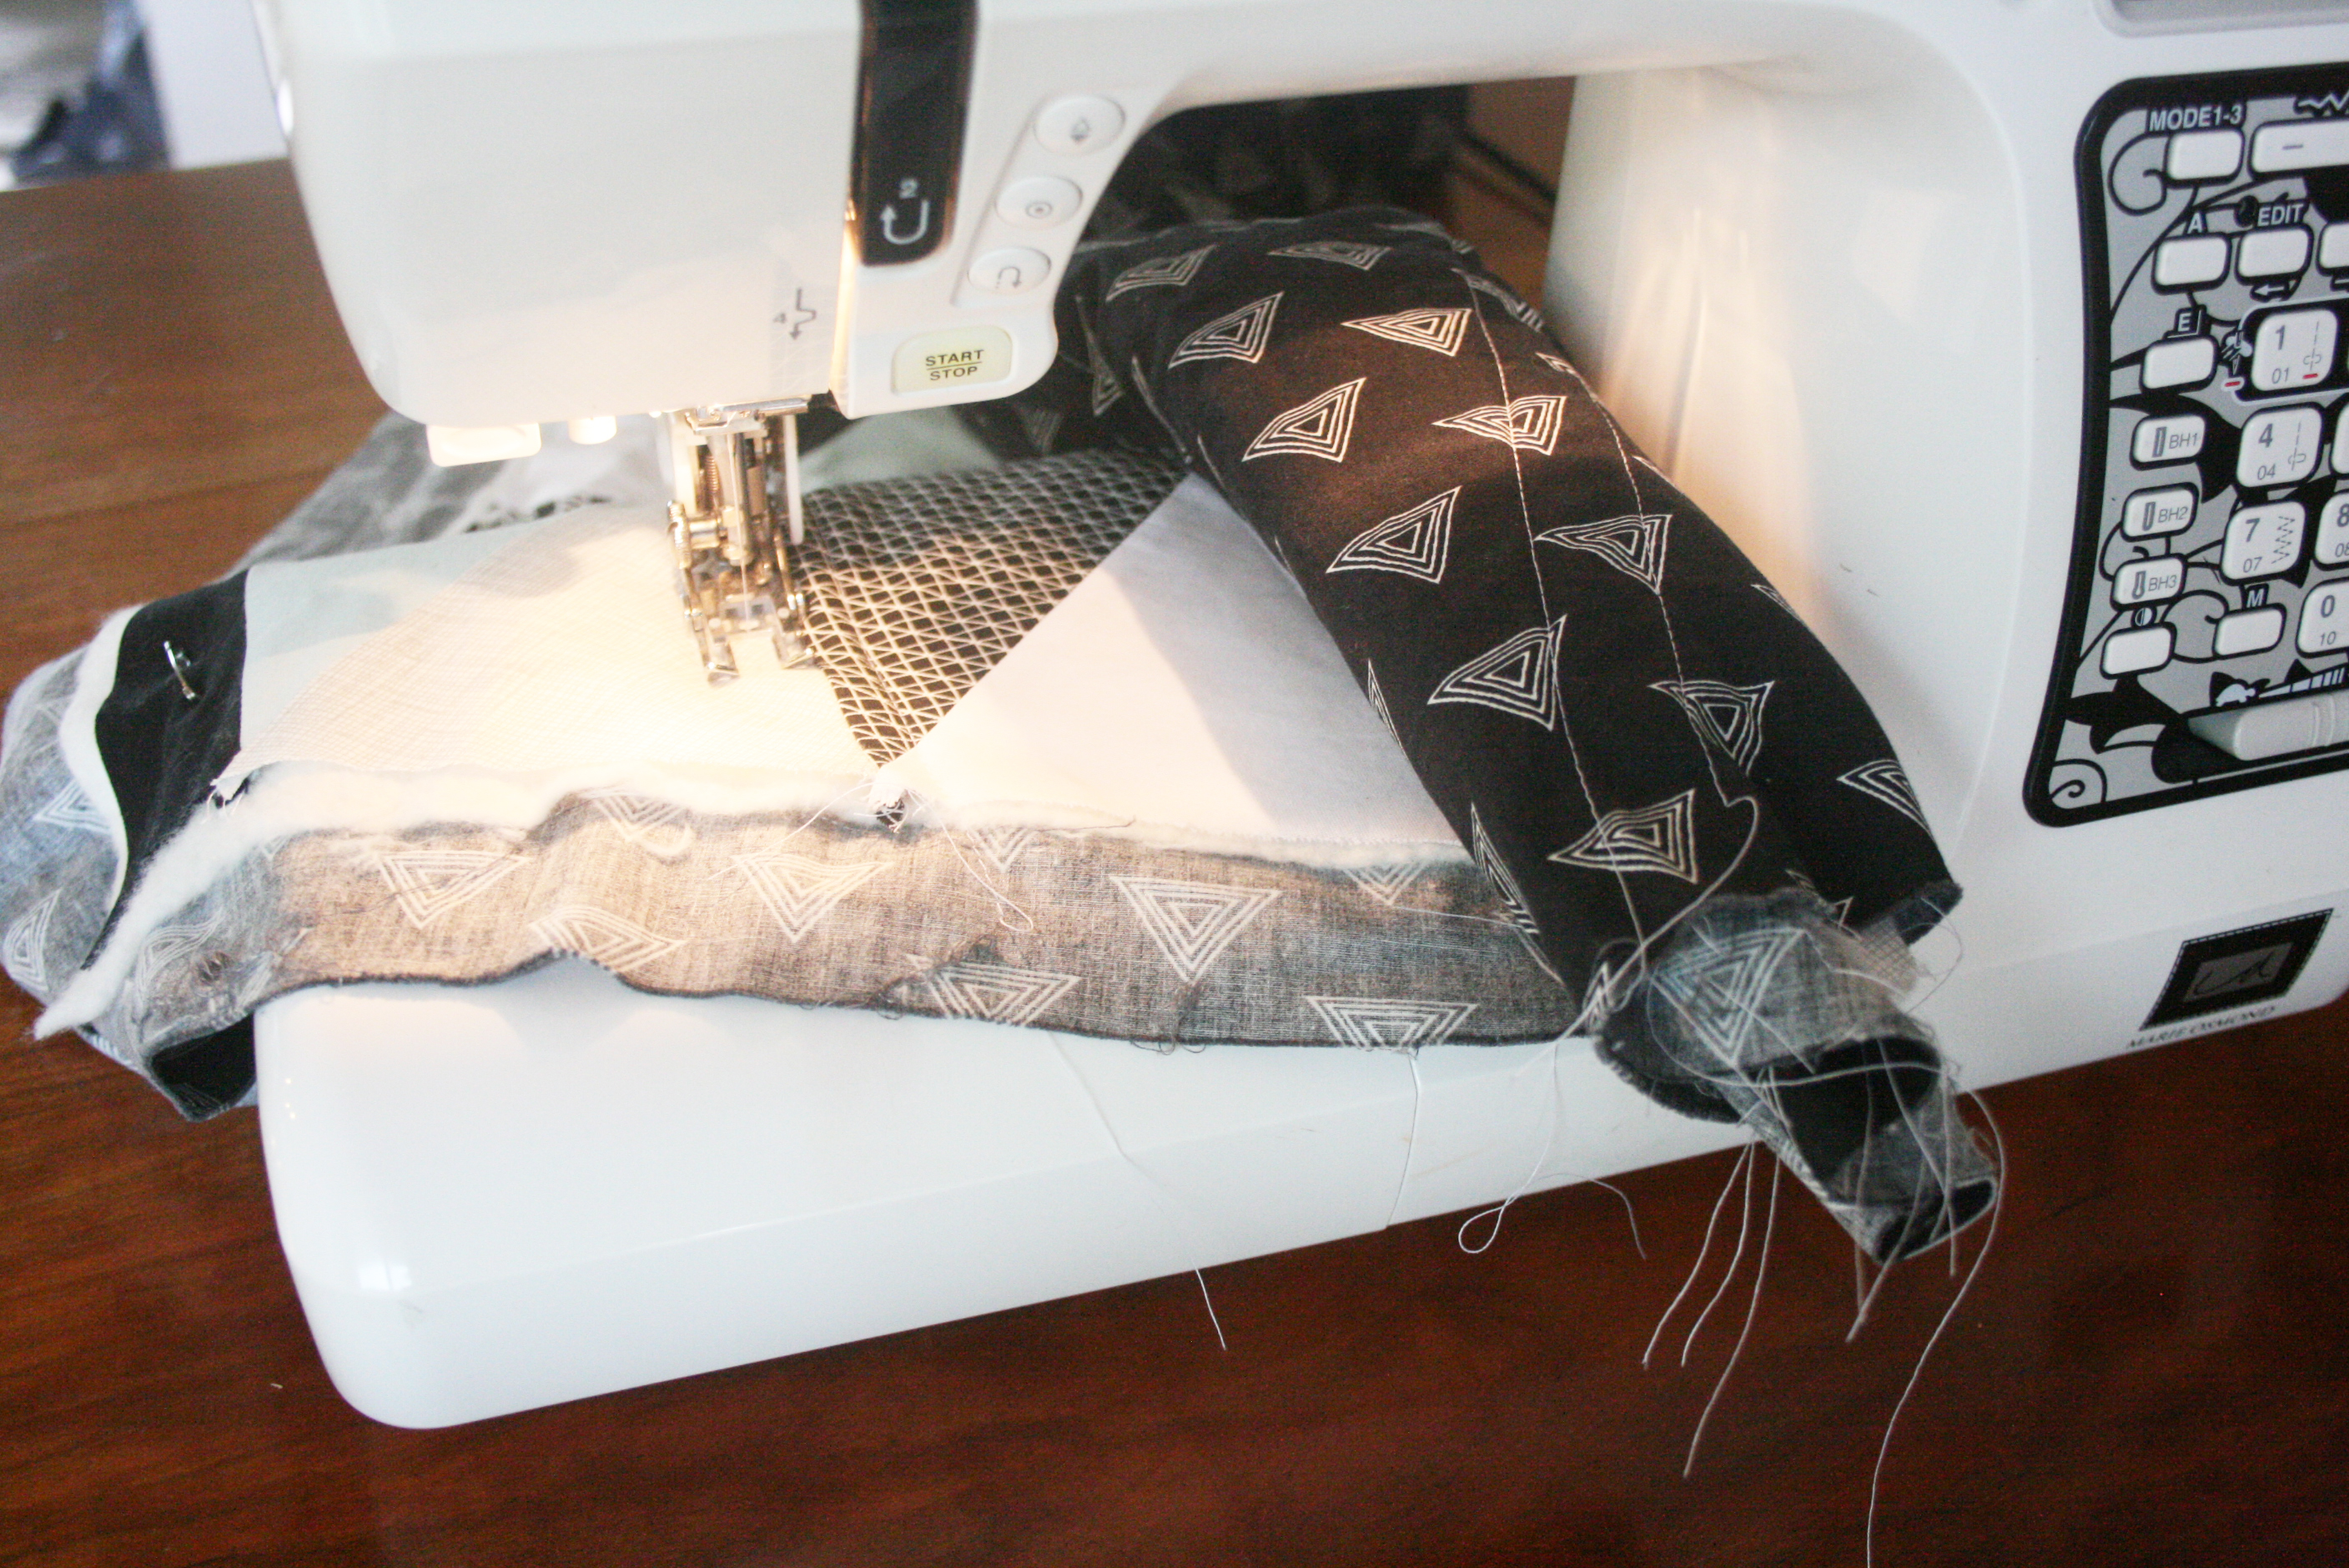
When you make your quilt sandwich, think about how you want to do your binding. I NEVER do the backing binding method, but this was such a small quilt and I loved the fabric. So of course, for my first ever blog tutorial I do it! I carefully trimmed my top and batting with a rotary cutter and pressed them before laying them atop my backing. Next I safety pinned the layers together. Always start in the middle and smooth from there to pin your quilt together. Work out in a cross and diagonal from the center. Last step before quilting: I trimmed a 2″ margin of my backing carefully. I wanted to have a 1.25″ margin for my binding but sometimes when you quilt it uses a bit of the backing, better safe than sorry! I quilted on the diagonal and LOVE how it turned out. When quilting on your home machine, use a walking foot. Roll your fabric up to help it fit in the “armpit” of the machine easier. Set your stitch a bit longer than normal to help the quilting stay smooth. Work from the middle out with your stitching…
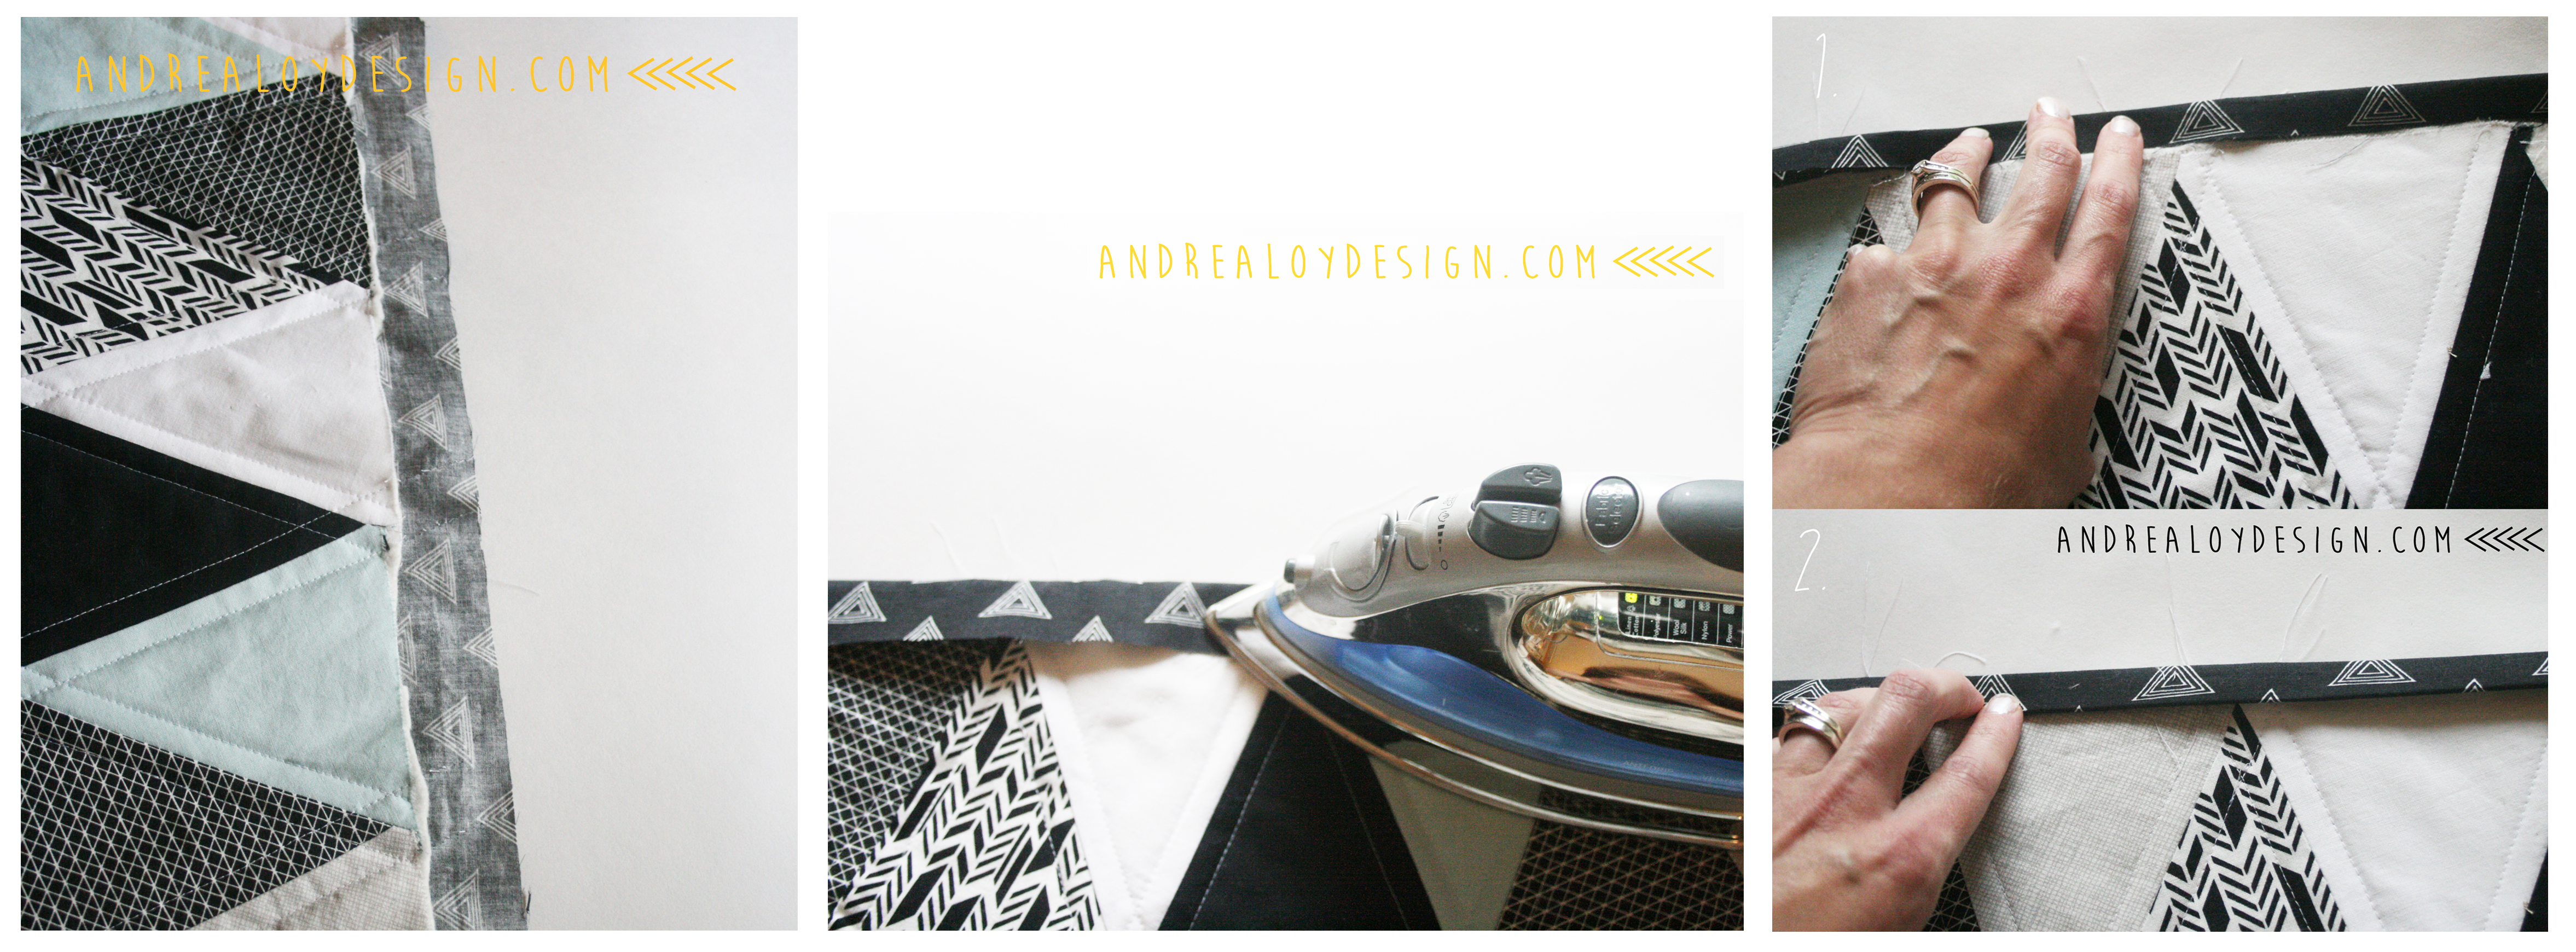
Let’s talk binding. Trimmed it up to a nice straight 1.25″ with the rotary cutter. Pressed the quilt nicely. Then, I ironed the binding over to the top of the quilt making a crease. Next I double folded the binding, pressing after each fold.
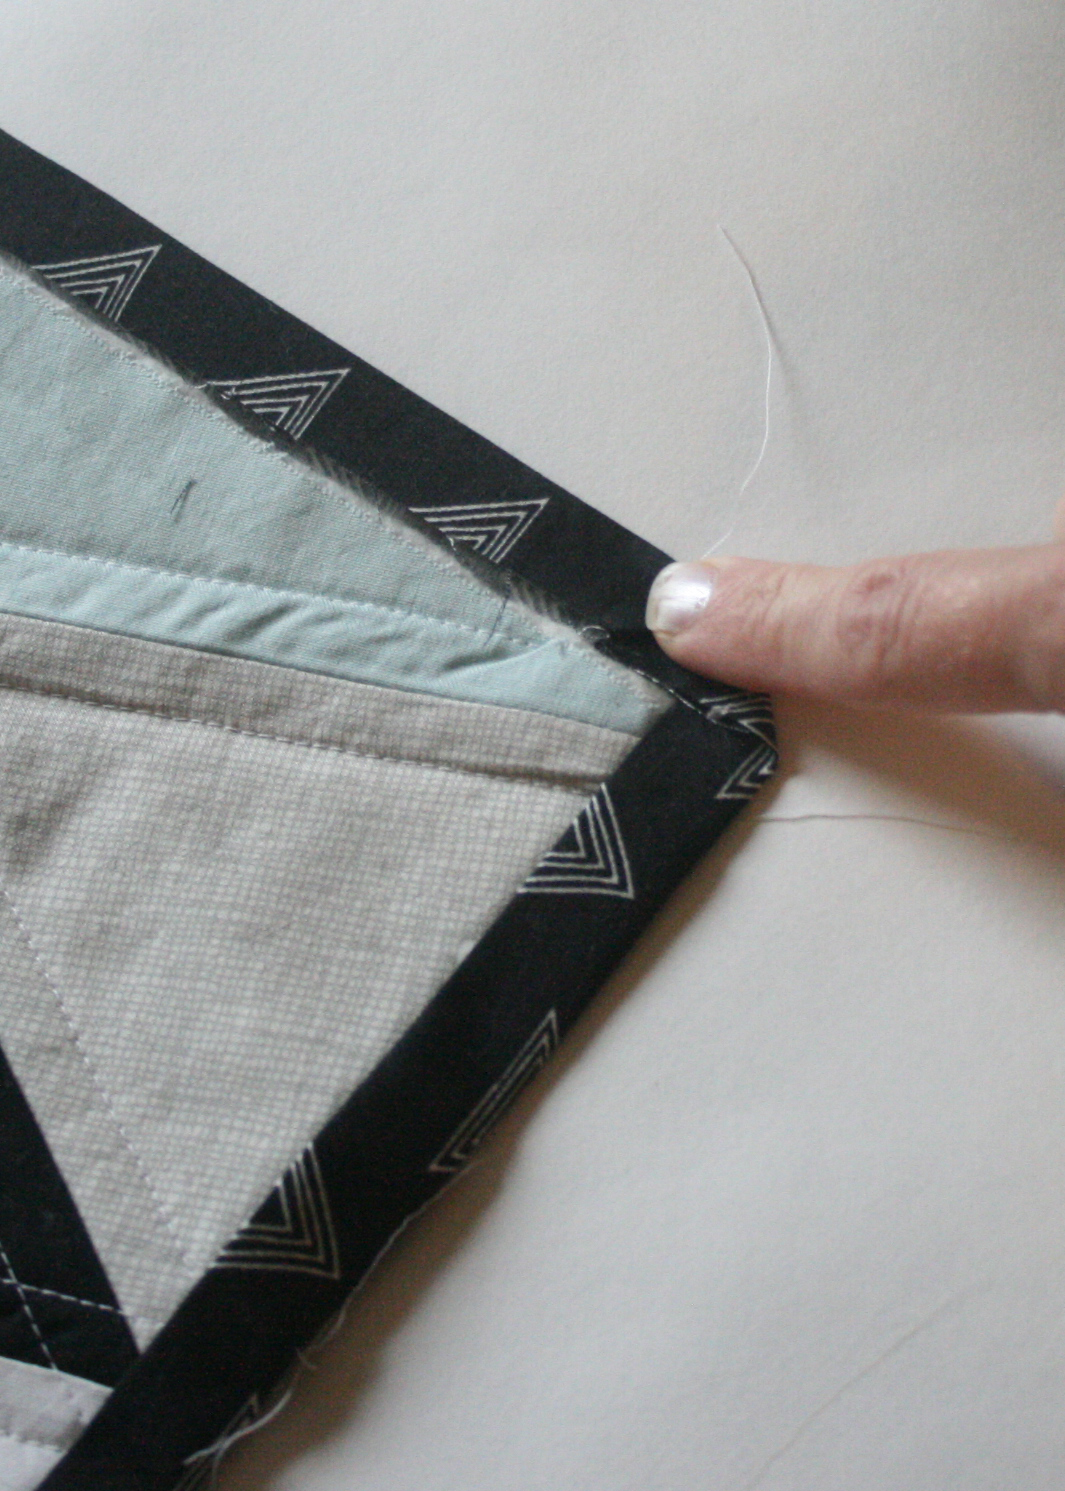
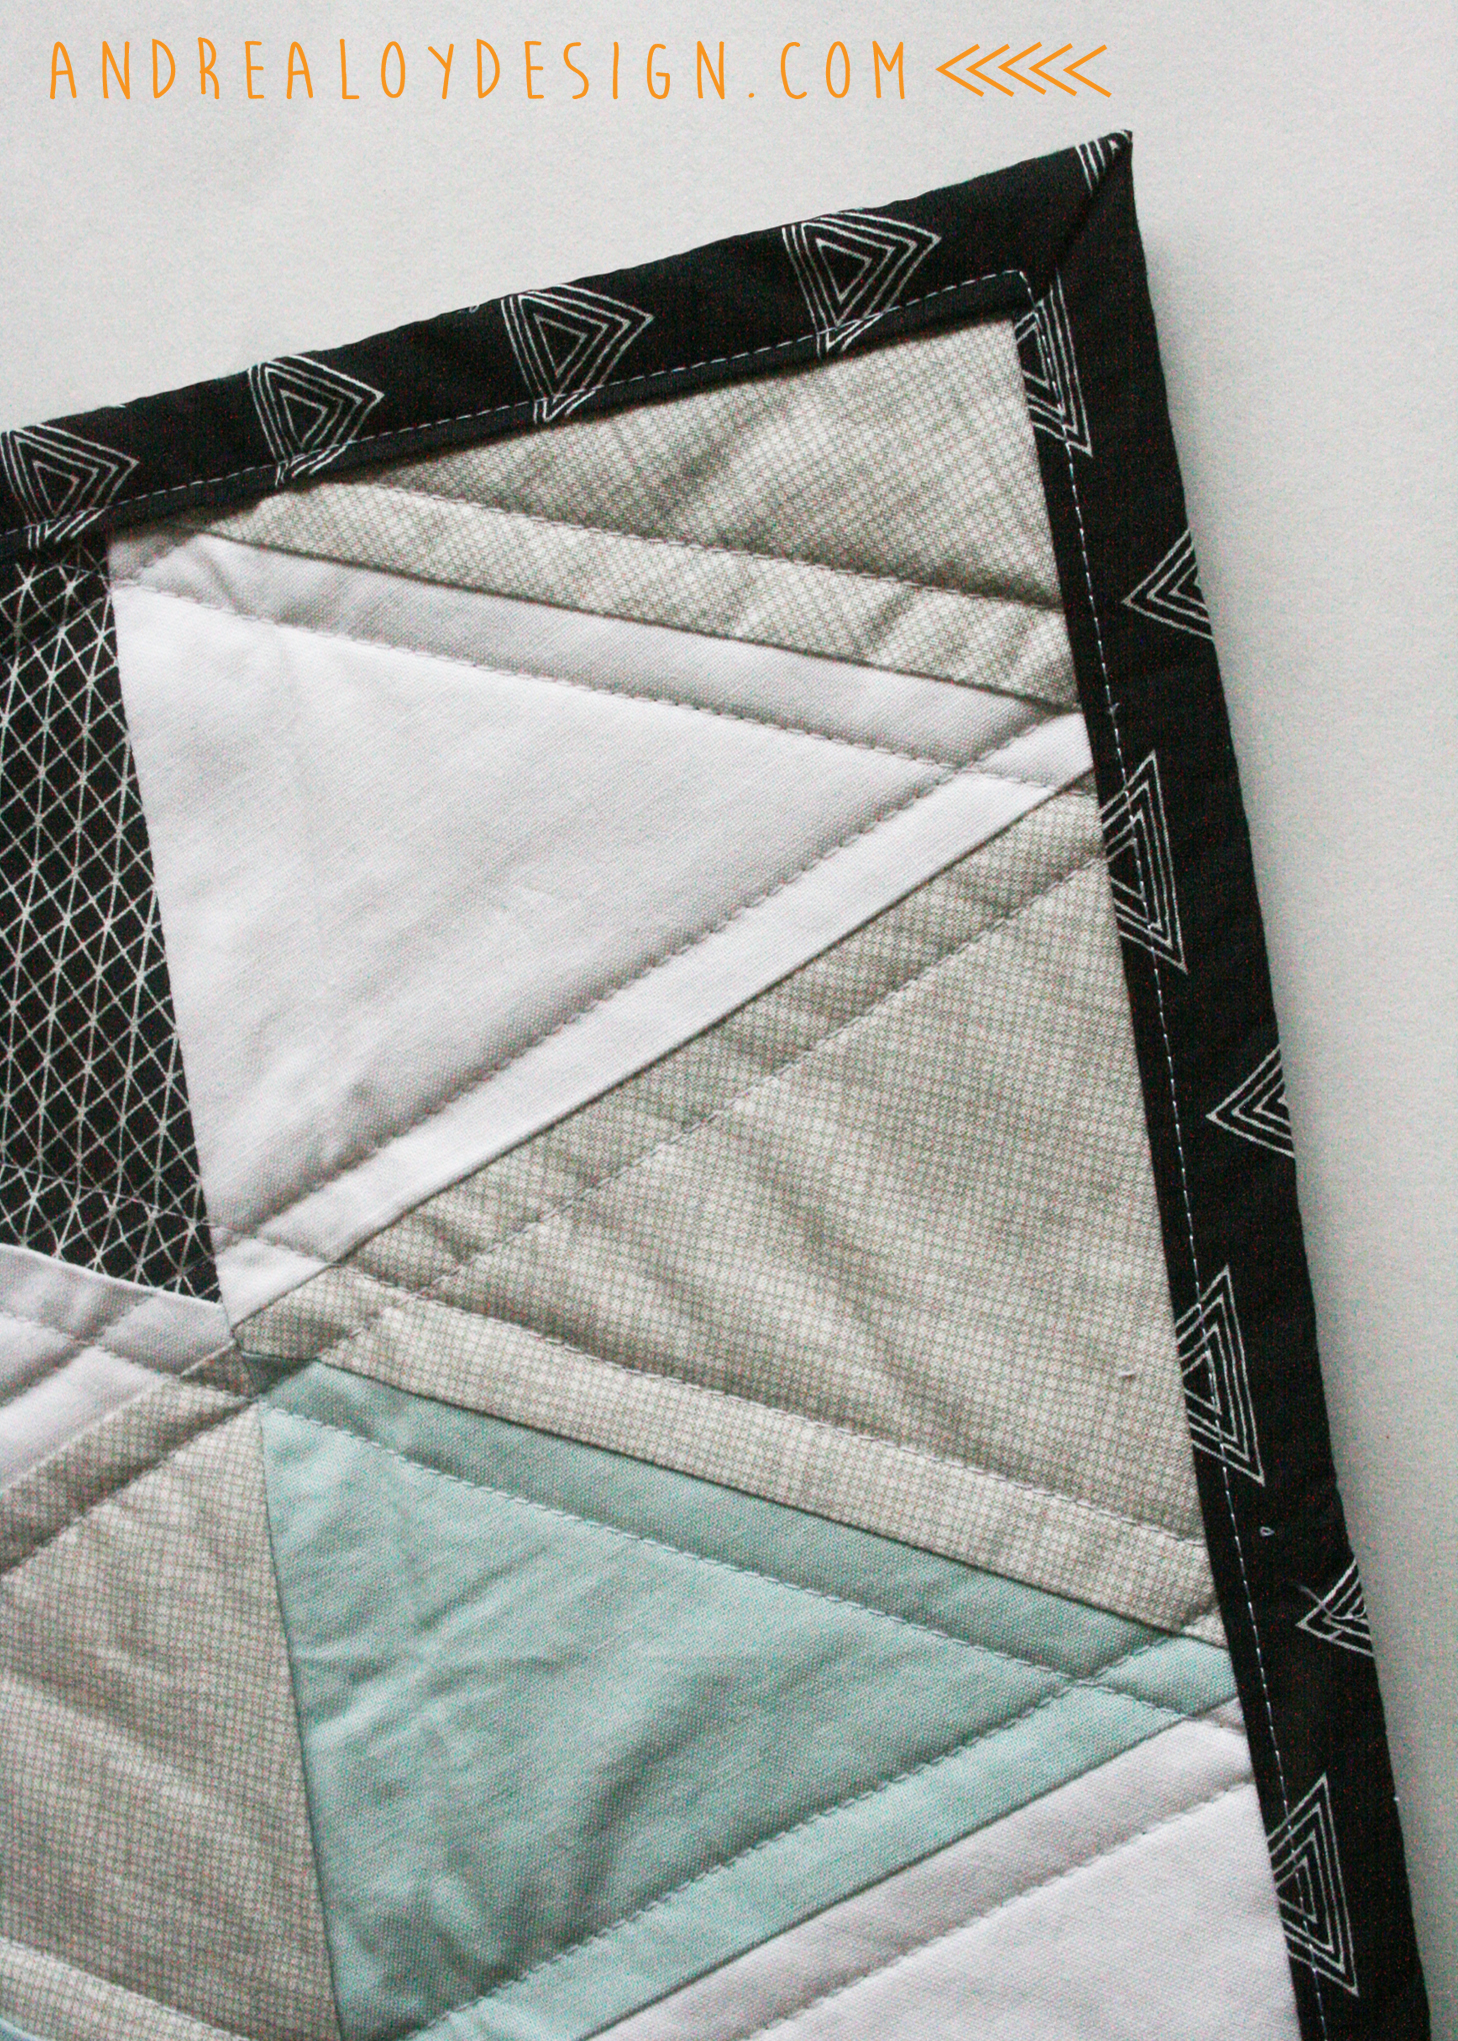
Are you hoping at this point that I don’t forget to show you how to miter the corners? First open one fold of one of the quilt binding sides. Fold the corner down toward that opened side. The fold the binding back over where sit should go. Poof! Magical mitered corner… I think it’s best to show you in pictures:
There. All done! Thanks for reading! Share your triangle quilts with me on my FB page as soon as their done! I’d love to see them. Now that baby O is on the way today I can share this. We can’t wait to meet him! Here are pictures of what was happening behind the scenes while I worked on this with the hoodlums. Just your basic sprinkler situation and some attitudes of course…. 🙂 For the Gmas….


