by Andrea | Aug 5, 2019 | quilting, Sewing
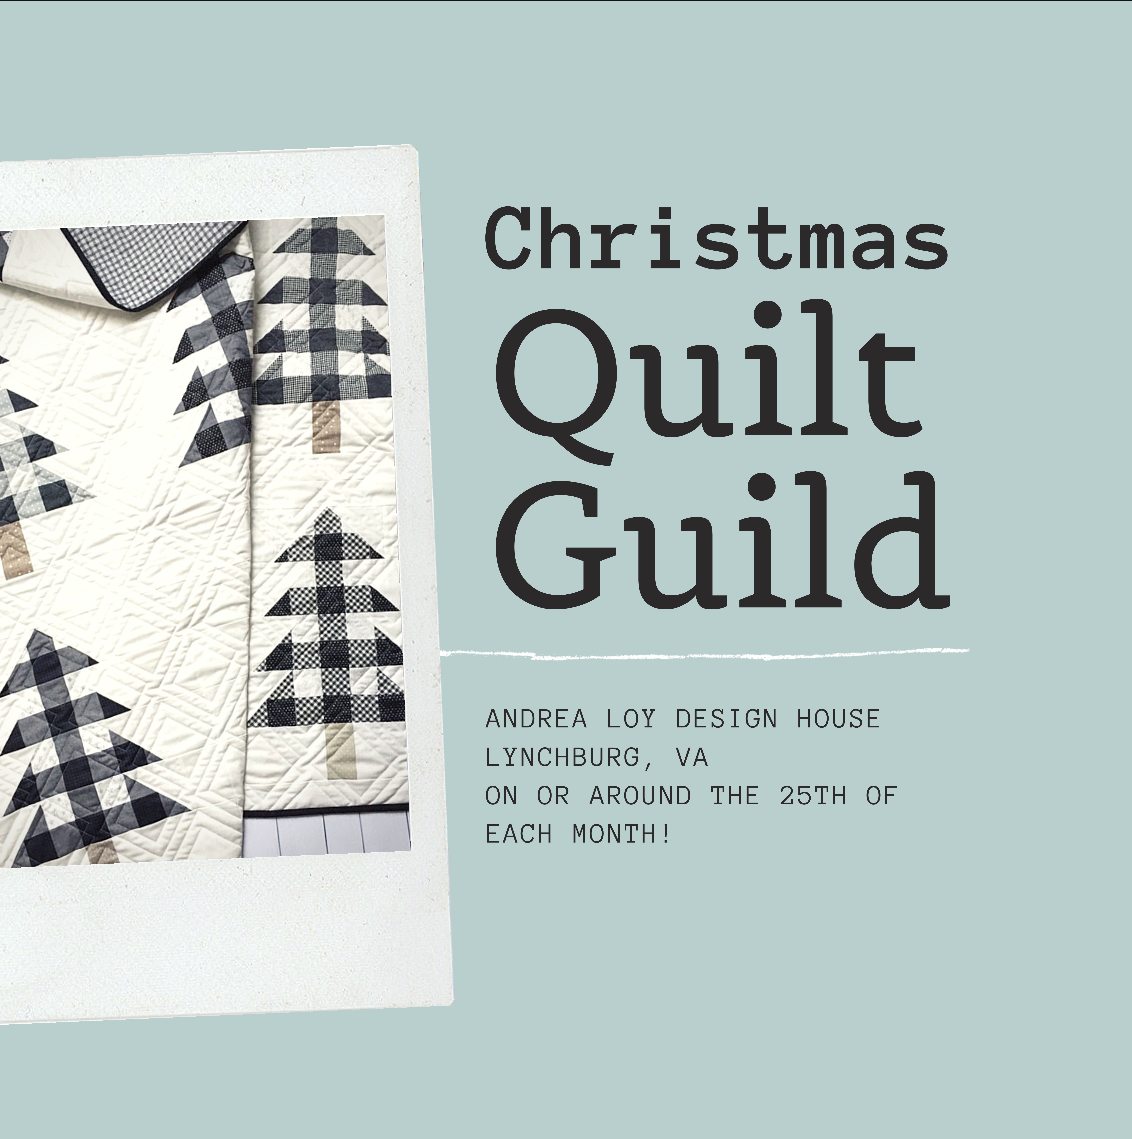
I am excited to host a monthly Christmas Quilt Guild this fall! I have had a lot of questions about this. So I thought I would explain a bit more and then anwer a few FAQ’s.
This summer I offered quilting lessons and a couple lovely ladies signed up. We had such a blast that we decided we could not imagine a world where we are not getting together and quilting every once in awhile. I started thinking about what I’d like to quilt next….I really wanted to take all my Christmas jammie scraps from years past and turn them into a Christmas Quilt for our family room. So I suggested we get together once a month this fall and make Christmas Quilts!!!
WE invite you to join us. (Squeal!) It’s basically just a cluck and sew, or a good old fashioned sewing bee. There will be snacks and Christmas cookies, and Christmas music. If you can’t handle all of that Christmas cheer, this is not the group for you.
FAQ’s:
Can I come? Of course! If you don’t live near Lynchburg, you are welcome to follow along and host your own! However, I am happy to pick anyone up from the airport. 🙂
Are we all making the same pattern? No we are all making our own different quilts. It is your choice. I will be here for help, questions, moral support, and seam ripping when necessary! I have started a beginner quilts and a Christmas Quilts board on Pinterest if you need ideas. >>> CLICK
Can I follow along at home? Yes! I will post where you should be in the process each month in order to get your quilt done in time for Christmas snuggles on the couch and Hallmark Christmas movie binge watching…..
When are you meeting? Our first meeting is August 27th from 7-10pm at my house. We will all decide together which date works best each month.
What if I can’t sew? But I really want to learn? Let’s have a few lessons first! I can’t teach lessons on Christmas Quilt Guild night or I will never finish my own quilt, but I would absolutely love to give you a few lessons to catch you up!!! Just send me an email. I love getting other women addicted, er I mean teaching other woman the love of sewing!
HERE’s THE PLAN:
August 27th: Cut our quilts up! Plan the layout.
September: Piece the tops.
October: Begin basting and quilting.
November: Binding!
You may need to spend some time catching up in between guild nights depending on the size or complexity of your quilt. Just spend 30 minutes a few nights a week and it will get done!
December: ENJOY! DISPLAY! LET YOUR CHILDREN FIGHT OVER IT AND SPILL STUFF ON IT. BRAG ABOUT YOUR FIRST CHRISTMAS QUILT. POST IT ON SOCIAL MEDIA.
-The Quilt in the picture above is a darling pattern by Center Street Quilts. It can be purchased here.
-AND HERE is that Christmas Quilty Pinterest Board link one more time.
by Andrea | Oct 28, 2018 | DIY, handmade, Home Decor, tutorials
One day, I hope to own my very own company, with a brick and mortor store. A place where art and craft meet. A place where fellowship and therapy happen over busy hands around a table of makers. A place that feels like your home away from home, only more heavenly.
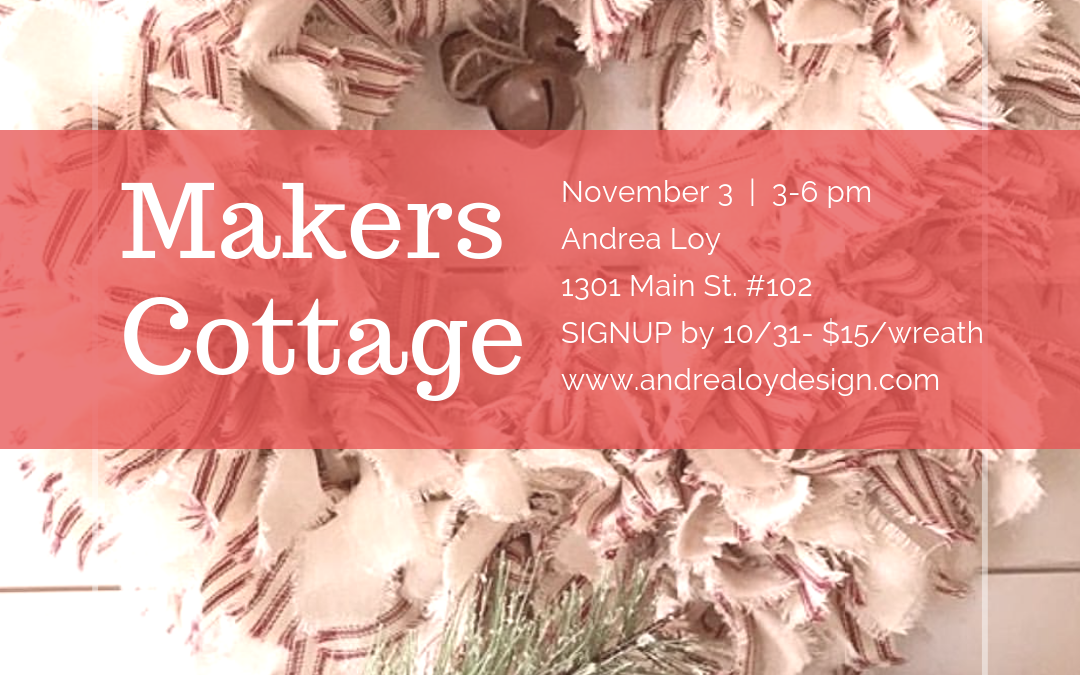
It starts here…with Maker’s Cottage. Will you join me? I host small gatherings of modern makers where we rekindle the lost art of busy hands and beautiful handmade gifts.
This month I’ll be kicking back into gear after almost a year hiatus from Maker’s Cottage. Our first event will be Christmas Rag wreaths. These wreaths will be made on wire frames and the only skill you need is knot tying! Come join the fun and sign up below so I have enough supplies ready.
I’ll be here to make sure you go home with a new skill and a giftable handmade craft. Click on the image below to sign up!
by Andrea | Aug 26, 2018 | handmade, quilting, Sewing, tutorials
I think I’m over being intimidated by new things. At least as far as quilting or sewing is concerned. I’ve looked longingly at clamshell quilts for far too long. These little pieces of rounded seashell shaped fabric began their siren call one Pinterest session long ago and it was an irresistible sound….
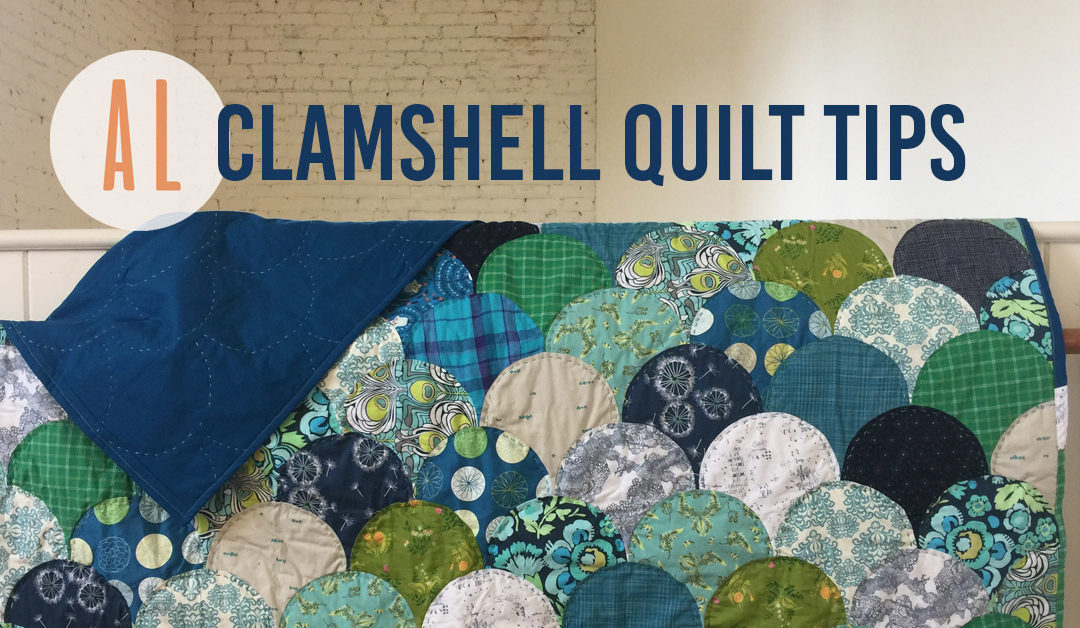
I’ve succumbed and over the summer I completed my first Clamshell Quilt. How did I do it? Is it something to be scared of? How did I make the cuts? Did it take forever? Did I feed my children at all during this long tedious quilting marathon?
Well, let’s see if I can unpack this all for you.
First of all. If there is a good clamshell quilt tutorial out on the wonderful wide world of web, then I have yet to find it. I’m of the ilk that there are always people who are more talented, more knowledgeable and certainly more skilled than I am at just about everything. However, a clamshell quilt tutorial must have not been on their list to share with us all because I had to go this one alone.
I’m going to share some tips with you because I don’t want anyone to go through what I did. I couldn’t get it started. The first two rows were painfully awkward. I want to spare you the insecurity….AND DID I MENTION I MACHINE PIECED IT? That’s the best part. I really don’t have time for hand piecing right now. Does anyone?
The key to a good start is using the accuquilt clamshell die because it cuts out points for you to line up your clamshells. If you don’t have one, you make marks but they are hard to see when you are sewing. For the first row you need the shells to be joined only at the bottom but the second row has to help out to hold up the row.
Here is a diagram:
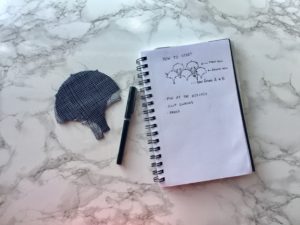
Here are the tips:
1.) PINNING IS ESSENTIAL
2.) CLIP THE CURVES
3.) PRESS THE SEAMS IN ONE DIRECTION
At first it looks like a disaster. There is no quick joy found in this first foundational piecing of rows. You will wonder if you are doing it right. It’s floppy and shapeless.
Just press on my dear quilting friends. Because once you get past those first two rows you can start sewing the clams on in one fell swoop along the curve from point to point.
At this point, I throw on a good audio book and lose myself in the tedious pinning of points and just keep sewing. YOU MUST PIN!!! PIN PIN PIN and rejoice in the fact that you can sew the whole curve without stopping and the shape of the quilt is taking place. Each row grows more and more satisfying to add on.
I don’t think while I do this, and sometimes I rip it out of there is too much left over at the end of the clamshell. The reason being your whole quilt will go crooked… it will be a little beyond wonky. You can have a little leeway at the ends but I’d rip it out and realign if you have more than 3/8″ hanging off.
In the end you have to cut all the edges of the quilt off square to bind it. This part hurts me. Becuase all those little clams…..it feels wasteful. But it has to be done. RESIST THE URGE TO SEW A BORDER. THIS WILL MAKE YOUR QUILT LOOK KITSCH. And we can’t have that. Not after all we’ve been through to get this beautiful thing off the ground.
It sure does look cute, though, without a border, the scallops reaching from end to end. This kind of quilt has so much potential. From ombré, to mermaid, to dainty pink and white little girly room quilts. To dark and elegant….


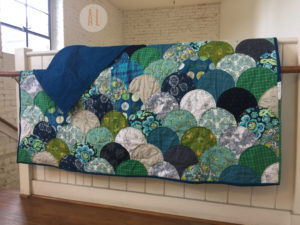
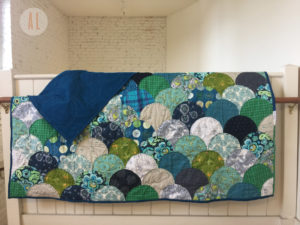

Give it a whirl! It’s worth the try! I promise!!! Happy Quilting.
{I used the large Accuquilt Clamshell Die to make this quilt. Shown next to my sketchbook diagram are the smaller sized clamshells.}
by Andrea | Feb 10, 2018 | quilting, Sewing
QUILTY PILLOWS
Sometimes you buy some fabric and it sits in your stash for 2 years because you can’t bear to cut into it.
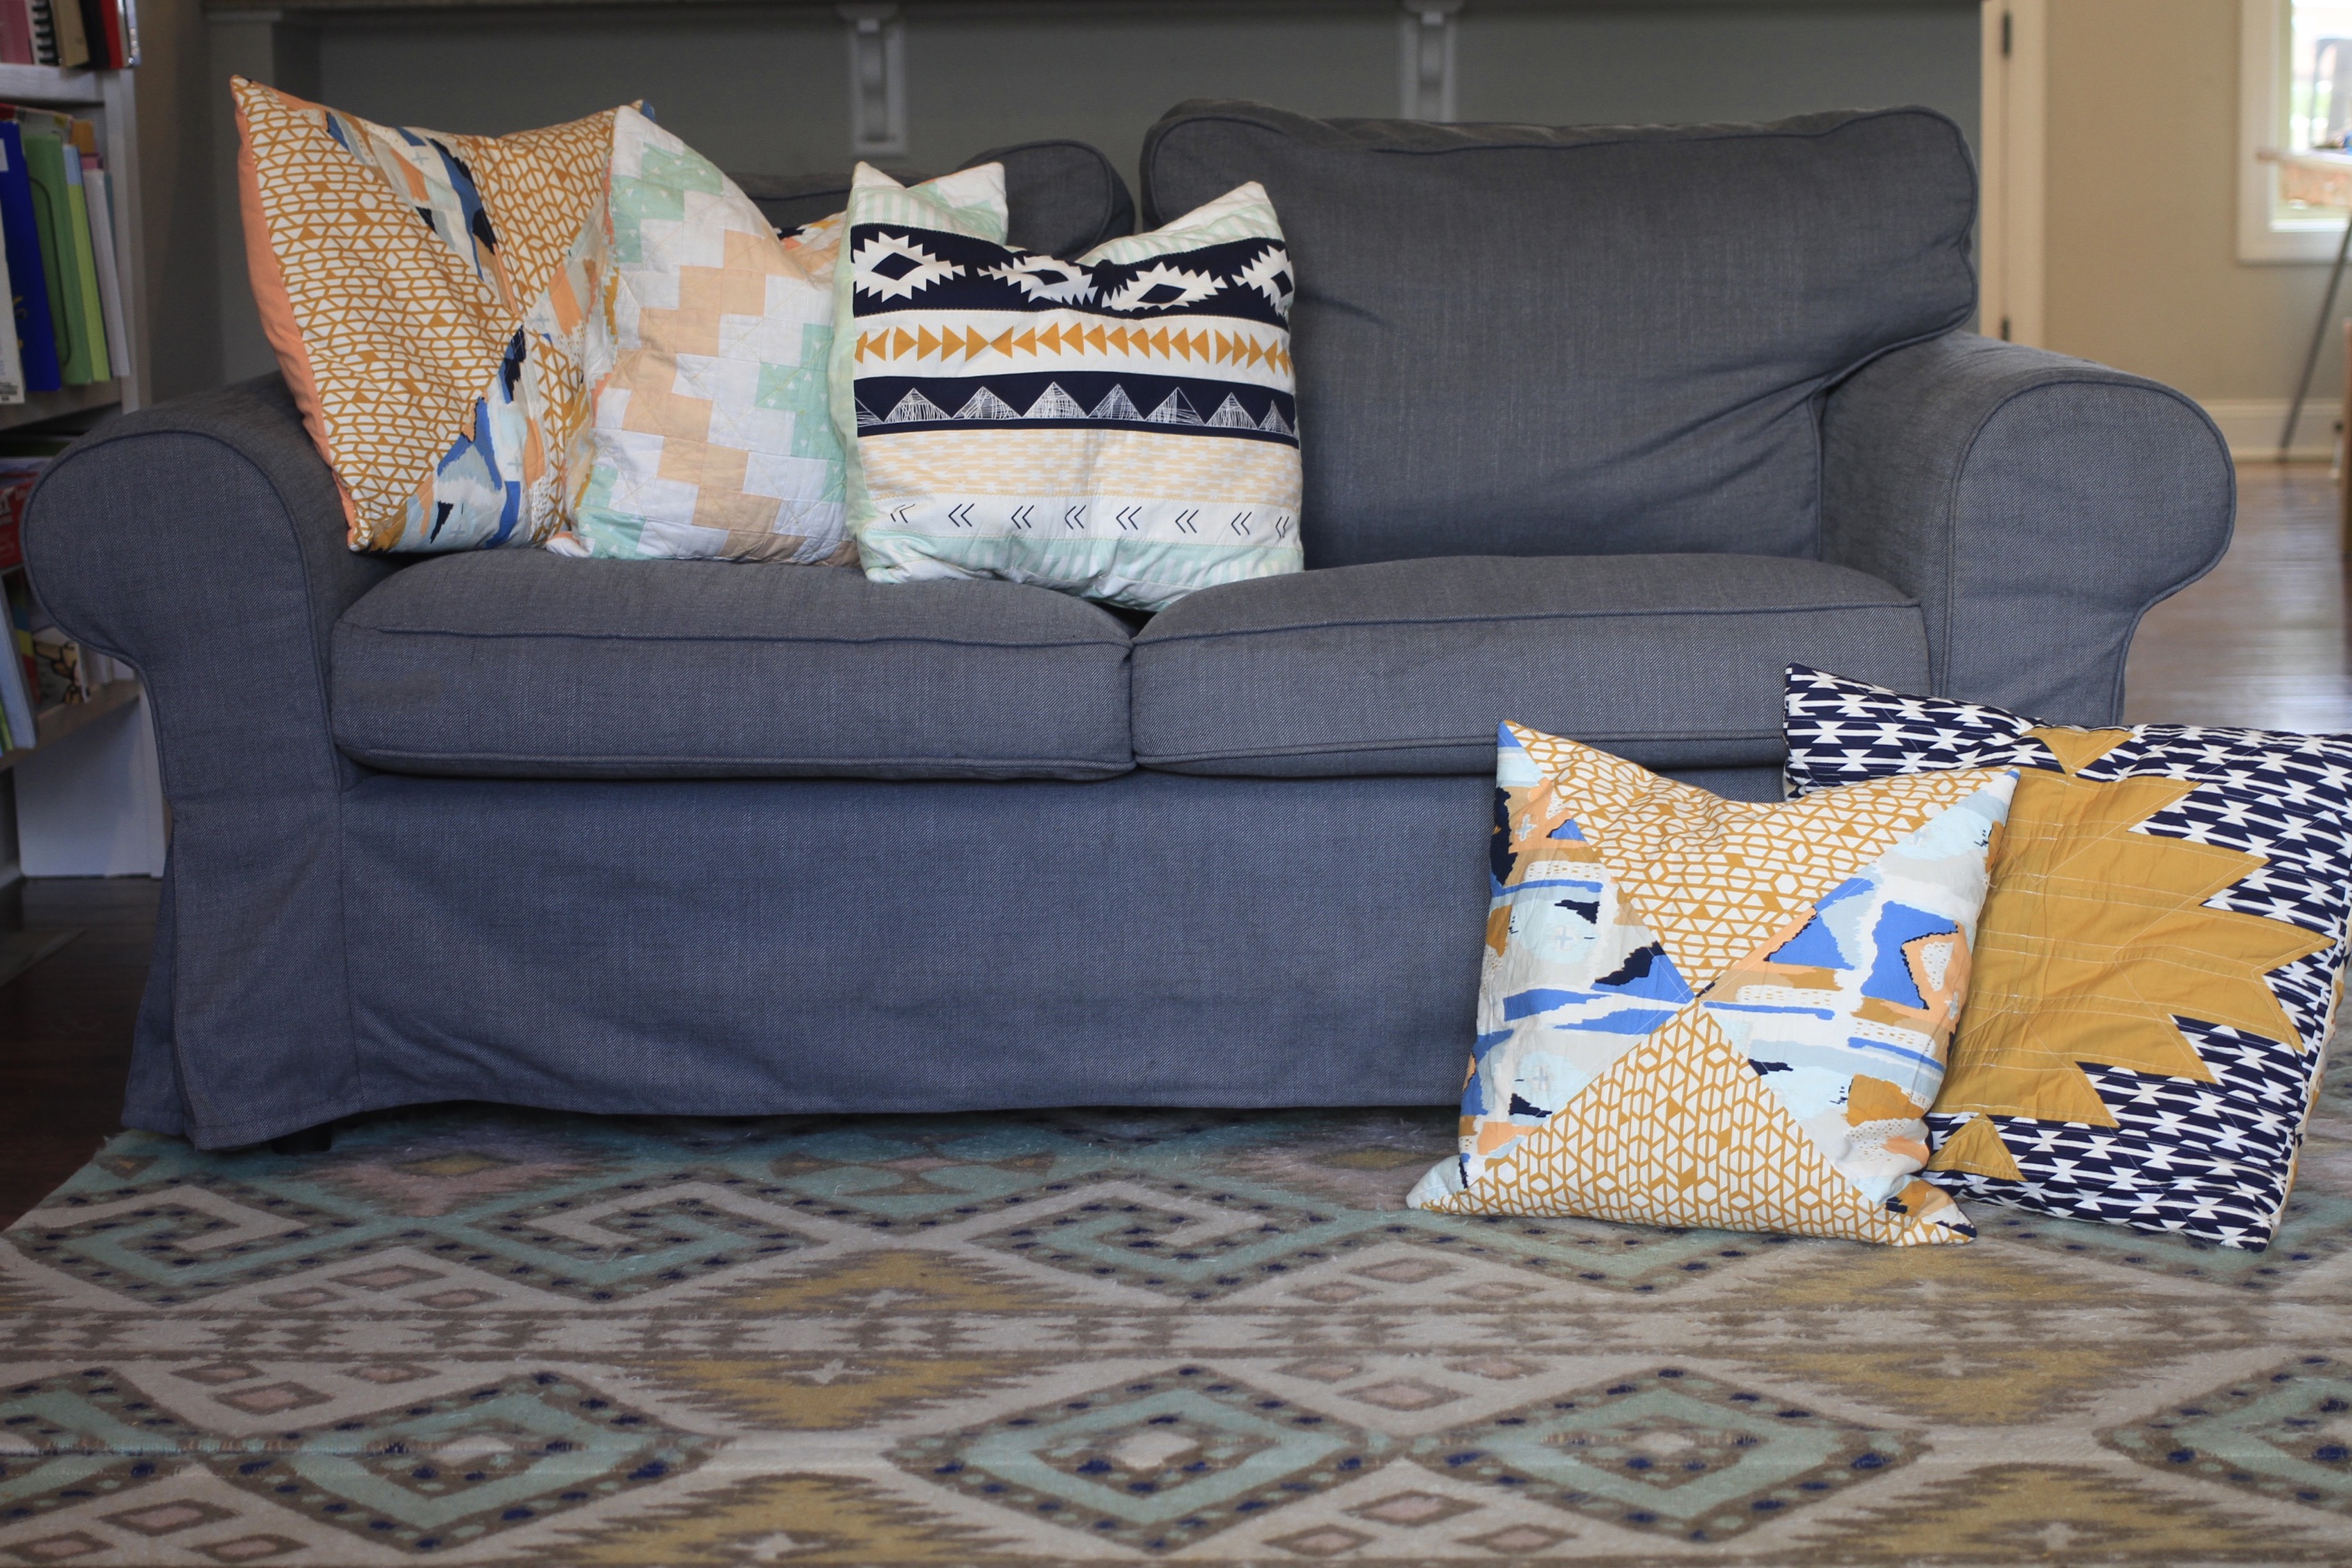
For this beautiful Arizona fabric, however, that was not the case. I knew these gorgeous cottons were destined for quilty pillows and a large comfy couch quilt but…
Sometimes you get fabric and it sits in your stash for 2 years becuase your life is in storage, you have baby number #5 and you move across the country….
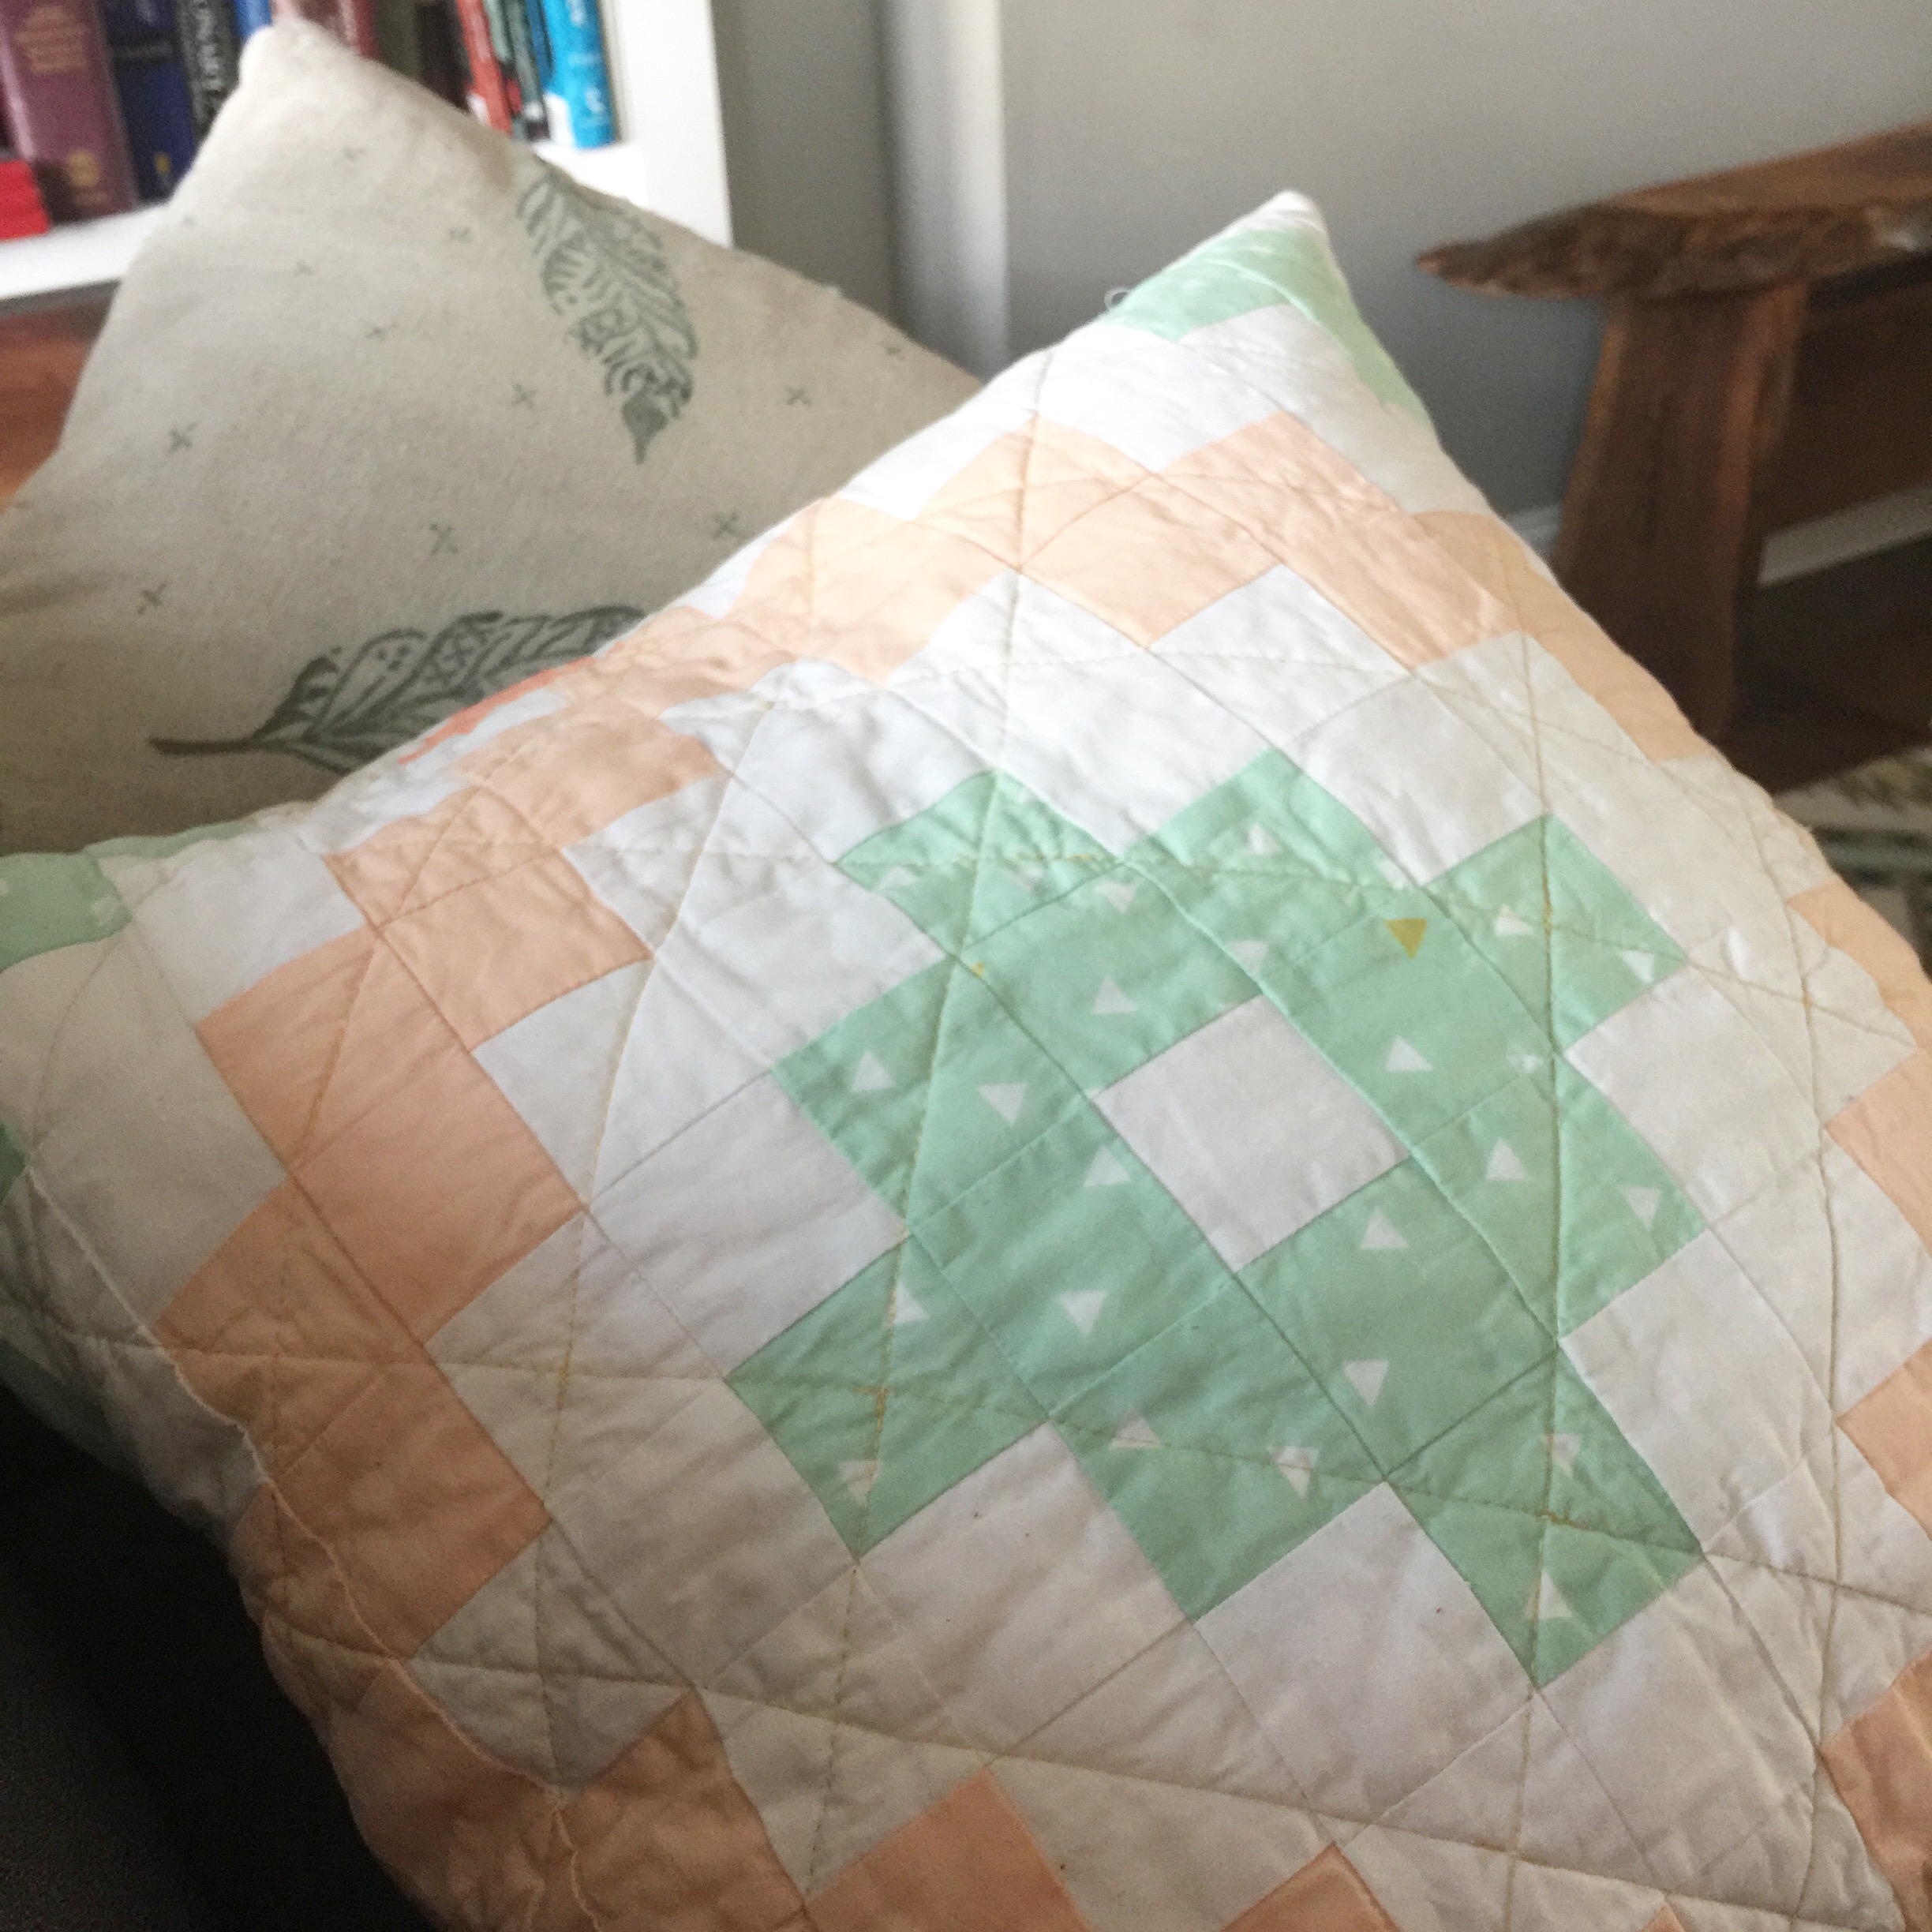
This past summer I had a blast sewing up different styles of quilt blocks I had never made before. I especially love the Aztec Tile block pillow. There were 182 2″ square blocks involved in piecing this pillow!
by Andrea | Dec 27, 2017 | DIY, handmade, Sewing
I don’t really know how I could name this sewing pattern anything else but The Hermione. I listened to the HP novels {for the first time ever!} while envisioning this design, drafting it on pattern paper, and then making the first sample. Ironically, I was sewing other things while most of the design gears were turning in my mind, but that’s how it goes. Mindless doing with the hands busy begets the brain space for creative mode to flourish. Do I need to back up and dwell on the crazy fact that I was 35 years old before I read Harry Potter? We can talk about it later….
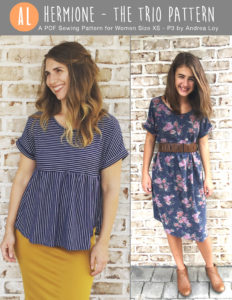
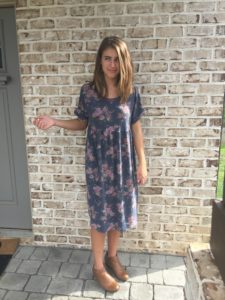
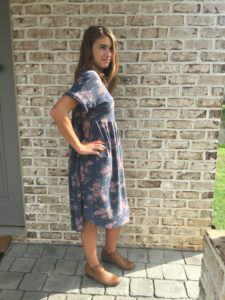
What I have here is a really quick, super flattering PDF sewing pattern for women! This pattern is truly magical like it’s namesake. Top, tunic, or dress in 2 hours. What is not magical about that? There are no fancy complicated things going on here. First you have a boatneck, which is elegant, and tends to dress up an outfit. The top has a cuffed dolman sleeve, which makes the piece come together quite quickly. { Confession: I used to think Dolman sleeves were super ugly, and basically people were just too lazy to make a real sleeve. I am here to admit I was wrong! I am sorry. Phew. Glad I got that off my chest. Am I the only one? } The waist line is an empire height, which can be easily lowered, if you need a more on trend drop waist look, but as a mother who kind of struggles with a diastasis recti, I like this line up higher. It is flattering if you have a bit of a mummy tummy or not.
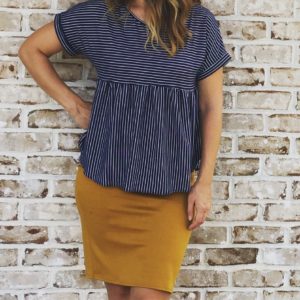
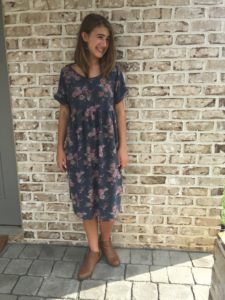
This top hits me at the top of the hips, and was drafted for my 5’9″ height. You can easily shorten or lengthen the top, tunic or dress. It’s slightly gathered and has a tulip hem. Seriously, this pattern is very easy to adjust! I provide tunic and dress lengths on the pdf printable pattern but you may want to construct the top and then measure for a custom length from the bodice.
I’m so excited to release this pattern. It was finished this July, but after testing I really needed to make a lot of adjustments. I am BEYOND grateful for the women who joined my new Facebook Testing Group in September and helped me fine tune the pattern. They are amazing! I could not have done it without them. I need to go back and make my first pattern even better now with their expertise!
Check out my Instagram feed for sew and tells of the pattern! @handfulofarrows #hermionepattern
You can join my testing group HERE. I’d be just over the moon to have you! I have lots of patterns to draft and test in the future.
You can buy The Hermione Pattern in my Etsy shop HERE!
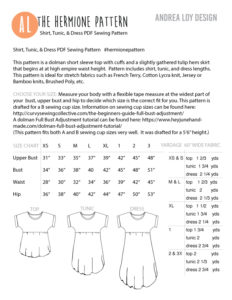
Here’s the size chart and few important facts like measurements, yardage, etc… (I’ve included links on the pattern to a FBA Dolman tutorial if needed.)
by Andrea | Aug 1, 2017 | Baby, handmade, Sewing, tutorials
NEW SEWING PATTERN
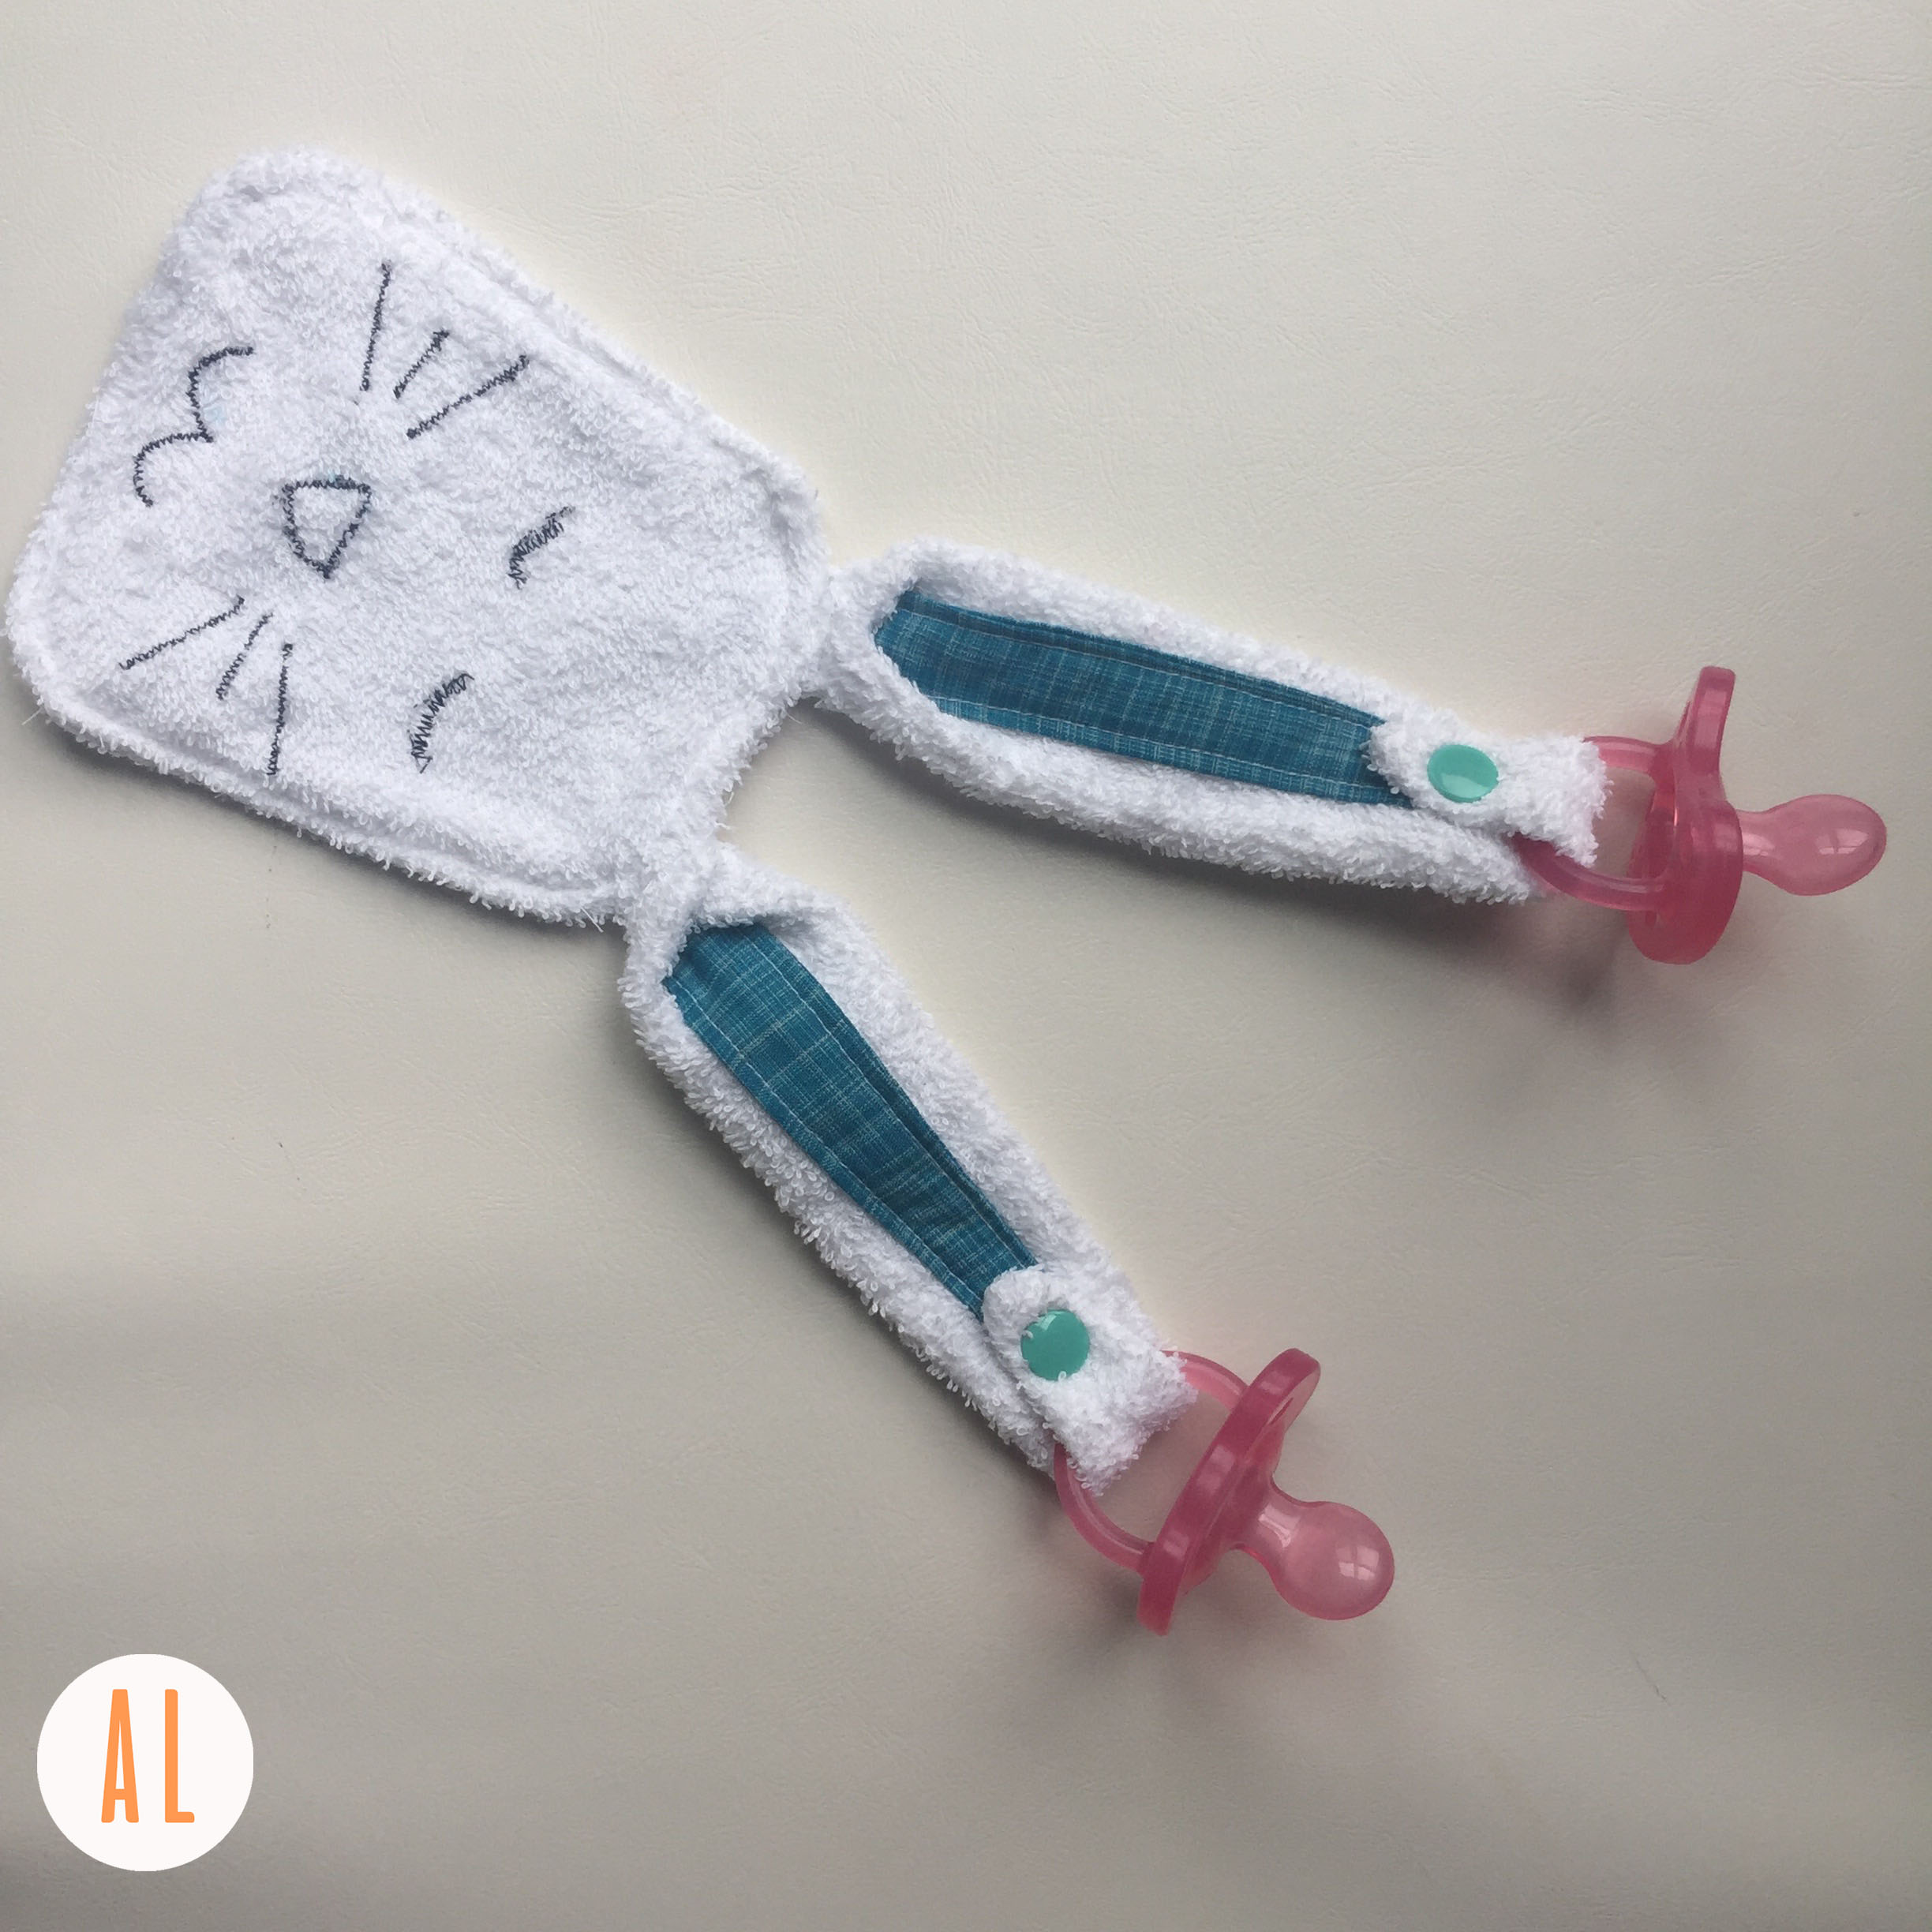
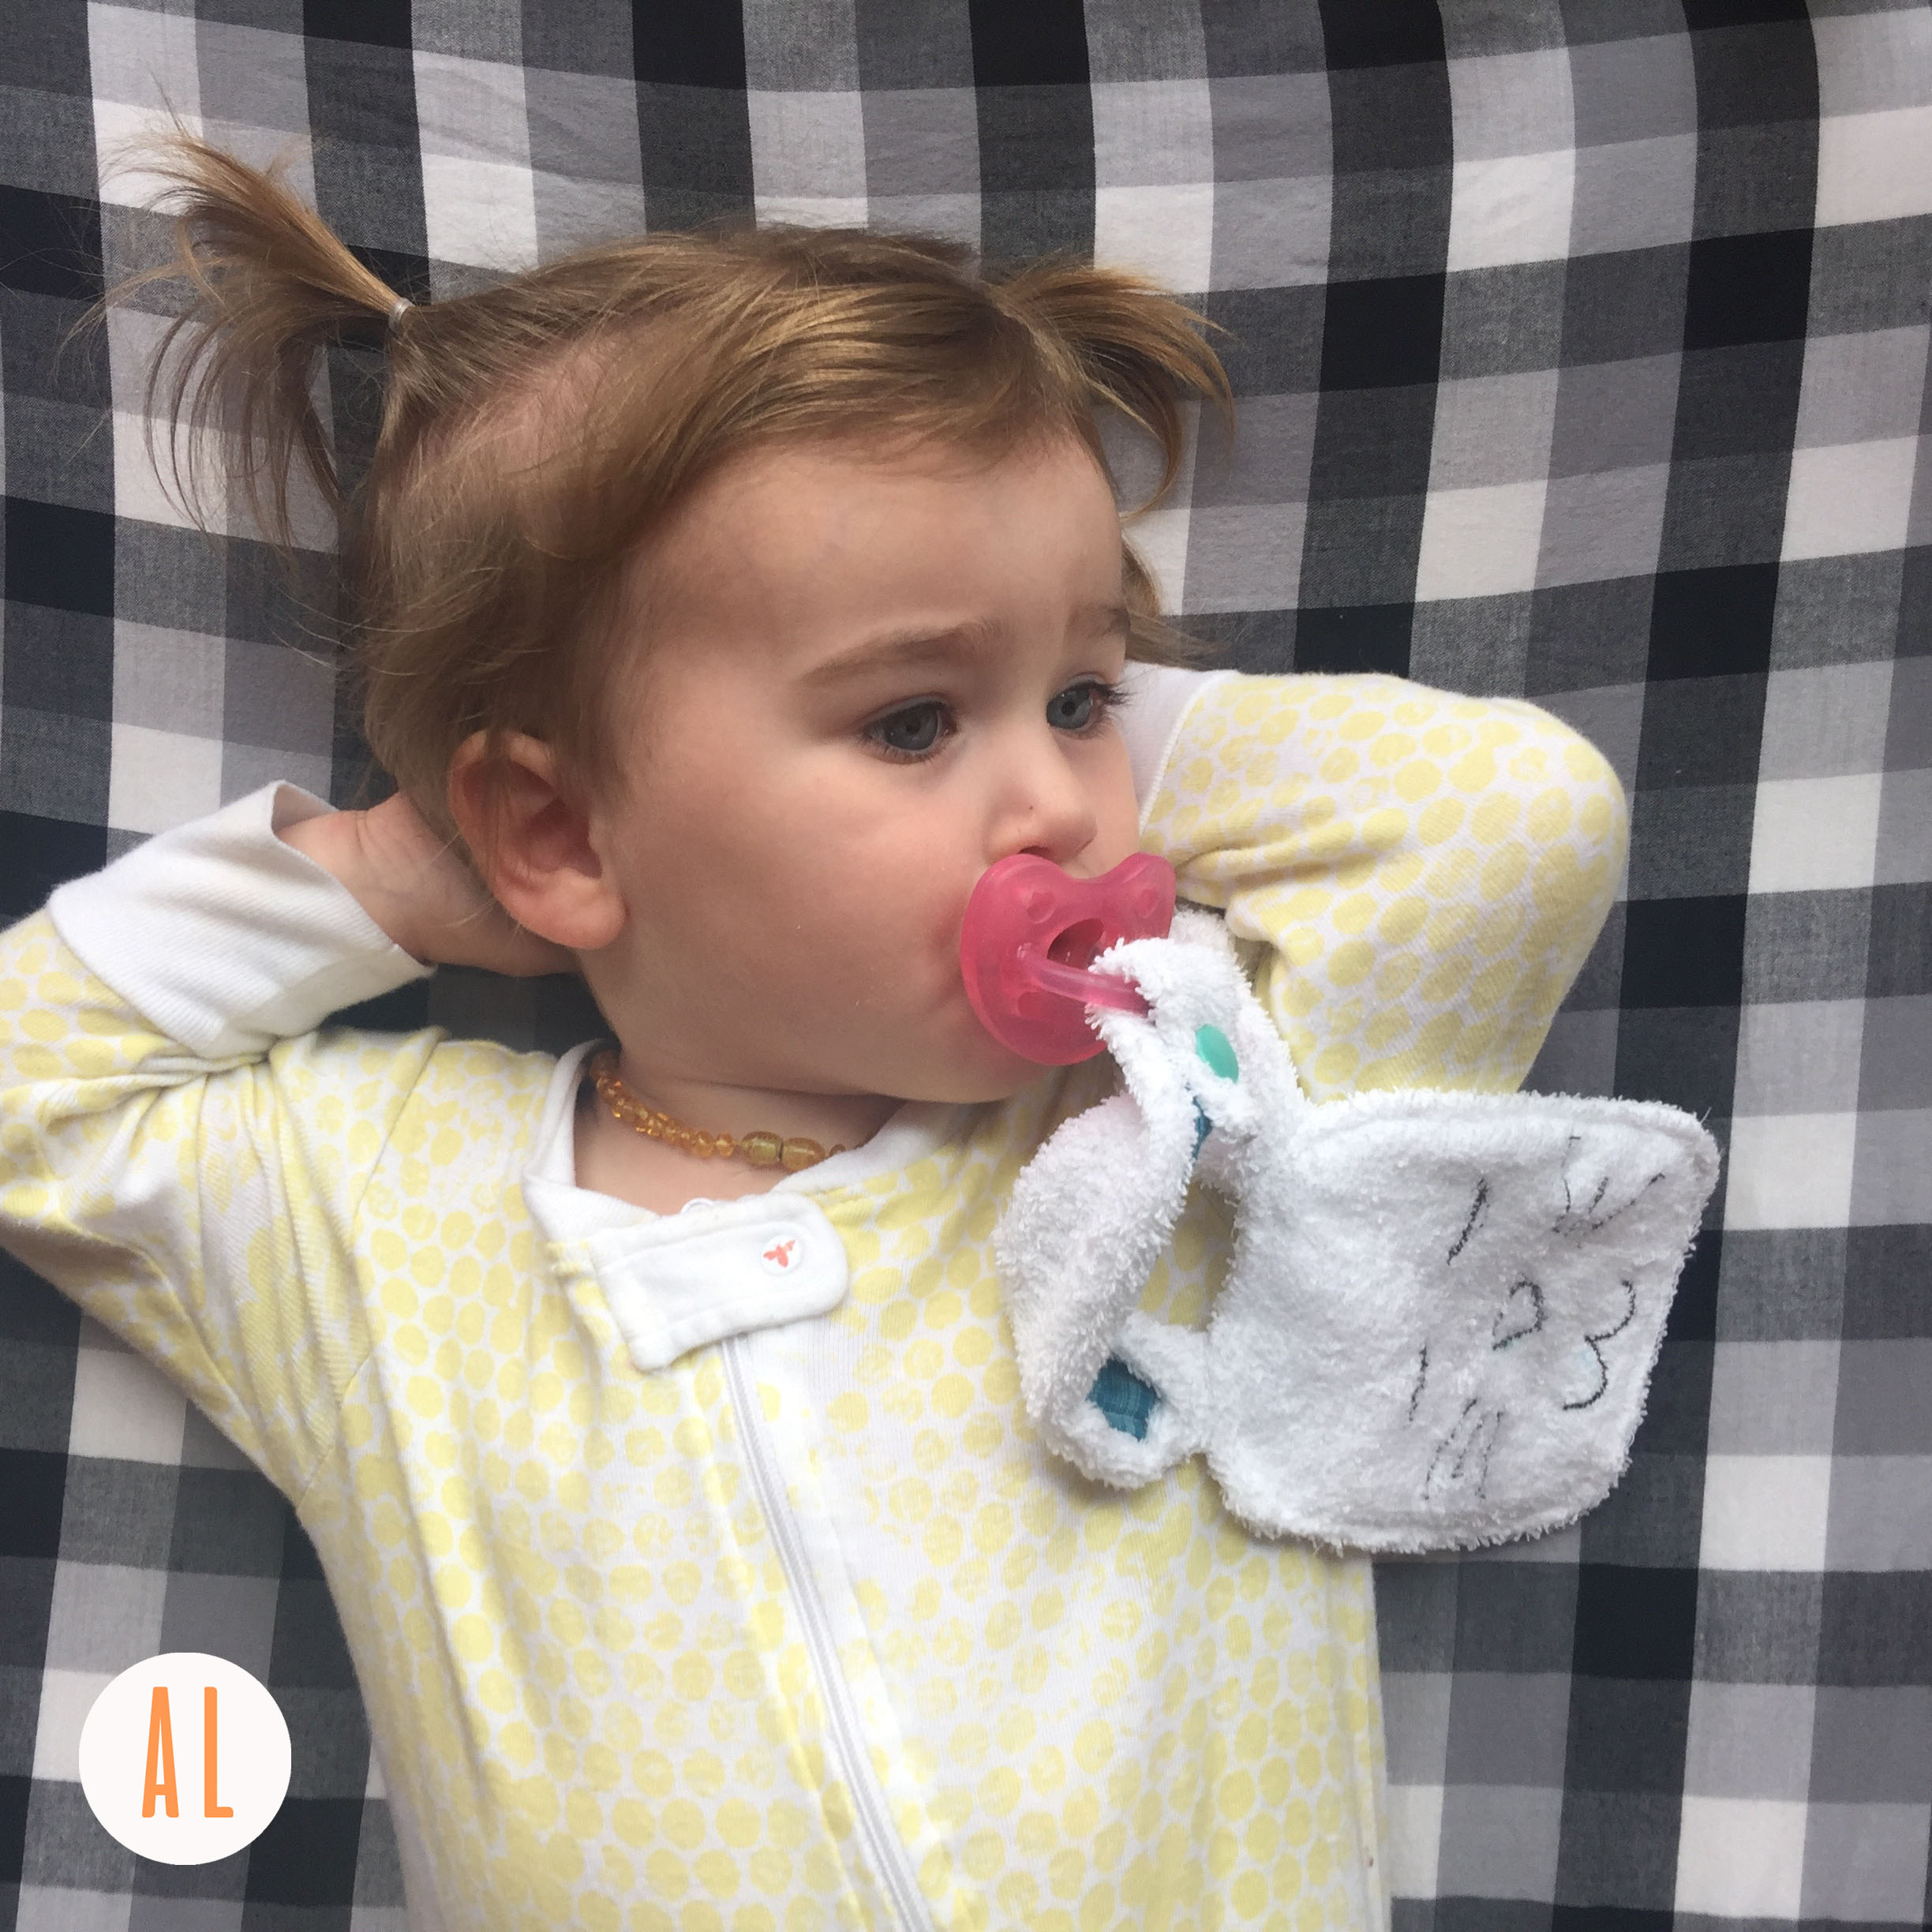
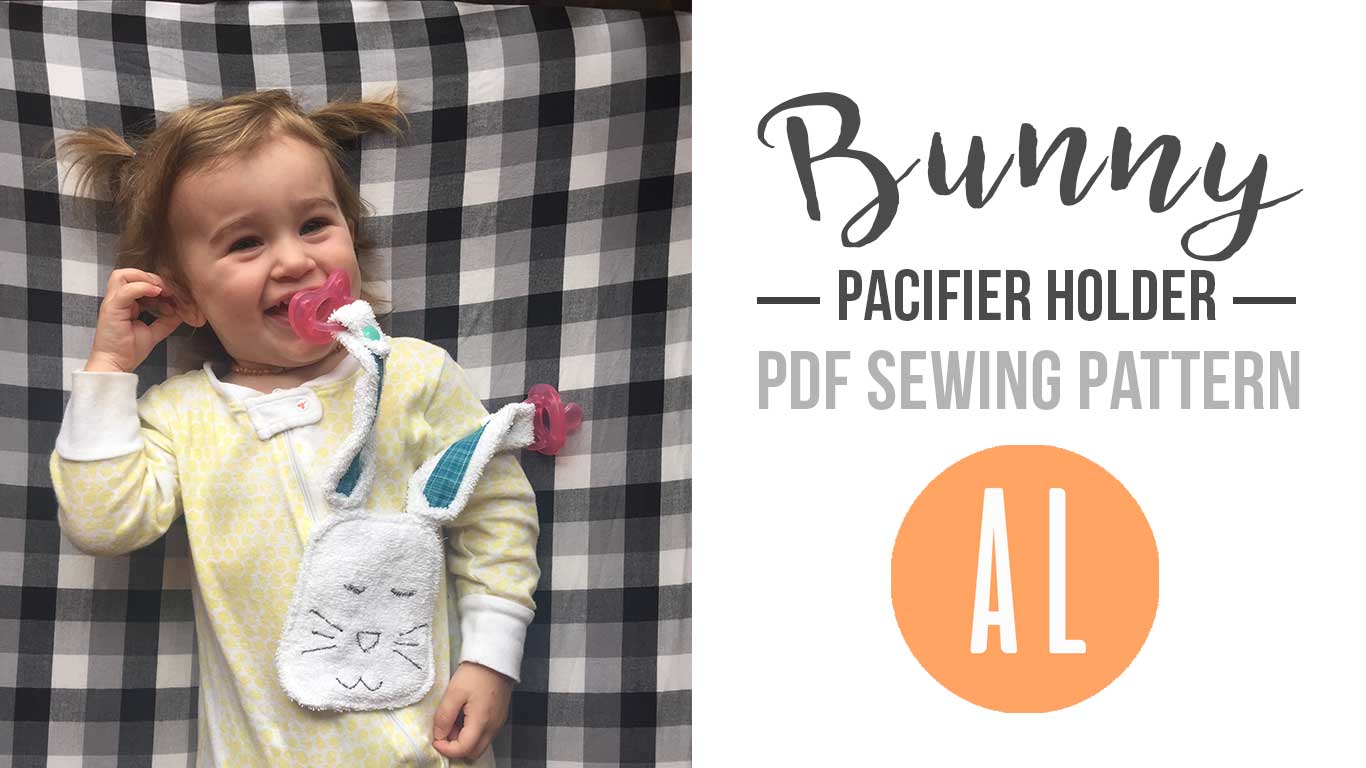
Hey there! Ruby and I worked on a pacifier holder pdf sewing pattern this Spring. It has a cute bunny shape and snaps to hold her paci’s. She really loves Chicco pacifiers and those are exceptionally hard to find when they are dropped under a crib or in the car because they are clear. Whoever designed those, must not have had actual children….
So here we are. Necessity is the mother of invention! We have not woken up in the wee small hours even once to find a paci since I made this! A few notes about this pattern. This pattern is NOT FOR NEWBORNS. This pacifier holder is for toddlers who have control of their arms and can run, walk, and play. I started using this for Ruby at 15 months of age.
FABRIC
The pattern works best with terry cloth or flannel for the main fabric and quilting cotton for the inner ear pieces. You only need a small amount. I used this terry cloth from the Fabric Shack. The inner ears were Anna Maria Horner’s Loominous Collection.
SNAPS
The snaps need to be really high quality for safety reasons. I suggest using KAM SNAPS. Here is a great little set of pliers and snaps on Amazon that I use for just under $20.
The pattern comes in an easy to print pdf download. The pattern is on one 8.5 x 11″ sheet of paper and the instructions include pictures and are contained to one sheet of paper as well. It’s really a quick and easy project. You can make one in about an hour. May your nights be filled with uninterrupted sleep from now on!
Email subscribers will receive this pattern for free! So if you sign up in the next 24 hours you can get in on the freebie!
Happy sewing!
