by Andrea | Oct 28, 2018 | DIY, handmade, Home Decor, tutorials
One day, I hope to own my very own company, with a brick and mortor store. A place where art and craft meet. A place where fellowship and therapy happen over busy hands around a table of makers. A place that feels like your home away from home, only more heavenly.
It starts here…with Maker’s Cottage. Will you join me? I host small gatherings of modern makers where we rekindle the lost art of busy hands and beautiful handmade gifts.
This month I’ll be kicking back into gear after almost a year hiatus from Maker’s Cottage. Our first event will be Christmas Rag wreaths. These wreaths will be made on wire frames and the only skill you need is knot tying! Come join the fun and sign up below so I have enough supplies ready.
I’ll be here to make sure you go home with a new skill and a giftable handmade craft. Click on the image below to sign up!

by Andrea | Jul 13, 2018 | DIY, Home Decor, kids
 Sometimes the kids just drive you up the wall during summer break with all their energy. Not me. I’m perfect. We just wake up in good moods and sing with the birds like Disney characters. Just kidding. Sometimes the boredom overwhelms on rainy days….and they can’t think of anything to do but bother each other. So here’s a little happy project to help.
I’m never bored. I have 12 million sewing and craft projects I want to do at all times. Seriously people. But my kids. They could finish up 12 million projects in about 2 weeks. In a moment of desperation and creativity we made the insanely long trip to Hobby Lobby and purchased about $15 worth of fun. If I could run a Hobby Lobby Store here in Lynchburg or create my own amazing craft supply business I would. But there just aren’t a lot of investors begging me to do this….I keep checking my front door. Every morning I am hoping for the Mary Poppins of my life to arrive. Maybe I should get a custom doormat….or write an “advertisement.”(*please say this in your head in a British accent.)
If you want to make a cute wreath with your kids that is easy enough not to frustrate them and quick enough not to lose their patience, then this is your go to project. I like to have my girls make things like this for presents too. Holiday mini wreaths for teachers or grandparents are a good gift.
You’ll want to get the following materials gathered.
SUPPLIES:
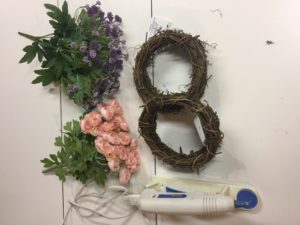
- grapevine wreaths 6 – 8″ size
- 2-3 varieties of small floral bushes
- Glue Glun – low temp mini
- wire snips
PICKING OUT FLOWERS- A word on picking out flowers. Hold them up together, do they coordinate? Are they natural or fake looking in color? No navy blue carnations, please. 🙂 Look for natural and small blooms that are realistic and made of the same materials. For example, do not buy the foamy type of flowers to mix with the acrylic silk fabric type. Choose colors that blend. NO stark contrasts for a spring wreath. Perhaps a holiday wreath could handle some poppy contrast but not a light and airy spring wreath. (We chose pale pink mini double begonias and small lavender colored Queens Anne’s Lace.)
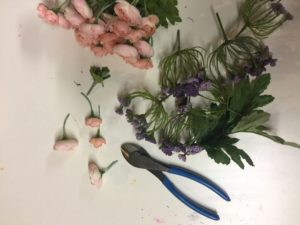
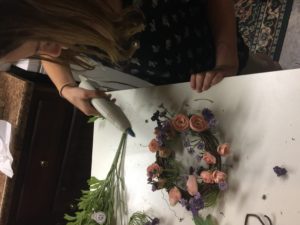
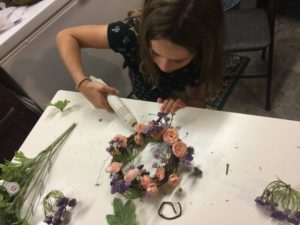
Step One: Snip all your florals apart with the wire snips. Any child over the age of 4 should be able to do this but they need to leave about an inch of stem per bloom. Make sure each flower and leaf is a separate piece if possible.
Step Two: Divide evenly amongst the previously bored, now overly excited children who are probably on repeat, “Can I help? Can I do it?Can I help? Can I do it?Can I help? Can I do it?Can I help? Can I do it?Can I help? Can I do it?”
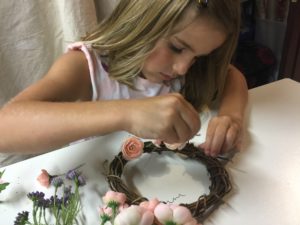
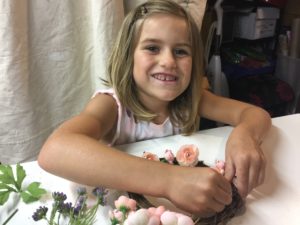
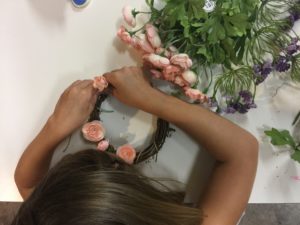
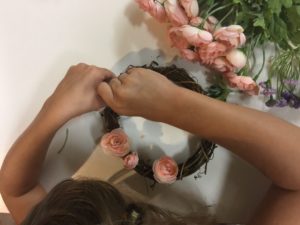
Step Three: Instruct the kids to place larger blooms around the wreath fairly evenly first, then fill in with smaller ones. Last add leaves to fill in holes and add the finishing touch. Use a tiny glue gun to secure. I let my kids do this with a low temp glue gun. Sometimes I have to go back and secure them later when they aren’t looking. 🙂
Ta Da!!! Done. Congratulations Momma…..YOU just entertained your children for 12 whole minutes. Plus you helped them see beauty and create their own little piece of it. Your welcome. Precious babies. I wish I had as much energy as they do. Why is it that the parents who need the energy to take care of the children have less than the children?

by Andrea | Jun 17, 2017 | handmade, Home Decor, quilting, Sewing, Uncategorized
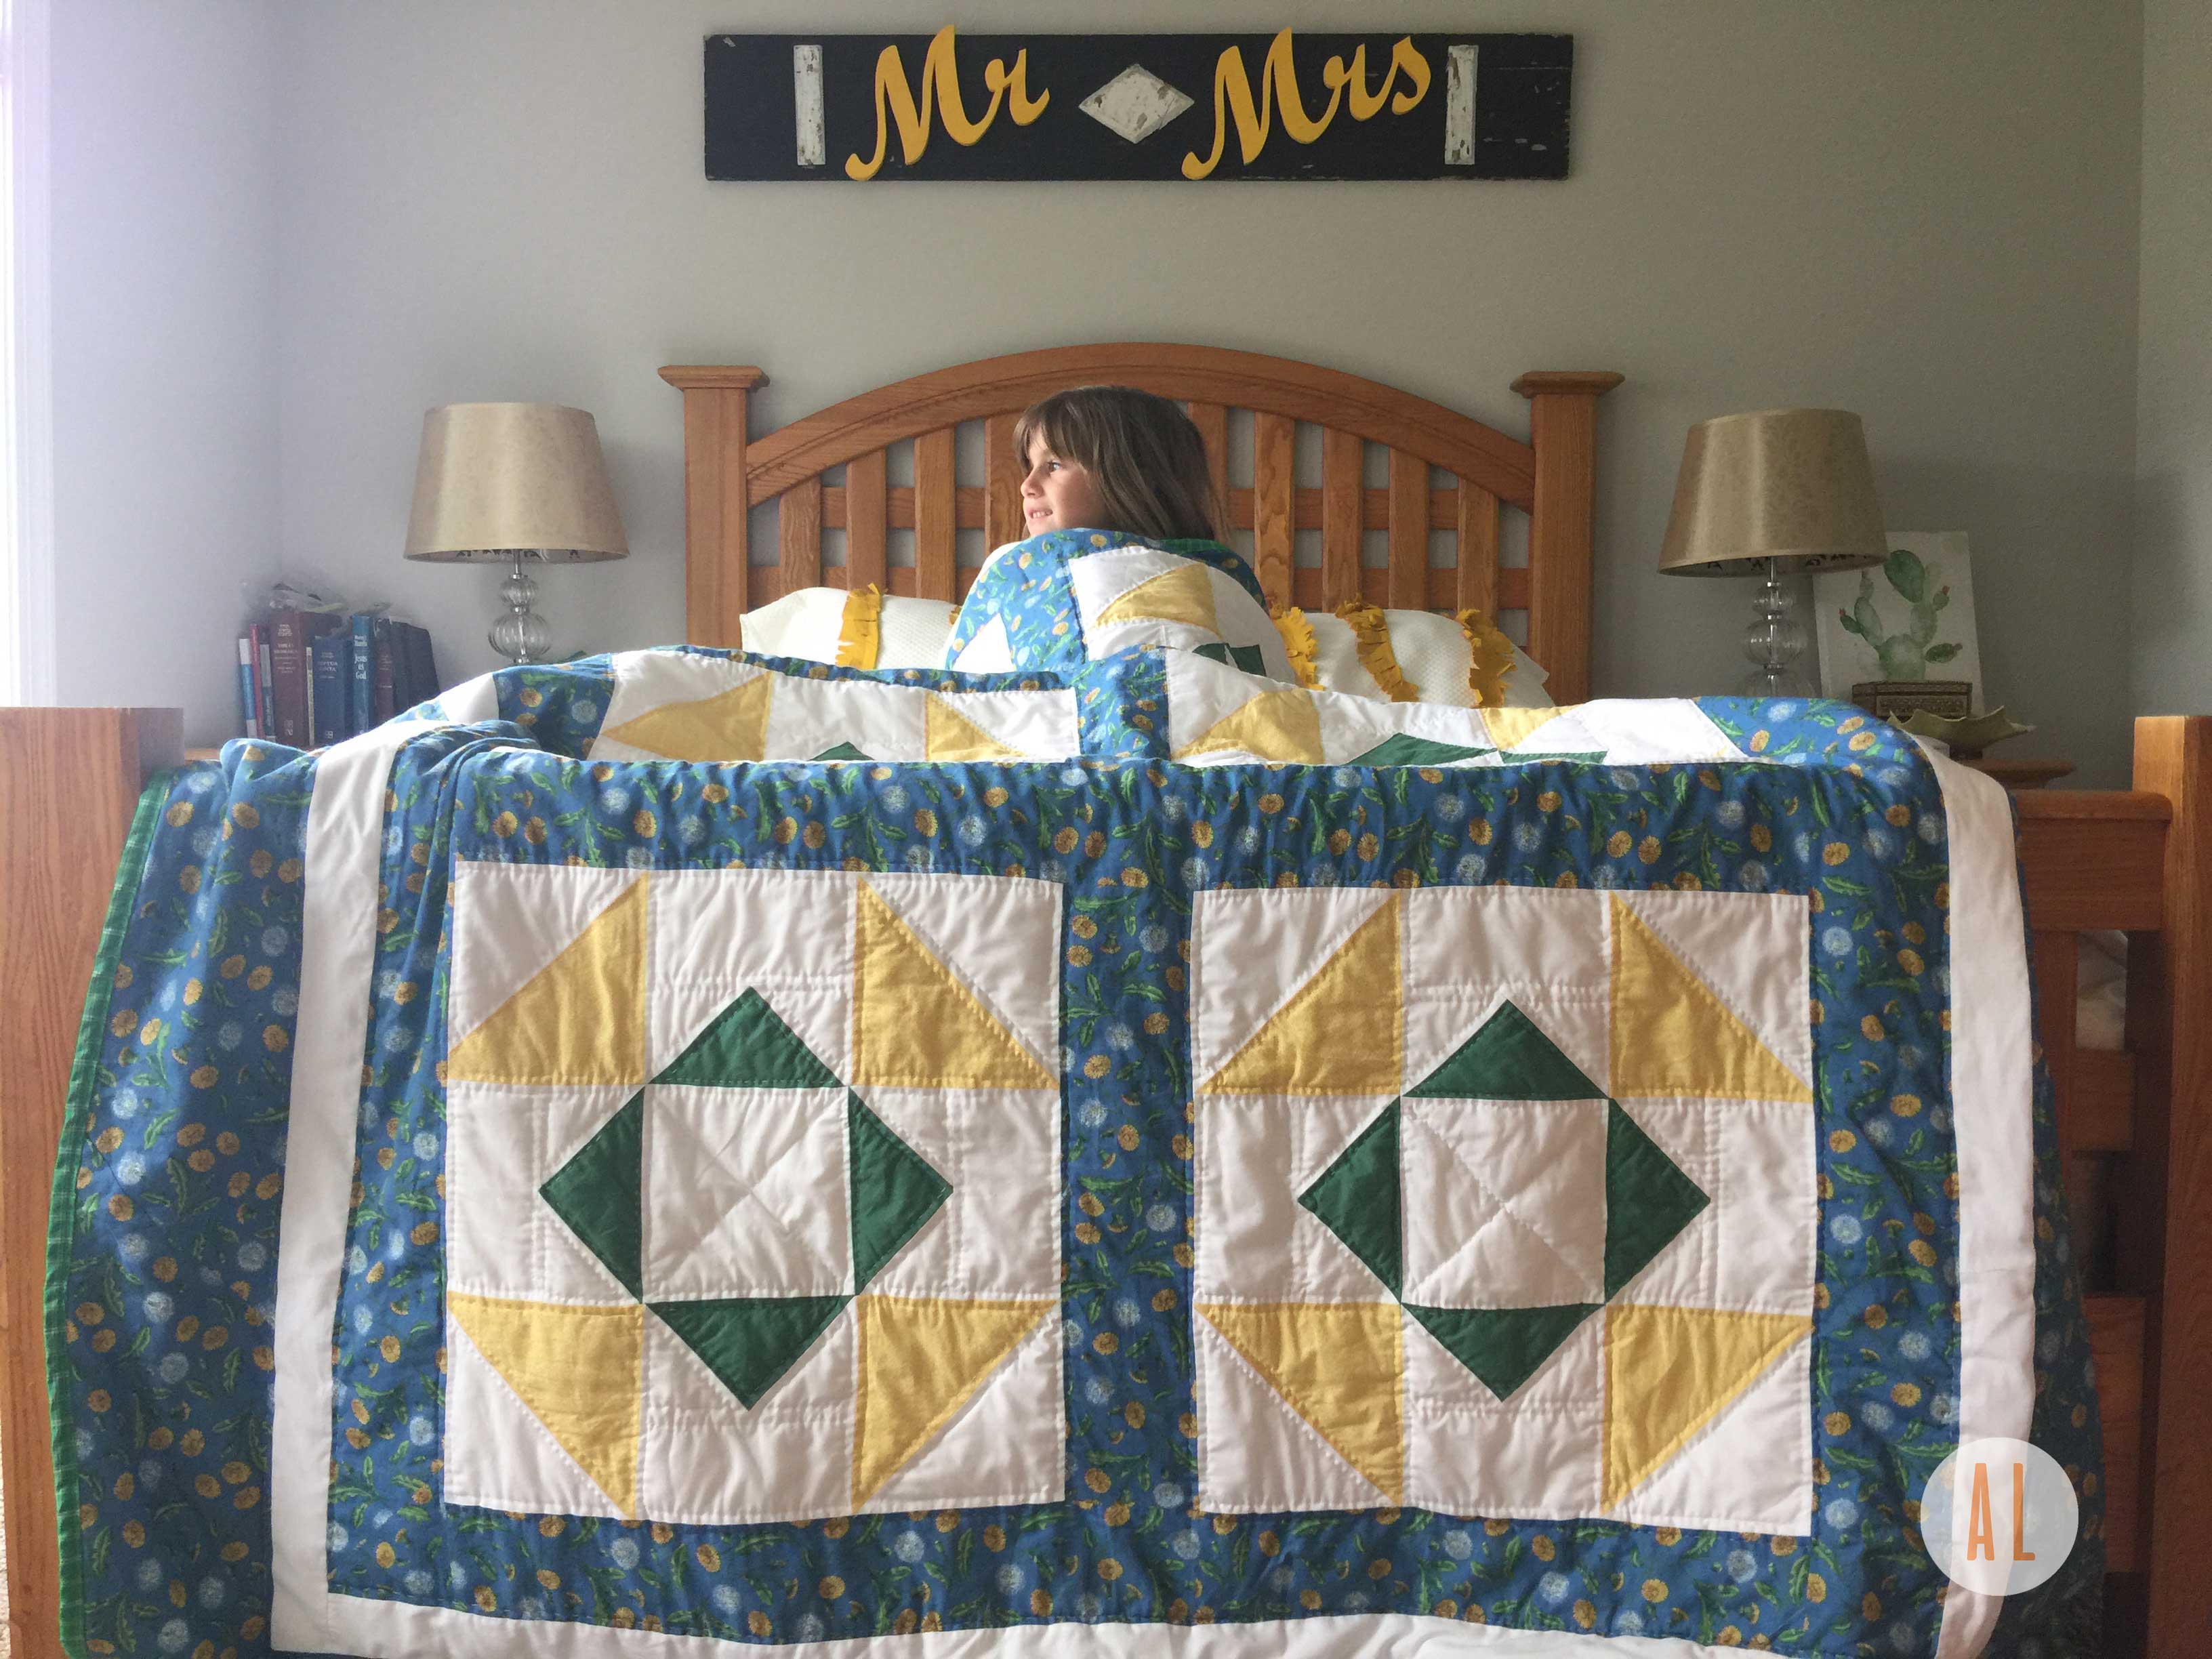
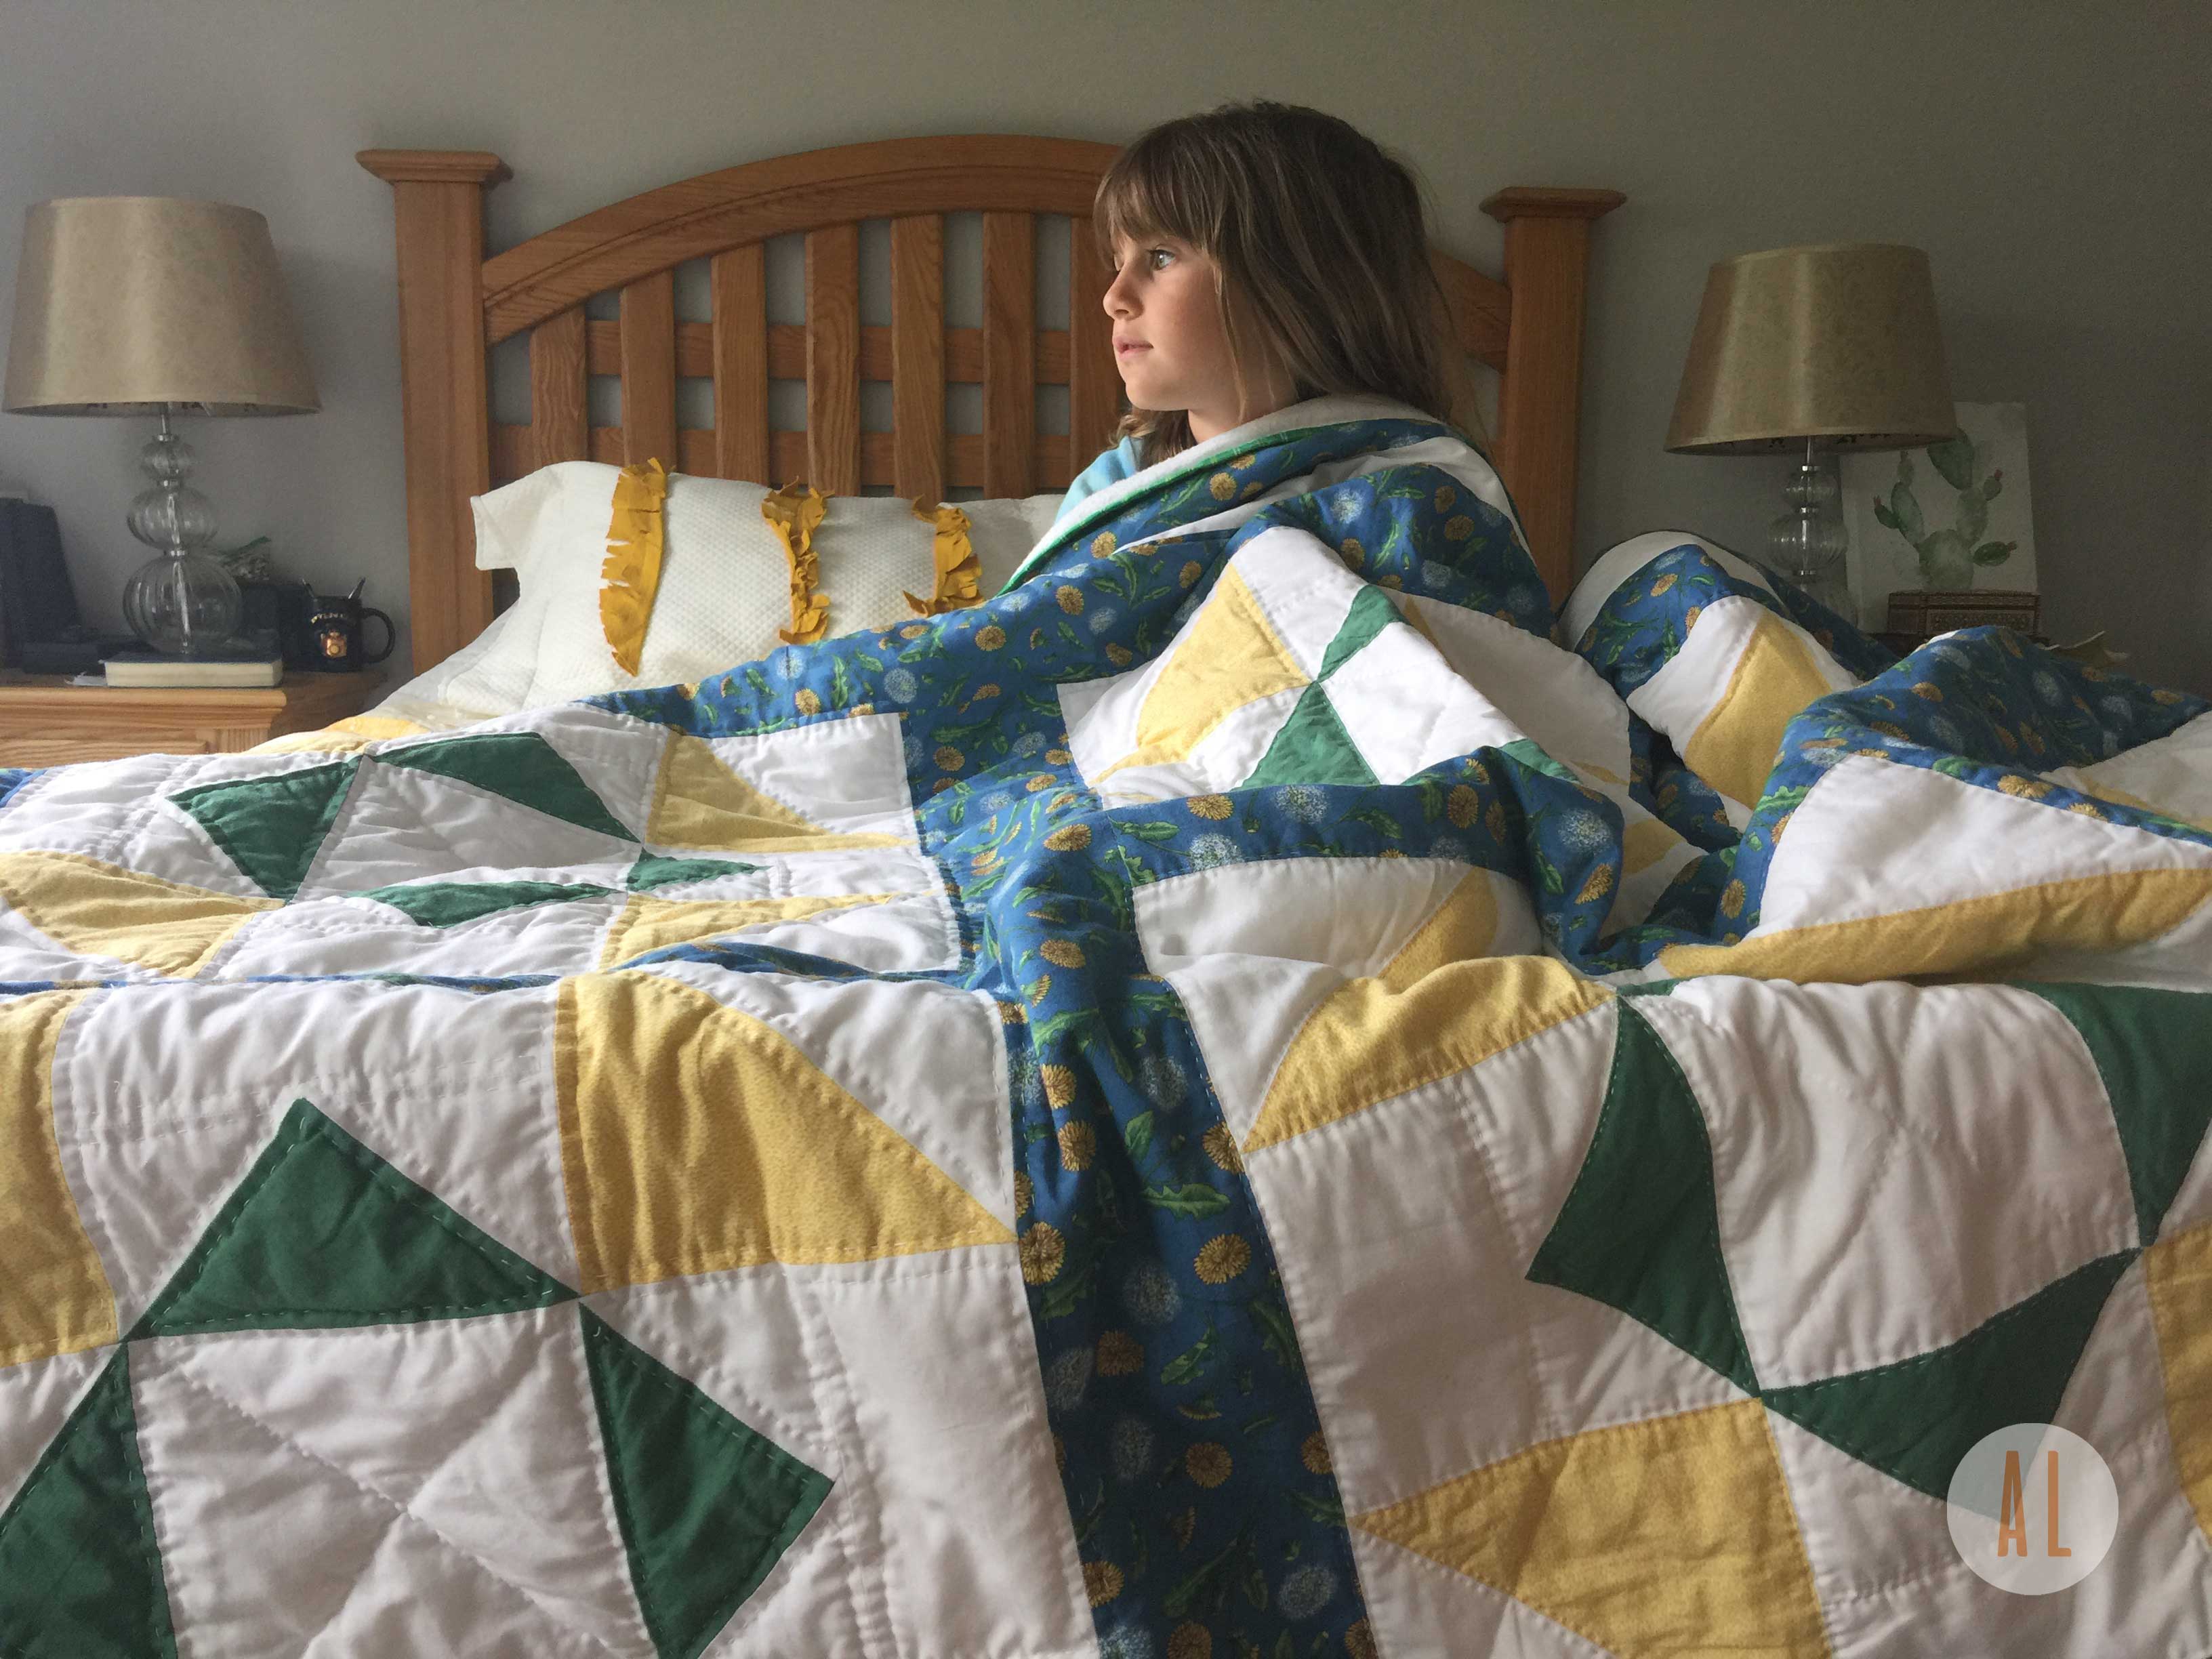
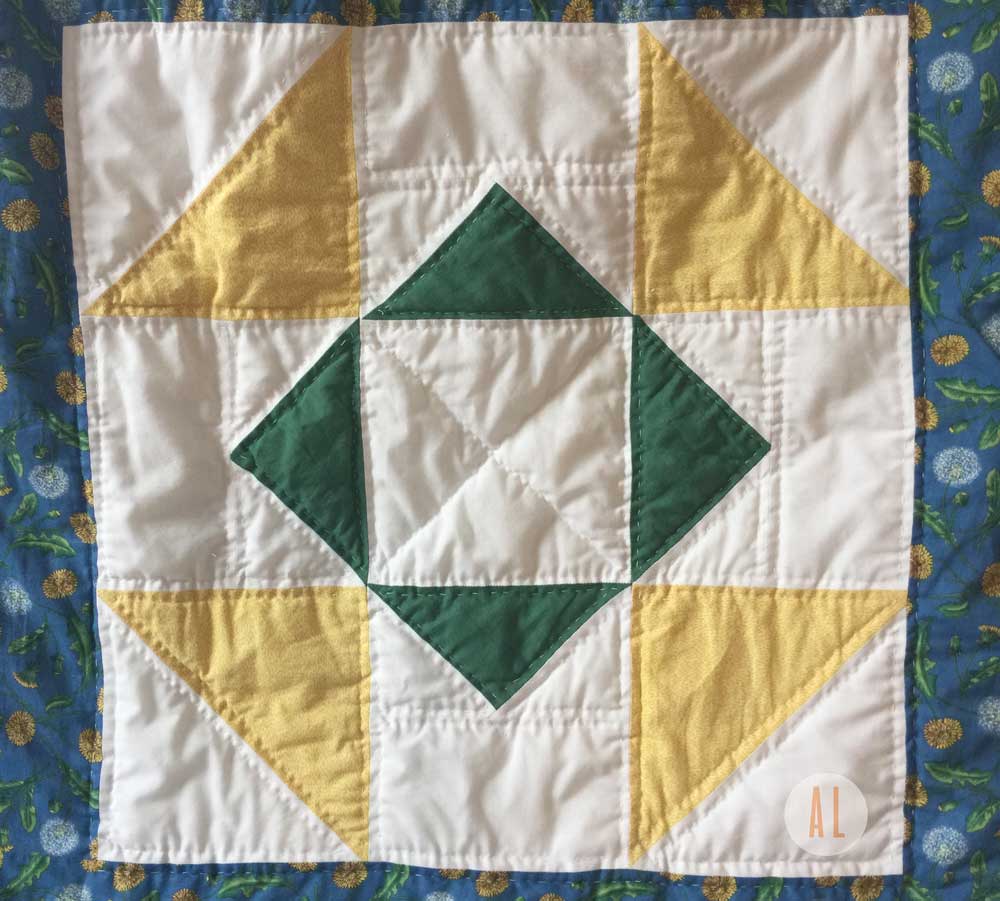
I started this quilt in 1994. It was the summer of my 7th grade year….Alanis Morissette was singing Ironic on my boom box cassette player. My cut offs were totally grunge and my mom was sponge painting the hunter green walls in our guest/sewing room. She taught me to quilt and I was hooked. For some reason though, life got busy when school started up again. The quilt top was left pieced but unquilted in the sewing room closet. I enrolled in 8th grade, got my Jennifer Anniston layered look and headed off to school with plaid flannel and dr. martens.
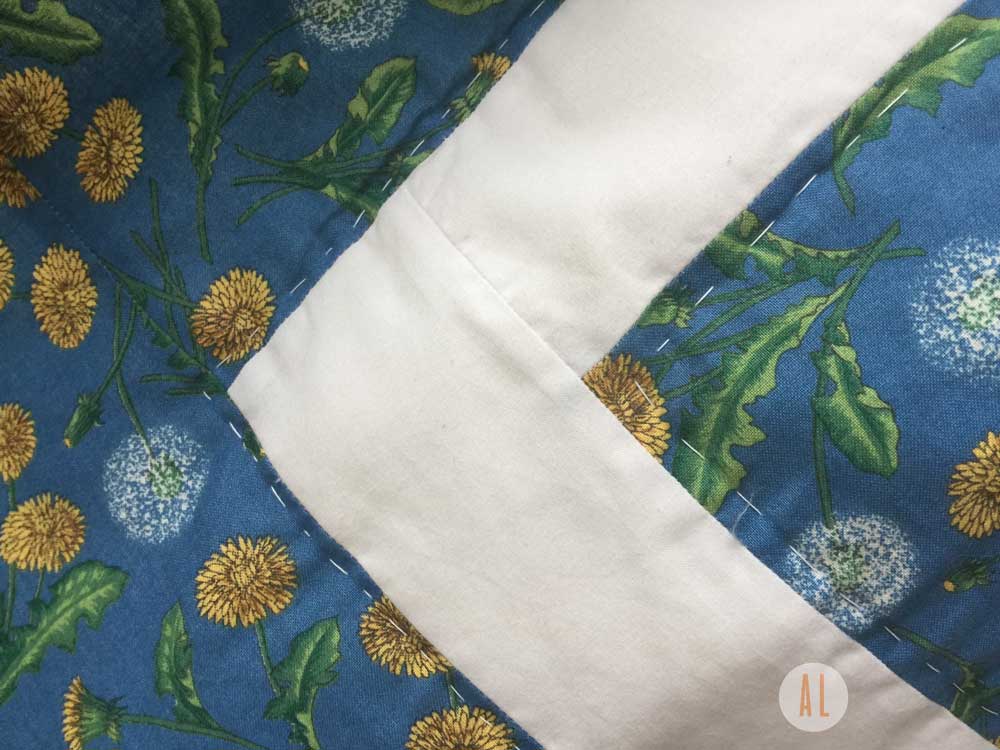
Several years later, I got married and my mom packed that quilt into my moving truck with me as we set off to rural Illinois. I was pregnant with our first child and the nesting of our home was in full swing. I got the quilt out and started working on it again. Slowly hand quilting here and there. I just never really stuck with it. I think part of it was because I didn’t like the style of the quilt. I never would have picked it out for my home now that I was a sophisticated newly wed hoping to decorate my farmhouse in trendy style. I put it away and purchased a Shabby Chic Quilt from Target!
After Illinois we had a long string of frequent moves and the quilt got moved about and lost in storage for several years. Fast forward to the most recent summer of 2016. 22 years after starting the quilt, I was mercilessly getting rid of everything I could because we were moving across the country for medical school and I did not want to haul anymore junk around for the rest of my life. I’m not a minimalist, but I decided we would sell everything and keep our moving expenses down.
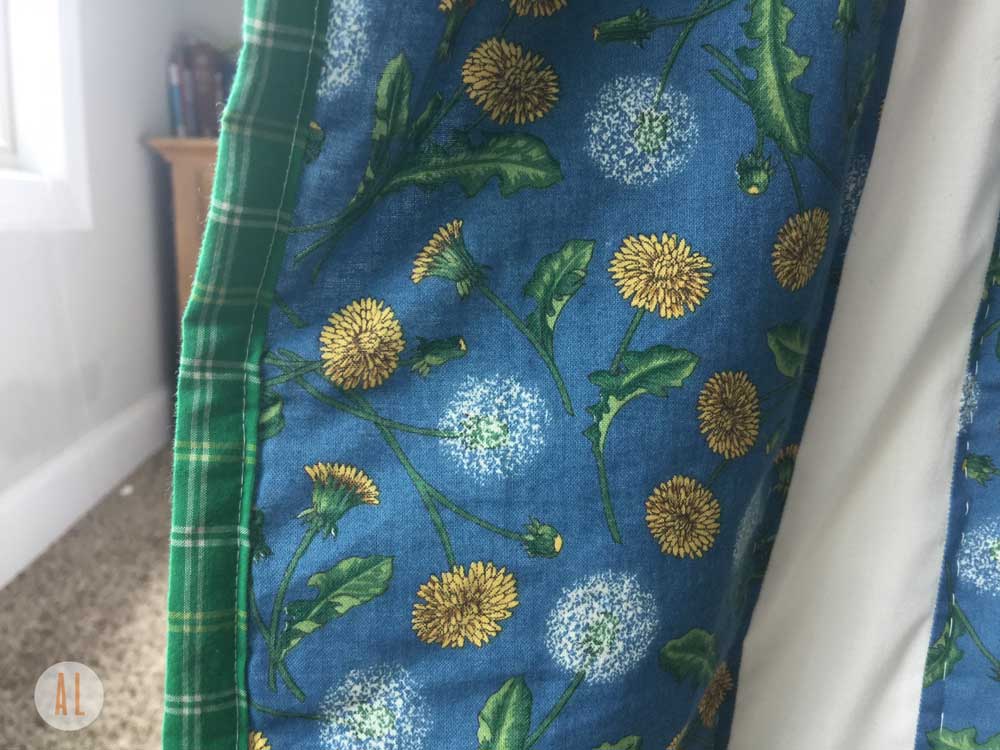
Despite my ability to get rid of tons of fabric and unfinished projects, I could not let that quilt go. I told my mom, I would finish it. She offered to take it home with her and keep it safe while we moved across the country. She set about quilting it for me this past year and in May she brought it out and we finished quilting it together. I bound it with some Ralph Lauren plaid sheeting I had been hoarding for about 8 years. It was finally done!
I love it because it is finished and it represents the beginning of my love of quilting. Do I love the colors and composition? Probably not as mush as I did in 7th grade! But I still love yellow and it’s a cheerful addition to our slowly growing collection of family quilts. It only took 23 years to finish!
This is the year I finish all the quilts I’ve started over the years! I am excited to get to work on the next one!
QUILTING MUST HAVES:
I tried out a new set of refill blades for my Olfa rotary cutter while I finished this quilt up and I have to tell you about these puppies! They were super sharp and came in a great little case. And the price made my jaw drop to the floor. You get 10 for less than the price of an Olfa 2-pack! Try them!
Also my 2 1/2″ strip die for my accuquilt cutter. I love it. It makes the binding go superfast.
This rubber thimble is my new favorite for hand quilting! Super comfy. It’s the best.
by Andrea | Mar 16, 2017 | Baby, DIY, handmade, Home Decor, quilting, Sewing, tutorials
Here it is friends. This is the LAST post in my Magical series. The people who need this post, won’t want too hear it… Honestly everyone is able to do this, at least for a season. You will have lots of excuses why you can’t, but if you love something, you will make the space and time for it.
To make more time for sewing you MUST LEAVE YOUR SEWING MACHINE OUT AND SET UP. You must find a space. You must make your kids share a room or have them eat outside on the deck or sew in your bedroom or even train your baby to go to sleep with the sound of the sewing machine whirring near her crib….all of these things I have done at one point or another. We have lived in a slew of tiny houses and apartments off and on over the years and the key to getting stuff sewn was and always is leaving my machine out.
I want to encourage you to “Just Do It” Nike doesn’t consider sewing a sport, but if they did I would totally be sponsored. HAHA.
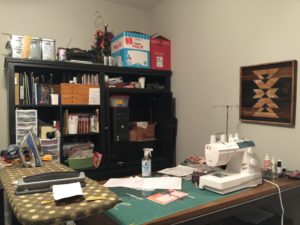
Right now I am very fortunate to have a nice finished room to sew in. I share it with the girls so that if there are moments during school that I can sew, then I can! Here are a few creative ways to leave your machine out if you don’t have a sewing room.
THE PLASTIC STORAGE BIN
Just get a bin with a lid and shove it in there and slide it under the kitchen table. If it’s already there then you will be more likely to use it. Here is good one.
THE NOOK
There is always a place for a sewing nook. Get a nice wooden or sewing specific folding table, that way if you have company or need the space temporarily{ for something less fun than sewing }you can move it and put it back up easily. When my husband was in seminary we lived in the campus apartments. SO FREAKING TINY. Someone had left a wooden folding table in our apartment so we used it for that.
THE PLACE YOU DONT LIKE
Is the basement your sewing lair? Do you hate it so much? Is it watery and smelly and dark? Just set up your supplies and organize in such a way that you can have your project out and ready to grab easily so you can bring it up to the kitchen table for the afternoon or evening.
Give up on the ideal places you see on blogs and pinterest and give yourself the freedom to enjoy your sewing time. Sewing has been such a great way for me to lose myself and relax. I listen to a book on Audible, pop my headphones in my ears, and start making! Just do it!
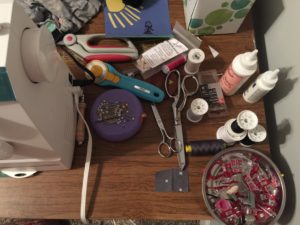
Here is a picture of my non pinterest worthy sewing space. I sure am thankful for it and I get so much more sewing in. My plans for it include painting the cabinet a bright happy color, but then I wouldn’t have as much time to sew….the struggle. 🙂
Happy Sewing Friends! JUST DO IT!
-Andrea
by Andrea | Aug 9, 2016 | Christian, Faith, God, Home Decor, Interior Design

 There are times in life to weep and in much needed contrast, times to laugh. (Ecclesiastes 3:4) I’ve had my fair share of both. The weeping ones are my least favorite, but they help to make the laughing ones ever so much more appreciated don’t you think? Quite unexpectedly, a time to laugh arrived this very Monday morning. The relief and joy it brought to my heart were much needed.
It started at 6:45 am. Alarm goes off. Husband jumps out of bed, excited for his first day of Med School. He says, “Oh no! I forgot to find my belt last night!” I should include here that we had just unloaded the entire contents of our 24′ moving truck Thursday night and had not made unpacking our bedroom a top priority. In fact we never found his suit and he had to get one at Goodwill for the first day portraits!
The gritty sound of ripping tape off cardboard boxes abruptly broke the morning silence. If there is one sound little Ruby Jane cannot stand, it is that sound. She comes unglued. She is wounded by that sound. Undone. True story, the day our moving van arrived in KC, I left Ruby Jane sleeping soundly at Grandmas house and went over two hours early before the moving help arrived to tape up all the boxes so she wouldn’t have to hear it! It’s kind of hilarious in a “Wes Anderson movie” sort of way.
We never found the belt, but Ruby did wake up quite traumatized. So off to school he went, stomach aflutter and ill fitting pants and all the hope of a new adventure freshly begun.
About 30 minutes later he called. “I’ve got good news and I’ve got bad news.” His voice was merry but my stomach dropped, “School doesn’t start until tomorrow. I’m a whole 24 hours early.” A time to laugh. Oh how we laughed! Thank you, God! We so needed a good laugh. The weight of it all was lifted, and we finally stopped for a minute to relax and enjoy this new season.
It will be hard and it will be long, but as Dr. Martin put it at Blake’s White Coat Ceremony Saturday, “take time to laugh…the days will be long but the years will go by quickly!”
Many friends and family have asked a lot of questions about what lies ahead for us. Here is what we know. Blake has two years of classes in Lynchburg, VA at Liberty University COM . Then he has two years of clerkship where his learning/training will take place in a hospital. We don’t know which hospital and we may have to move again for this part. He will do several clinical rotations to get a better understanding of what area of medicine is the best fit for him. After those two years, he graduates as a Doctor Of Osteopath and applies to work in a hospital as a paid resident under a D.O. or M.D. in the area of medicine he would like to practice. Right now he thinks he would like to work in the E.R. We know that could change and depends on what type of residency he gets into. A residency can take anywhere from 2-7 years. Yup, you read that right.
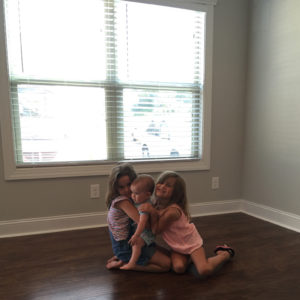
What will I do? I will be at home parenting and making sure our pets heads aren’t falling off…(Dumb and Dumber reference) I will continue to freelance design and I will try homeschooling the kids this year. I can’t wait to get settled into our new place, make it all homey and start sewing and blogging again. We’re excited to be Virginians. We will be exploring the East Coast! We have already begun by taking the girls to Sandbridge Beach for their very first swim in the ocean! Here are some pictures of our first two weeks here. They include Liberty University COM white coating ceremony, Ruby getting pink eye our first day here of course, first time at the beach, and our new townhouse move in day!
We miss our KC family and friends but we already love it here! Come see us!
-Andrea



I took the beautiful Blue Ridge Mountains picture from the patio at Blake’s school building. I pray it reminds him everyday that our help is from the Lord who has brought us here.
1I lift up my eyes to the hills.
From where does my help come?
2My help comes from the LORD,
who made heaven and earth.
3He will not let your foot be moved;
he who keeps you will not slumber.
4Behold, he who keeps Israel
will neither slumber nor sleep.
5The LORD is your keeper;
the LORD is your shade on your right hand.
6The sun shall not strike you by day,
nor the moon by night.
7The LORD will keep you from all evil;
he will keep your life.
8The LORD will keep
your going out and your coming in
from this time forth and forevermore.
Psalm 121
by Andrea | Aug 19, 2015 | Graphic Design, Home Decor, Interior Design
I’m like a 100% sure that Creative Market is THE BEST thing that has ever happened to me graphic design wise. (Cue “I love technology…………but not as much as you you see!” from Napoleon Dynamite.) I want to be that designer that makes everything from scratch using my wacom tablet and my imagination. But alas, real life “gets in the way” and the MOST IMPORTANT WORK is of course asking me for pancakes and juice in the morning and needs clean laundry to wear and books read to them. So, until my littles aren’t so little anymore and life isn’t so full, I”ll leave the amazingness to the independent artists that make up the awesomeness that is Creative Market. They have the latest and trendiest fonts, web site themes, graphic clip art, hand drawn illustrations, logo templates……..
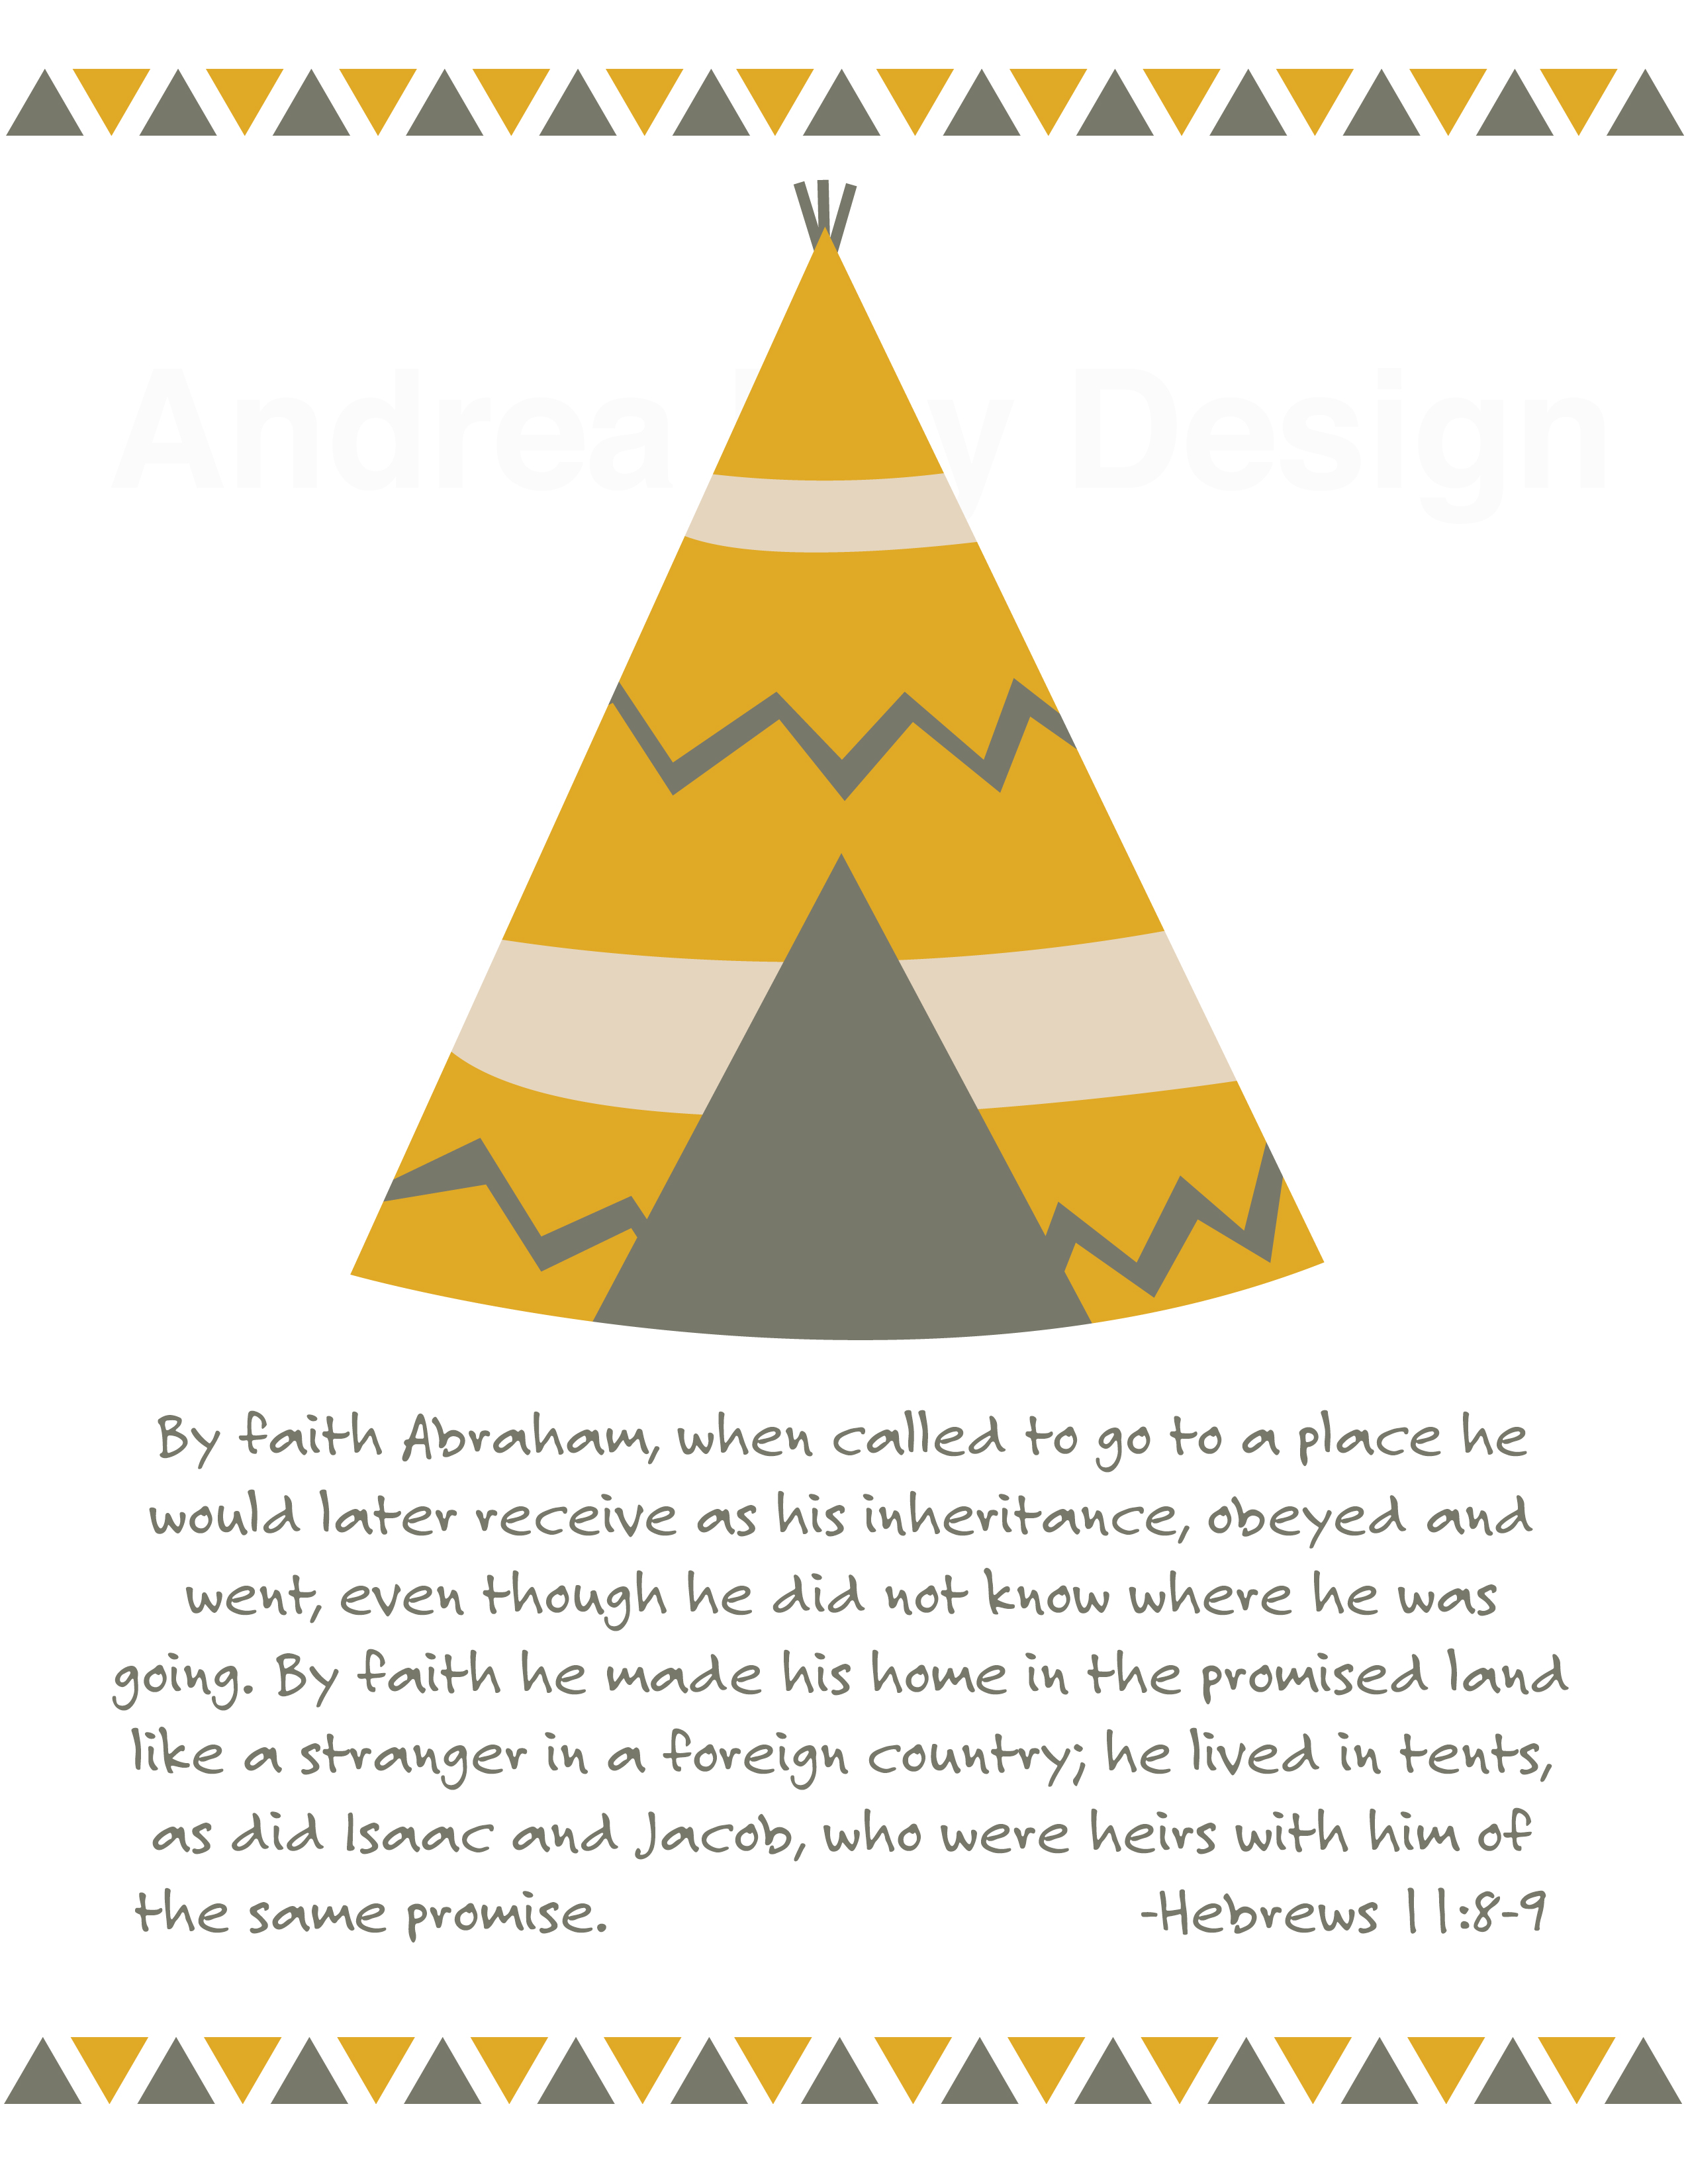
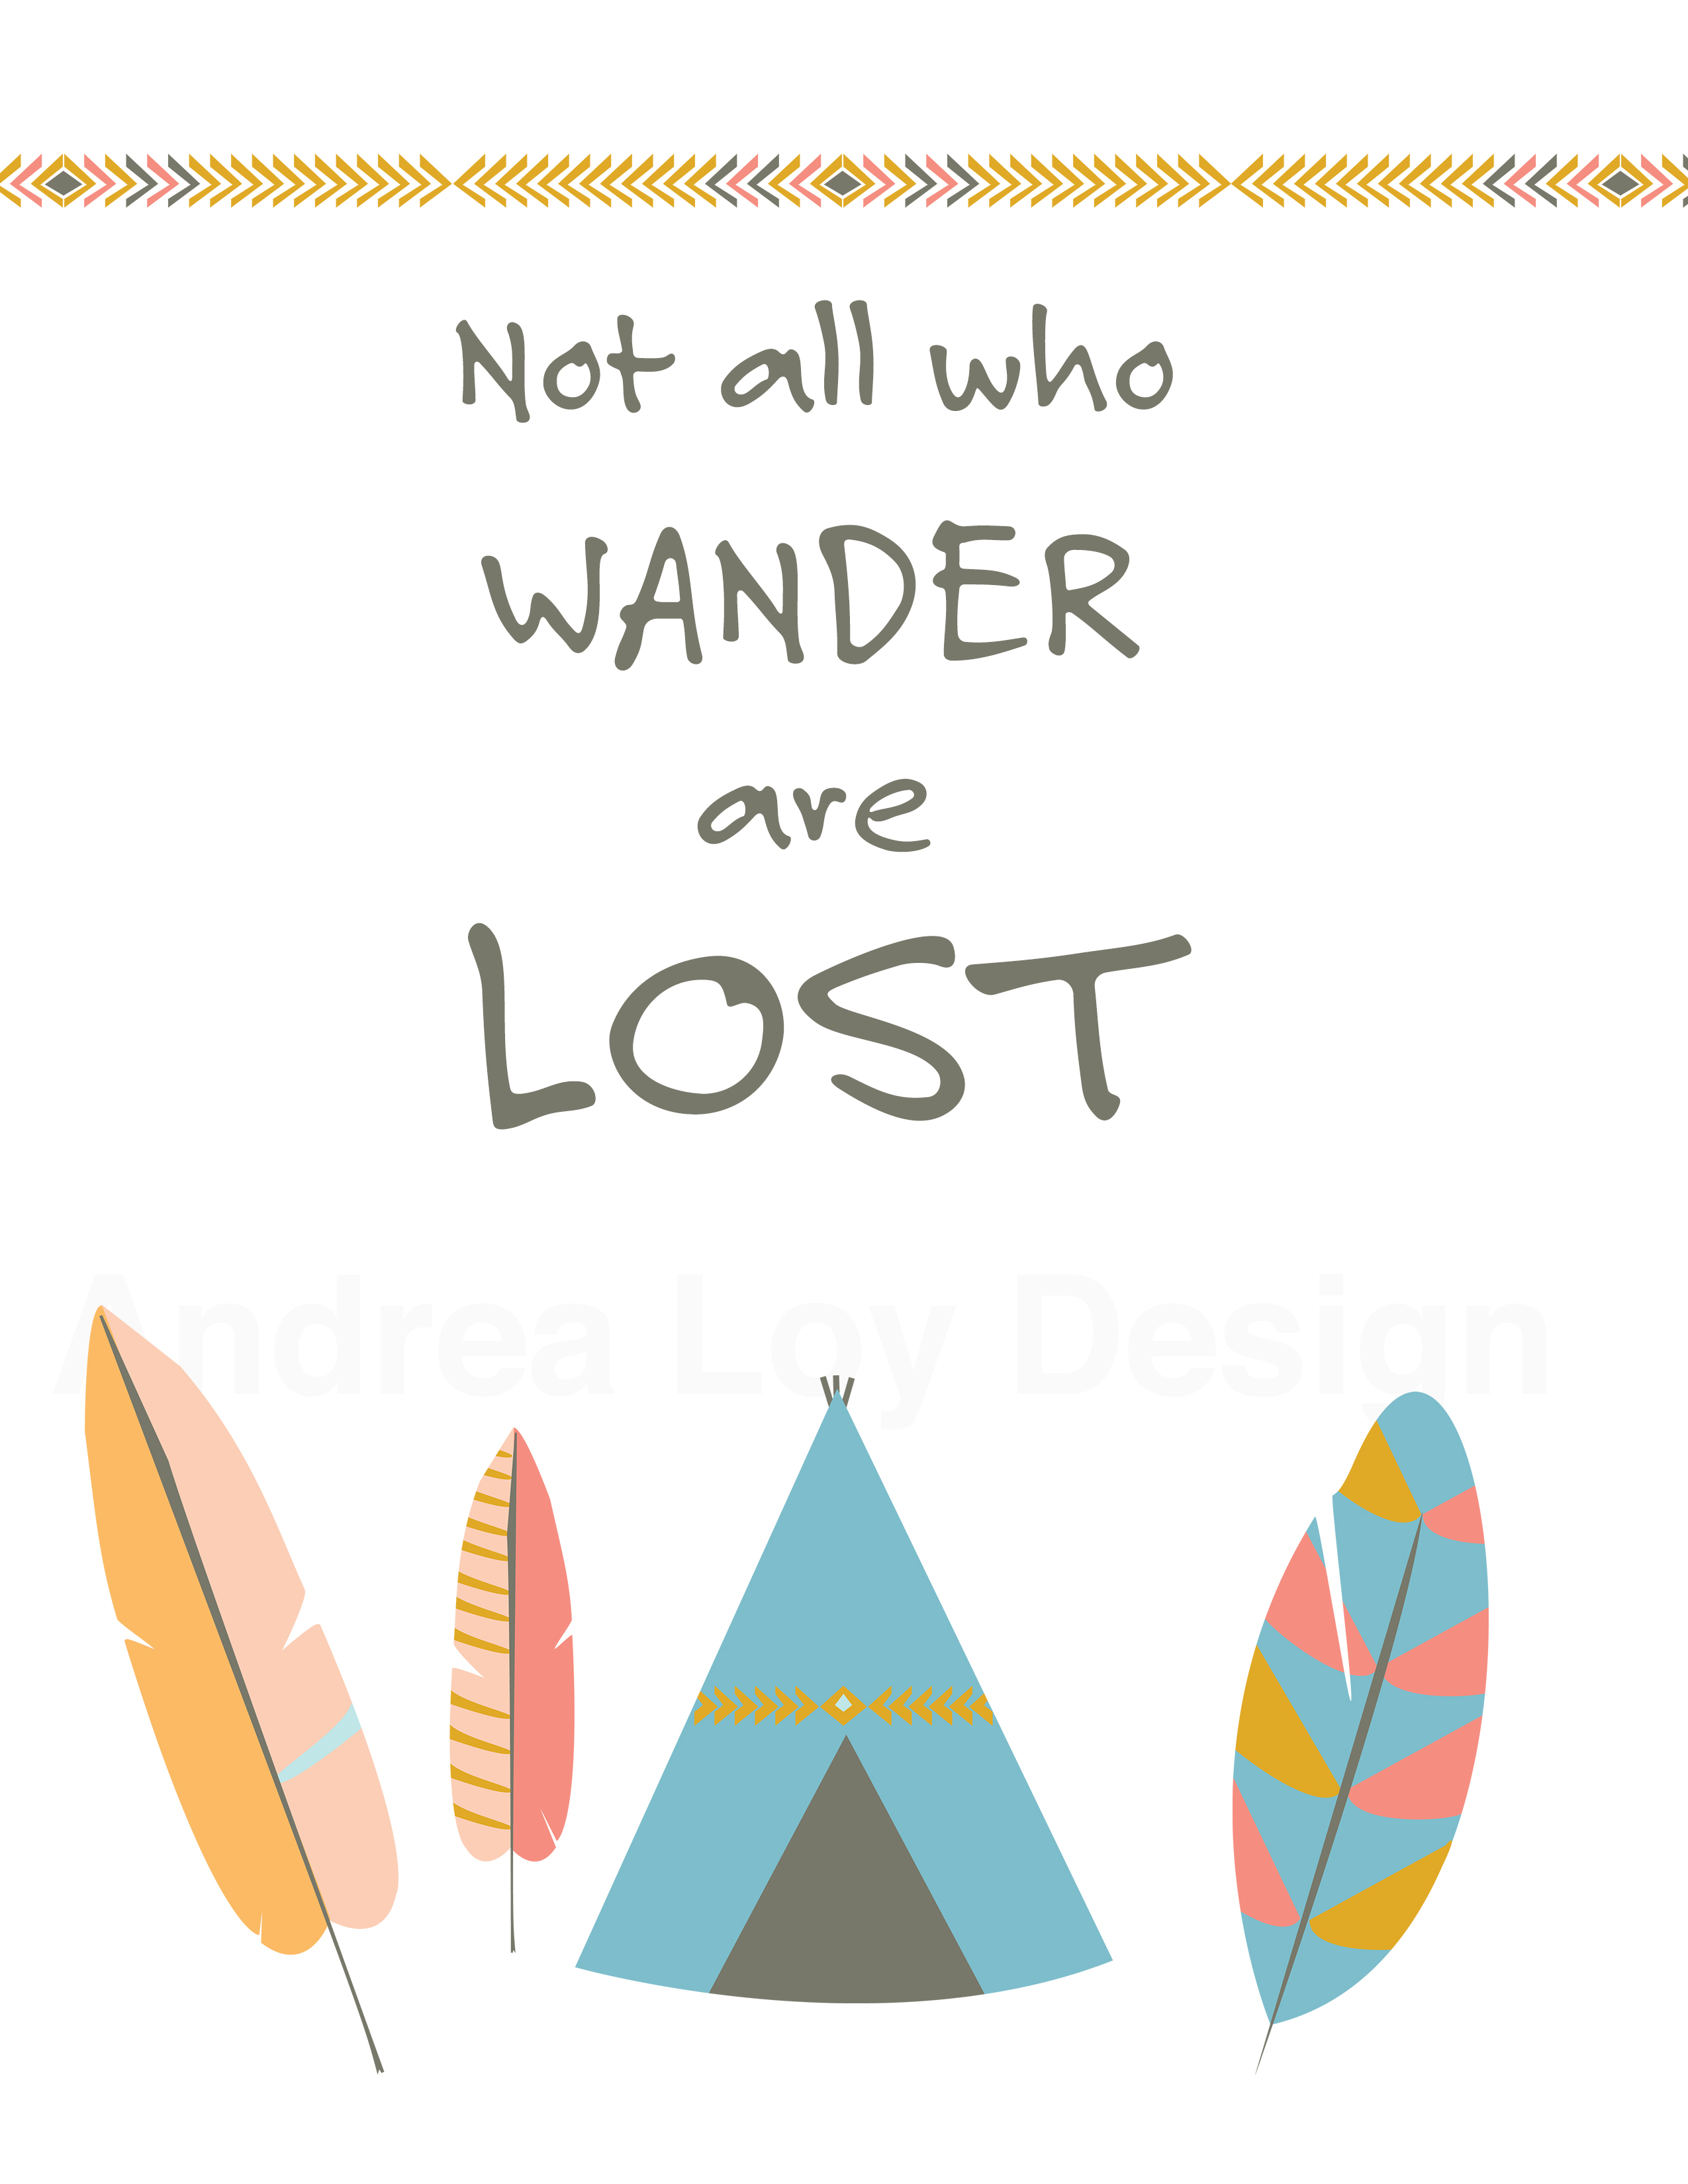
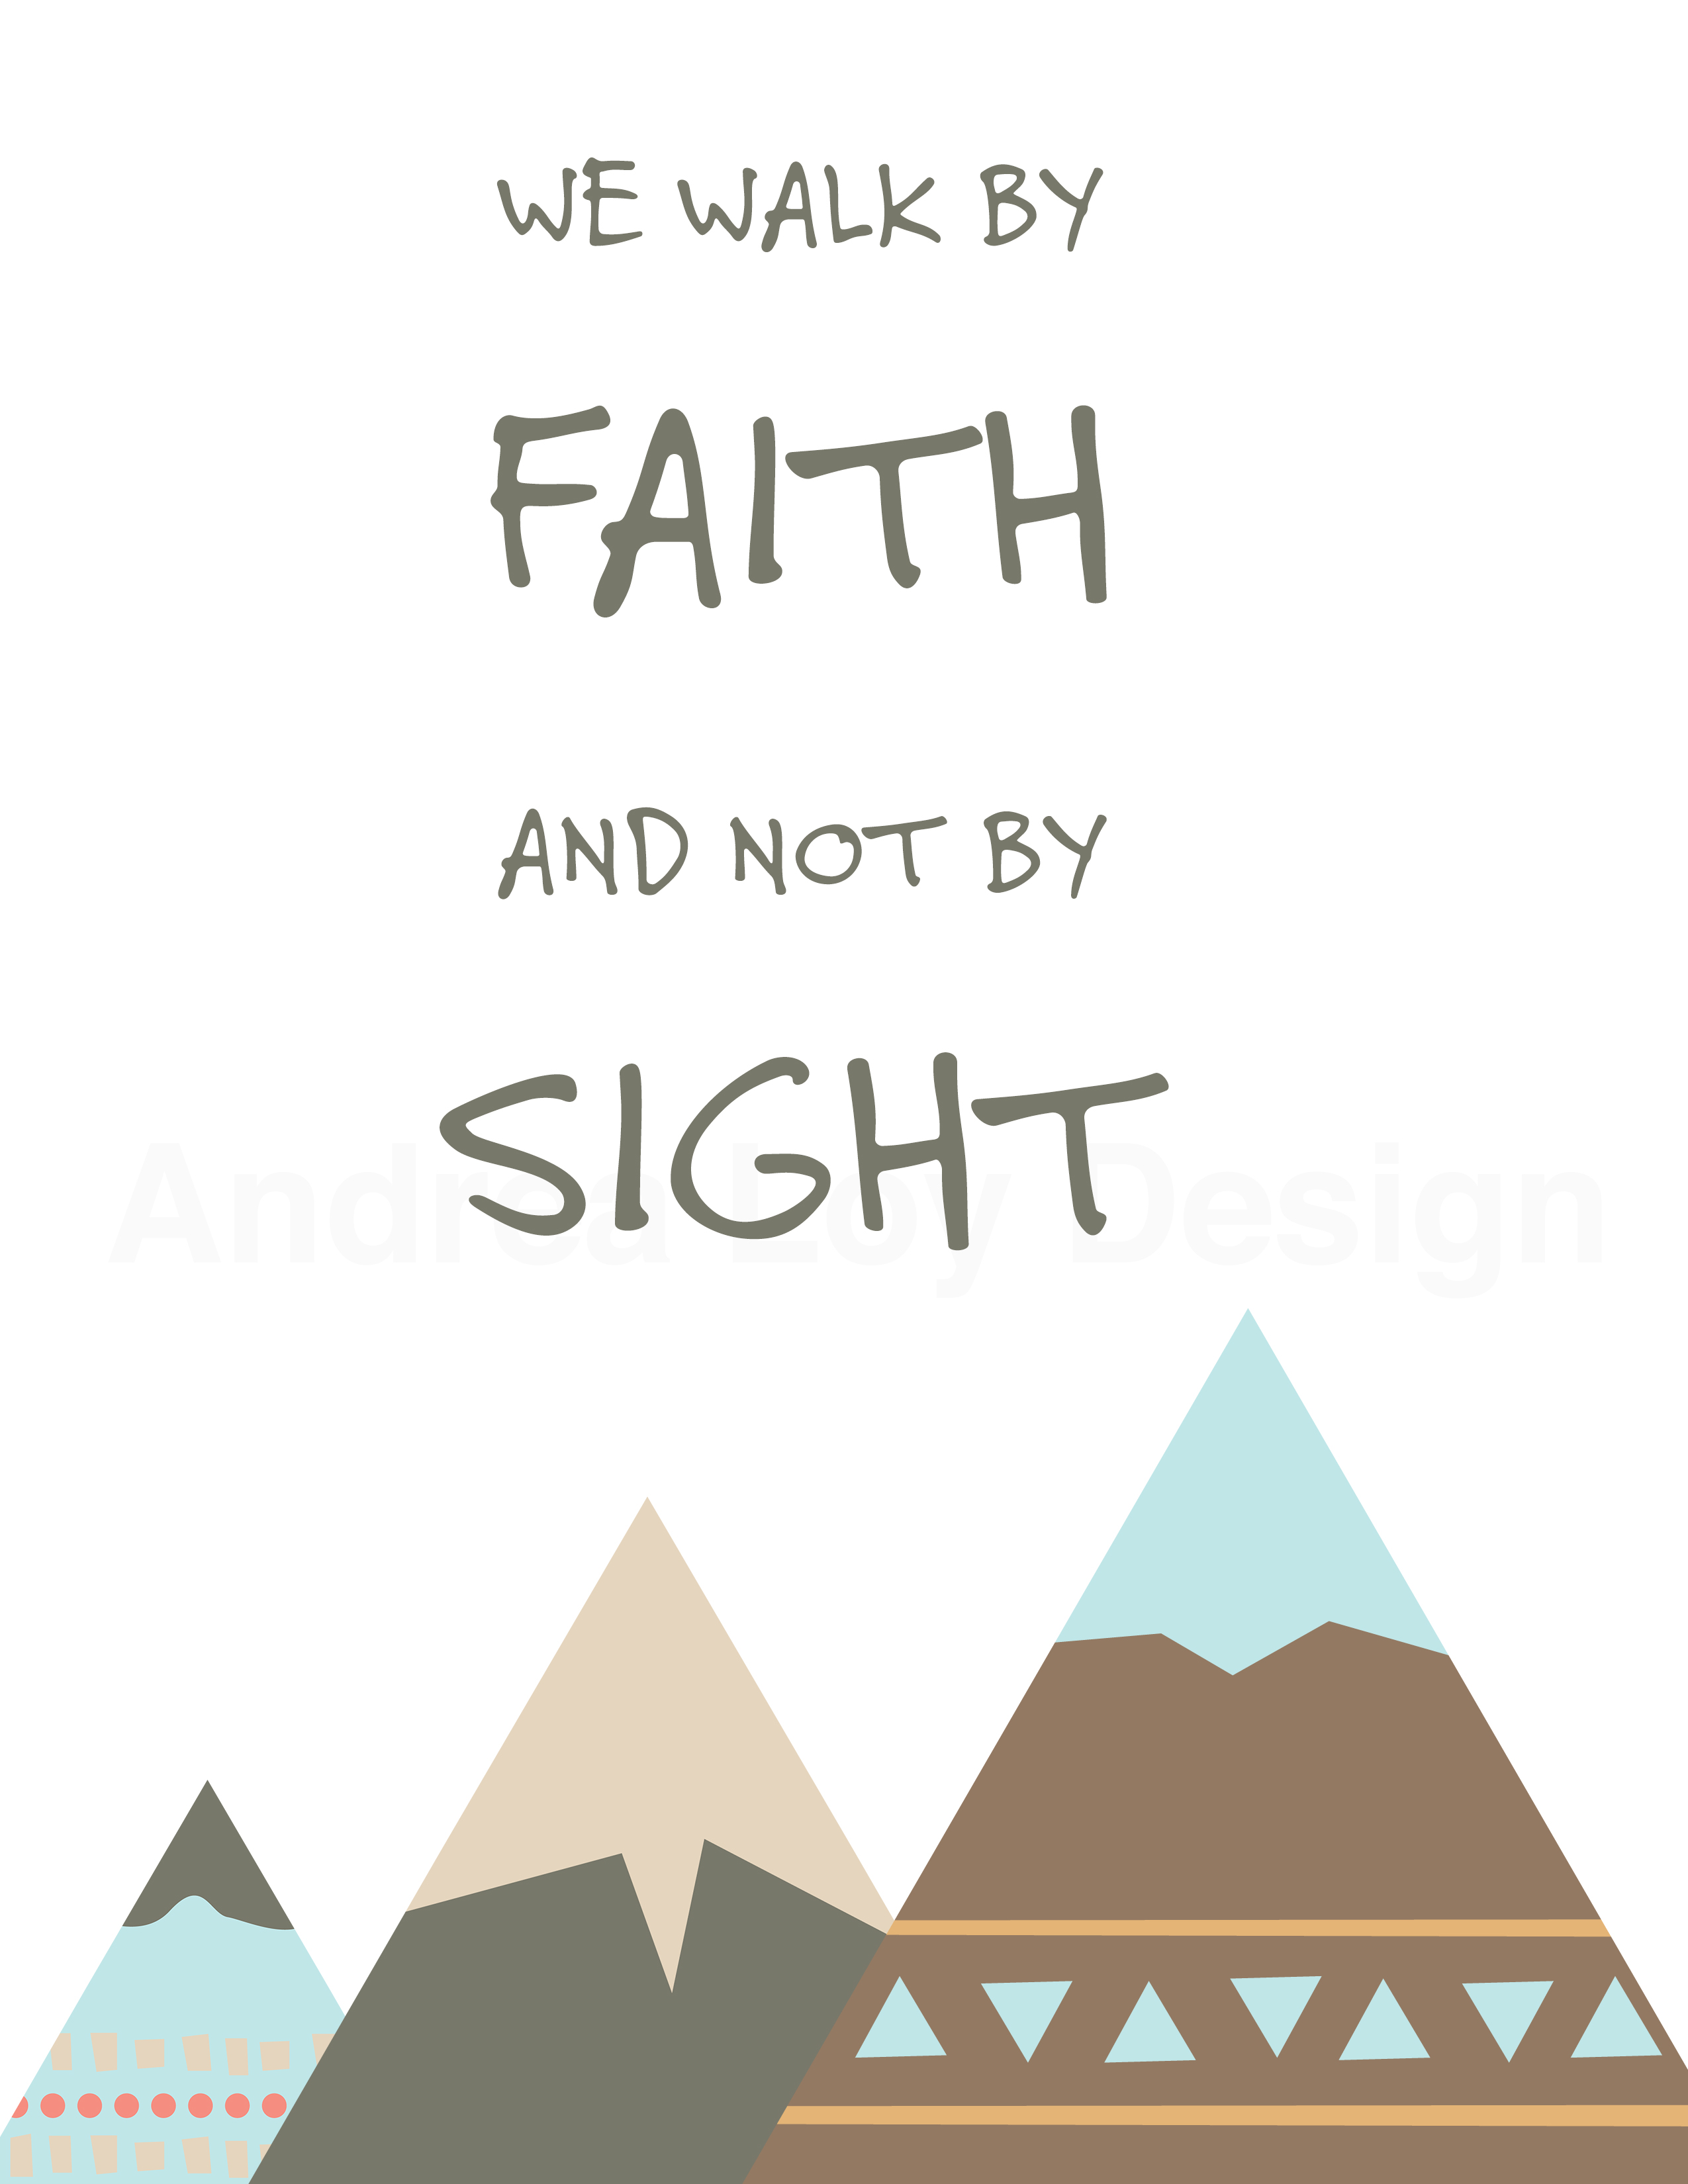
The other best place to buy graphics is Etsy, OF COURSE! Both of these sites are supporting real live independent makers! Check out this collection of printables I was able to make for my job at the girlies school this week! I bought a package of cute clip art on Etsy from Graphic Grace Design. We are having a big growth spurt in our Classical Christian School and space is a big problem…The Lord has given our school some modular units that will be put together and remodeled this fall for more classroom space. So until that is finished, we will be in a “wilderness” period. That means driving my kids to THREE DIFFERENT CAMPUSES for school. I’ll be teaching at the Secondary Campus with The Boss Lady, The Doodle will be in 4th grade at the Elementary Campus and my sweet Hayler Bunkity will be starting Kindergarten at the temporary location. In an effort to communicate how this season will look my friend and PTF Coordinator came up with a great campaign to help everyone understand how awesome this is. Plus we could NOT EVEN help ourselves with all the cute teepees and adventure themed art at Hobby Lobby! So kudos to my friend Sara for the great idea and here are some Wilderness Prints available for your printing pleasure in my Etsy Shop. They would be great for a children’s room, homeschool room, boy’s nursery decor, or Sunday
School Room/Giveaway. Unlimited Personal Printing License for $5. I do ask that if you buy the pdf files, to please be respectful and don’t share the digital files. Every little bit helps 🙂


