by Andrea | Sep 2, 2016 | DIY, handmade, Sewing, tutorials
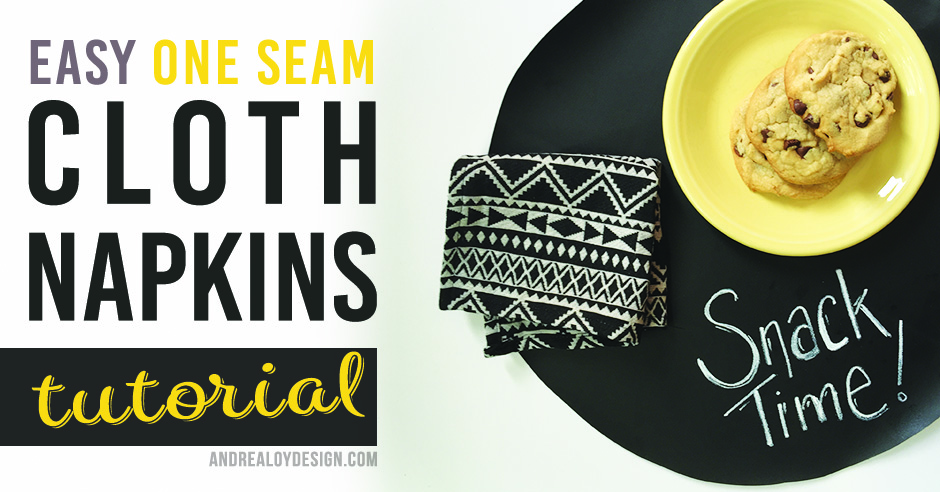
I really love cloth napkins. If you are thinking, “Who uses cloth napkins anymore?” Then you need to give them an everyday chance. I am here to show you how easy it is to make cloth napkins with ONLY ONE SEAM! All you need is a yard of fabric and some basic sewing supplies. You can do it! No advanced sewing skills needed. Think of all the cute dinner party themes! Think about how much money you’ll save not buying 1000 paper napkins every week. My children use like 50 napkins a day times 5 kids. I switched to cloth so everyone can keep the same napkin all day unless there is a major spill. Plus now my 12 year old helps with the laundry so basically I can just sit around and be lazy all day eating truffles and sewing more napkins.
FABRIC
Lets talk fabric. There are a variety of terms that no one on the inter-webs uses consistently. Basically you want a woven double cloth. This means a fabric with two right sides. I used some apparel cloth from Joann fabric stores. I can’t find a link to it online but here is some nice double cloth flannel they have… Anna Maria Horner has a beautiful collection called Loominous out that I have heart eyes over.
THE TUTORIAL
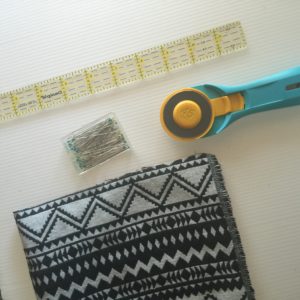
MATERIALS
- •1 yard double face woven fabric
- •pins
- •rotary cutter
- •cutting mat
- •clear cutting ruler
- •sewing machine
- •thread
- •optional: wonderclips
Cue the 90’s music “This Is How We Do It”
STEP 1.) Cut out 10″ squares of your fabric.
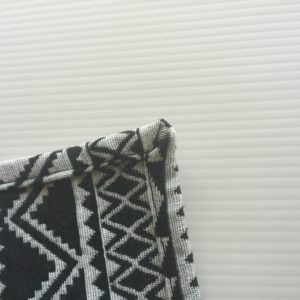
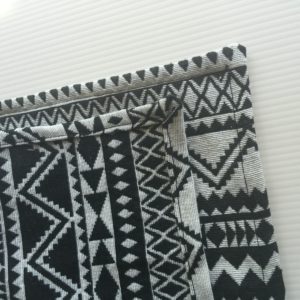
STEP 2.) Fold the fabric: turn corner down toward the center of your square 1/2″ then again 1/2″ and pin in place. Make your pin points to the exact middle of your square. Do this with all four corners of your square.

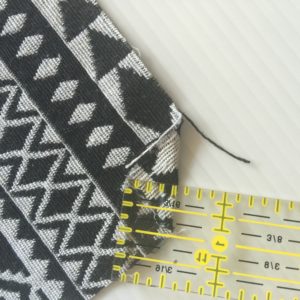
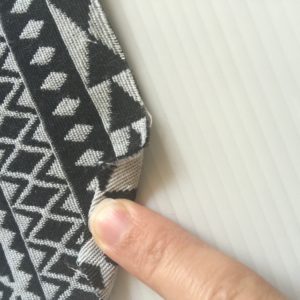
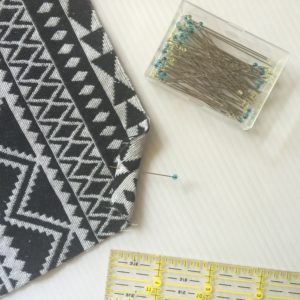
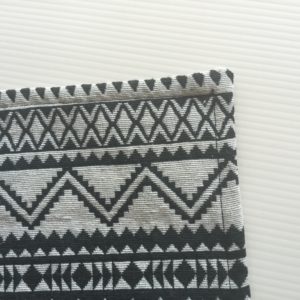
STEP 3.) Take one side of the square and fold it along the length as shown. Then again to conceal the raw edge. Be sure it makes a mitered edge to the corner. Use pins or wonder clips to hold in place. Repeat on all sides.
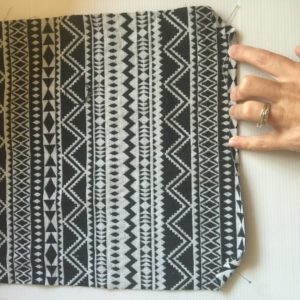
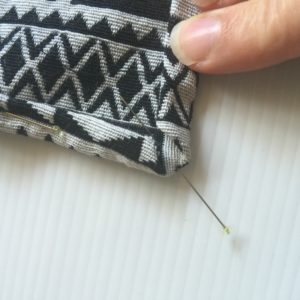
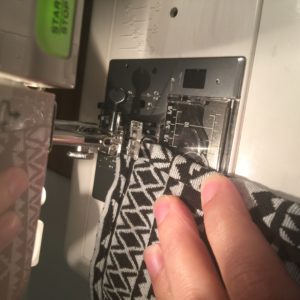
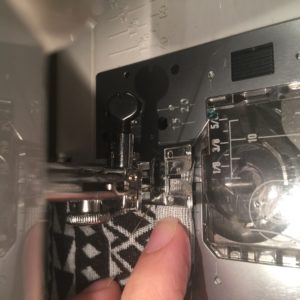
STEP 4.) IF you want to, at this point, you can iron your pinned napkin if you have glassed pins. Confession: I didn’t iron mine. I should have. You should too. Put a corner of your cloth napkin under your sewing machine and lower your needle to start/end in the downward position. When you get to the next corner leave the needle down, raise the presser foot and pivot. Keep sewing and pivoting until you get back to the first corner. Ta DA! You did it. Now have some cookies and wipe your milk mustache off with a cute napkin.
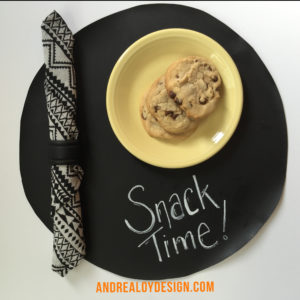
Thanks for joining me! Happy Sewing Friends! -Andrea
by Andrea | Aug 19, 2016 | DIY, handmade, quilting, Sewing, tutorials
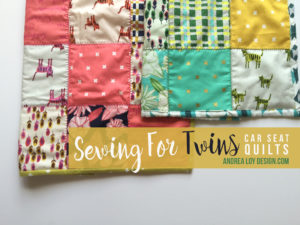
Sewing for twins is the best! We have some dear friends who my husband and I got the pleasure of doing marriage counseling with. Blake officiated the wedding ceremony. When they decided to have a baby, God gave them two! I remember sitting on the couch and holding my 1 week old Ruby when we got the news.
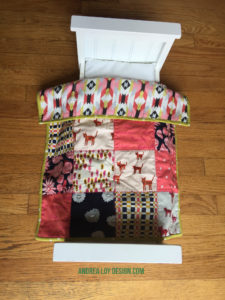
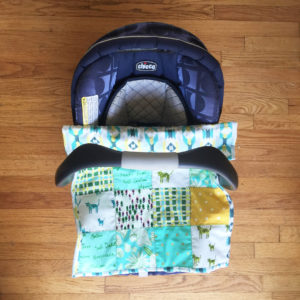
When we found out the twins would be a boy and a girl, I immediately knew what I wanted to make them. Carseat Quilts! Have you ever worried to death over your tiny infant in that huge carseat being suffocated by all the blankets? Well, I have. I’m a worrier….This time, with Ruby I used an American Girl Doll blanket when I tucked her into her carseat. It was perfect! It fit right around her and tucked in just enough. Babies grow so fast but it’s nice to have just what they need when they need it. When they grow out of the blanket it can be a wall hanging or a doll blanket or a lovie…
BUY A CHARM PACK
I bought a really cute stack of 5″ charm squares at Missouri Star Quilts by Alexia Abegg for Cotton + Steele Fabrics called “Hatbox.” It’s on sale right now for $6.95! That makes for a VERY inexpensive quilt, especially if you use what you already have in your stash for the rest. In case you don’t know, a Charm Pack is 42; 5″ x 5″ precut squares of quilting coordinates. It’s just so easy. I used to love buying 2 yards of my favorite fabric but now I like having them all cut up for me! Less is more…
DIVIDE AND SEW
If you divide the charm stack you can make two carseat quilts. Hatbox came with two color ways…one with pinks and the other with greens, making it the perfect stack to use for the twins. The quilt measures approx 19″ x 24″ when your done. It’s nice to keep your quilts between 14″-19″ wide and 19″-24″ long for a carseat quilt.
Lay out your charms in 5 rows of 4…..Sew together, add very lightweight batting and backing or flannel and bind. I used Mountain Mist Cream Rose batting and Cloud 9 double gauze I had leftover from baby swaddles to finish these up. Both can be found at Joanne Stores.
QUILT & BIND
I chose to quilt in the ditch with decorative stitching. I thought the fabric had a vintage feel and that finishing it this way gave it an almost antique crazy quilt vibe.
If you need help with binding you can find all sorts of good tutorials out there in a google search. I have demonstrated using quilt backing to bind the quilt in both of my previous quilt tutorials here and here.
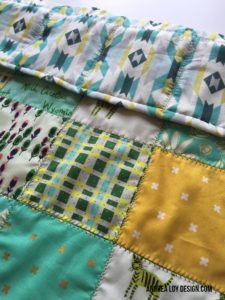
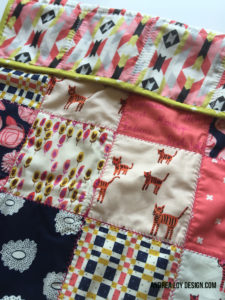
Here are some pictures…Bowen and Willow are ADORABLE and I’m thankful their parents were willing to share such sweet pictures!
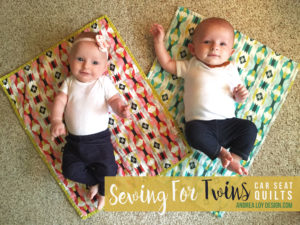
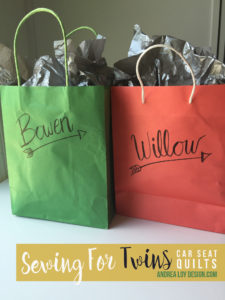
Happy Sewing!
by Andrea | May 13, 2016 | handmade, quilting, Sewing, tutorials, Uncategorized
How to make a really great modern quilt in 4 hours using 5 yards of fabric:
BUT FIRST
Here’s how it happened. I’ve been brewing up a nice modern nautical stripe quilt in my head ever since my friend made some UH-MAZING ombre stripe toddler quilts for our Handmade Markets. I have this great piece of pink and marroon Amy Butler Fabric I’ve been hoarding for roughly 6 years now and I knew that it was the perfect quilt backing…plus the sister I had in mind for the quilt loves pink. Plus the sister was graduating and I wanted to make her a special gift. The equation worked out perfectly. I stopped for a lightning fast trip to Hobby Lobby to astound all the shoppers and fabric counter lady with my tribe of children. We had to answer ALL THE QUESTIONS, “Yes, their all mine. Yes, my hands are full – of good things. Yes – they are all girls.”
But I was not distracted. I saw the perfect shades of Kona Cotton to match the aforementioned hoarded fabric while chasing a child to stop her from running through the “maze.” I’m not really sure how we got from the opposite side of the store where we only needed one thing in the art supply section to the fabric maze. It’s like the Konas were calling my name.
When you know, you know. I saw those Kona Solids and knew I had finally found the perfect match for my Amy Fabric and my Stripe Quilt Idea. So here we are with grace from above and the stars aligned.
This quilt is perfect if you have a beautiful cotton print that you can’t bear to cut up.
WHAT YOU NEED:
TOP -2 yards complimentary cotton quilting fabric solids
BACK -3 yards patterned cotton quilting fabric
3 yards of batting -I LOVE really thin 100% cotton Mountain Mist Cream Rose Batting
WHAT TO DO:
1.) Cut your solids into 12″ pieces across the width of the fabric from selvage to selvage.
2.) You’ll end up with 6 pieces total, each measuring 12 x 44″
3.) Sew the stripes together alternating colors along the 44″ length side.
4.) Cut your backing fabric in half at the 1.5 yard line and sew together along the selvage to create the backing.
5.) Spread out your batting on a clean floor and smooth quilt top across. Trim batting to the same size. It should measure 44 x 70″
6.) Next carefully pick up your top and batting together and lay aside. Lay down your backing piece wrong side up. Place top/batting down on the middle of your backing piece and smooth from the center out with your hands. There should be about 2″ on either side of the length of the quilt sandwich and more at the top and bottom.
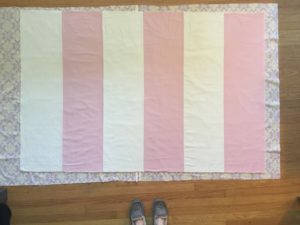
7.) Baste it. PIN THE HECK OUT OF IT WITH LARGE SAFETY PINS! Always smoothing, pin from center out. We don’t want our quilt sandwich bunching or shifting when we sew it together, do we now?
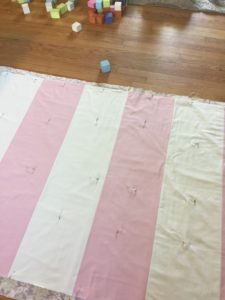
8.) Quilt it a 1/2″ on either side of the seams where your solids meet. Set your walking foot up if you want. Use a longer stitch length. Start in the middle of your quilt and sew out from centers of stripes.
QUILTING TIPS: If you try to start sewing at the ends all the way to the other end you will have bunching and unwanted pinching or pleating of fabric. Yuck. Don’t do it. I promise it doesn’t take much longer to keep starting from the middle of your quilt. Keep your quilt rolled up neatly under the arm of your machine so the bulk of the quilt will fit easier.
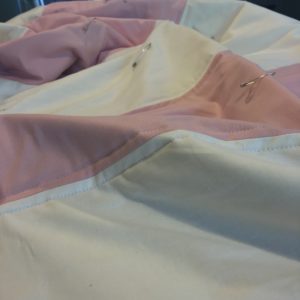
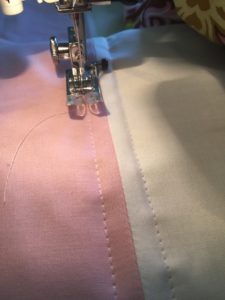
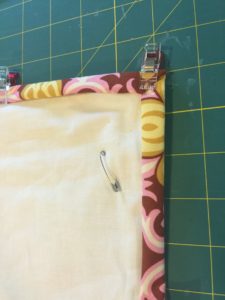
9.) Now trim thread tails and the backing of the quilt. Use a clear ruler and rotary cutter and leave exactly one inch of the backing fabric for your binding.
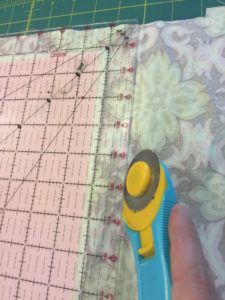
10.) Double fold the backing up onto the top of the quilt to create binding. I like to use wonder clips for holding the binding in place while I sew. Then you machine sew it along the edge. It’s so easy and fast. This binding technique saves so much time! Hence the ability to complete this quilt in just 4 hours!!!
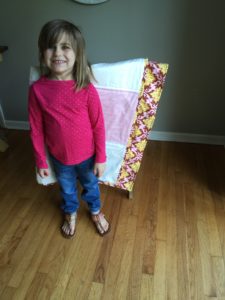
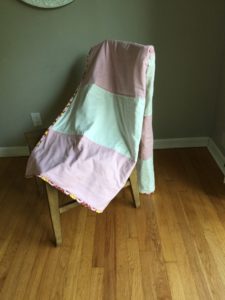
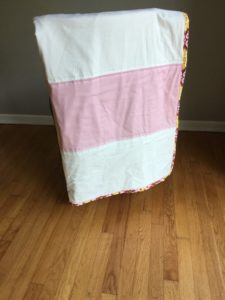
Finished Quilt measures approximately 44″ x 70″ A great size for a twin bunk or napping couch throw!
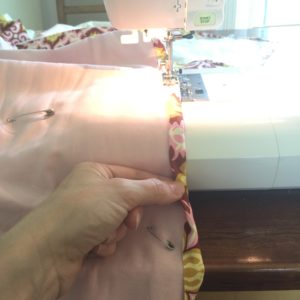
DISCLAIMERS: No children were neglected or starved in the making of this quilt. I really did make it in 4 hours! I did not count the hour I stopped in the middle to feed/nurse children. I did count my time while helping children with school sitting next to me.
Show me your Modern Stripe Quilts! Tag ’em with #ALDstripequilts on your social media accounts!
HAPPY SEWING! You can do it!
by Andrea | Apr 8, 2016 | handmade, quilting, Sewing
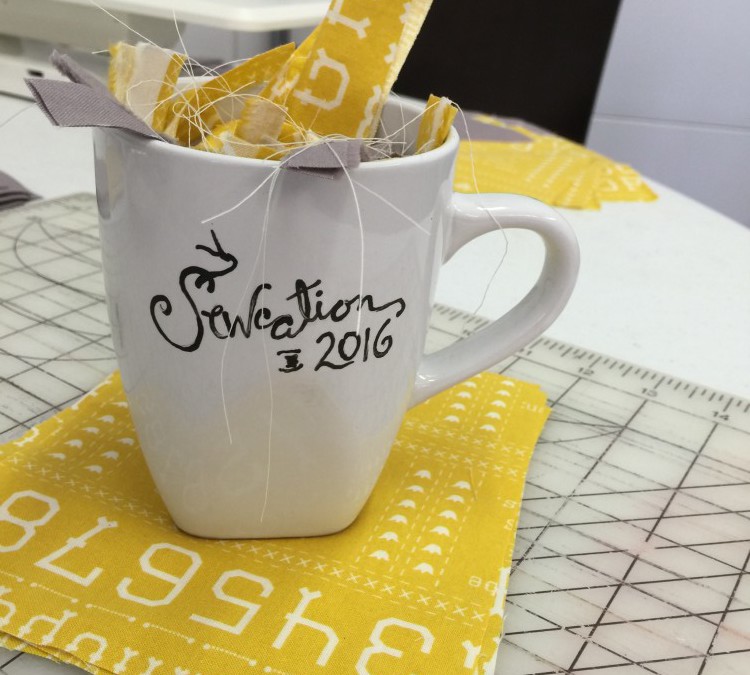
I promised to deliver details of the epic Sewcation 2016 and here we are. A month later, but never the less, if you feel the itch of nosiness it can now be tamed friends……here are the details of our epic weekend. I invited several women who have been dear and special to me throughout my life. Women whom God has placed in my life at just a time when I needed a friend. Women who have taught me to sew, inspired me to sew, sewn me little dresses when I was growing up and women who just plain love me.
THE GOOD
Sew, I mean so…..The day started out with a spectacular display of selflessness on my husbands part. I slept in. He took all Science Fair Projects and school aged children with him to school. He set up and displayed. He listened to the presentations. My hero…..I had a leisurely morning with just Thing #5. I had coffee BEFORE 9am.(#miracle) After nursing and packing up the car with an unrealistic amount of sewing projects in my bags(and a unhealthy amount of optimism needed to be finishing those things)….and every notion I needed (except thread#facepalm), I hit the road to pick up Thing #3 from kindergarten and grab lunch.
My hero called just in time to save me from the woe of drive thru fast food to tell me of everyones sciency success and offered to take me to sushi! Ruby Jane (#5) thoroughly enjoyed this. But mostly she liked the spoons.
THE SAD
My friend Lori from Cottonwood Farm called to confirm that she was indeed stuck in Texas with her husband on a big painting job and would not make it back in time. When one lives in a land of Sewcationless days for 365.25 days of every other year, the utter devastation of a chum stuck two states away is beyond SAD. We mourned for her loss. We vowed to plan a redo Sewcation 2016.2 in her honor. There may have been selfish sewing motives mixed in with our pure ones. I can’t be sure. (Winky Face)
MORE GOOD
We all arrived at The House On Eagle Ridge around 6 except for my friend G who stayed late in KC to deal with the rest of the science fair madness and transport our 5 million children where they needed to go after school. She brought my Thing #1 and Thing #2 with her. Bless her heart.
Our hostess with the mostest, (aka my mother in law) seated us to a beautiful table, perfect with themed decor. Apothecary jars full of buttons and thread mixed and mingled among the fresh flowers. We all felt a bit ridiculous at the beautiful and lavish pampering our tired selves were unaccustomed to. It was pure loveliness. She is gifted at entertaining! Her daughters helped serve and watch my kiddos too!
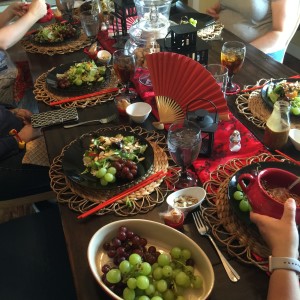
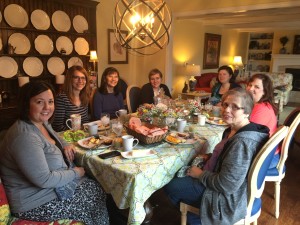
But we were all here to do one very important thing. So we valiantly polished off our tiramisu and headed out to the party room with hot large cups of coffee to begin our sewing adventures for the weekend.
We were all a bit tired and didn’t last long! So we headed to the lovely guest barn and settled in for the night. My MIL has been working hard to make it a rustic haven for all her guests. It’s truly unique and adorable.
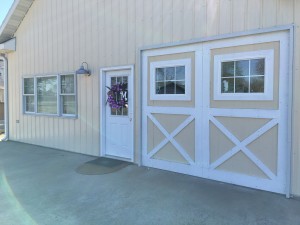
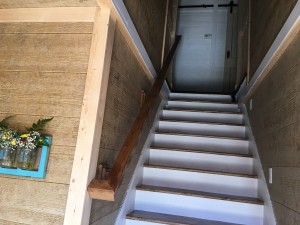
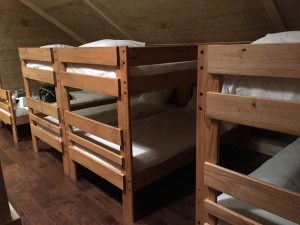
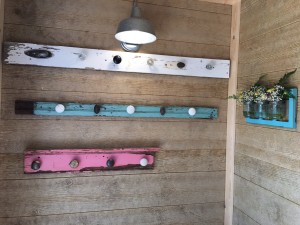
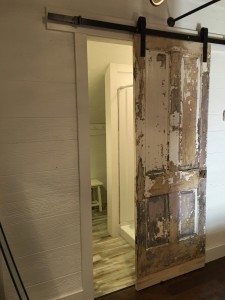
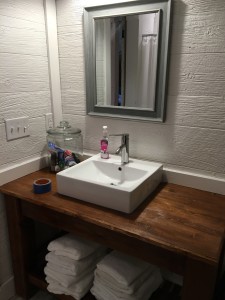
MORE SAD
Over the course of the night my friend Ginny got the flu, and my friend Alicia’s sweet 6 week baby boy came down with a nasty cold. They left after lunch. We were dropping like flies!
THE BEAUTIFUL
There were many moments of beauty throughout the weekend. I really enjoyed catching up with my sweet southern belle Haley. I listened to her talk about letting her boys pick out their quilt patterns and fabric in her warm Arkansas accent as she worked….and I realized the beautiful thing about Haley is, she always sees the possible in every situation and encourages those around her to let their hearts dream a little. She’s a vault of how-to information and knows the steps hard work must take to realize those dreams, encouraging those steps with excitement for those around her.
I loved watching my cousin Jaimee, as she worked, sleep deprived from her cute little #4 on a beautiful quilt for her sons’ teacher. Only her second quilt, but she finished an entire quilt top that weekend! All the while her beautiful little boy Nolan cheering her along close by.
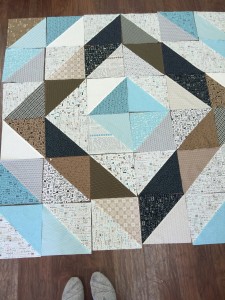
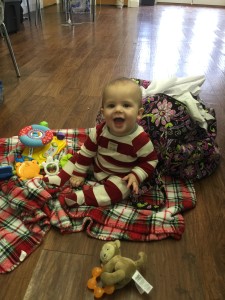
Her mother my Aunt Kathy, brought a giant dahlia quilt to work on. Attempting a quilt like that is no small feat! I can’t wait to see it all finished. It’s amazing! She is gifted at detail work, I still love the beautiful embroidered pillowcases she made me for my wedding! She has a kind heart and loves me like her own.
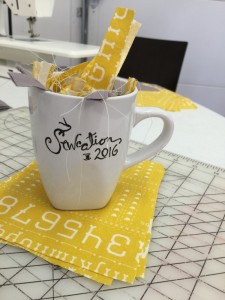 My mother began a giant mustard and gray colored arrowhead quilt for me. The beautiful thing about my mom is that she always loves people by spending time with them and on them. I’ve never wondered if she loved me but I’ve often thought about how blessed I am that she likes me. She taught me how to sew, but of course so much more.
Next we have Ginny. She is amazing! She is a true artist. The quilts she sews up are always an exciting surprise of modern, quirky, delightfully unexpected patterns and colors. I love how she just makes what makes her heart sing. I can’t imagine where I’d be without her. She taught me that fearing mistakes suck all the joy out of creating. I love that God brought us together over cloth diapers and we first shared our hearts over nachos one rainy afternoon in her big comfy house. She has been encouraging me ever since.
Alicia is Ginny’s sister in law! She is always making something from beautiful fabric non stop. Even with her baby strapped on and 4 other children to homeschool, she makes time to sew. She brought some amazing Chalk and Paint Fabric for AGF by Sew Caroline. In no time at all she had whipped up a darling easter dress for her sweet one and only girl Lillian. Off topic but may I also say that Alicia is a talented baker and often makes us decadent treats for girls craft nights that are simply to die for. I now firmly believe all sewing must involve desserts thanks to her.
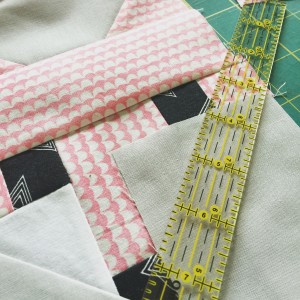
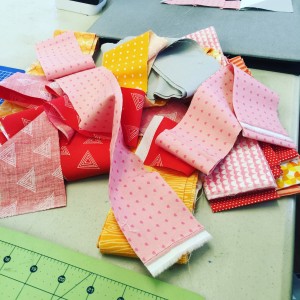
Finally, I made about 24 blocks of the Fancy Fox quilt for my #3 Hayler. It’s probably the most intricate time consuming quilt I’ve ever made. It’s not hard but it is tedious and I am not a fast piecer. I hope I can finish it this Spring! There are lots of exciting projects in the works in my hectic little home that distract me from it and I can’t wait to share about them all here.
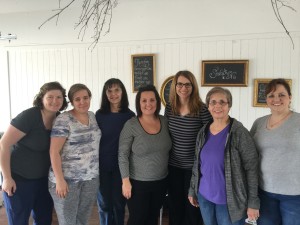
I hope this post inspires you to make fond memories over busy hands with the dear ones in your life.
-Andrea
by Andrea | Mar 9, 2016 | handmade, quilting, Sewing
It’s time for Sewcation 2016. I’m super excited! Sometimes you have to buy a whole lot of fabric and “get the heck out of Dodge” for a quiet weekend of sewing. “It’s therapetic!” -Barney Fife. Almost every year I try to take this little trip. Back in 2011, my bestie and I took off for a few much needed days of uninterrupted sewing. There was a family condo in the Ozarks with plenty of space and my birthday and hers were a great excuse…We loaded up my nursing 9 month old, 3 rubbermaid bins of fabric, two sewing machines, a serger, and lot of snacks. It was THE BEST. We jokingly dubbed it a sewcation. I made easter dresses for my girls and started a massive quilt for my master bedroom. She sewed her daughter’s entire Spring and Summer Wardrobe. We’ve tried between babies, and husbands, and kids to make it work every year. It hasn’t always happened.
This year I have the opportunity to invite 8 of my closest family and friends who love to sew for an epic Sewcation 2016! My MIL has recently built a guest house with a gazillion bunks and bathrooms. For my Christmas gift, she offered to host Sewcation 2016! Just for fun I have designed a logo, and I plan on staying up late to make some memorable swag for the occasion! I’m so thankful for this opportunity in the midst of a stressful and busy season of life.
Make time for what you love, despite your limitations….you need to. Give yourself grace so you can give it to others. Make your —-cation!
I plan to sew a quilt that my daughter has been wanting. I’ll be using a pattern called Fancy Fox Quilt by Elizabeth Hartman! I was inspired by this version pinterest.
Here’s the logo! I’ll share more when we get back!

by Andrea | Feb 8, 2016 | Baby, handmade, Sewing
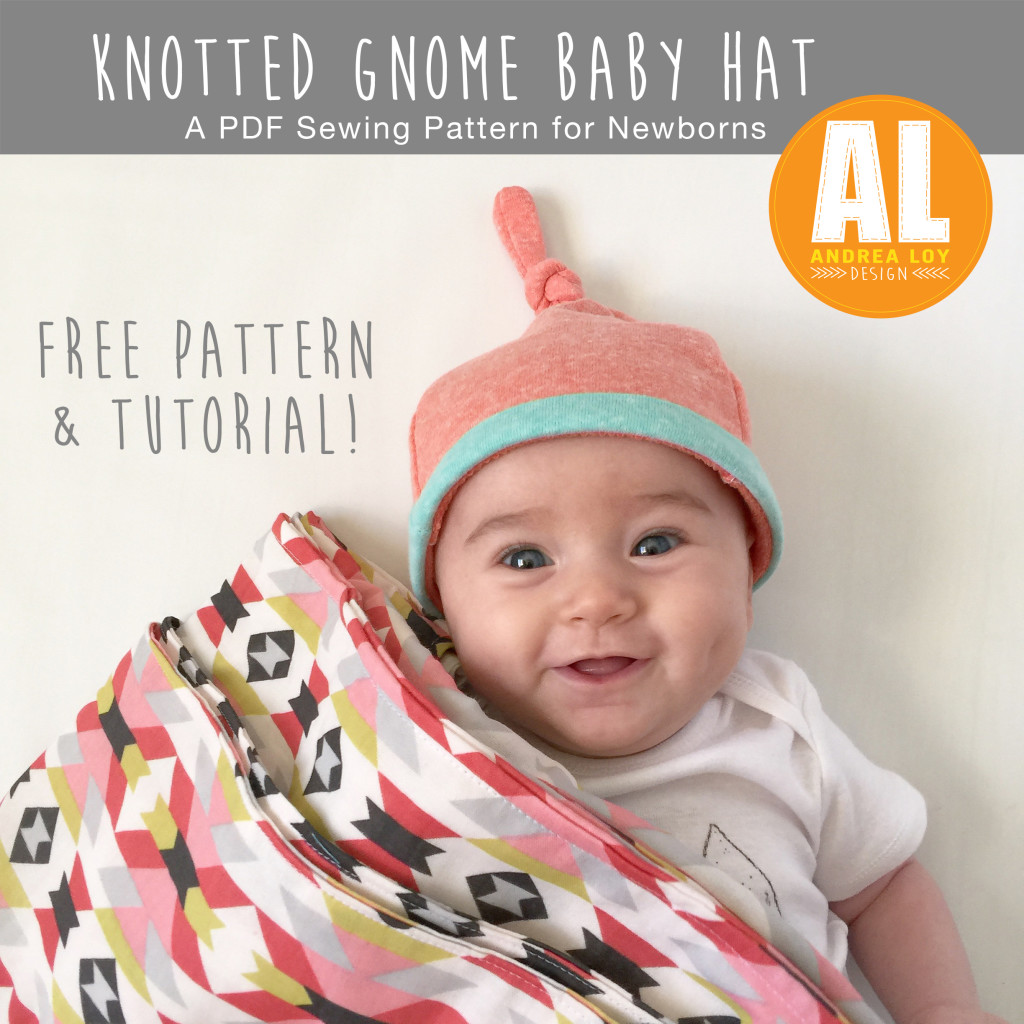
Free baby hat sewing pattern! My little Ruby likes to have her head covered at all times. I’m really not happy with the newborn hat selection in stores. The hats that come with most layettes are two pieces of cotton with no stretch recovery and barely stay on. They are all a little too big and ill fitting. I’ve made this cute little knotted hat pattern for her and it fits just right! I call it the Knotted Gnome Baby Hat.
I’m sharing the love today with you. Download the Knotted Gnome baby hat sewing pattern for free and sew right along with me! It’s very easy and makes a great baby gift! I have a skinny or wide band option on it. I’ll be grading it for all sizes to sell in my Etsy shop, Handful Of Arrows soon. I’ve used a nice french terry from JoAnns with a good stretch. You can use any knit stretch fabric.
Here’s a quick tutorial. This hat takes about 30 minutes to make. Or 5 minutes to buy in my Etsy Shop. Ha! You can do it, don’t be afraid of stretchy fabric.
TUTORIAL
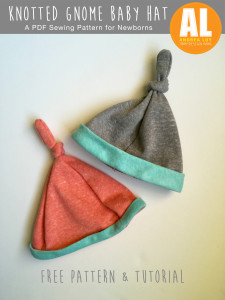
{DOWNLOAD HERE}
1.)Cut out your pattern pieces and tape together A & B
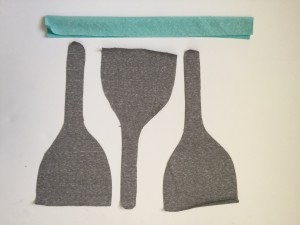
2.) Cut 3 pieces out of knit fabric
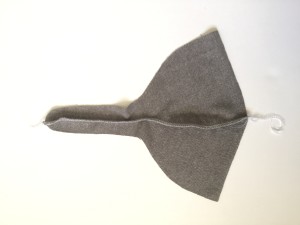
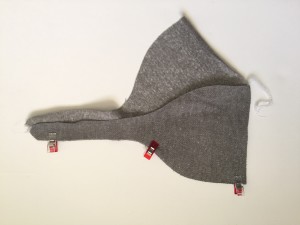

3.) Serge right sides together or sew with zigzag stitch
4.) Cut out band: Skinny 2” x 15” strip Wide 2.5” x 15” Strip
5.) Fold band in half and press
6.) Serge/zig zag right sides of band together on shorter width end. Fold band back in half.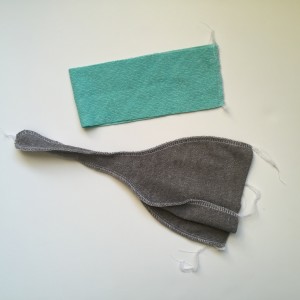
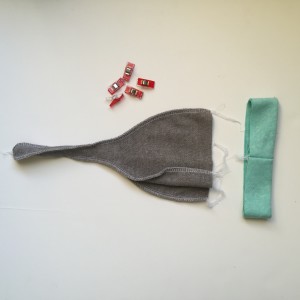
7.) Pin folded band with raw edges right side against wrong side of hat evenly at four points.
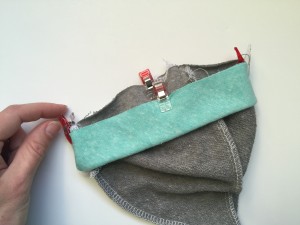
9.) Serge or zigzag, stretching to fit. Turn hat right side out. Poking with a pencil to get the skinny end. Turn band to right side of hat and press.
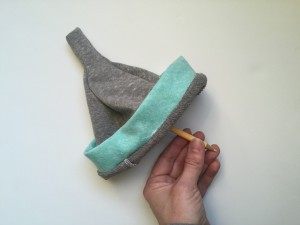
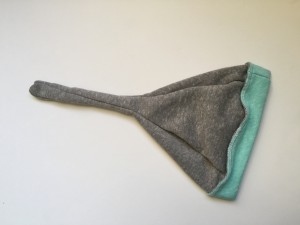
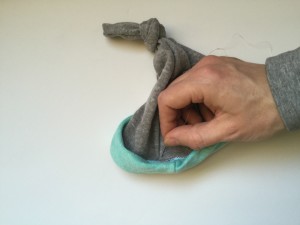
10. Tack band to hat inside the band with a knot stitch by hand. Tie a knot!
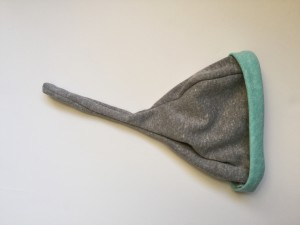
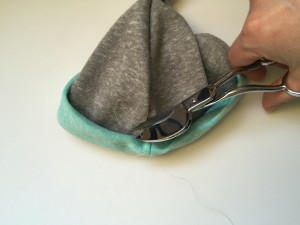
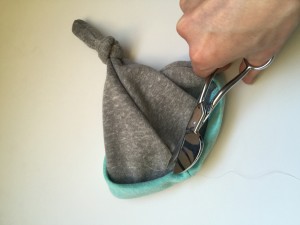
There you have it. A cut little knotted gnome hat 🙂 Enjoy! -Andrea
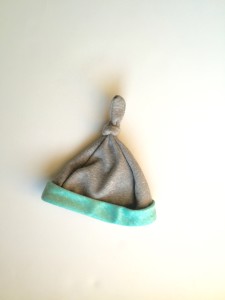
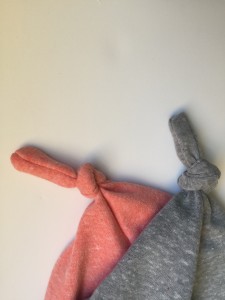
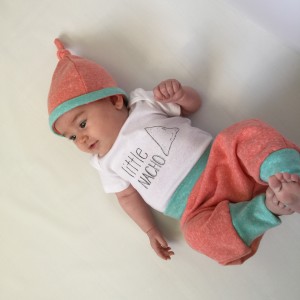
Photos by Me, Andrea Loy
Cuteness by Ruby Jane
Please do not share pictures of my children without permission. Please share design credit when using the pattern for business. Thank you! – Andrea


