Fourth Of July Door Decor! TUTORIAL & GIVEAWAY
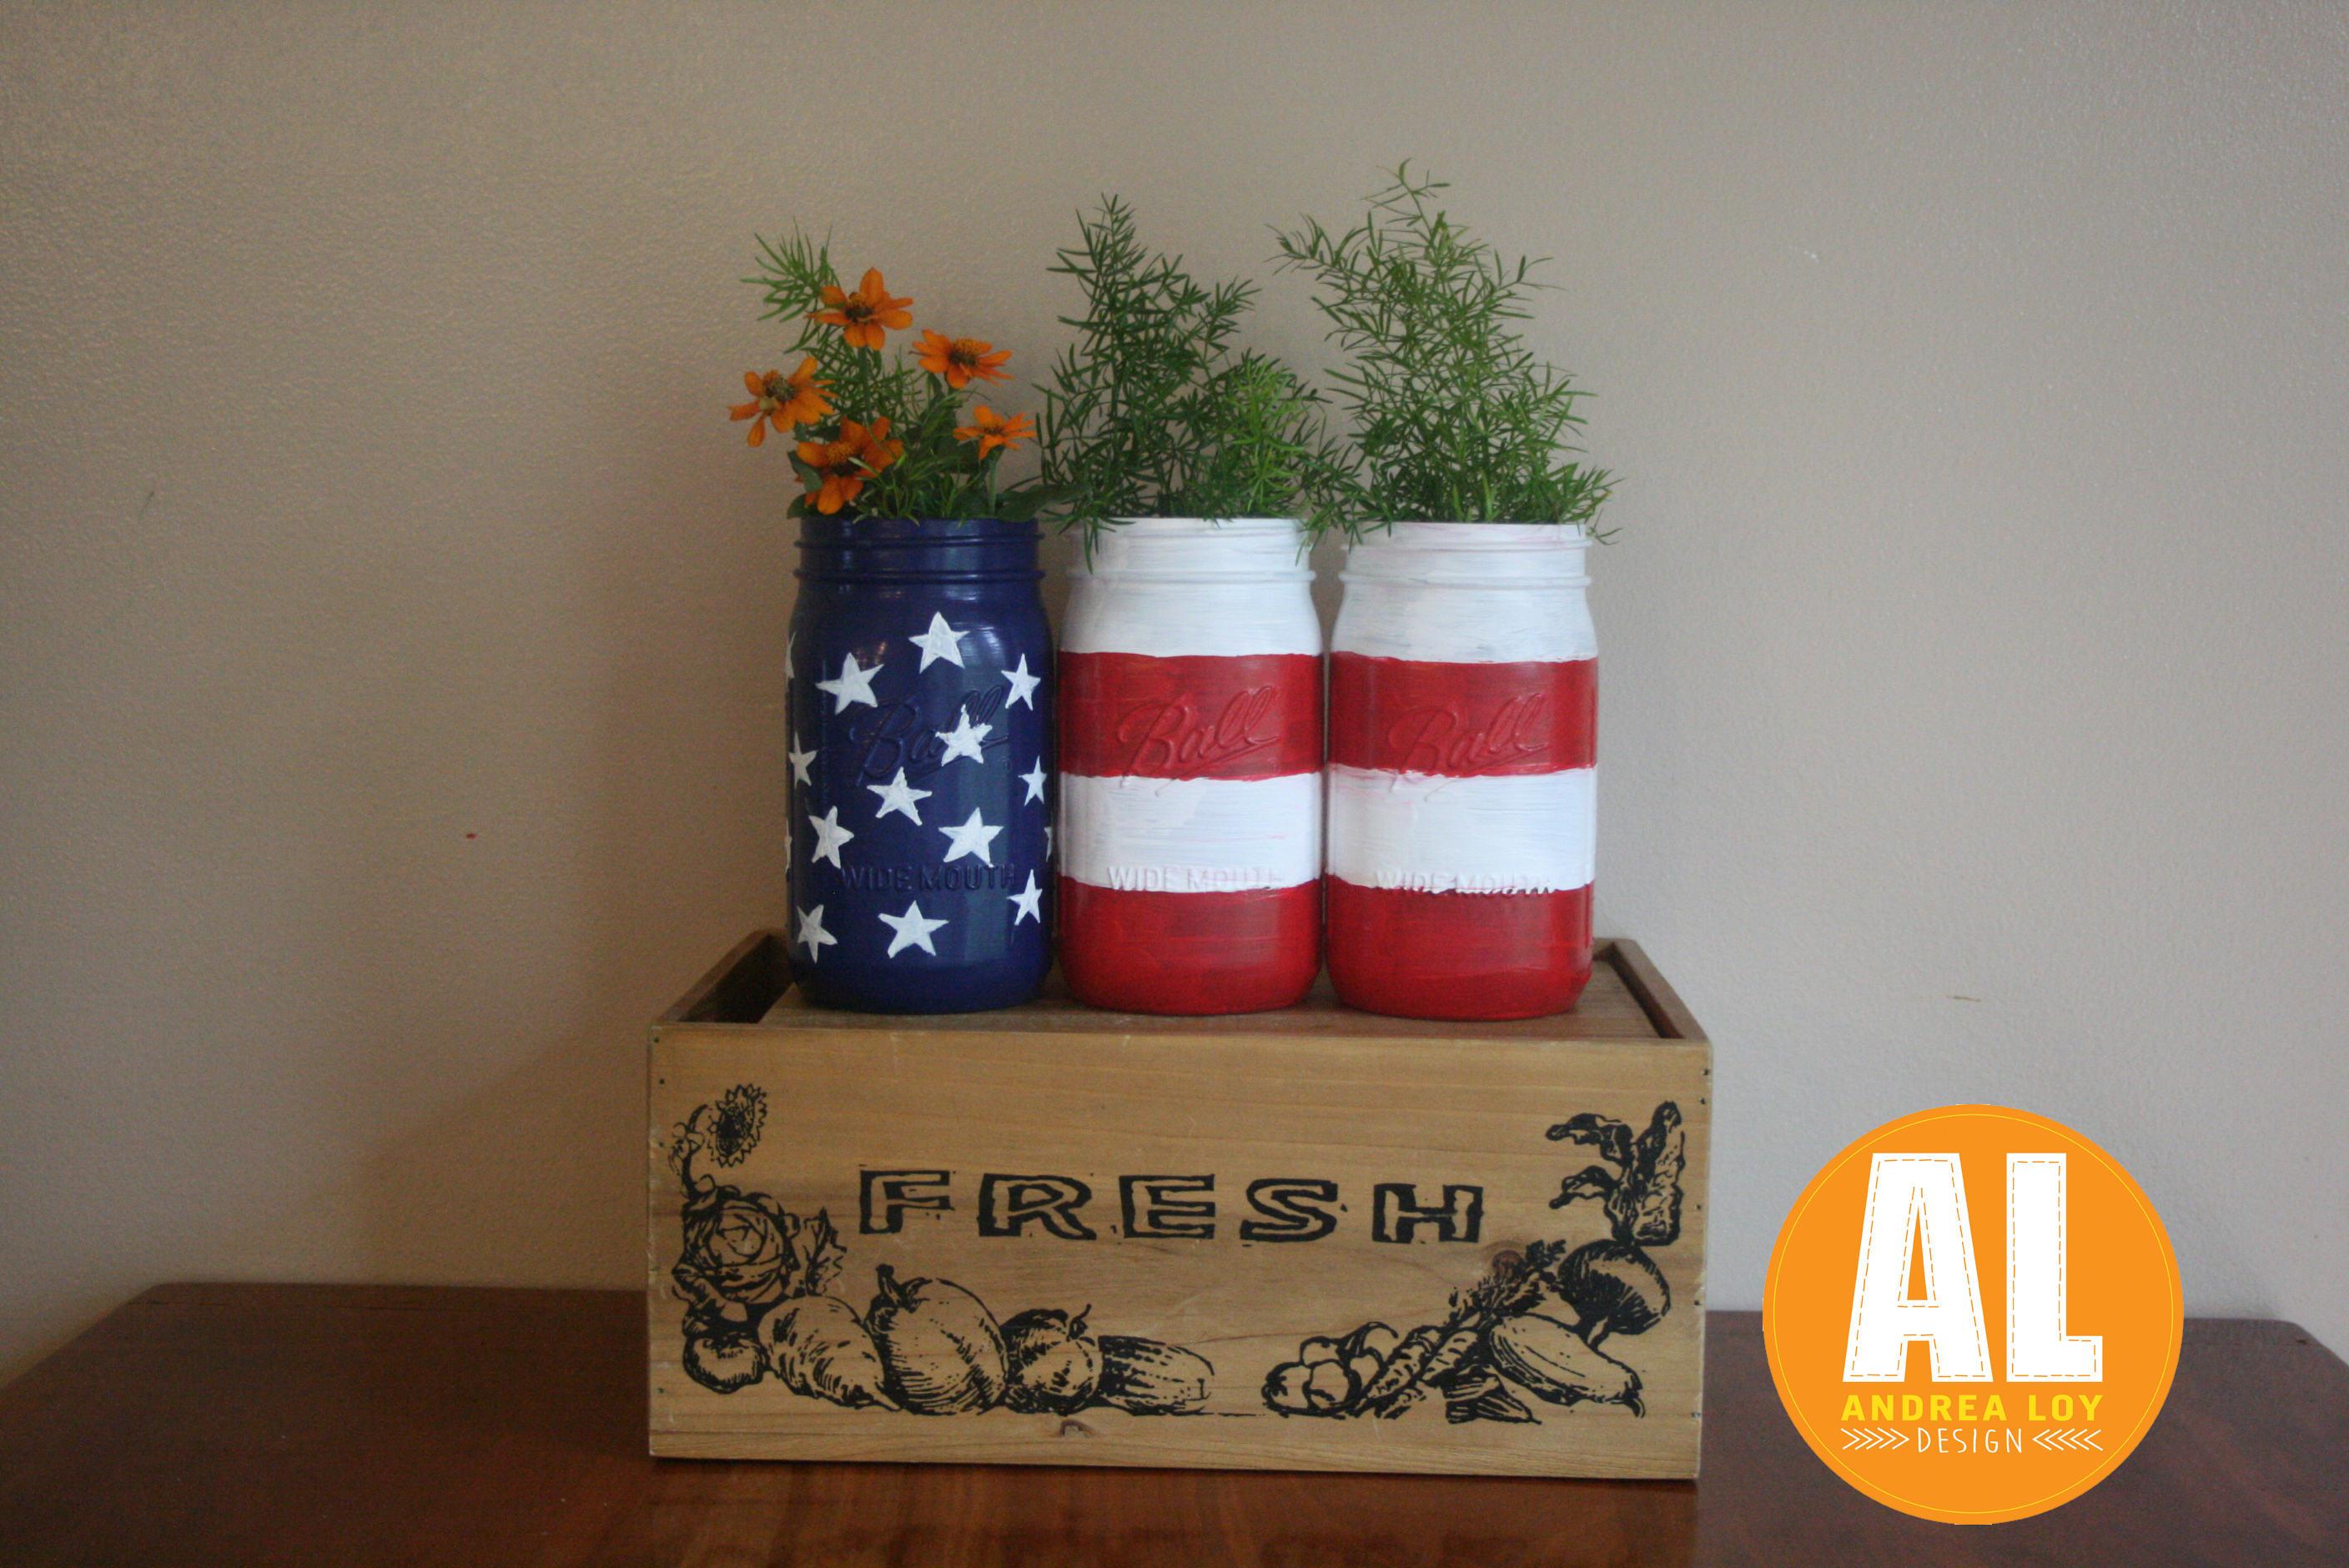
I made this cute little front door decor for the Fourth of July, but the thing that gave me the idea was making my friend a birthday present, so of course I have to tell you all about the rabbit trail to how I got here…. I have this friend, and she’s VERY patriotic. Her house is totally fun and her decorating style involves a lot of red, white, and blue. She loves her Marine, Jesus and her Country too. She’s a really special lady and I knew I needed to make these cute mason jars for her, ’cause they’ve been calling my name (or rather her name) on Pinterest for two years….
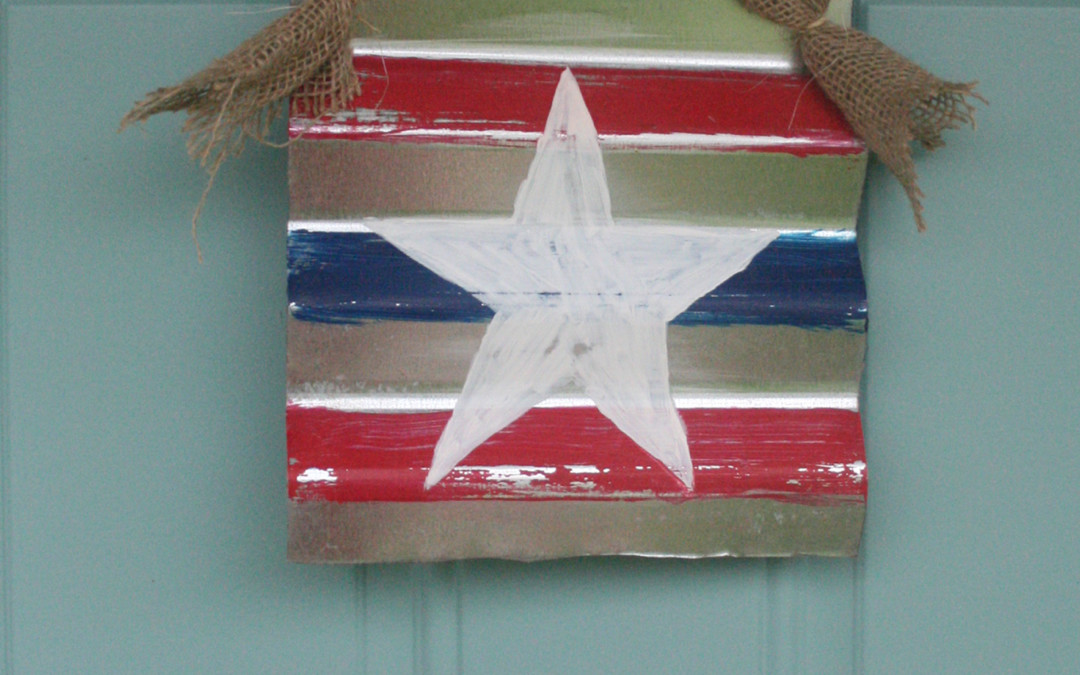
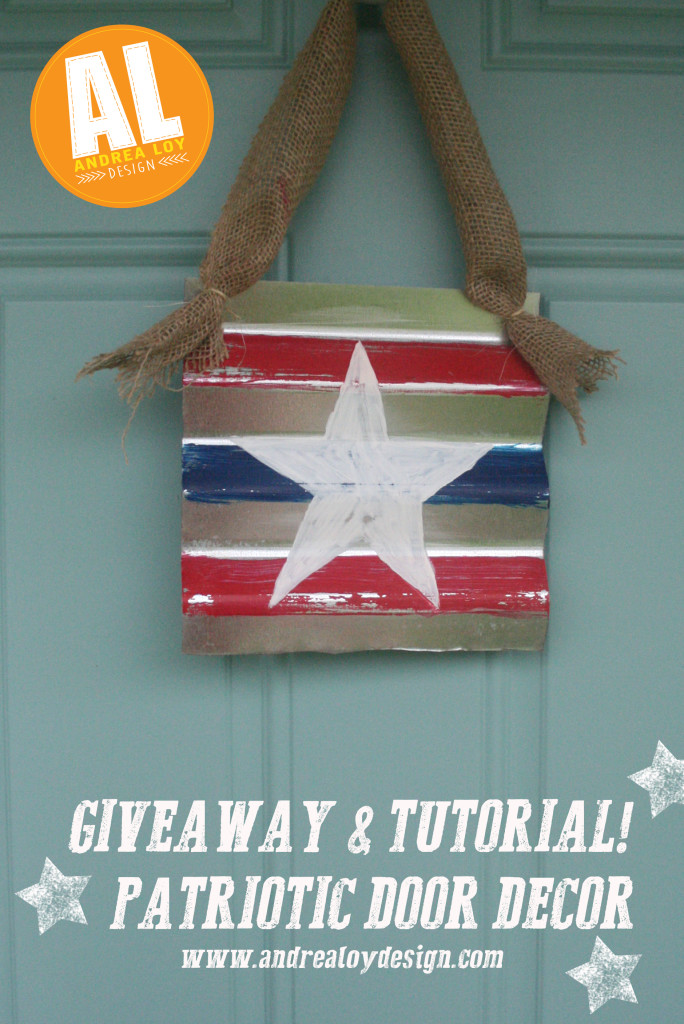
Naturally after those cute things were done and out of my system, I then decided that my freshly painted front door needed something patriotic too. I had bought this multi surface paint for the jars, and I had two pieces of square corrugated steel from the bunny barn (that’s a whole ‘nother post). So I made this:
It was pretty easy and I felt all “repurposy” after it was done. But really I was just happy to be part of the “I made something out of corrugated steel” crowd. And I was happy those sharp little pieces of metal could be rescued out of our pile of post-construction materials we seem to accumulate around here.
If you’d like to win the one that isn’t hanging on my door, just share this post with your friends on Facebook and Pinterest and be sure to tag me in it! Then comment and let me know you did! I’ll give it away Monday June 29th at 9am!
IF YOU DONT WIN….*sigh, Here’s how to make it your self:
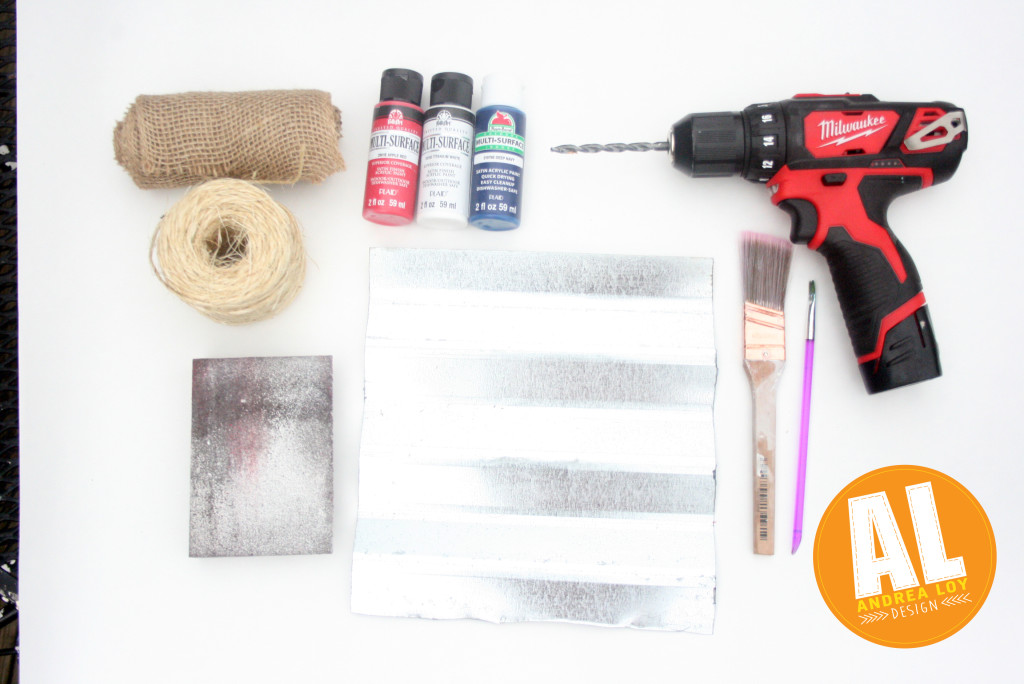
SUPPLIES:
corrugated steel square
red, white, blue multi-surface craft paint
craft sponge or 1.5 inch paint brush
small detail paint brush
drill, 5/8″ bit
twine {16″}
burlap ribbon {about 12″}
sandpaper
STEP 1:Paint your stripes with your wide sponge or brush… red, blue, red. Let dry an hour.
STEP 2: Paint your white star with your detail brush, use a pencil to draw your star first…
STEP 3; Drill two holes at the top corners against a block of wood.
STEP 4: Thread a 8″ loop of twine through each hole grabbing the two loose ends of your 12″ piece of burlap ribbon.
Tie the twin tightly on the back of the steel then, tie the two loos ends together in the middle of the back of your steel.
STEP 4: Sand it to distress the front. Hang it up.


