by Andrea | Nov 18, 2018 | DIY, handmade
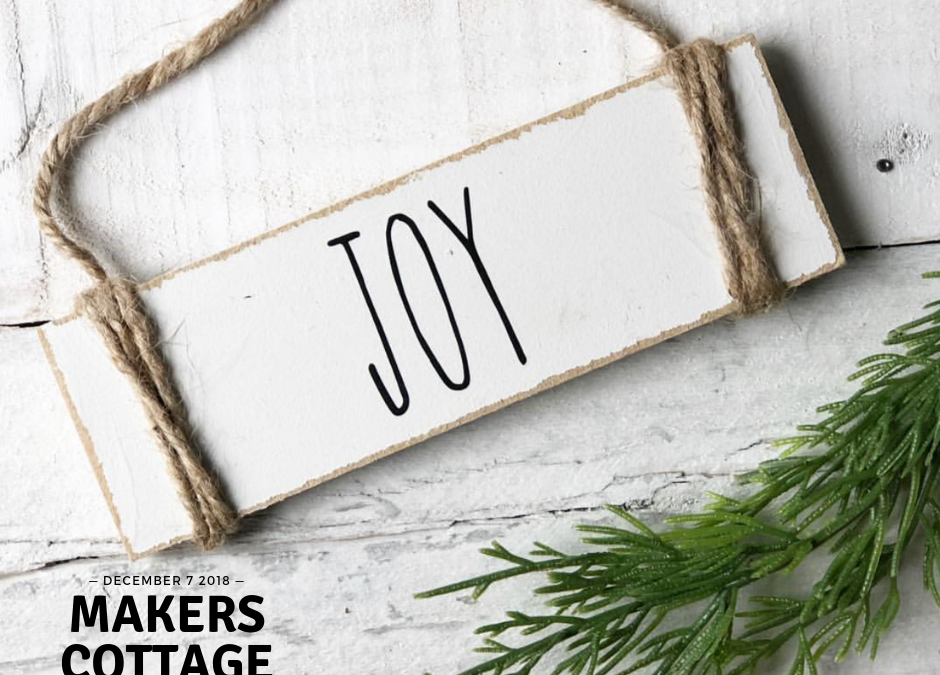
Christmas Ornaments are on the table for Makers Cottage this time! Whether you send an ornament for a gift or tie them to your packages for a little bonus, you won’t want to miss out on making a few unique ornaments with me at the loft. I have 4 ornaments to choose from. (I know I said 3 on the invite, but then I got excited and added another to the line up)
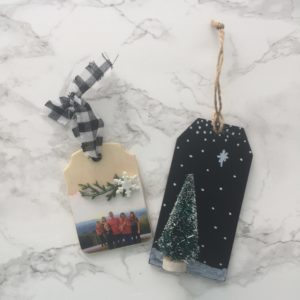
This year I plan to give a photo ornament to everyone on my Christmas Card list instead of a card. I’m pretty excited about it! AND you won’t find 2 of these ornaments on pinterest. I’ve designed them myself. IF you want in on this project, you’ll need to upload me your family photo and greeting text ahead of time so I can lay them out and print them off…so be sure you are on the ball and USE THE SIGN UP SHEET !
Please join me December 7 for crafting and clucking! Drinks, Christmas Music and hot glue will be provided!
Here are the ornament options:
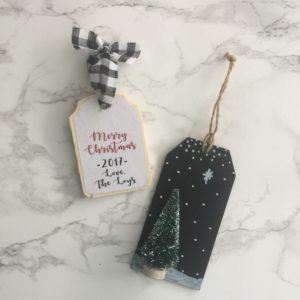

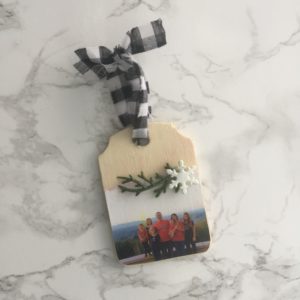
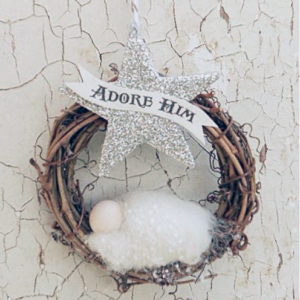
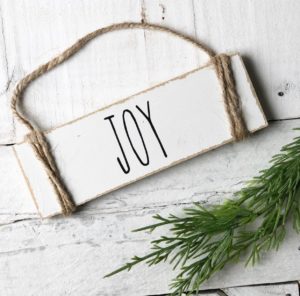
Sign up by clicking the button!


by Andrea | Oct 28, 2018 | DIY, handmade, Home Decor, tutorials
One day, I hope to own my very own company, with a brick and mortor store. A place where art and craft meet. A place where fellowship and therapy happen over busy hands around a table of makers. A place that feels like your home away from home, only more heavenly.
It starts here…with Maker’s Cottage. Will you join me? I host small gatherings of modern makers where we rekindle the lost art of busy hands and beautiful handmade gifts.
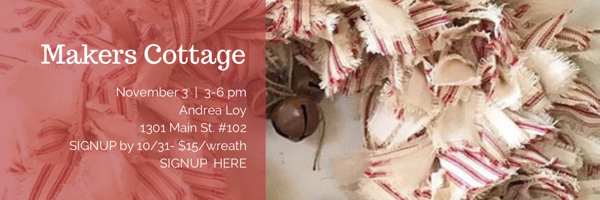
This month I’ll be kicking back into gear after almost a year hiatus from Maker’s Cottage. Our first event will be Christmas Rag wreaths. These wreaths will be made on wire frames and the only skill you need is knot tying! Come join the fun and sign up below so I have enough supplies ready.
I’ll be here to make sure you go home with a new skill and a giftable handmade craft. Click on the image below to sign up!
by Andrea | Jul 13, 2018 | DIY, Home Decor, kids
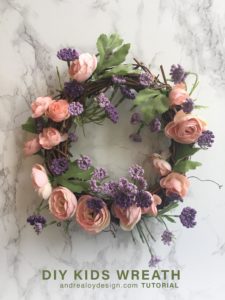 Sometimes the kids just drive you up the wall during summer break with all their energy. Not me. I’m perfect. We just wake up in good moods and sing with the birds like Disney characters. Just kidding. Sometimes the boredom overwhelms on rainy days….and they can’t think of anything to do but bother each other. So here’s a little happy project to help.
I’m never bored. I have 12 million sewing and craft projects I want to do at all times. Seriously people. But my kids. They could finish up 12 million projects in about 2 weeks. In a moment of desperation and creativity we made the insanely long trip to Hobby Lobby and purchased about $15 worth of fun. If I could run a Hobby Lobby Store here in Lynchburg or create my own amazing craft supply business I would. But there just aren’t a lot of investors begging me to do this….I keep checking my front door. Every morning I am hoping for the Mary Poppins of my life to arrive. Maybe I should get a custom doormat….or write an “advertisement.”(*please say this in your head in a British accent.)
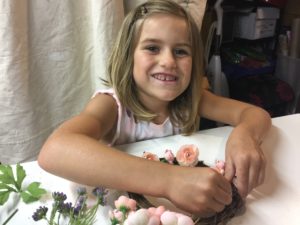
If you want to make a cute wreath with your kids that is easy enough not to frustrate them and quick enough not to lose their patience, then this is your go to project. I like to have my girls make things like this for presents too. Holiday mini wreaths for teachers or grandparents are a good gift.
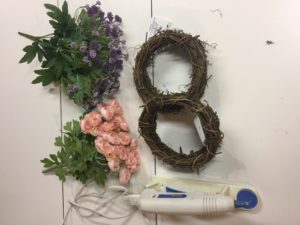
You’ll want to get the following materials gathered.
SUPPLIES:
- grapevine wreaths 6 – 8″ size
- 2-3 varieties of small floral bushes
- Glue Glun – low temp mini
- wire snips
PICKING OUT FLOWERS- A word on picking out flowers. Hold them up together, do they coordinate? Are they natural or fake looking in color? No navy blue carnations, please. 🙂 Look for natural and small blooms that are realistic and made of the same materials. For example, do not buy the foamy type of flowers to mix with the acrylic silk fabric type. Choose colors that blend. NO stark contrasts for a spring wreath. Perhaps a holiday wreath could handle some poppy contrast but not a light and airy spring wreath. (We chose pale pink mini double begonias and small lavender colored Queens Anne’s Lace.)
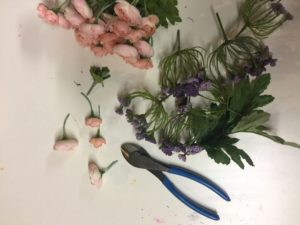
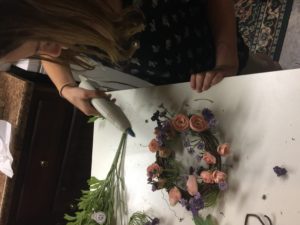
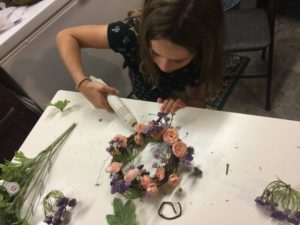
Step One: Snip all your florals apart with the wire snips. Any child over the age of 4 should be able to do this but they need to leave about an inch of stem per bloom. Make sure each flower and leaf is a separate piece if possible.
Step Two: Divide evenly amongst the previously bored, now overly excited children who are probably on repeat, “Can I help? Can I do it?Can I help? Can I do it?Can I help? Can I do it?Can I help? Can I do it?Can I help? Can I do it?”
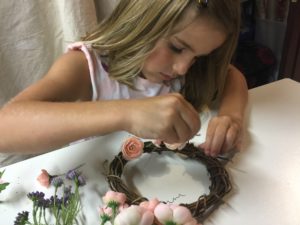
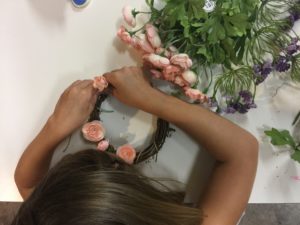
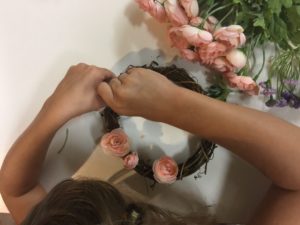
Step Three: Instruct the kids to place larger blooms around the wreath fairly evenly first, then fill in with smaller ones. Last add leaves to fill in holes and add the finishing touch. Use a tiny glue gun to secure. I let my kids do this with a low temp glue gun. Sometimes I have to go back and secure them later when they aren’t looking. 🙂
Ta Da!!! Done. Congratulations Momma…..YOU just entertained your children for 12 whole minutes. Plus you helped them see beauty and create their own little piece of it. Your welcome. Precious babies. I wish I had as much energy as they do. Why is it that the parents who need the energy to take care of the children have less than the children?

by Andrea | Dec 27, 2017 | DIY, handmade, Sewing
I don’t really know how I could name this sewing pattern anything else but The Hermione. I listened to the HP novels {for the first time ever!} while envisioning this design, drafting it on pattern paper, and then making the first sample. Ironically, I was sewing other things while most of the design gears were turning in my mind, but that’s how it goes. Mindless doing with the hands busy begets the brain space for creative mode to flourish. Do I need to back up and dwell on the crazy fact that I was 35 years old before I read Harry Potter? We can talk about it later….
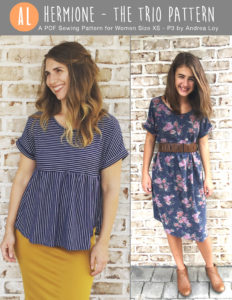
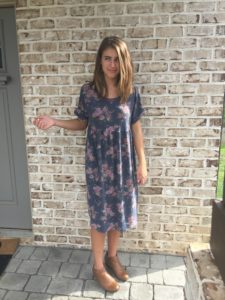
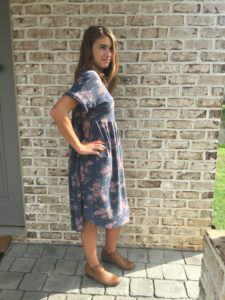
What I have here is a really quick, super flattering PDF sewing pattern for women! This pattern is truly magical like it’s namesake. Top, tunic, or dress in 2 hours. What is not magical about that? There are no fancy complicated things going on here. First you have a boatneck, which is elegant, and tends to dress up an outfit. The top has a cuffed dolman sleeve, which makes the piece come together quite quickly. { Confession: I used to think Dolman sleeves were super ugly, and basically people were just too lazy to make a real sleeve. I am here to admit I was wrong! I am sorry. Phew. Glad I got that off my chest. Am I the only one? } The waist line is an empire height, which can be easily lowered, if you need a more on trend drop waist look, but as a mother who kind of struggles with a diastasis recti, I like this line up higher. It is flattering if you have a bit of a mummy tummy or not.
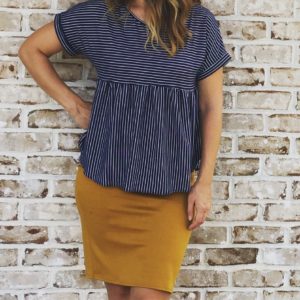
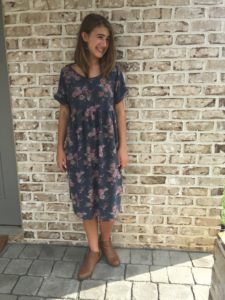
This top hits me at the top of the hips, and was drafted for my 5’9″ height. You can easily shorten or lengthen the top, tunic or dress. It’s slightly gathered and has a tulip hem. Seriously, this pattern is very easy to adjust! I provide tunic and dress lengths on the pdf printable pattern but you may want to construct the top and then measure for a custom length from the bodice.
I’m so excited to release this pattern. It was finished this July, but after testing I really needed to make a lot of adjustments. I am BEYOND grateful for the women who joined my new Facebook Testing Group in September and helped me fine tune the pattern. They are amazing! I could not have done it without them. I need to go back and make my first pattern even better now with their expertise!
Check out my Instagram feed for sew and tells of the pattern! @handfulofarrows #hermionepattern
You can join my testing group HERE. I’d be just over the moon to have you! I have lots of patterns to draft and test in the future.
You can buy The Hermione Pattern in my Etsy shop HERE!
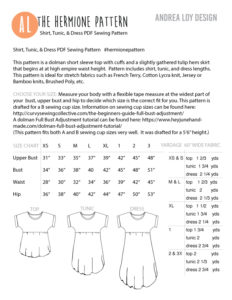
Here’s the size chart and few important facts like measurements, yardage, etc… (I’ve included links on the pattern to a FBA Dolman tutorial if needed.)
by Andrea | Jul 1, 2017 | DIY, handmade, quilting, Sewing
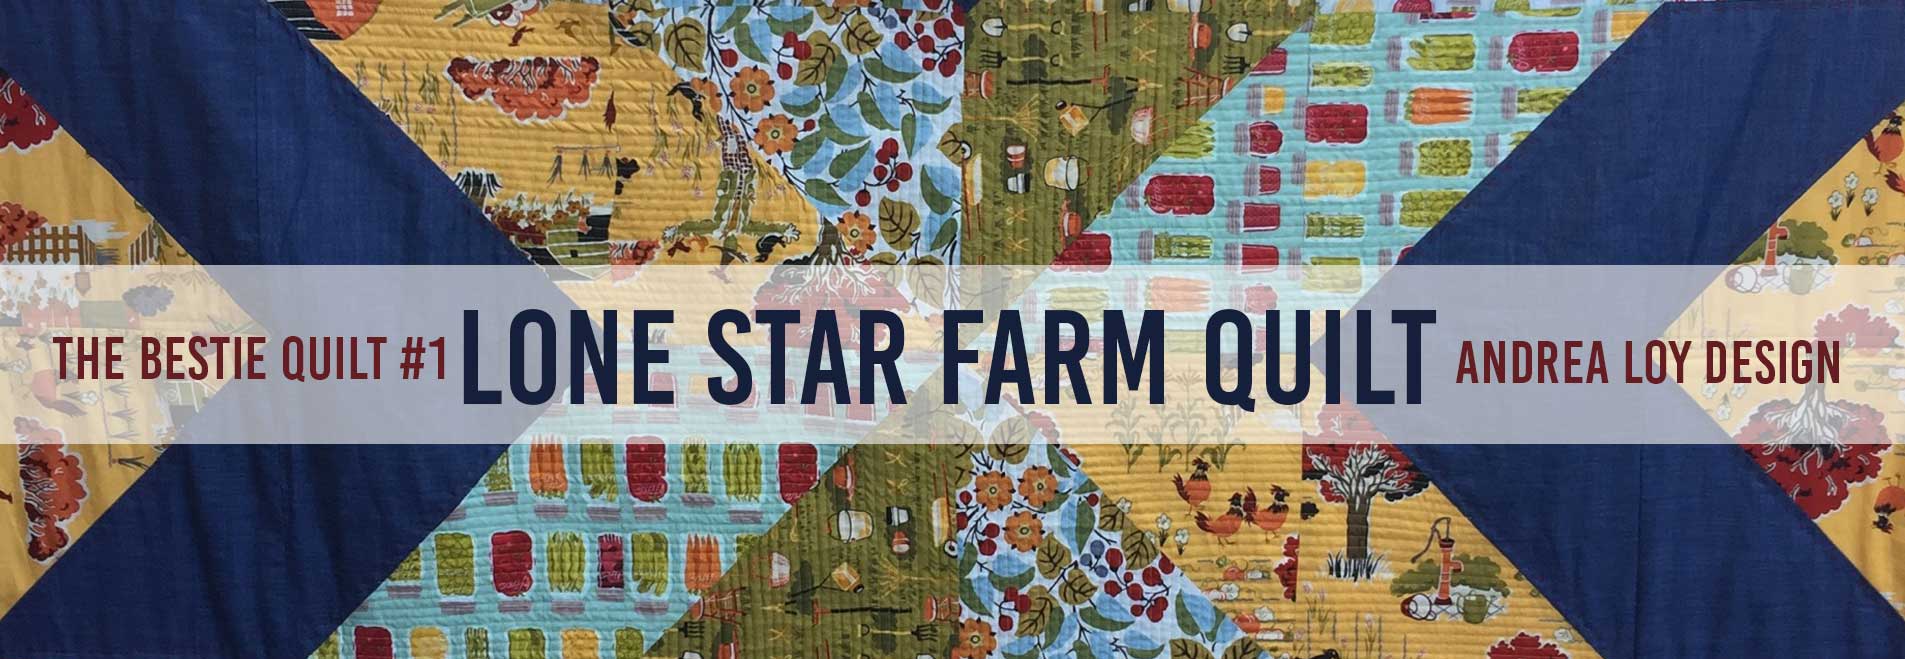
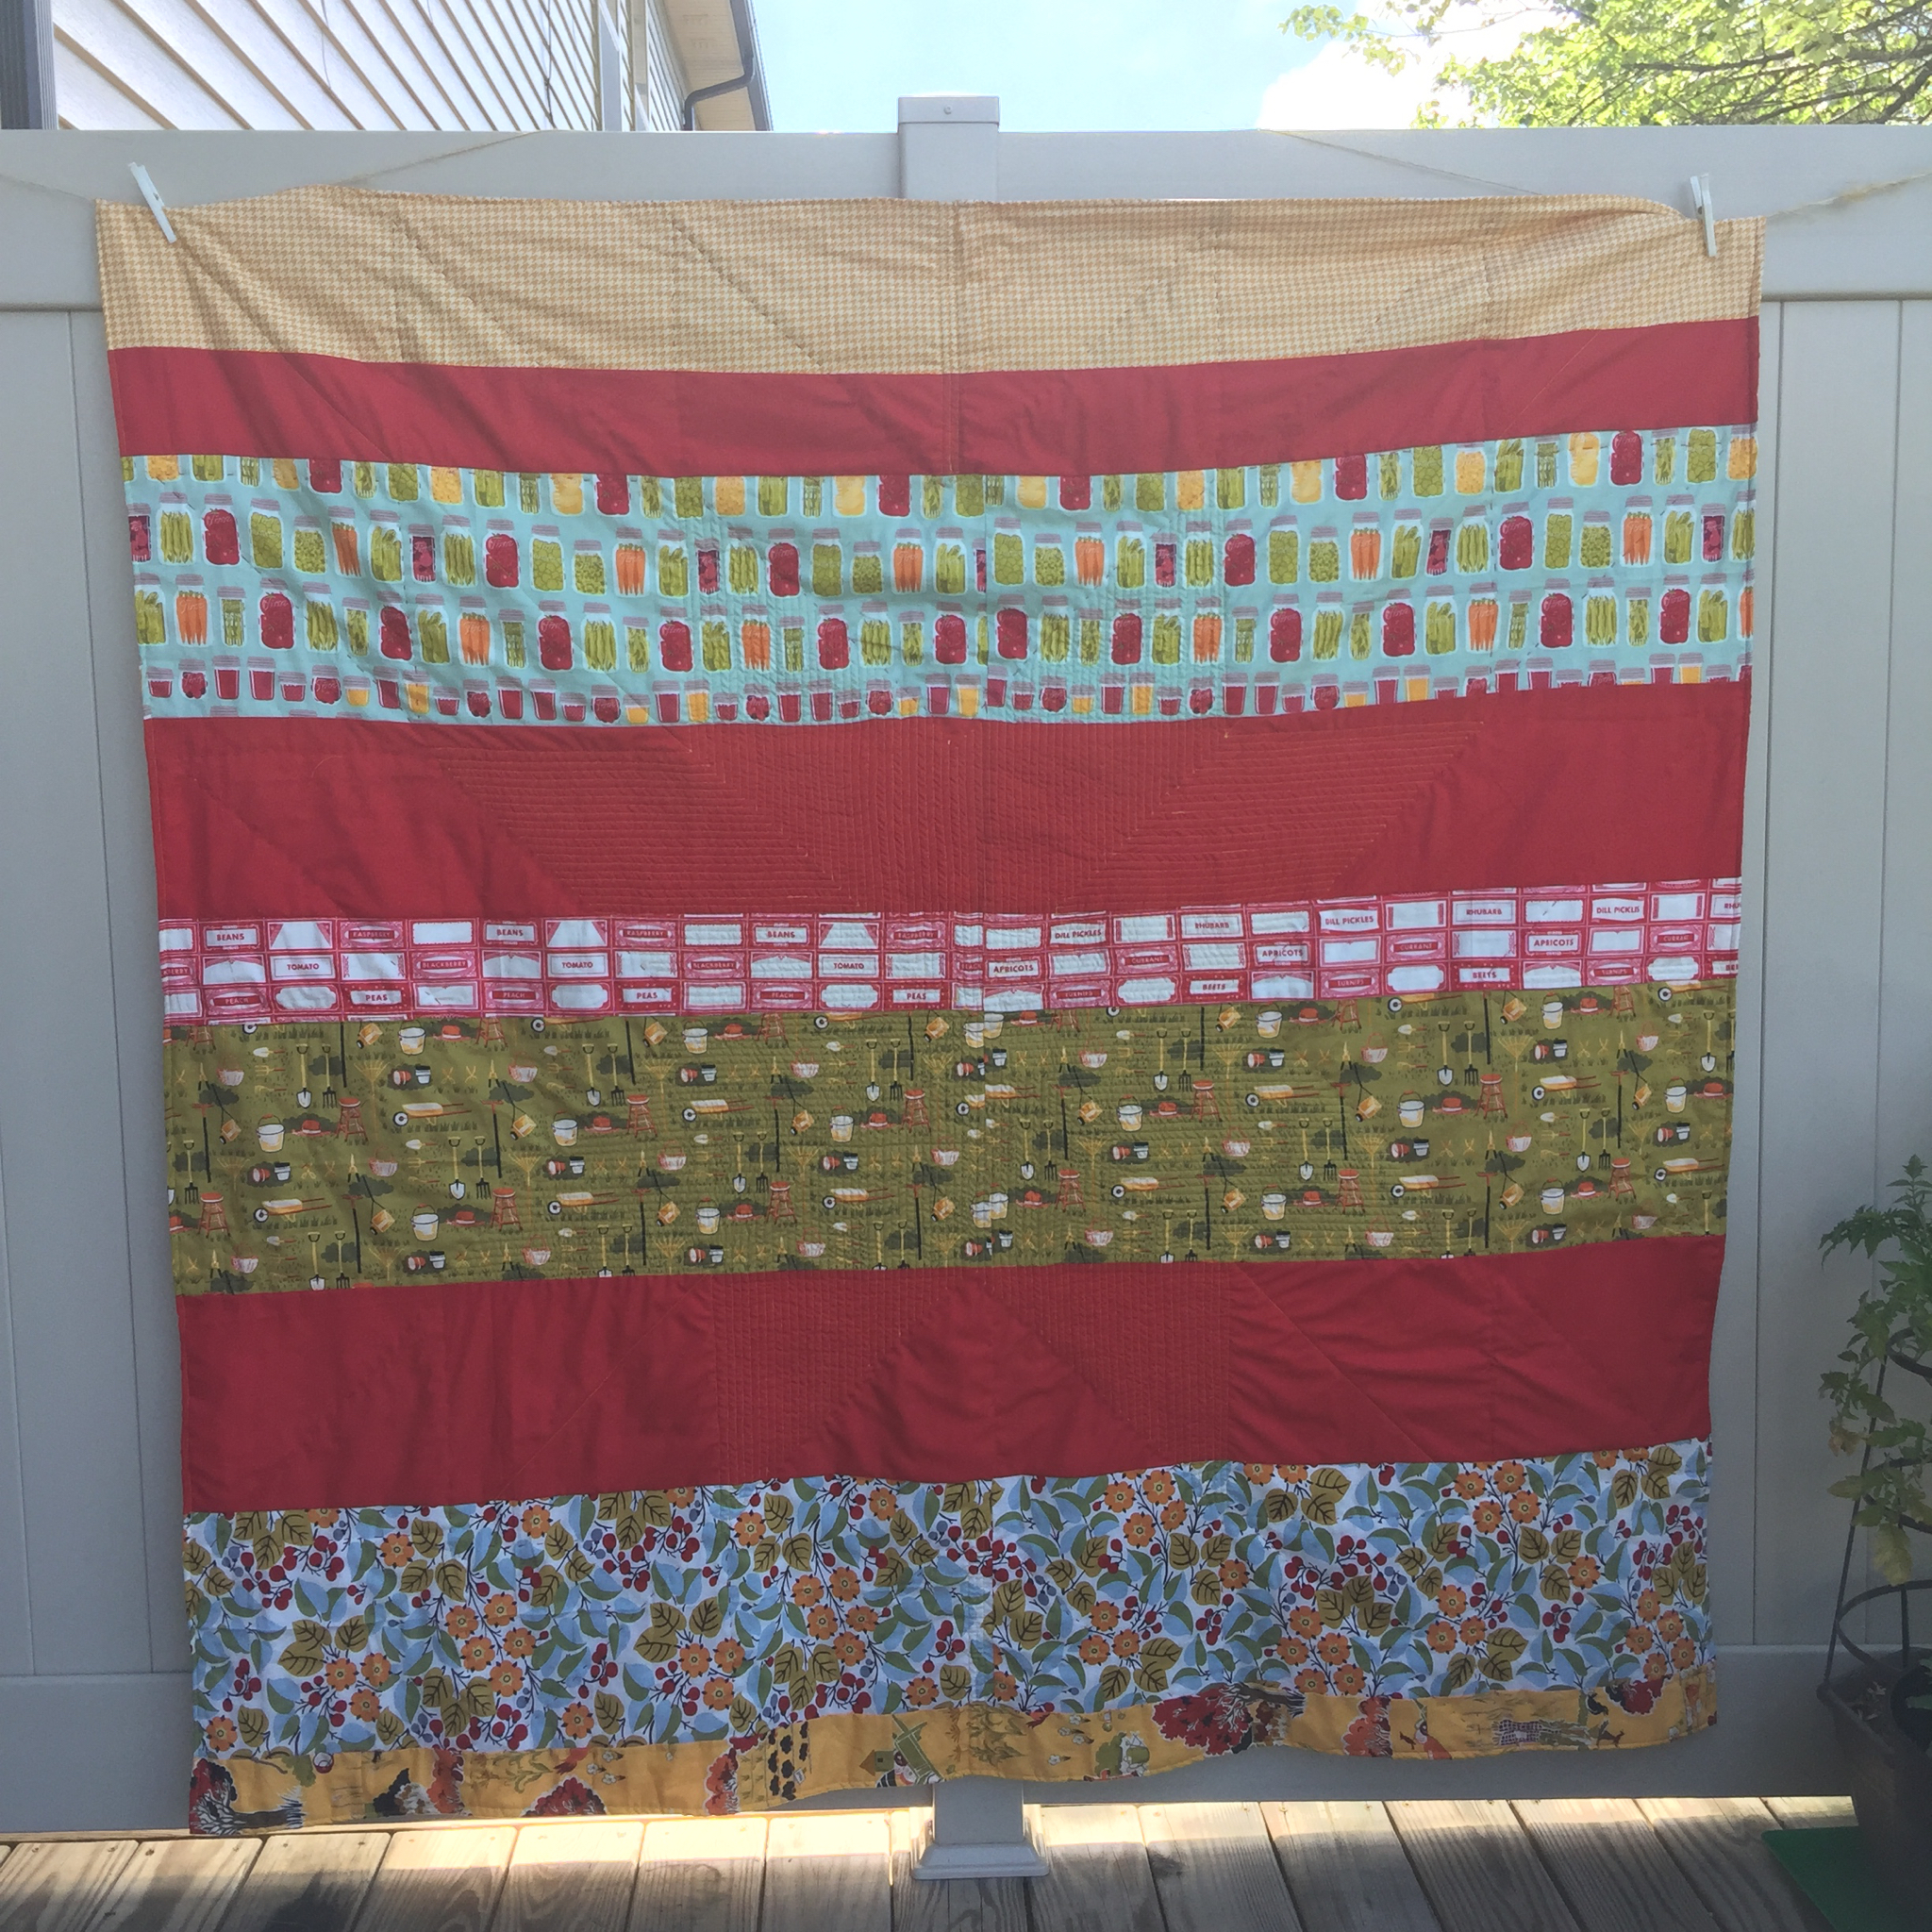
Quilts are made for many reasons, and yet I think the common thread that all quilts have are their purpose. I really don’t think that purpose is primarily physical warmth. When I make a quilt for someone, I have an emotional connection to the person and I want to communicate my love for them. In other words, I have “all the feels”… Usually the gifted person has blessed my life or they are dear to me in some way that needs commended or they are a tiny human, soon born to a momma whom I love… and the opportunity to creatively express what a gift they are to me is a quilt.
BESTIE QUILT
My first bestie quilt is not for my first bestie. I’d have to say she is my first mom friend and cultivated my love for sewing in a way that nurtured my creativity. She spent many hours helping, teaching, and encouraging me through the early days of marriage and first baby and hard trials and happy young days. She taught me how to “pick a chicken” when money was tight. She taught me to laugh when my kids made messes, and to just throw away those underwear when I was traumatized at potty training my first daughter! She even showed me how to iron my seams to the dark side….Haley carried on the tradition my mother began of “the older woman teaching the younger woman” how to be a worker at home from Titus even though she wasn’t much older than I. I’m so thankful God placed her in my life.
FABRIC AND PATTERN
It’s been a long time since we’ve lived in the same town, but she is often on my heart and in my prayers. One winter evening as I was gazing at my fabric piles, I felt the urge to make her a quilt. In fact, it seemed ridiculous that I had not done it yet. As I began pulling out the fabric, I knew exactly what she’d want and how I wanted to lay it out. I challenged myself this year not to buy anything new but to persevere and make quilts with what I have. I have so much. It always feels good to use what you have.
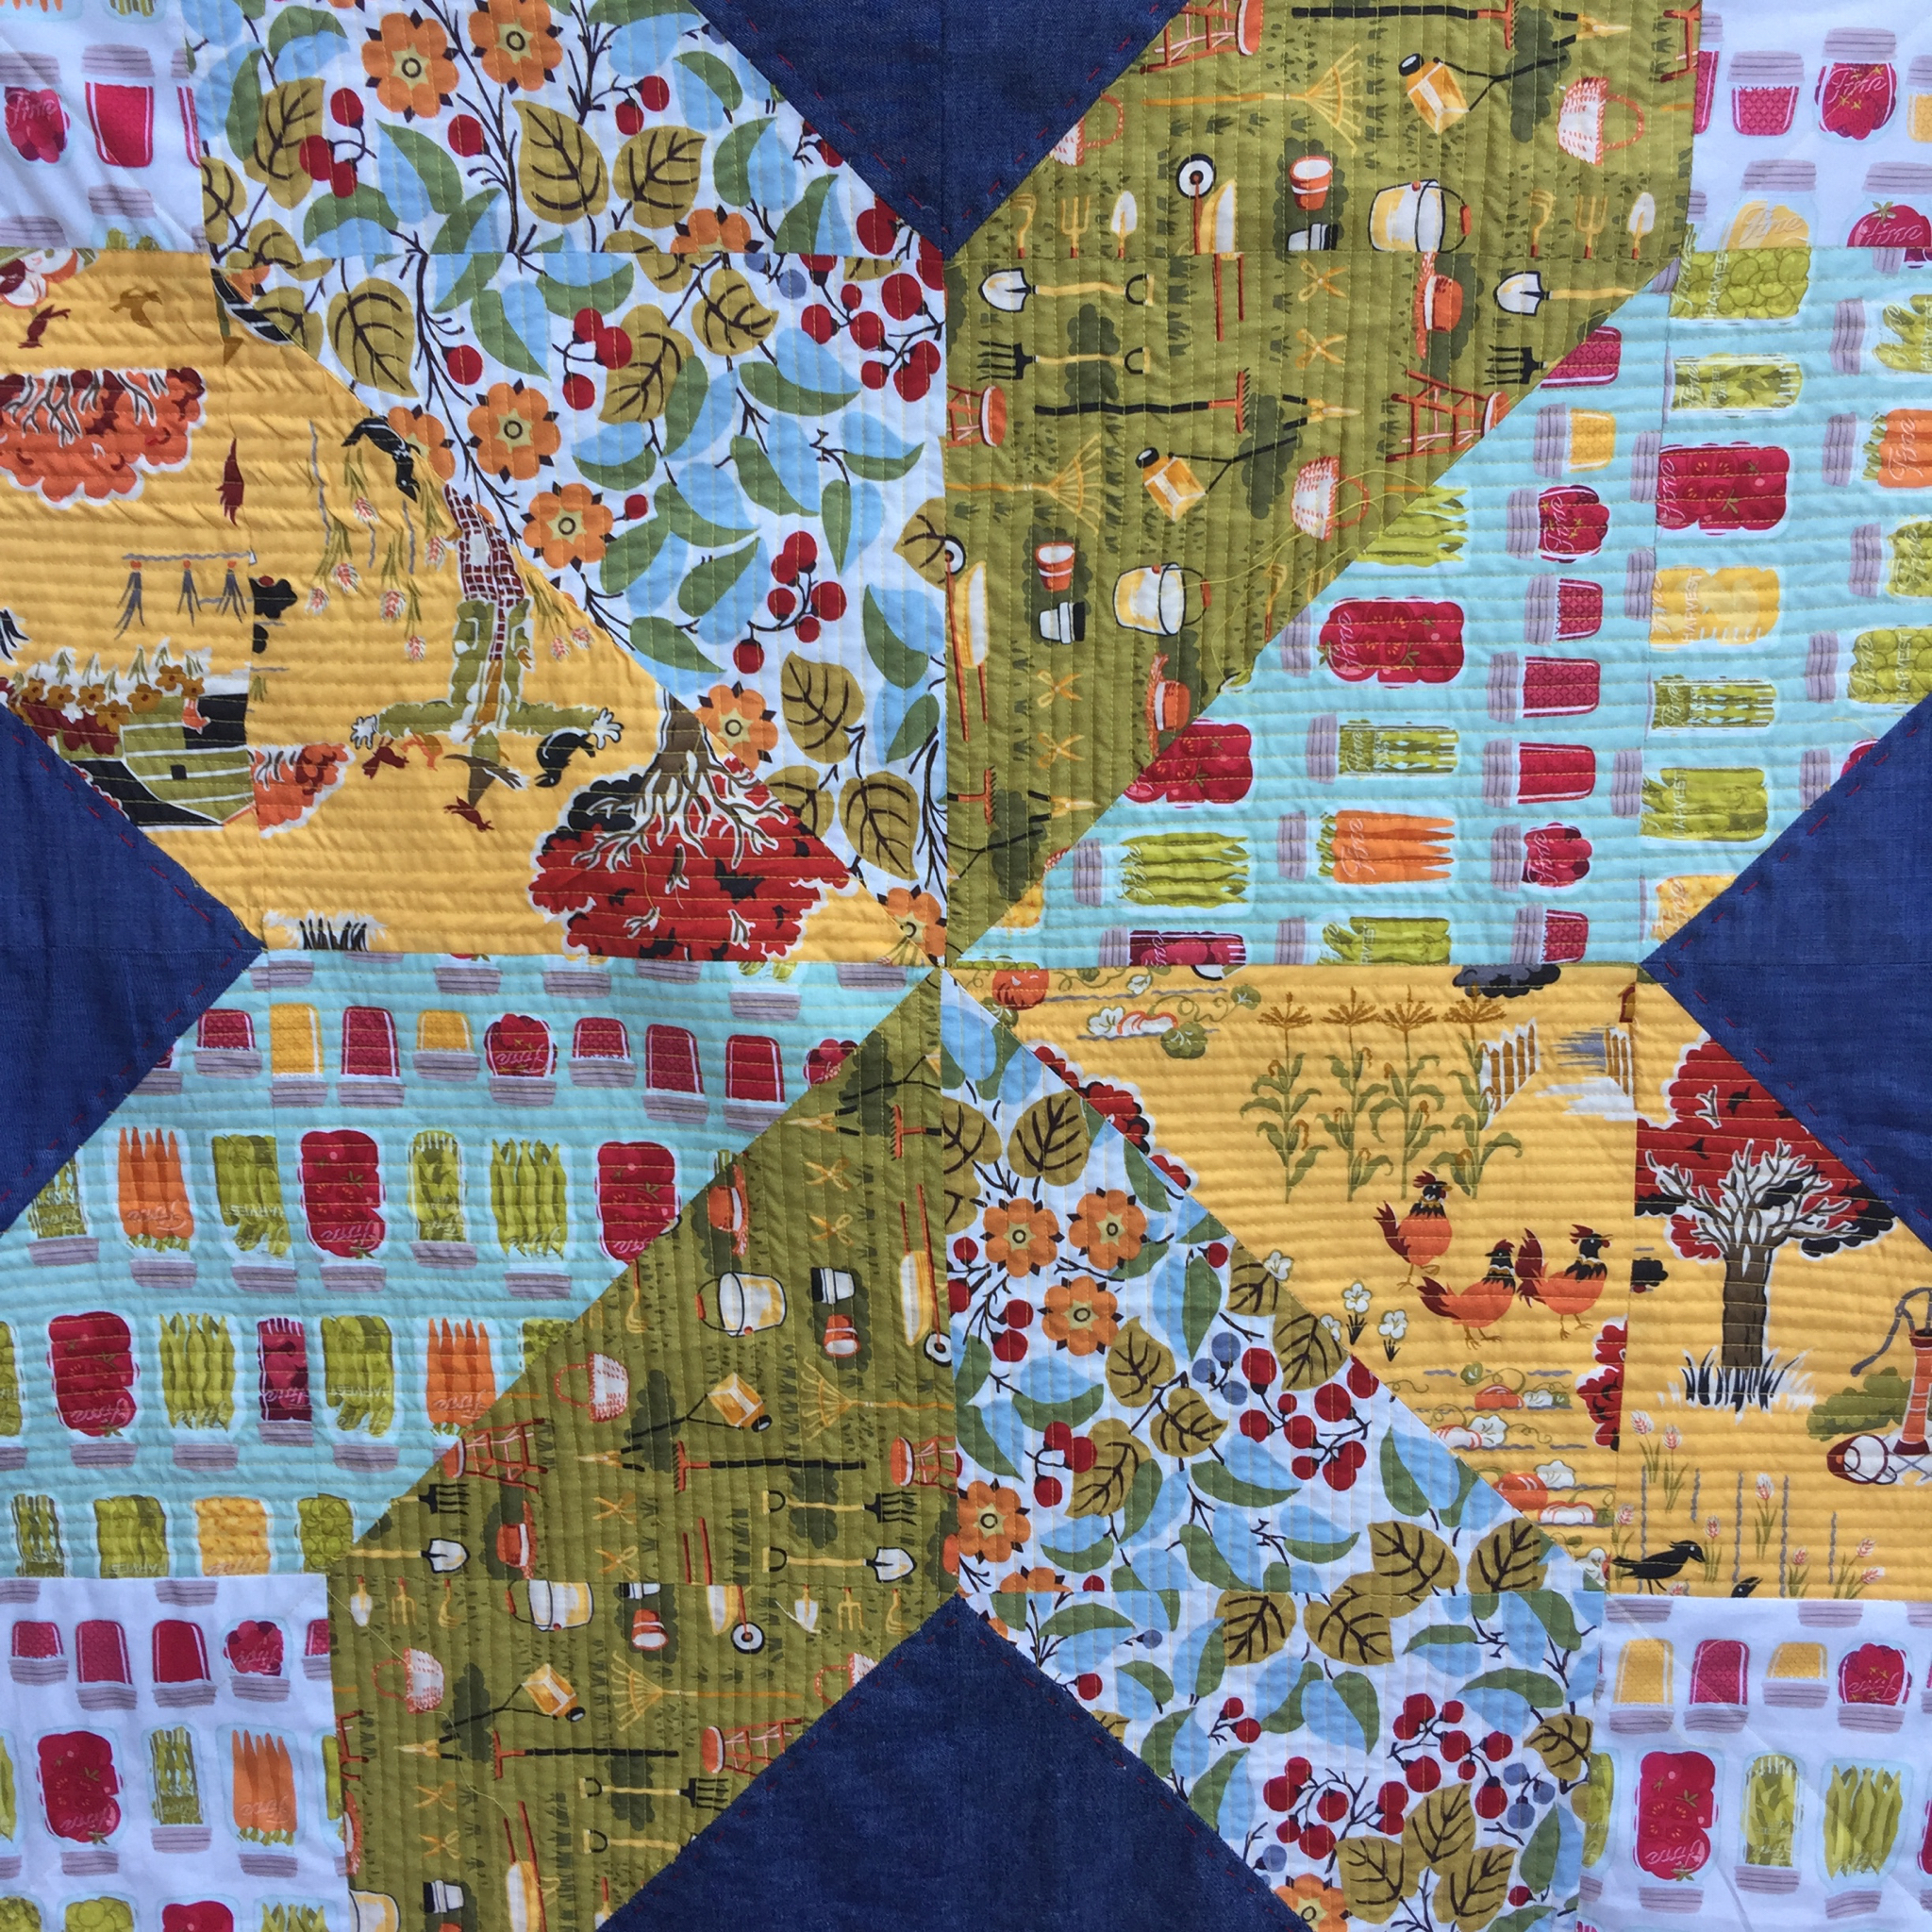
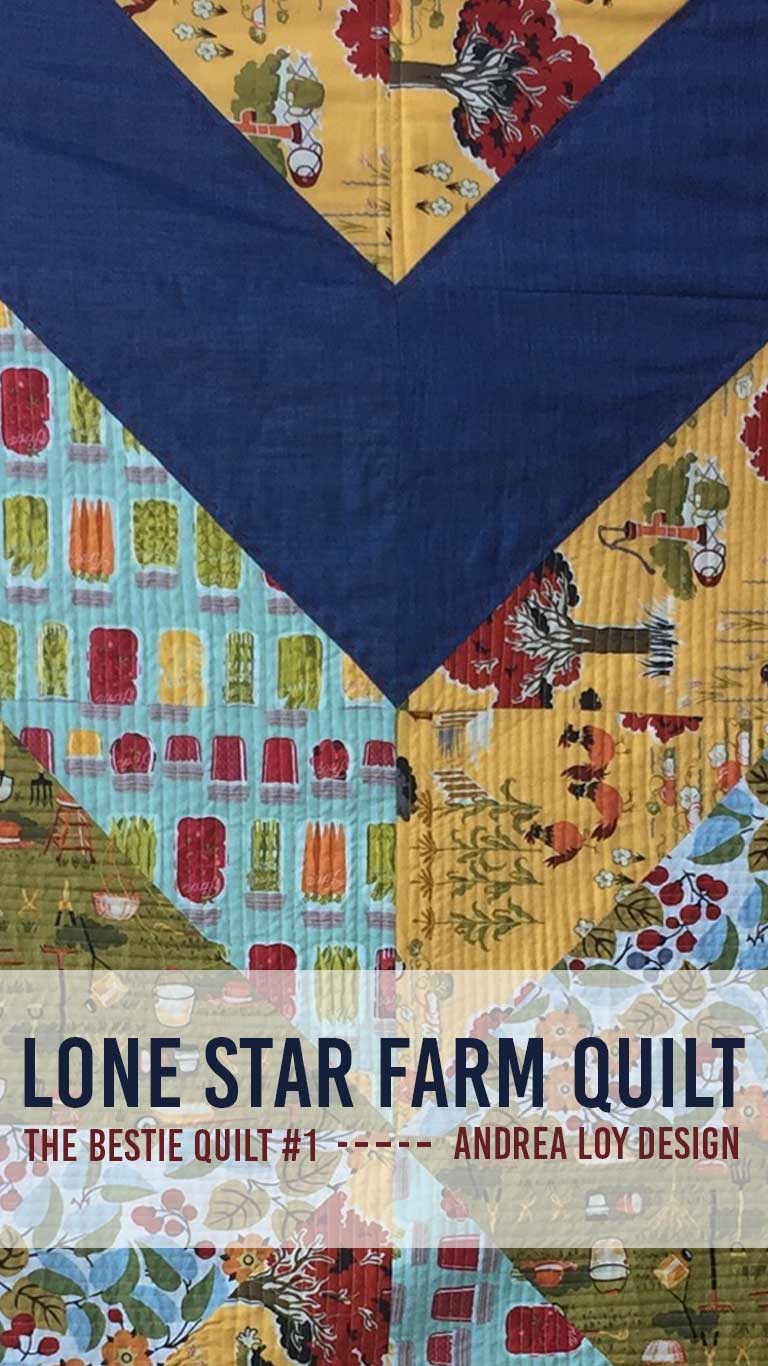
I chose to merge two separate collections of farm and canning prints by Riley Blake Fabrics and some denim chambray from AGF. I patched in a few pieces from Joann Fabrics as well that I have had since God only knows when….
The pattern began as a lone star quilt block, but then I carried out it’s border with half square triangles to make the star burst out and featured the center using the chambray as contrast. The quilt was a lot of fun. While I sewed, it was a great opportunity to reminisce, pray for Haley and to finish several books on audible! In fact, I have a link from Amazon for 2 free audible books here if you want to grab it! I enjoyed the last Harry Potter novel, tried to listen to Fantastic Beasts, but it was too tedious, and ended with Missional Motherhood by Gloria Furman.
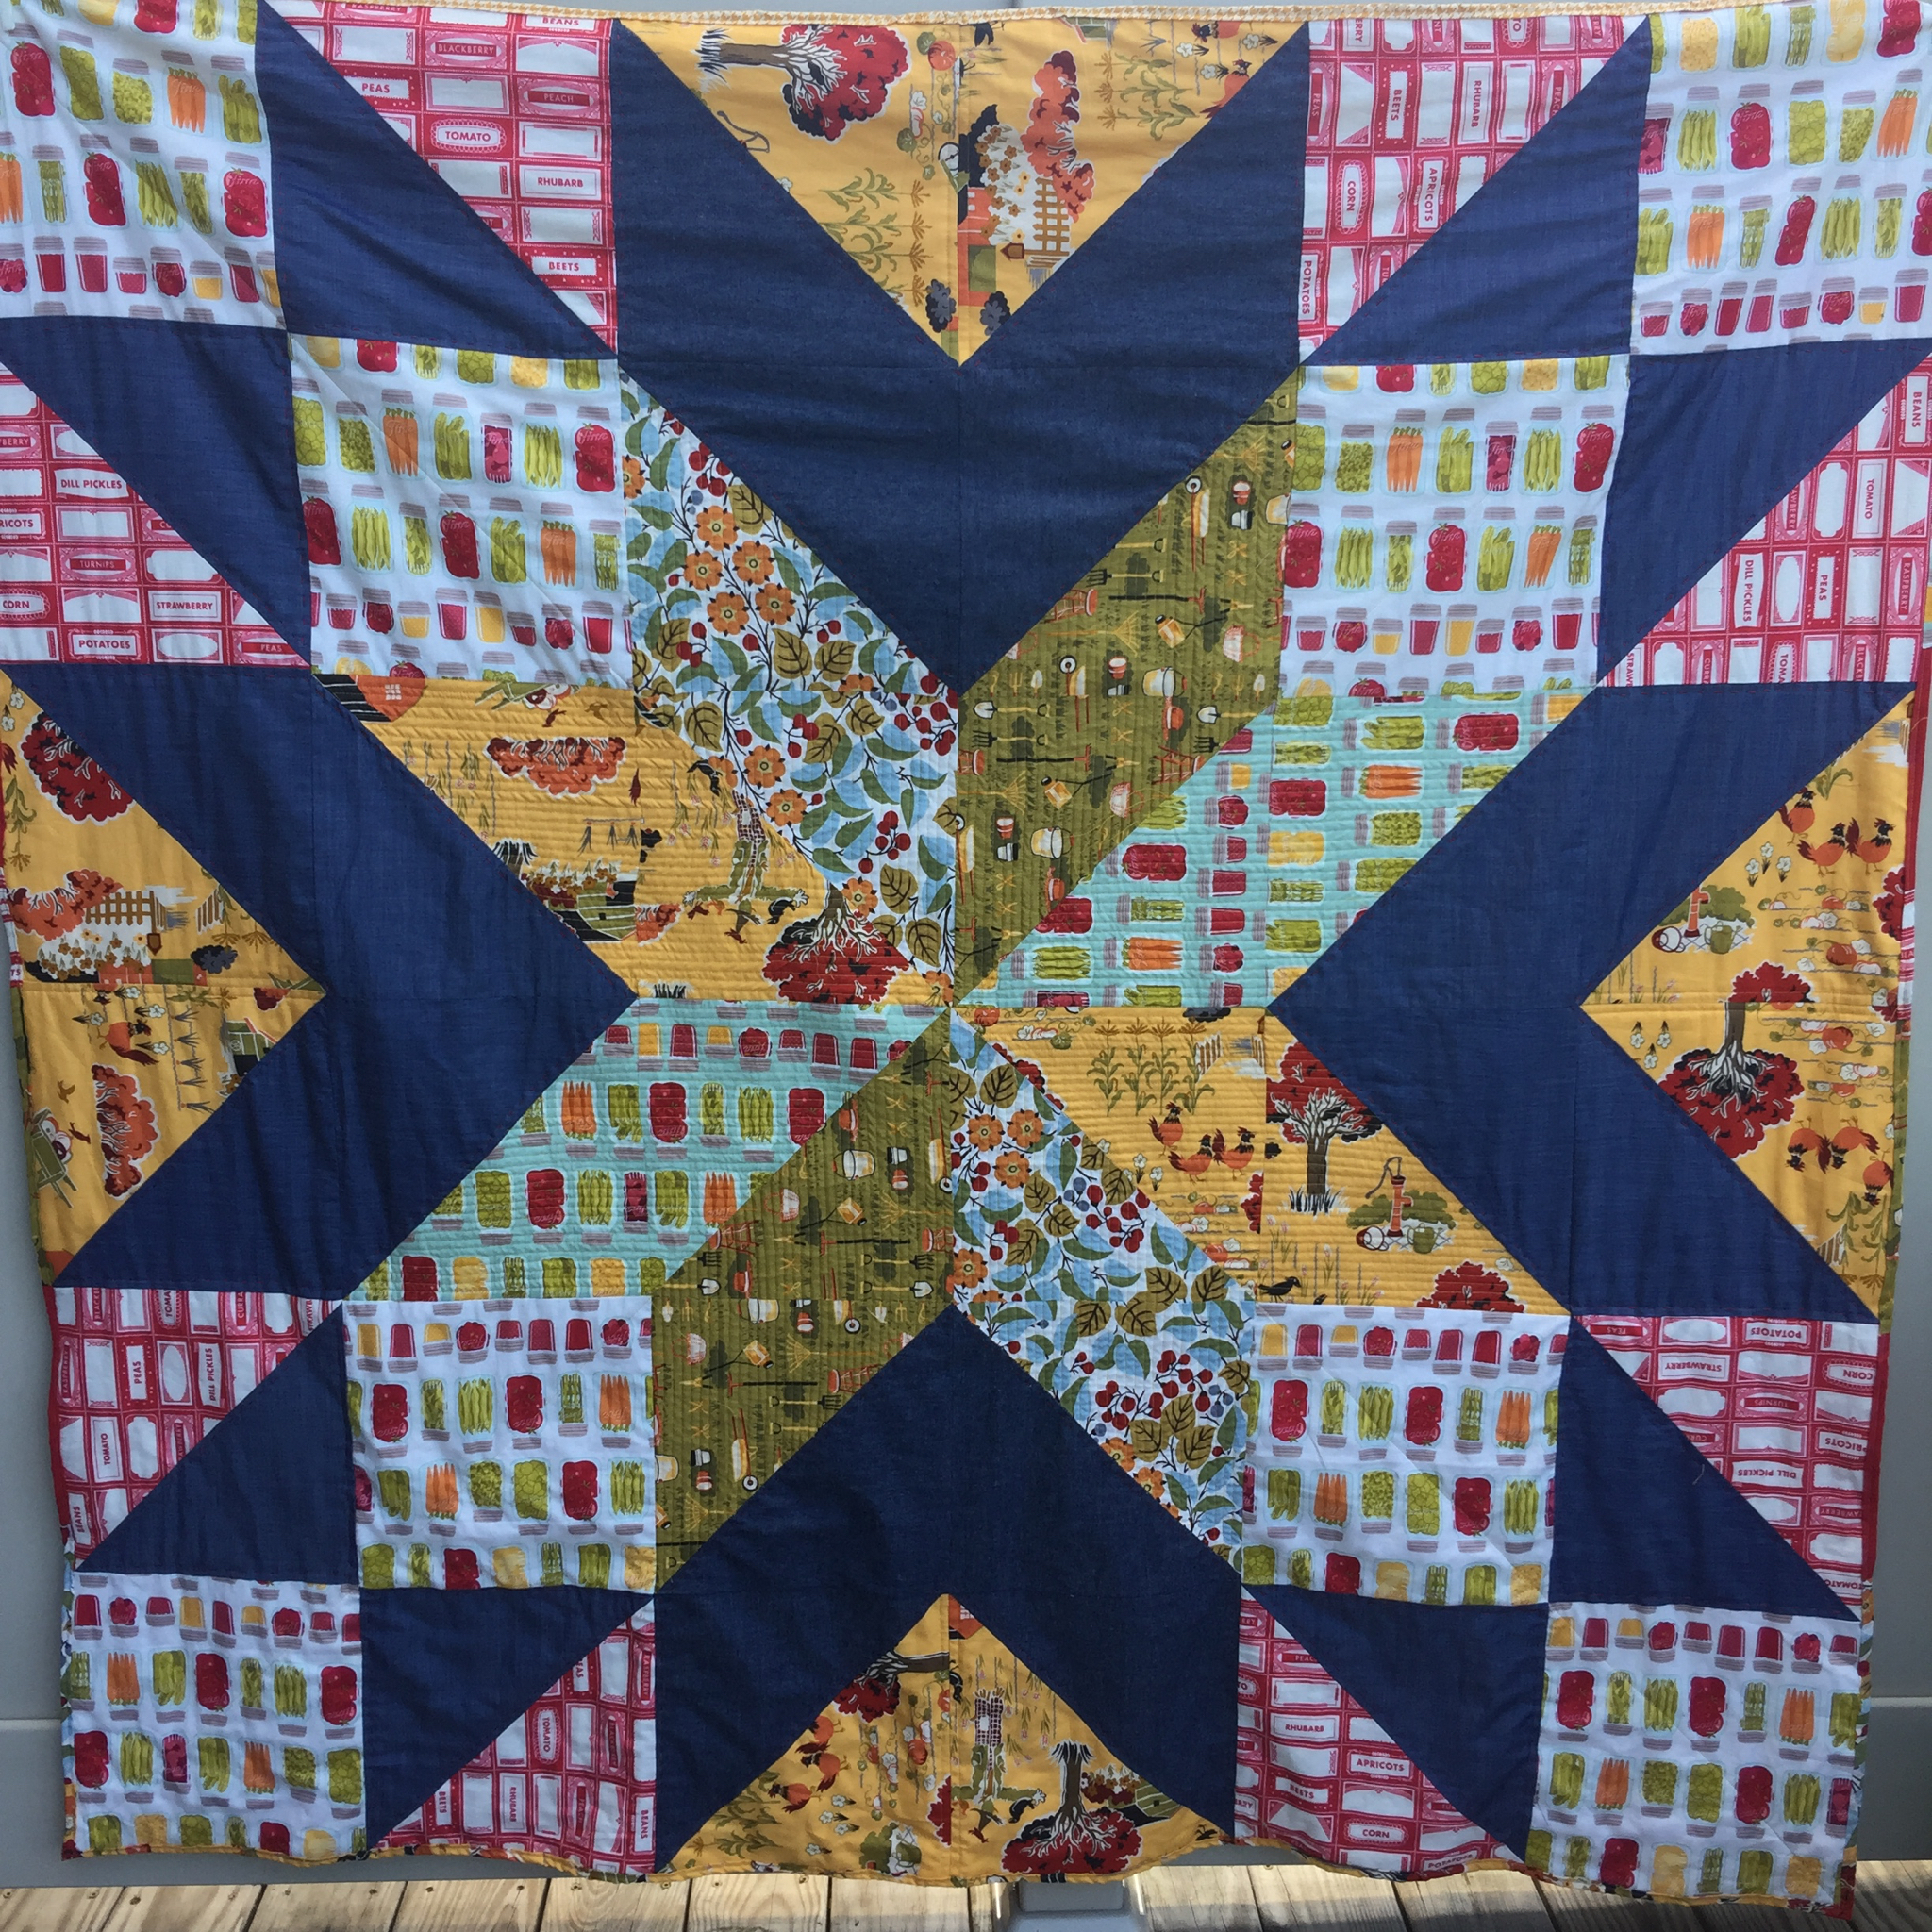
Fun facts about Haley’s quilt:
-At the last possible minute as she was pulling out of her long farm driveway in Illinois to leave for Arkansas for a week, her postman pulled in to deliver the box. Phew! PTL! She took it with her in the car.
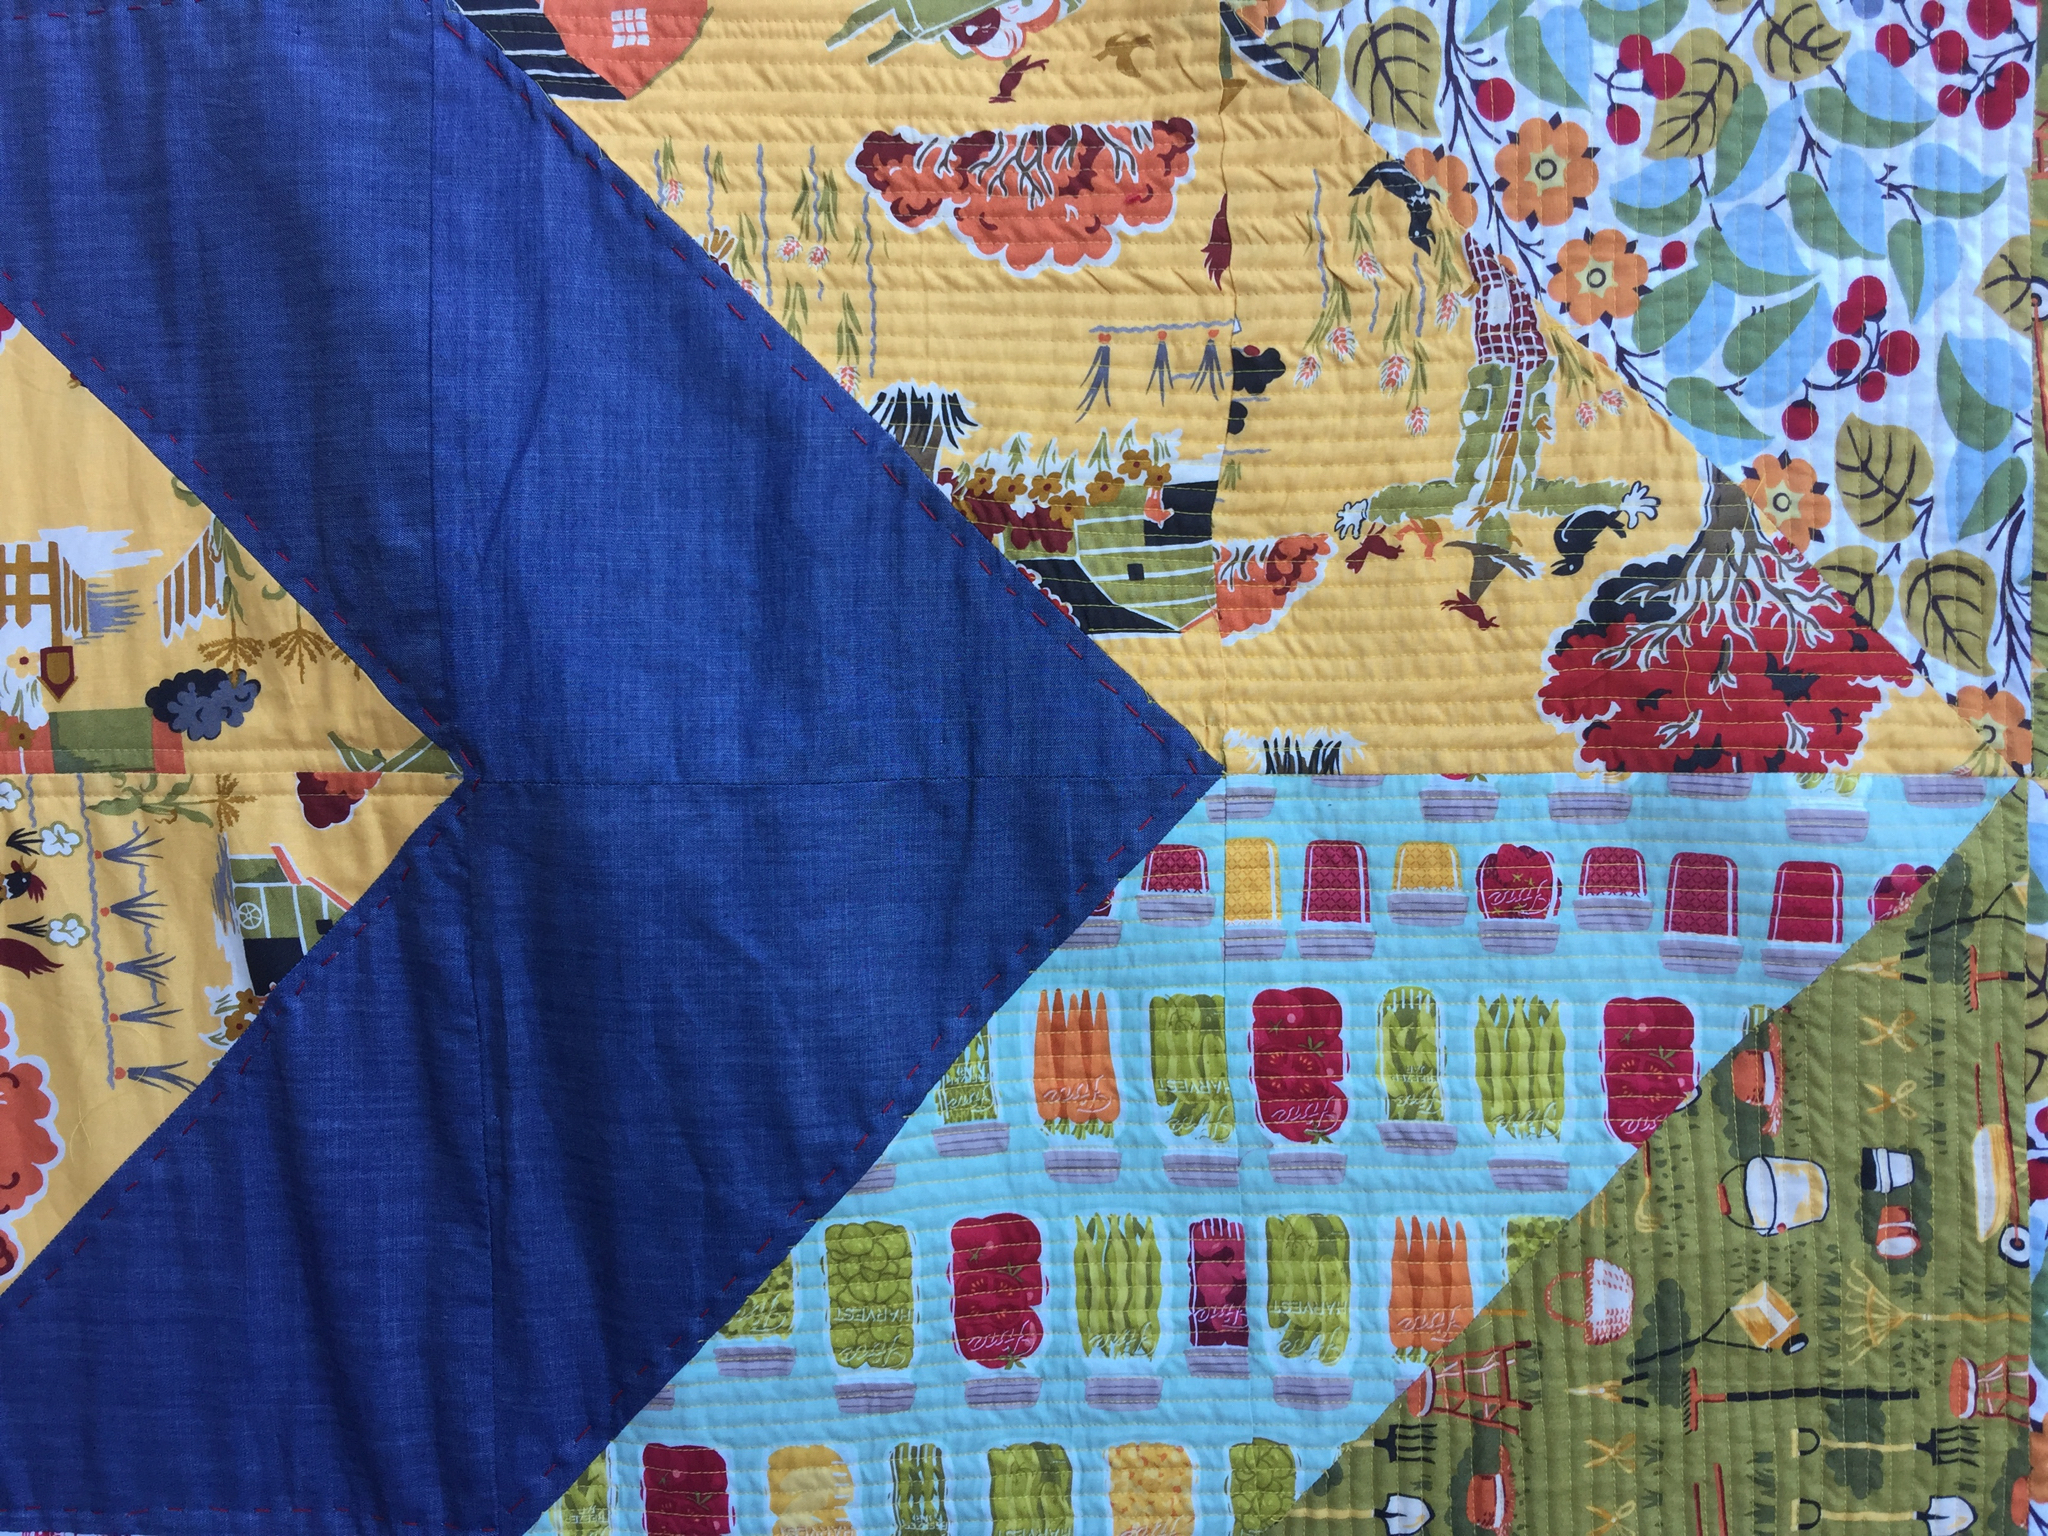
-I tried quilting tiny lines close together for the first time…loved it!
-I used red pearl cotton to hand quilt the chambray sections.
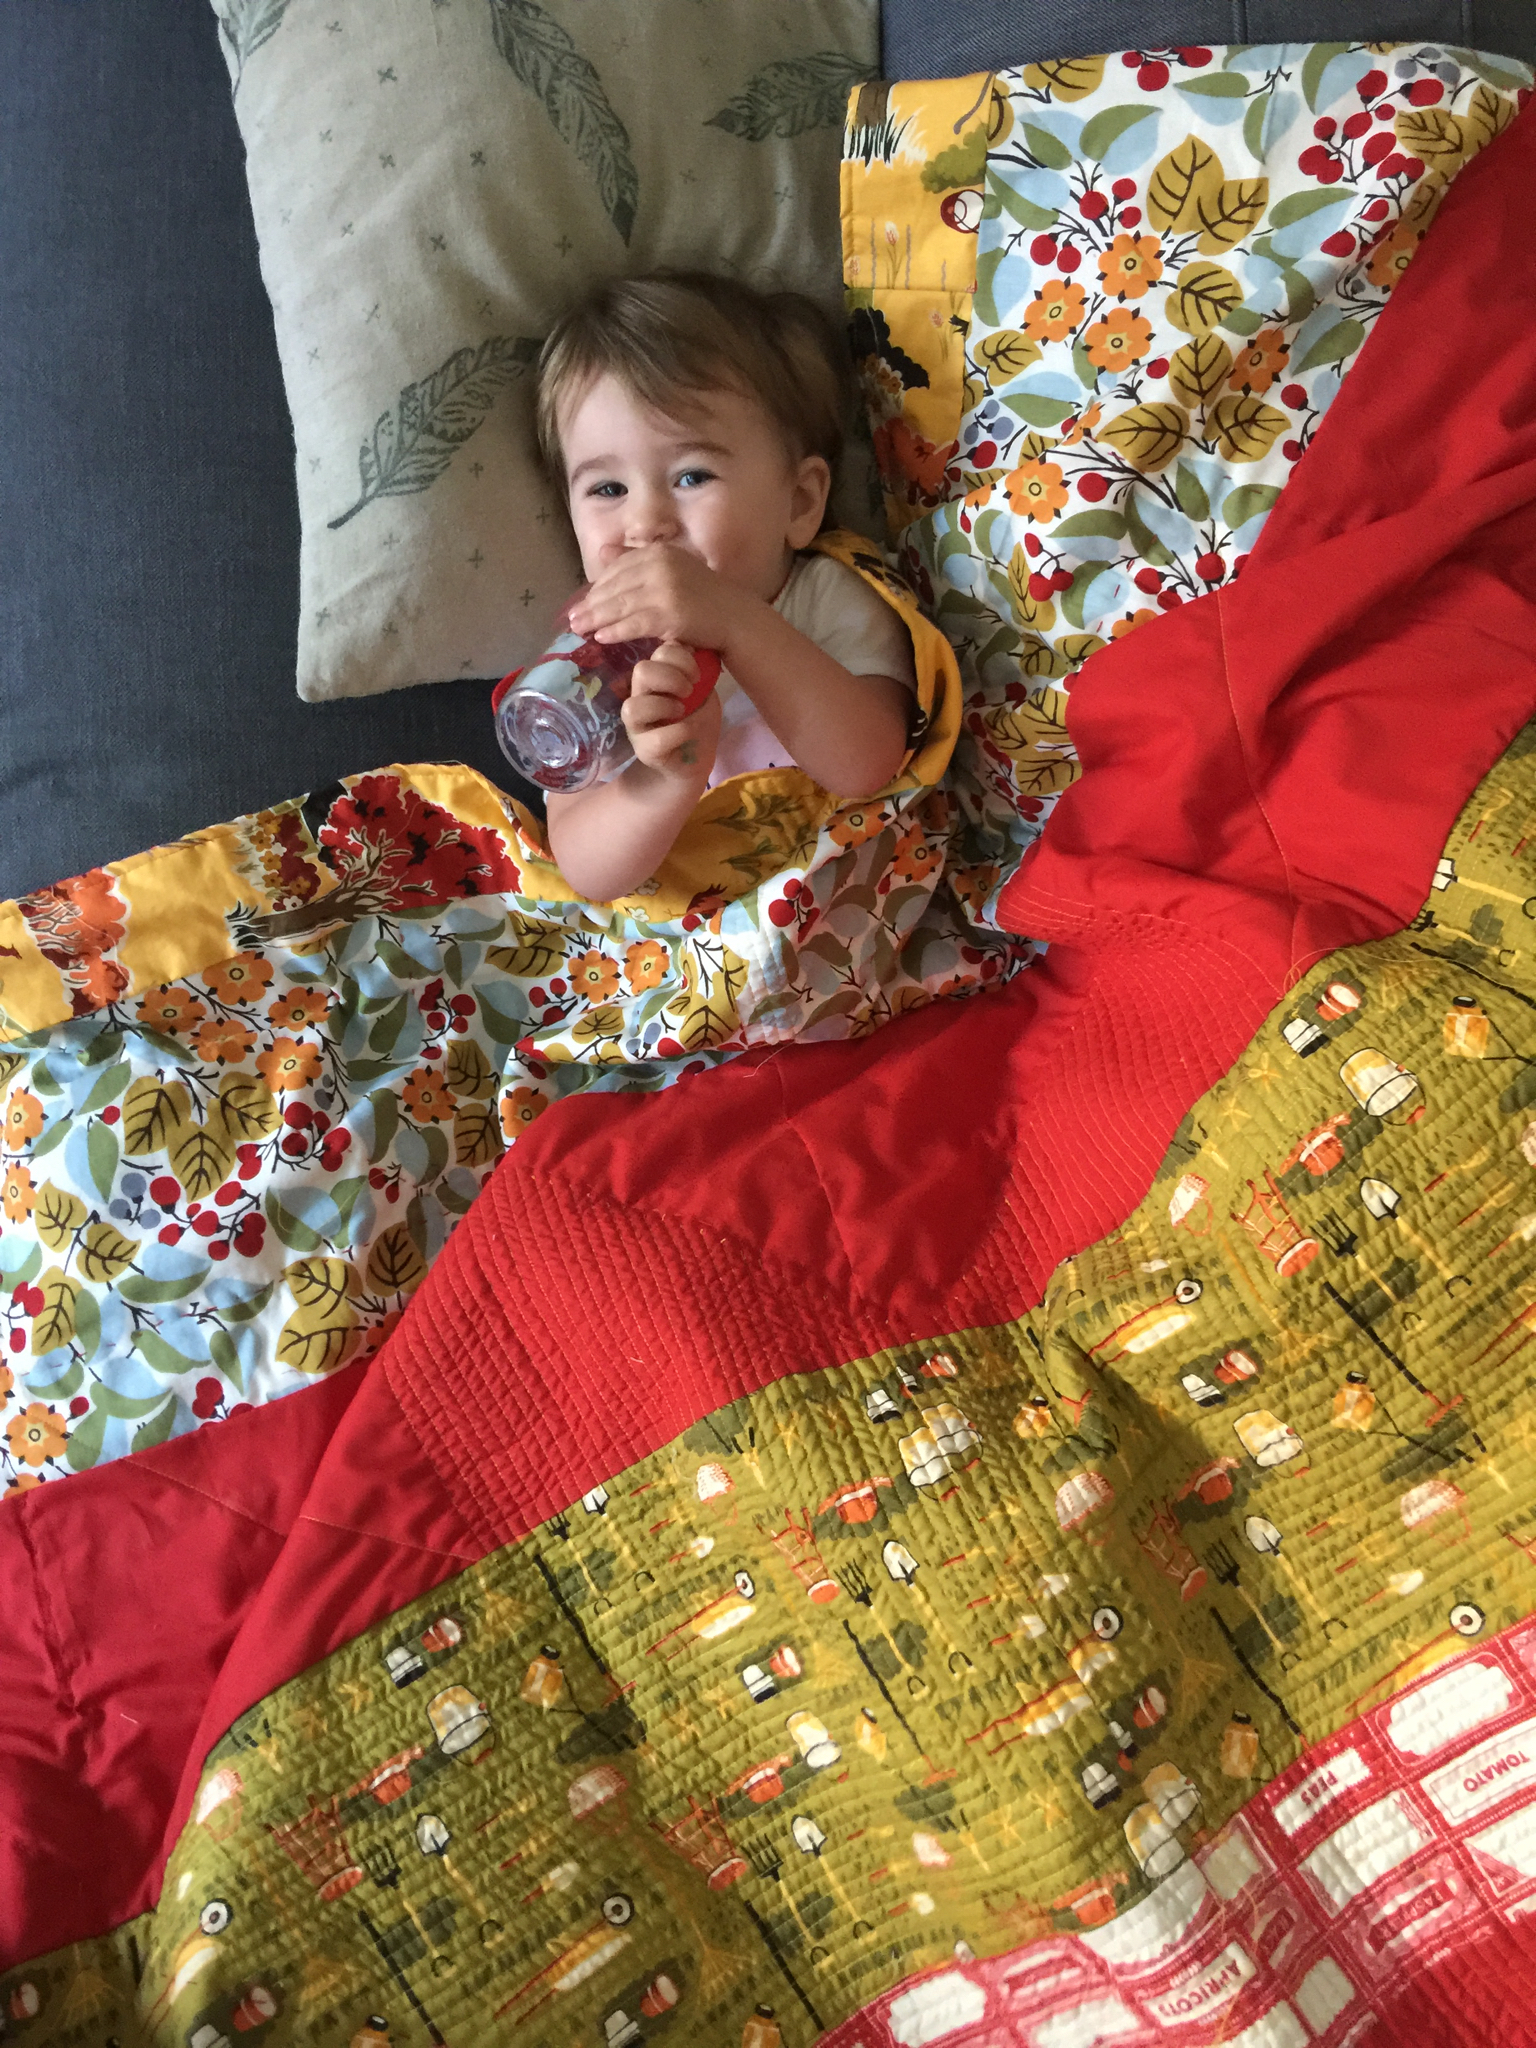
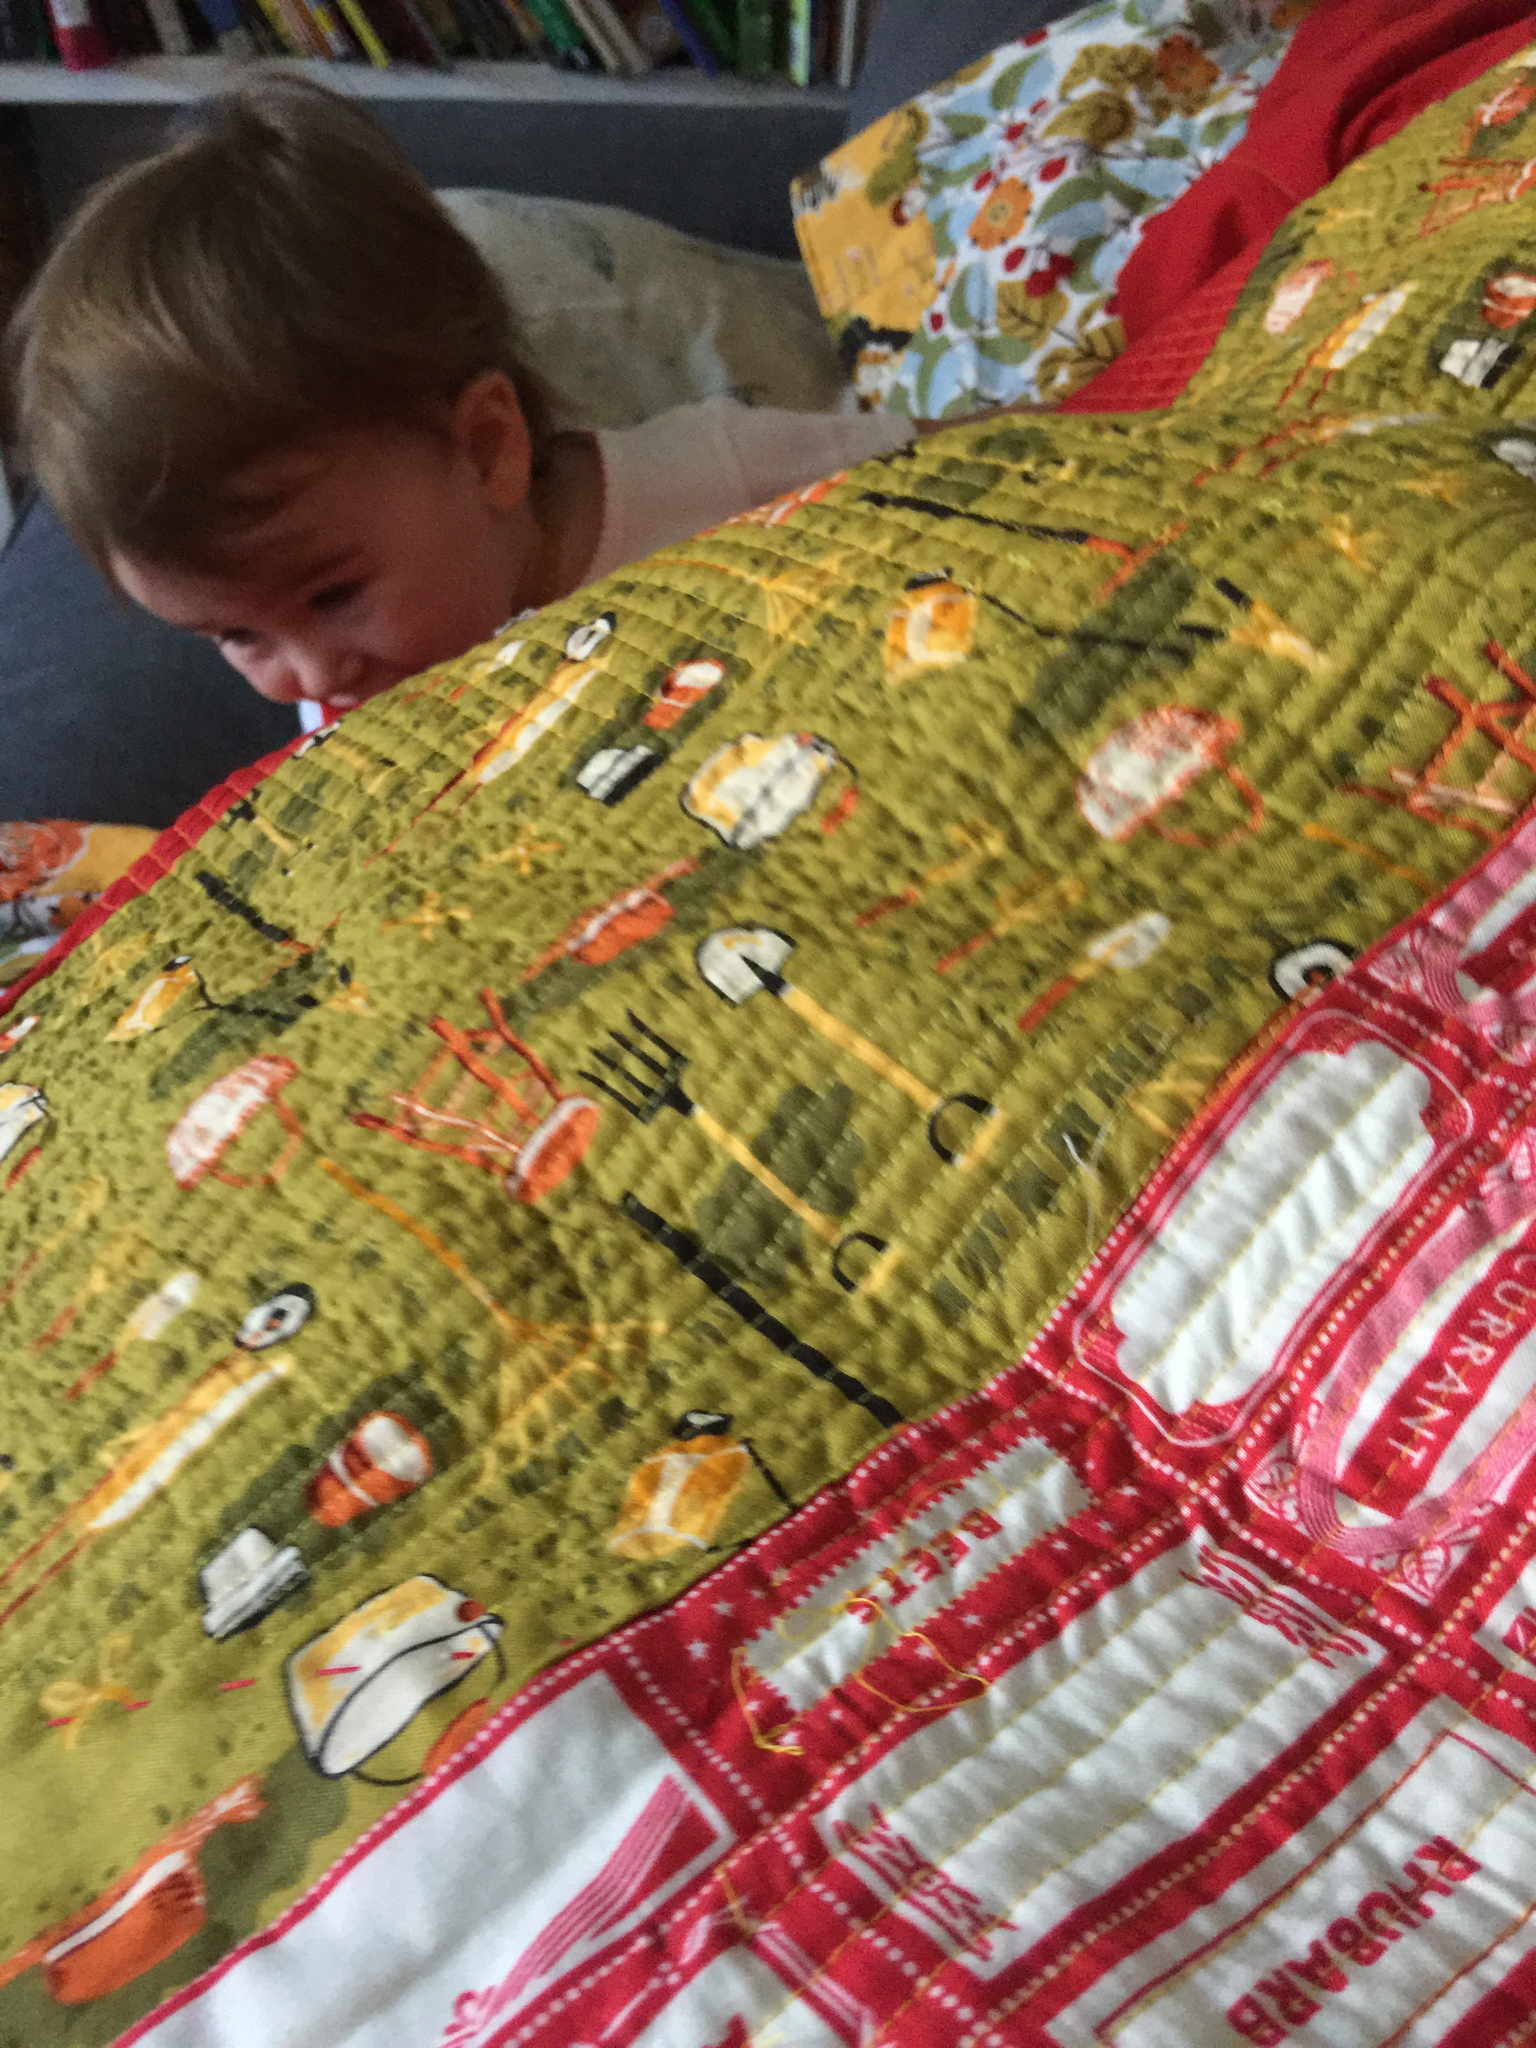
-Ruby Jane loved this quilt, and probably thought it was hers. She helped me photograph it. Why does it have to be so difficult to photograph quilts?! I need help.
I have a few more bestie quilts already in the works, but first I’ll be working on my #4 daughters quilt. She is getting so big and it’s time for her twin size quilt! Her 6th birthday is in a week!
Here are some links to the fabrics and batting I used! Annnnnnd lots more pictures below!
by Andrea | Mar 18, 2017 | DIY, handmade
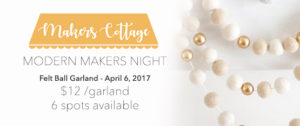
It’s time for my third Makers Cottage Night! Each Modern Makers Night has been so fun and filled with making not only great projects but new friends as well. For the April project I’ve chosen Felt Ball Garlands. I’m not able to source the wool felt balls locally from a herd, but that sure would be amazing! I’ve ordered some in bulk though and they are on the way! Check out the image above for a sample and details. Simply Click On The Image to Sign Up! I have a few spots left and I’d love for you to join me! I think this would be an easy kid project as well, so I’m sure my girls will be making some for their rooms too!
If you can’t join us here are a few links to buy the supplies yourself.


