by Andrea | Aug 1, 2017 | Baby, handmade, Sewing, tutorials
NEW SEWING PATTERN
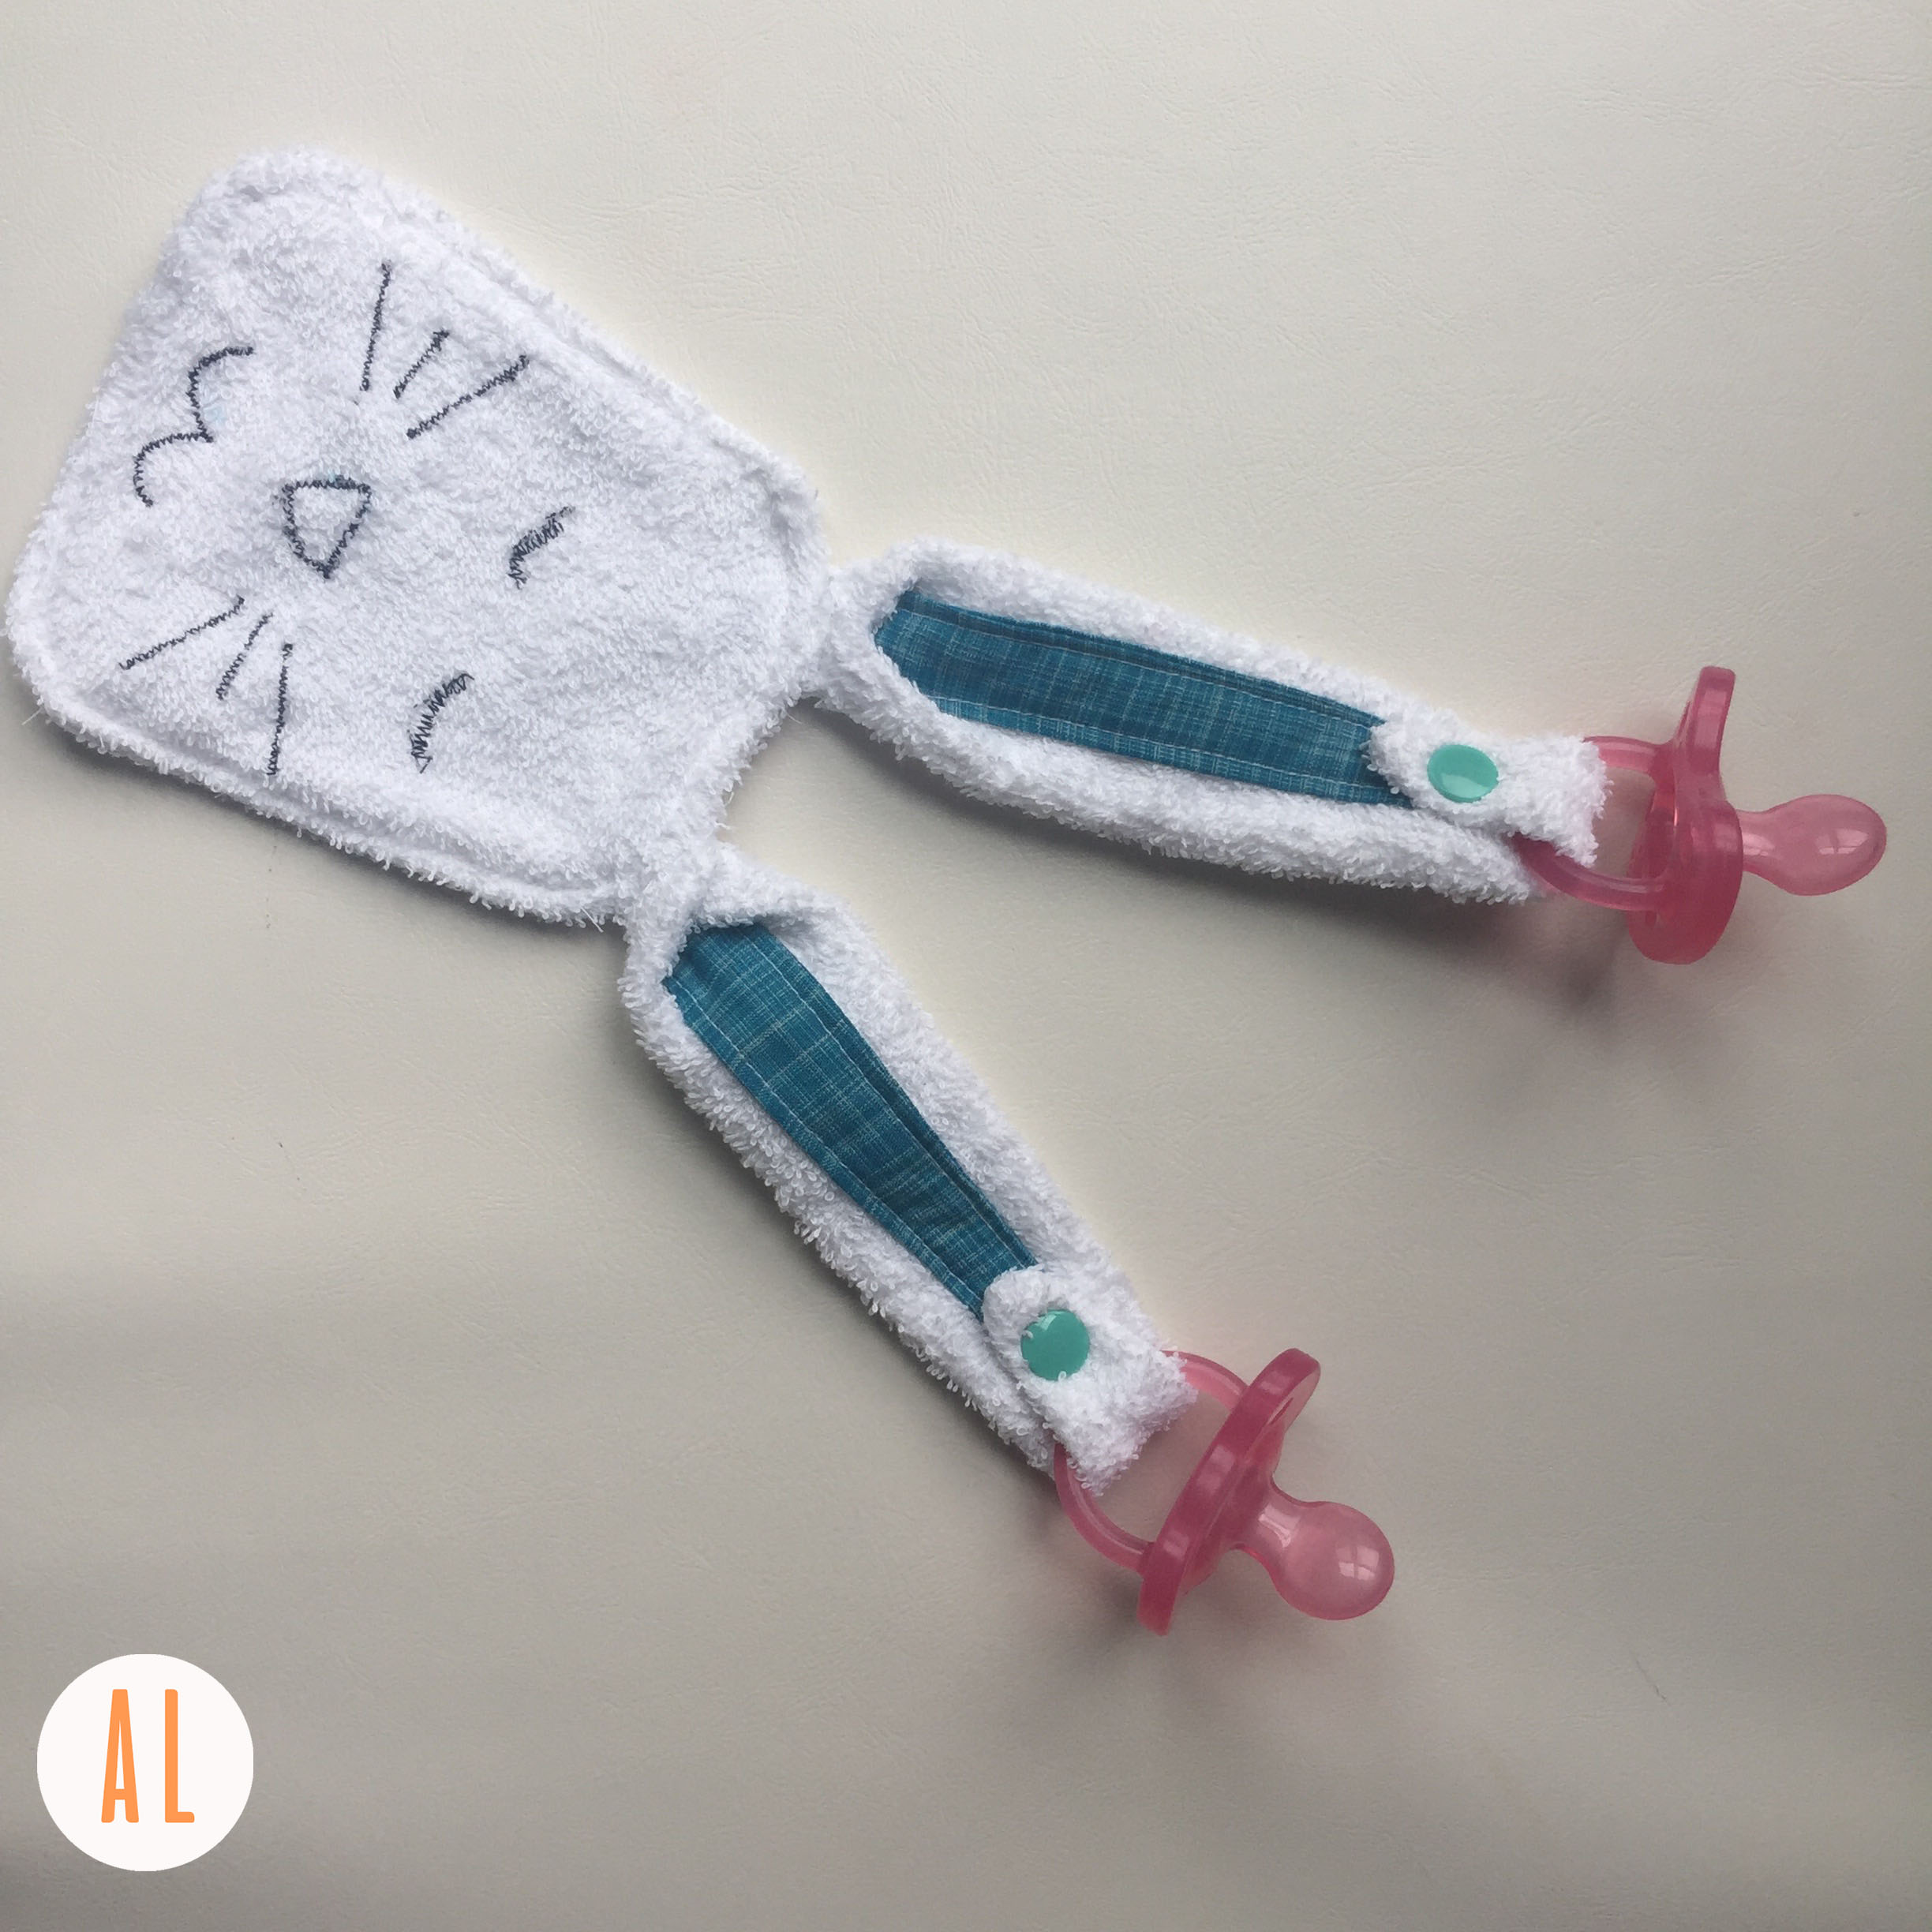
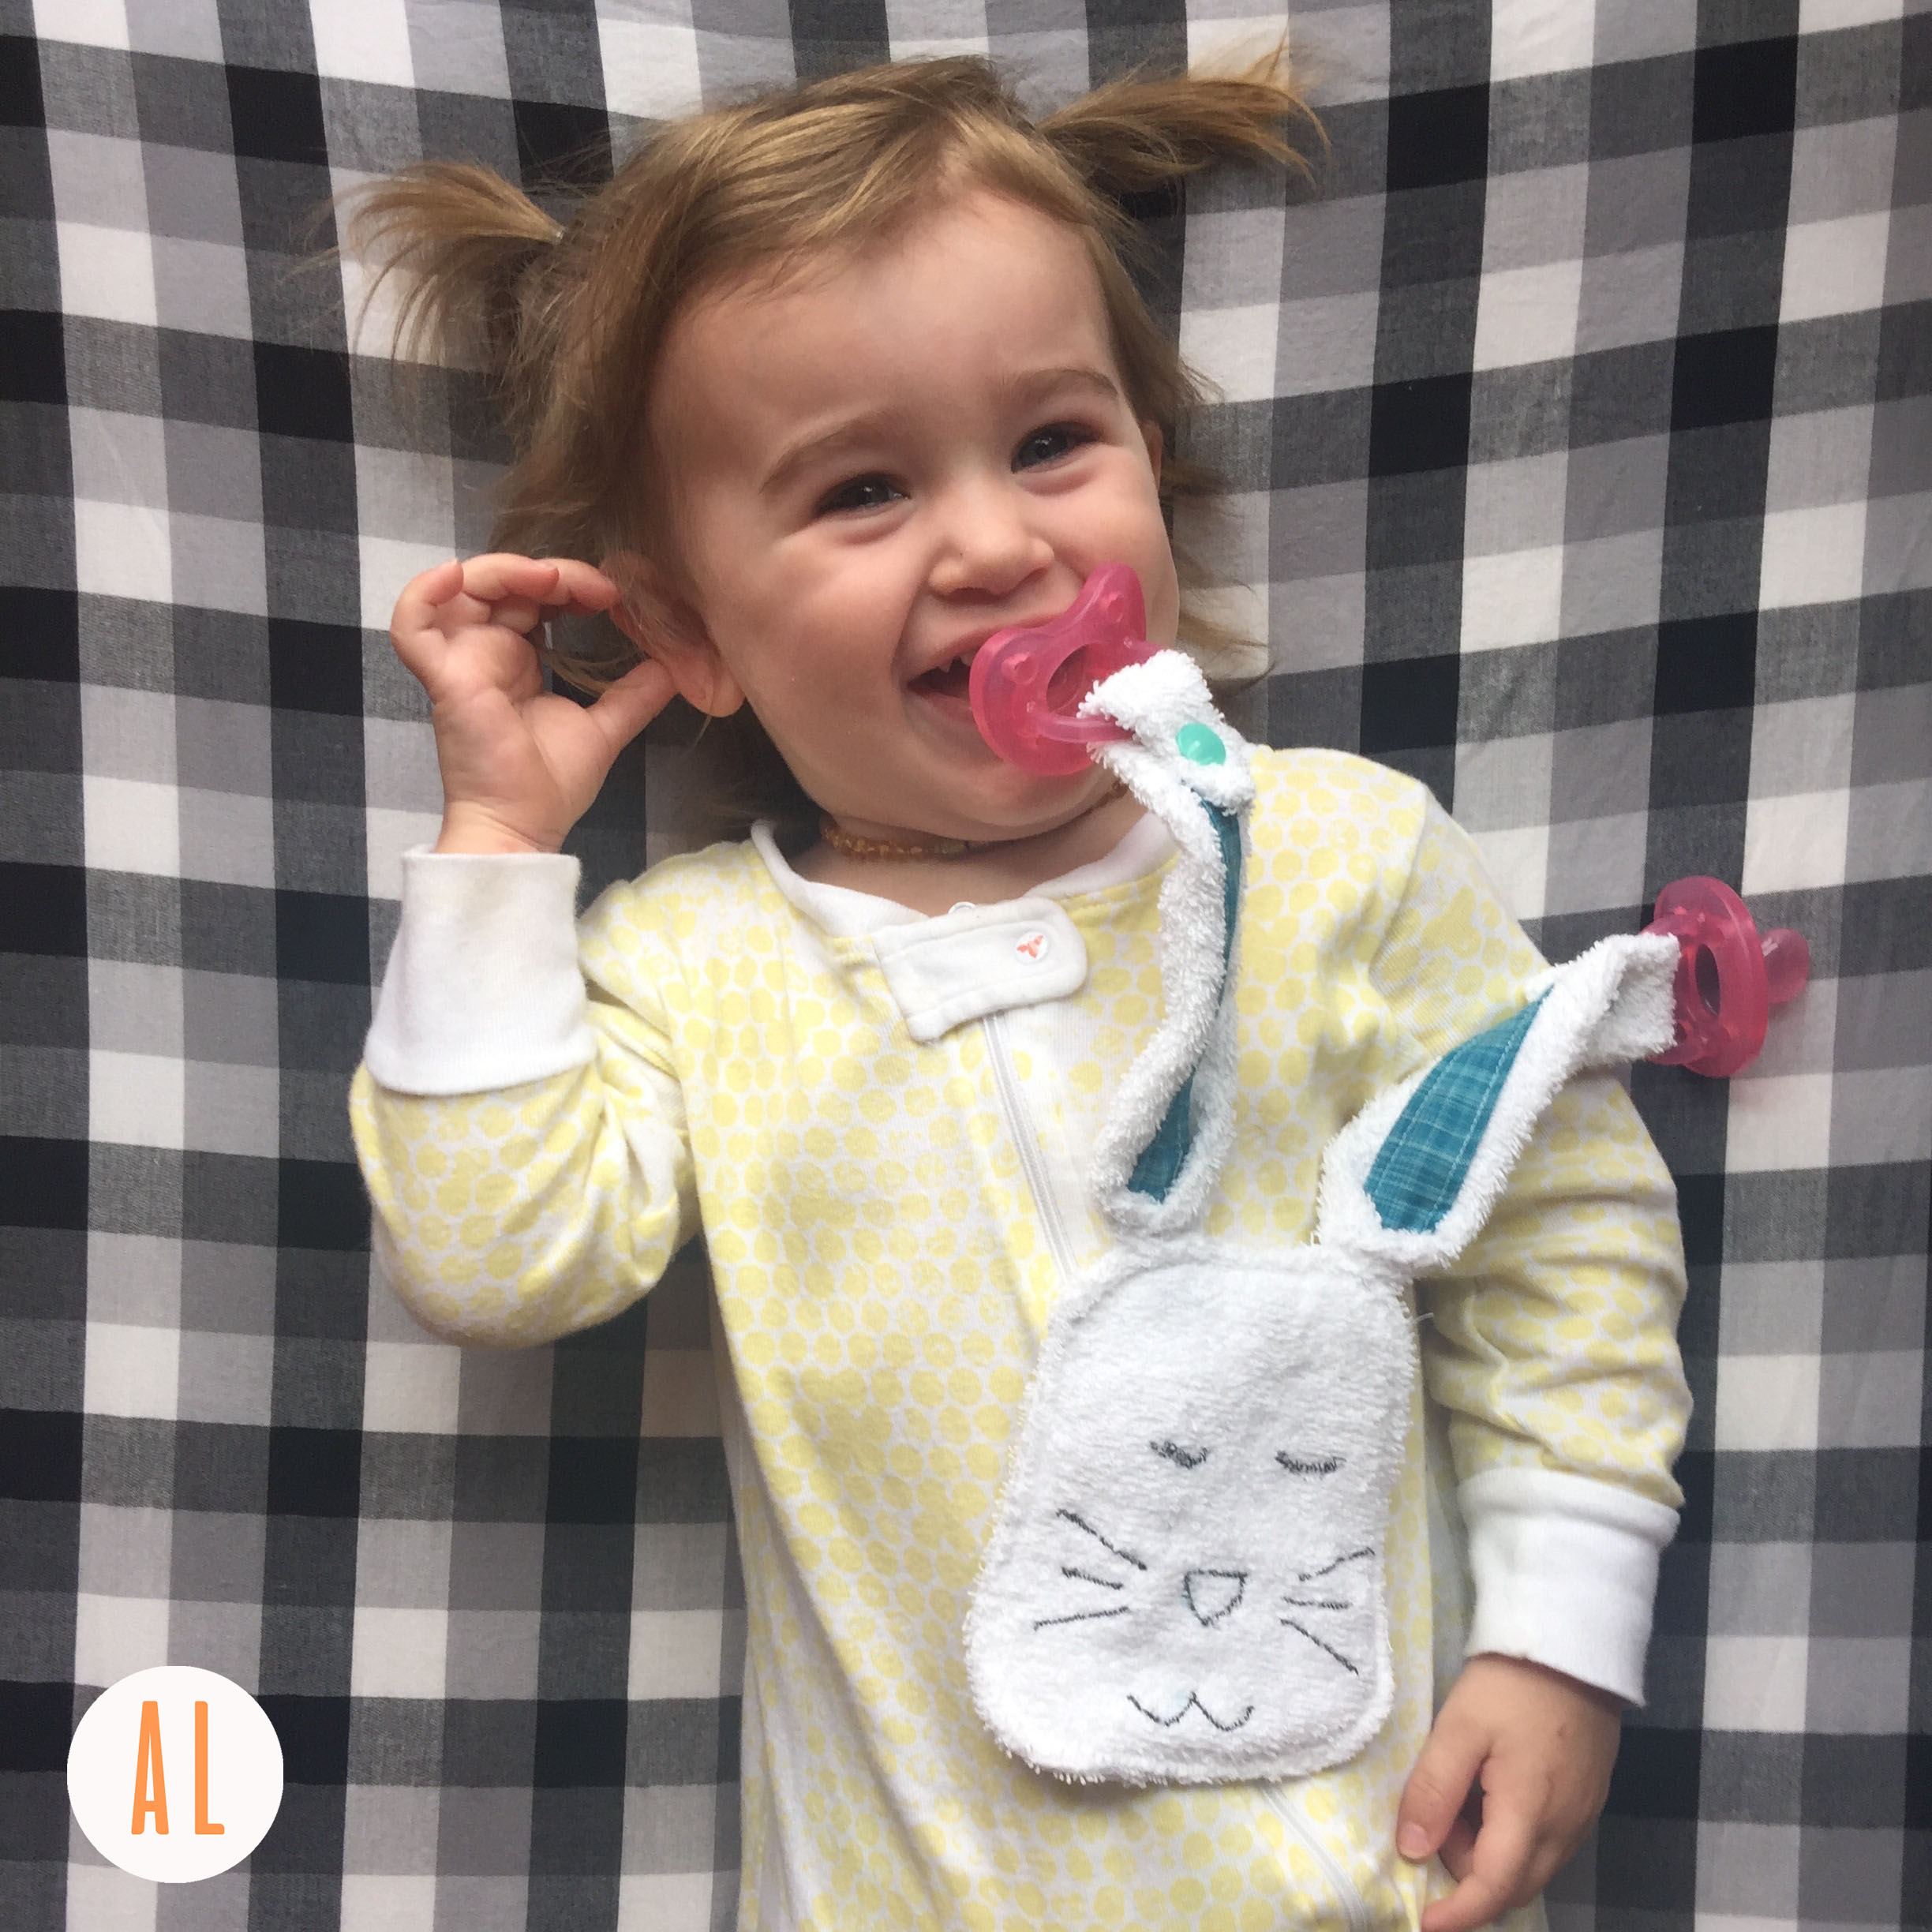
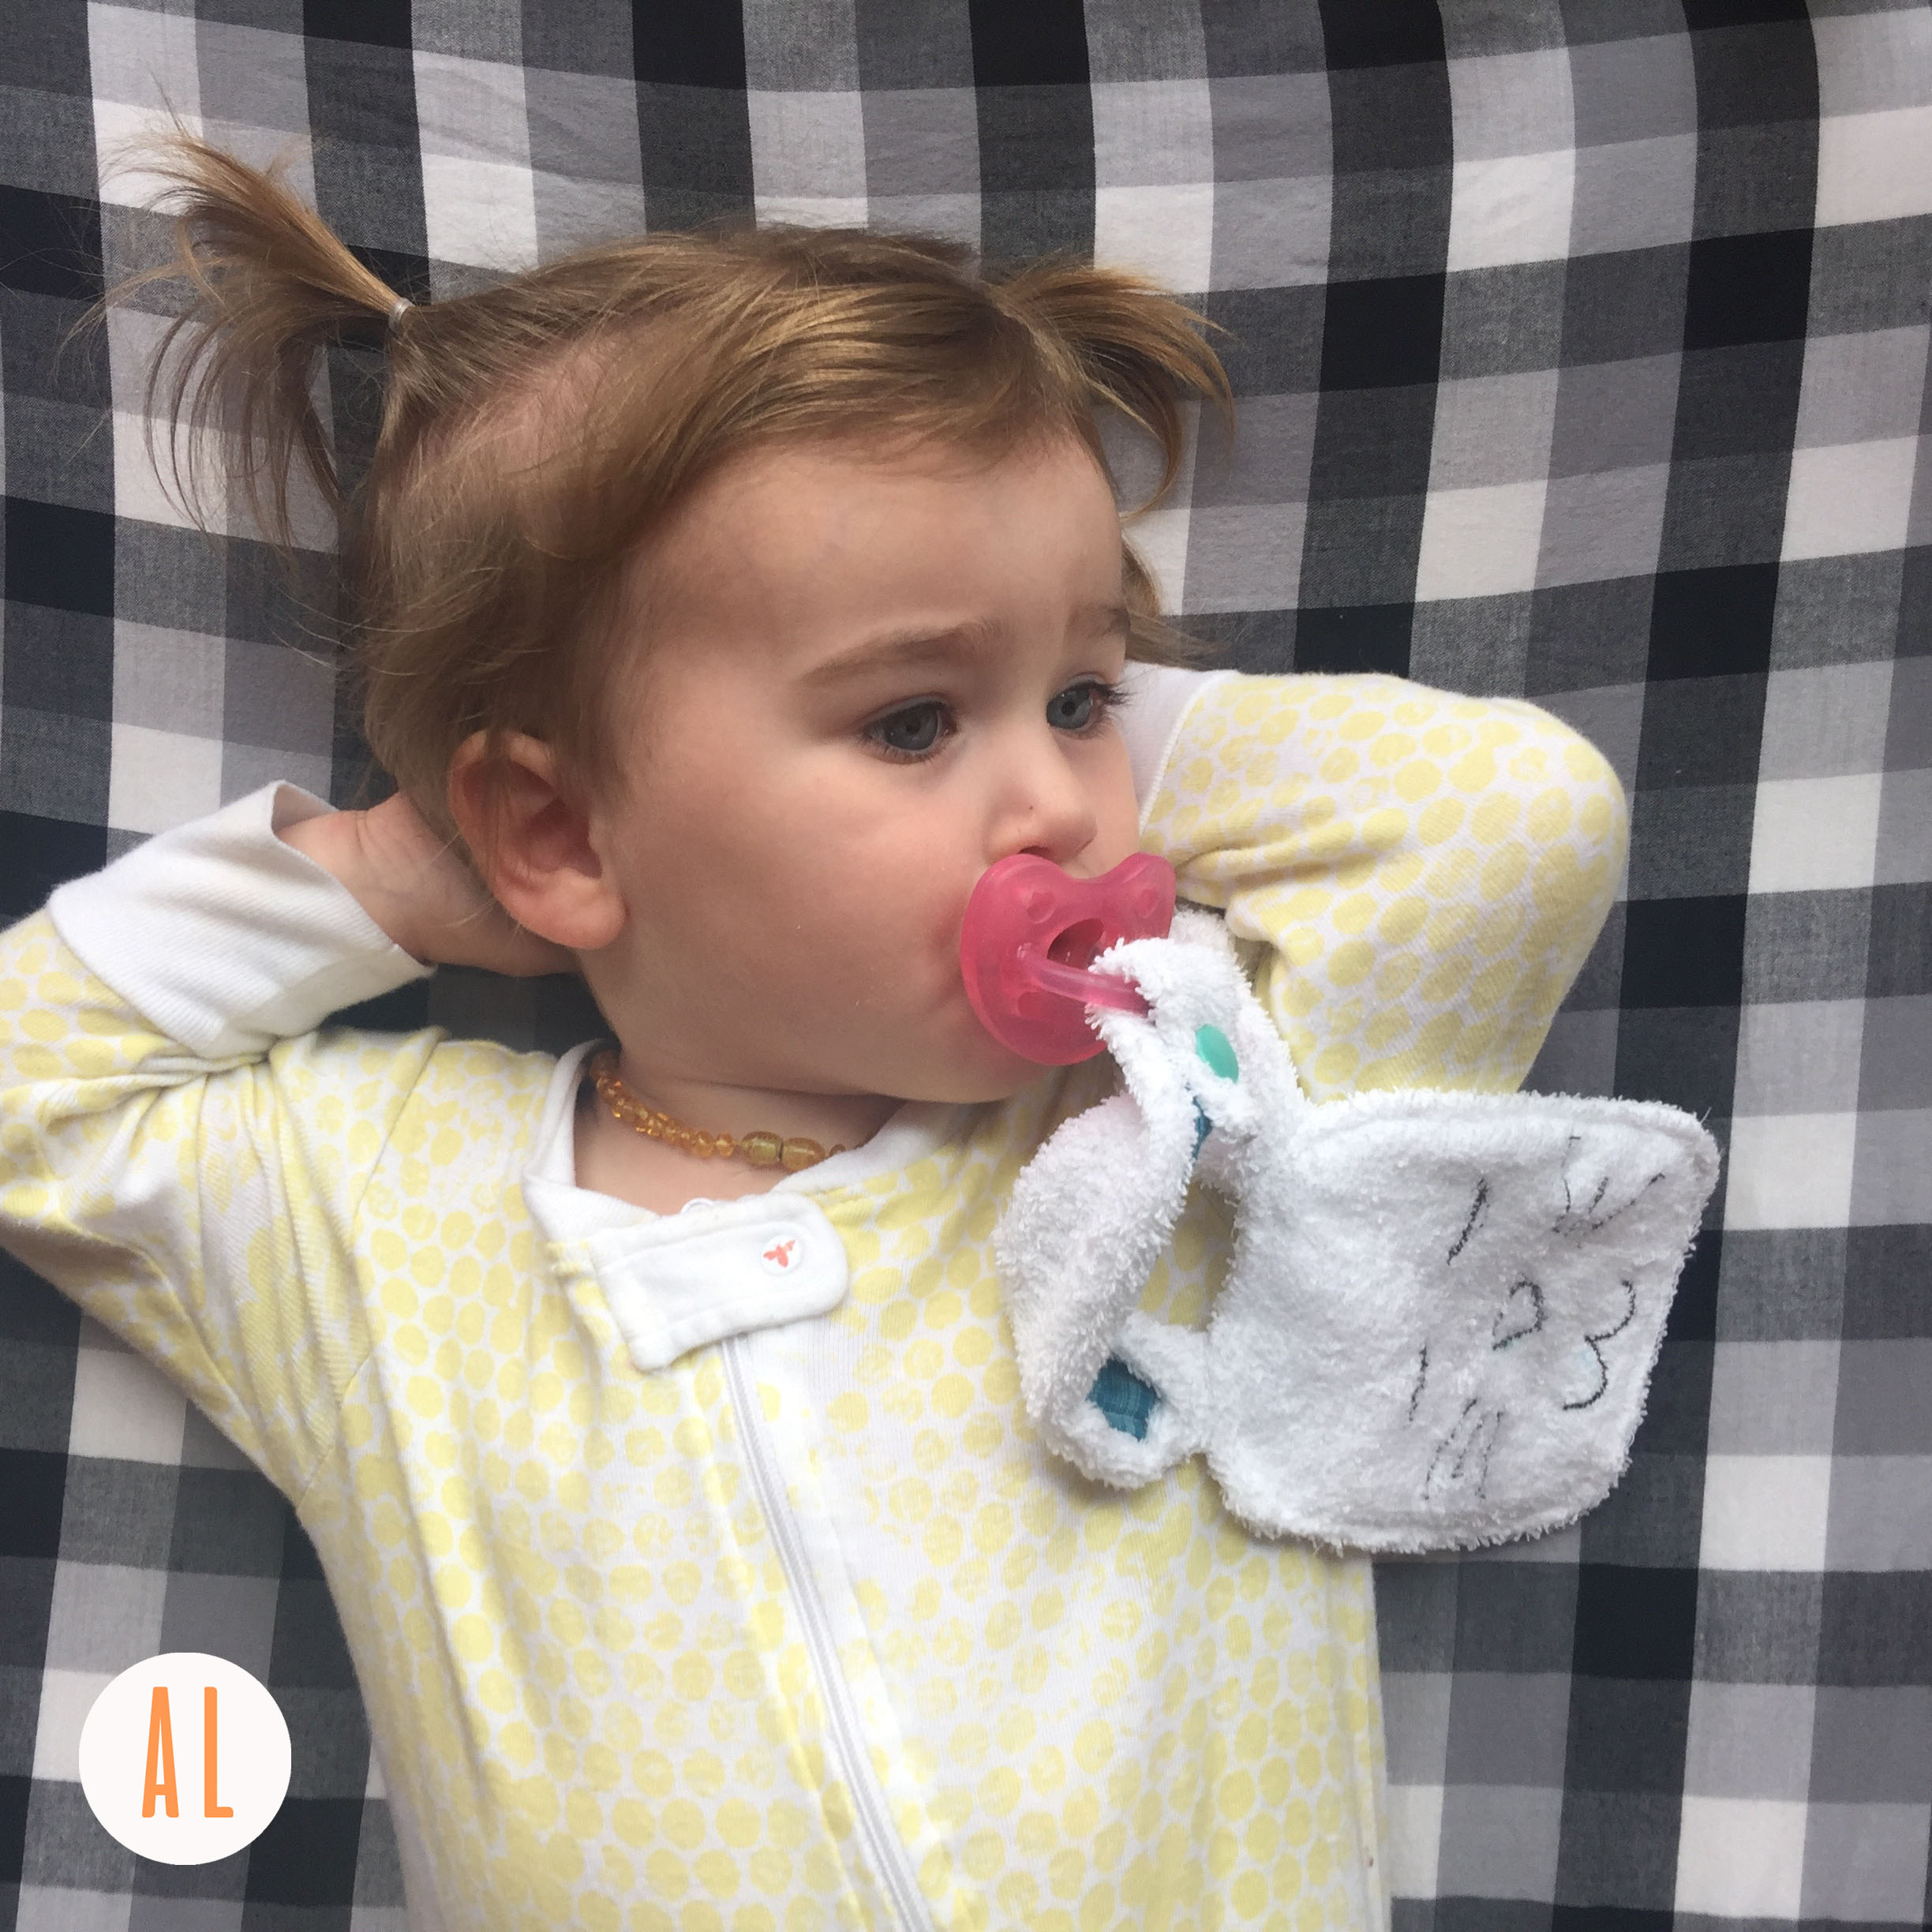
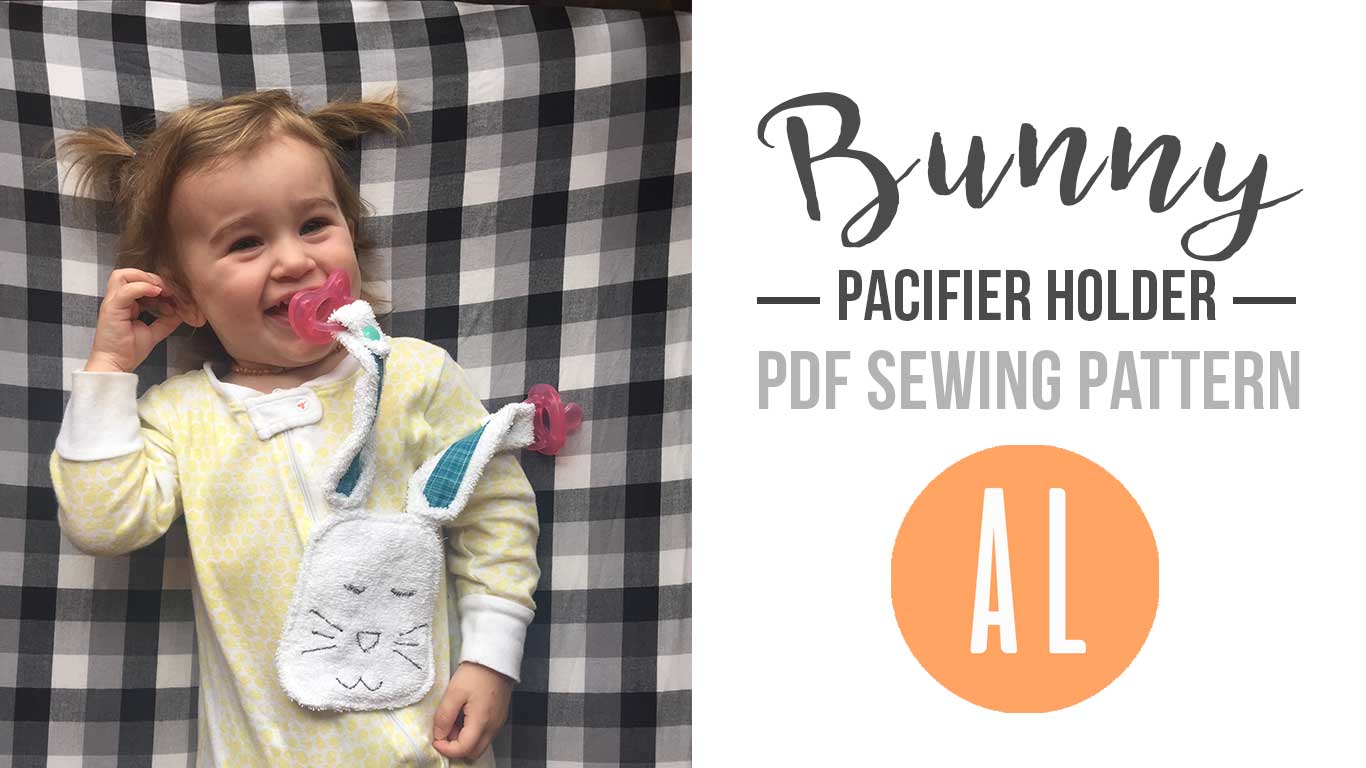
Hey there! Ruby and I worked on a pacifier holder pdf sewing pattern this Spring. It has a cute bunny shape and snaps to hold her paci’s. She really loves Chicco pacifiers and those are exceptionally hard to find when they are dropped under a crib or in the car because they are clear. Whoever designed those, must not have had actual children….
So here we are. Necessity is the mother of invention! We have not woken up in the wee small hours even once to find a paci since I made this! A few notes about this pattern. This pattern is NOT FOR NEWBORNS. This pacifier holder is for toddlers who have control of their arms and can run, walk, and play. I started using this for Ruby at 15 months of age.
FABRIC
The pattern works best with terry cloth or flannel for the main fabric and quilting cotton for the inner ear pieces. You only need a small amount. I used this terry cloth from the Fabric Shack. The inner ears were Anna Maria Horner’s Loominous Collection.
SNAPS
The snaps need to be really high quality for safety reasons. I suggest using KAM SNAPS. Here is a great little set of pliers and snaps on Amazon that I use for just under $20.
The pattern comes in an easy to print pdf download. The pattern is on one 8.5 x 11″ sheet of paper and the instructions include pictures and are contained to one sheet of paper as well. It’s really a quick and easy project. You can make one in about an hour. May your nights be filled with uninterrupted sleep from now on!
Email subscribers will receive this pattern for free! So if you sign up in the next 24 hours you can get in on the freebie!
Happy sewing!
by Andrea | Mar 16, 2017 | Baby, DIY, handmade, Home Decor, quilting, Sewing, tutorials
Here it is friends. This is the LAST post in my Magical series. The people who need this post, won’t want too hear it… Honestly everyone is able to do this, at least for a season. You will have lots of excuses why you can’t, but if you love something, you will make the space and time for it.
To make more time for sewing you MUST LEAVE YOUR SEWING MACHINE OUT AND SET UP. You must find a space. You must make your kids share a room or have them eat outside on the deck or sew in your bedroom or even train your baby to go to sleep with the sound of the sewing machine whirring near her crib….all of these things I have done at one point or another. We have lived in a slew of tiny houses and apartments off and on over the years and the key to getting stuff sewn was and always is leaving my machine out.
I want to encourage you to “Just Do It” Nike doesn’t consider sewing a sport, but if they did I would totally be sponsored. HAHA.
Right now I am very fortunate to have a nice finished room to sew in. I share it with the girls so that if there are moments during school that I can sew, then I can! Here are a few creative ways to leave your machine out if you don’t have a sewing room.
THE PLASTIC STORAGE BIN
Just get a bin with a lid and shove it in there and slide it under the kitchen table. If it’s already there then you will be more likely to use it. Here is good one.
THE NOOK
There is always a place for a sewing nook. Get a nice wooden or sewing specific folding table, that way if you have company or need the space temporarily{ for something less fun than sewing }you can move it and put it back up easily. When my husband was in seminary we lived in the campus apartments. SO FREAKING TINY. Someone had left a wooden folding table in our apartment so we used it for that.
THE PLACE YOU DONT LIKE
Is the basement your sewing lair? Do you hate it so much? Is it watery and smelly and dark? Just set up your supplies and organize in such a way that you can have your project out and ready to grab easily so you can bring it up to the kitchen table for the afternoon or evening.
Give up on the ideal places you see on blogs and pinterest and give yourself the freedom to enjoy your sewing time. Sewing has been such a great way for me to lose myself and relax. I listen to a book on Audible, pop my headphones in my ears, and start making! Just do it!
Here is a picture of my non pinterest worthy sewing space. I sure am thankful for it and I get so much more sewing in. My plans for it include painting the cabinet a bright happy color, but then I wouldn’t have as much time to sew….the struggle. 🙂
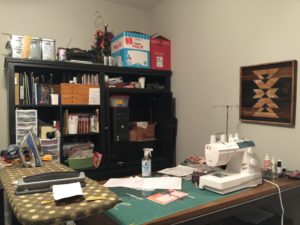
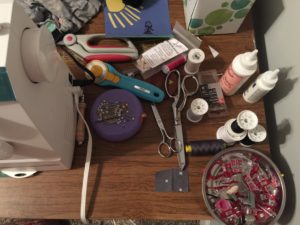
Happy Sewing Friends! JUST DO IT!
-Andrea
by Andrea | Feb 8, 2016 | Baby, handmade, Sewing
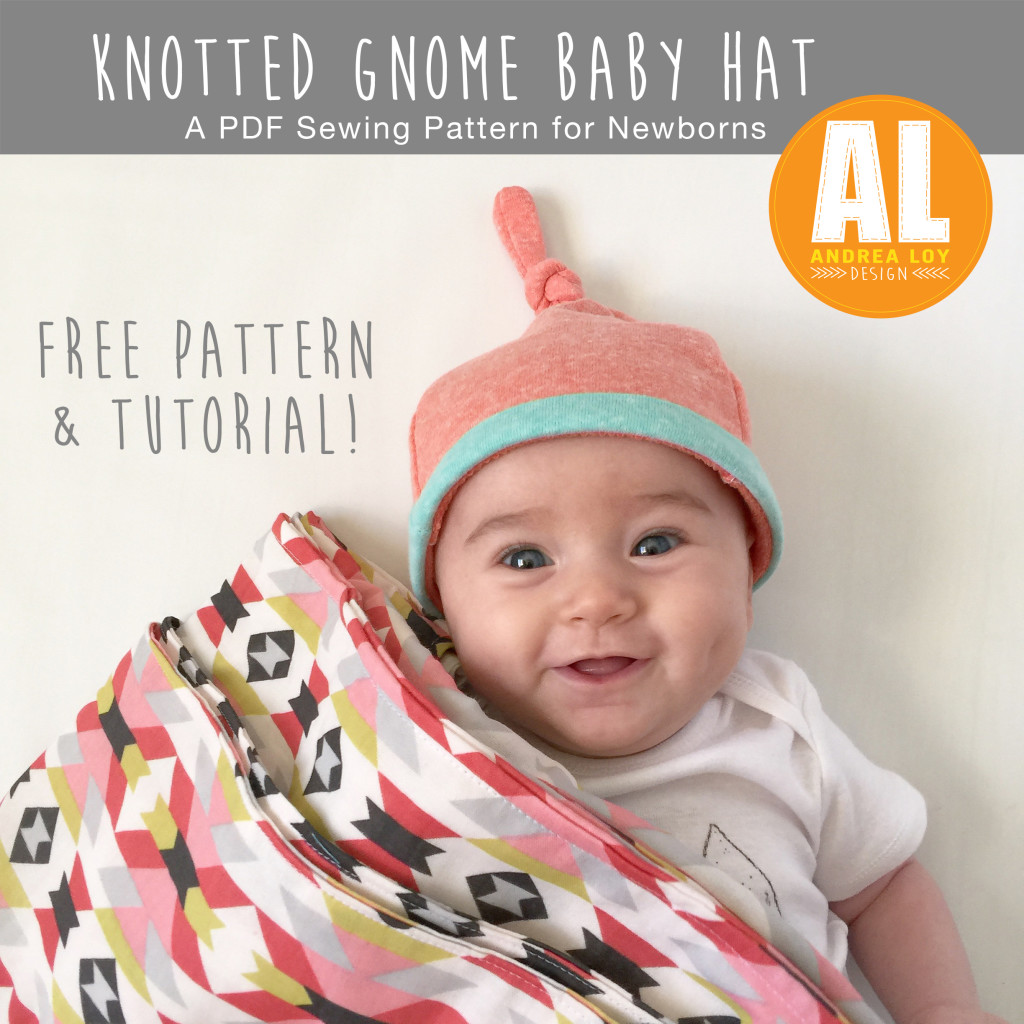
Free baby hat sewing pattern! My little Ruby likes to have her head covered at all times. I’m really not happy with the newborn hat selection in stores. The hats that come with most layettes are two pieces of cotton with no stretch recovery and barely stay on. They are all a little too big and ill fitting. I’ve made this cute little knotted hat pattern for her and it fits just right! I call it the Knotted Gnome Baby Hat.
I’m sharing the love today with you. Download the Knotted Gnome baby hat sewing pattern for free and sew right along with me! It’s very easy and makes a great baby gift! I have a skinny or wide band option on it. I’ll be grading it for all sizes to sell in my Etsy shop, Handful Of Arrows soon. I’ve used a nice french terry from JoAnns with a good stretch. You can use any knit stretch fabric.
Here’s a quick tutorial. This hat takes about 30 minutes to make. Or 5 minutes to buy in my Etsy Shop. Ha! You can do it, don’t be afraid of stretchy fabric.
TUTORIAL
{DOWNLOAD HERE}
1.)Cut out your pattern pieces and tape together A & B
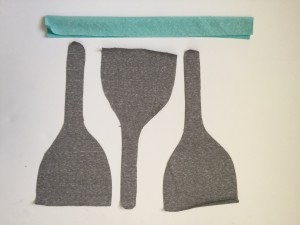
2.) Cut 3 pieces out of knit fabric
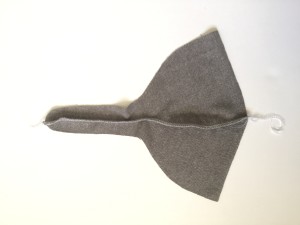
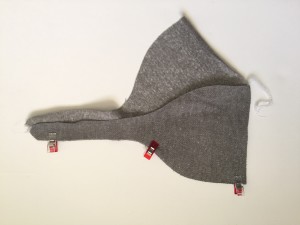

3.) Serge right sides together or sew with zigzag stitch
4.) Cut out band: Skinny 2” x 15” strip Wide 2.5” x 15” Strip
5.) Fold band in half and press
6.) Serge/zig zag right sides of band together on shorter width end. Fold band back in half.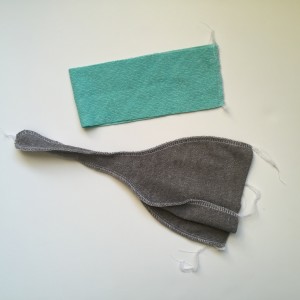
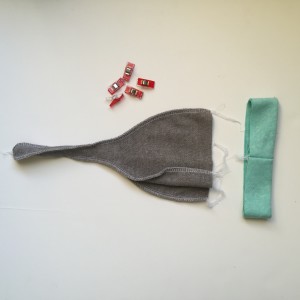
7.) Pin folded band with raw edges right side against wrong side of hat evenly at four points.
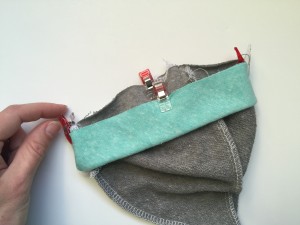
9.) Serge or zigzag, stretching to fit. Turn hat right side out. Poking with a pencil to get the skinny end. Turn band to right side of hat and press.
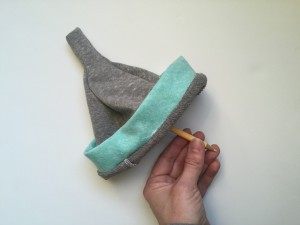
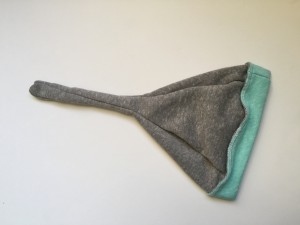
10. Tack band to hat inside the band with a knot stitch by hand. Tie a knot!
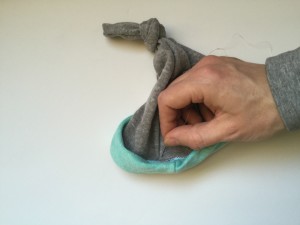
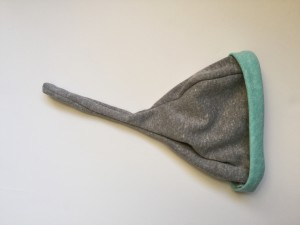
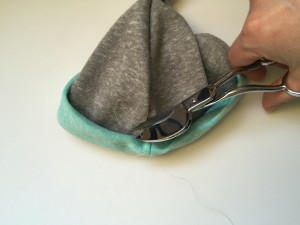
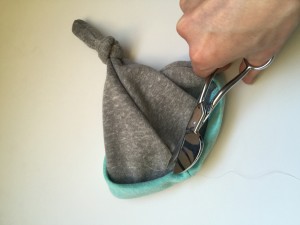
There you have it. A cut little knotted gnome hat 🙂 Enjoy! -Andrea
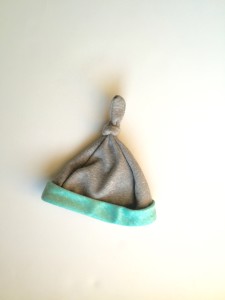
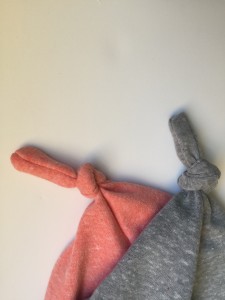
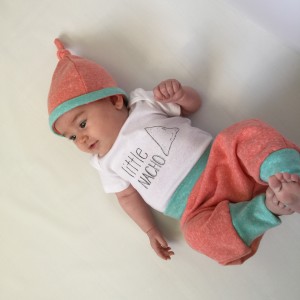
Photos by Me, Andrea Loy
Cuteness by Ruby Jane
Please do not share pictures of my children without permission. Please share design credit when using the pattern for business. Thank you! – Andrea
by Andrea | Oct 10, 2015 | Baby, DIY, Sewing, tutorials
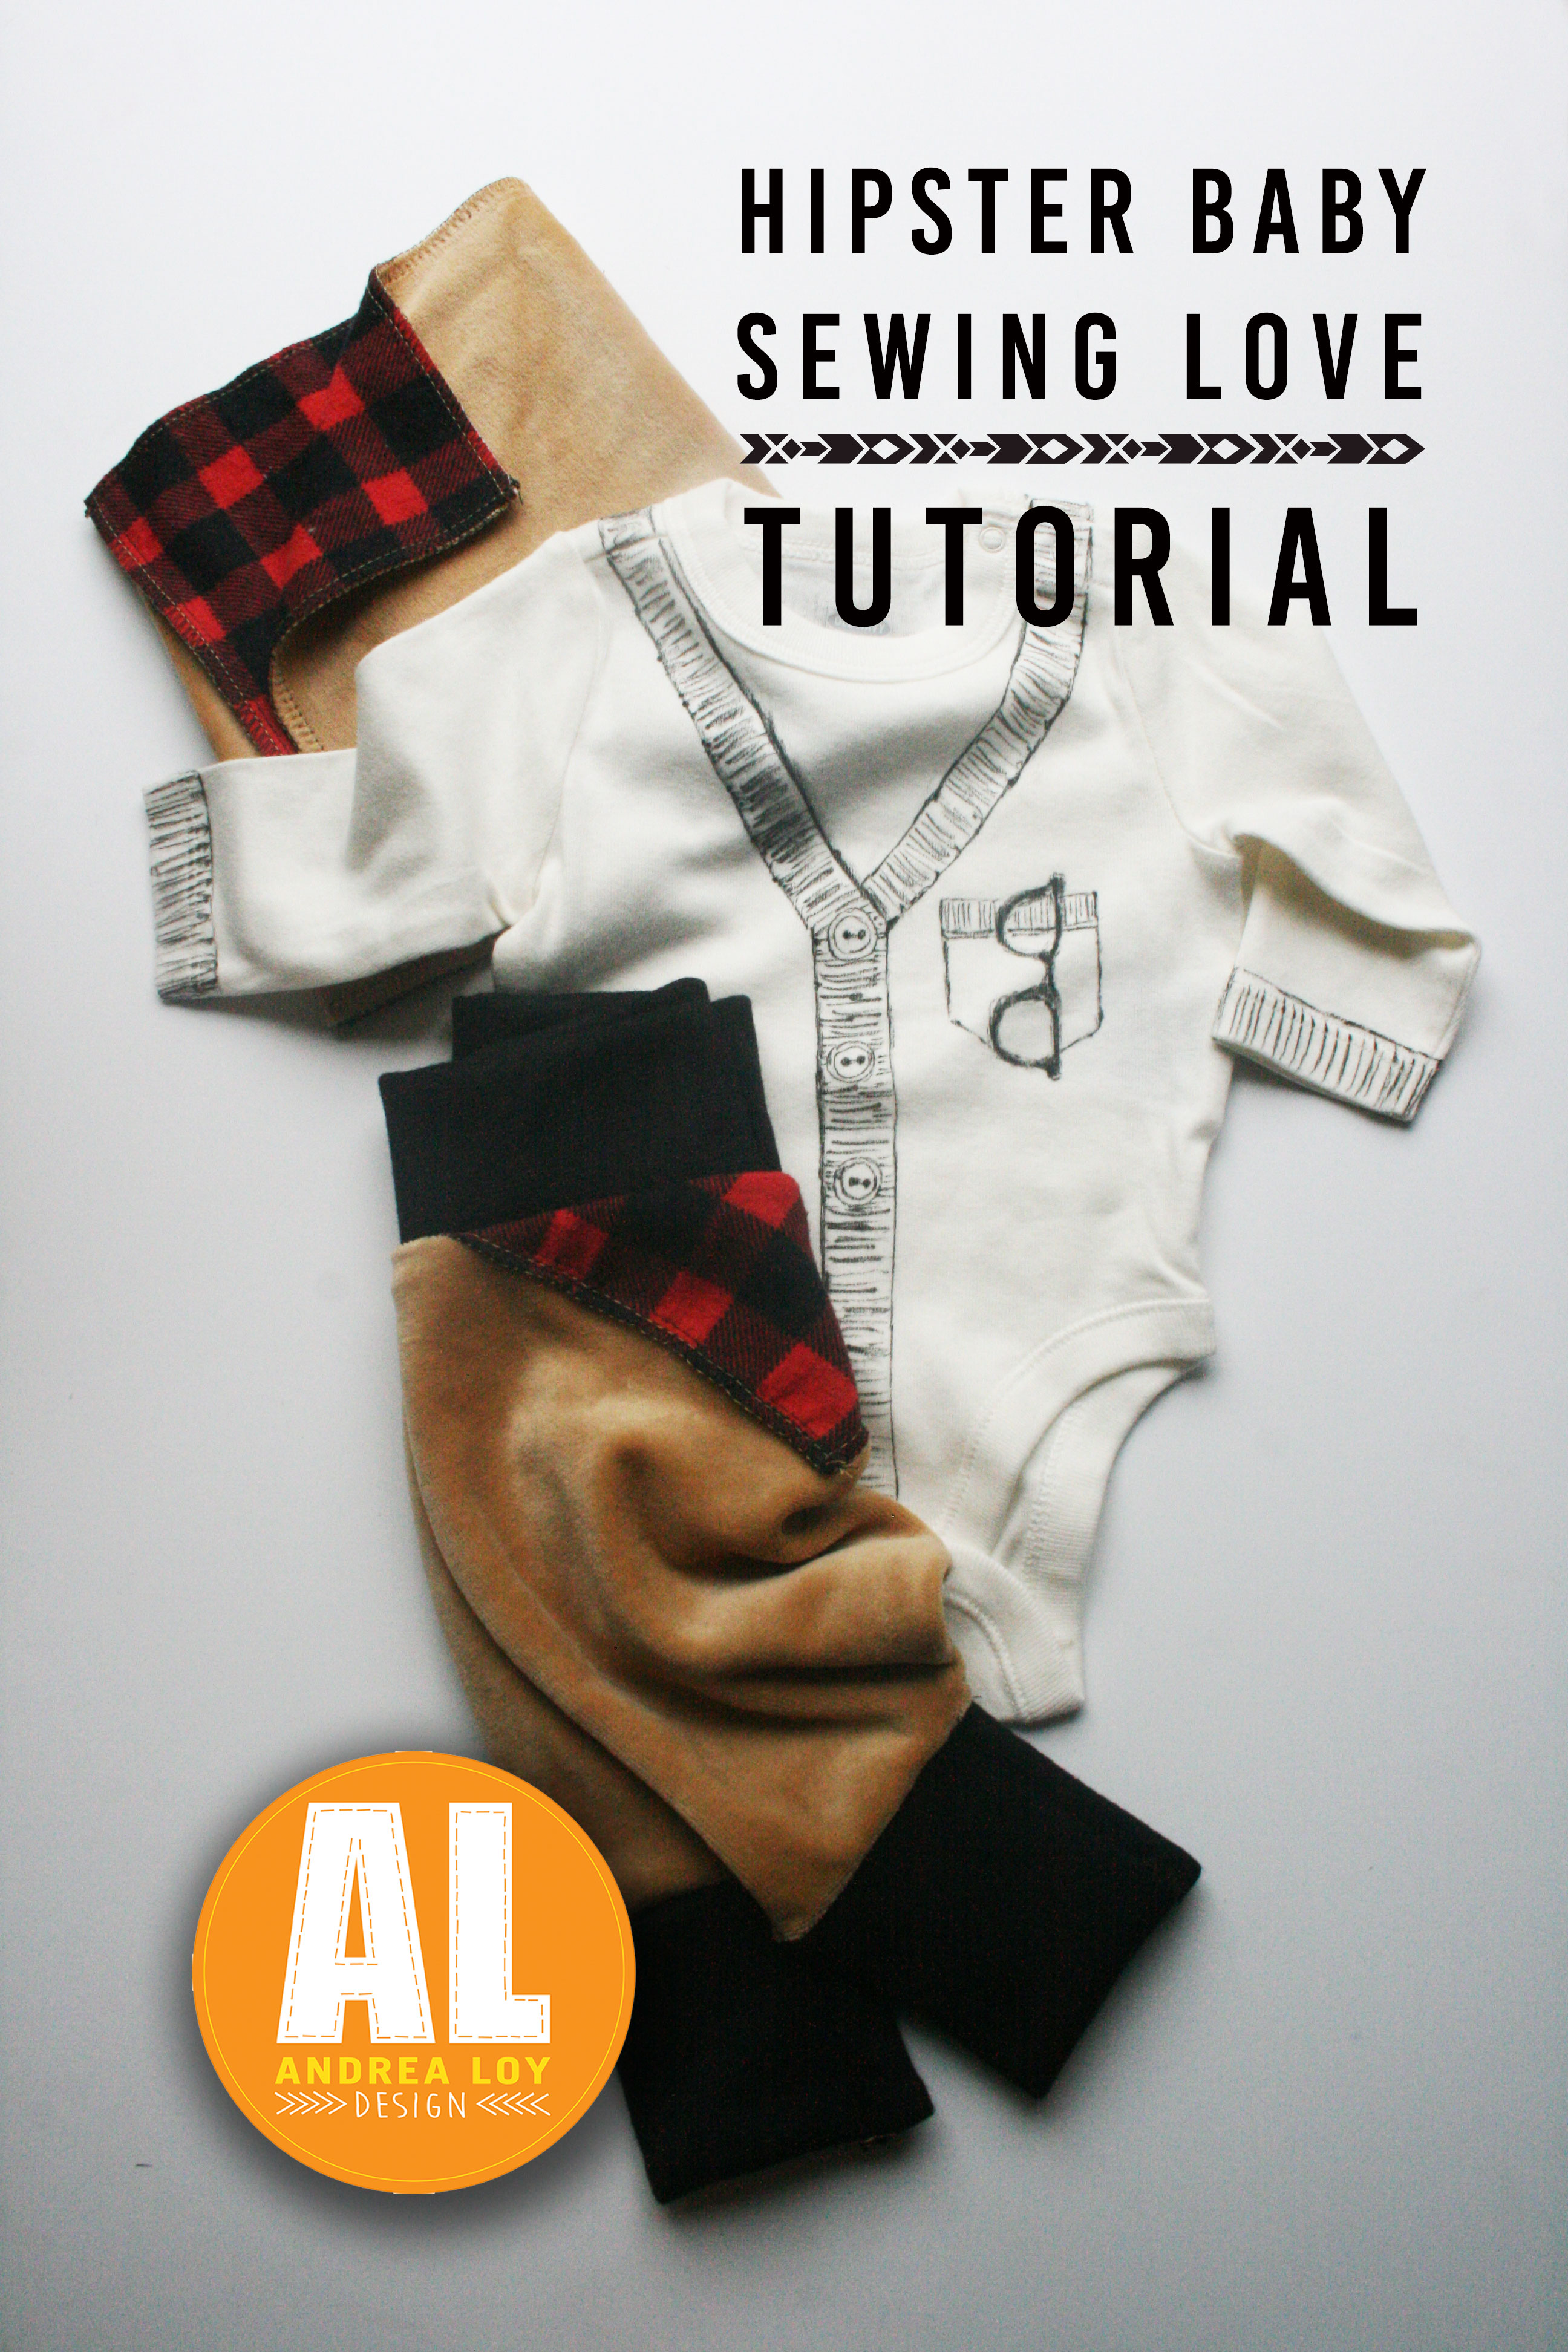
Hipster Baby Sewing Love Tutorial Back Story:
I’m always inspired to create something new when I have too much to do. Creativity never occurs out of boredom. At least not for me. It’s usually a product of boundaries. Or limitations. Mine were time, money, and boy fabric.
So anyway, my bestie and I are due with babies a week apart! I know right?! So we had a mutual friend throw us a double shower! She managed to sew me up some Hipster Baby Love for the Baby Shower, I had good intentions too and that was it. New job, four kids, husband in school full time….I just didn’t get there.
{ For the first three months of her and my pregnancy I did NOT know I was PREGNANT. She was so sick and miserable and I was all like ” Oh gosh, I’m sorry your so sick, lets go to Trader Joes and get snacks!” Then she went with me to my first ultrasound and the lady was like “your 17 weeks”, and we looked at each other and laughed! }
I finally stole a few hours one Saturday to sew her up some little things for the baby boy….I don’t get to sew baby boy stuff very often cause we don’t make those around here, and as I was digging through some scraps of fabric I came across some sweet red and black buffalo check from Christmas Jammies last year and the spark was ignited! Then I found some light brown velour and a hipster baby lumberjack theme popped into my head and I couldn’t do anything but sew. But then I realized how much she loves serged edges on things and I had to go to Joannes and buy brown and black serger thread. AND CHANGE MY SERGER THREAD. THAT IS TRUE LOVE AND FRIENDSHIP.
First I cut up some velour into harem pants by tracing the pants she had made for me! She later shared the pattern she used with me. It’s by Brindille and Twig! I love her patterns!
TUTORIAL:
Trace the pants from baby pants you already have or buy the pattern from Brindille and Twig Here.
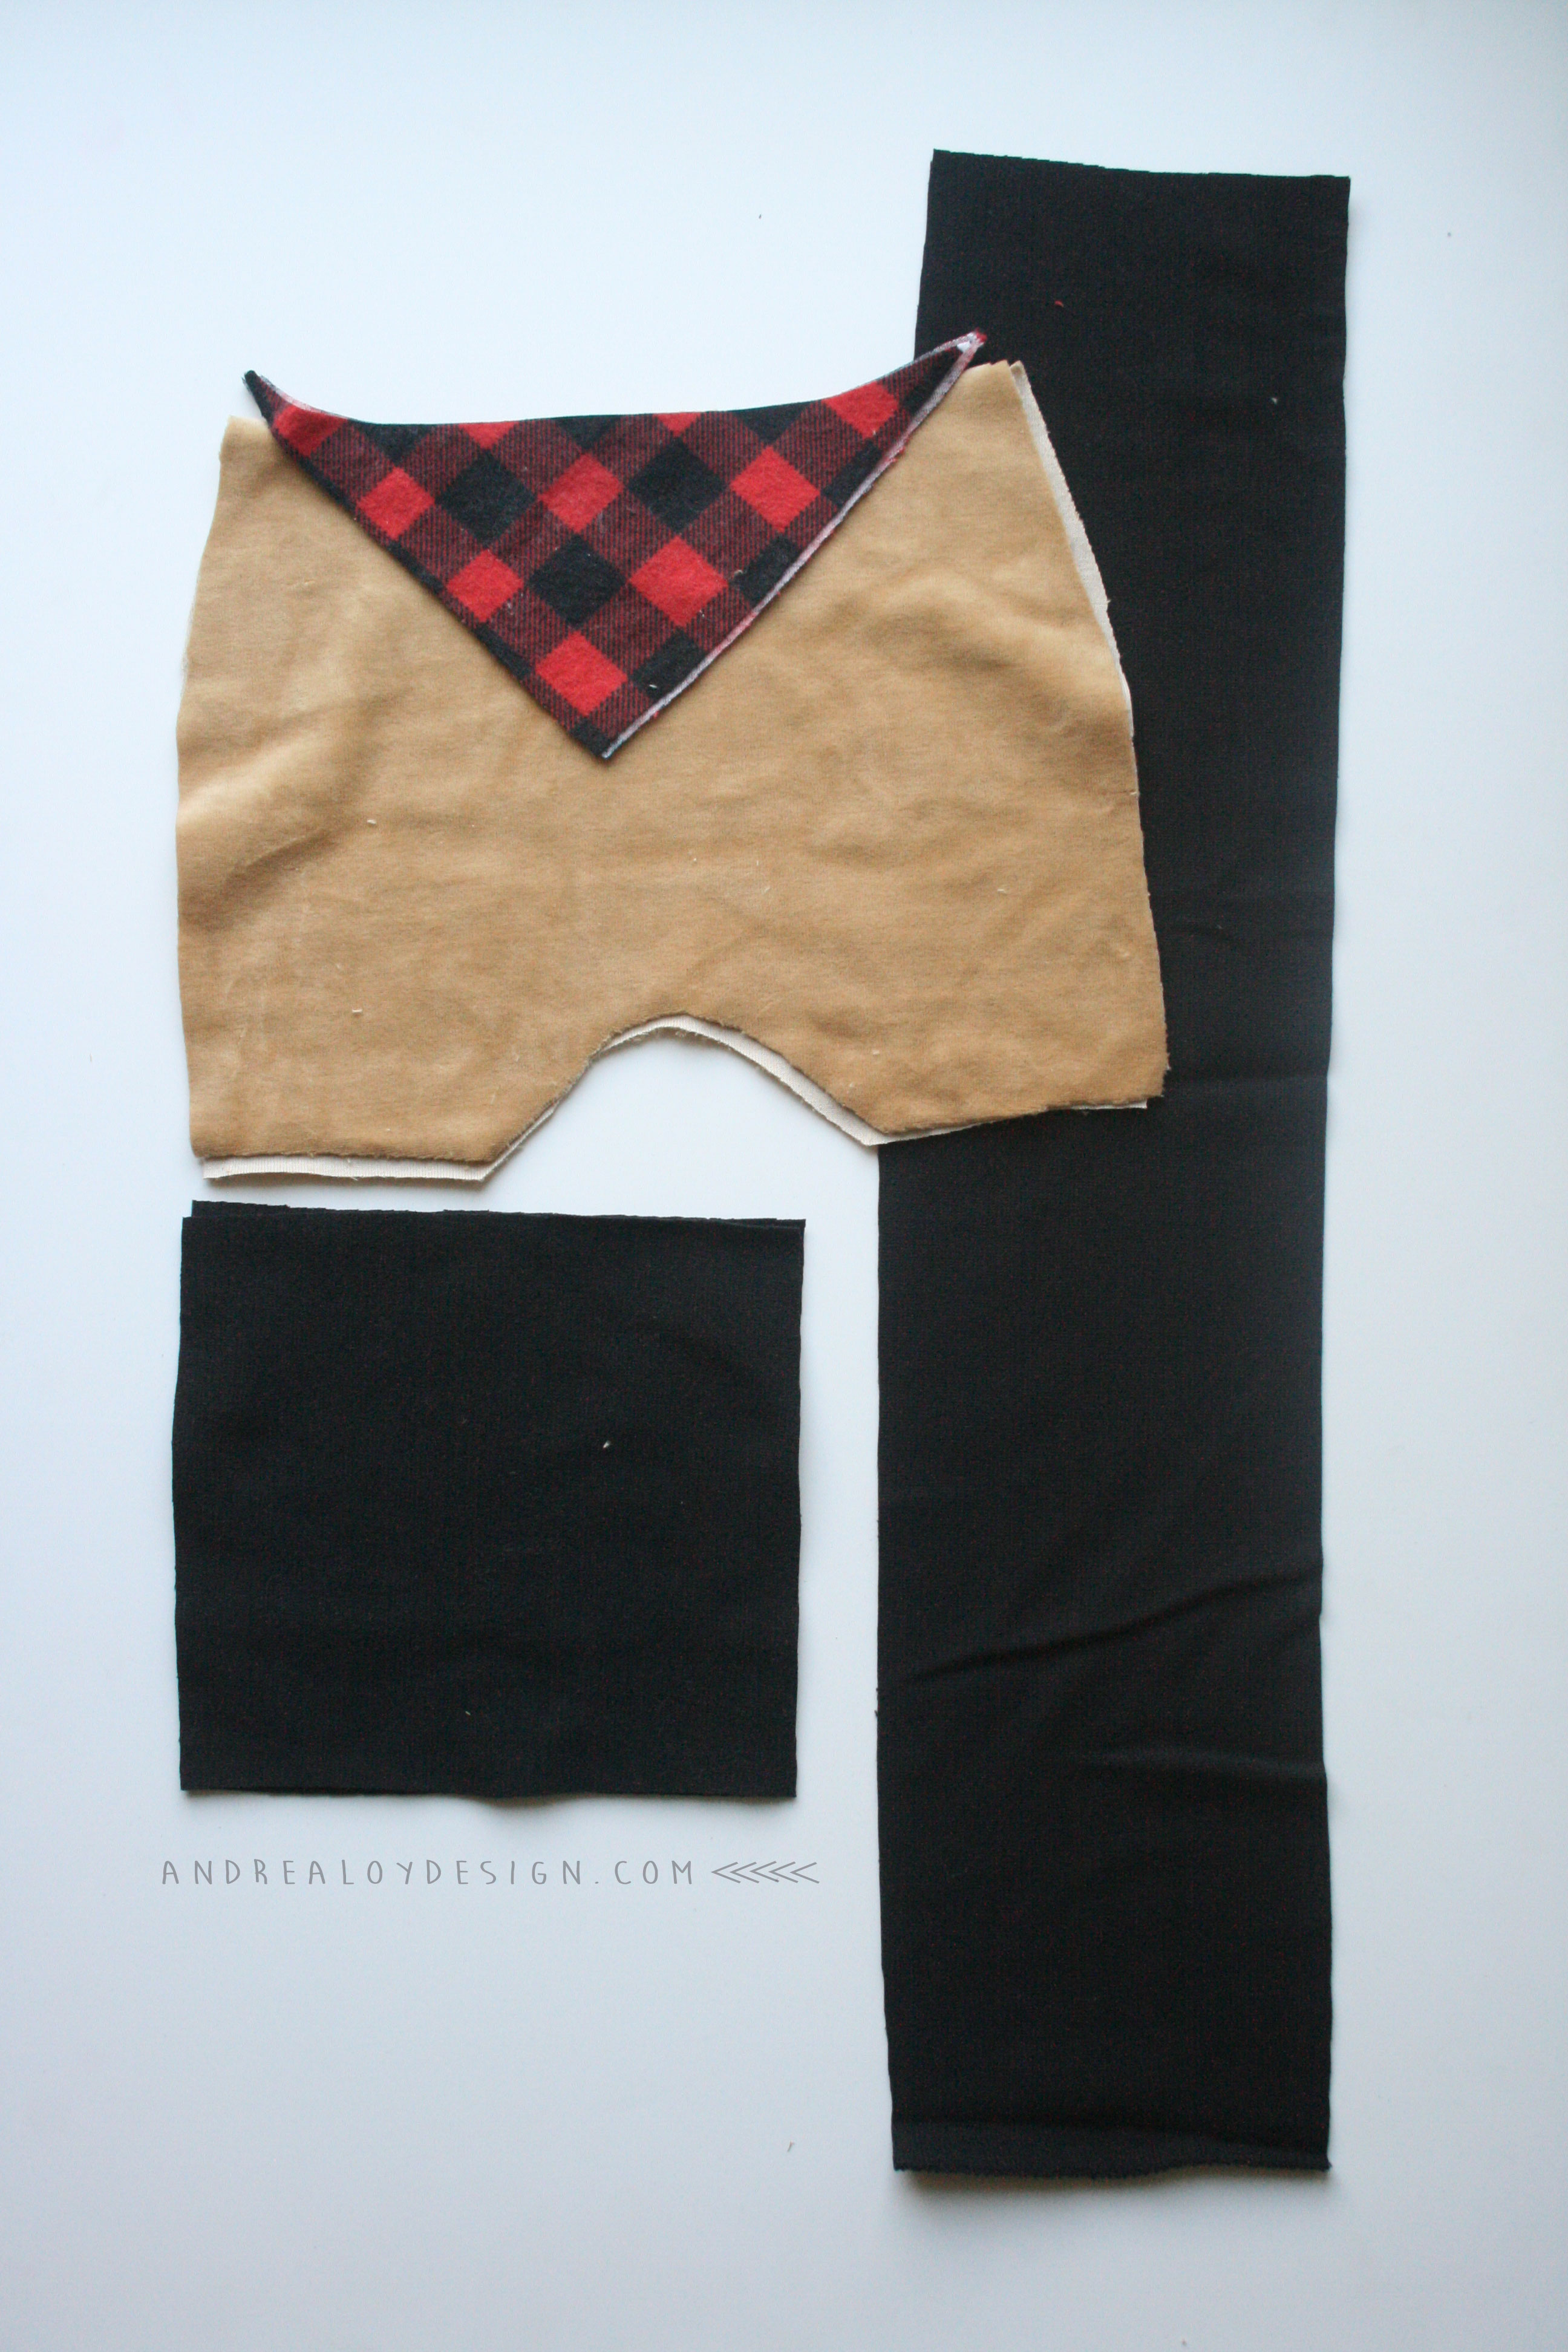
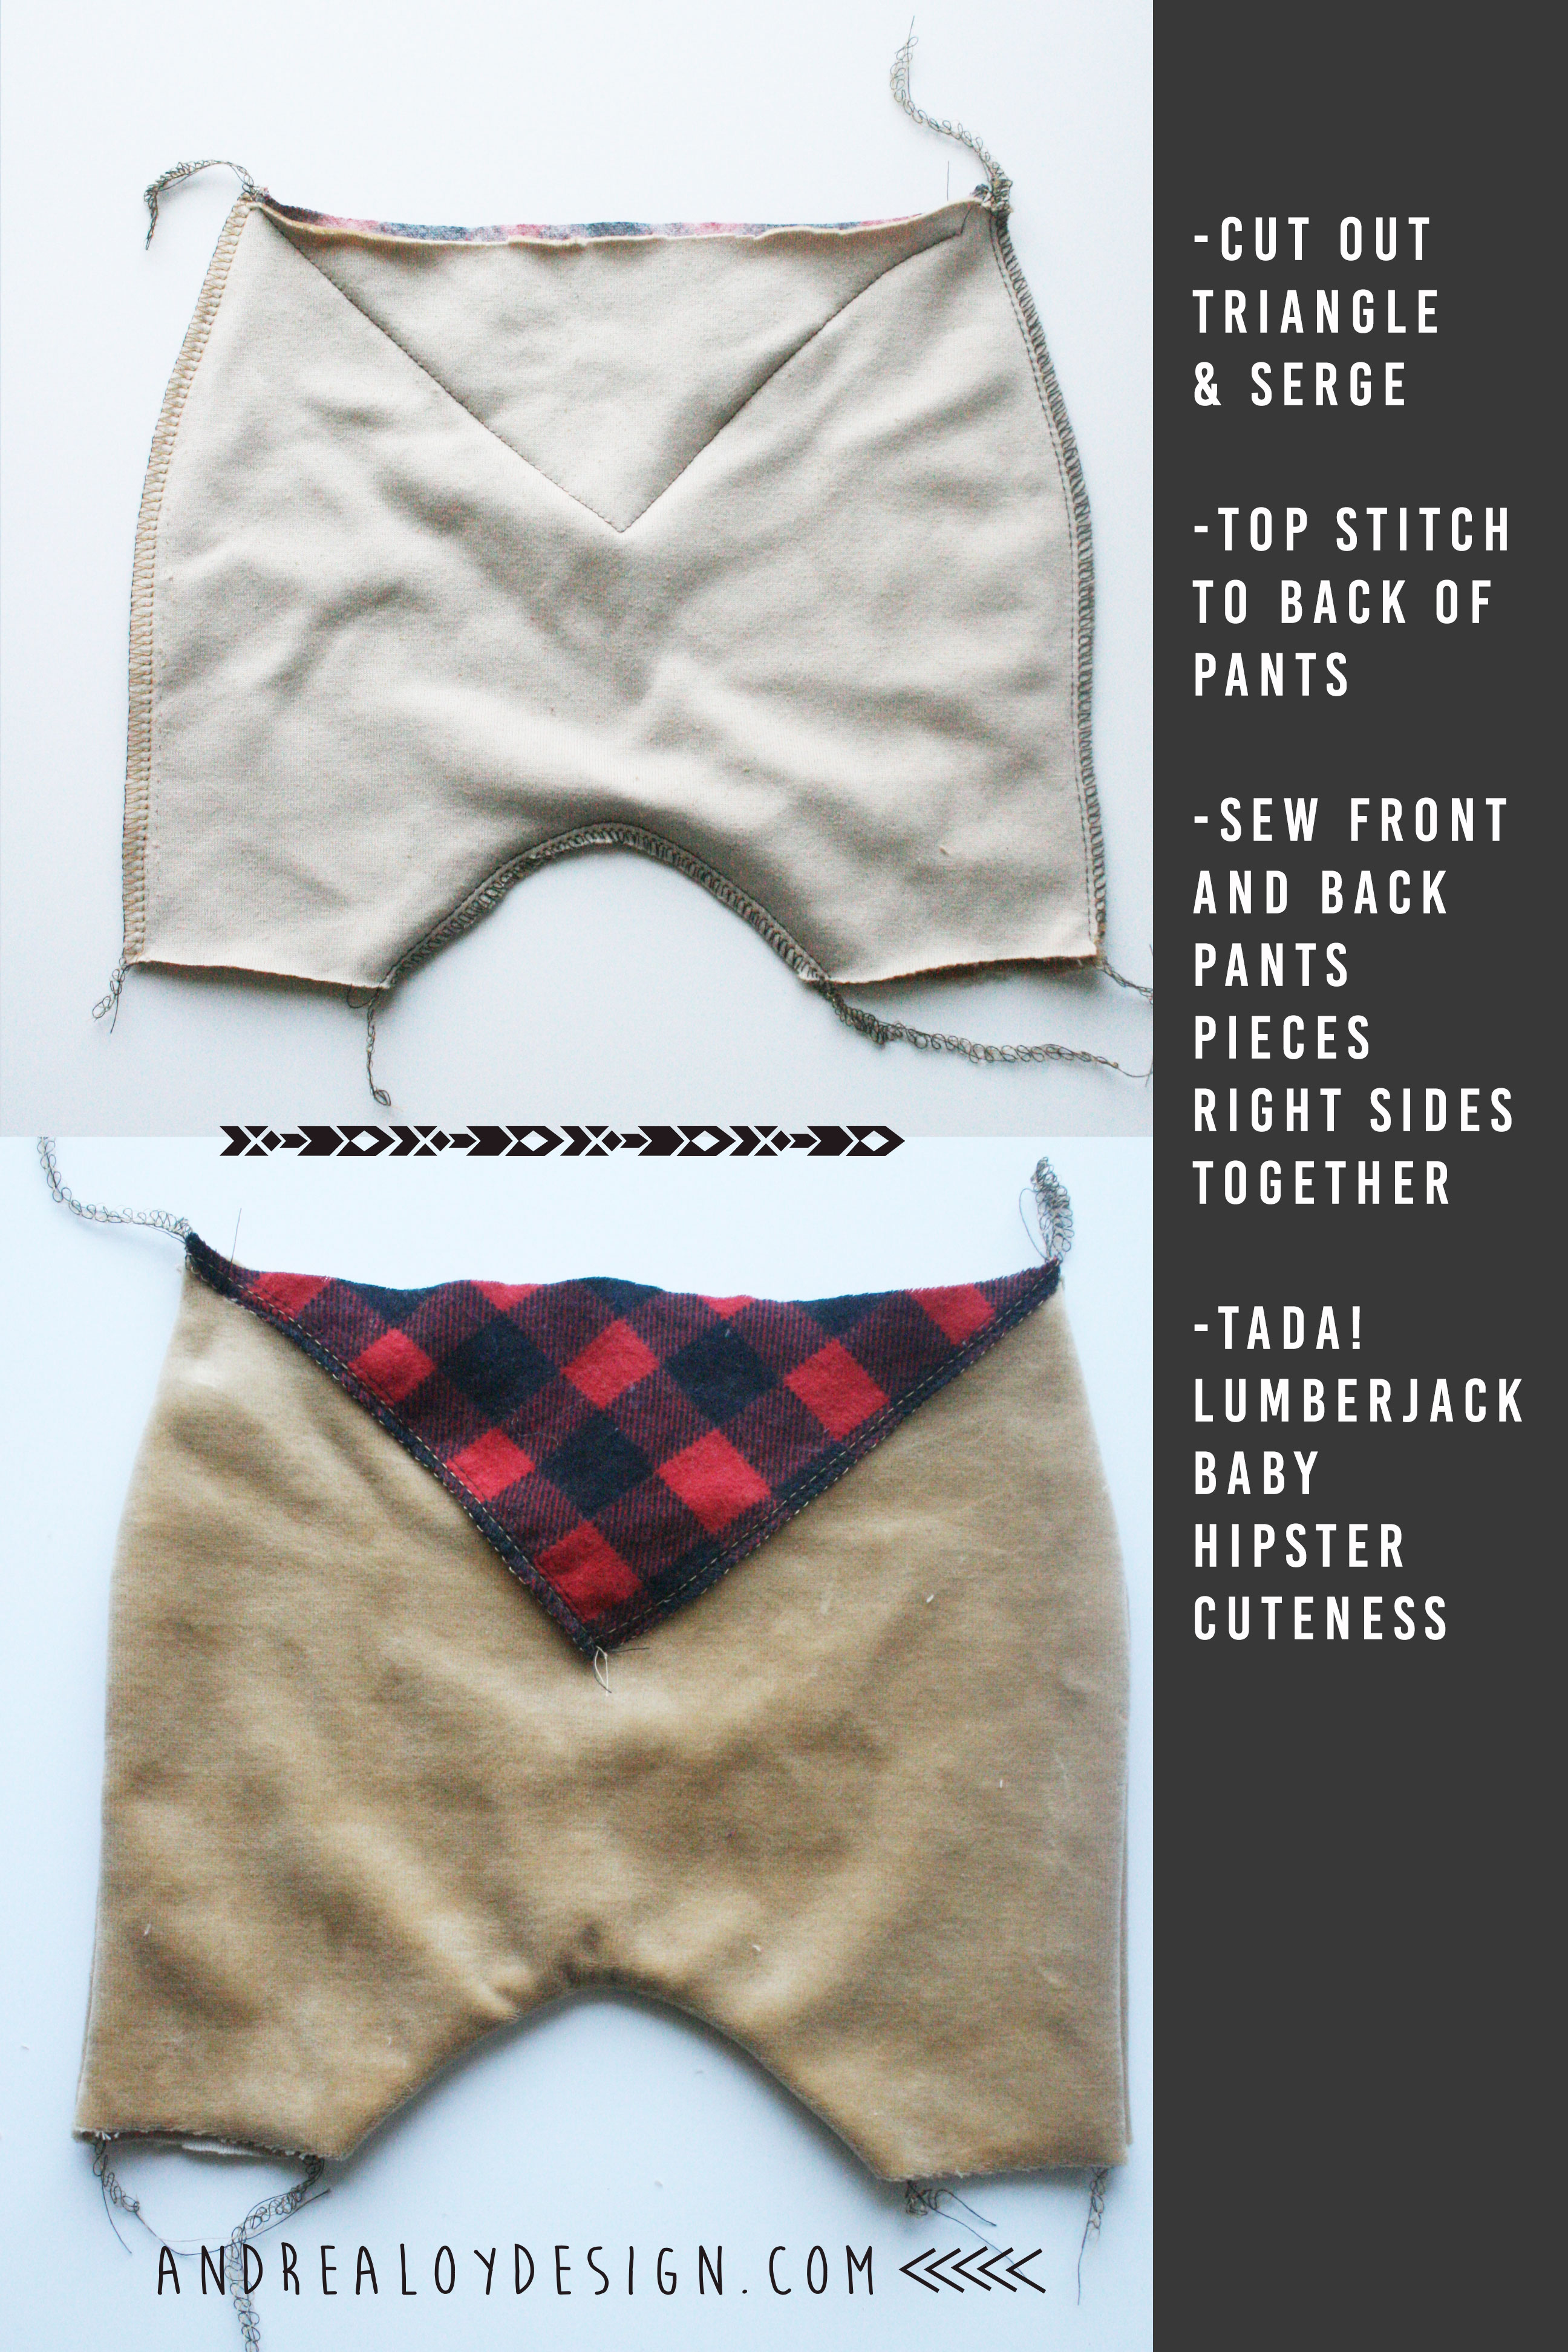
Cut out a little lumberjack triangle for the back of your pants and serge around it. Top stitch it to the back of the pants. Then serge front and pack pants together.
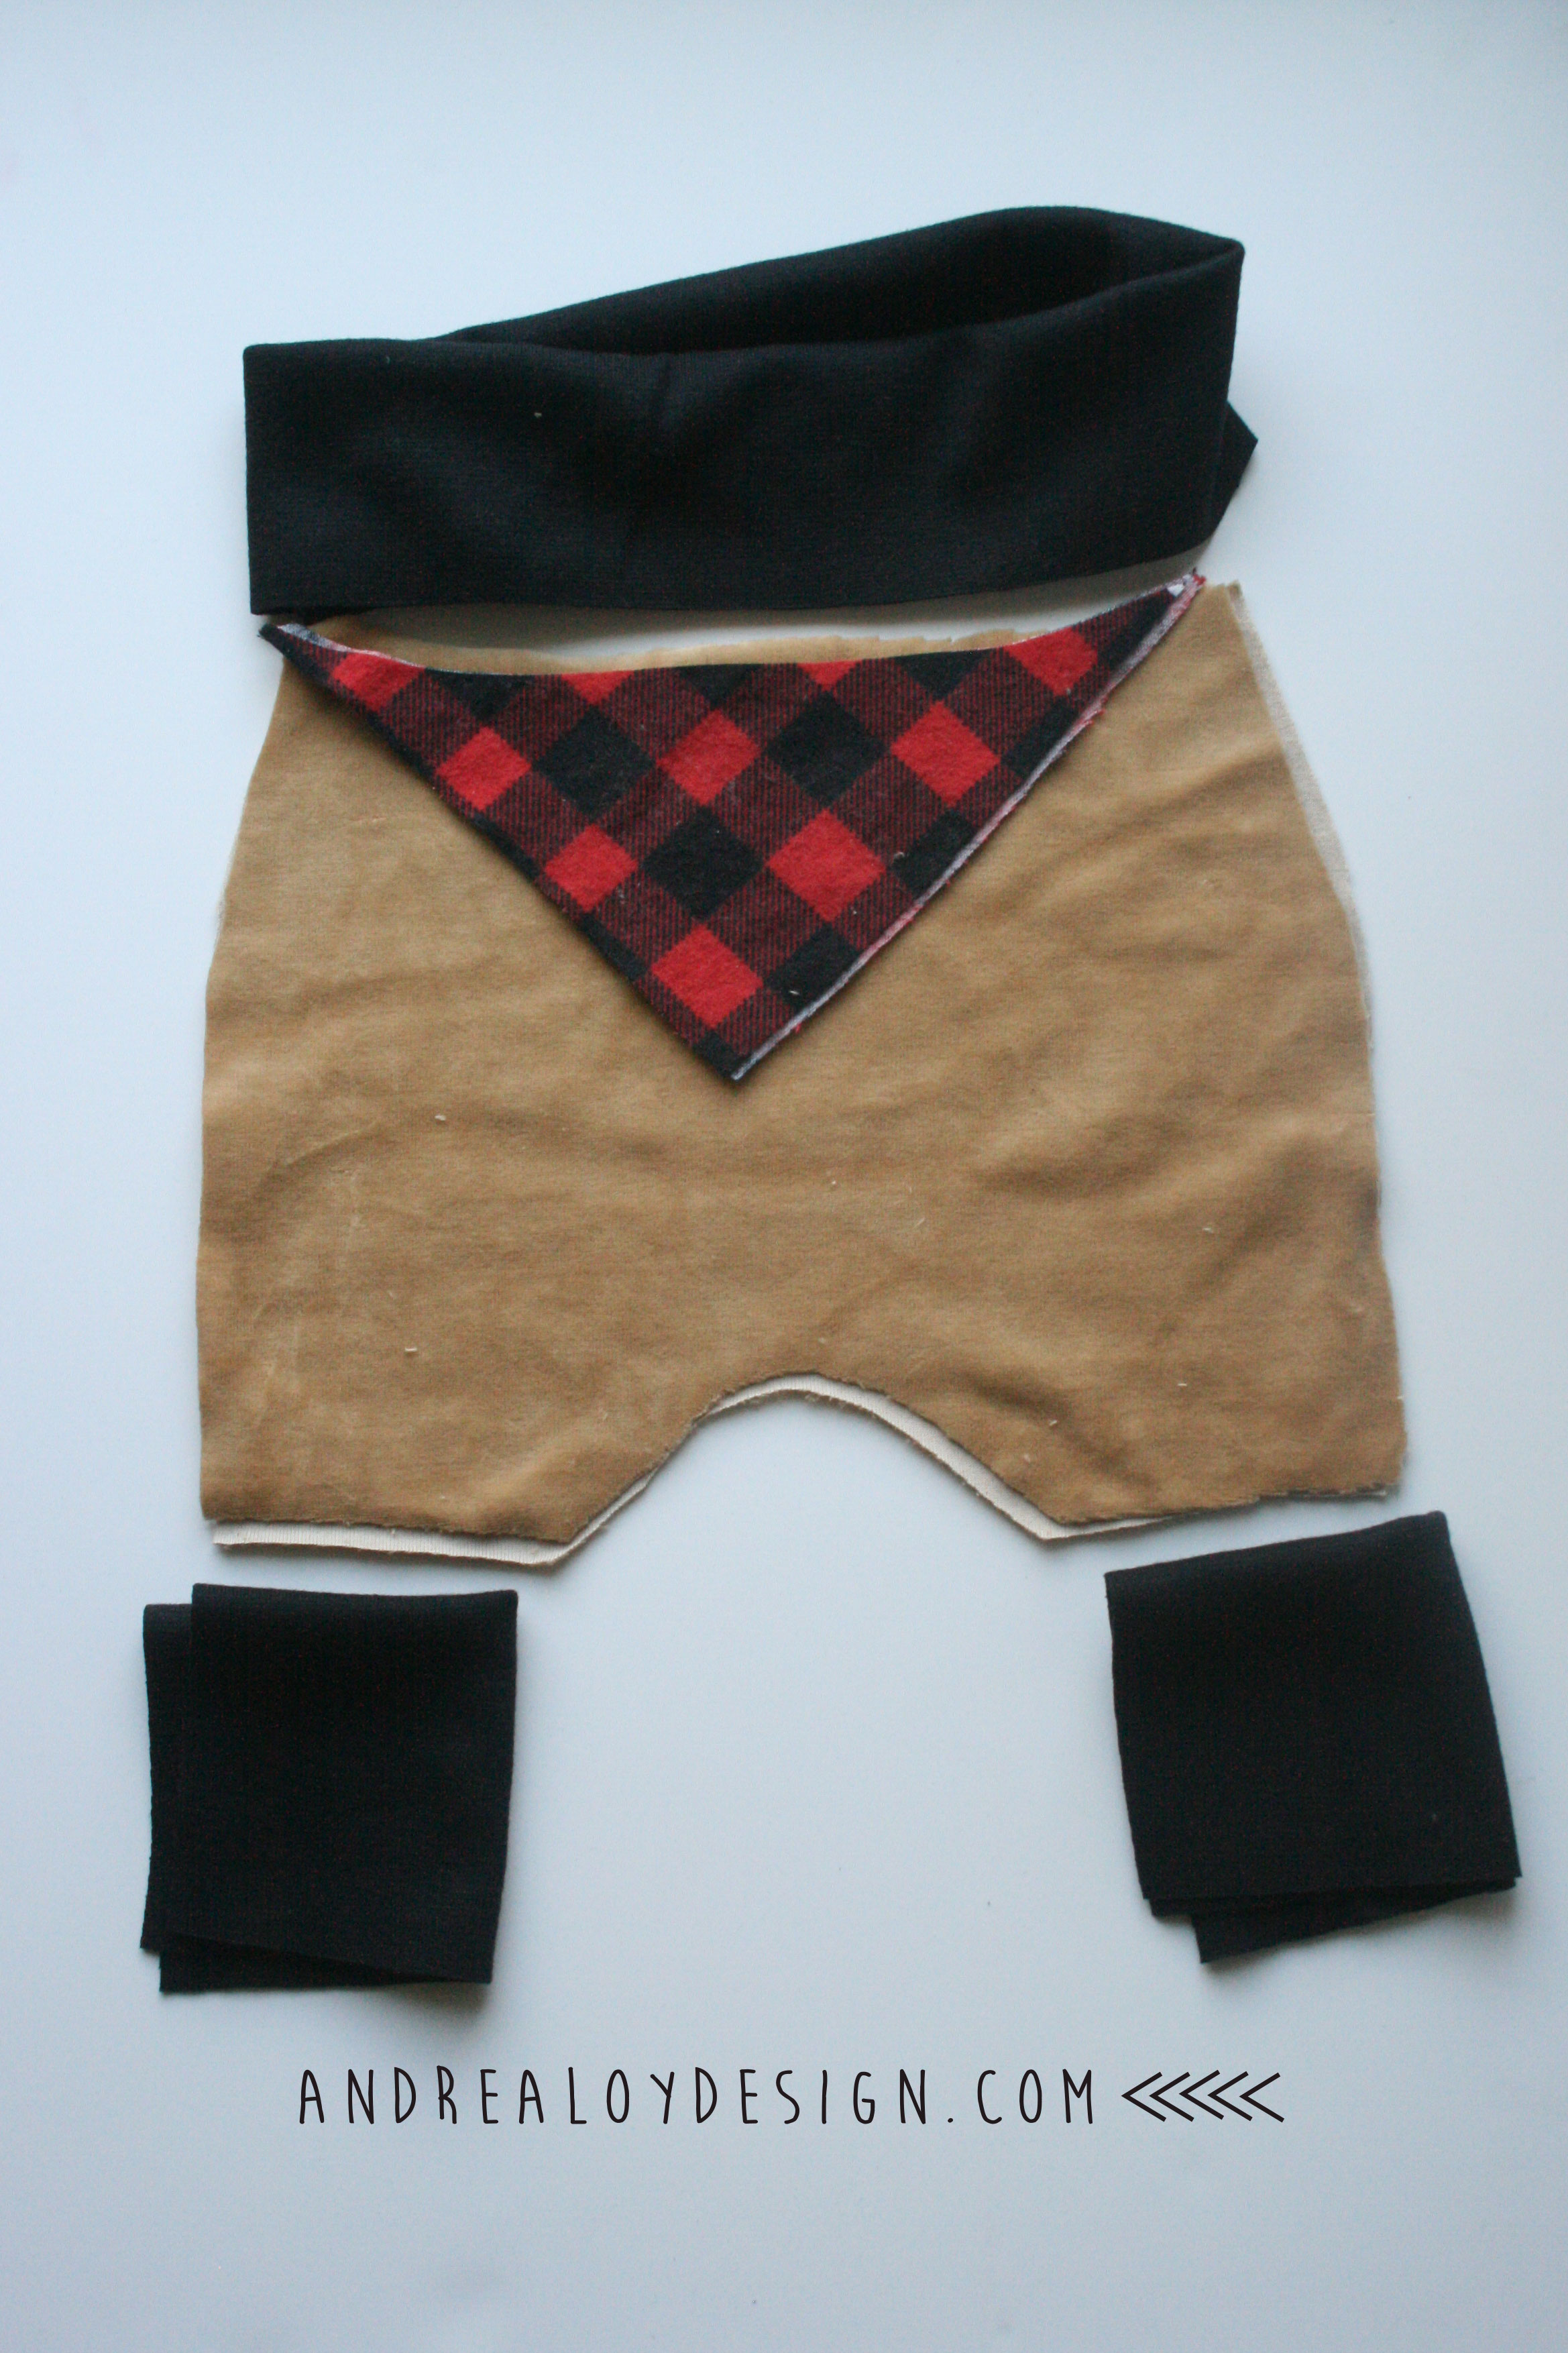
Next make cuffs and waistband….
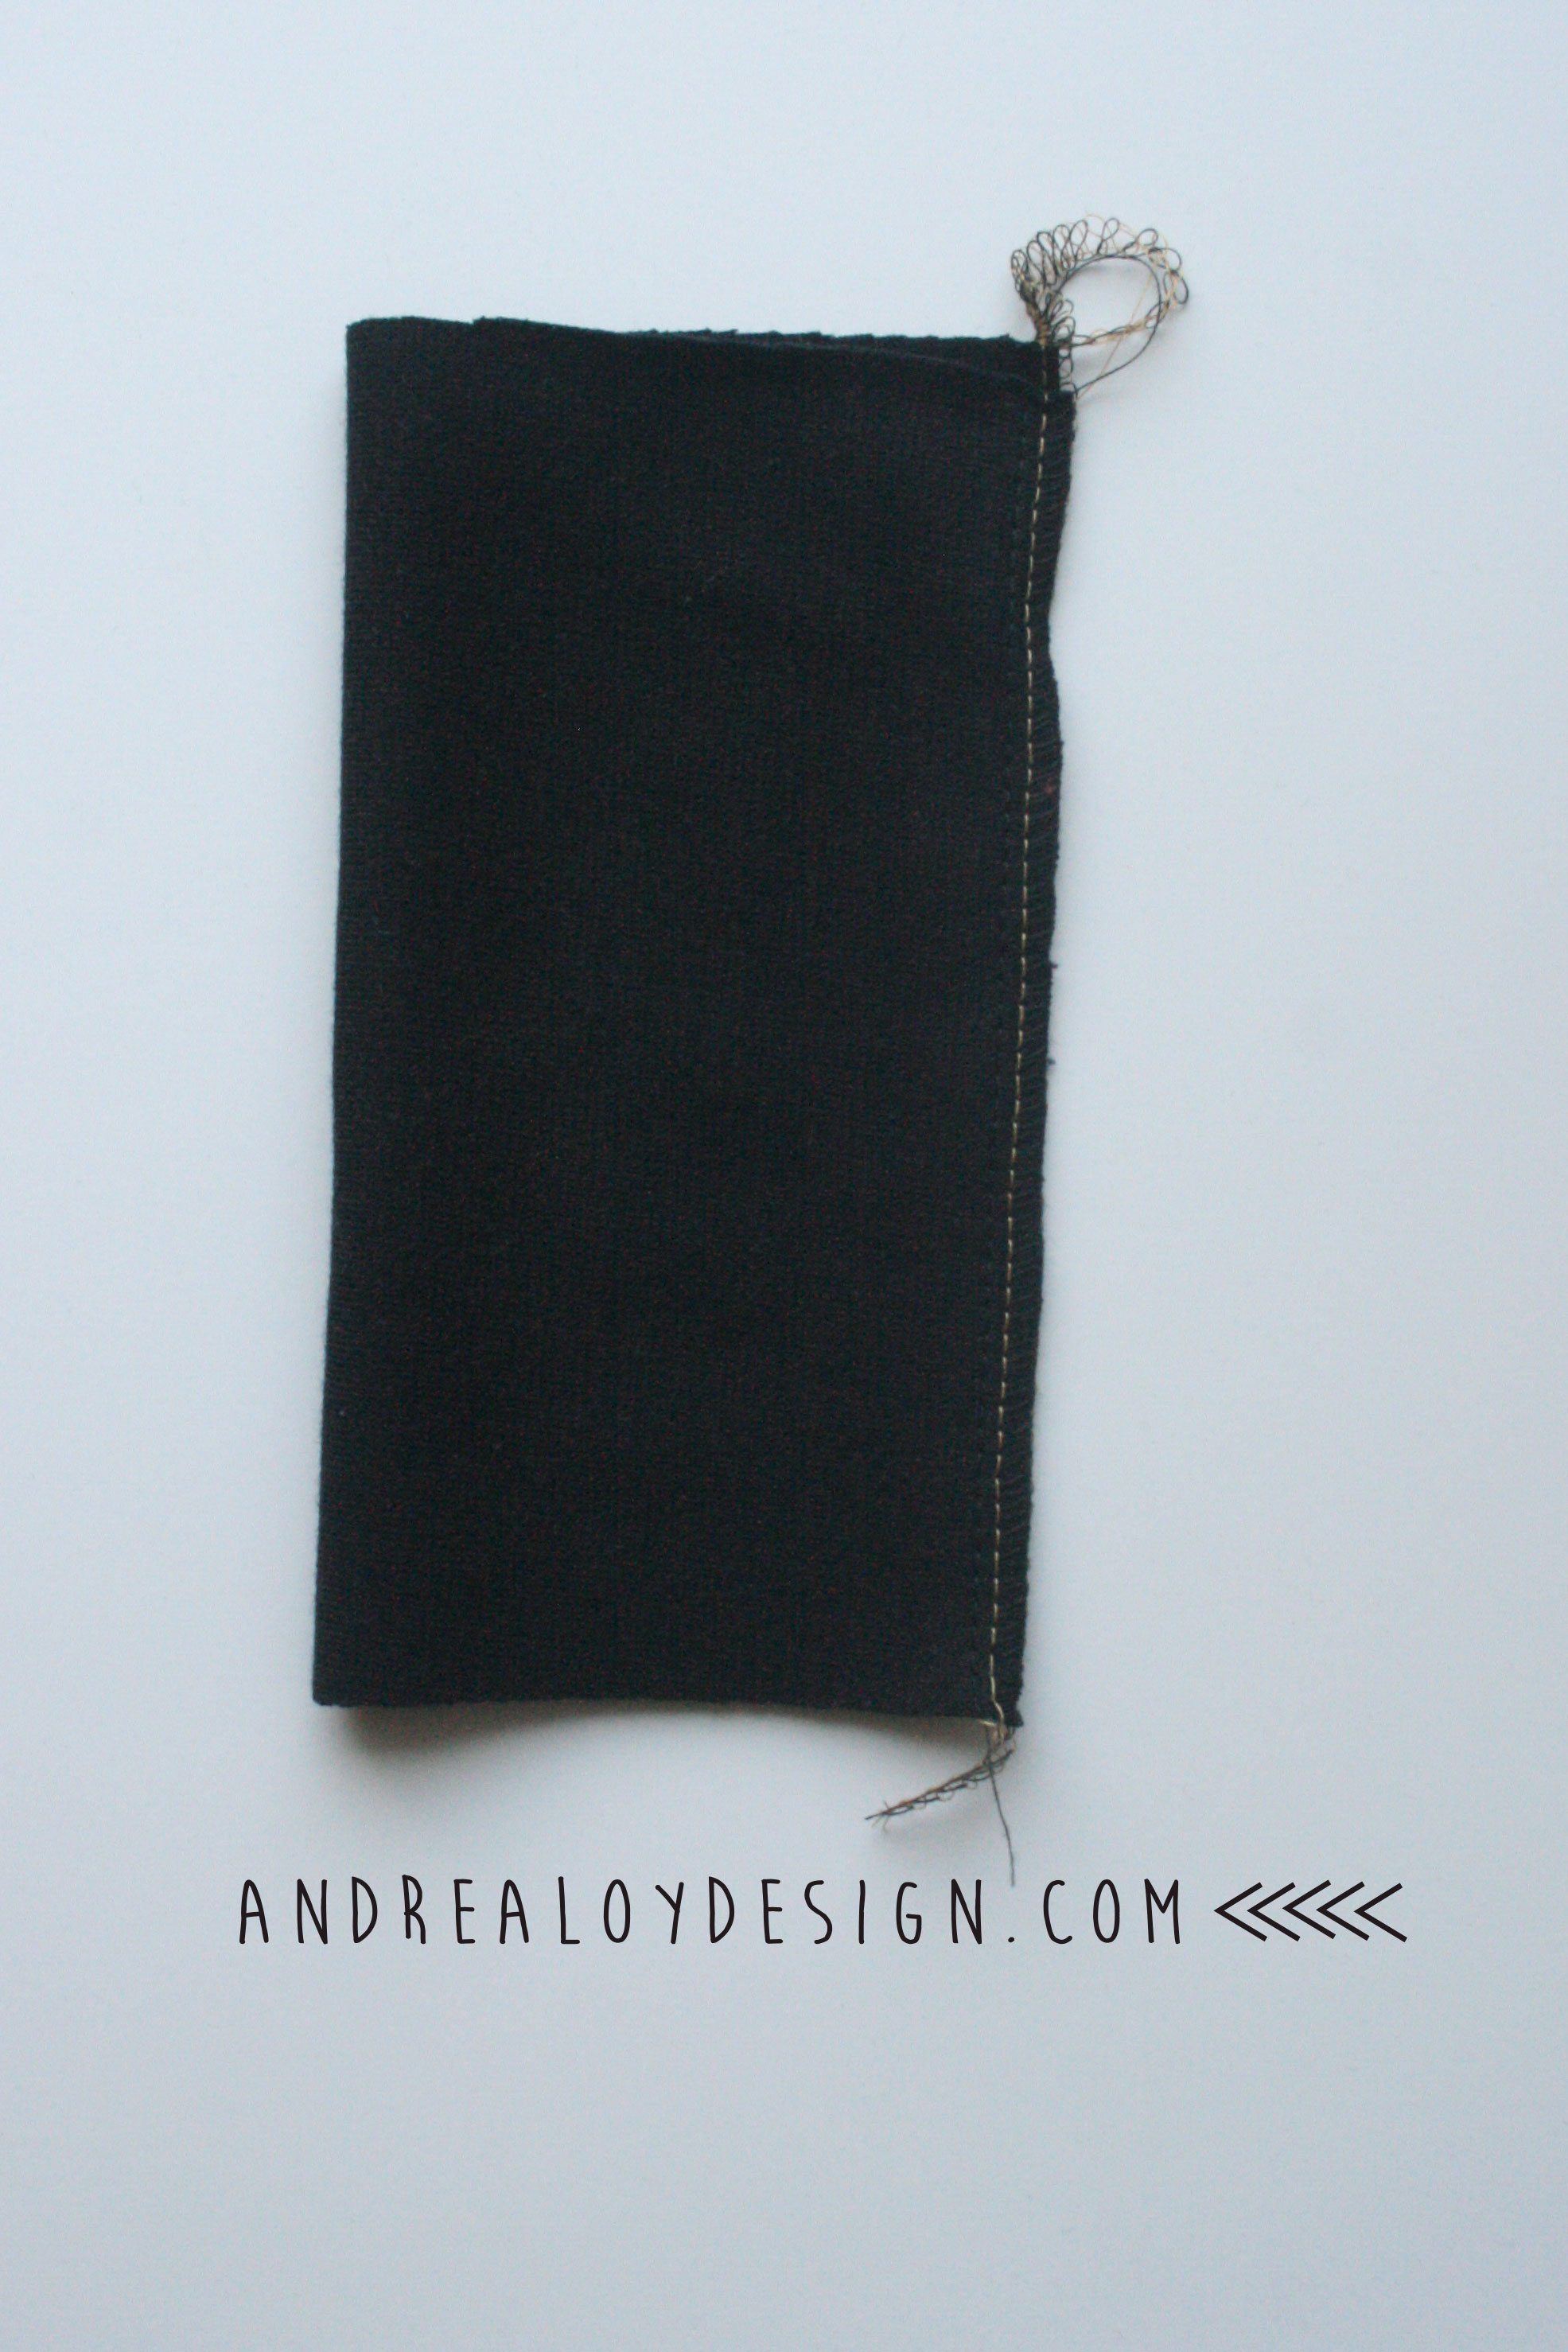
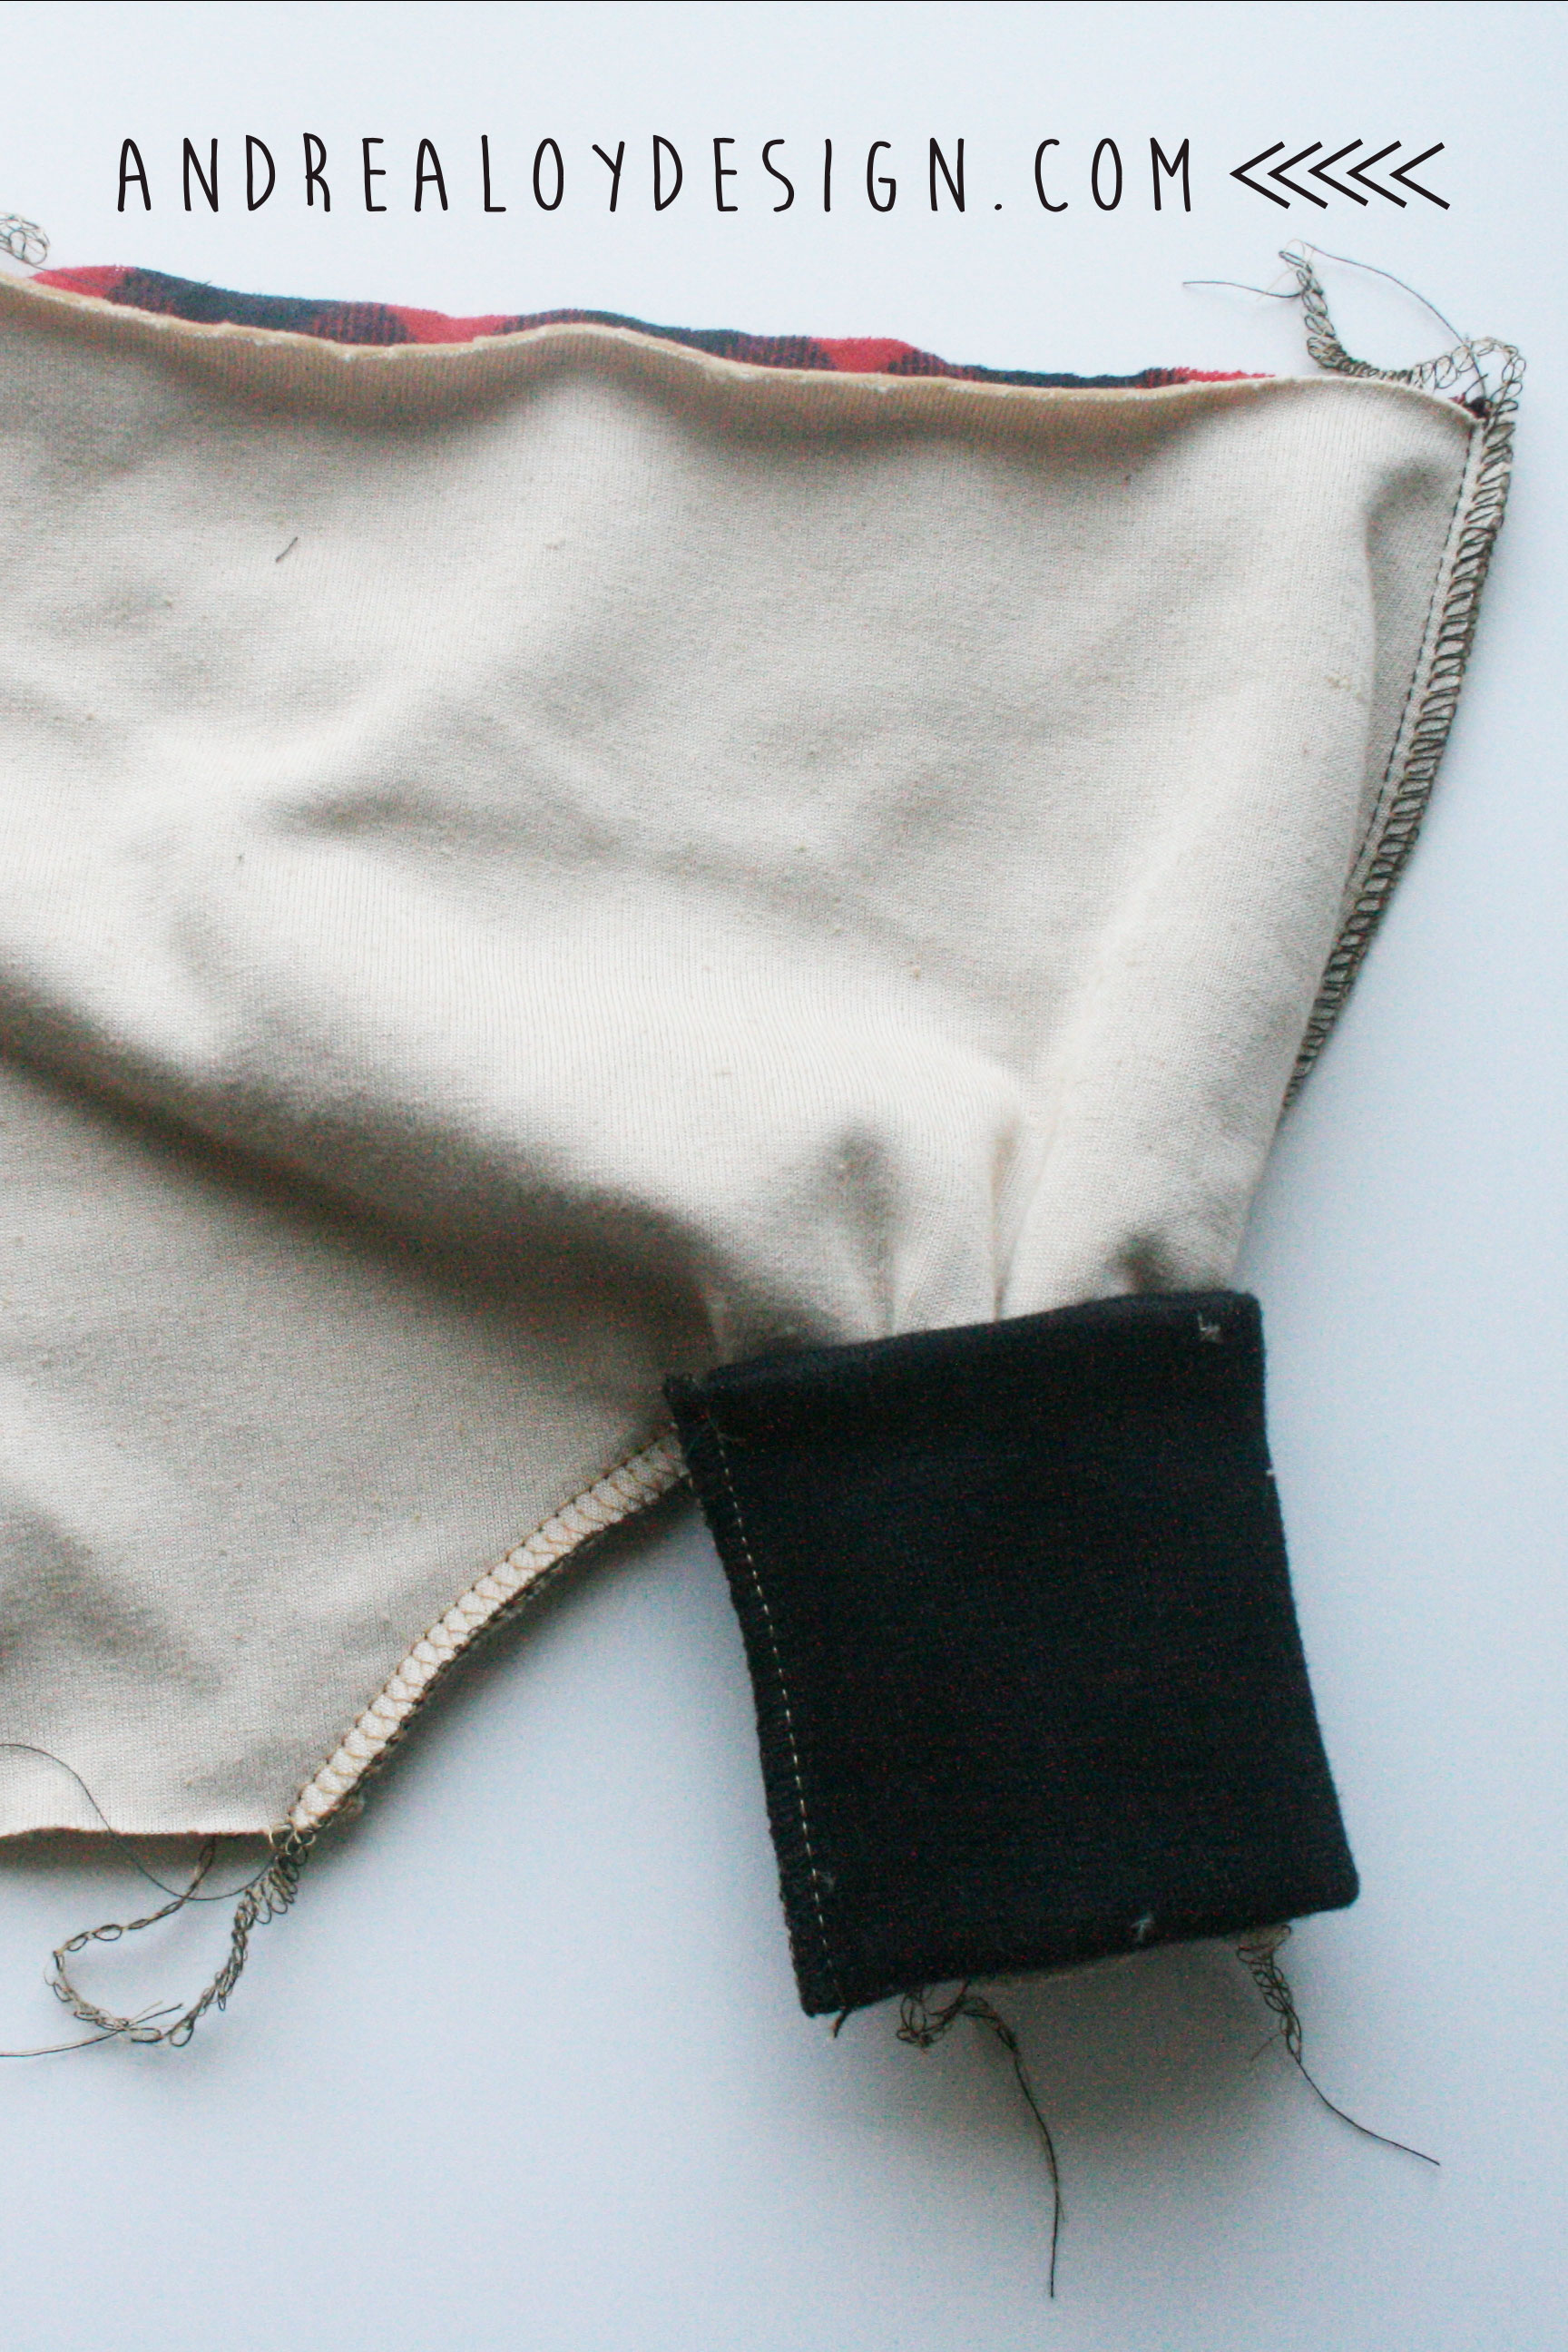
I estimated the cuffs, I cut two 6″ x 6″ pieces of black jersey ribbing. (I miraculously had this in my stash as well….Thanks MOM) I did this wrong. The waist I measured at 5″ x 14″. When sewn length wise first, you then get 3″ wide cuffs and 2.5″ waistband. The steps would be: 1. sew lengthwise….2. turn inside out… 3. sew open ends all together. But then you have a bulky seam. {#facepalm} I have sewn waist bands for maxi dresses before. All I can do is blame this on pregnant brain.
I SHOULD HAVE: sewn/serged the short sides together, then folded in half with the seam to the inside. This would make a perfect cuff or waistband ready to attach to the pants. Again, let’s blame it on being pregnant.
Attach the cuffs and waistband by turning the pants inside out and clipping to the bands. Then serge or zigzag sew while stretching to fit.
HOW CUTE ARE THESE!
THE CHANGING PAD:
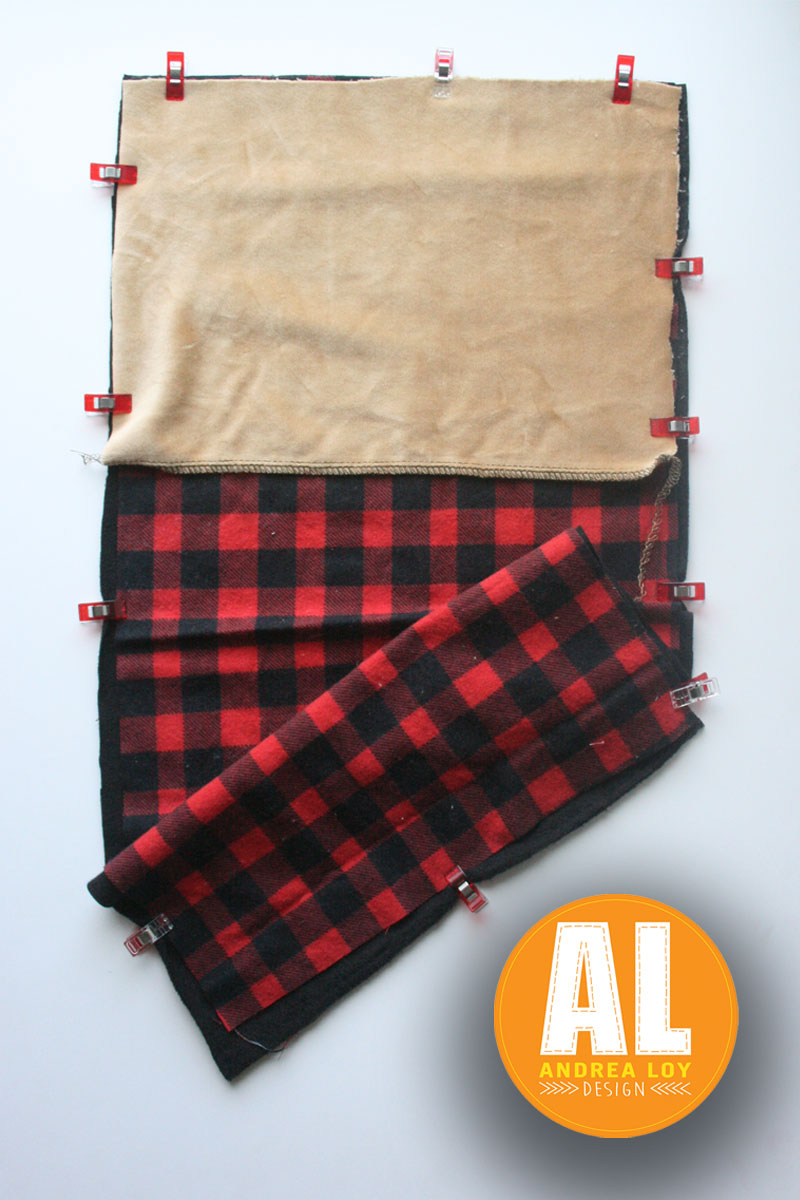
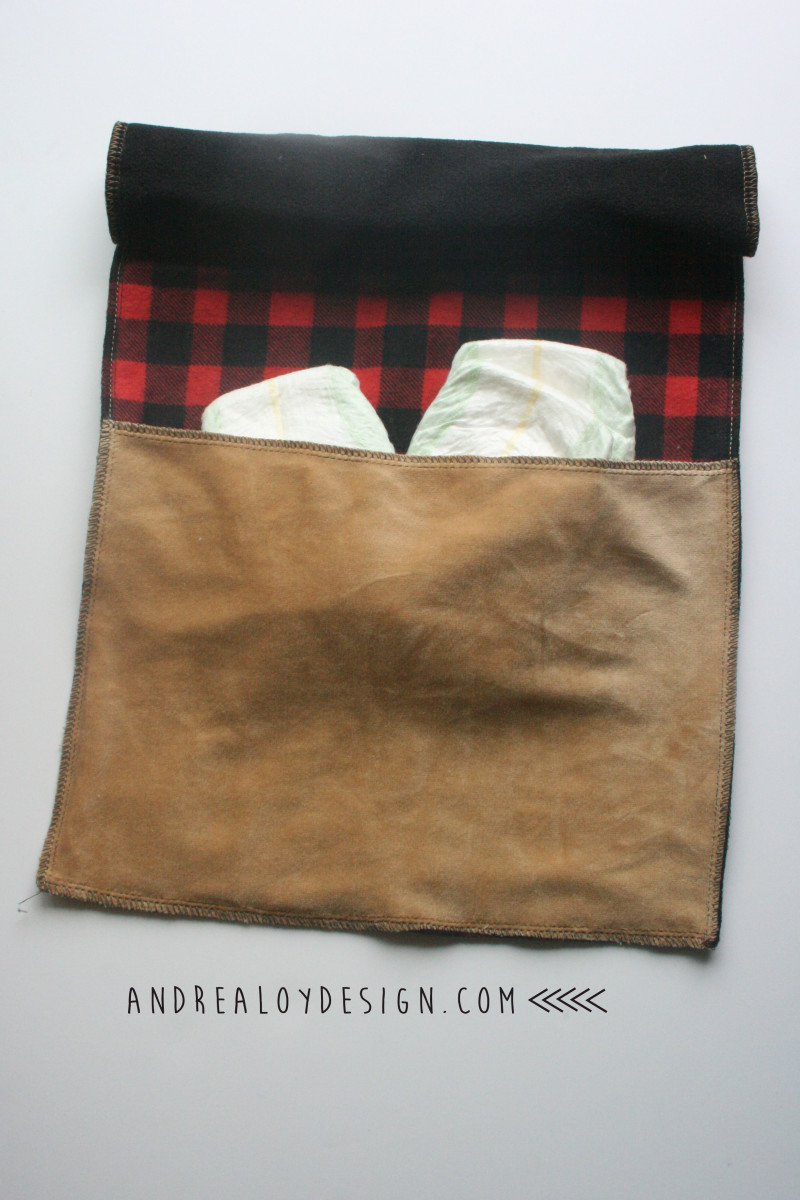
I started in on a changing pad with a pocket. Sort of a campy sleeping bag look! I used microfiber black polar fleece, brown velour, and flannel buffalo check. I made the pocket by serging around the brown stretch velour. Then I clipped all three layers together and serged. Have you seen these Clover Wonder Clips? They are the best! You can get them on Amazon for a great deal or use your coupon at JoAnnes! I made my pad really long but it is thin and you can roll it up and stick it in your diaper bag. You can add some wipes and diapers to the pocket and fold up also. The velour, fleece, flannel combo sort of stick to themselves which is nice.
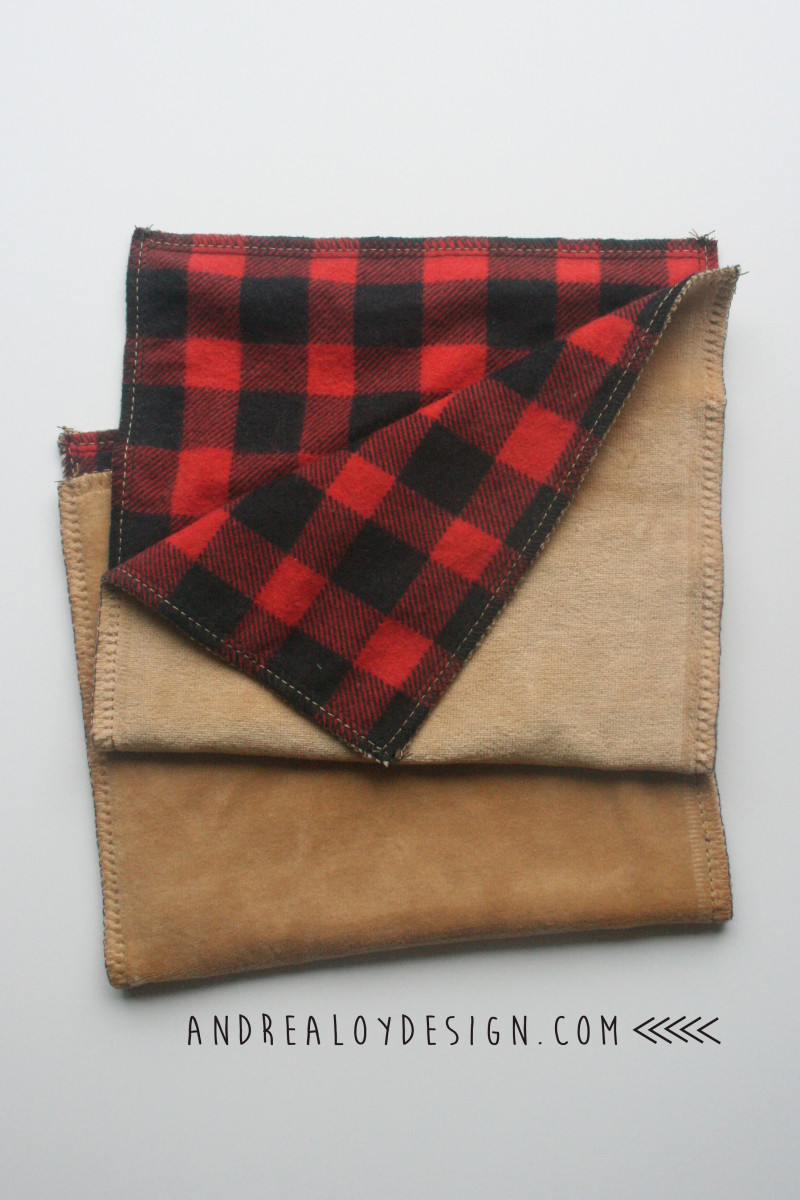
I repeated this cut, clip, and serge method for my two layer burp cloths with brown velour and buffalo check flannel. I made them 7″ x 14″. Then I cut out two 36″ squares of fabric for the swaddle. I made the swaddle of black jersey stretch knit and brown stretch velour with a triangle in the corner for hipster style 🙂 I think swaddles are better when stretchy. Wonder Clipped. Serged. Bam. Your Welcome. I love them.
THE CARDI:
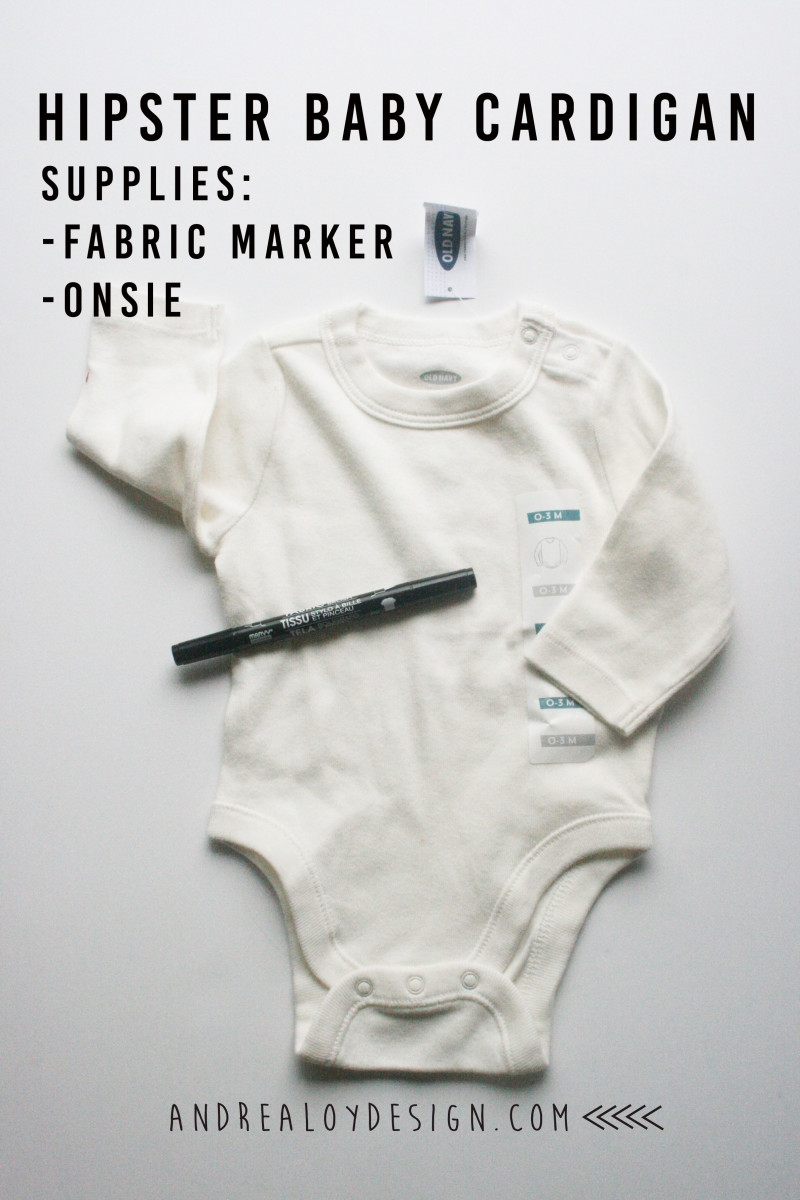
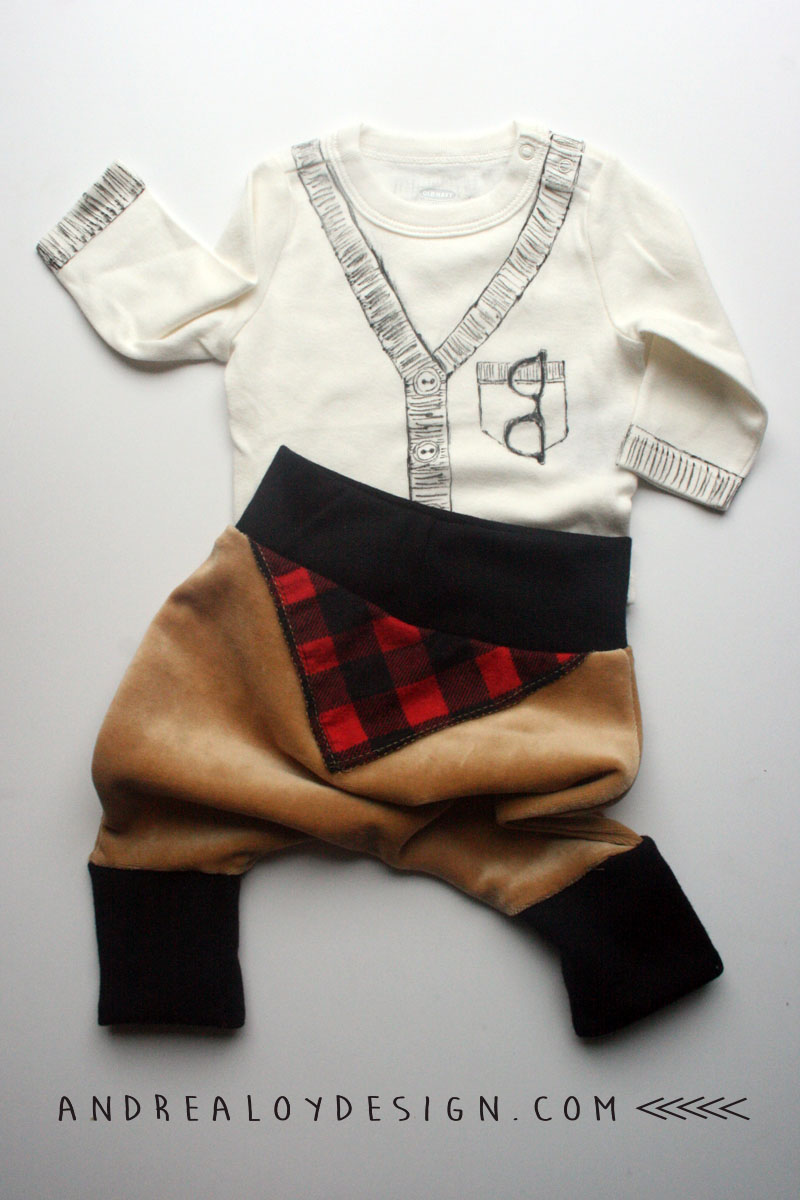
Last but not least we have the essential cardi. All you need is a good soft onsie. I felt it crucial that the onsie be off white. I don’t why. It just looked better. I found one at Old Navy’s half off baby sale while buying my oldest child all new clothes. Because she grows out of all her clothes every two months right now. It’s killing me. 11 yr olds don’t like shopping. For this third excruciating trip, I left her at home and picked everything out myself. She stayed home and watch Dr. Who. It was a win win.
Oh right, THE CARDI! Grab a black fabric marker and sketch plan first with pencil. I got this marker at Michaels and it doesn’t require heat setting. But I have not tested it to see how long it lasts through washes. I had a hard time deciding between pocket with glasses, suspenders, or bowtie….Obviously pocket, cardi, & glasses won. My husband thought it might be cute to draw a pipe or cigar in the pocket, which I agreed. But some people wouldn’t find it as funny as us, so I caved and stayed conservative. Here it is:
