KC Royals Bags! Back To School Teacher Gifts…..
Can you smell the freshly sharpened pencils and cool crisp EARLY morning air? IT’s BACK TO SCHOOL TIME! Back to a routine, and waking up early and remembering to brush your teeth and admire the new waxy crayons that will soon be peeled and broken. I love it. I love fall. I love planning teacher gifts! Fall Wreaths! I get in super high Martha Stewart Gear and make PUMPKIN EVERYTHING. The struggle is real. But it’s not a struggle, I truly love fall and to me, it’s the most wonderful time of the year!
I have been reading up on what teachers really like to get for gifts, especially since I’m teaching a little this year! There are numerous pinterest posts on the topic. The most helpful ones were written by….. teachers. Yeah. They are special people and they don’t do what they do for the money…so I try really hard every year to make sure my girls teachers feel loved and appreciated. The top recommendations were:
1.)Gift Cards
2.)Thoughtful personal notes and handmade items from students
3.)Useful things that aren’t just for teaching
4.)Yummy Foods in small amounts/single servings
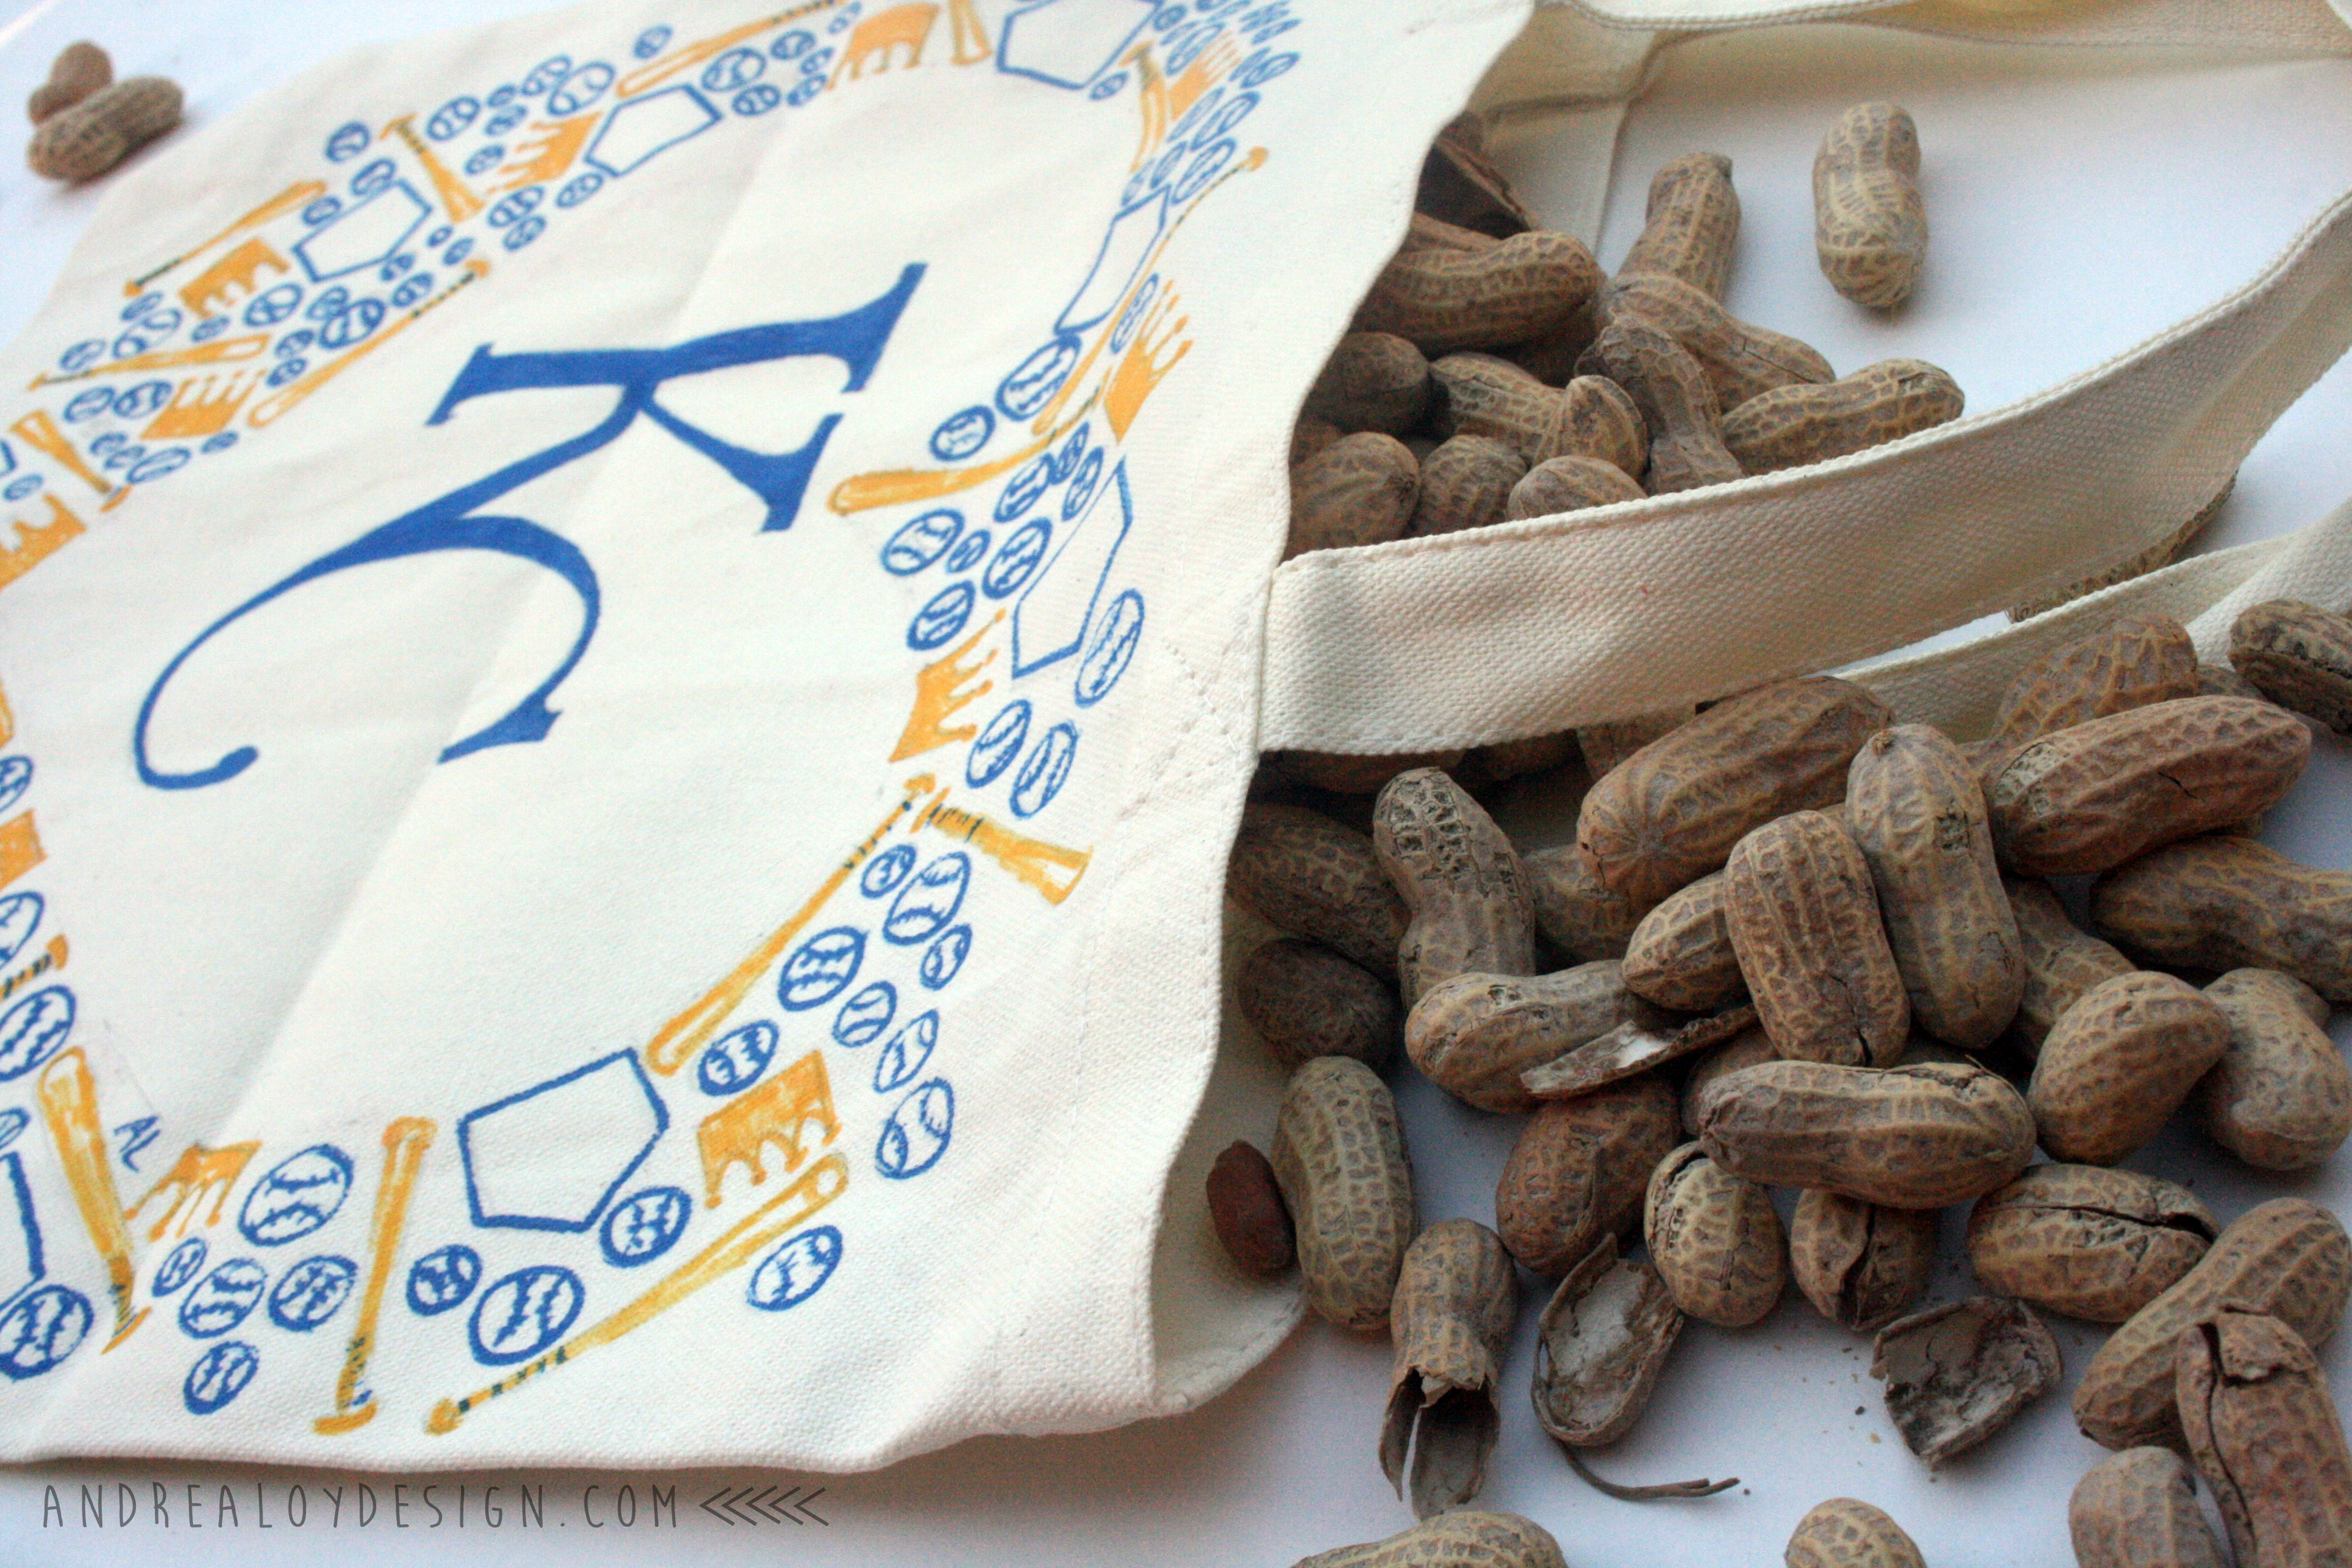
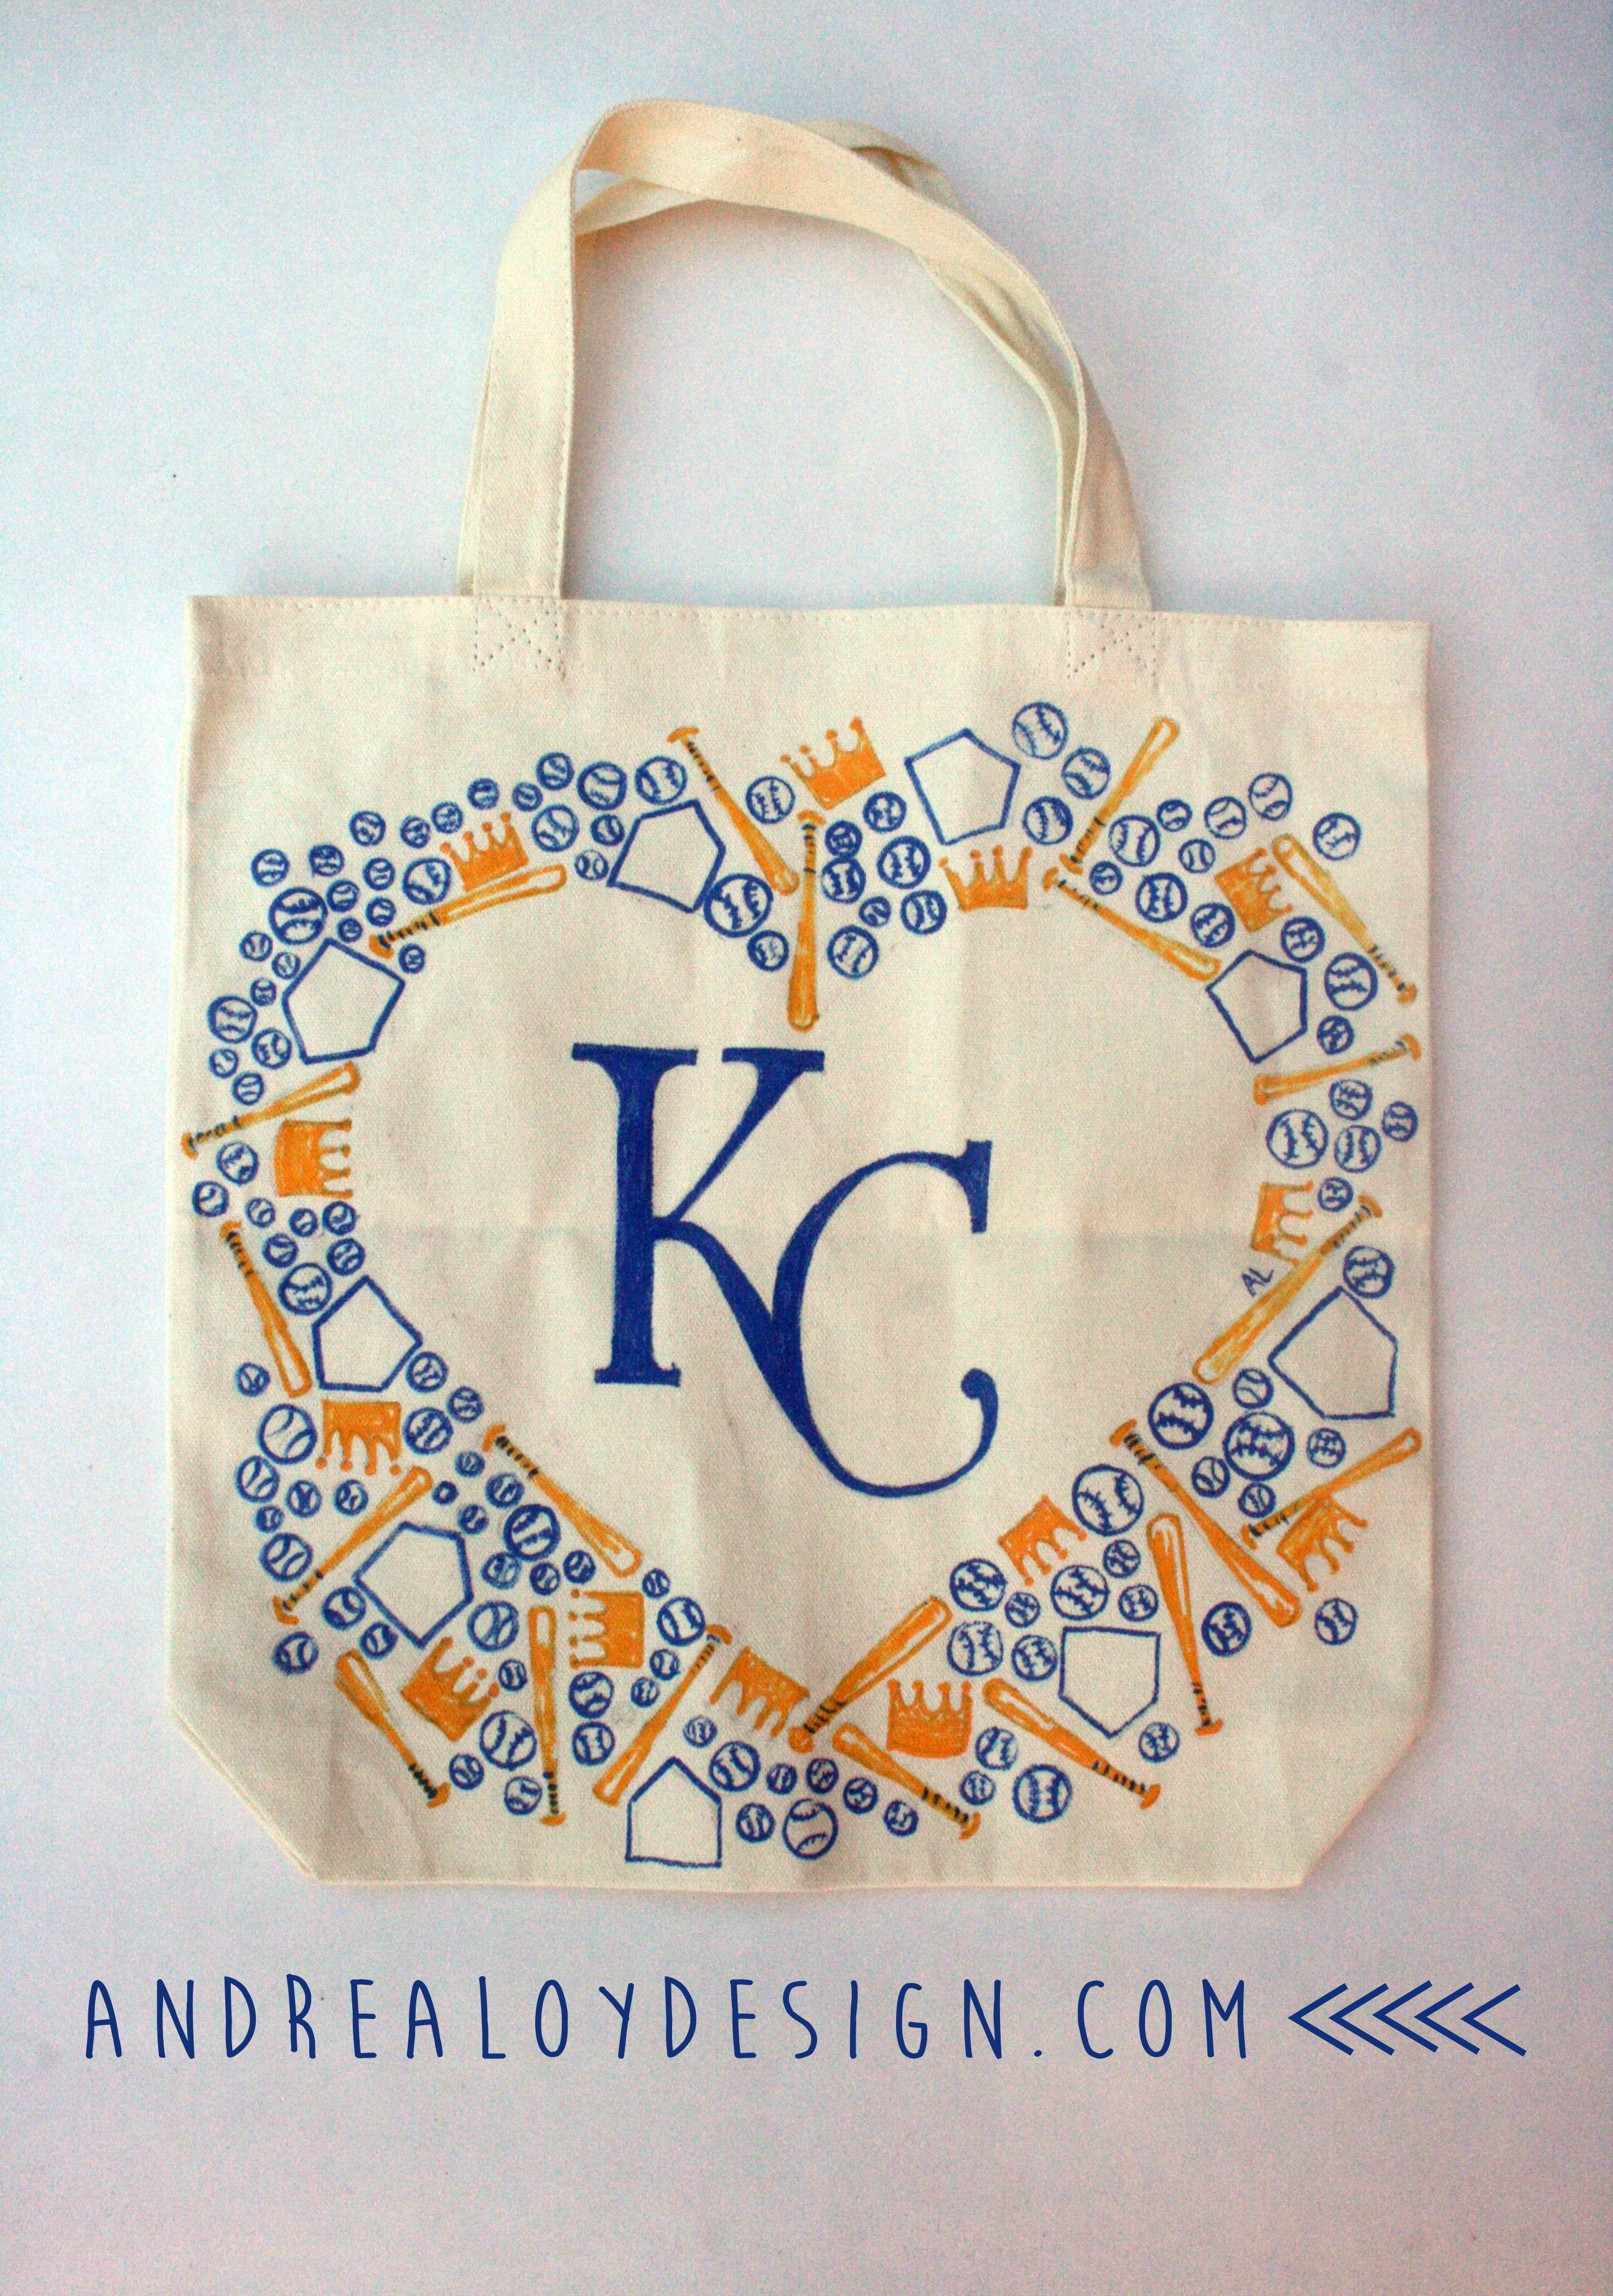
I decided on tote bags that were filled with yummy treats. But here’s the thing. I did not know how absolutely busy and tired I would be tackling the enormous task of getting 4 children ready for school and teaching and working on a new website and being pregnant with number 5. I’m a classic first – child. Overly ambitious, task oriented, always making big plans in my head and overestimating my super woman powers. I hit the wall. I designed three fun KC Royals tote bags to give the girls teachers in my head and ONLY. MADE. ONE. I tested the perfect pumpkin muffin recipes until I found the right one, but when Sunday night came I had to be realistic and go to bed at a reasonable hour and give myself grace. And we had all eaten the pumpkin muffins. Except for Cranky Bear. He was on a diet. and boy was he cranky when he smelled those delicious little guys.
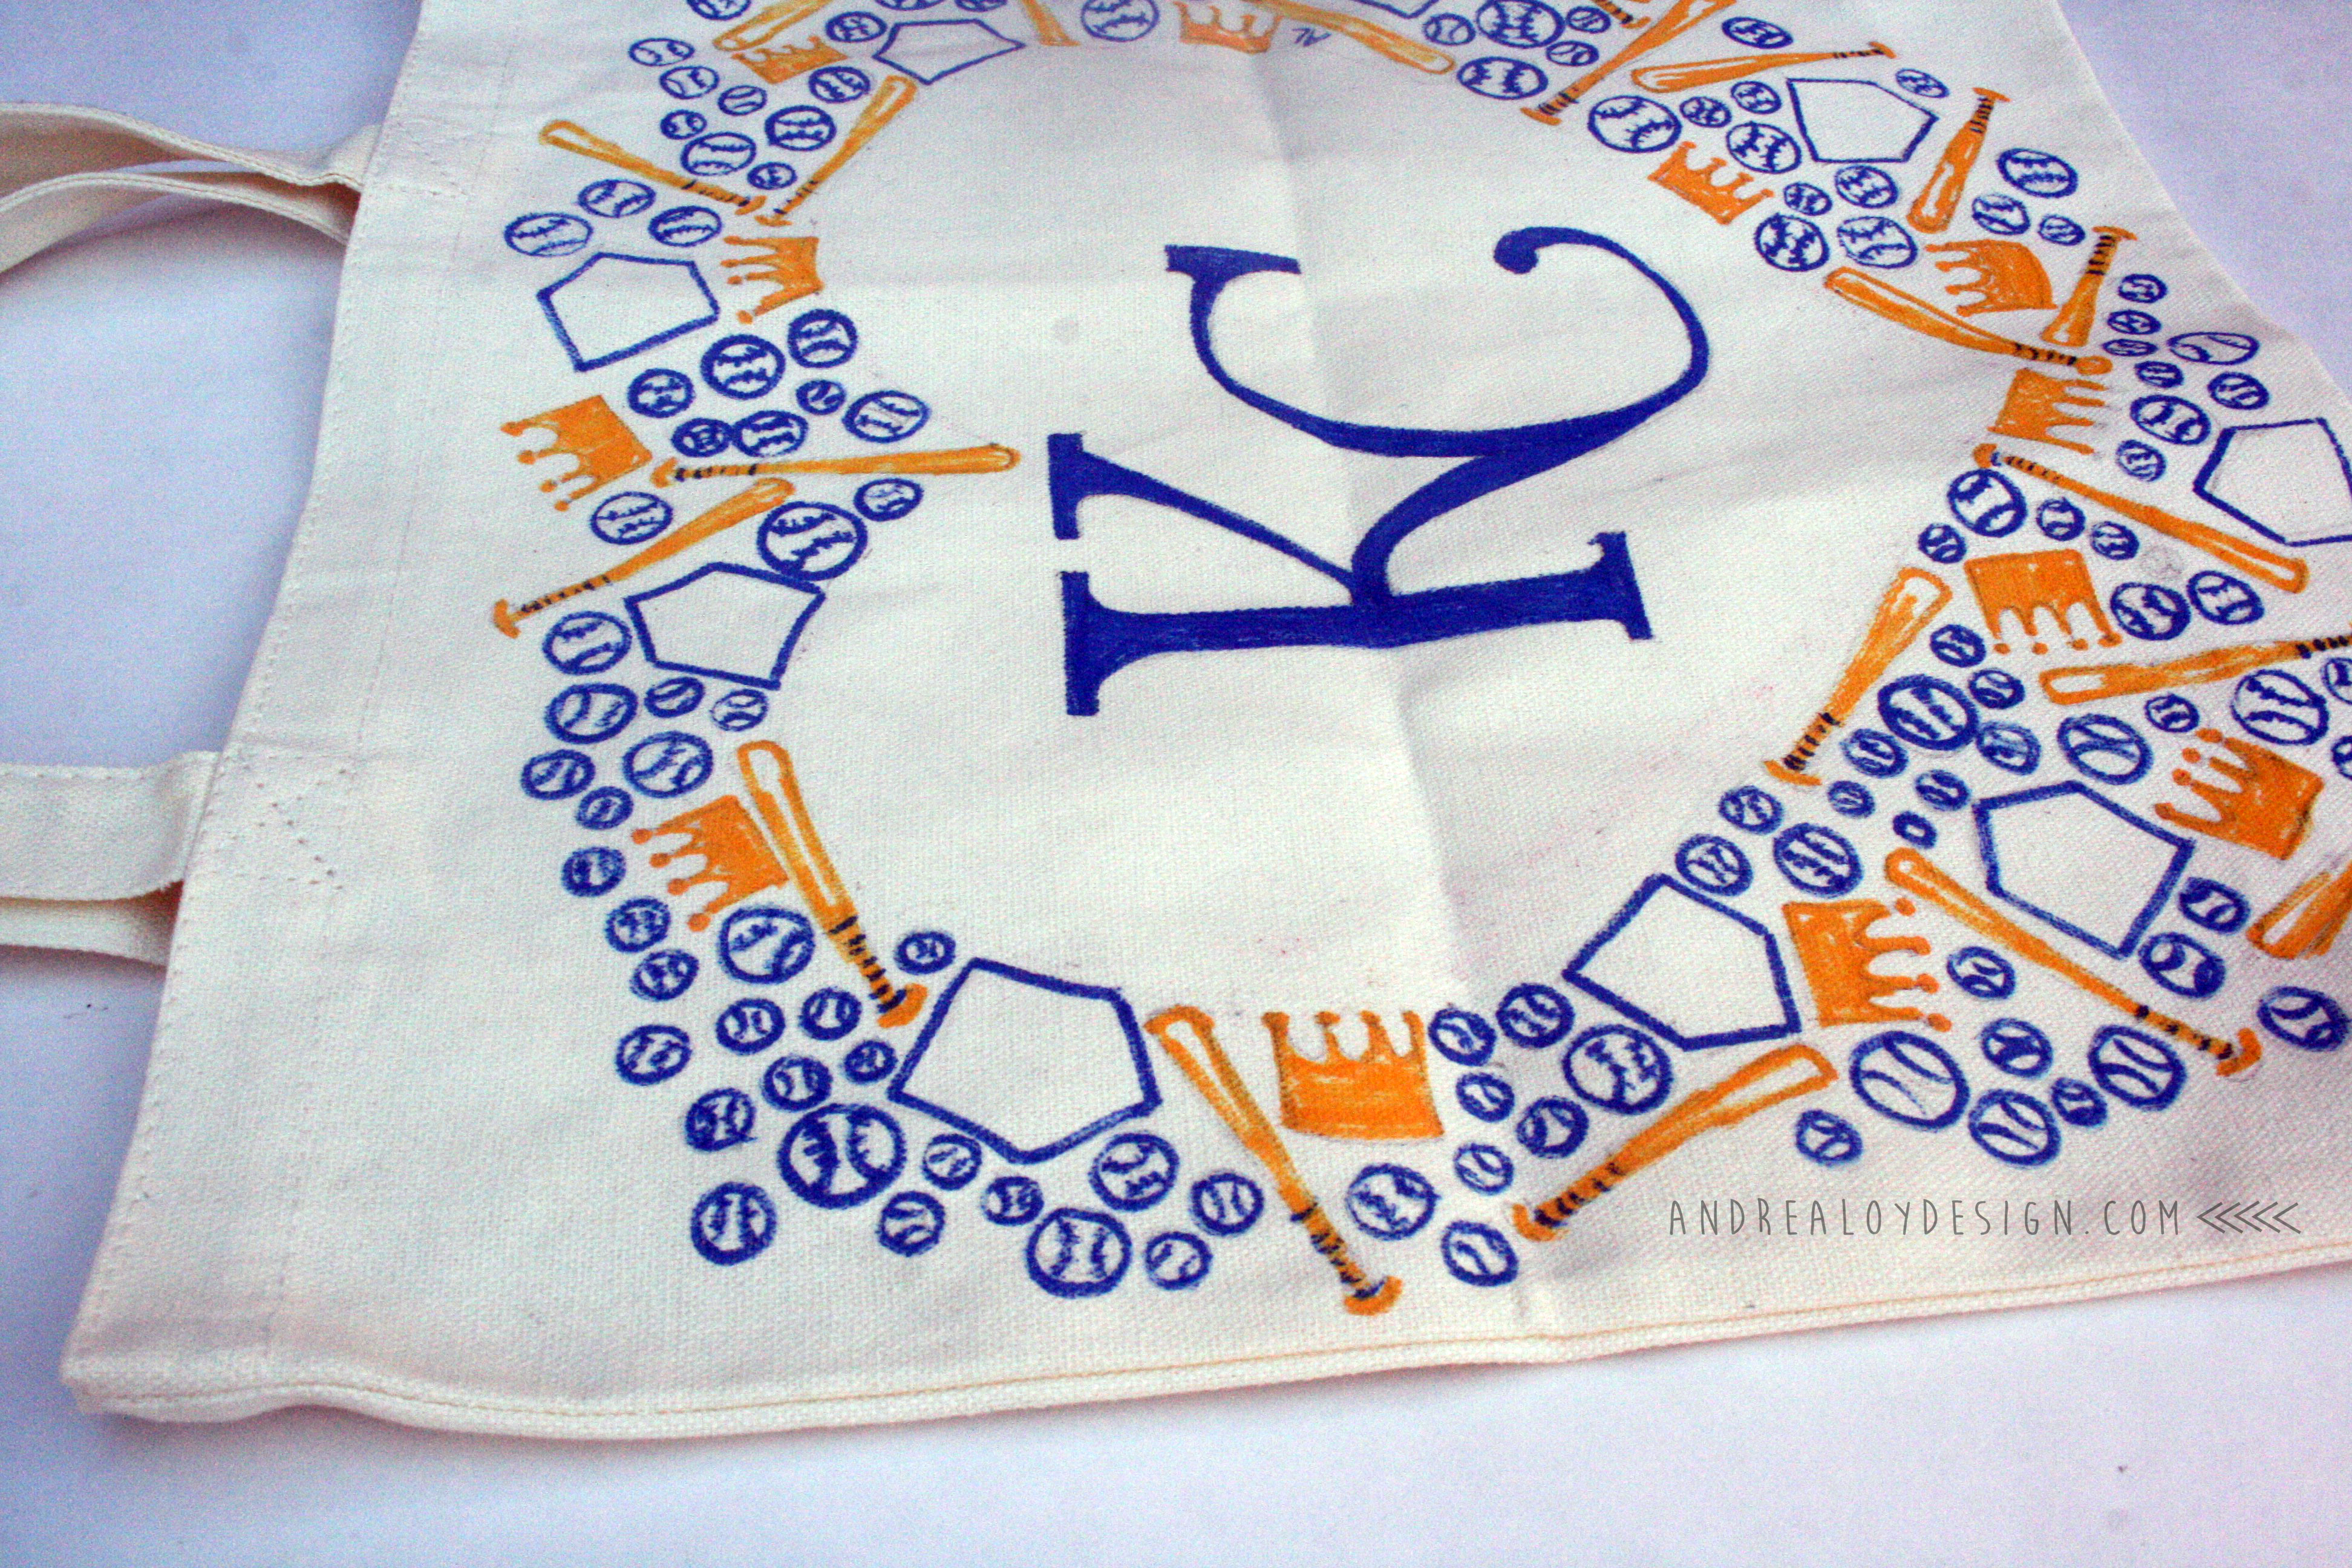
So this week after recovering from the first week of new everything, I regrouped and made my pumpkin muffins from Sally’s Baking Addiction.com and only gave the kindergarten teacher a handmade tote avec pumpkin muffin. I’m really happy with it though! WE are big Royals Fans here in KC. I have been loving all the handmade Royals Fan gear and art and was inspired to make my own. I’m excited to make more!
We bagged the rest of the giant muffins into cute brown paper bags with windows, and they were much appreciated. One teacher commented on the fact that she didn’t have time to get breakfast that day and it was perfect timing. I love it when God seems to work even those little details out.
Well Here’s the Tote. I’ve added it to my little Etsy shop, Handful Of Arrows, if you want one! If time permits, I may get the other designs out of my head and add those too! If you’d like to make your own here’s what I did:
-Bought a premade canvas tote and some Tulip Brand Fabric Paint Markers from Michaels….
-Drew my design out, copied it onto my tote in pencil.
-Traced my design with the markers. All you do is press it with a thin dish towel on top and a hot iron to set the ink.
Let’s Go Royals Lets’s Go!!!!
My Top Two Graphic Design Resources….
I’m like a 100% sure that Creative Market is THE BEST thing that has ever happened to me graphic design wise. (Cue “I love technology…………but not as much as you you see!” from Napoleon Dynamite.) I want to be that designer that makes everything from scratch using my wacom tablet and my imagination. But alas, real life “gets in the way” and the MOST IMPORTANT WORK is of course asking me for pancakes and juice in the morning and needs clean laundry to wear and books read to them. So, until my littles aren’t so little anymore and life isn’t so full, I”ll leave the amazingness to the independent artists that make up the awesomeness that is Creative Market. They have the latest and trendiest fonts, web site themes, graphic clip art, hand drawn illustrations, logo templates……..
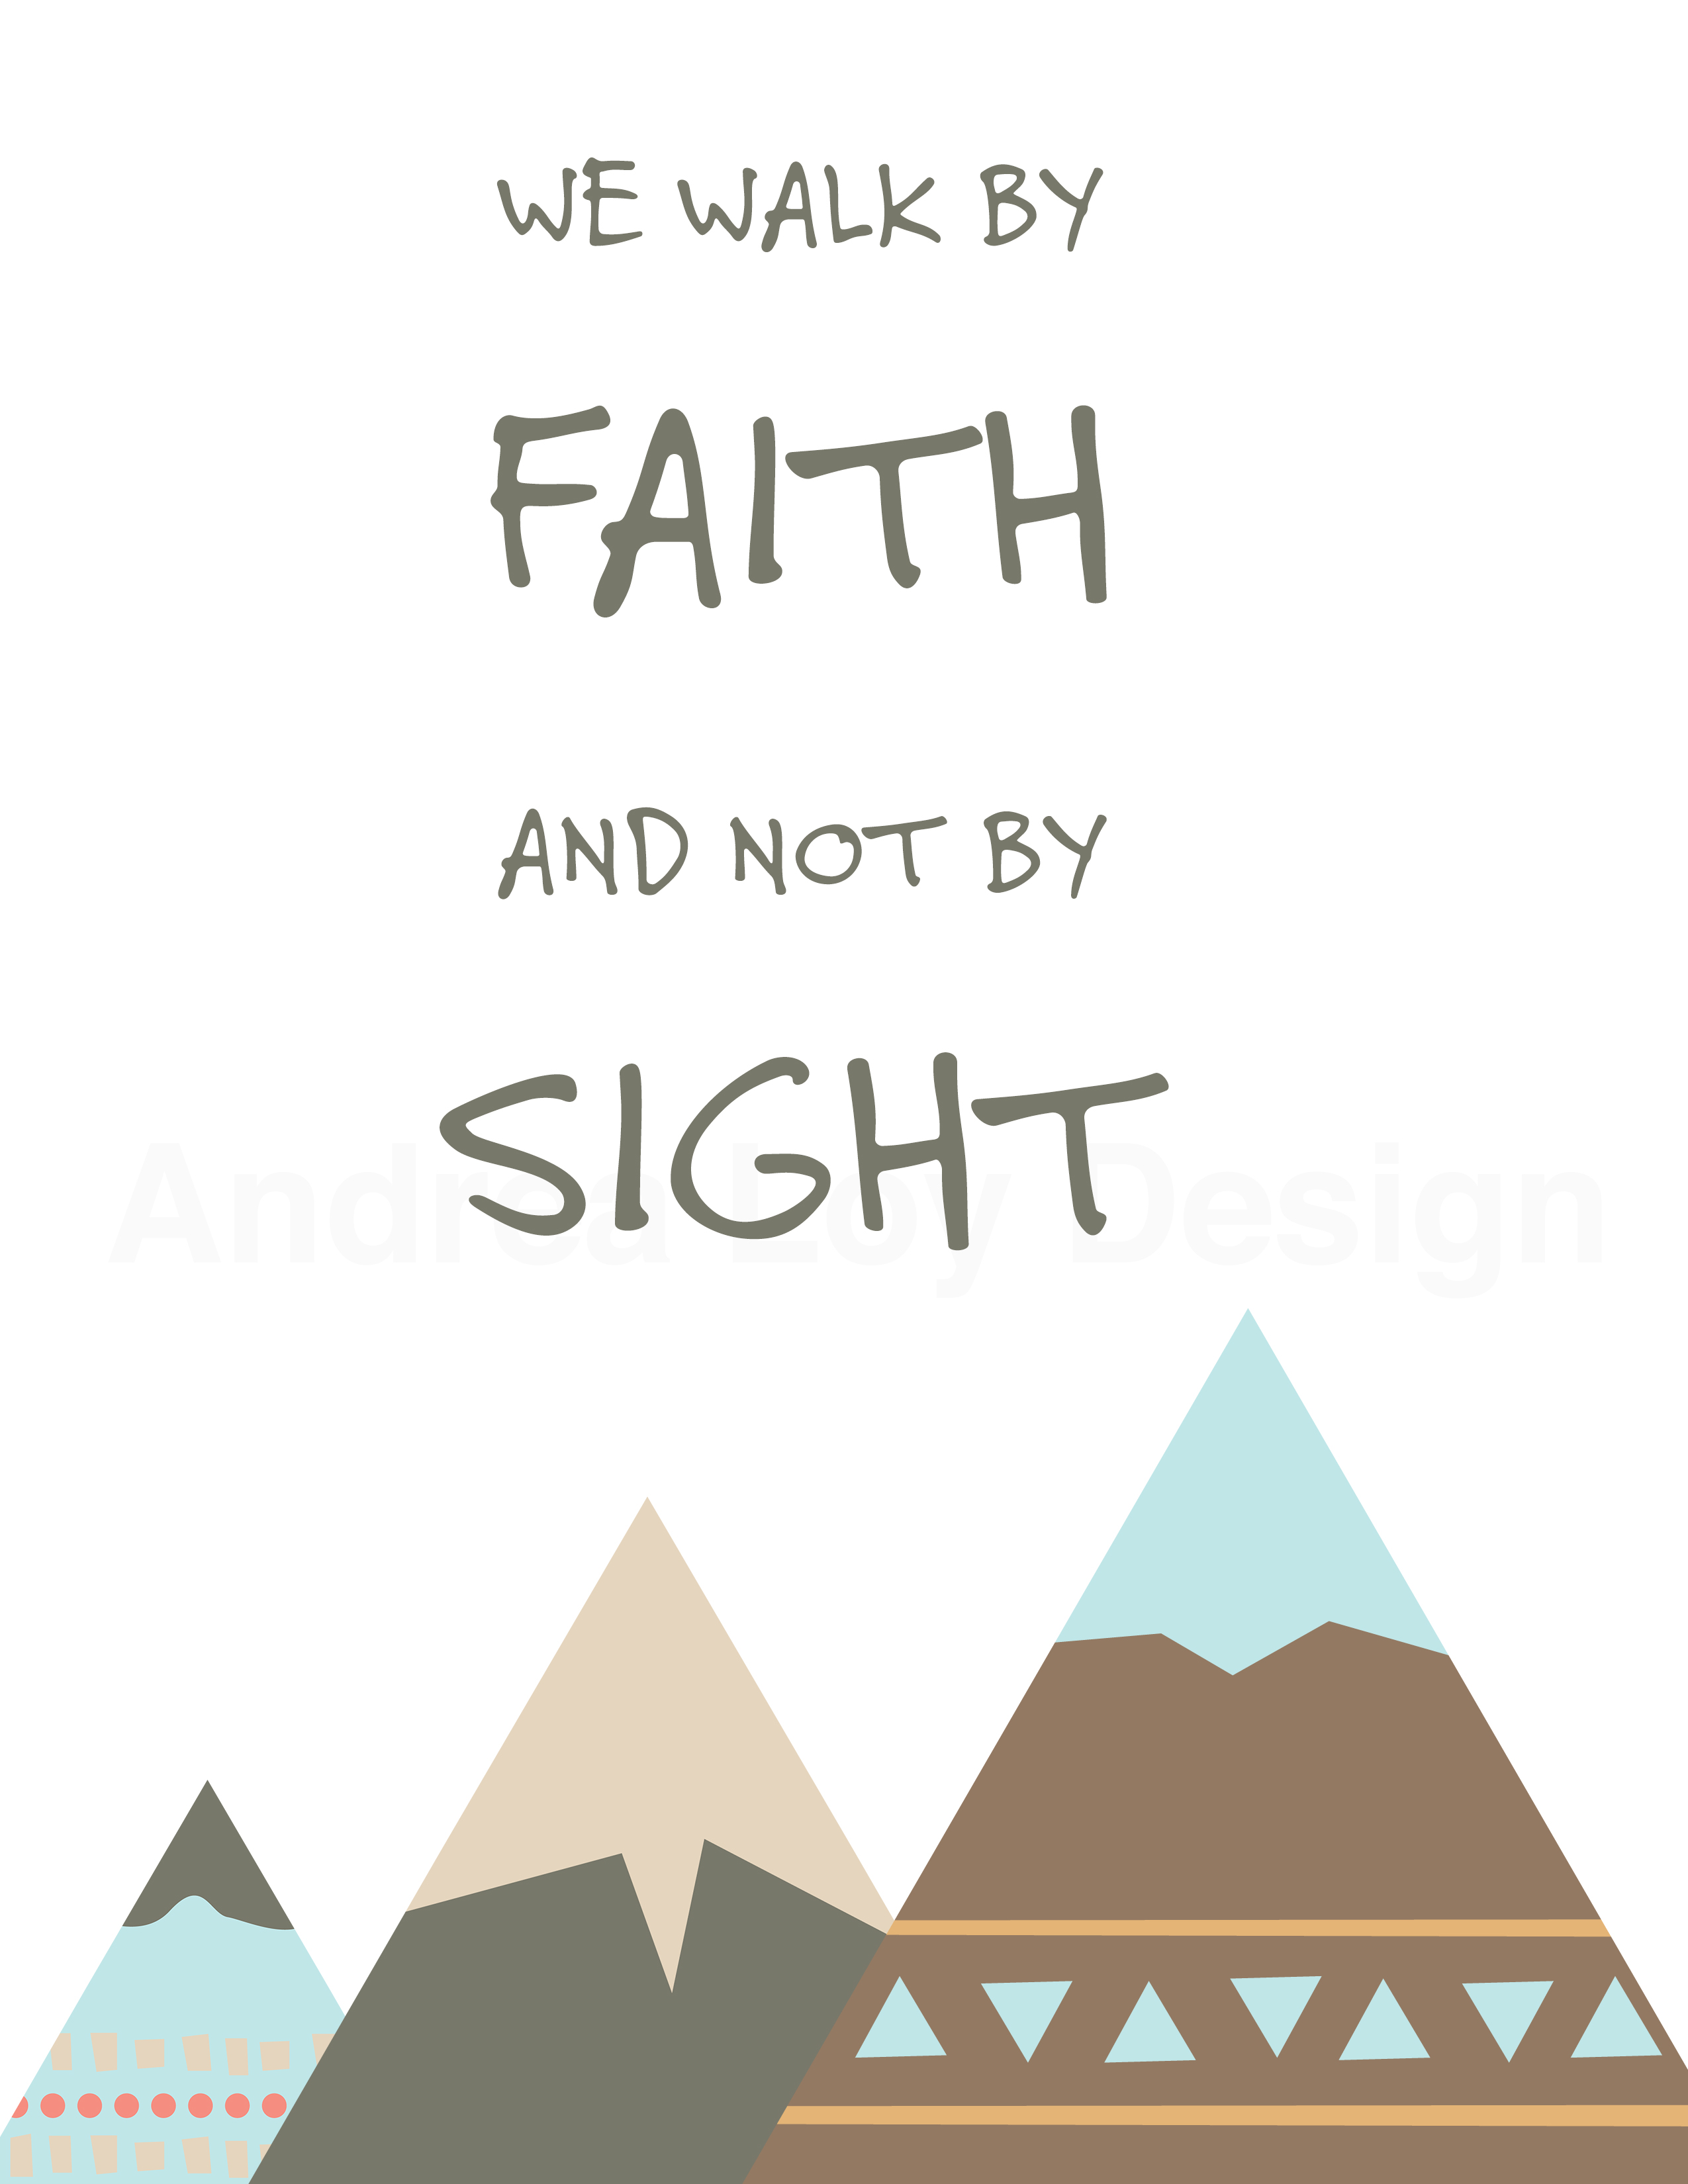
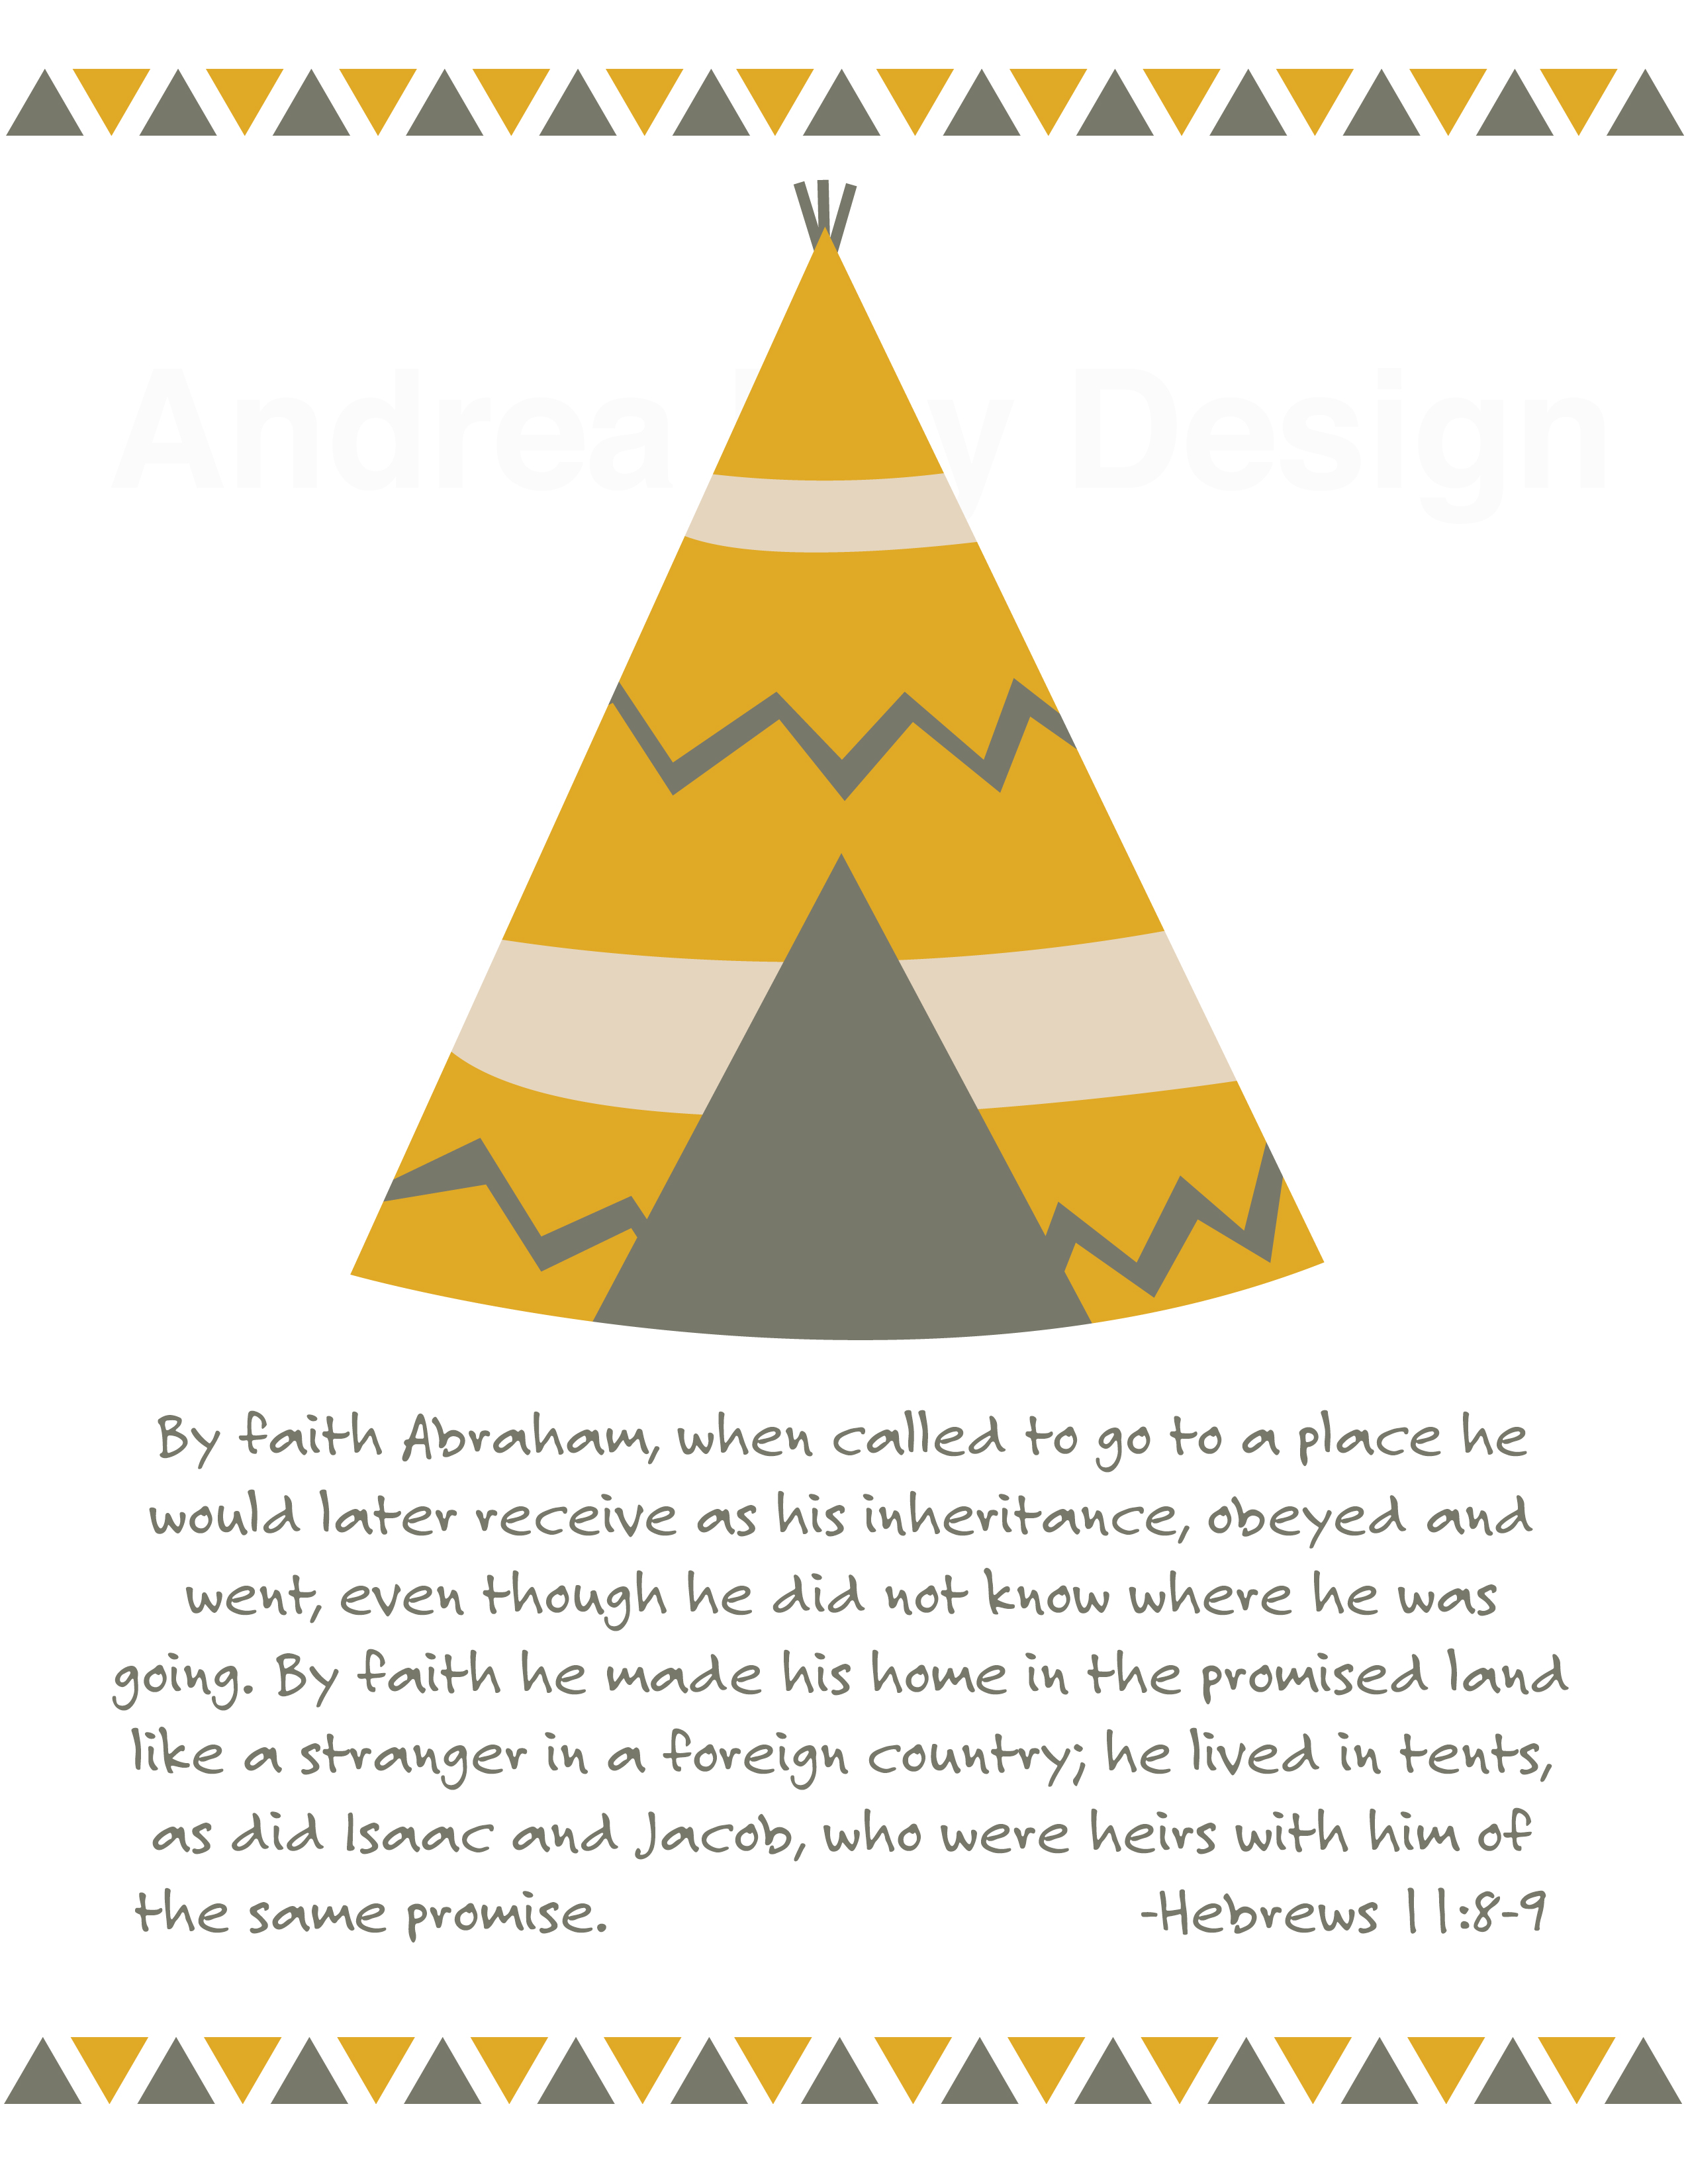
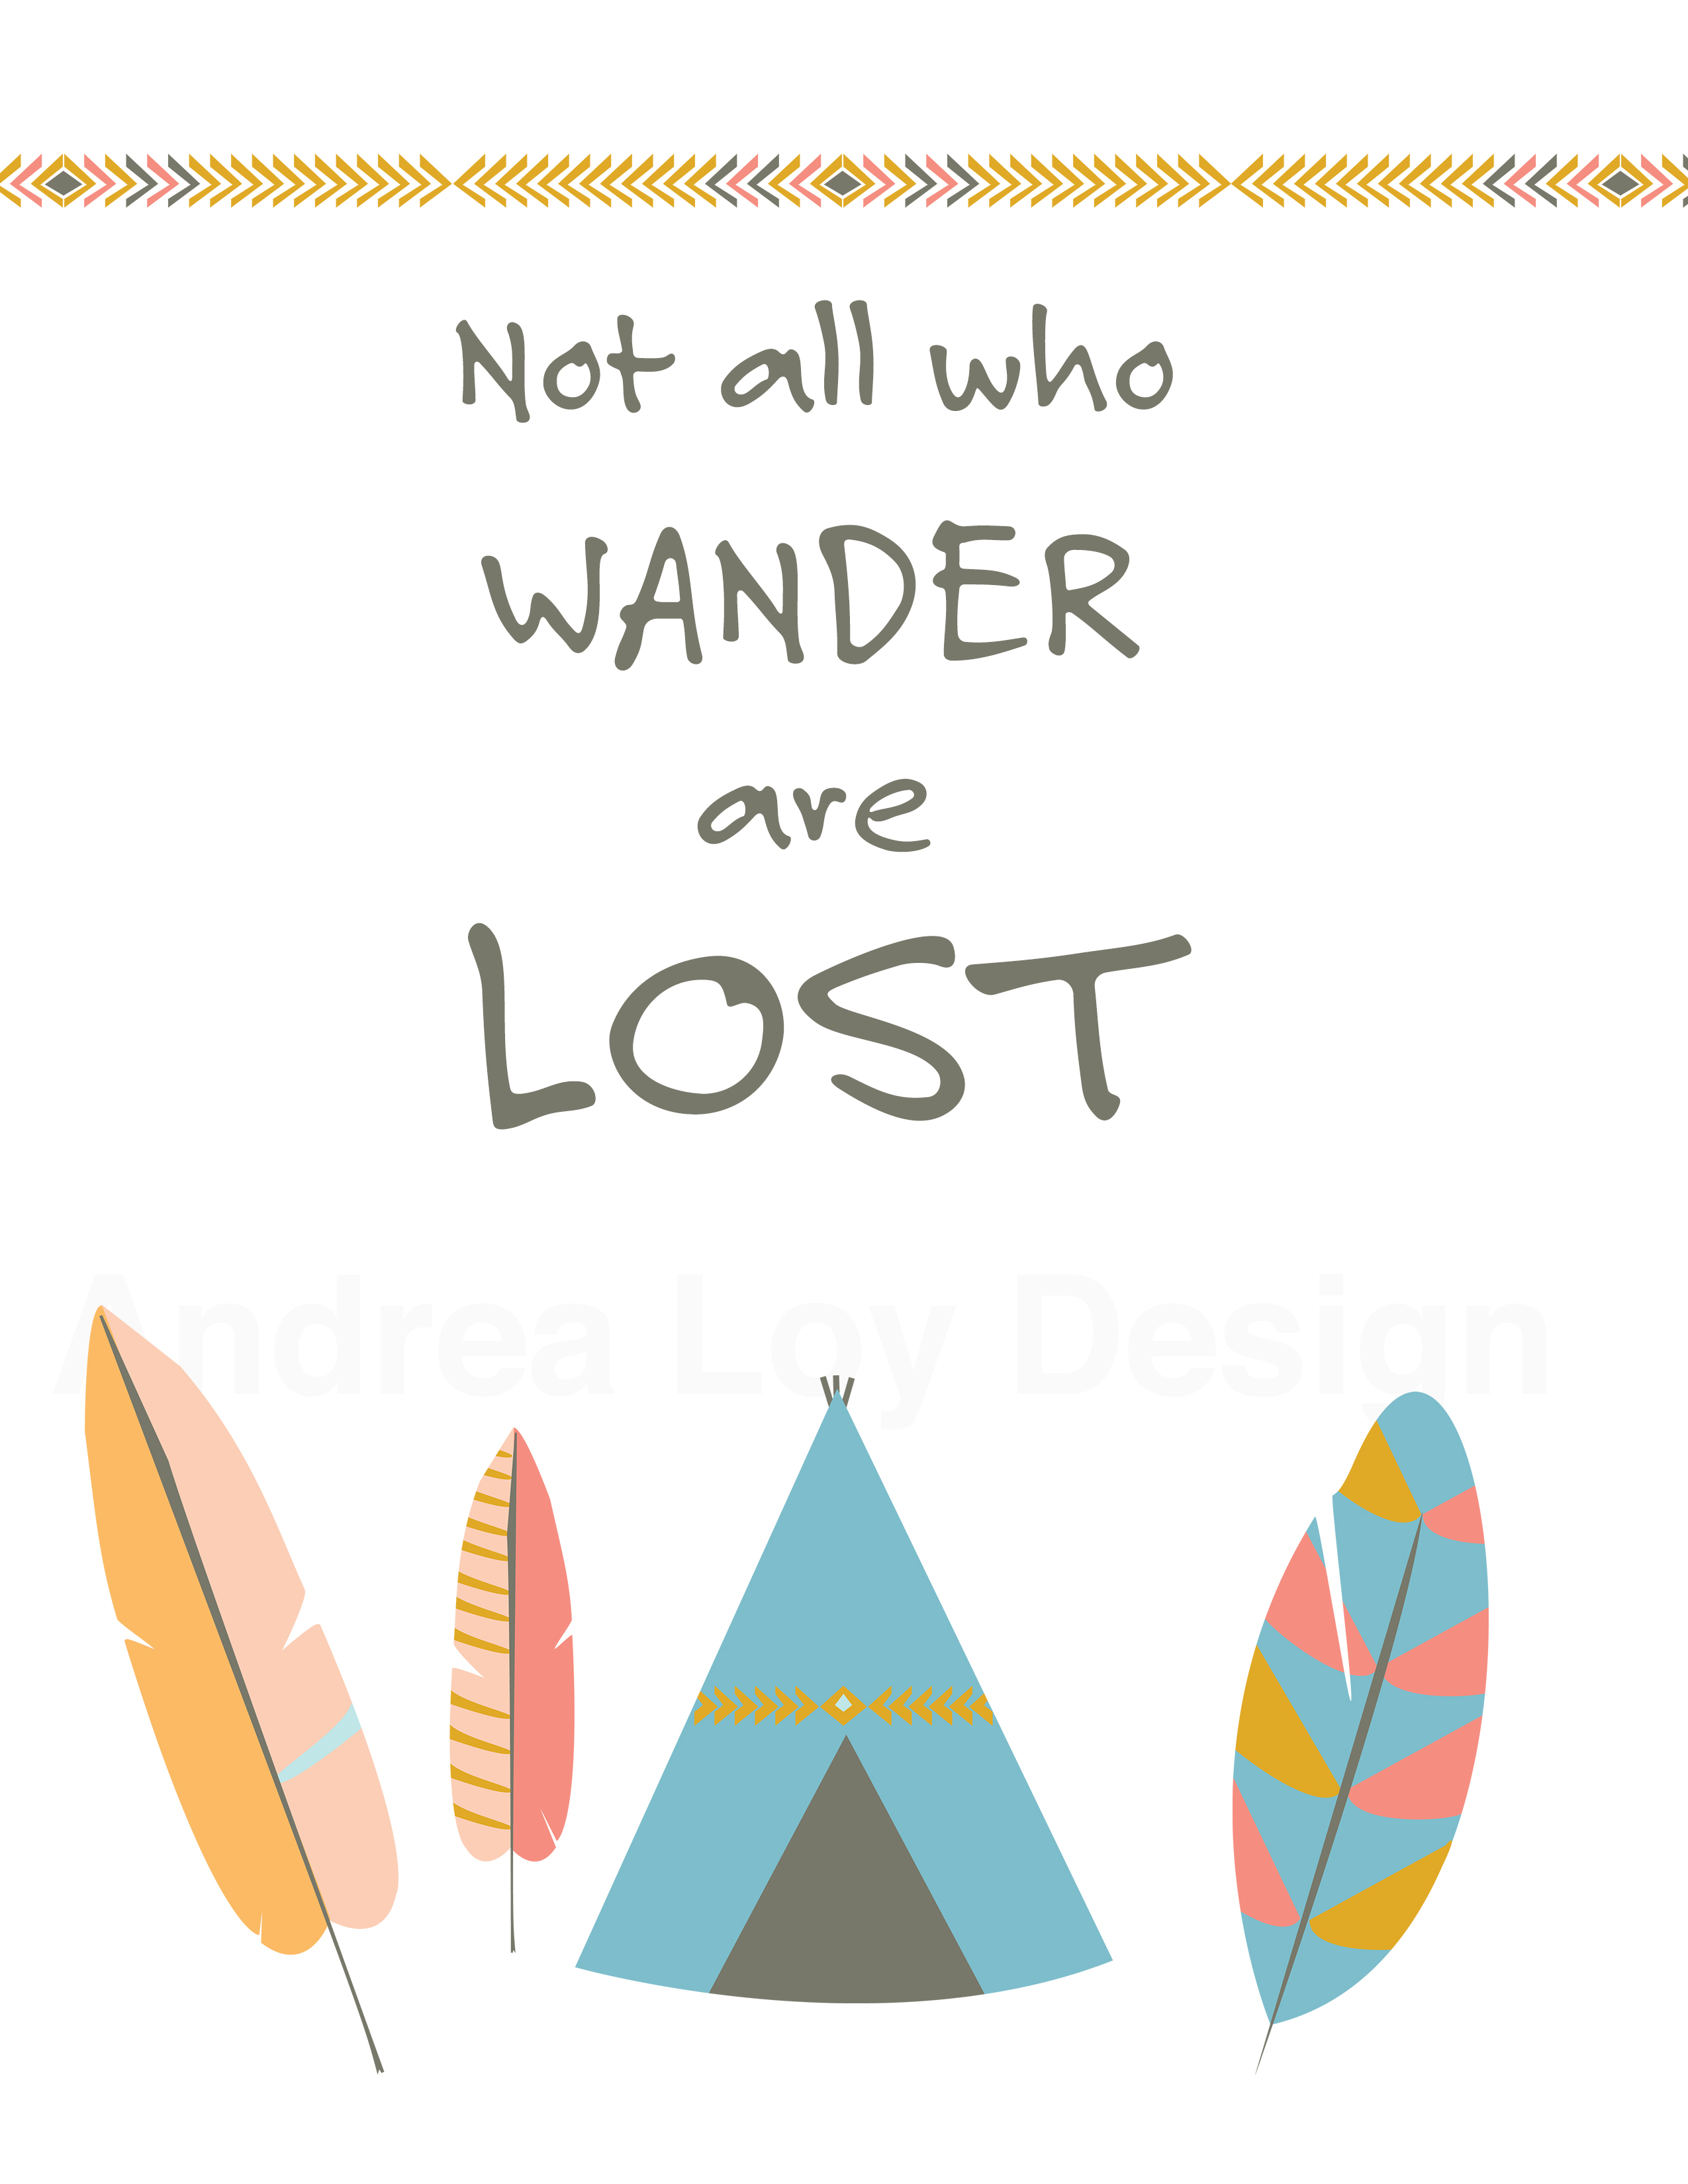
The other best place to buy graphics is Etsy, OF COURSE! Both of these sites are supporting real live independent makers! Check out this collection of printables I was able to make for my job at the girlies school this week! I bought a package of cute clip art on Etsy from Graphic Grace Design. We are having a big growth spurt in our Classical Christian School and space is a big problem…The Lord has given our school some modular units that will be put together and remodeled this fall for more classroom space. So until that is finished, we will be in a “wilderness” period. That means driving my kids to THREE DIFFERENT CAMPUSES for school. I’ll be teaching at the Secondary Campus with The Boss Lady, The Doodle will be in 4th grade at the Elementary Campus and my sweet Hayler Bunkity will be starting Kindergarten at the temporary location. In an effort to communicate how this season will look my friend and PTF Coordinator came up with a great campaign to help everyone understand how awesome this is. Plus we could NOT EVEN help ourselves with all the cute teepees and adventure themed art at Hobby Lobby! So kudos to my friend Sara for the great idea and here are some Wilderness Prints available for your printing pleasure in my Etsy Shop. They would be great for a children’s room, homeschool room, boy’s nursery decor, or Sunday
School Room/Giveaway. Unlimited Personal Printing License for $5. I do ask that if you buy the pdf files, to please be respectful and don’t share the digital files. Every little bit helps 🙂
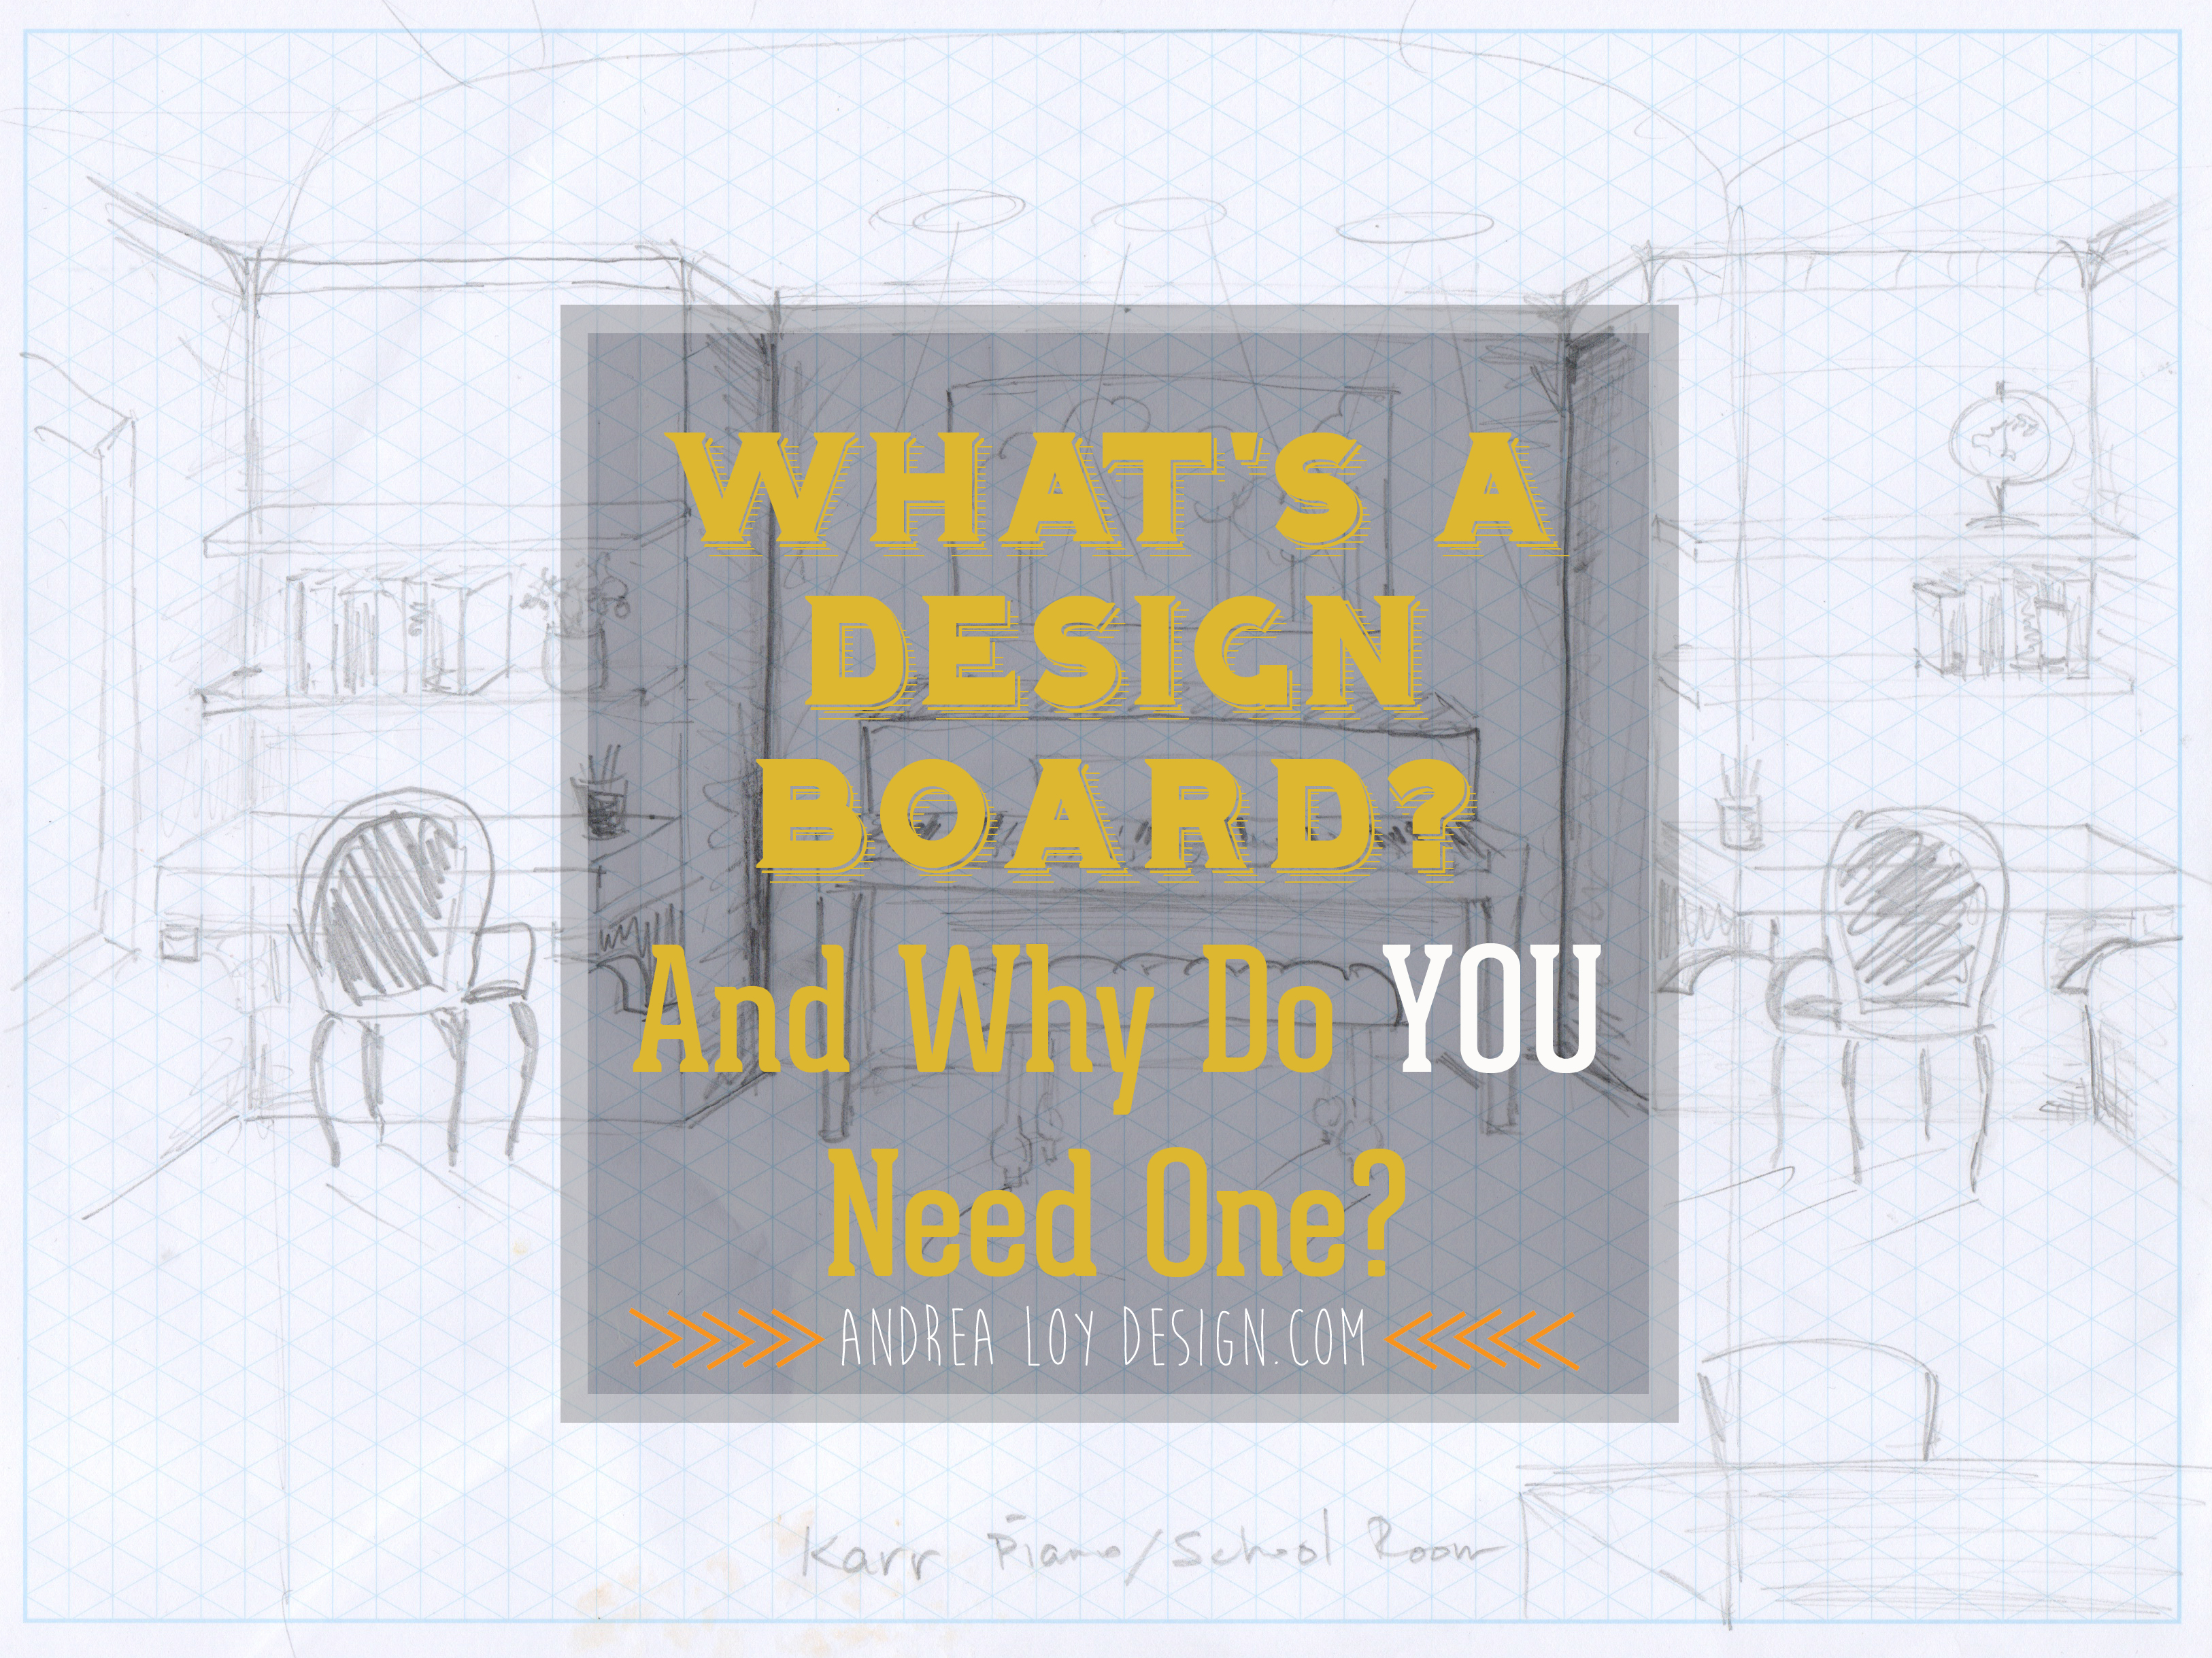
What’s a Design Board and Why Do YOU Need one?
Imagine going to Lowes with a $30,000 gift card……..You pick out all the things in the store you like and bring them home. Cabinets, countertops, various fans, pendant lights that strike your fancy, random favorite paint colors…I mean you just go to town.
When you get home and put it all up what is it going to look like? Will it create the look you want? Will it feel like home? Will it work for your family? Did they have everything you needed to create a cohesive space? Did those Octopus shaped cabinet pulls really go with your seeded glass pendants?
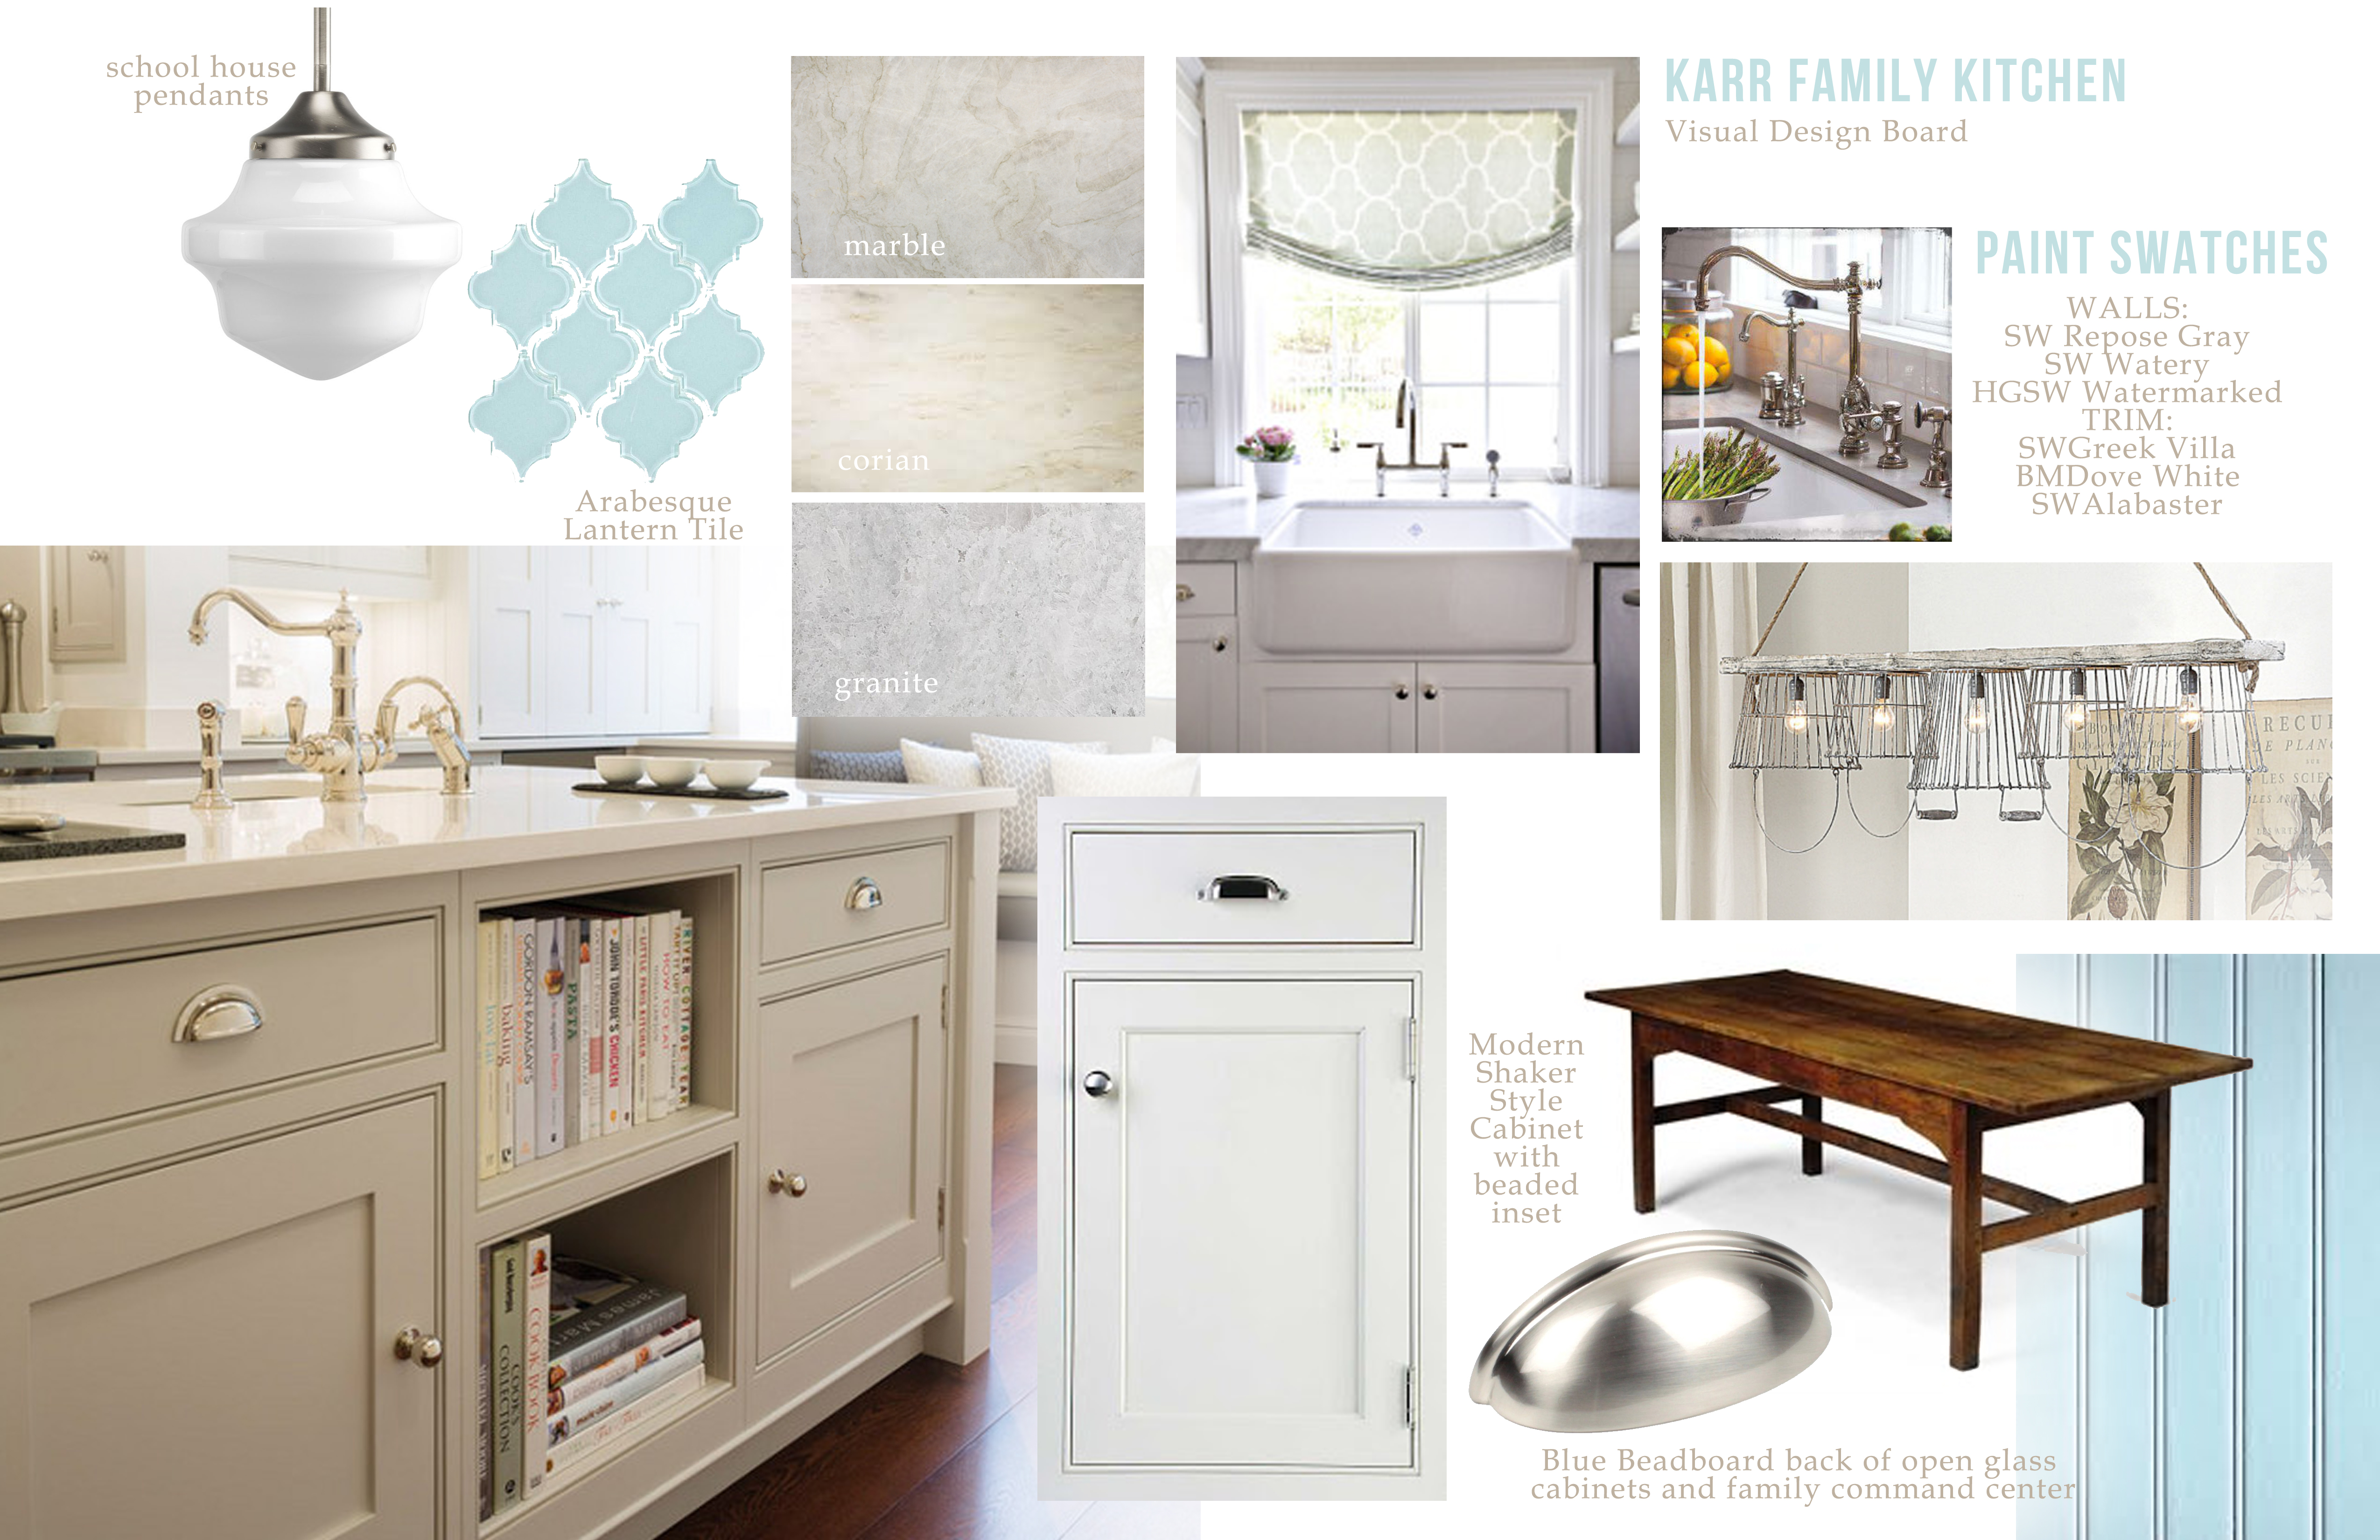
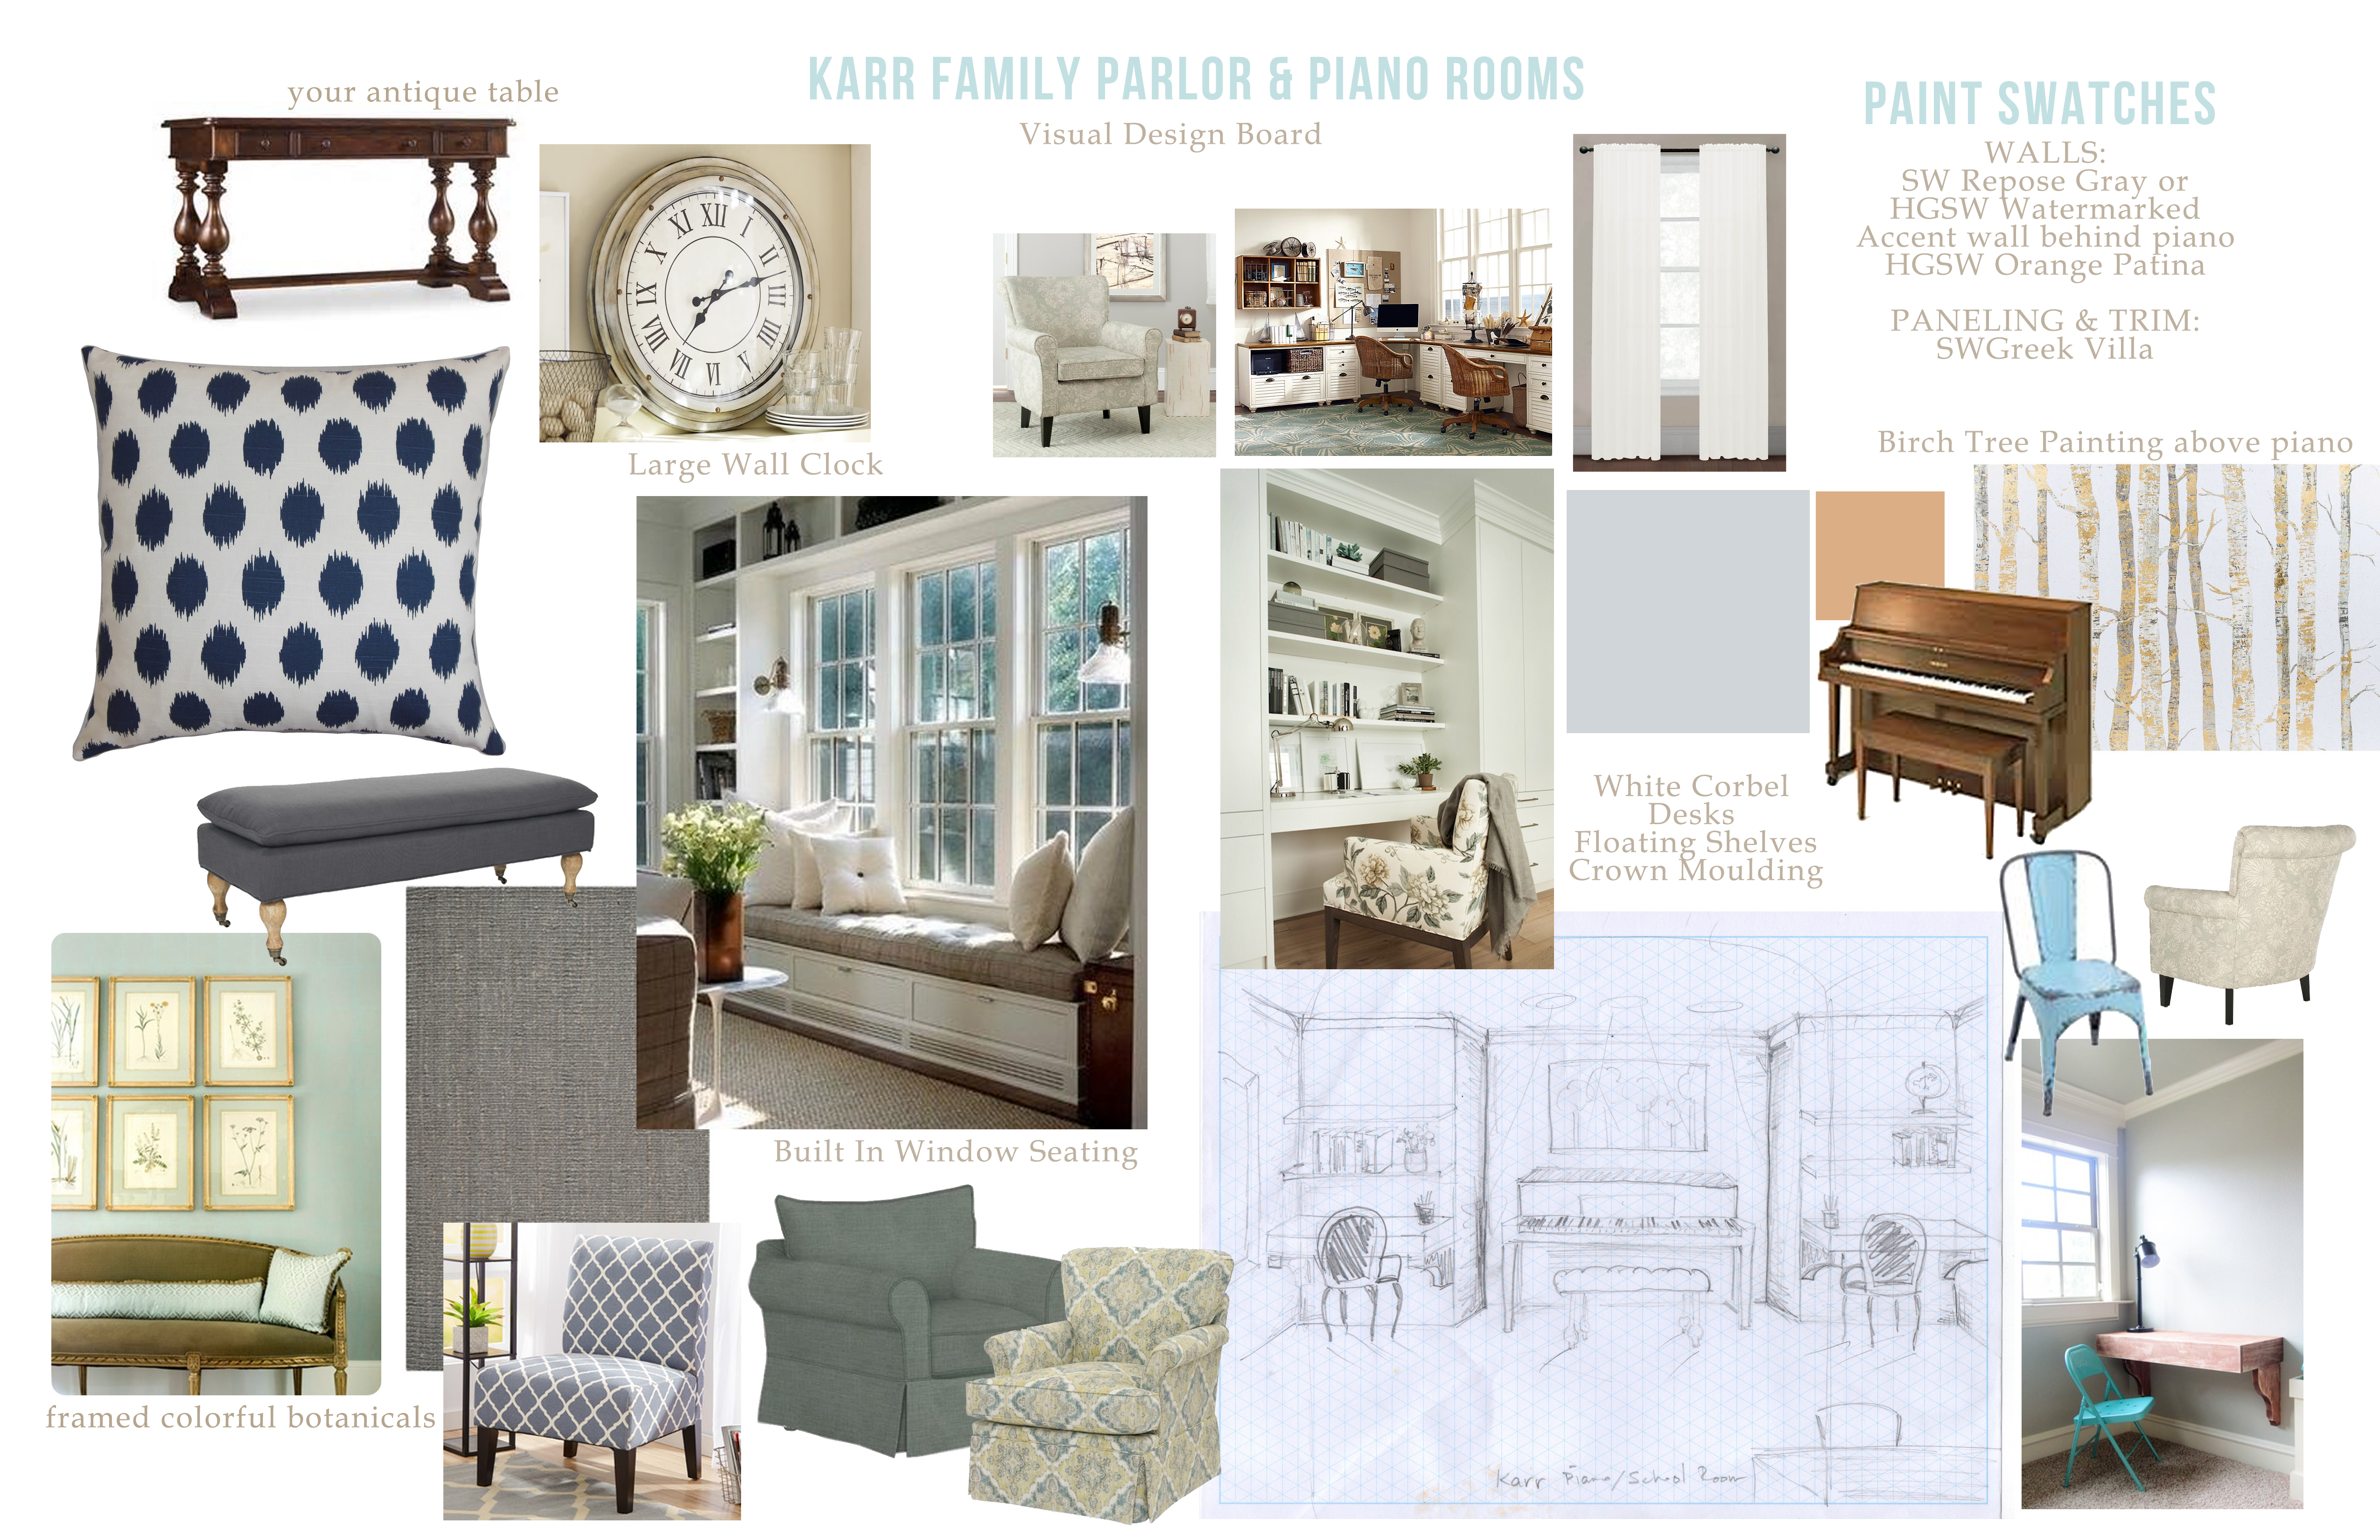
This is why you need a Design Board. Most women and men know what they want in a home, but getting there may be a challenging process. That’s why I make a design board for myself and my clients. We can visualize what everything is going to “do” together. We can see if you really want the “Farmhouse” kitchen or the “Mid Century Modern” living room before we spend all your money and you hate it. You can make your own. It’s as simple as searching the internet and stores for various items, then cutting and pasting or dragging and dropping them into a visual display. It’s a “google spreadsheet for interior design nerds” if you will.
To give you an example, here is a recent series of design boards I made for a client. They are helping this (sweet) family to formulate a plan with-in their budget to create the home they need for their family and friends, their job and ministry. It was such an honor and delight to help them and I enjoyed it swatch by swatch!
I also included a detailed shopping list of resources and service providers for their job. It was a win – win. They get what they want in their budget without having to hire someone to manage the entire process. Although I can do that for you if prefer:)
Happy Designing! -Andrea
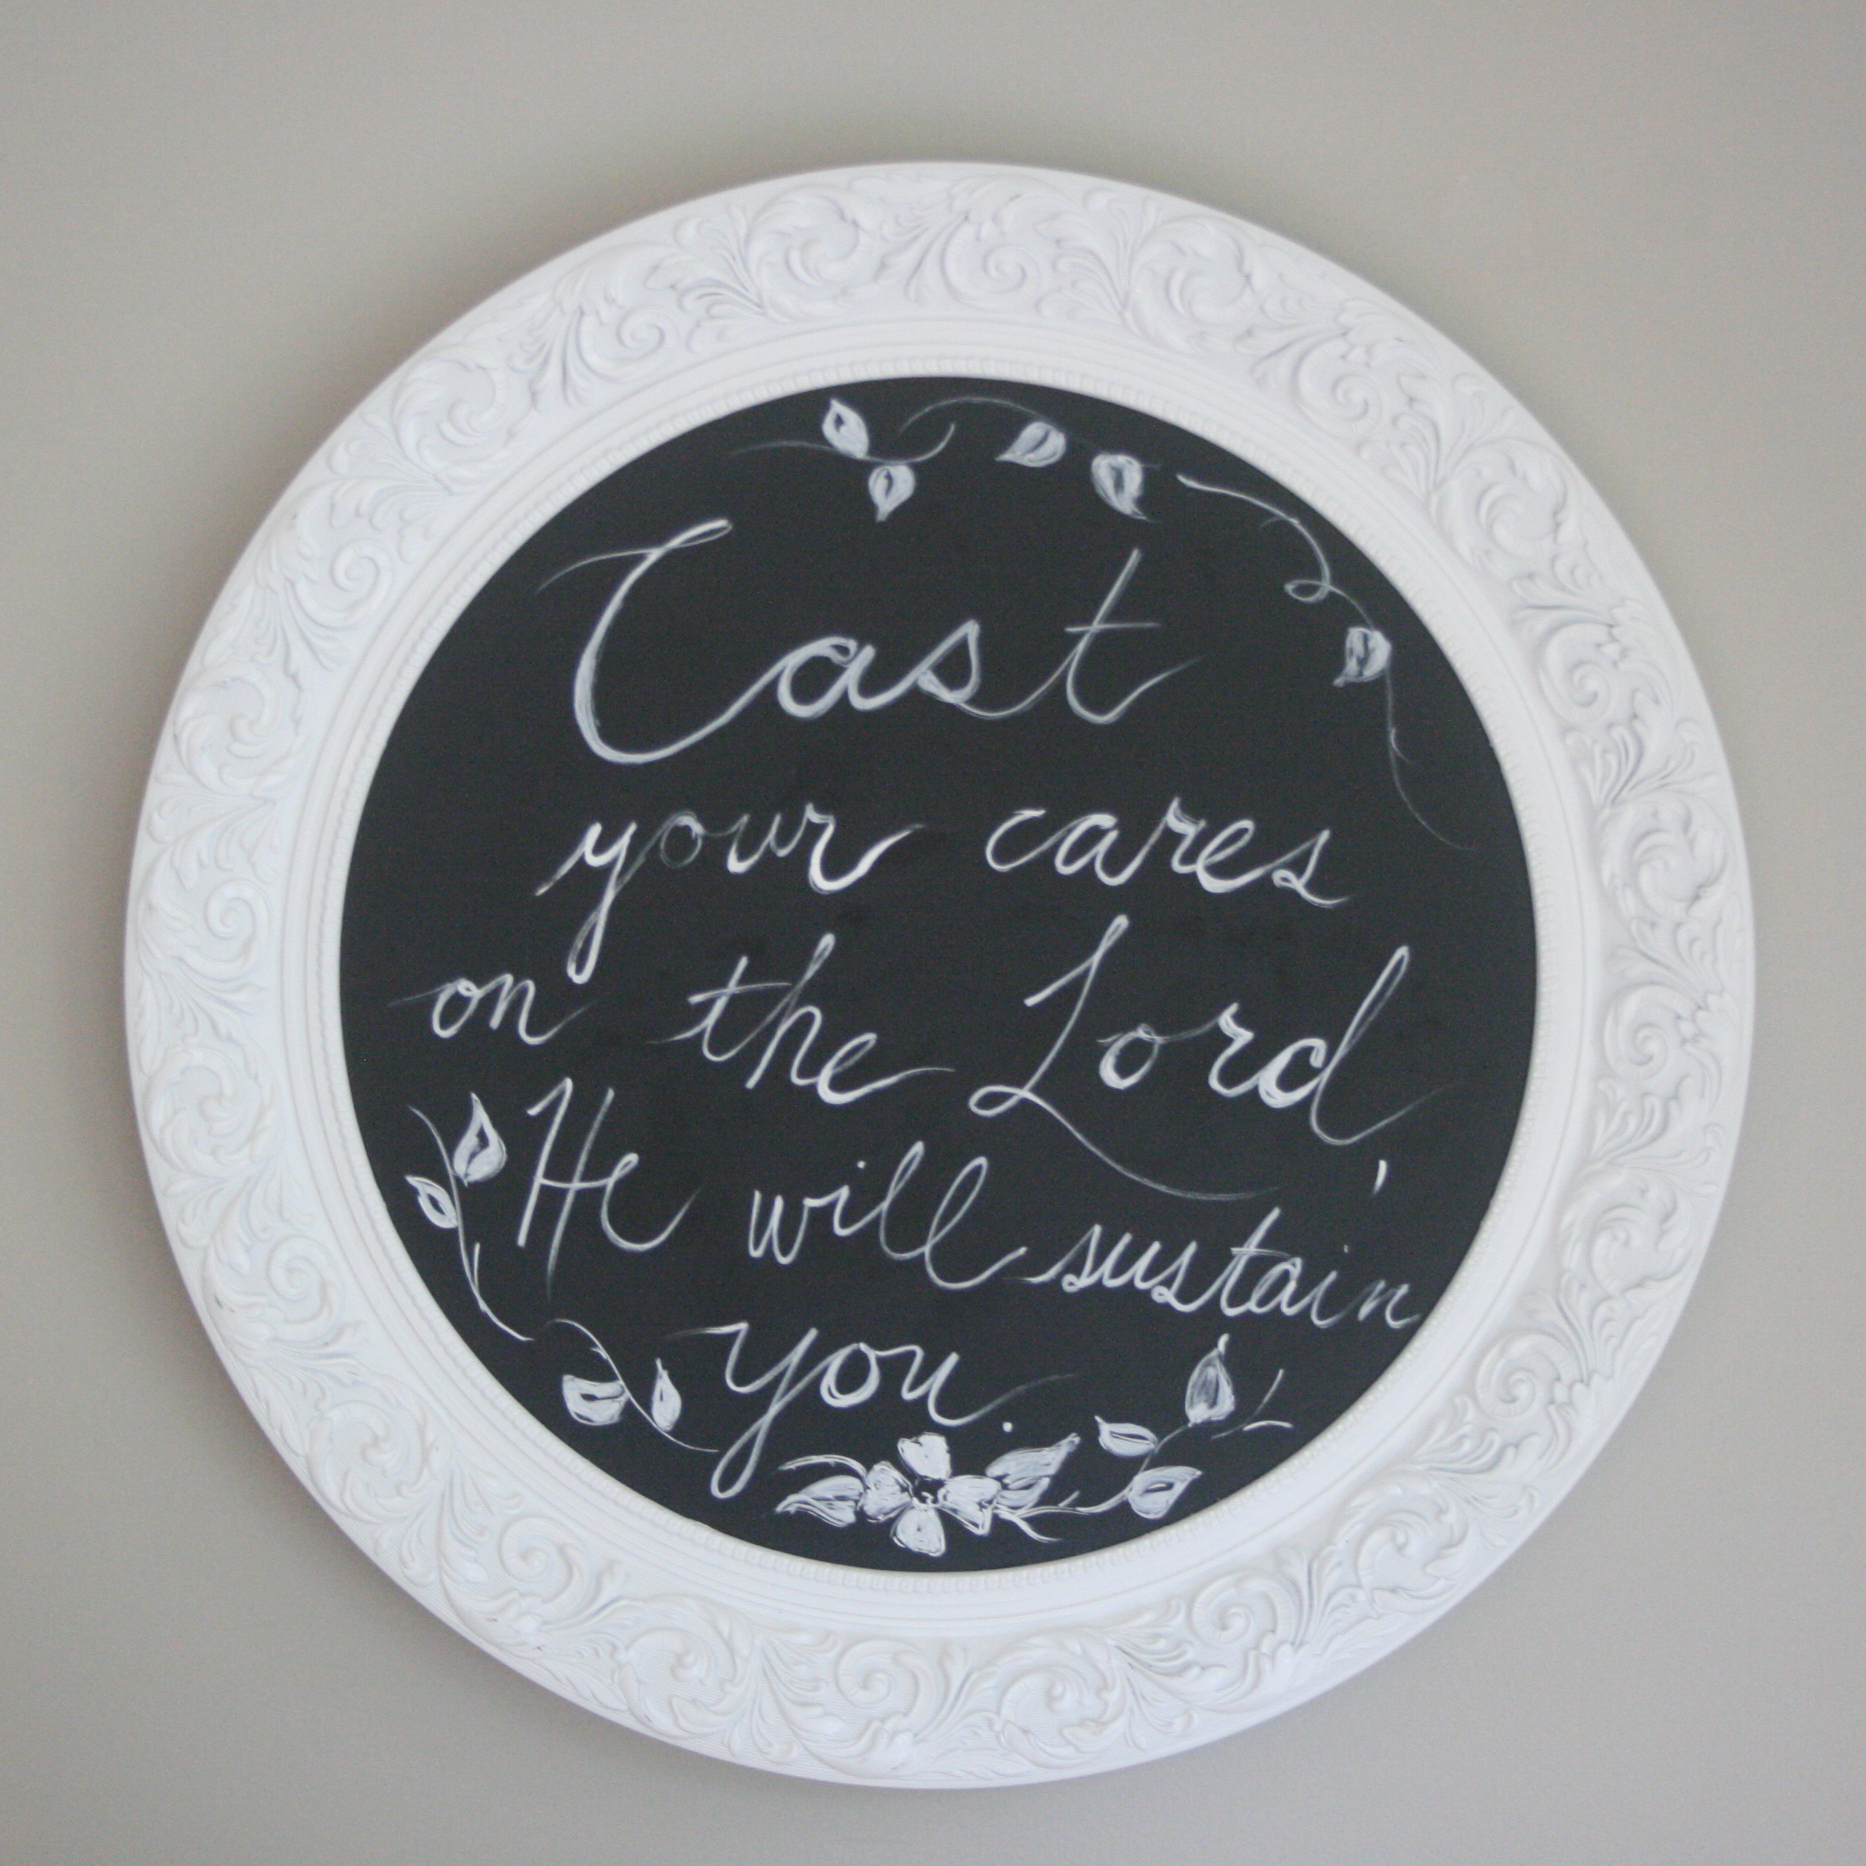
CAST YOUR CARES ON THE LORD
Everyone has cares….anxiety, problems they can’t solve. Families are broken, hearts are hurting. Souls are always looking for an escape or a fulfillment…My cares are not your cares and vice versa. If you want to discuss them just send me an email 🙂 My problems are real and pressing. No perfect life here. But if we are in Christ, He is using all these to draw us to Him. Yes, affliction people. It’s not pretty. It’s also not fair. Key word “affliction”……When my heart was especially anxious and distraught, a friend gave me this verse printed on a piece of paper to hang in my room.
“I know, O LORD, that your rules are righteous, and that in faithfulness you have afflicted me.” Psalm 119:75
What do you think about that? Do you believe God’s Word? In faithfulness, HE HAS AFFLICTED YOU? WHAT? Can we take a minute to grasp what this implies? That he actually sees good in the trials He has allowed into your life? That the money in your bank account or lack there of is ON PURPOSE. The pain in your joints and the cries of your children are for YOUR GOOD. The hurt in your heart and the betrayal you are experiencing IS THE FAITHFULNESS OF GOD to YOU for your future good? The great thing about God is that when You are His, He cares for you. There is nothing that can separate you from the love that He has for you and He is actively working all the things of your life together for your good and His glory.
Why? It’s called sanctification.
“because the Lord disciplines the one he loves, and he chastens everyone he accepts as his son.” Hebrew 12:6
“They disciplined us for a little while as they thought best; but God disciplines us for our good, in order that we may share in his holiness.” Hebrews 12:10
So yeah. Things happen everyday. But they are no accident. We have idols in our hearts. We need change and repentance and more faith and trust and a fully surrendered life to God. He sees this before we do. What are we to do about this? Do we lie awake at night making spreadsheets and problem solving and replaying offense and wrestling with God? Well you can, but night girl always ruins morning girl….and it probably won’t get you anywhere but more exhausted.
Instead, decide to train your mind to put all that on God, and go to sleep. HE will get you through the unbearable. HE is our peace.
For he himself is our peace, who has made us both one and has broken down in his flesh the dividing wall of hostility. Ephesians 2:14
People might not change or apologize or want reconciliation, circumstances may never get better, things may not make sense.
“Cast your cares on the Lord, and He will sustain you.” Psalm 4:8
Friends, I can only say this because I was and am being afflicted. May your soul be filled with peace and may you find rest in the One who satisfies.
Triangle Baby Quilt
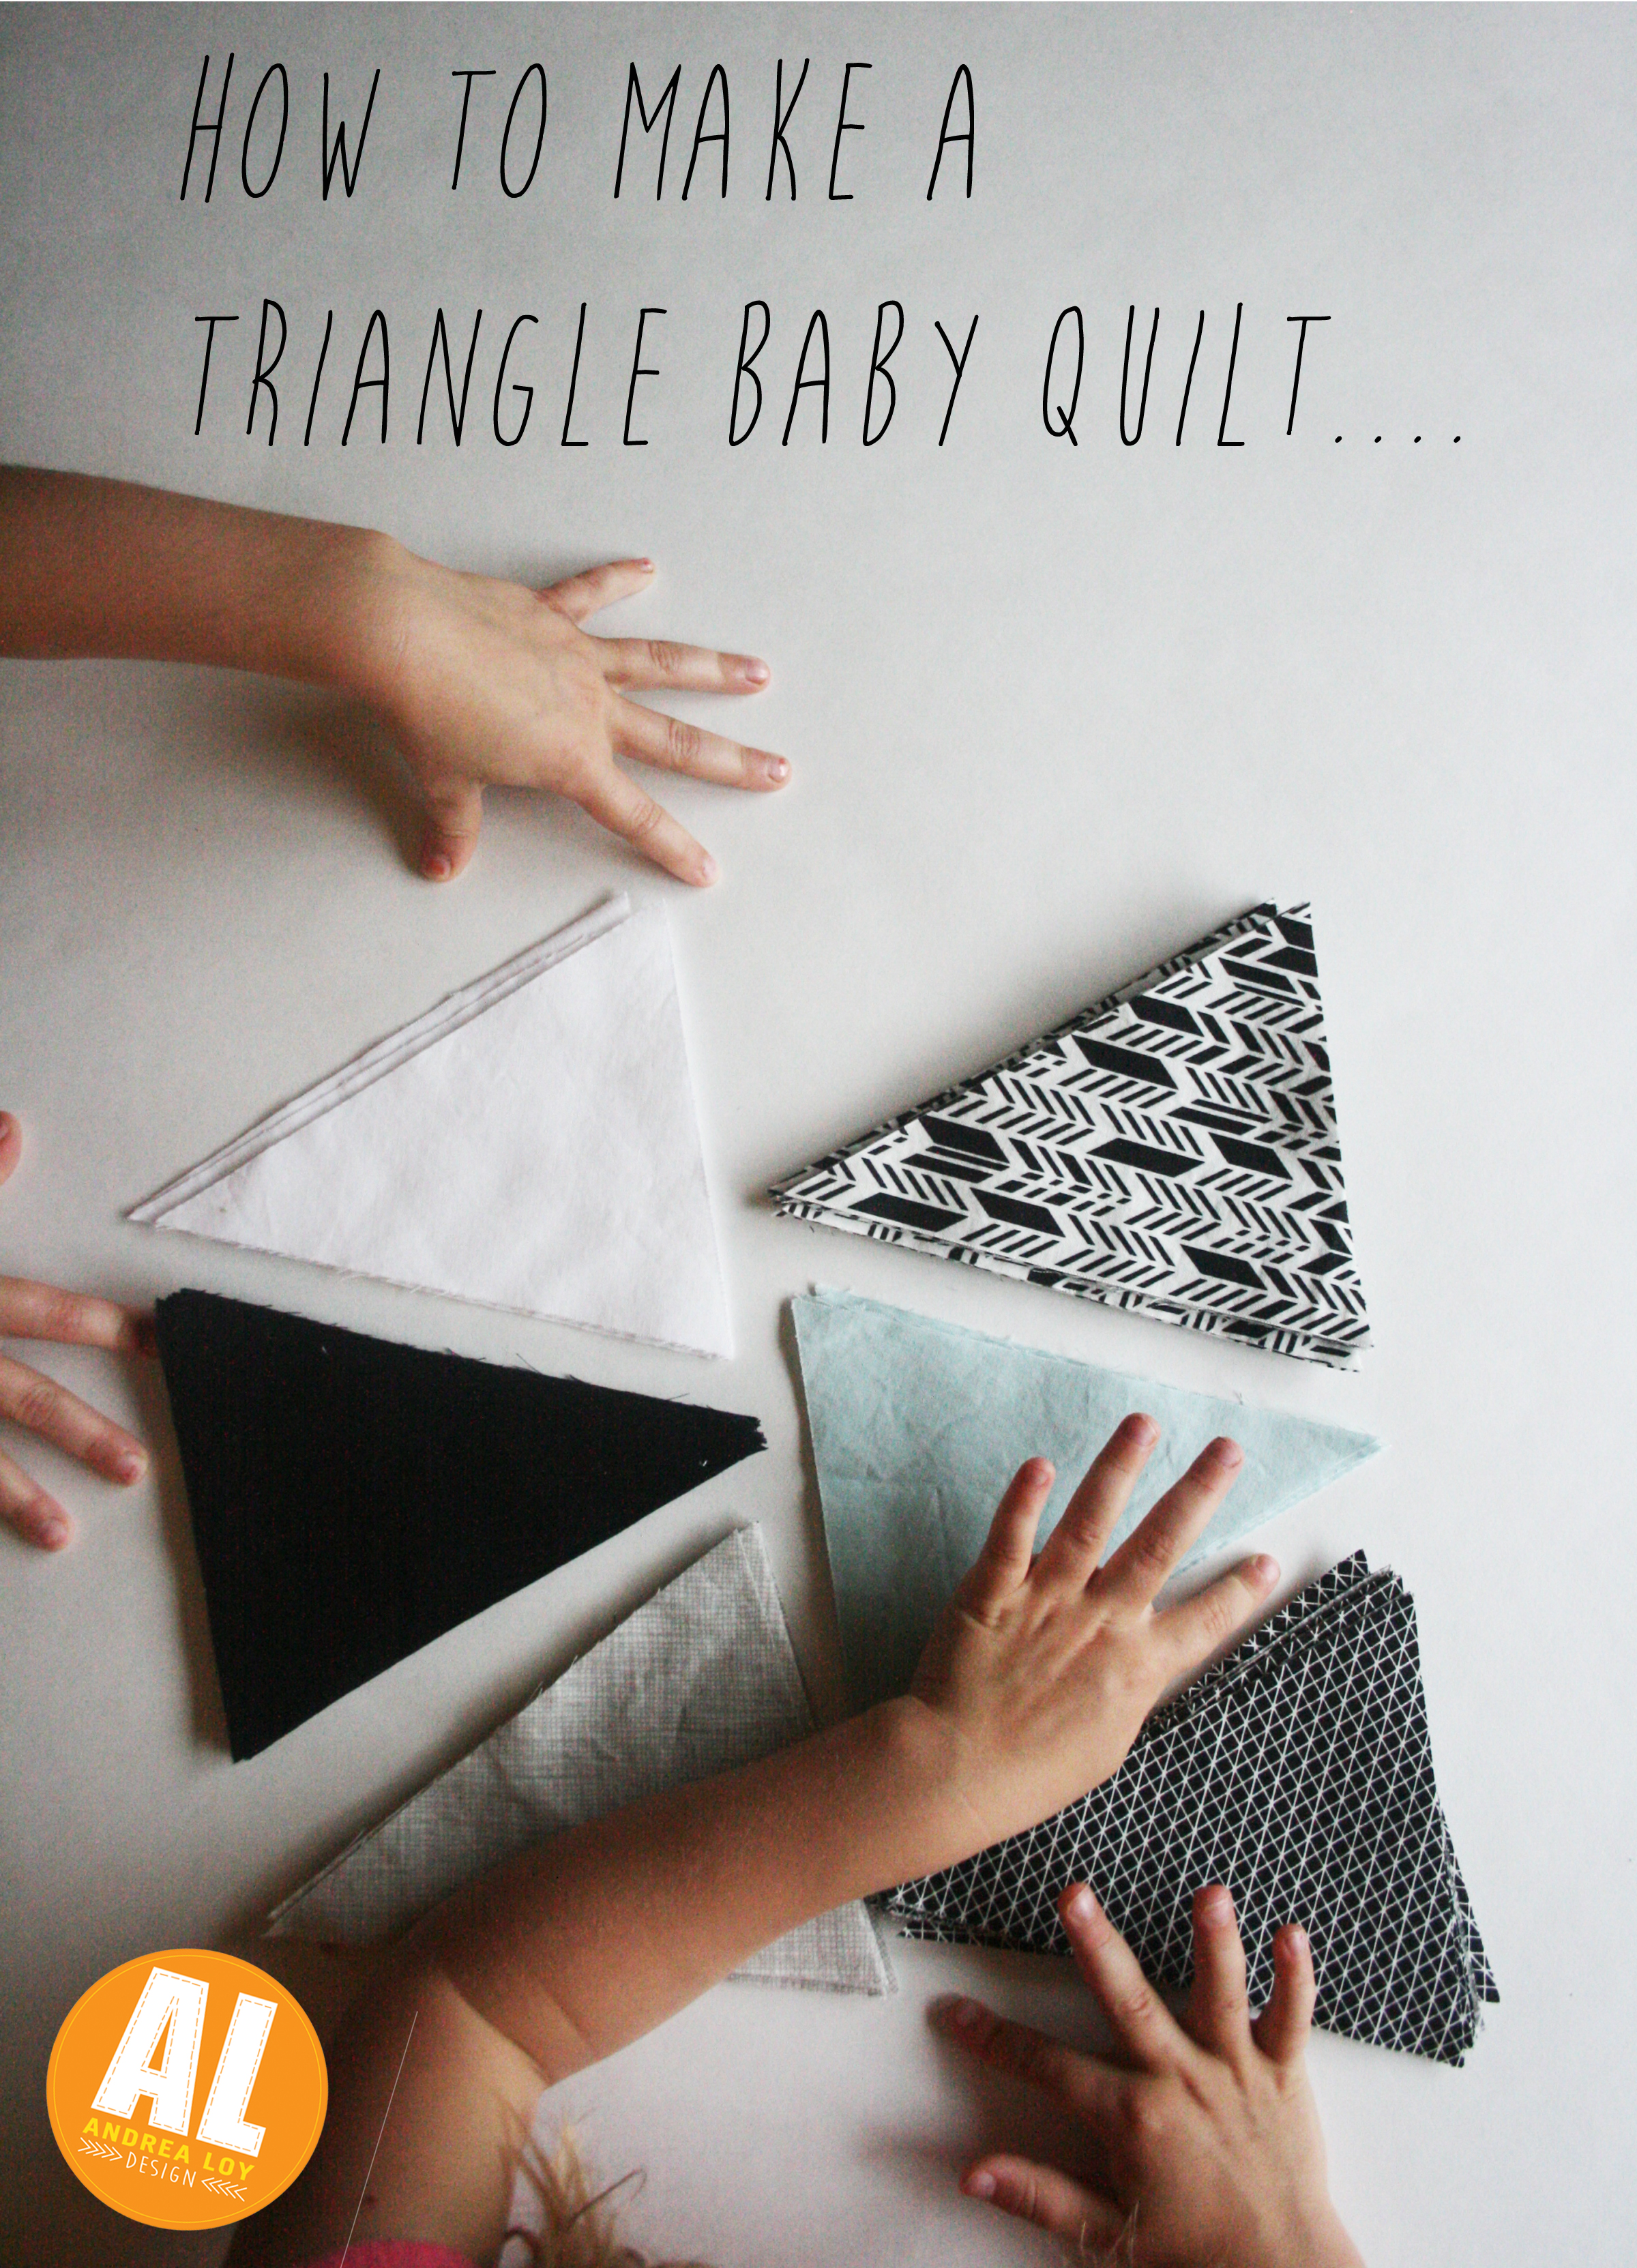
Triangle Quilts are my favorite. They are so fun. I prefer isosceles triangles, but I won’t berate all you equilateral lovers out there. To each her own…..I made my first triangle quilt out of all my baby crib sheets. I couldn’t bear to throw them away, or give them away, but it felt silly to keep them when I didn’t plan on having any more children. So I bought a triangle die for my accuquilt studio cutter and started in on turning all those sheets into triangles. I made two quilts. I was really stressed at the time. Sewing all those triangles together was therapy. When a woman can’t do anything to change her circumstances it feels nice to sew something together. With each stitch, I was reminded that God is near to the brokenhearted and He binds up the fiercest wounds to the human heart.
You really should get an accuquilt cutter if you can afford it and you quilt a lot. And also mainly, if your kind of a perfectionist….Just start saving!
But enough back story….So my very talented sister in law and bro are having their first little one and she requested a triangle quilt. She is an amazing graphic designer, so naturally I made sure to get paint swatches, design preferences, and lots of samples she liked before I nervously picked out the fabric for this piece. It took a lot of deliberation and shopping trips to quilt stores like Missouri Star Quilt Co. and The Fabric Shack……I may have purchased some other quilting fabric while there. I’m not sure. It was sort if like a fabric addicts heaven, and I can’t be responsible for being let loose in there.
Anyway, so my little helpers and I cut the painstakingly perfect triangles in like two minutes on the accuquilt cutter with the decided upon fabrics and I began to lay out the top pieces. When you do a triangle quilt, it’s easier on the eye to make a random pattern. You need to lay it all out to be sure you have it looking the way you want.
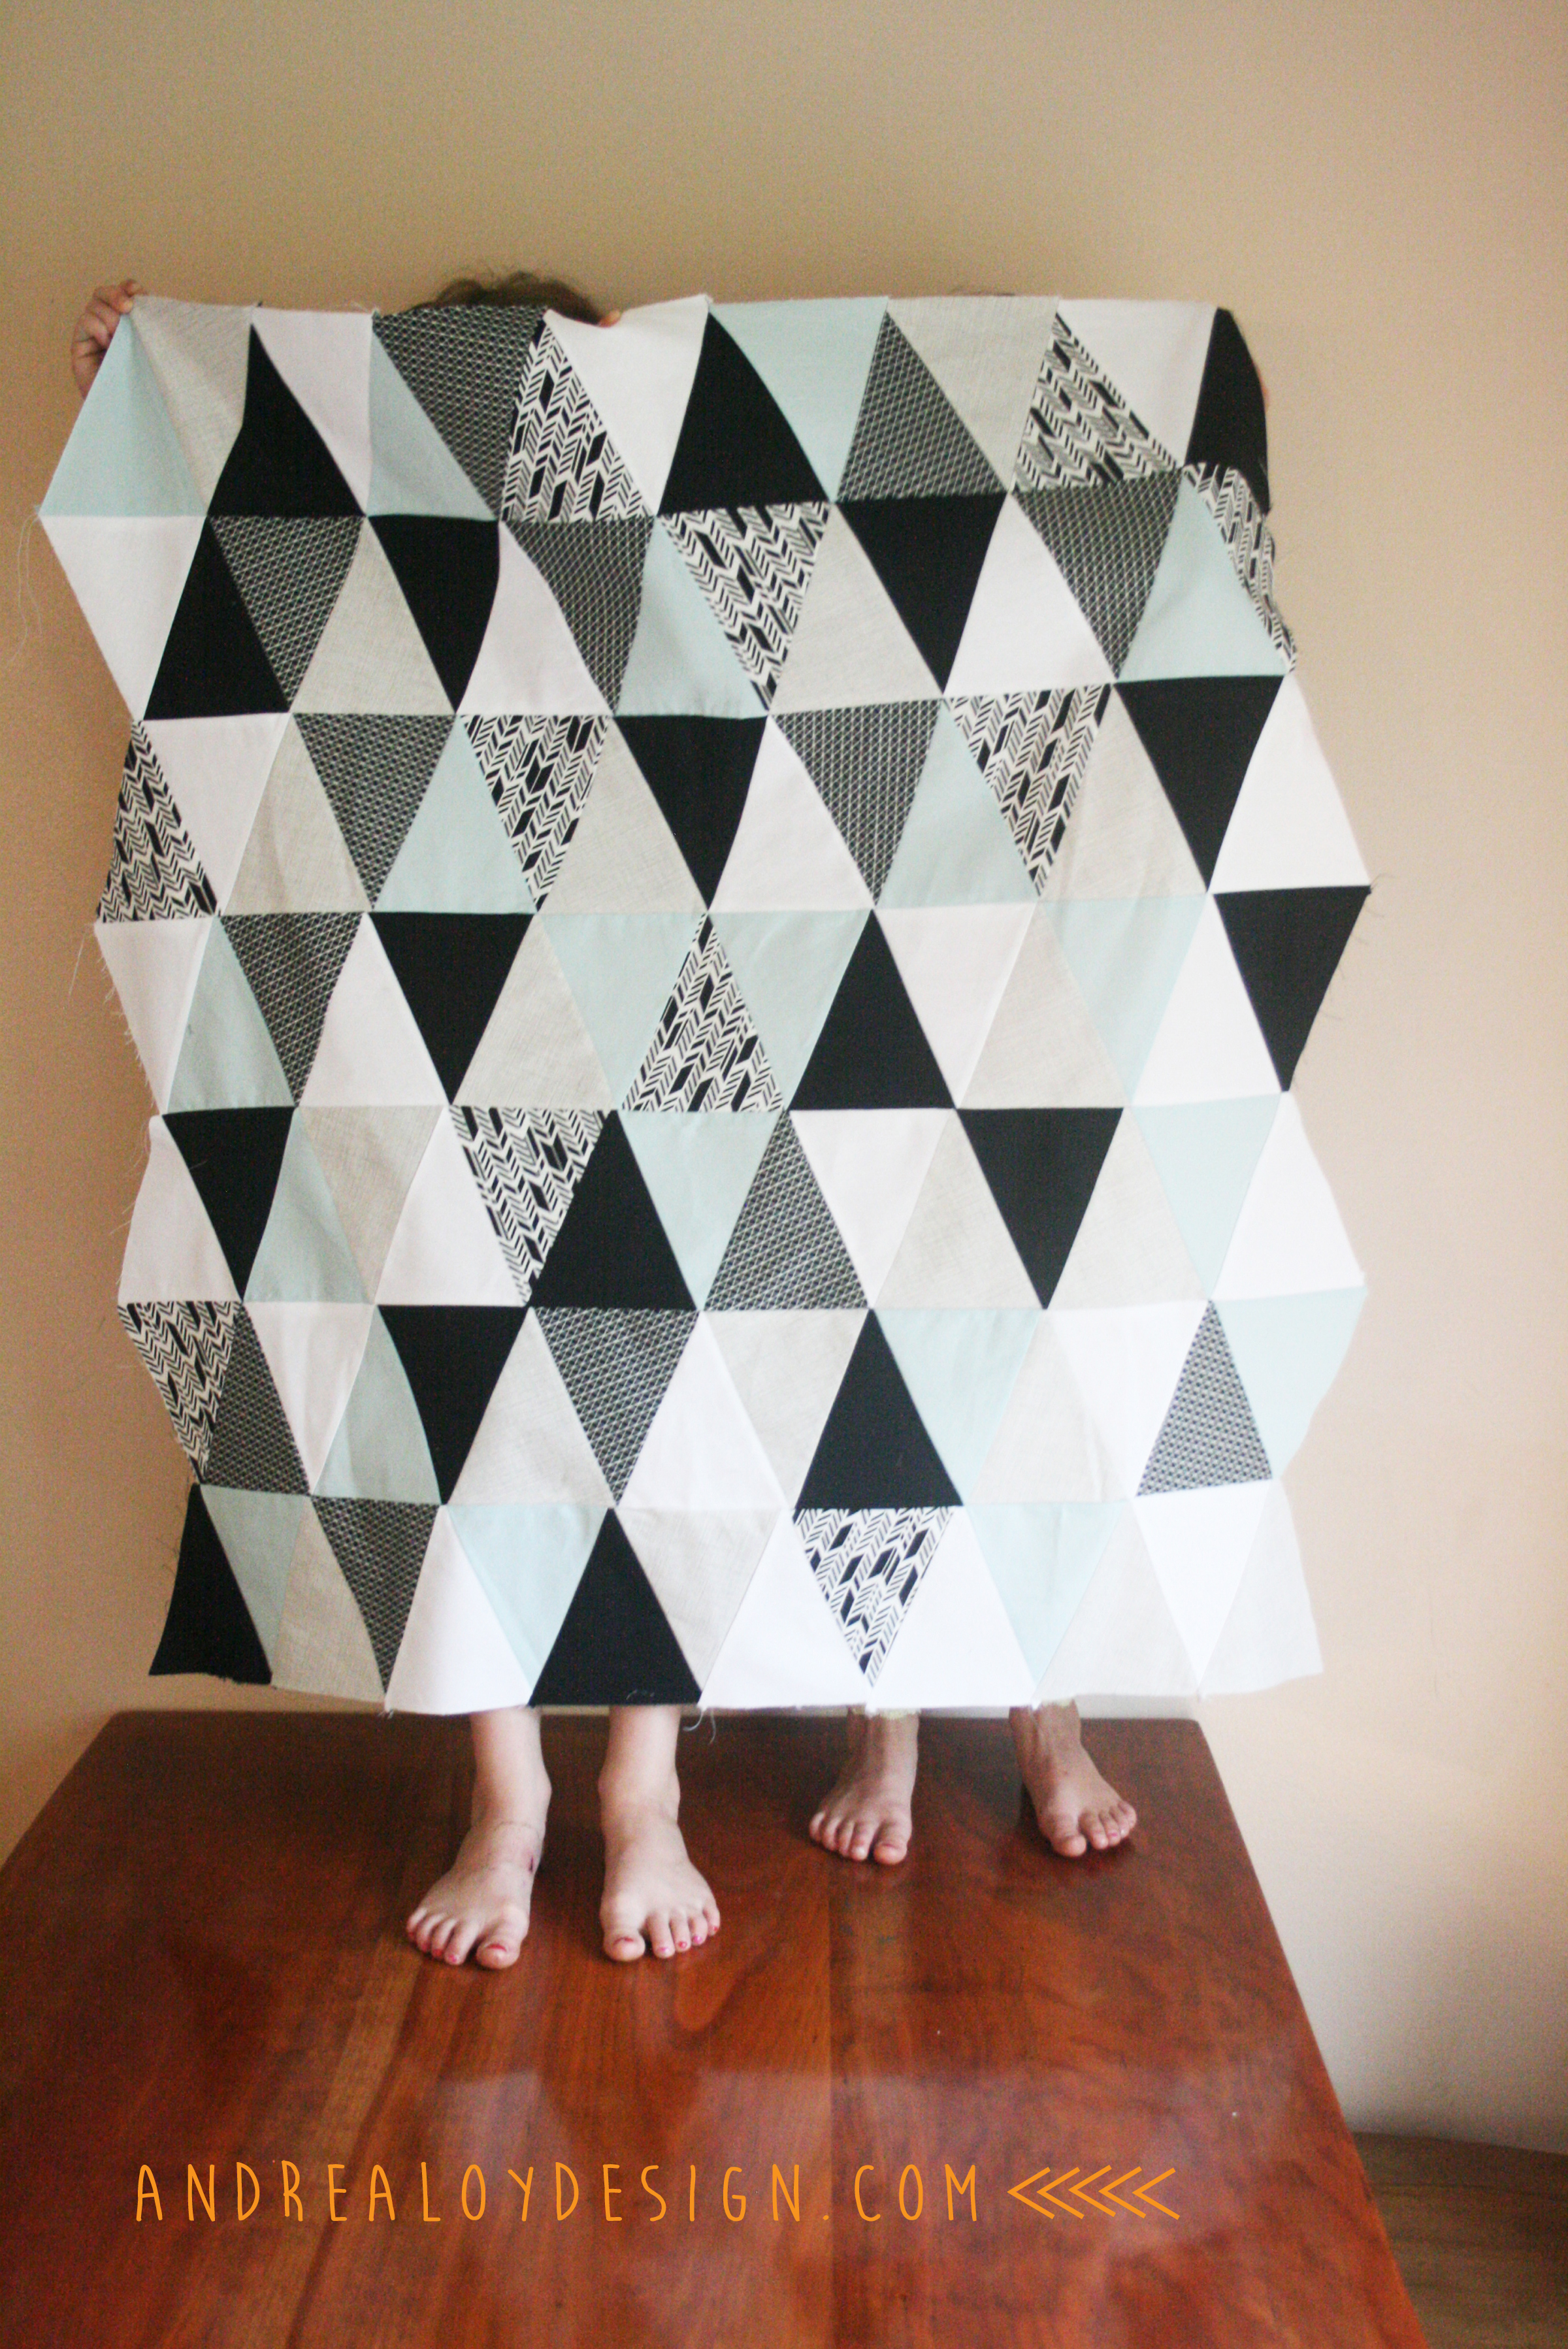
This quilt was supposed to be 36″by 36″ but sometimes you run out of the perfect pool blue Kona Cotton or you don’t know exactly how many triangles of each color your going to use….It ended up 31″ by 36″. I used 7 rows of 15 iscosoles triangles 4″ long. So if you wanted to make a baby quilt just plan on a bit more of your favorite color or be less picky than me! A twin size quilt would require triple the amount of triangles. I had a few triangles left over but basically not enough to do anything other than make a small pillow with. I purchased 1/2 yard of each of the 5 fabrics. You’ll want to prewash your fabrics and iron them to get a good precise unwonky quilt. Triangles are a little tricksy if you don’t. Plus, my MOM says you should always prewash and iron your fabric. She’s always right.
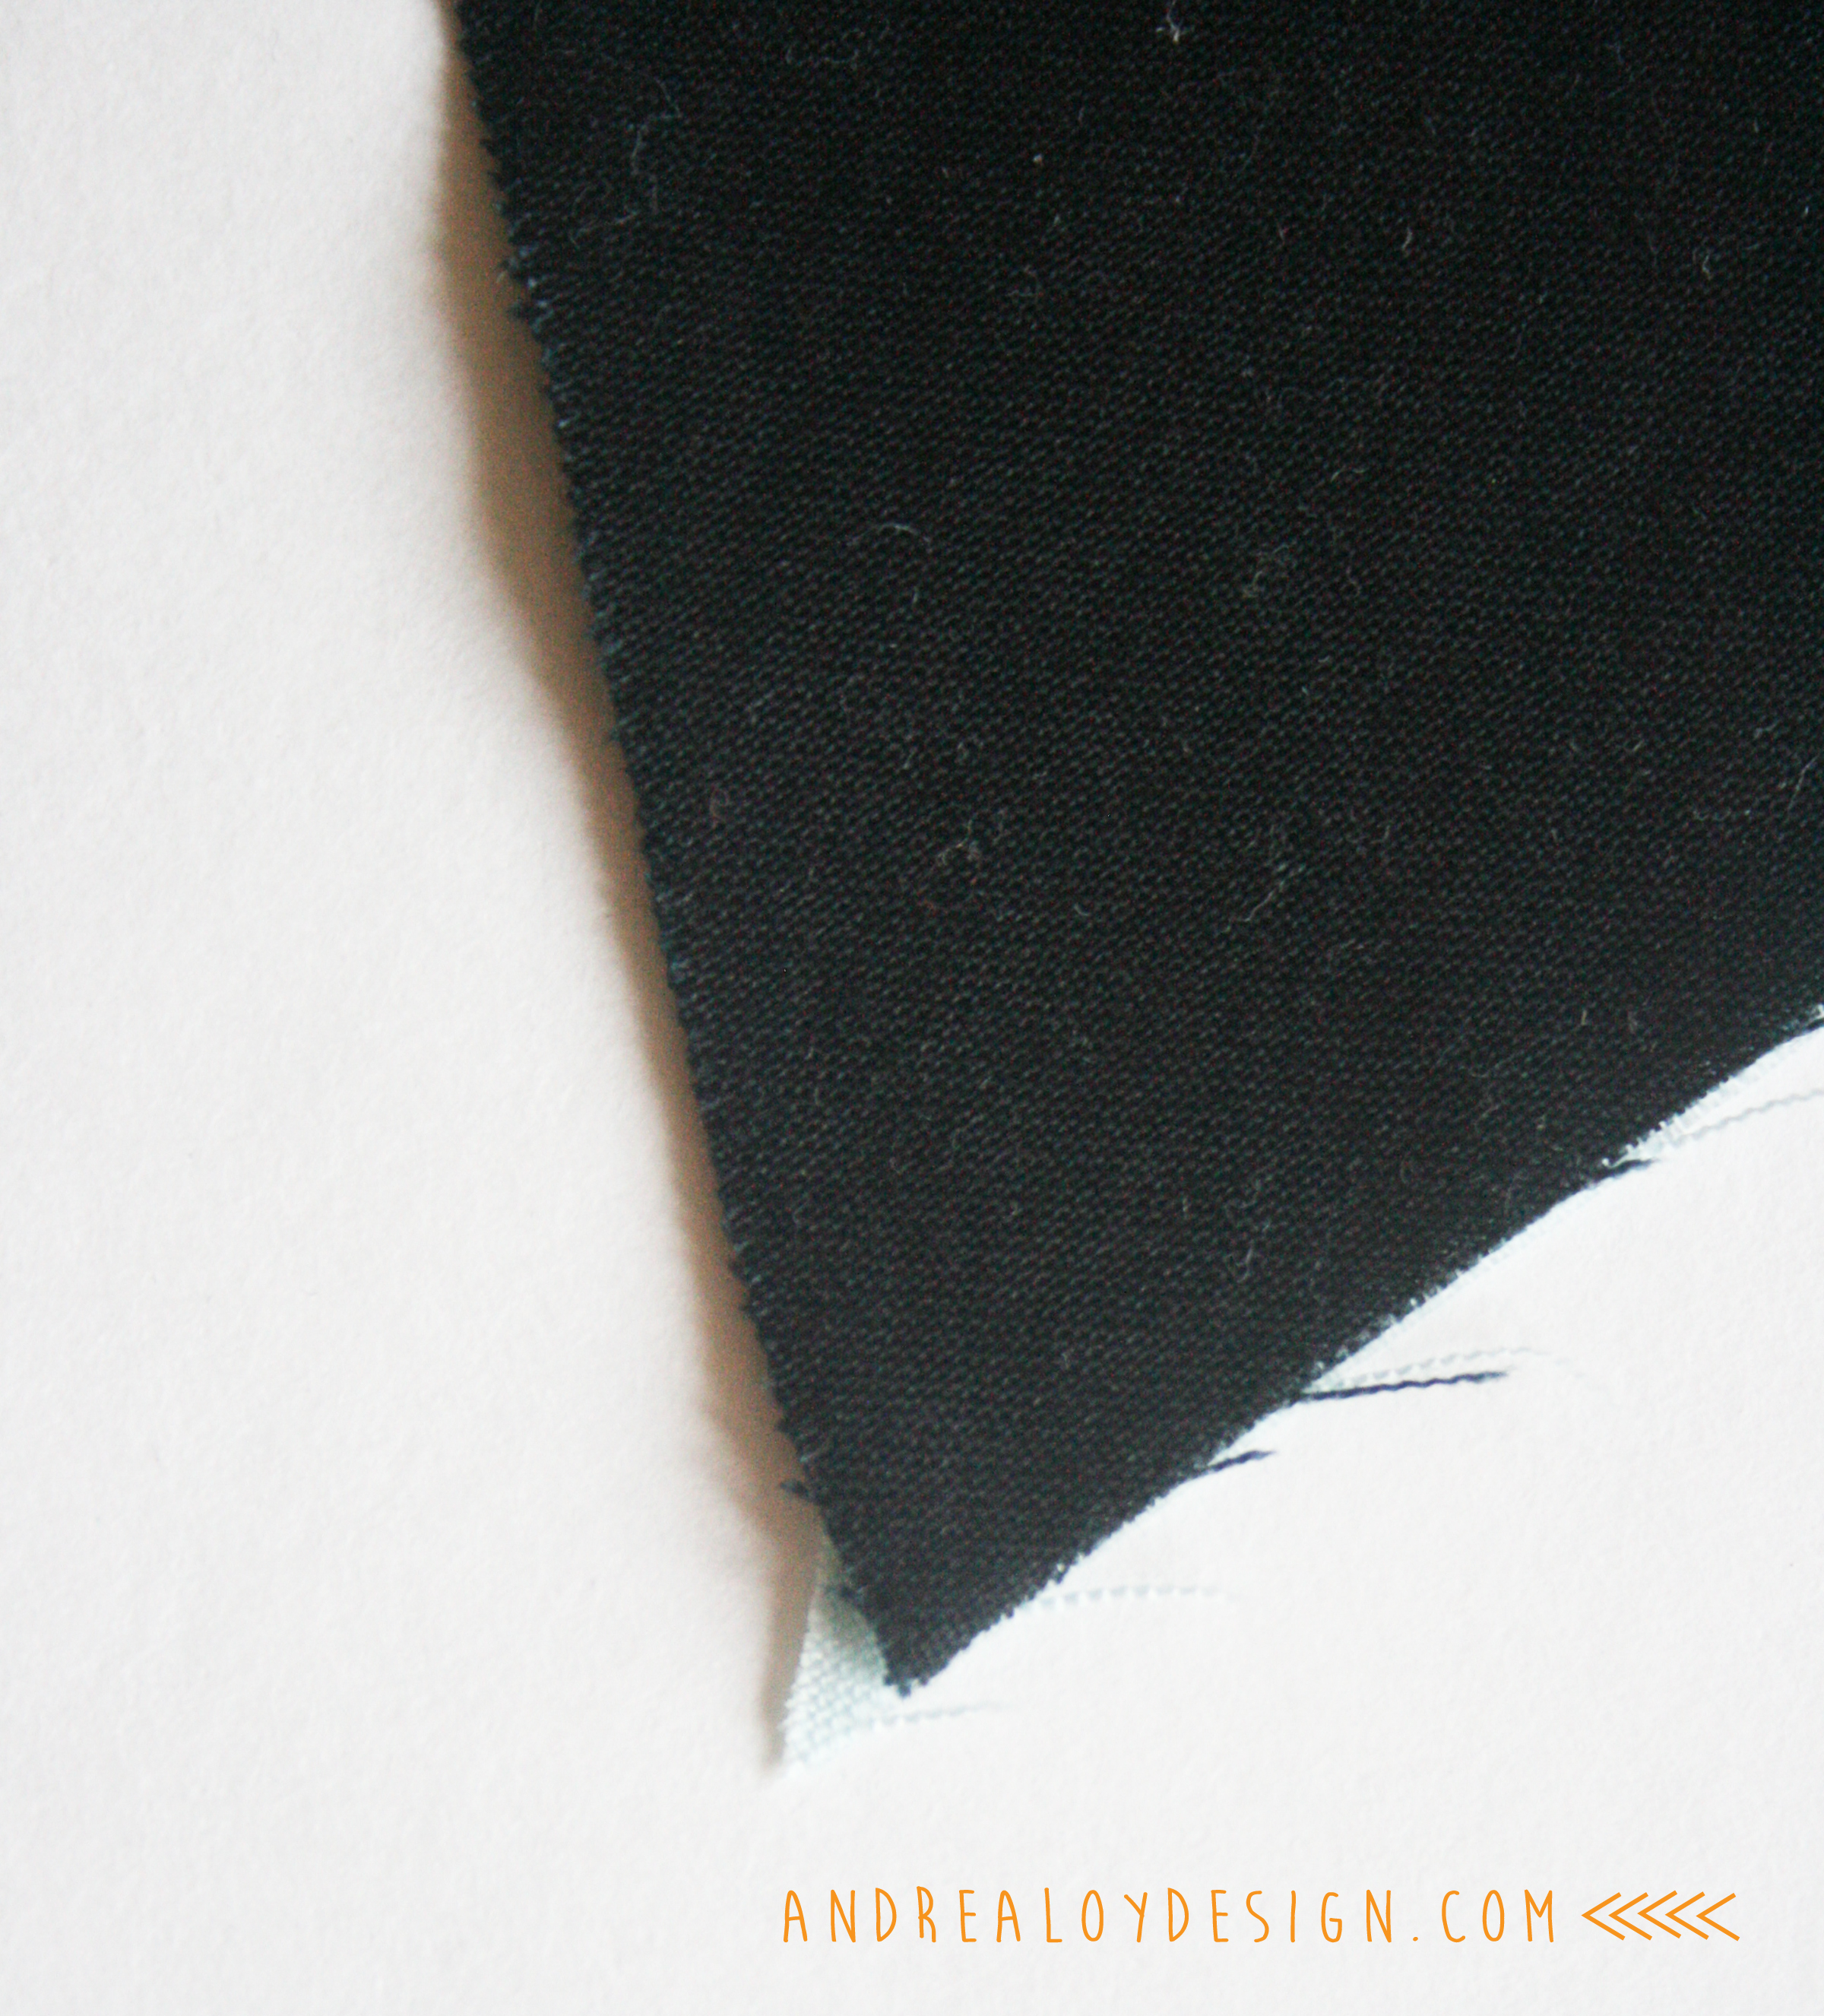
TIP: Be sure to leave a tiny over lap when sewing your triangles together. The thin point of the triangle should hang past a 1/4″ or 3/8″ depending on your seam allowance of course. Here is what I mean:

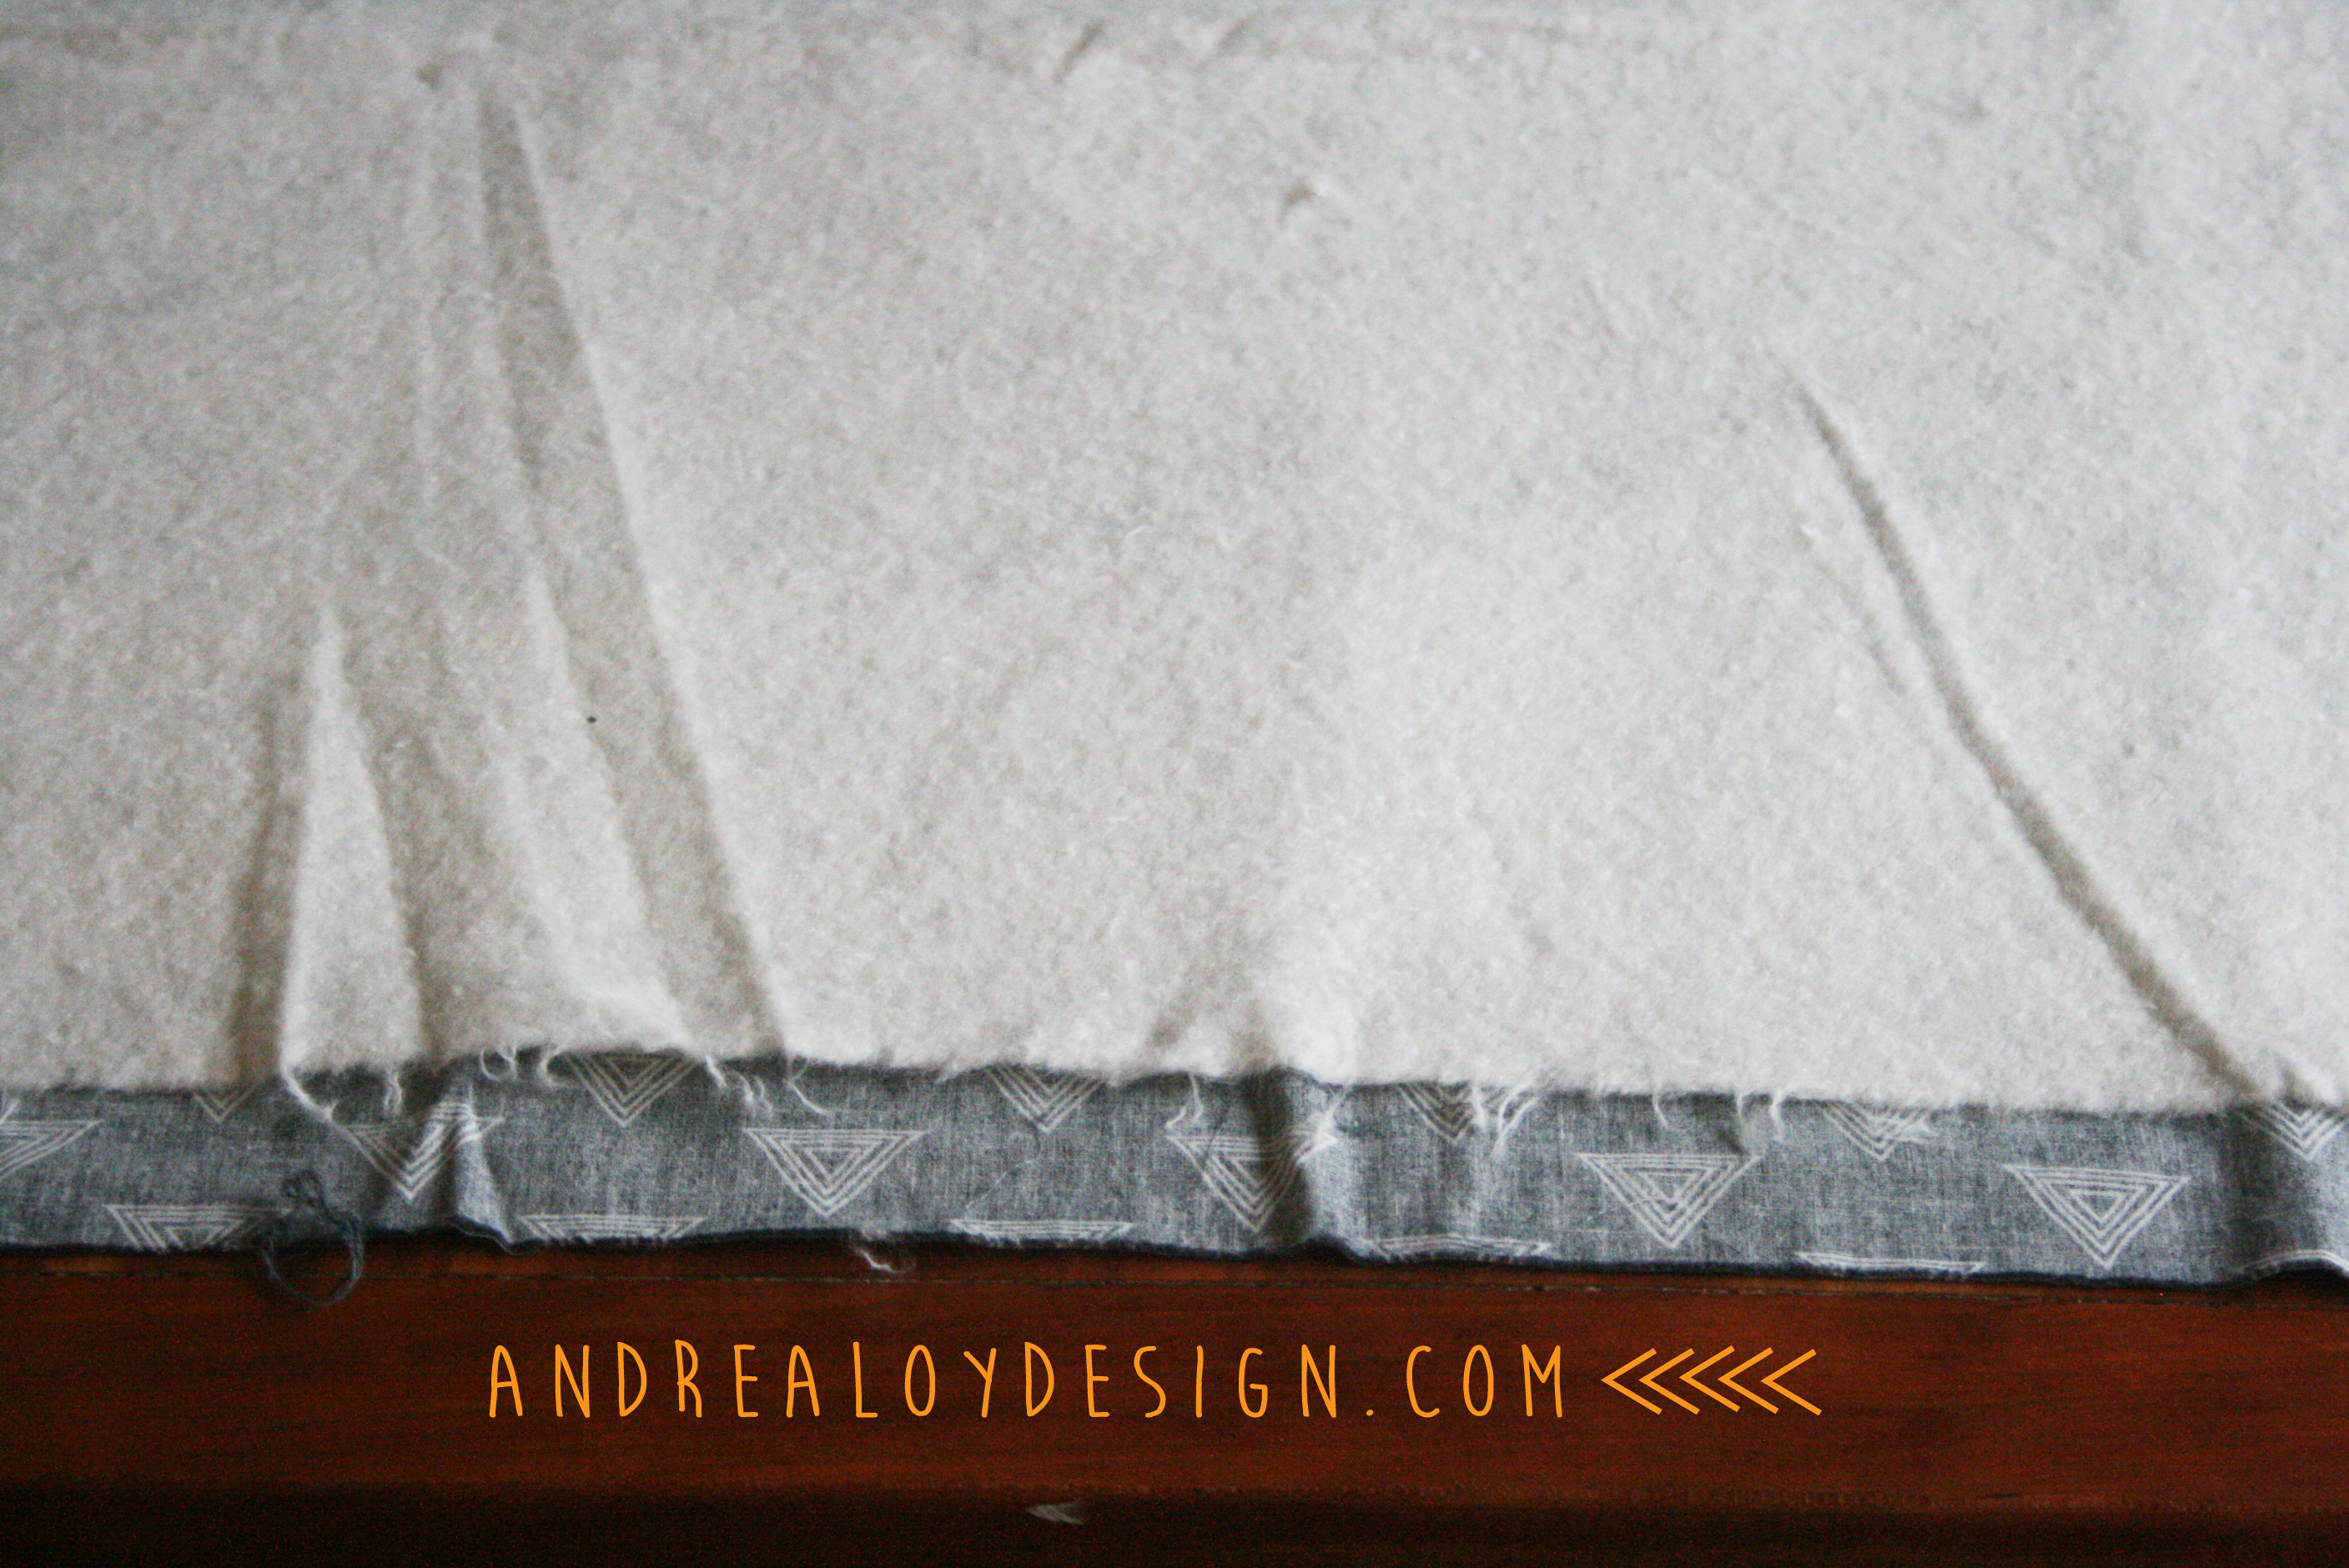

At this point in the process there are some missing pictures. Not sure why. I blame the children. First, sew all your horizontal rows of triangles together and iron the seams to reduce bulk. Then, pin the rows together one at a time, matching the seams and sew your quilt top together. As you can see above, I chose Mountain Soft thin cotton quilt batting. I like that one or Warm and Natural. It’s easier to quilt through the thinner, natural fibers of these types. Joannes always has their batting on sale, so you should never have to buy it full price. I absolutely love the backing fabric for this quilt! It’s Art Gallery’s Prism Elements line!!!! I’m so glad I didn’t buy the backing until I was ready because they just came out with it. There are a variety of colors and simple patterns in this line to go with all your quilty projects!
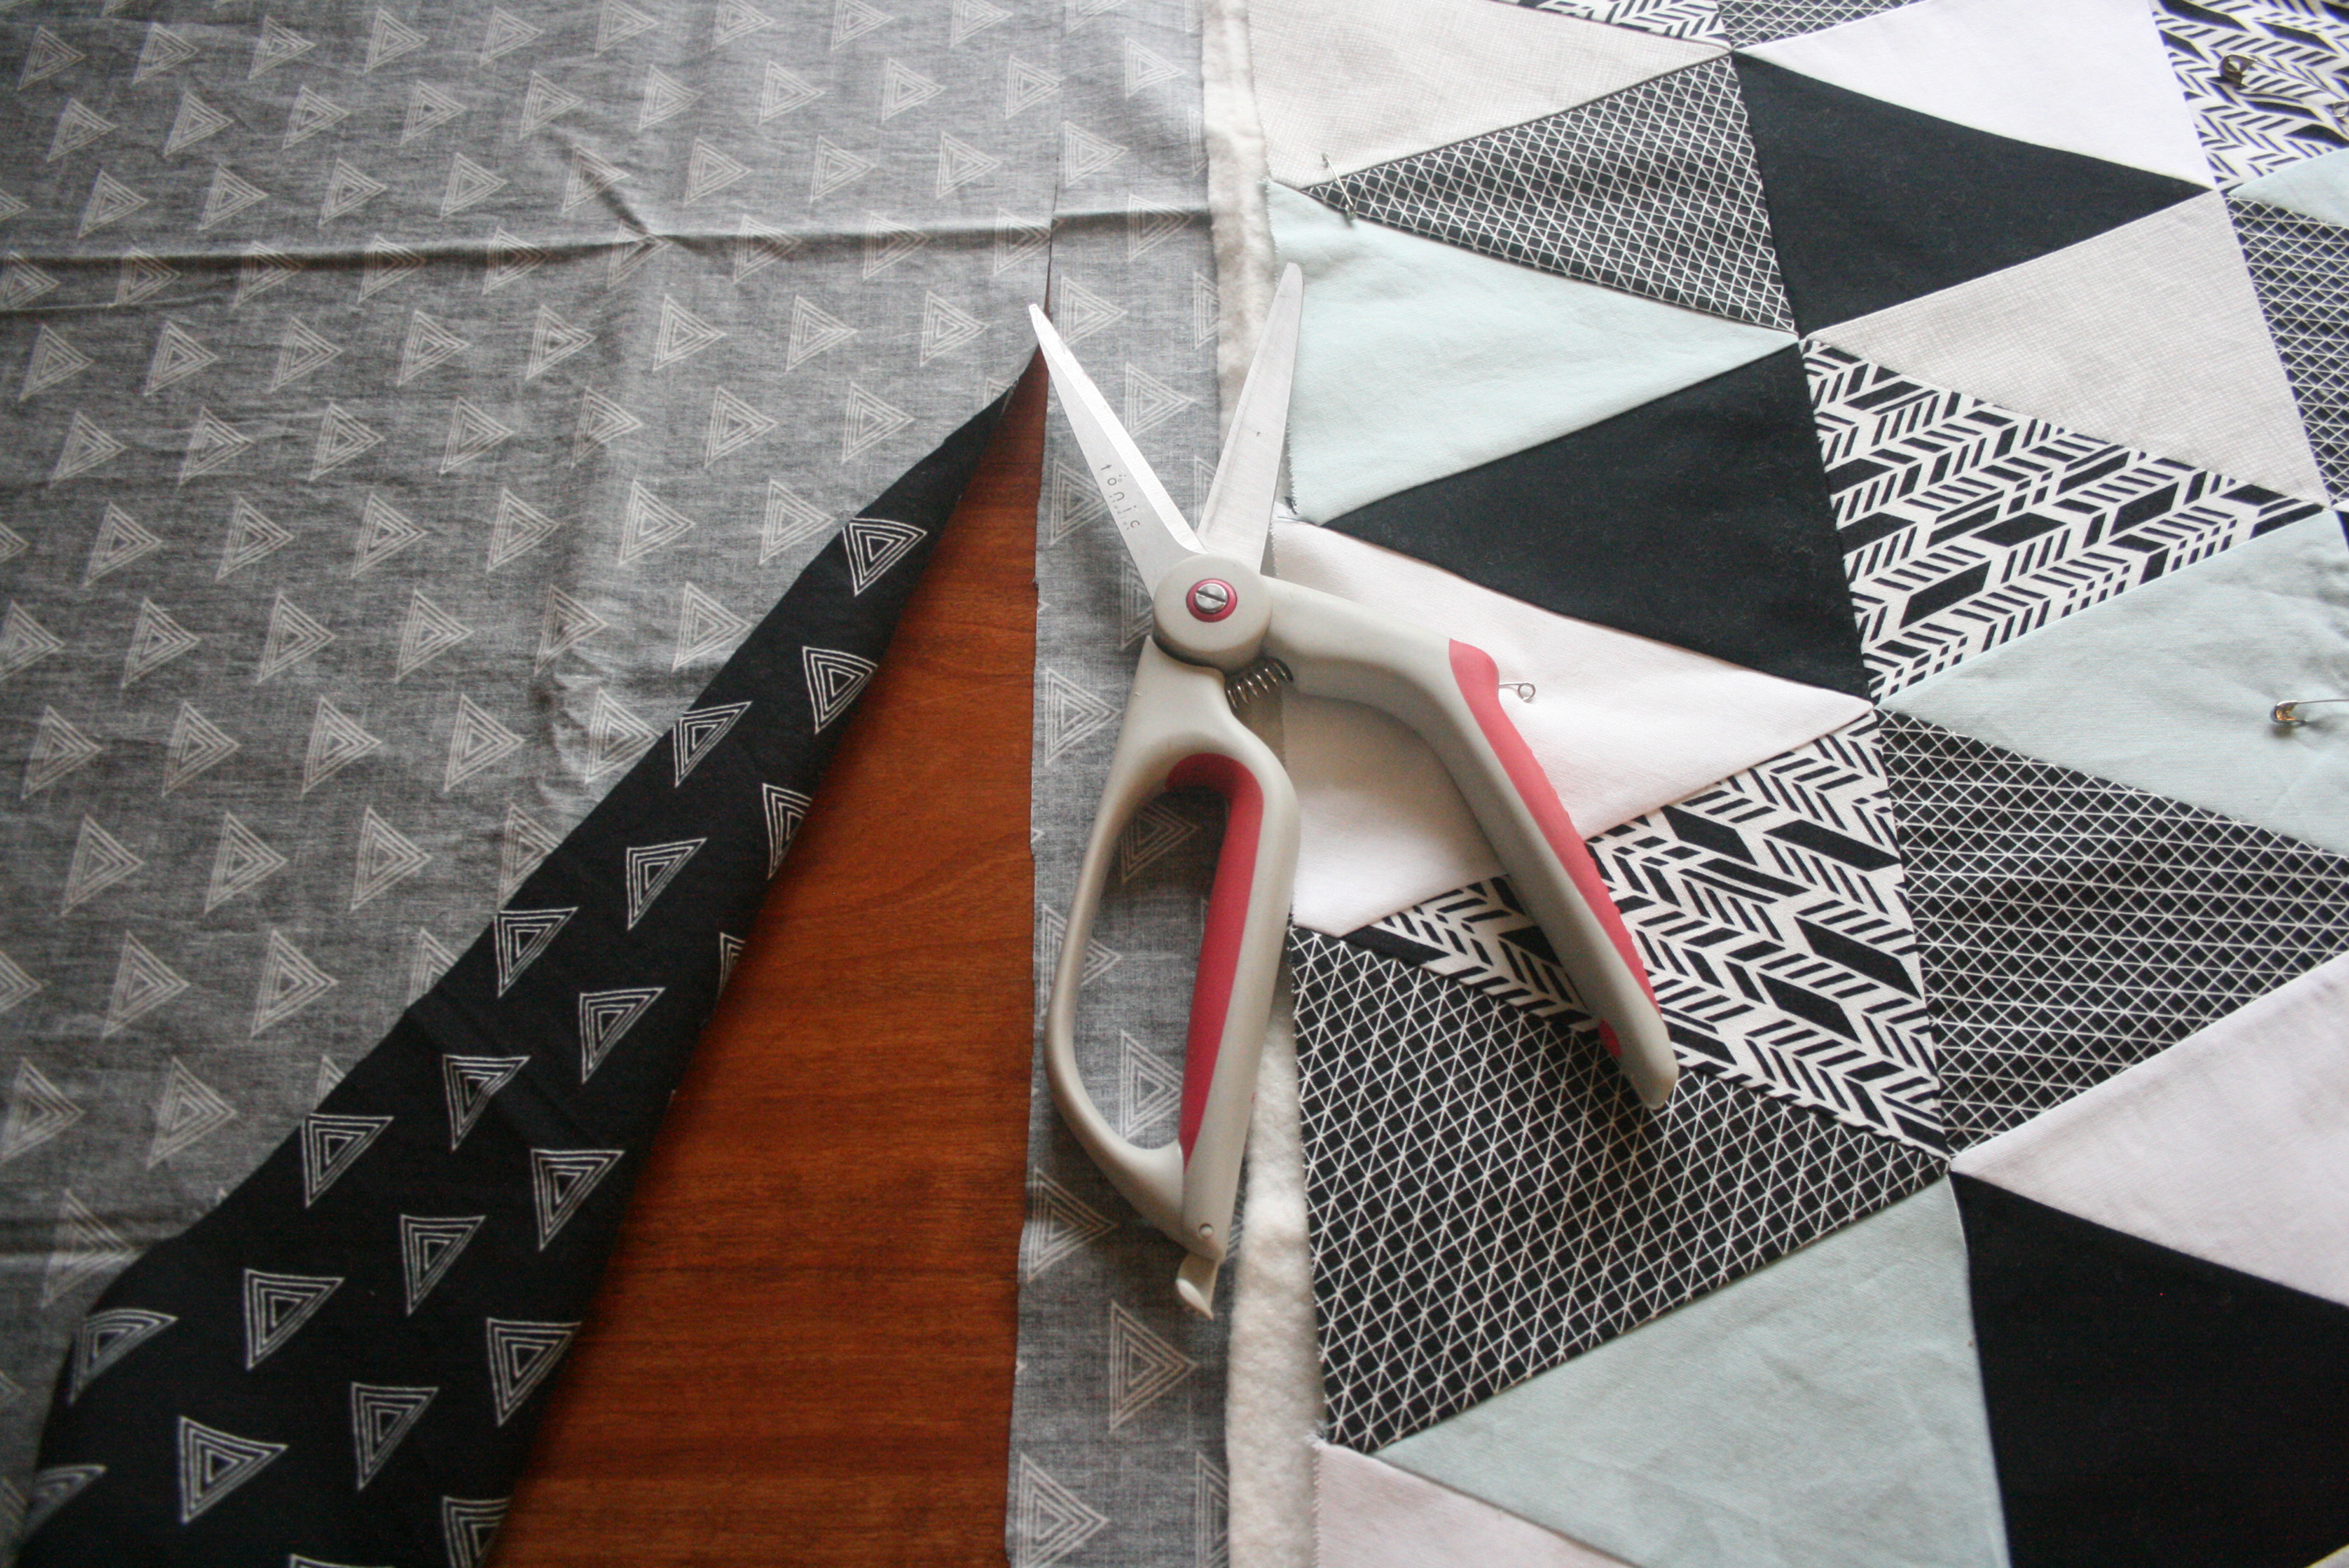
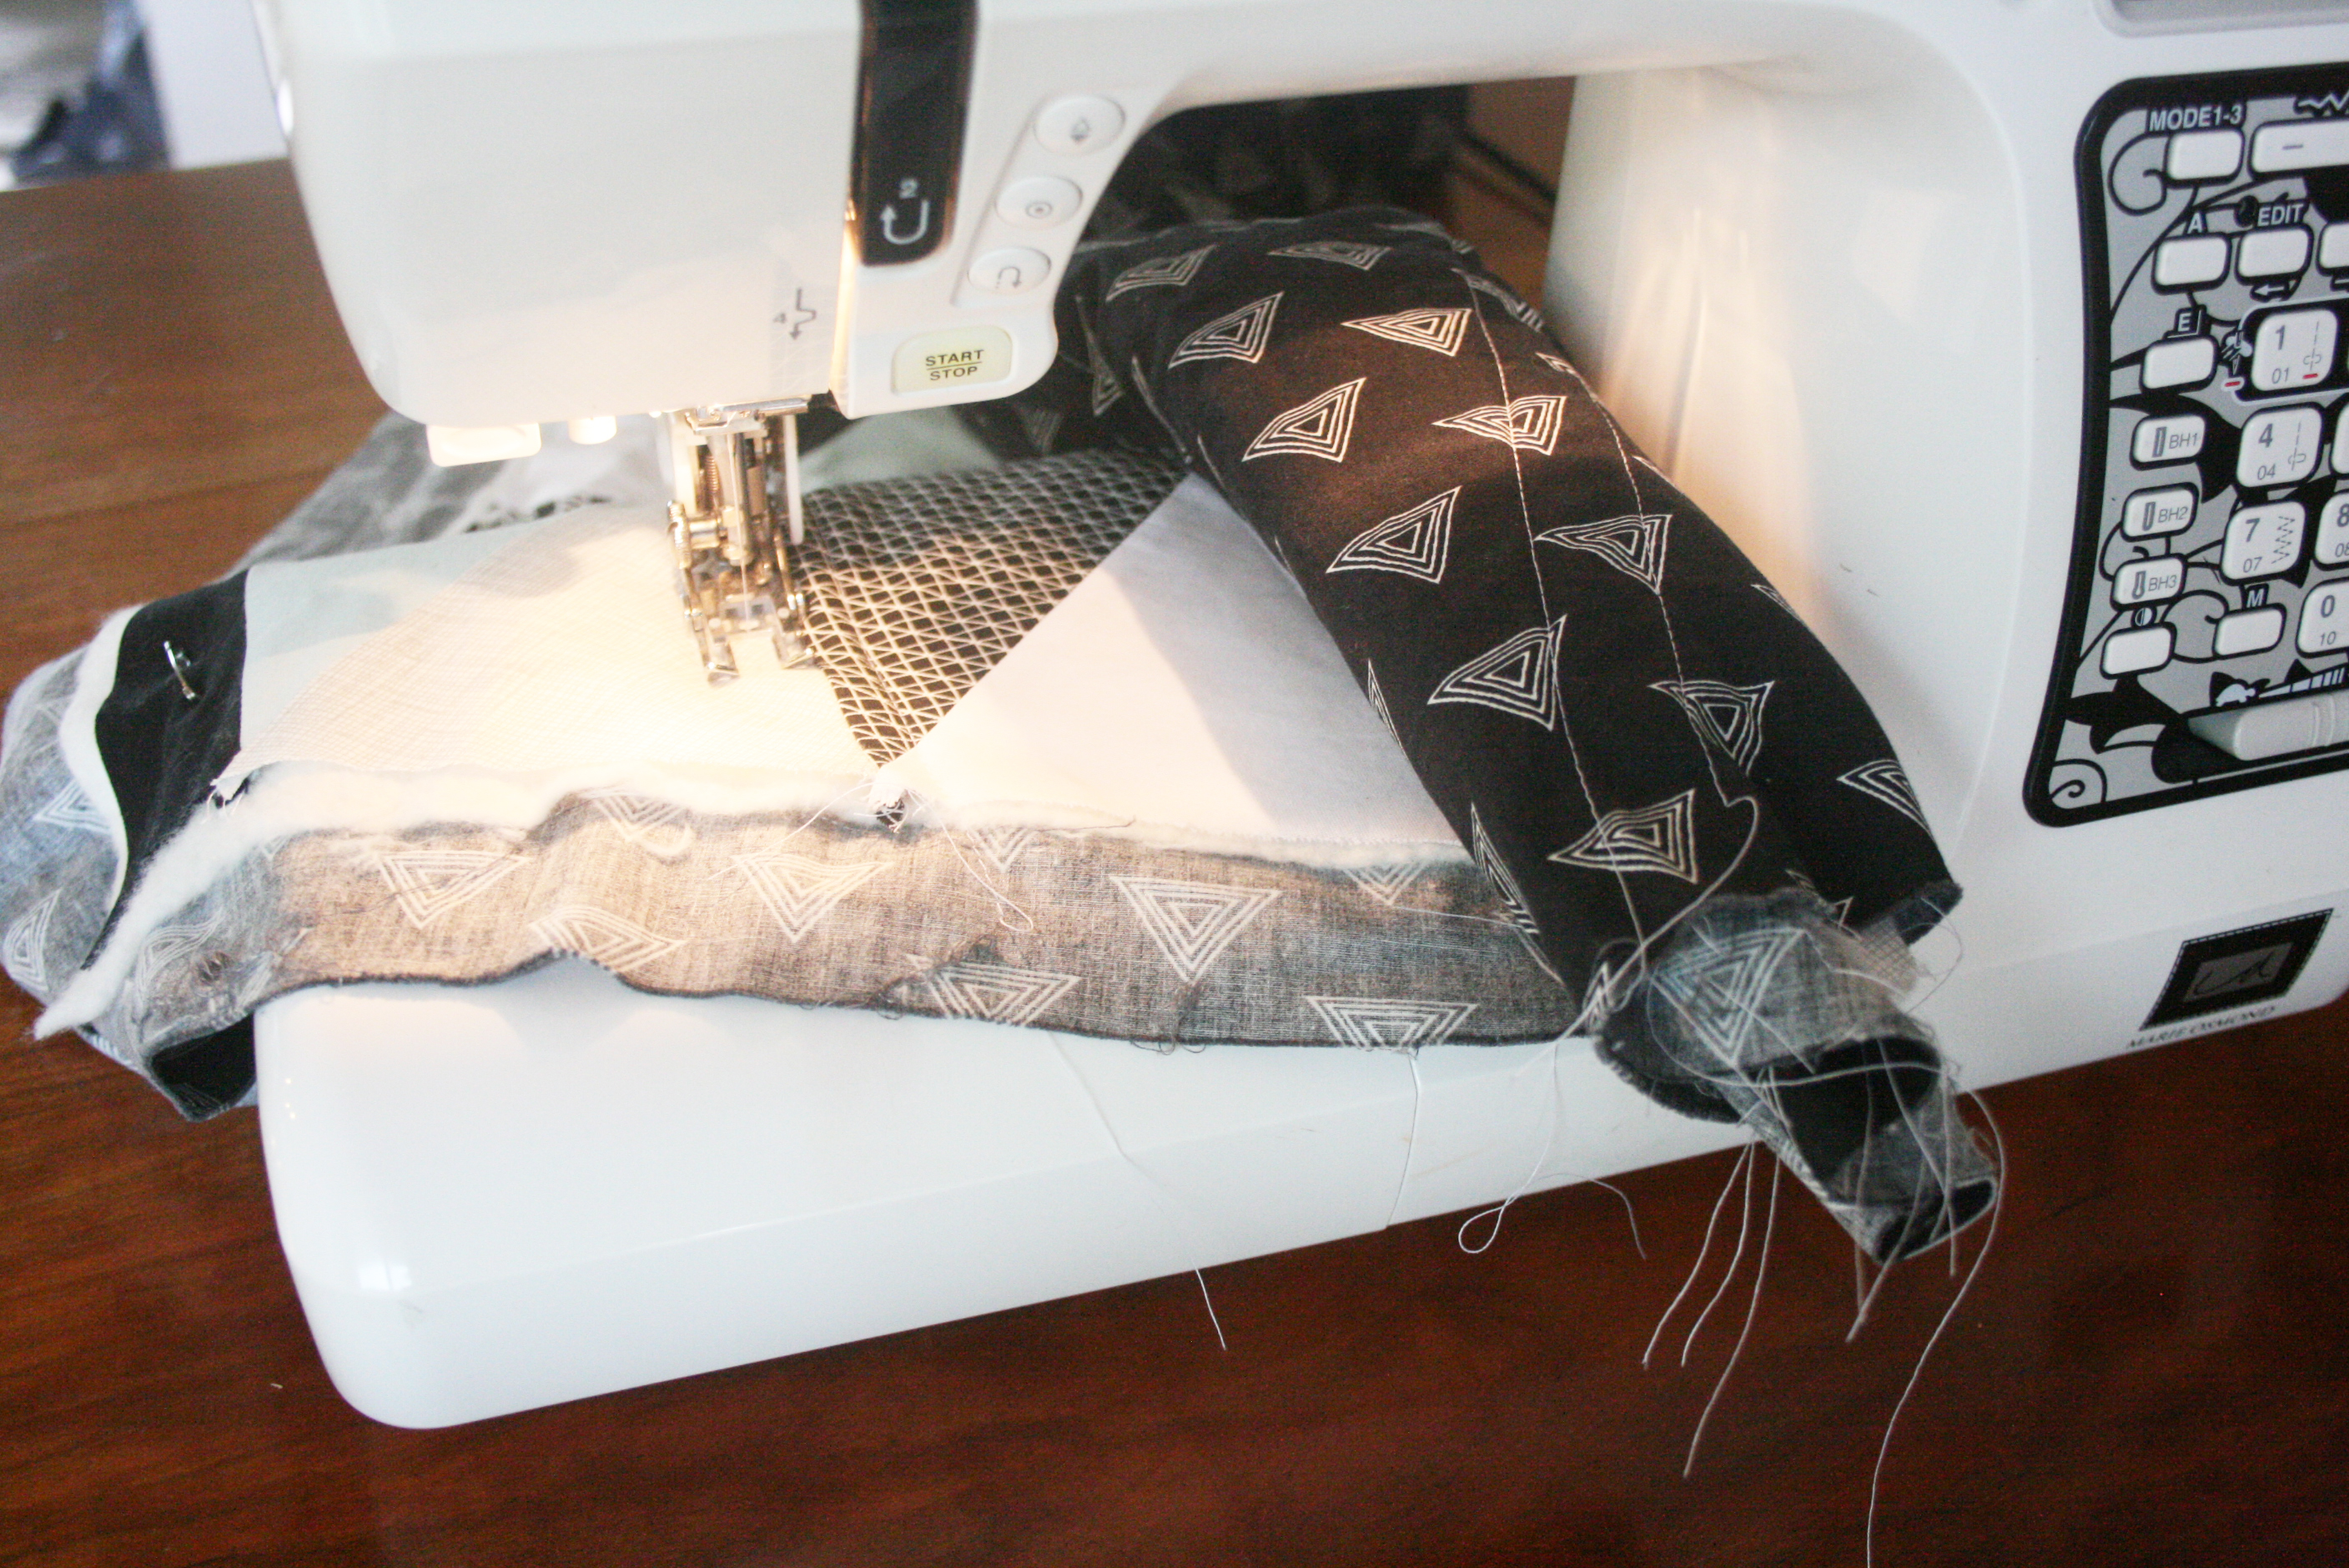
When you make your quilt sandwich, think about how you want to do your binding. I NEVER do the backing binding method, but this was such a small quilt and I loved the fabric. So of course, for my first ever blog tutorial I do it! I carefully trimmed my top and batting with a rotary cutter and pressed them before laying them atop my backing. Next I safety pinned the layers together. Always start in the middle and smooth from there to pin your quilt together. Work out in a cross and diagonal from the center. Last step before quilting: I trimmed a 2″ margin of my backing carefully. I wanted to have a 1.25″ margin for my binding but sometimes when you quilt it uses a bit of the backing, better safe than sorry! I quilted on the diagonal and LOVE how it turned out. When quilting on your home machine, use a walking foot. Roll your fabric up to help it fit in the “armpit” of the machine easier. Set your stitch a bit longer than normal to help the quilting stay smooth. Work from the middle out with your stitching…
Let’s talk binding. Trimmed it up to a nice straight 1.25″ with the rotary cutter. Pressed the quilt nicely. Then, I ironed the binding over to the top of the quilt making a crease. Next I double folded the binding, pressing after each fold.
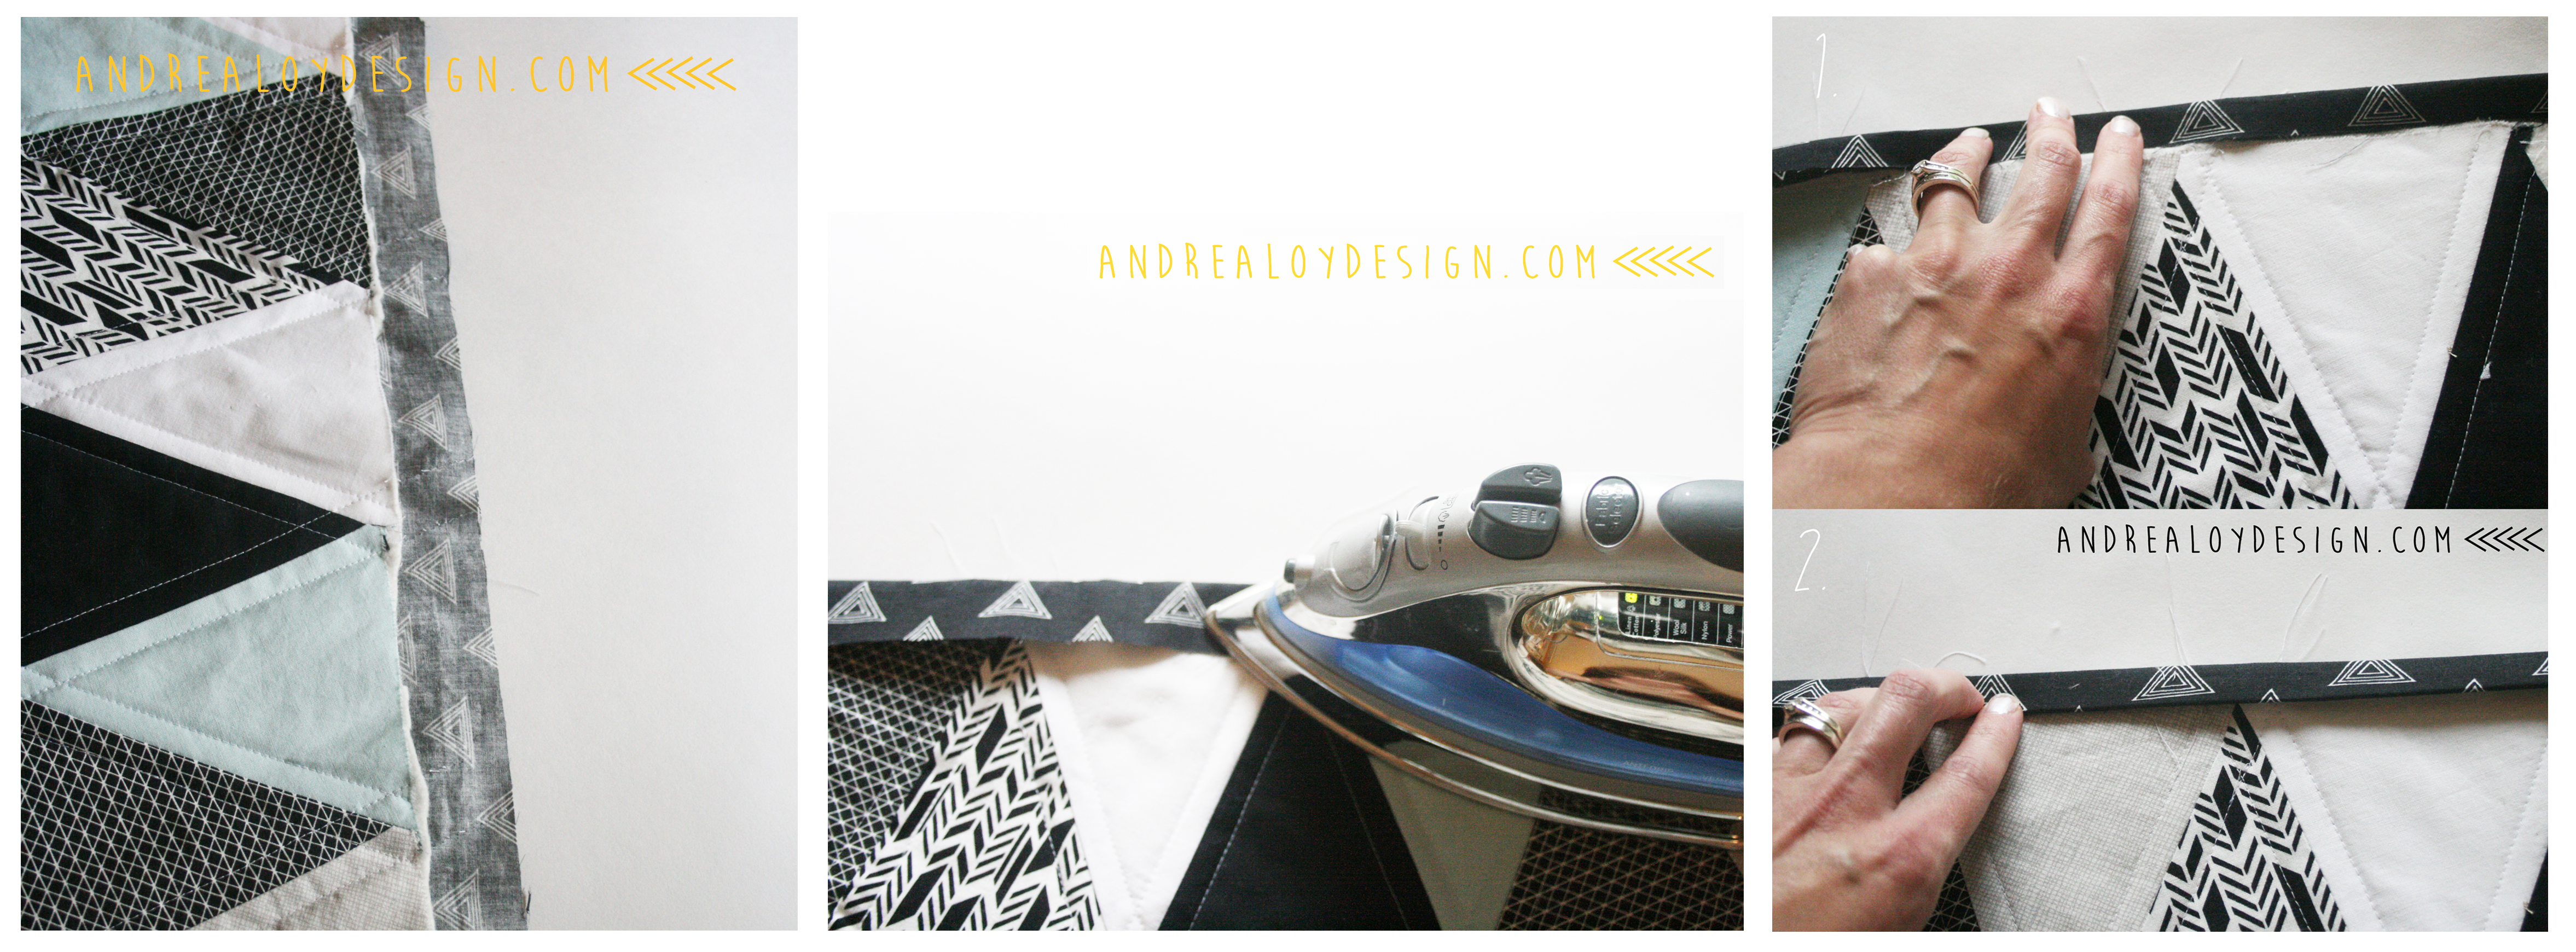
Are you hoping at this point that I don’t forget to show you how to miter the corners? First open one fold of one of the quilt binding sides. Fold the corner down toward that opened side. The fold the binding back over where sit should go. Poof! Magical mitered corner… I think it’s best to show you in pictures:
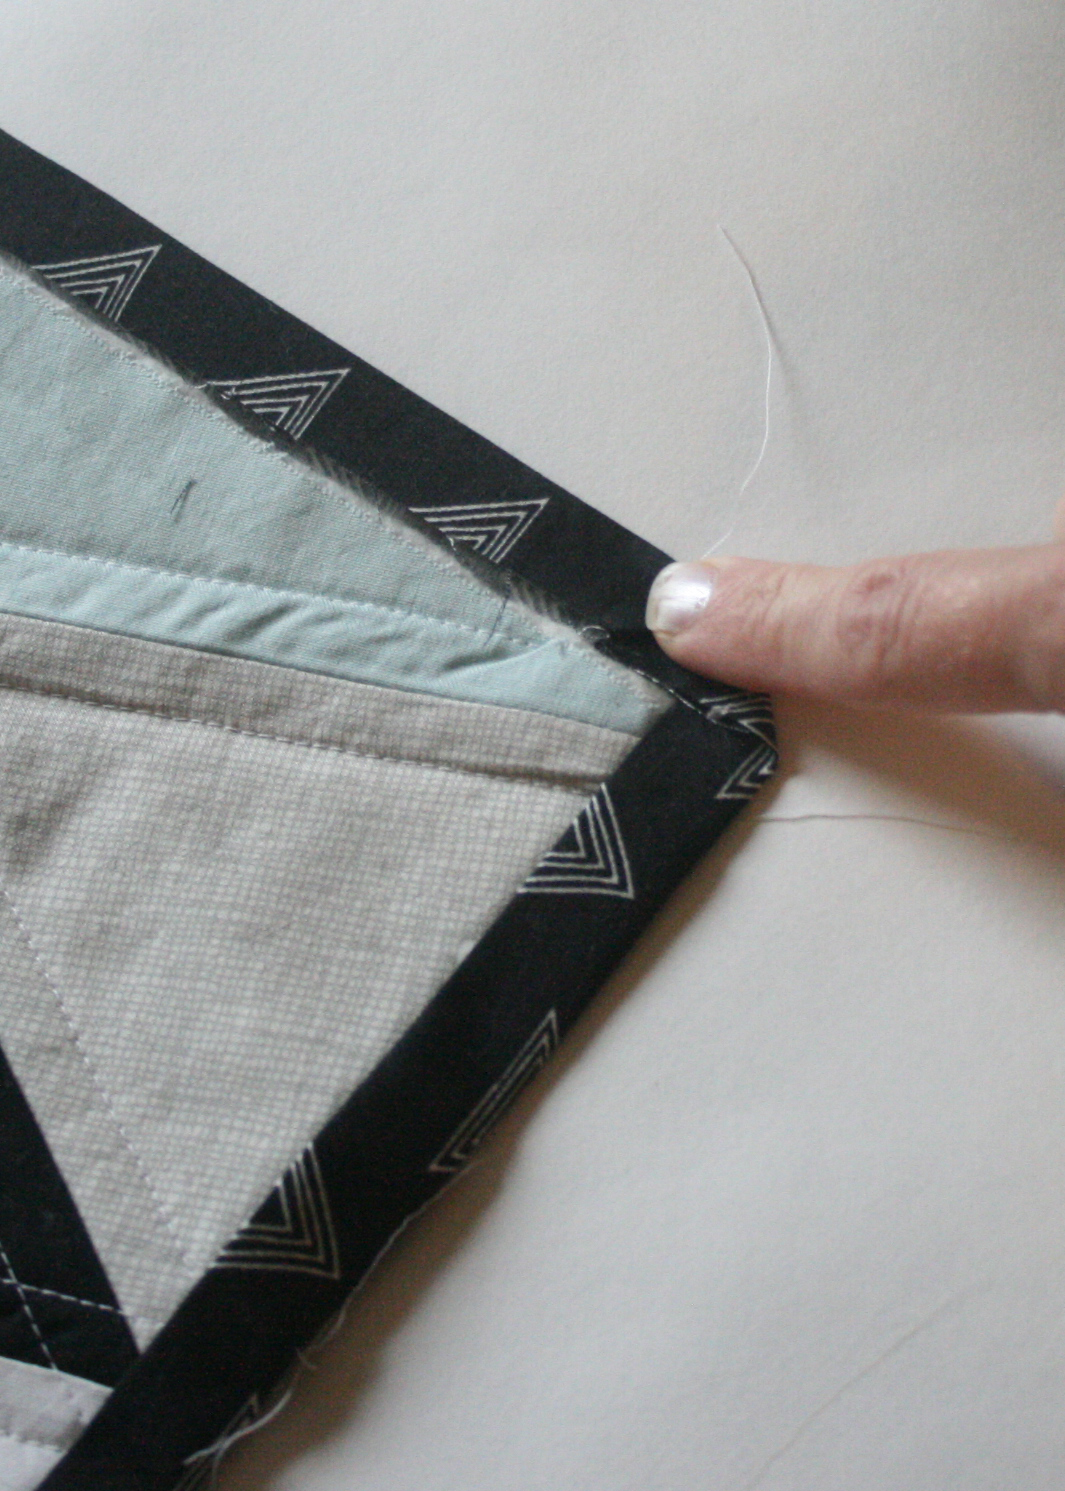

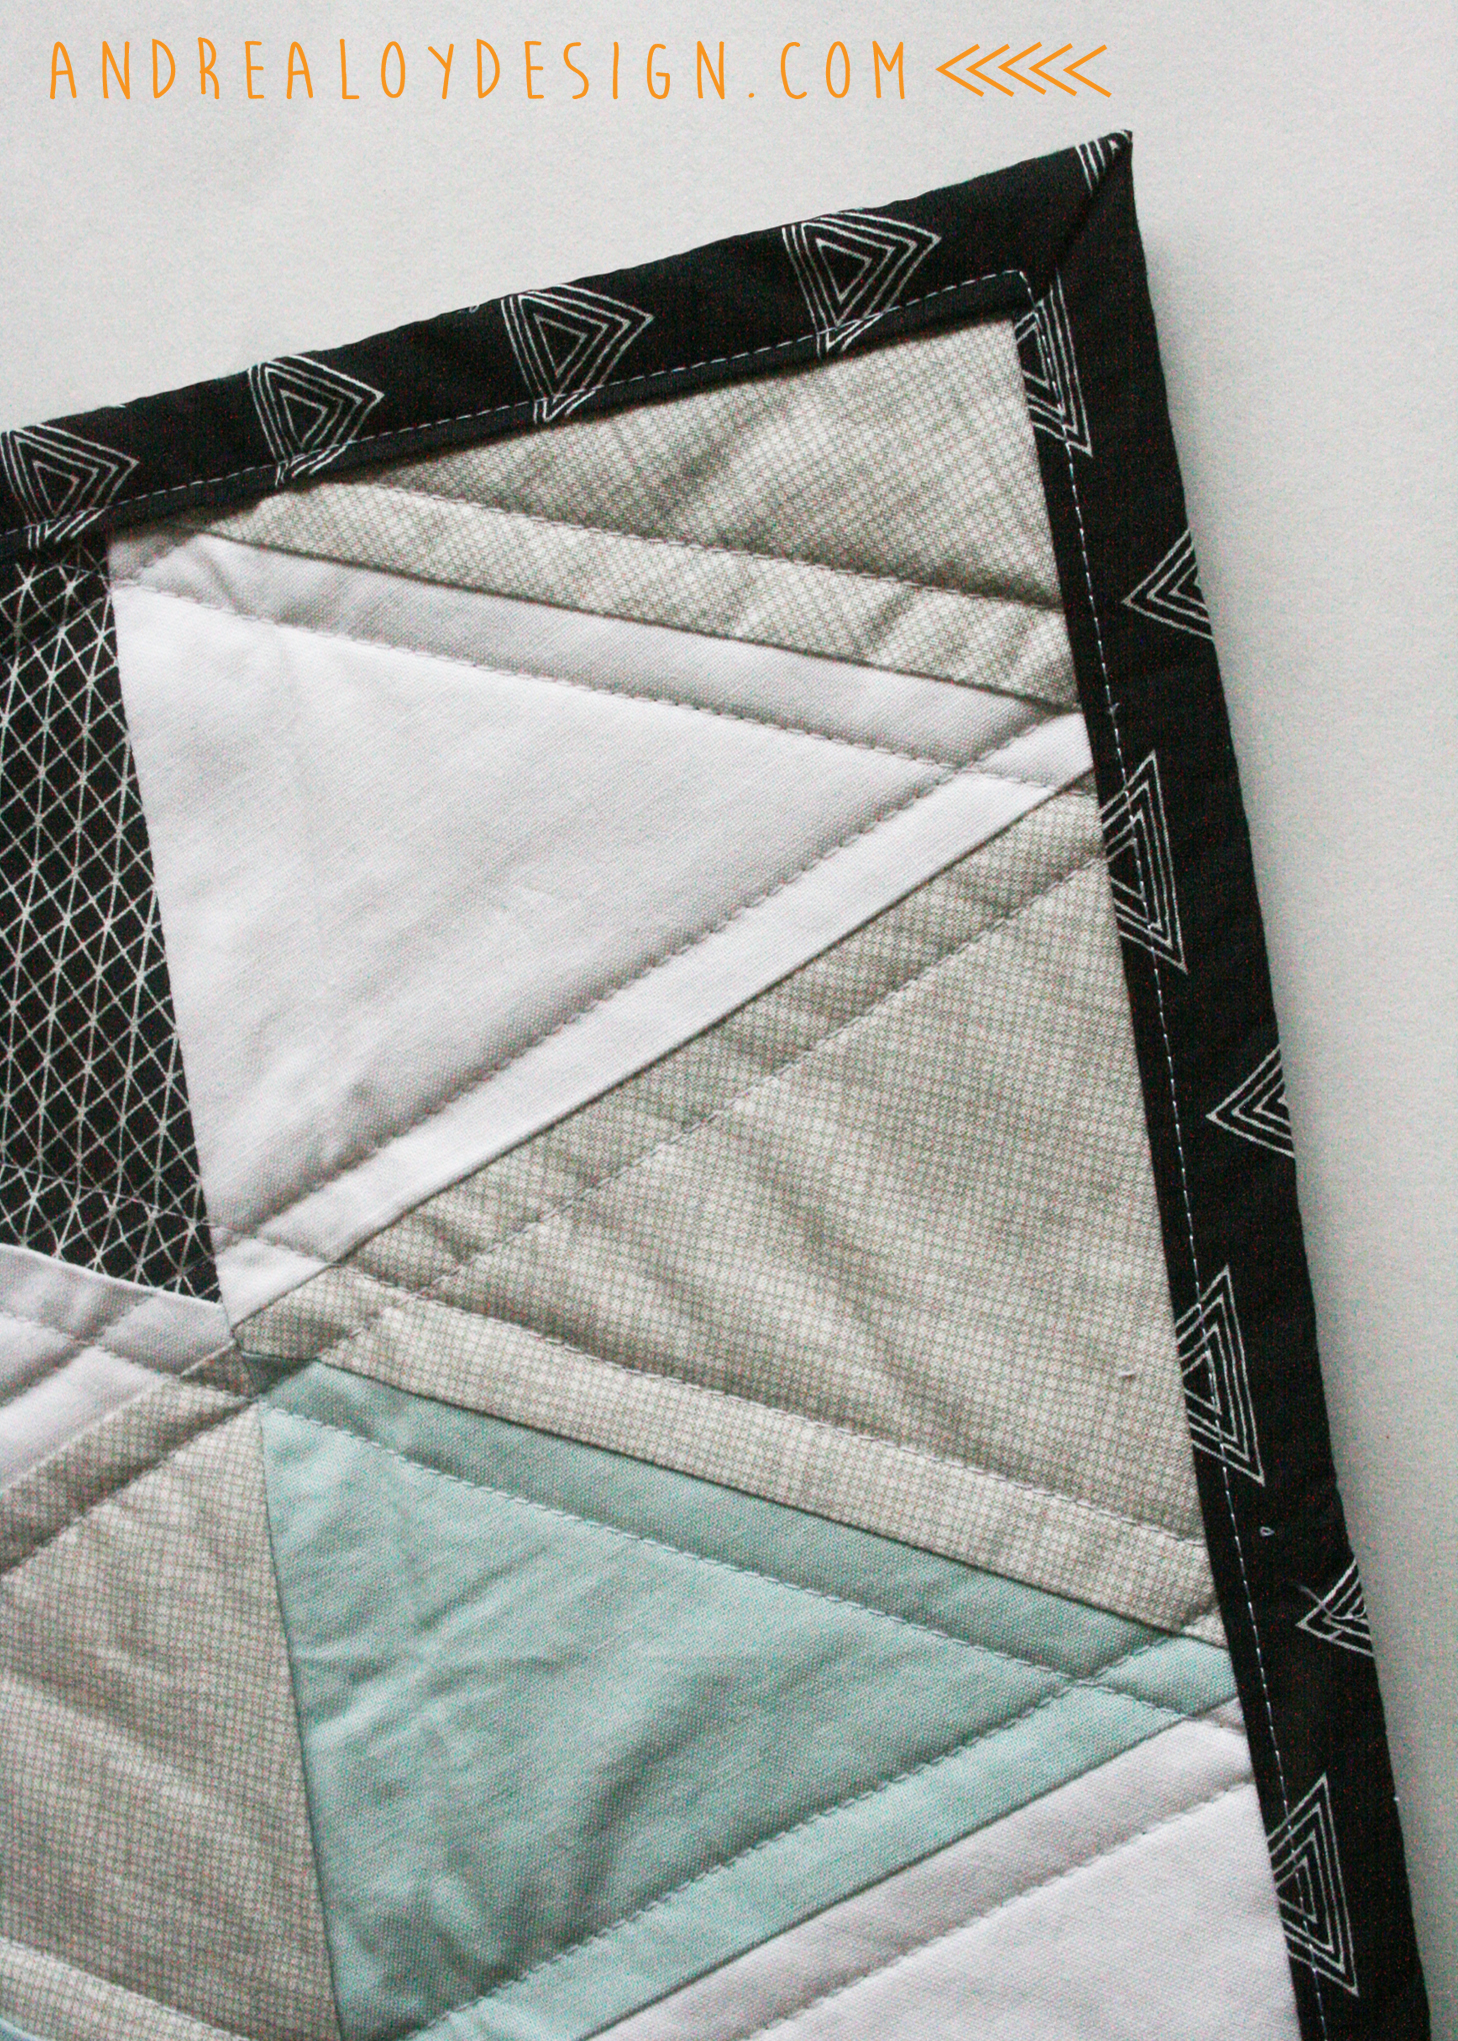
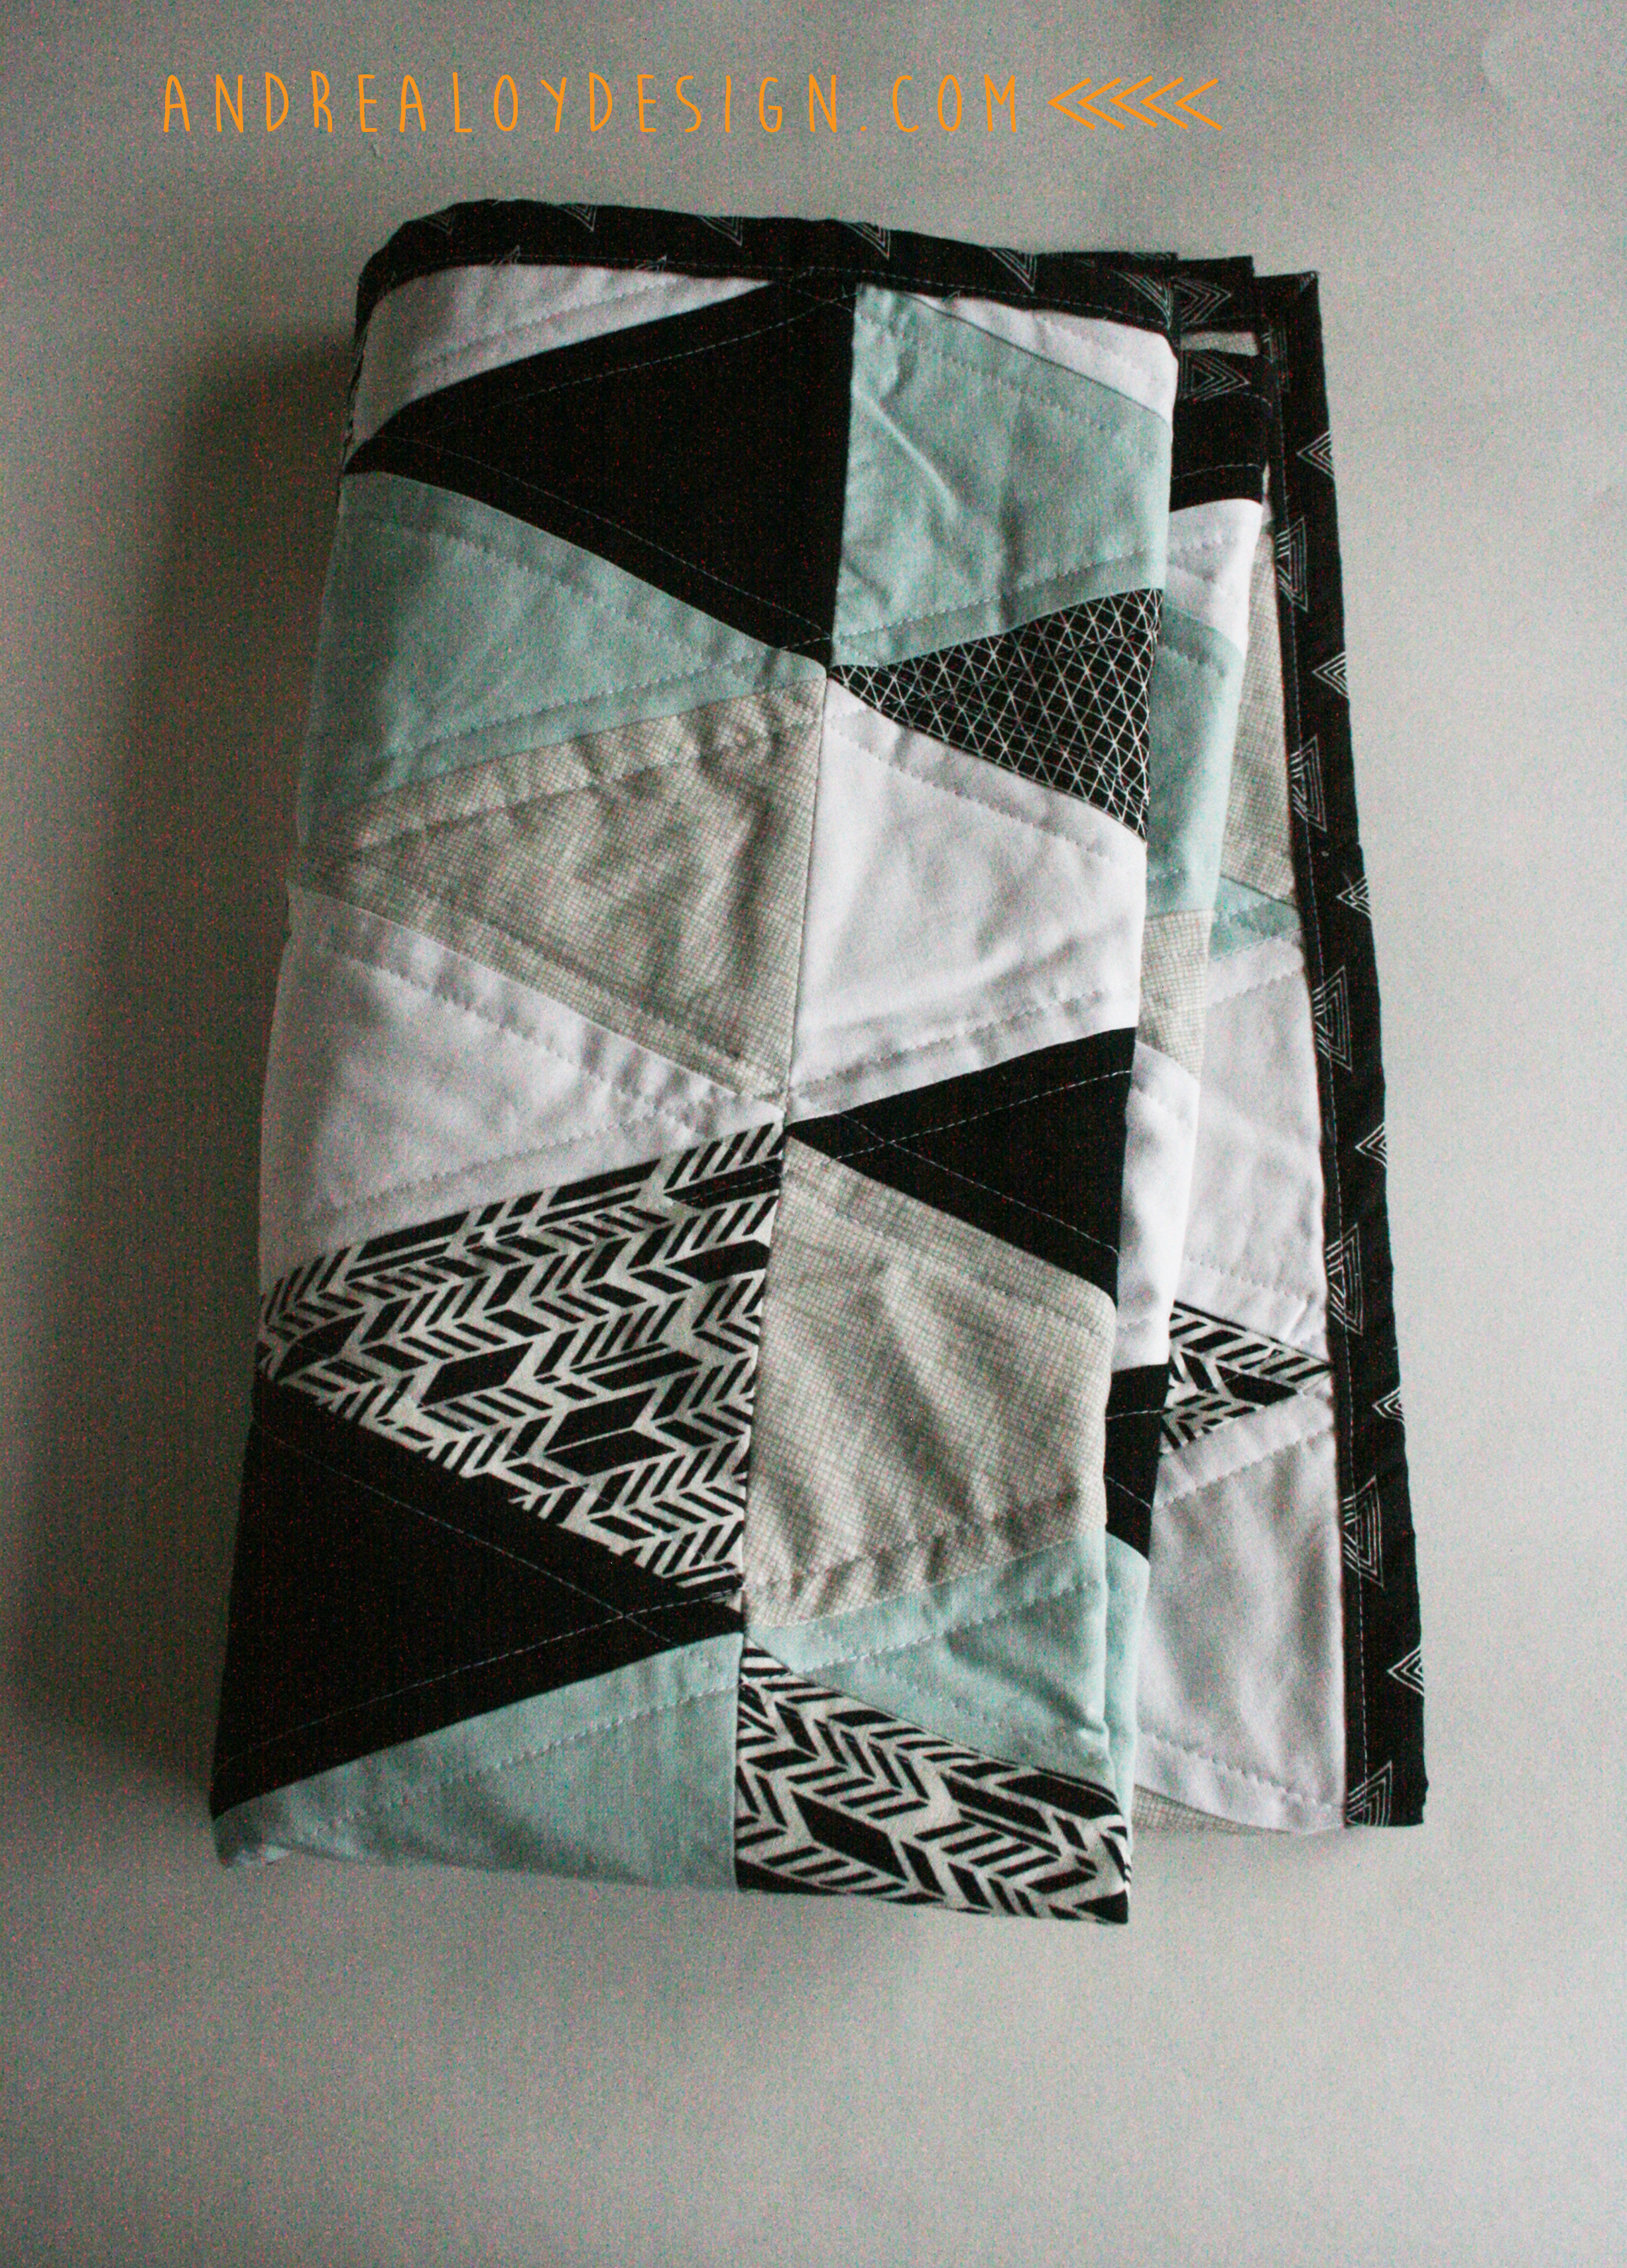
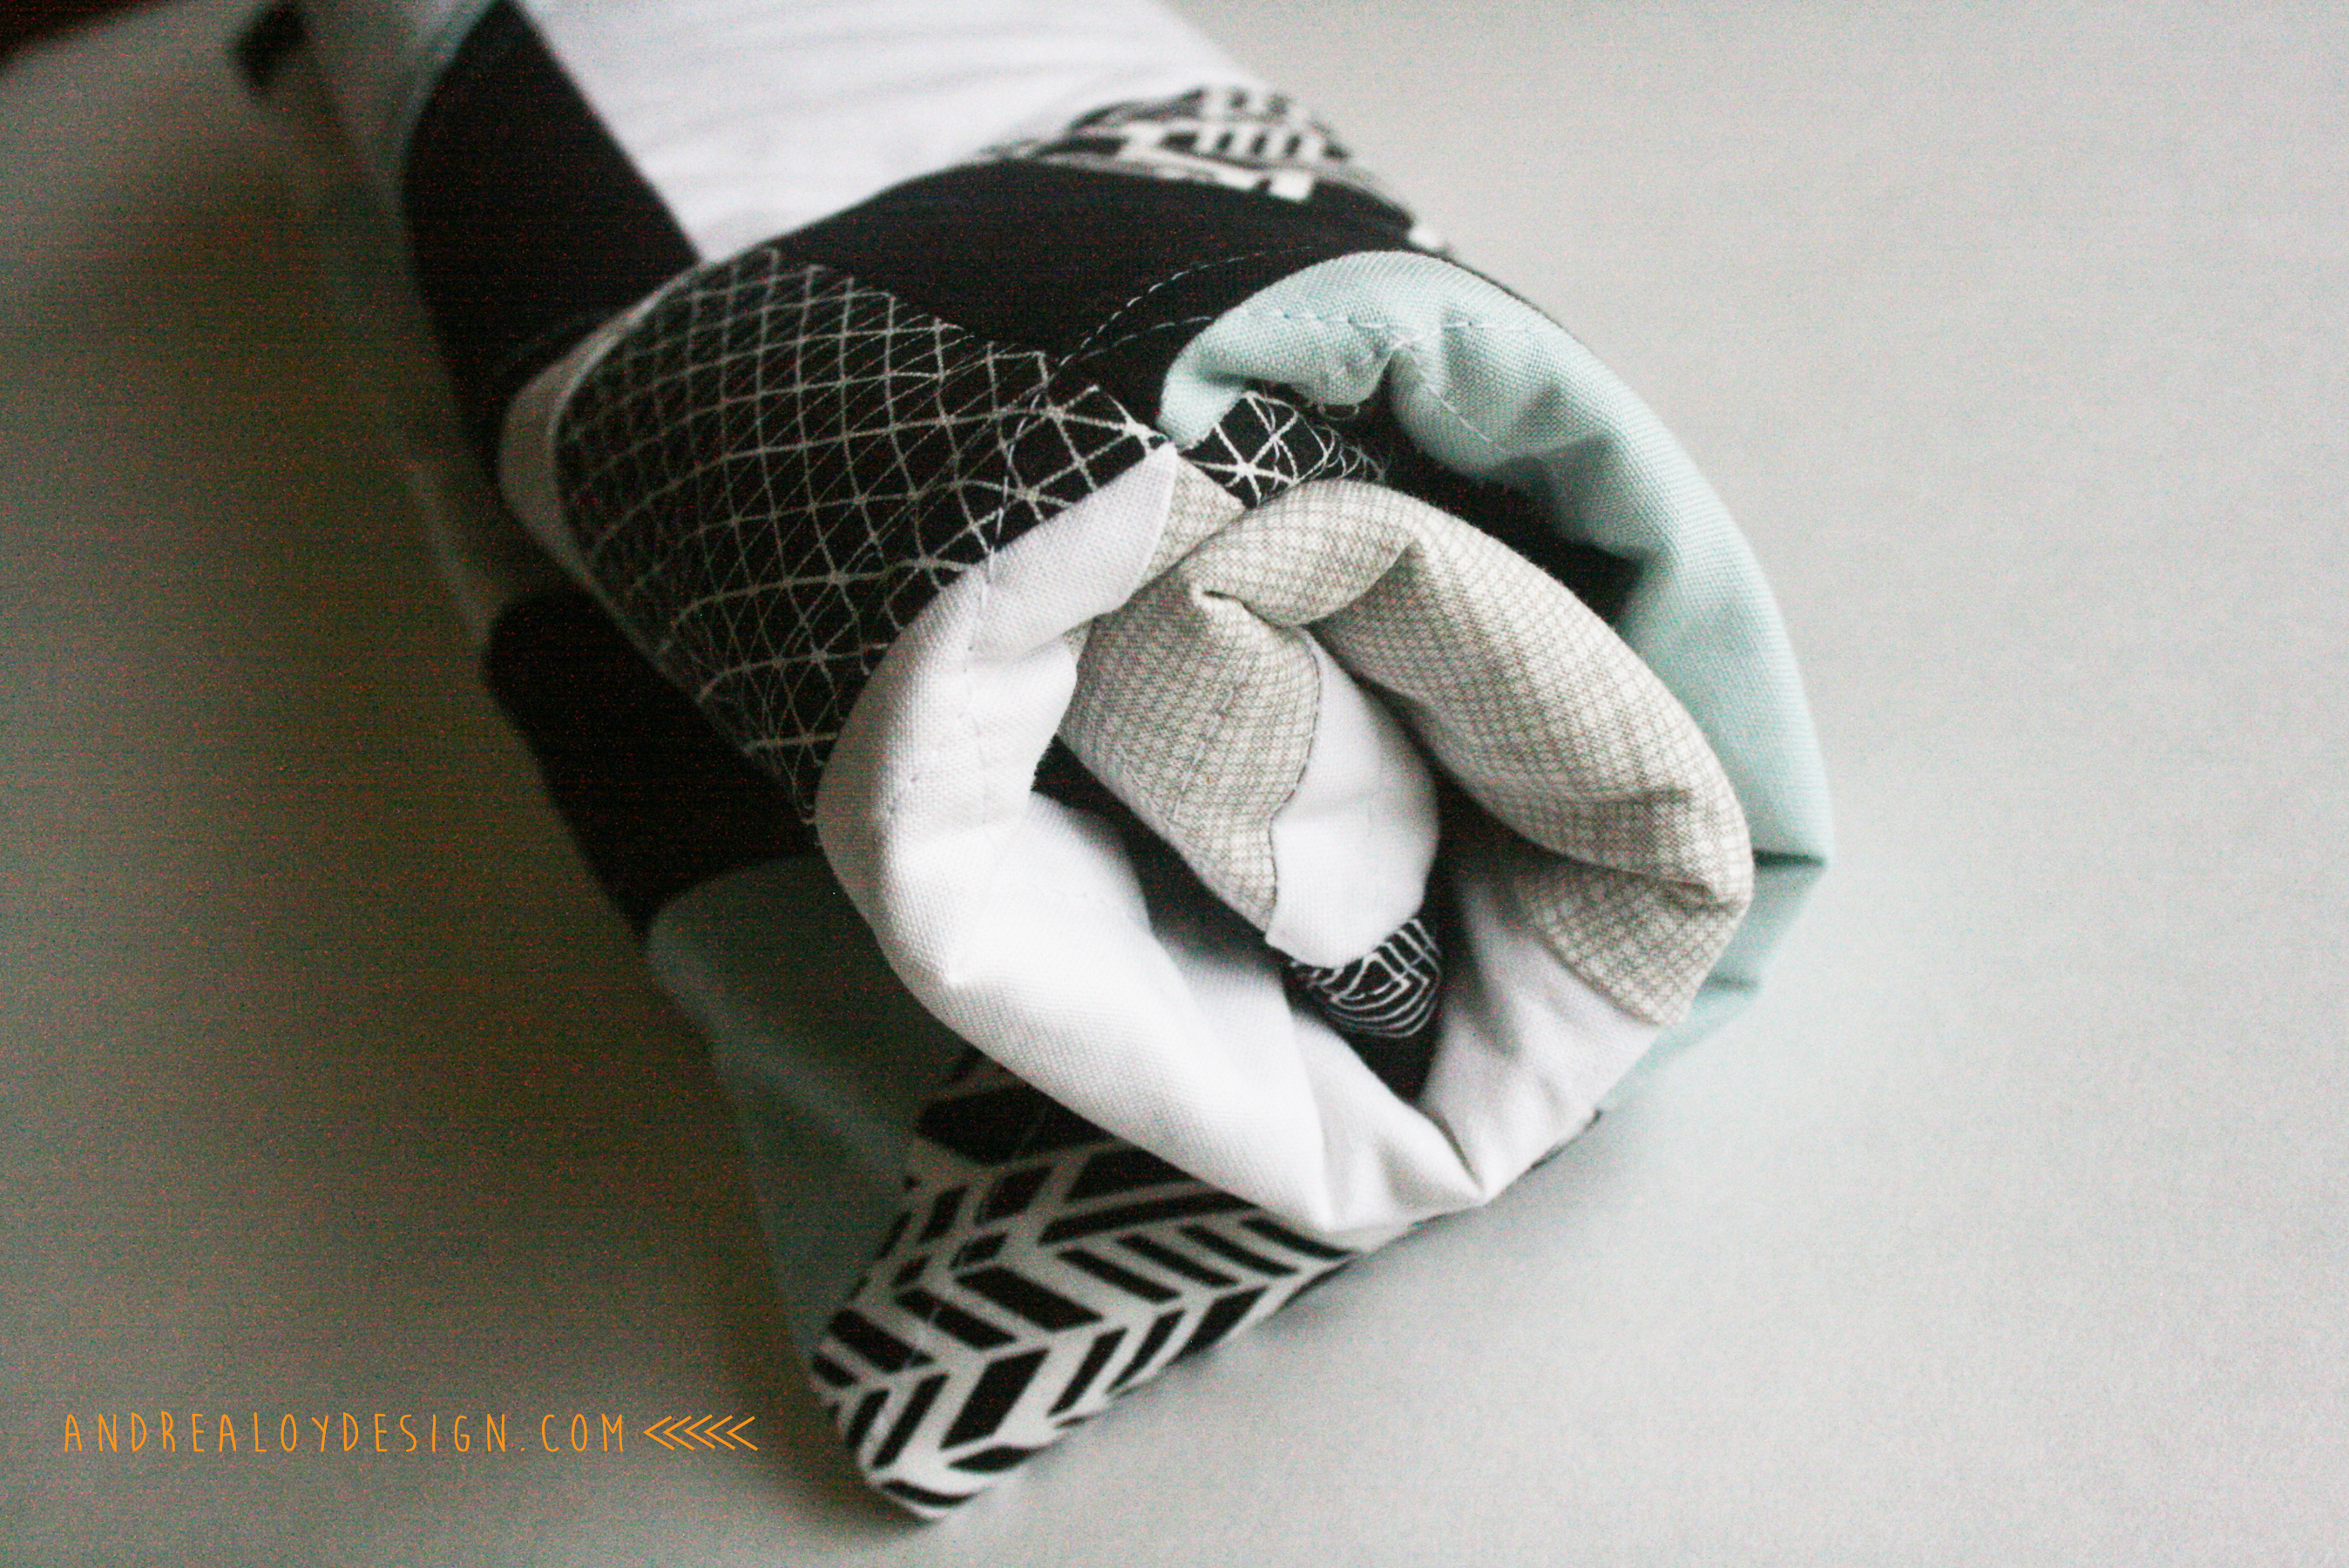
There. All done! Thanks for reading! Share your triangle quilts with me on my FB page as soon as their done! I’d love to see them. Now that baby O is on the way today I can share this. We can’t wait to meet him! Here are pictures of what was happening behind the scenes while I worked on this with the hoodlums. Just your basic sprinkler situation and some attitudes of course…. 🙂 For the Gmas….
Fourth Of July Door Decor! TUTORIAL & GIVEAWAY
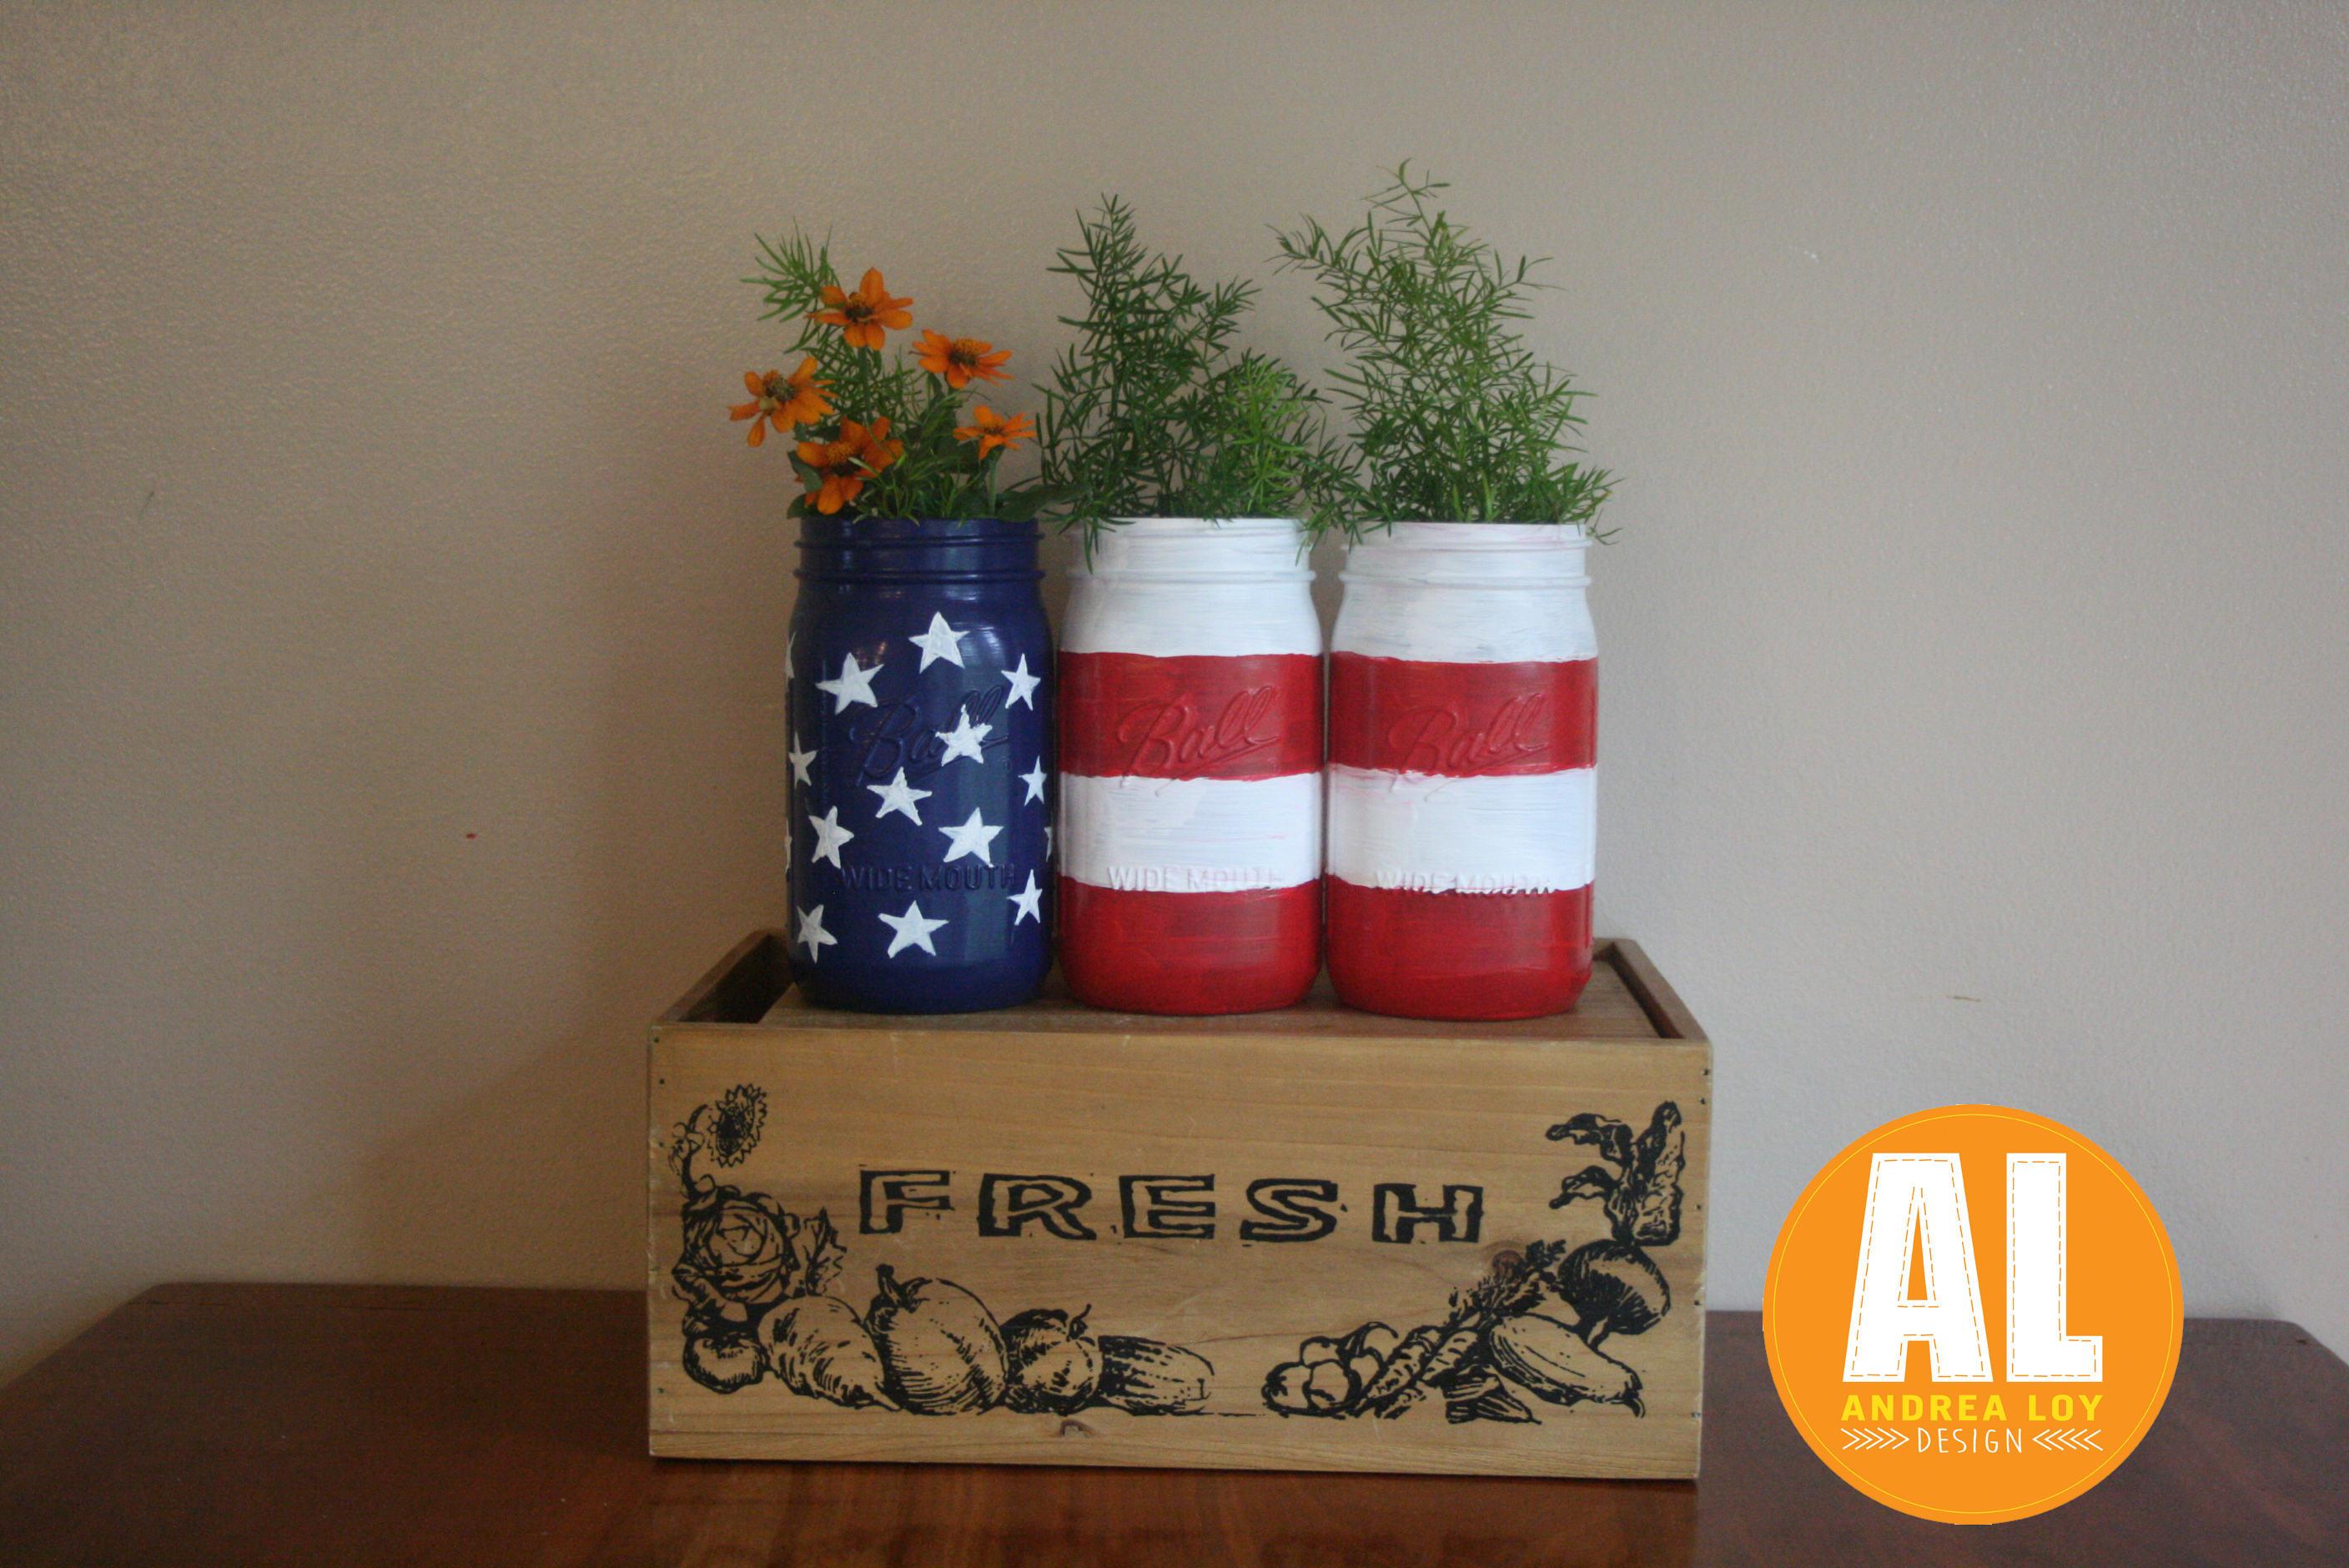
I made this cute little front door decor for the Fourth of July, but the thing that gave me the idea was making my friend a birthday present, so of course I have to tell you all about the rabbit trail to how I got here…. I have this friend, and she’s VERY patriotic. Her house is totally fun and her decorating style involves a lot of red, white, and blue. She loves her Marine, Jesus and her Country too. She’s a really special lady and I knew I needed to make these cute mason jars for her, ’cause they’ve been calling my name (or rather her name) on Pinterest for two years….
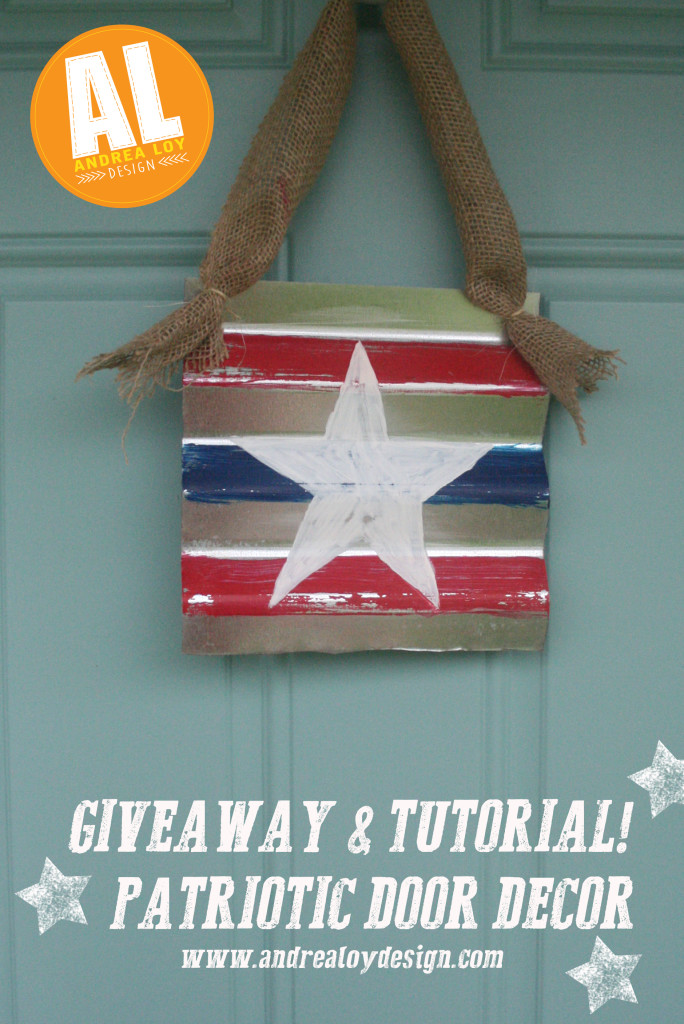
Naturally after those cute things were done and out of my system, I then decided that my freshly painted front door needed something patriotic too. I had bought this multi surface paint for the jars, and I had two pieces of square corrugated steel from the bunny barn (that’s a whole ‘nother post). So I made this:
It was pretty easy and I felt all “repurposy” after it was done. But really I was just happy to be part of the “I made something out of corrugated steel” crowd. And I was happy those sharp little pieces of metal could be rescued out of our pile of post-construction materials we seem to accumulate around here.
If you’d like to win the one that isn’t hanging on my door, just share this post with your friends on Facebook and Pinterest and be sure to tag me in it! Then comment and let me know you did! I’ll give it away Monday June 29th at 9am!
IF YOU DONT WIN….*sigh, Here’s how to make it your self:
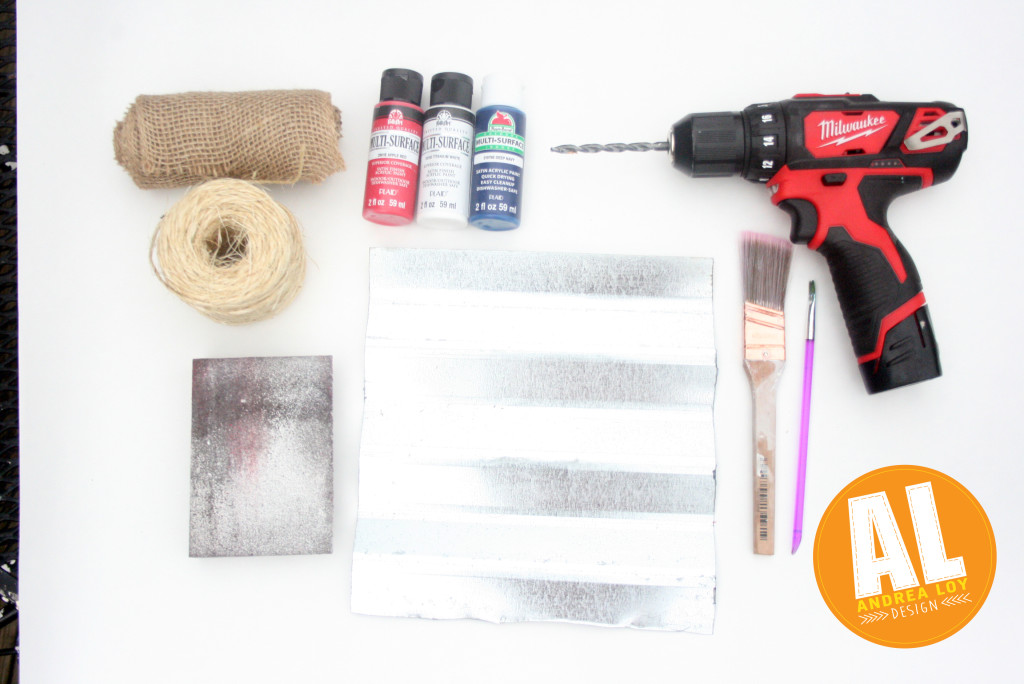
SUPPLIES:
corrugated steel square
red, white, blue multi-surface craft paint
craft sponge or 1.5 inch paint brush
small detail paint brush
drill, 5/8″ bit
twine {16″}
burlap ribbon {about 12″}
sandpaper
STEP 1:Paint your stripes with your wide sponge or brush… red, blue, red. Let dry an hour.
STEP 2: Paint your white star with your detail brush, use a pencil to draw your star first…
STEP 3; Drill two holes at the top corners against a block of wood.
STEP 4: Thread a 8″ loop of twine through each hole grabbing the two loose ends of your 12″ piece of burlap ribbon.
Tie the twin tightly on the back of the steel then, tie the two loos ends together in the middle of the back of your steel.
STEP 4: Sand it to distress the front. Hang it up.

