First House Master Bedroom Modern Makeover!
Hello, there friends! I don’t plan to put much on the blog from my interior design work, but this Master Bedroom Plan I just finished up is way too fun not to share! My client just purchased her first home. She was SO excited but didn’t know where to start! Every room in the house needs a little TLC, but over all there are many charming nooks and crannies. I am overjoyed that she chose me to help her make it her home!
The home started as a tiny one bedroom house 100 years ago in the Roanoke Valley area of Virginia. The people she bought it from had lived there for a very long time and had added on rooms and wings in lots of choppy weird ways to accomodate their growing family. This meant a nice large house but lots of little design challenges to make it functional and feel like home.
We started with her Master Bedroom because that seemed like the most important room to her when I talked with her about her goals. I decided if she was going to do the majority of the minor DIY work over a period of time by herself, her bedroom being finished first would provide her the haven she would need when other projects were in process and she was tired from her full time job.
So here it is! I call it the “Modern Fun Master” This is the visual design board which gives her an end goal and helps keep her on track. When I make a design board for a client, I provide a full list of items and where to purchase them, paint colors, and commentary as to furniture layout and any remodeling suggestions I might have.
My favorite thing about design jobs is handpicking the pieces of decor that make it truly unique to the client. In this room you’ll notice several handcrafted pieces I found from talented makers on Etsy. Enjoy!
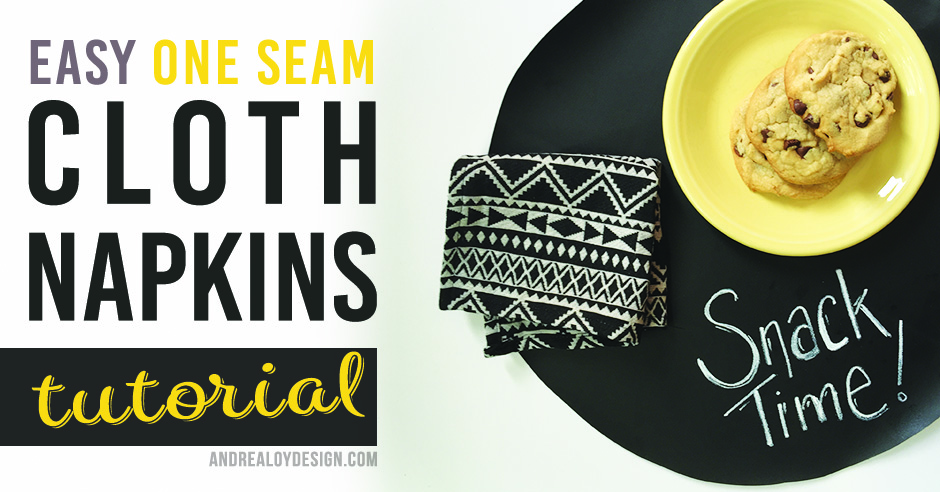
Easy One Seam DIY Cloth Napkins Tutorial
I really love cloth napkins. If you are thinking, “Who uses cloth napkins anymore?” Then you need to give them an everyday chance. I am here to show you how easy it is to make cloth napkins with ONLY ONE SEAM! All you need is a yard of fabric and some basic sewing supplies. You can do it! No advanced sewing skills needed. Think of all the cute dinner party themes! Think about how much money you’ll save not buying 1000 paper napkins every week. My children use like 50 napkins a day times 5 kids. I switched to cloth so everyone can keep the same napkin all day unless there is a major spill. Plus now my 12 year old helps with the laundry so basically I can just sit around and be lazy all day eating truffles and sewing more napkins.
FABRIC
Lets talk fabric. There are a variety of terms that no one on the inter-webs uses consistently. Basically you want a woven double cloth. This means a fabric with two right sides. I used some apparel cloth from Joann fabric stores. I can’t find a link to it online but here is some nice double cloth flannel they have… Anna Maria Horner has a beautiful collection called Loominous out that I have heart eyes over.
THE TUTORIAL
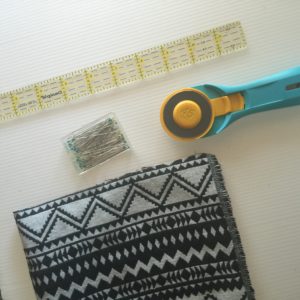
MATERIALS
- •1 yard double face woven fabric
- •pins
- •rotary cutter
- •cutting mat
- •clear cutting ruler
- •sewing machine
- •thread
- •optional: wonderclips
Cue the 90’s music “This Is How We Do It”
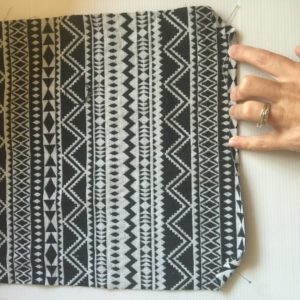
STEP 1.) Cut out 10″ squares of your fabric.
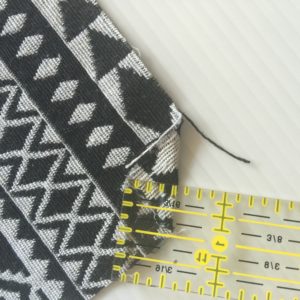
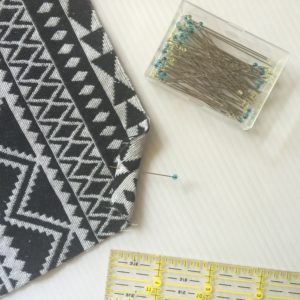
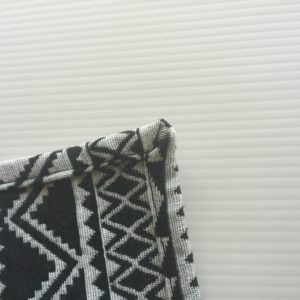
STEP 2.) Fold the fabric: turn corner down toward the center of your square 1/2″ then again 1/2″ and pin in place. Make your pin points to the exact middle of your square. Do this with all four corners of your square.
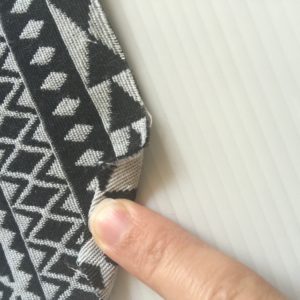
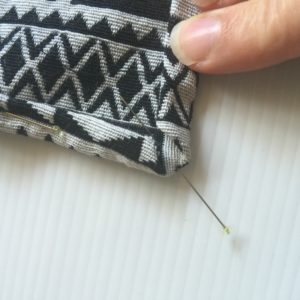
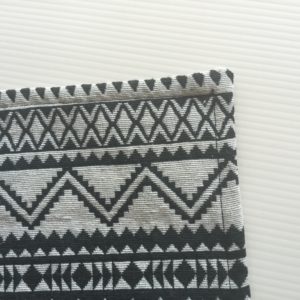
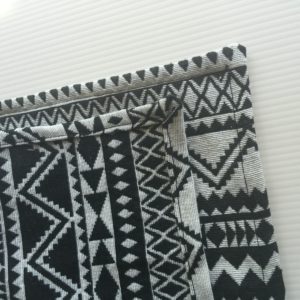
STEP 3.) Take one side of the square and fold it along the length as shown. Then again to conceal the raw edge. Be sure it makes a mitered edge to the corner. Use pins or wonder clips to hold in place. Repeat on all sides.
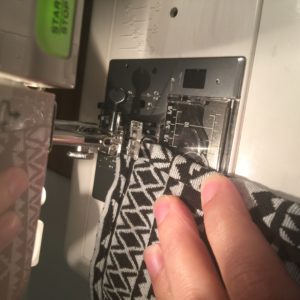
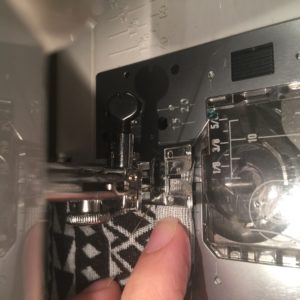
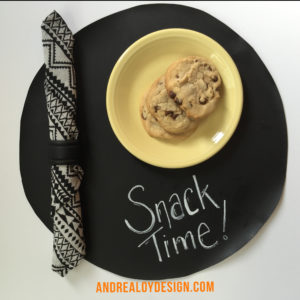
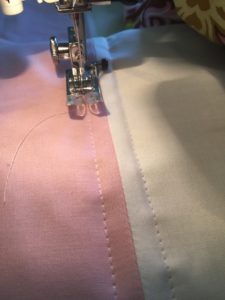
STEP 4.) IF you want to, at this point, you can iron your pinned napkin if you have glassed pins. Confession: I didn’t iron mine. I should have. You should too. Put a corner of your cloth napkin under your sewing machine and lower your needle to start/end in the downward position. When you get to the next corner leave the needle down, raise the presser foot and pivot. Keep sewing and pivoting until you get back to the first corner. Ta DA! You did it. Now have some cookies and wipe your milk mustache off with a cute napkin.
Thanks for joining me! Happy Sewing Friends! -Andrea
Sewing For Twins! Mini Carseat Quilts Tutorial
Sewing for twins is the best! We have some dear friends who my husband and I got the pleasure of doing marriage counseling with. Blake officiated the wedding ceremony. When they decided to have a baby, God gave them two! I remember sitting on the couch and holding my 1 week old Ruby when we got the news.
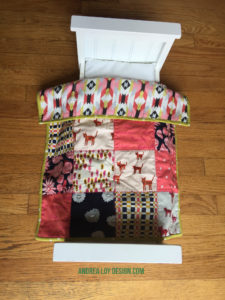
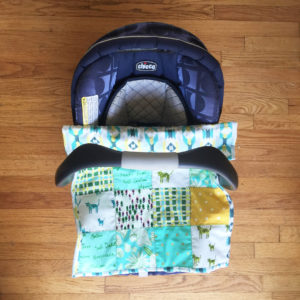
When we found out the twins would be a boy and a girl, I immediately knew what I wanted to make them. Carseat Quilts! Have you ever worried to death over your tiny infant in that huge carseat being suffocated by all the blankets? Well, I have. I’m a worrier….This time, with Ruby I used an American Girl Doll blanket when I tucked her into her carseat. It was perfect! It fit right around her and tucked in just enough. Babies grow so fast but it’s nice to have just what they need when they need it. When they grow out of the blanket it can be a wall hanging or a doll blanket or a lovie…
BUY A CHARM PACK
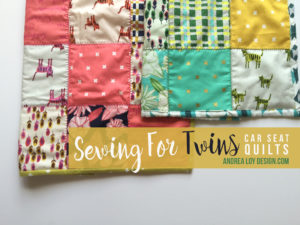
I bought a really cute stack of 5″ charm squares at Missouri Star Quilts by Alexia Abegg for Cotton + Steele Fabrics called “Hatbox.” It’s on sale right now for $6.95! That makes for a VERY inexpensive quilt, especially if you use what you already have in your stash for the rest. In case you don’t know, a Charm Pack is 42; 5″ x 5″ precut squares of quilting coordinates. It’s just so easy. I used to love buying 2 yards of my favorite fabric but now I like having them all cut up for me! Less is more…
DIVIDE AND SEW
If you divide the charm stack you can make two carseat quilts. Hatbox came with two color ways…one with pinks and the other with greens, making it the perfect stack to use for the twins. The quilt measures approx 19″ x 24″ when your done. It’s nice to keep your quilts between 14″-19″ wide and 19″-24″ long for a carseat quilt.
Lay out your charms in 5 rows of 4…..Sew together, add very lightweight batting and backing or flannel and bind. I used Mountain Mist Cream Rose batting and Cloud 9 double gauze I had leftover from baby swaddles to finish these up. Both can be found at Joanne Stores.
QUILT & BIND
I chose to quilt in the ditch with decorative stitching. I thought the fabric had a vintage feel and that finishing it this way gave it an almost antique crazy quilt vibe.
If you need help with binding you can find all sorts of good tutorials out there in a google search. I have demonstrated using quilt backing to bind the quilt in both of my previous quilt tutorials here and here.
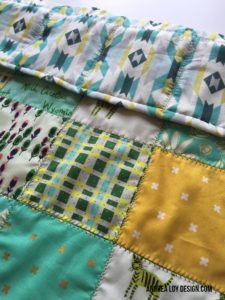
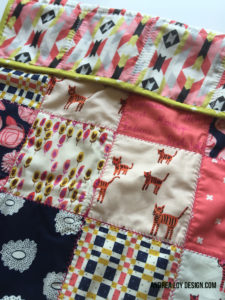
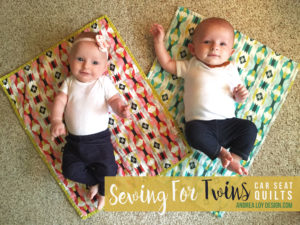
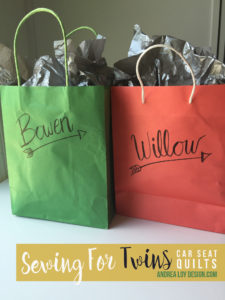
Here are some pictures…Bowen and Willow are ADORABLE and I’m thankful their parents were willing to share such sweet pictures!
Happy Sewing!
A Time To Laugh – The Loys Move To Lynchburg

 There are times in life to weep and in much needed contrast, times to laugh. (Ecclesiastes 3:4) I’ve had my fair share of both. The weeping ones are my least favorite, but they help to make the laughing ones ever so much more appreciated don’t you think? Quite unexpectedly, a time to laugh arrived this very Monday morning. The relief and joy it brought to my heart were much needed.
It started at 6:45 am. Alarm goes off. Husband jumps out of bed, excited for his first day of Med School. He says, “Oh no! I forgot to find my belt last night!” I should include here that we had just unloaded the entire contents of our 24′ moving truck Thursday night and had not made unpacking our bedroom a top priority. In fact we never found his suit and he had to get one at Goodwill for the first day portraits!
The gritty sound of ripping tape off cardboard boxes abruptly broke the morning silence. If there is one sound little Ruby Jane cannot stand, it is that sound. She comes unglued. She is wounded by that sound. Undone. True story, the day our moving van arrived in KC, I left Ruby Jane sleeping soundly at Grandmas house and went over two hours early before the moving help arrived to tape up all the boxes so she wouldn’t have to hear it! It’s kind of hilarious in a “Wes Anderson movie” sort of way.
We never found the belt, but Ruby did wake up quite traumatized. So off to school he went, stomach aflutter and ill fitting pants and all the hope of a new adventure freshly begun.
About 30 minutes later he called. “I’ve got good news and I’ve got bad news.” His voice was merry but my stomach dropped, “School doesn’t start until tomorrow. I’m a whole 24 hours early.” A time to laugh. Oh how we laughed! Thank you, God! We so needed a good laugh. The weight of it all was lifted, and we finally stopped for a minute to relax and enjoy this new season.
It will be hard and it will be long, but as Dr. Martin put it at Blake’s White Coat Ceremony Saturday, “take time to laugh…the days will be long but the years will go by quickly!”
Many friends and family have asked a lot of questions about what lies ahead for us. Here is what we know. Blake has two years of classes in Lynchburg, VA at Liberty University COM . Then he has two years of clerkship where his learning/training will take place in a hospital. We don’t know which hospital and we may have to move again for this part. He will do several clinical rotations to get a better understanding of what area of medicine is the best fit for him. After those two years, he graduates as a Doctor Of Osteopath and applies to work in a hospital as a paid resident under a D.O. or M.D. in the area of medicine he would like to practice. Right now he thinks he would like to work in the E.R. We know that could change and depends on what type of residency he gets into. A residency can take anywhere from 2-7 years. Yup, you read that right.
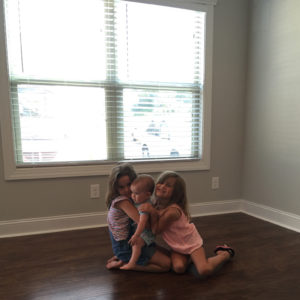
What will I do? I will be at home parenting and making sure our pets heads aren’t falling off…(Dumb and Dumber reference) I will continue to freelance design and I will try homeschooling the kids this year. I can’t wait to get settled into our new place, make it all homey and start sewing and blogging again. We’re excited to be Virginians. We will be exploring the East Coast! We have already begun by taking the girls to Sandbridge Beach for their very first swim in the ocean! Here are some pictures of our first two weeks here. They include Liberty University COM white coating ceremony, Ruby getting pink eye our first day here of course, first time at the beach, and our new townhouse move in day!
We miss our KC family and friends but we already love it here! Come see us!
-Andrea
I took the beautiful Blue Ridge Mountains picture from the patio at Blake’s school building. I pray it reminds him everyday that our help is from the Lord who has brought us here.
1I lift up my eyes to the hills.
From where does my help come?
2My help comes from the LORD,
who made heaven and earth.
3He will not let your foot be moved;
he who keeps you will not slumber.
4Behold, he who keeps Israel
will neither slumber nor sleep.
5The LORD is your keeper;
the LORD is your shade on your right hand.
6The sun shall not strike you by day,
nor the moon by night.
7The LORD will keep you from all evil;
he will keep your life.
8The LORD will keep
your going out and your coming in
from this time forth and forevermore.
Psalm 121
4 Hours + 5 Yards Fabric = Easy Modern Stripe Quilt!
How to make a really great modern quilt in 4 hours using 5 yards of fabric:
BUT FIRST
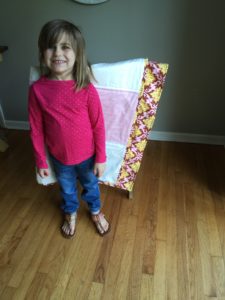
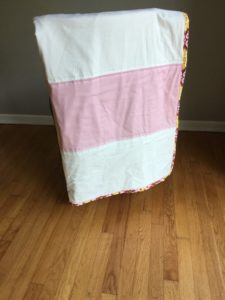
Here’s how it happened. I’ve been brewing up a nice modern nautical stripe quilt in my head ever since my friend made some UH-MAZING ombre stripe toddler quilts for our Handmade Markets. I have this great piece of pink and marroon Amy Butler Fabric I’ve been hoarding for roughly 6 years now and I knew that it was the perfect quilt backing…plus the sister I had in mind for the quilt loves pink. Plus the sister was graduating and I wanted to make her a special gift. The equation worked out perfectly. I stopped for a lightning fast trip to Hobby Lobby to astound all the shoppers and fabric counter lady with my tribe of children. We had to answer ALL THE QUESTIONS, “Yes, their all mine. Yes, my hands are full – of good things. Yes – they are all girls.”
But I was not distracted. I saw the perfect shades of Kona Cotton to match the aforementioned hoarded fabric while chasing a child to stop her from running through the “maze.” I’m not really sure how we got from the opposite side of the store where we only needed one thing in the art supply section to the fabric maze. It’s like the Konas were calling my name.
When you know, you know. I saw those Kona Solids and knew I had finally found the perfect match for my Amy Fabric and my Stripe Quilt Idea. So here we are with grace from above and the stars aligned.
This quilt is perfect if you have a beautiful cotton print that you can’t bear to cut up.
WHAT YOU NEED:
TOP -2 yards complimentary cotton quilting fabric solids
BACK -3 yards patterned cotton quilting fabric
3 yards of batting -I LOVE really thin 100% cotton Mountain Mist Cream Rose Batting
WHAT TO DO:
1.) Cut your solids into 12″ pieces across the width of the fabric from selvage to selvage.
2.) You’ll end up with 6 pieces total, each measuring 12 x 44″
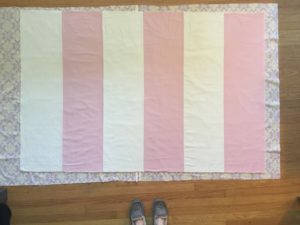
3.) Sew the stripes together alternating colors along the 44″ length side.
4.) Cut your backing fabric in half at the 1.5 yard line and sew together along the selvage to create the backing.
5.) Spread out your batting on a clean floor and smooth quilt top across. Trim batting to the same size. It should measure 44 x 70″
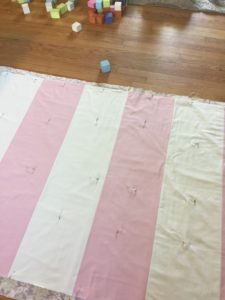
6.) Next carefully pick up your top and batting together and lay aside. Lay down your backing piece wrong side up. Place top/batting down on the middle of your backing piece and smooth from the center out with your hands. There should be about 2″ on either side of the length of the quilt sandwich and more at the top and bottom.
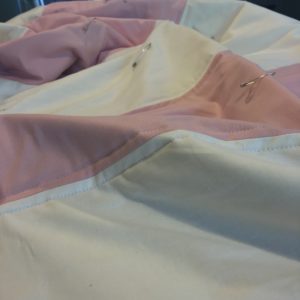
7.) Baste it. PIN THE HECK OUT OF IT WITH LARGE SAFETY PINS! Always smoothing, pin from center out. We don’t want our quilt sandwich bunching or shifting when we sew it together, do we now?
8.) Quilt it a 1/2″ on either side of the seams where your solids meet. Set your walking foot up if you want. Use a longer stitch length. Start in the middle of your quilt and sew out from centers of stripes.
QUILTING TIPS: If you try to start sewing at the ends all the way to the other end you will have bunching and unwanted pinching or pleating of fabric. Yuck. Don’t do it. I promise it doesn’t take much longer to keep starting from the middle of your quilt. Keep your quilt rolled up neatly under the arm of your machine so the bulk of the quilt will fit easier.
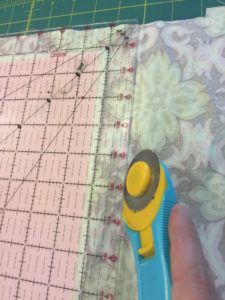
9.) Now trim thread tails and the backing of the quilt. Use a clear ruler and rotary cutter and leave exactly one inch of the backing fabric for your binding.
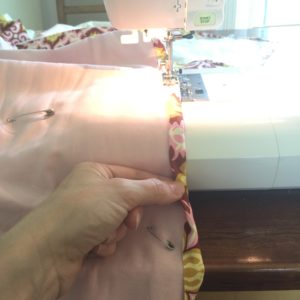
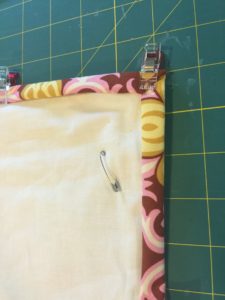
10.) Double fold the backing up onto the top of the quilt to create binding. I like to use wonder clips for holding the binding in place while I sew. Then you machine sew it along the edge. It’s so easy and fast. This binding technique saves so much time! Hence the ability to complete this quilt in just 4 hours!!!
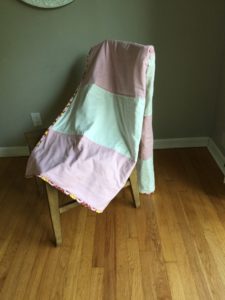
Finished Quilt measures approximately 44″ x 70″ A great size for a twin bunk or napping couch throw!
DISCLAIMERS: No children were neglected or starved in the making of this quilt. I really did make it in 4 hours! I did not count the hour I stopped in the middle to feed/nurse children. I did count my time while helping children with school sitting next to me.
Show me your Modern Stripe Quilts! Tag ’em with #ALDstripequilts on your social media accounts!
HAPPY SEWING! You can do it!


