Bunny Pacifier Pattern
NEW SEWING PATTERN
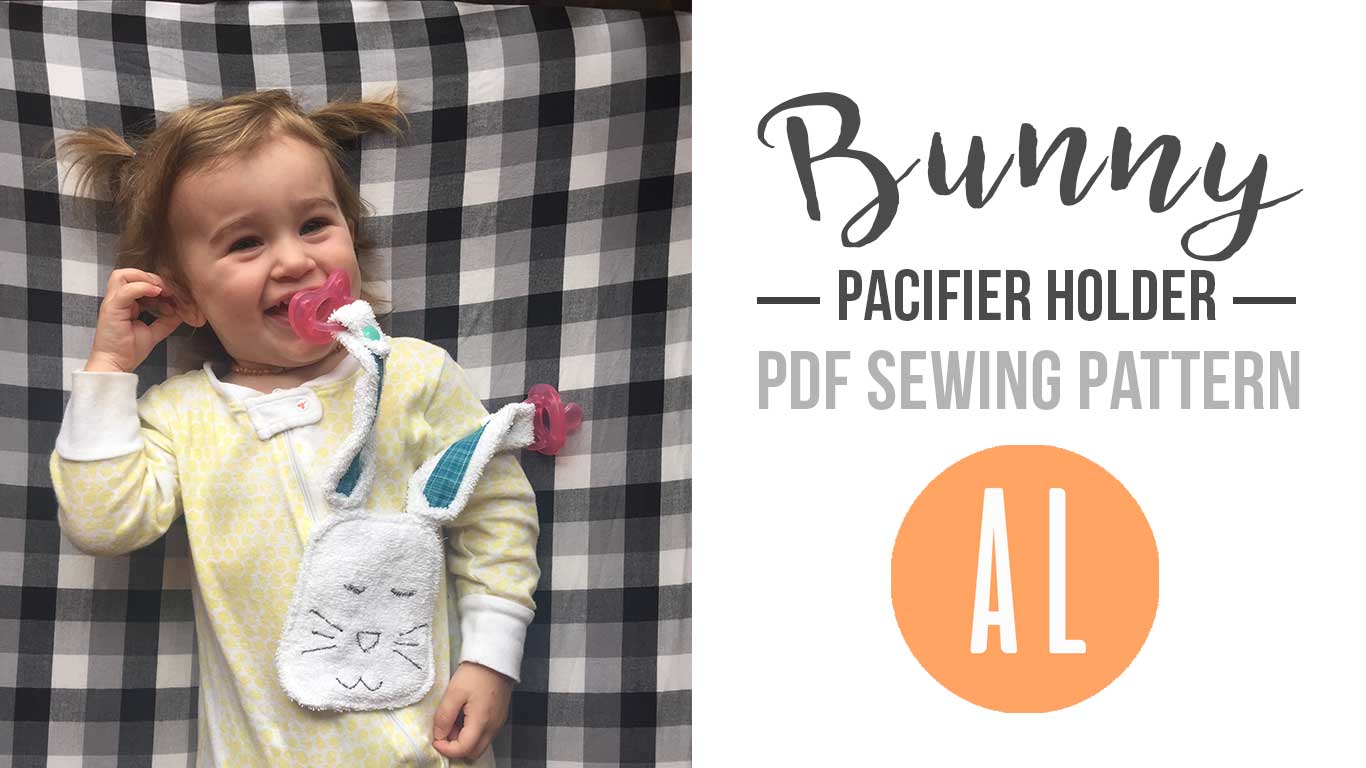
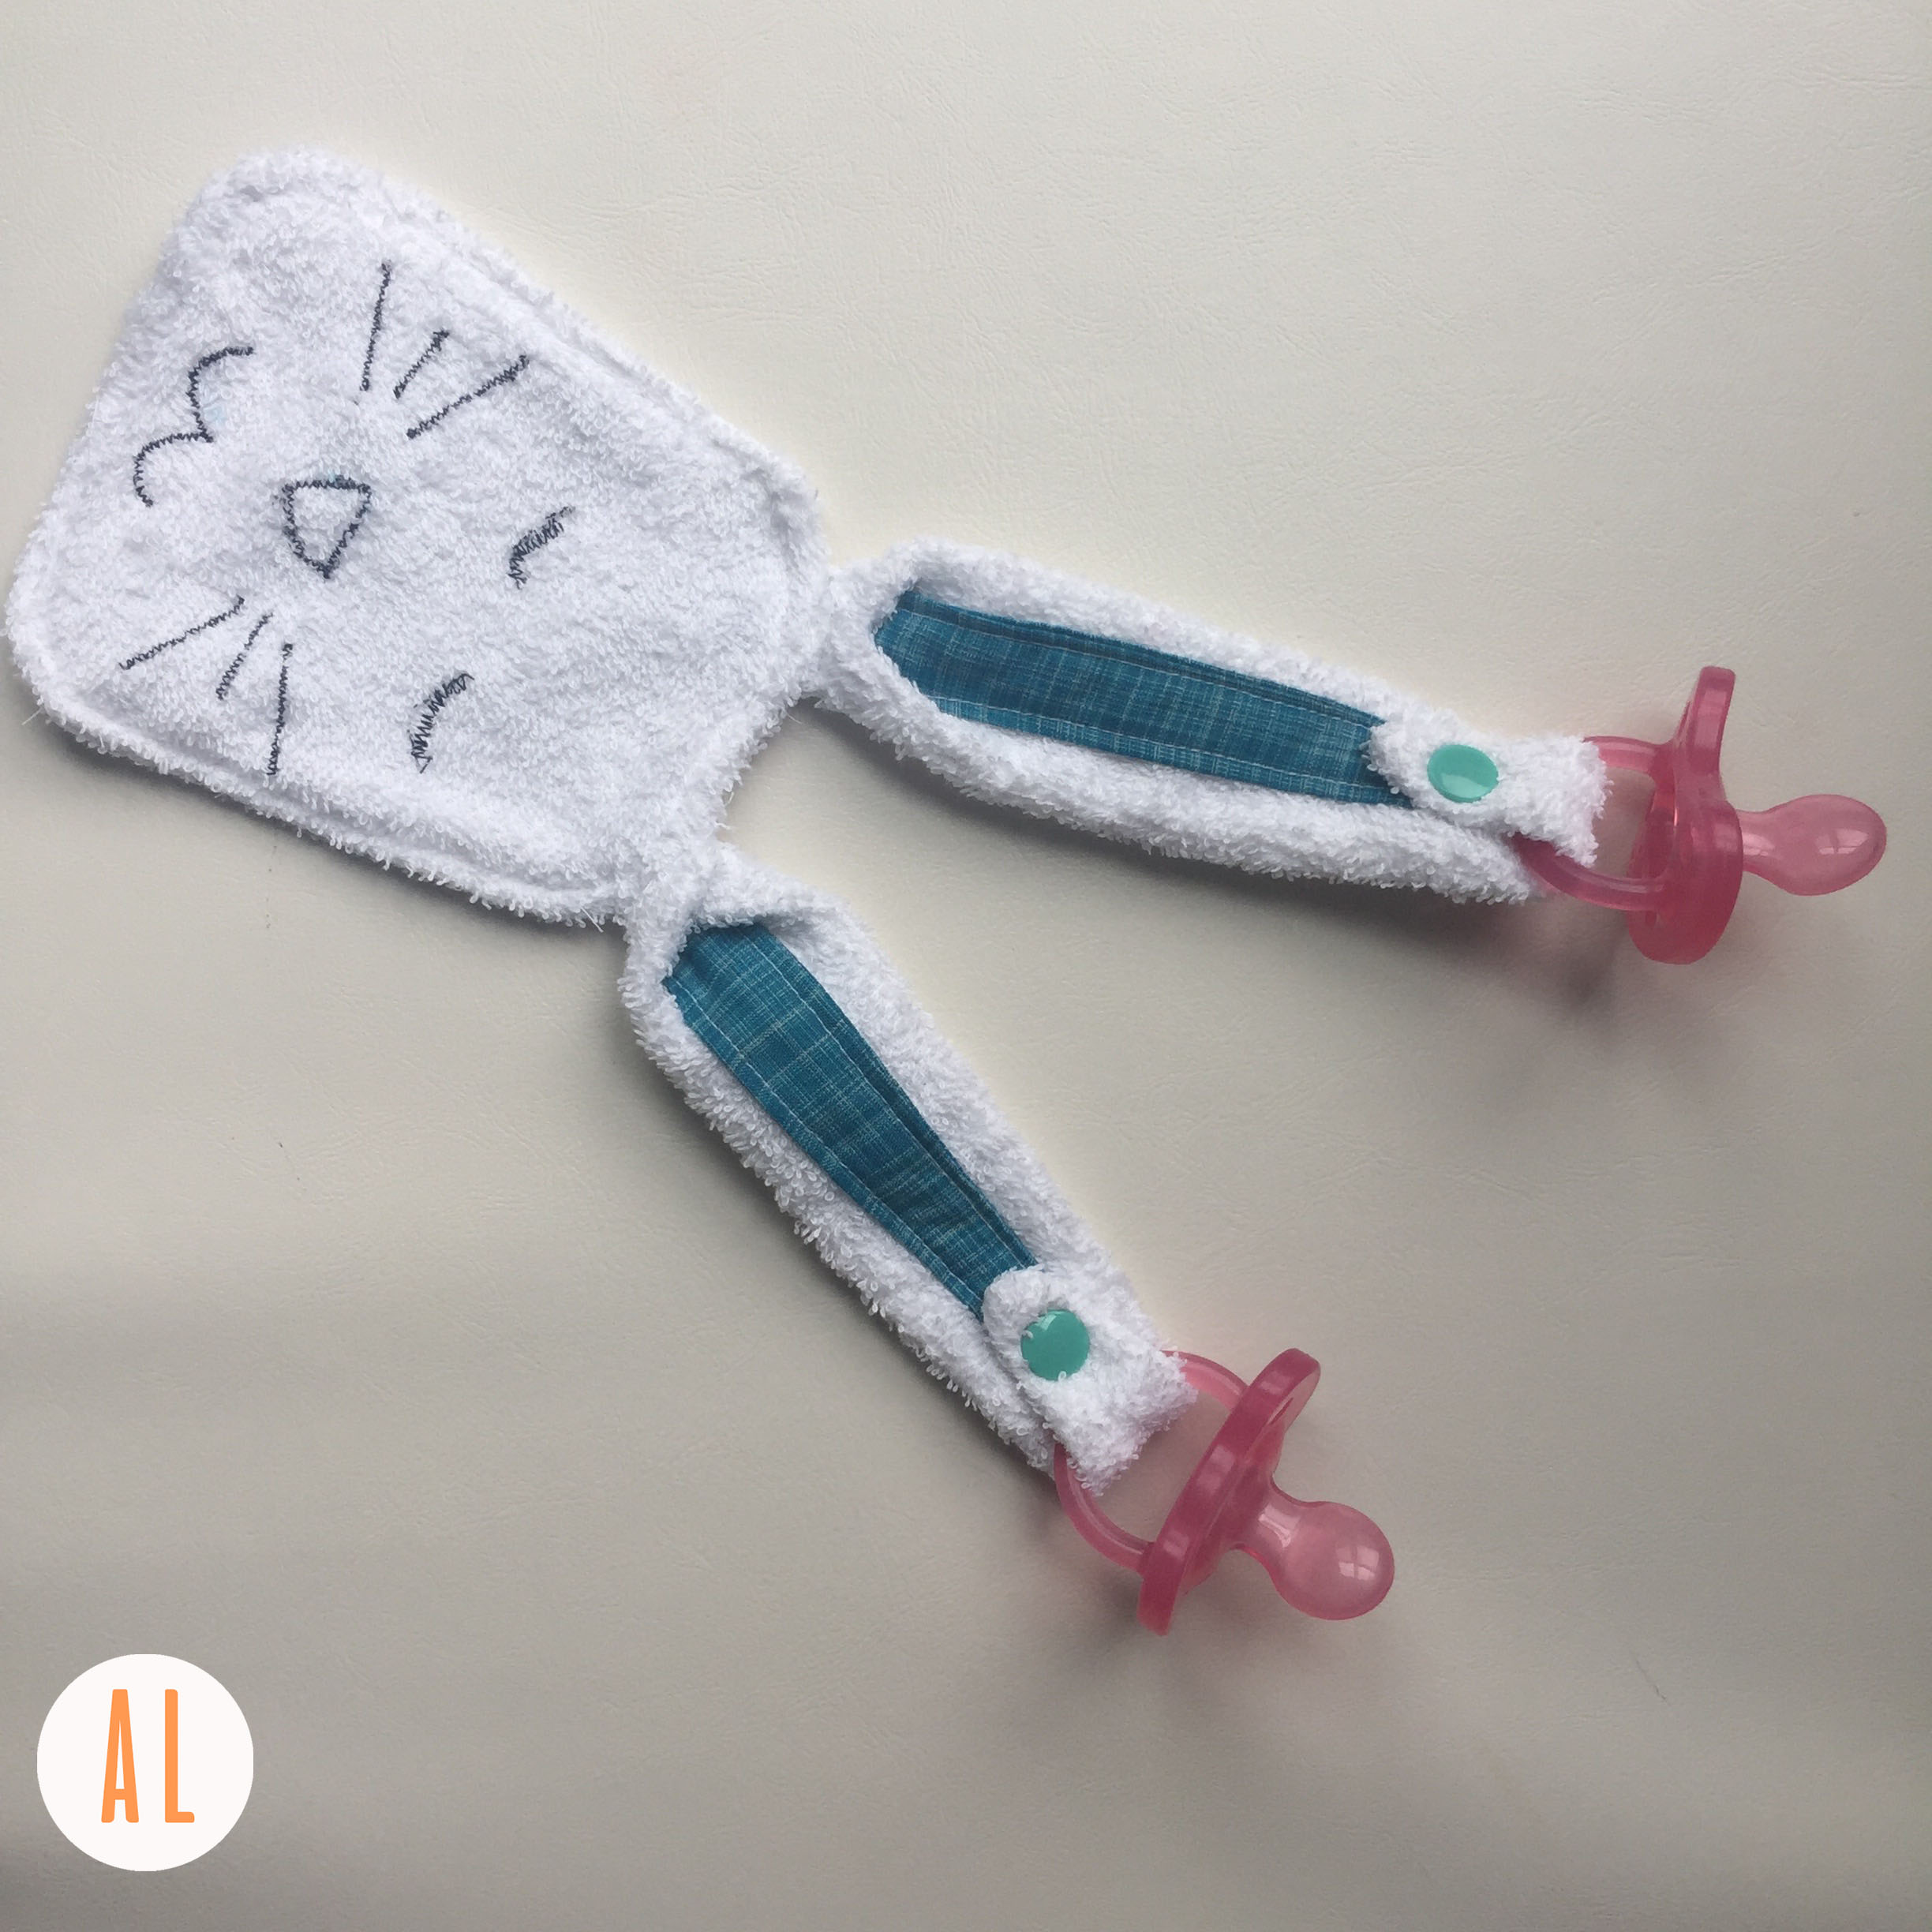
Hey there! Ruby and I worked on a pacifier holder pdf sewing pattern this Spring. It has a cute bunny shape and snaps to hold her paci’s. She really loves Chicco pacifiers and those are exceptionally hard to find when they are dropped under a crib or in the car because they are clear. Whoever designed those, must not have had actual children….
So here we are. Necessity is the mother of invention! We have not woken up in the wee small hours even once to find a paci since I made this! A few notes about this pattern. This pattern is NOT FOR NEWBORNS. This pacifier holder is for toddlers who have control of their arms and can run, walk, and play. I started using this for Ruby at 15 months of age.
FABRIC
The pattern works best with terry cloth or flannel for the main fabric and quilting cotton for the inner ear pieces. You only need a small amount. I used this terry cloth from the Fabric Shack. The inner ears were Anna Maria Horner’s Loominous Collection.
SNAPS
The snaps need to be really high quality for safety reasons. I suggest using KAM SNAPS. Here is a great little set of pliers and snaps on Amazon that I use for just under $20.
The pattern comes in an easy to print pdf download. The pattern is on one 8.5 x 11″ sheet of paper and the instructions include pictures and are contained to one sheet of paper as well. It’s really a quick and easy project. You can make one in about an hour. May your nights be filled with uninterrupted sleep from now on!
Email subscribers will receive this pattern for free! So if you sign up in the next 24 hours you can get in on the freebie!
Happy sewing!
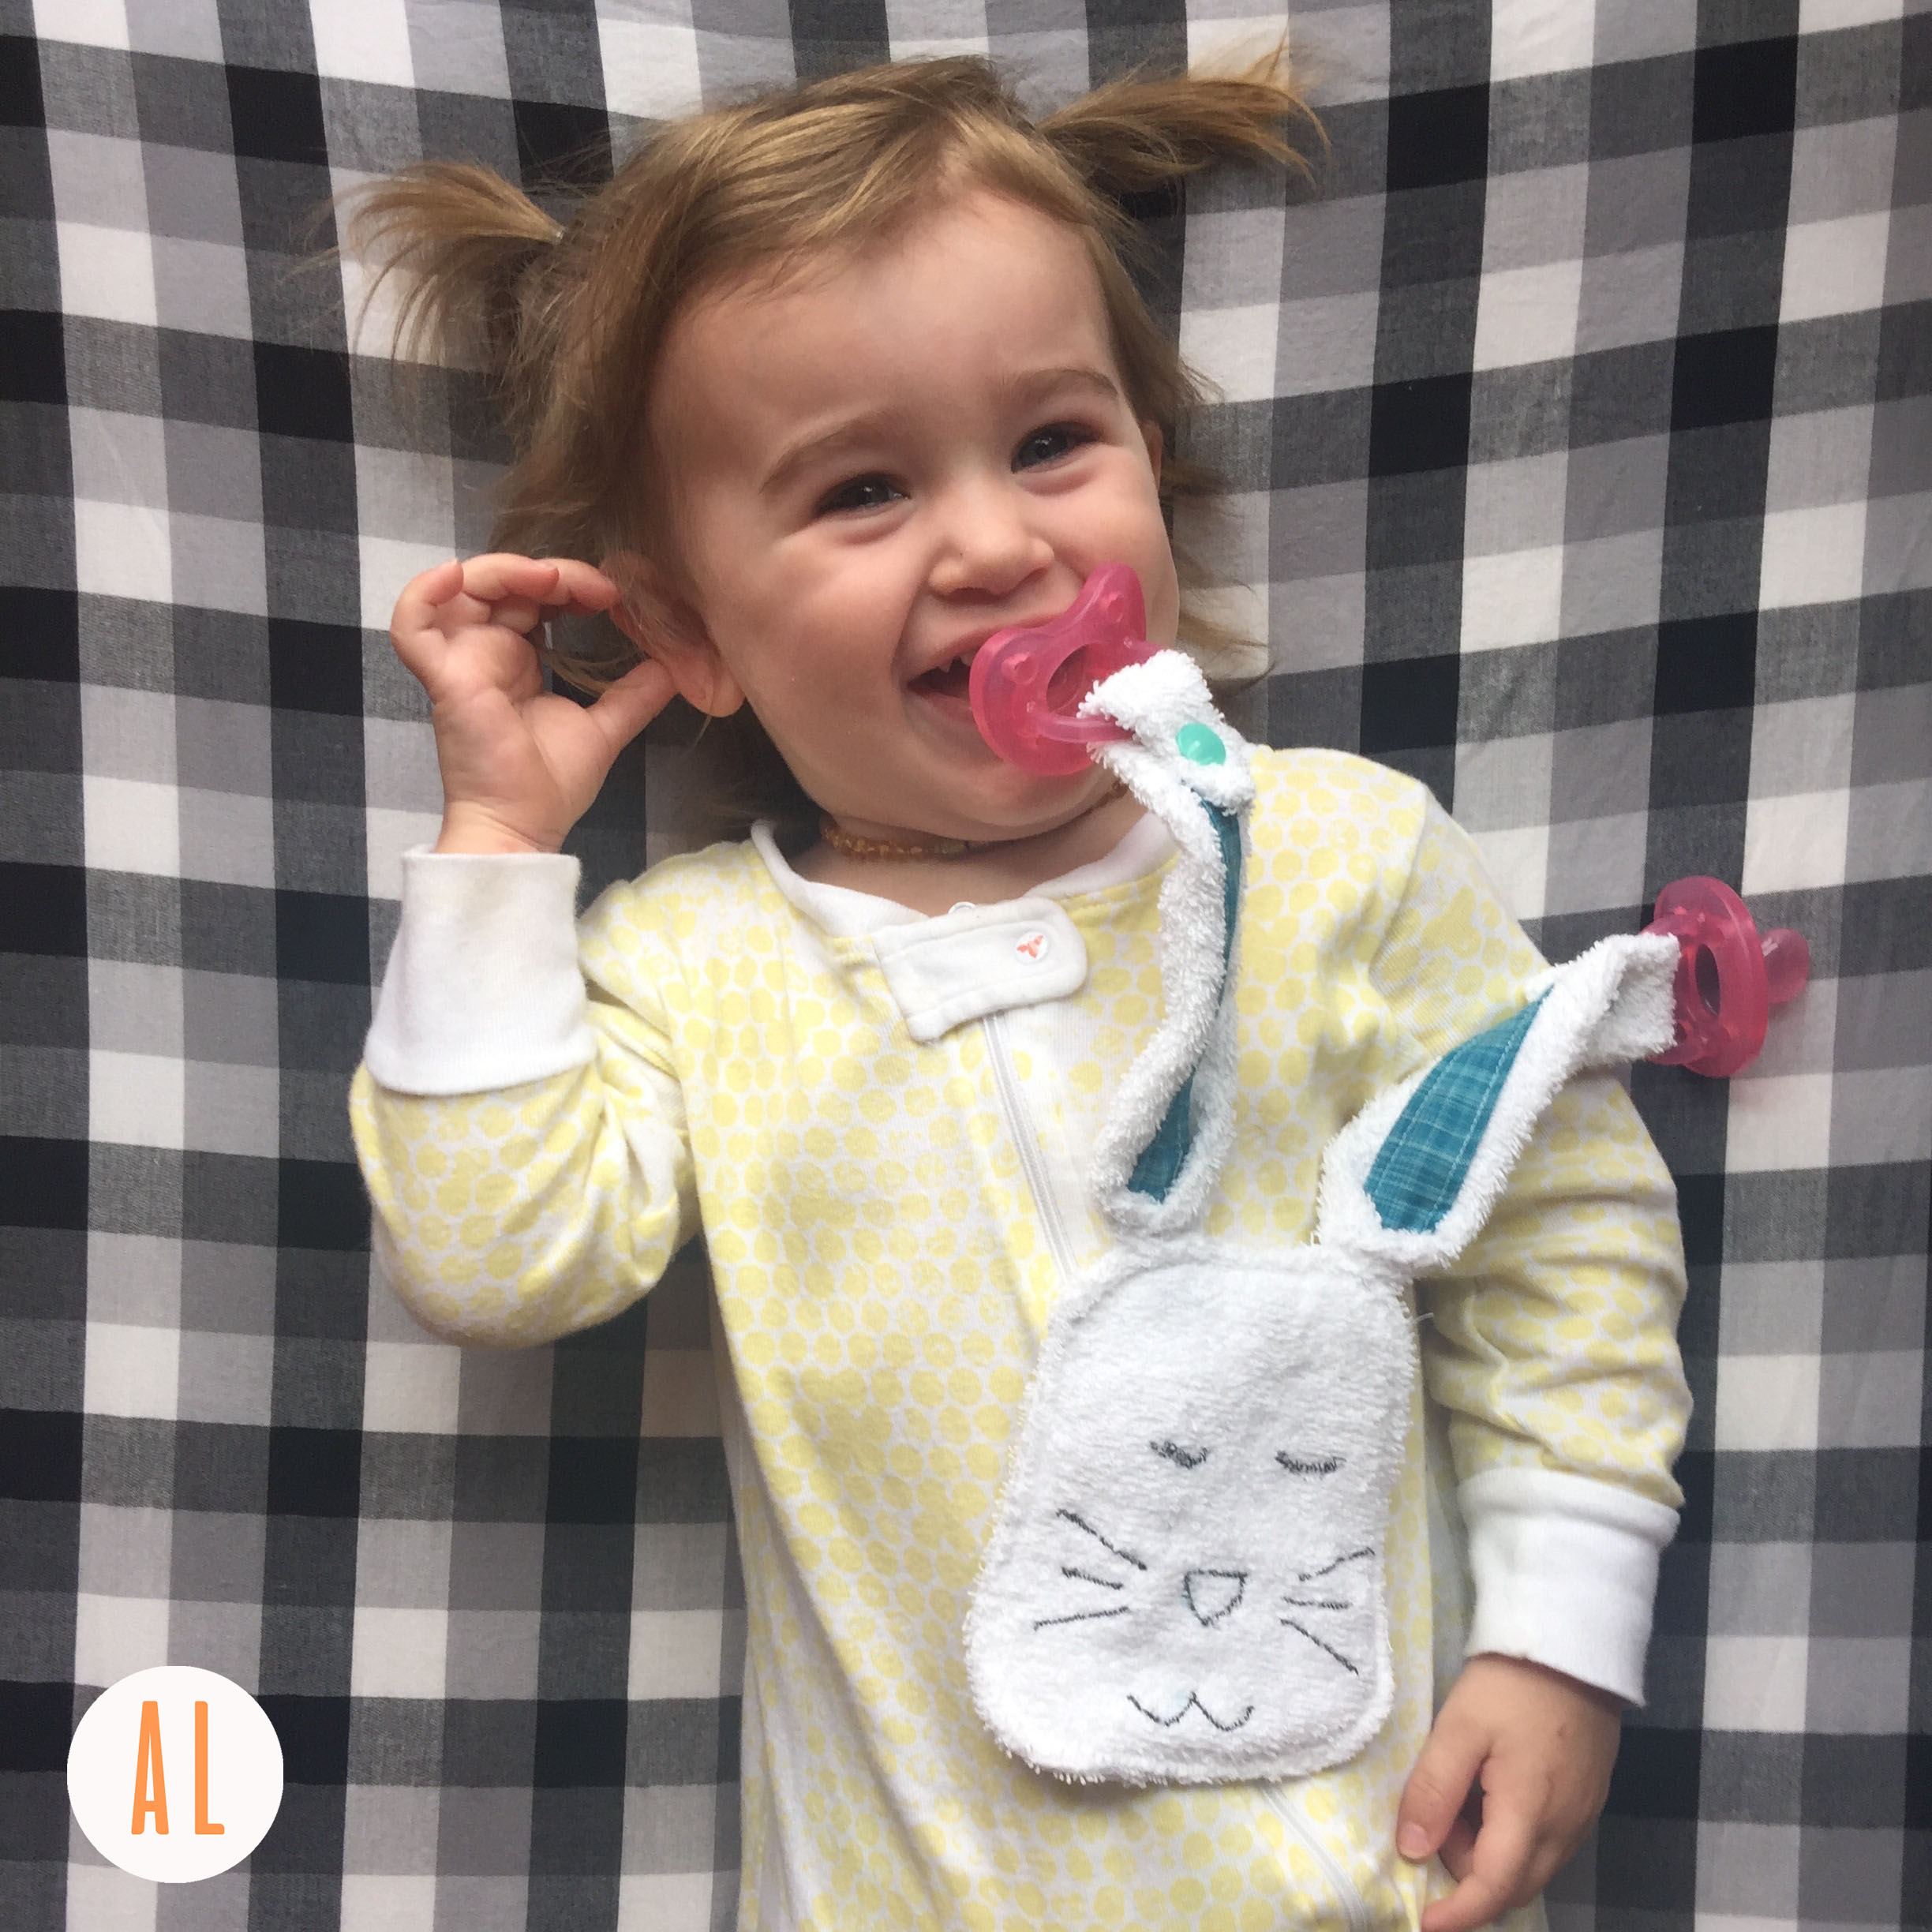
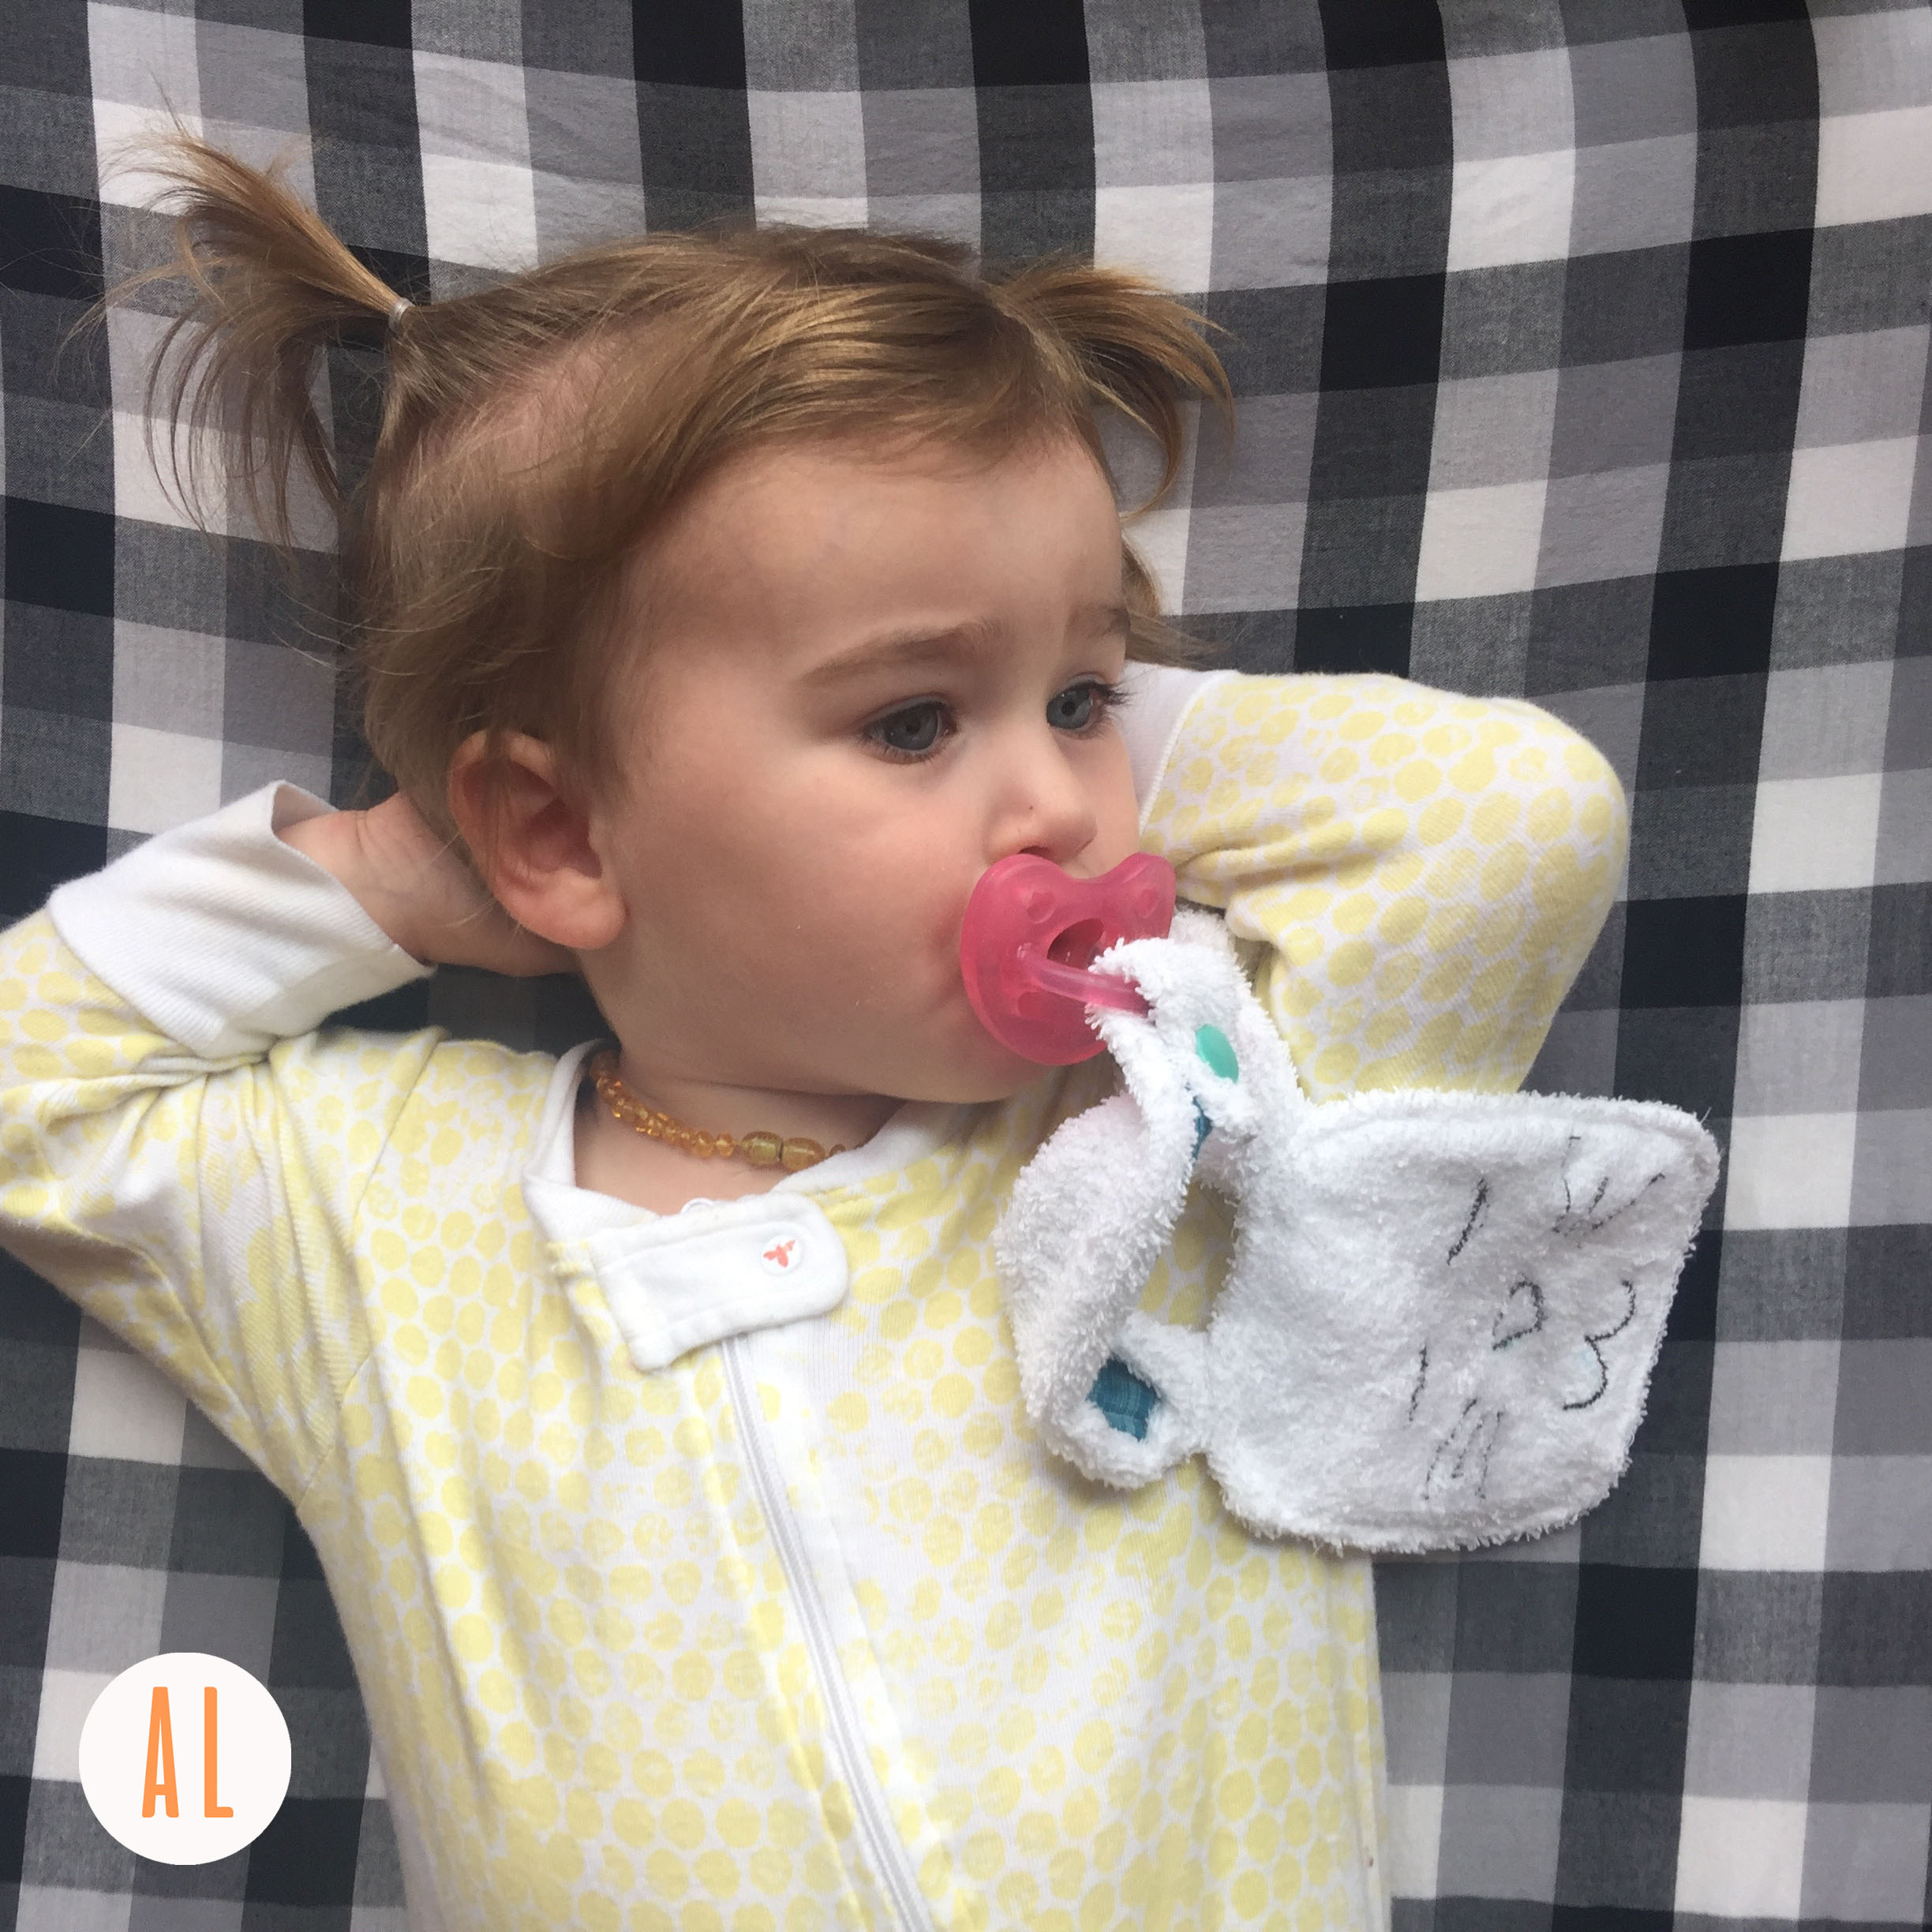
THE MATERIALS I USED:
The Bestie Quilt #1 – Lone Star Farm Quilt
Quilts are made for many reasons, and yet I think the common thread that all quilts have are their purpose. I really don’t think that purpose is primarily physical warmth. When I make a quilt for someone, I have an emotional connection to the person and I want to communicate my love for them. In other words, I have “all the feels”… Usually the gifted person has blessed my life or they are dear to me in some way that needs commended or they are a tiny human, soon born to a momma whom I love… and the opportunity to creatively express what a gift they are to me is a quilt.
BESTIE QUILT
My first bestie quilt is not for my first bestie. I’d have to say she is my first mom friend and cultivated my love for sewing in a way that nurtured my creativity. She spent many hours helping, teaching, and encouraging me through the early days of marriage and first baby and hard trials and happy young days. She taught me how to “pick a chicken” when money was tight. She taught me to laugh when my kids made messes, and to just throw away those underwear when I was traumatized at potty training my first daughter! She even showed me how to iron my seams to the dark side….Haley carried on the tradition my mother began of “the older woman teaching the younger woman” how to be a worker at home from Titus even though she wasn’t much older than I. I’m so thankful God placed her in my life.
FABRIC AND PATTERN
It’s been a long time since we’ve lived in the same town, but she is often on my heart and in my prayers. One winter evening as I was gazing at my fabric piles, I felt the urge to make her a quilt. In fact, it seemed ridiculous that I had not done it yet. As I began pulling out the fabric, I knew exactly what she’d want and how I wanted to lay it out. I challenged myself this year not to buy anything new but to persevere and make quilts with what I have. I have so much. It always feels good to use what you have.
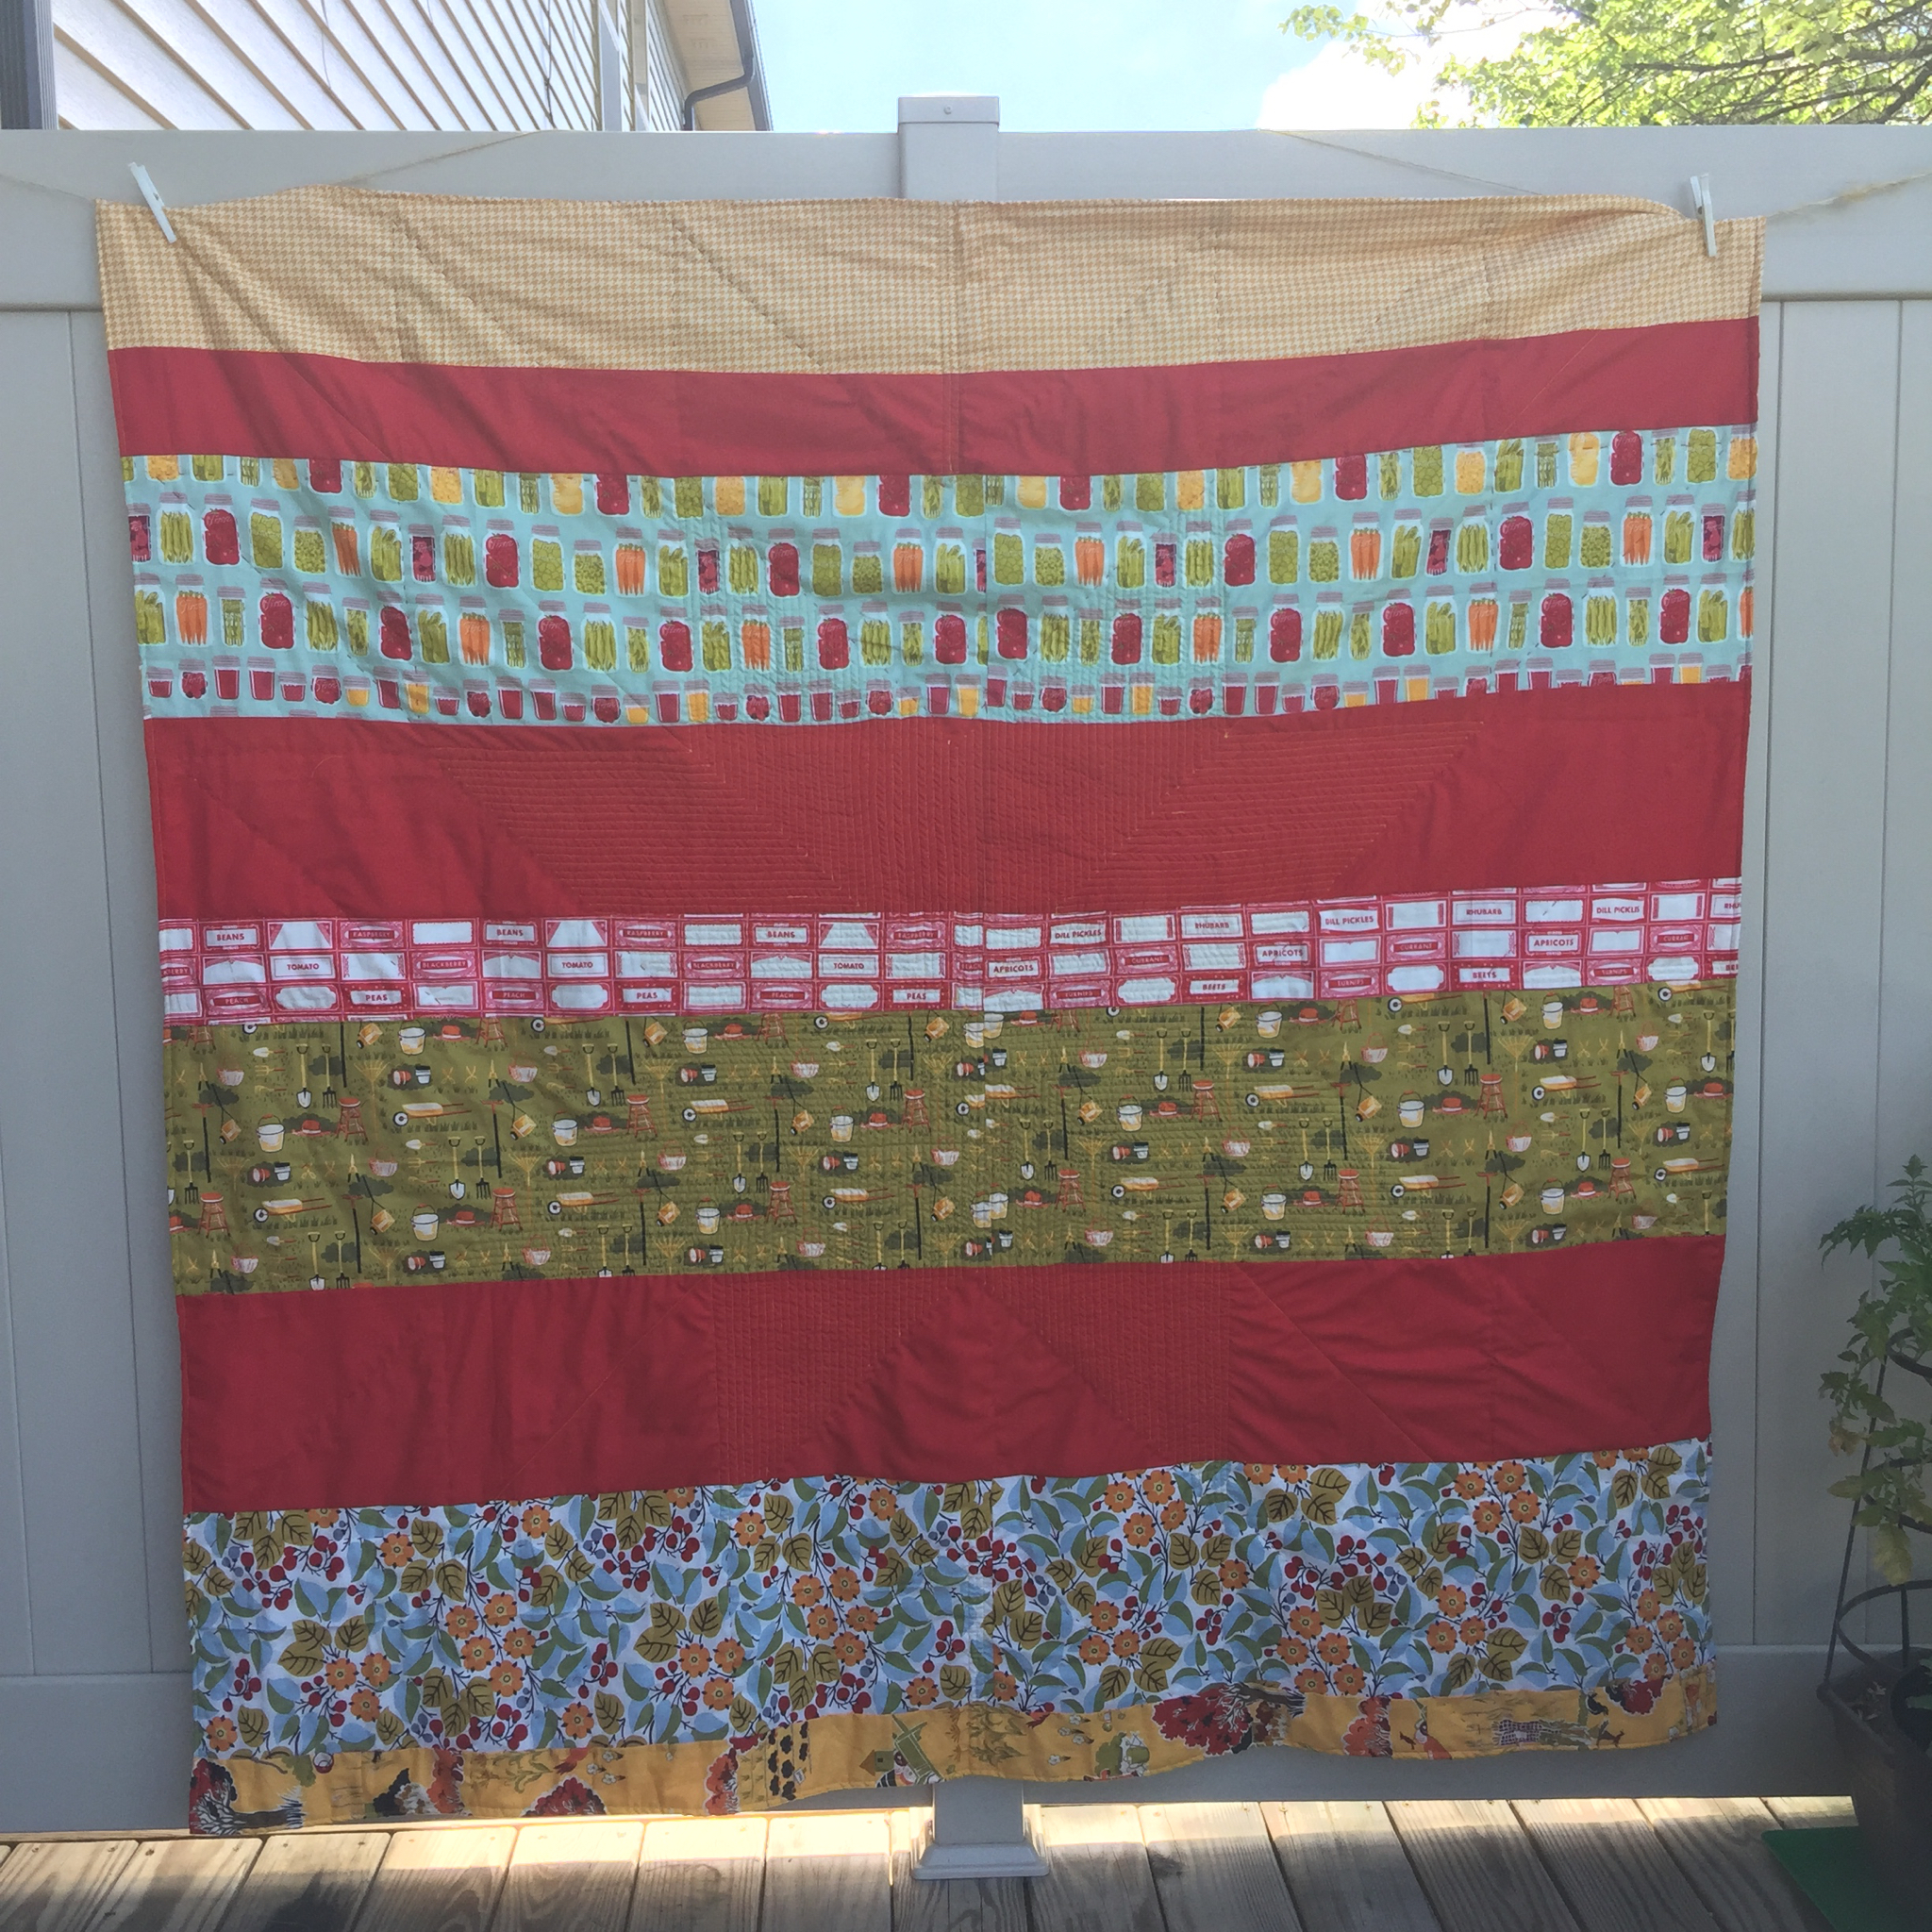
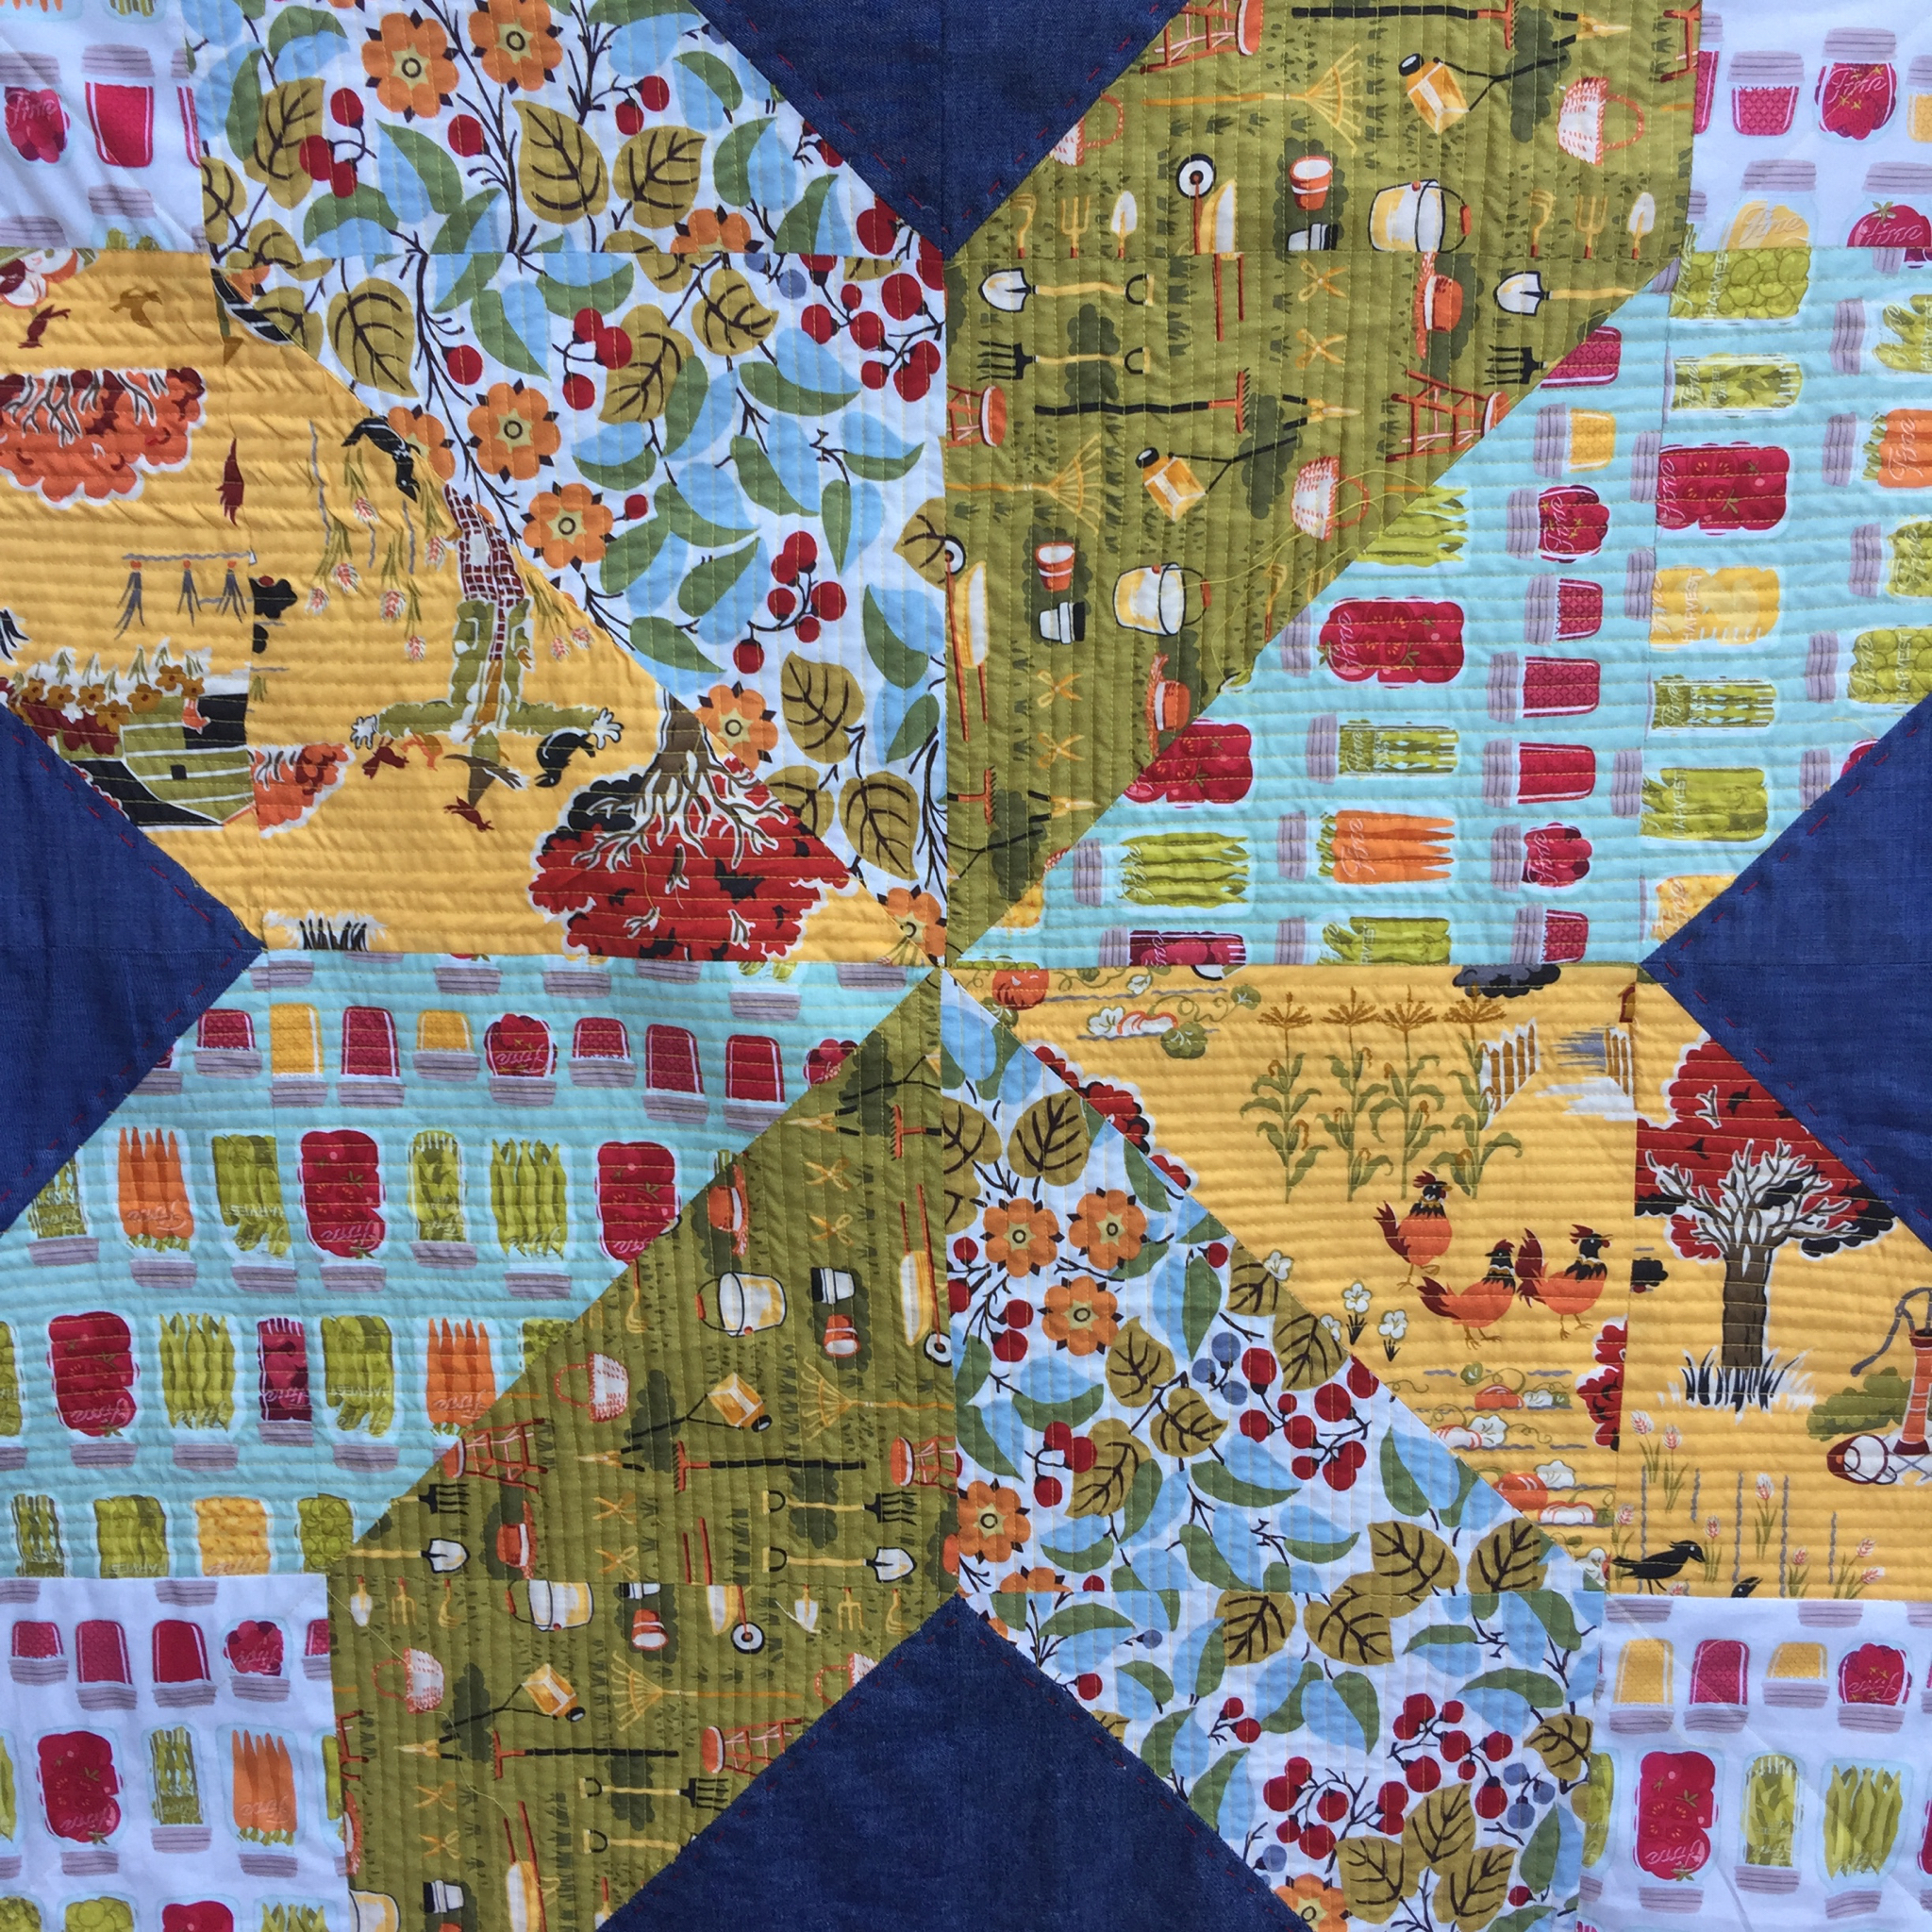
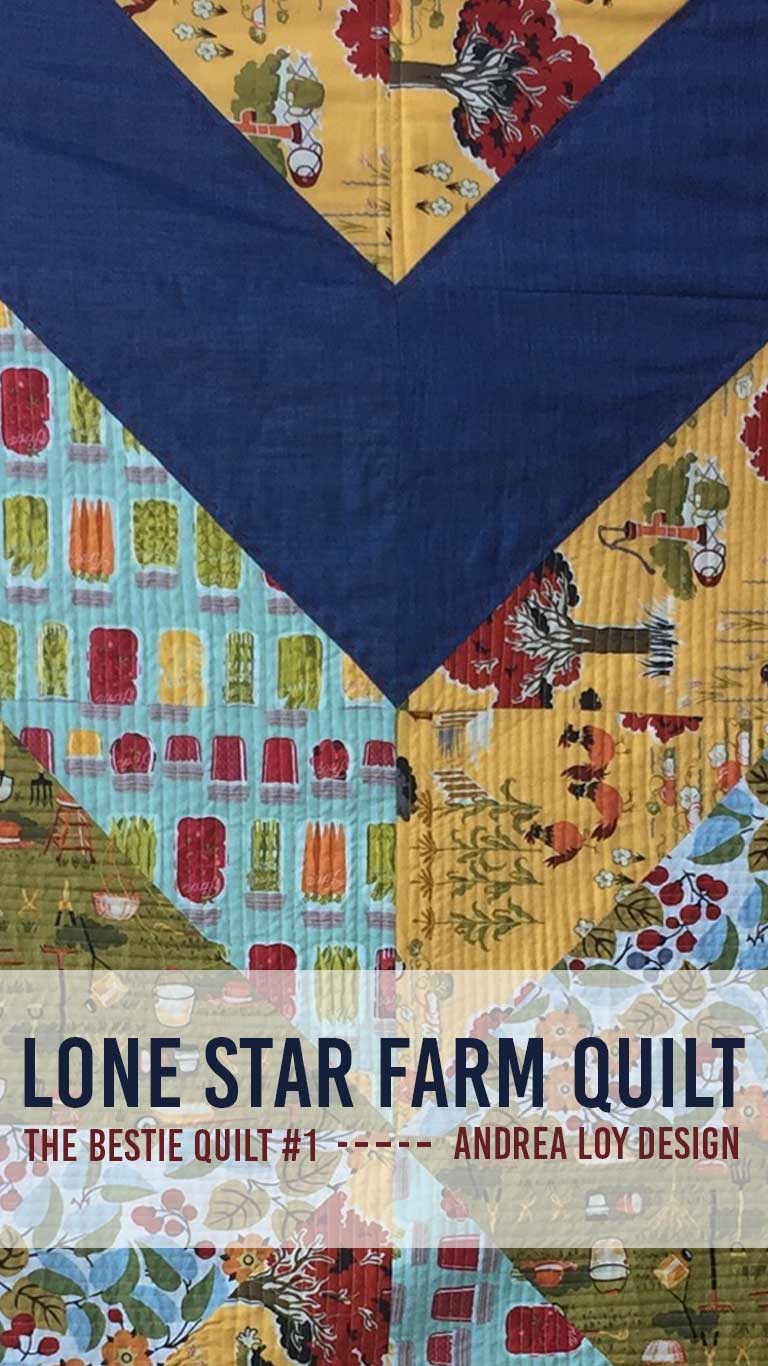
I chose to merge two separate collections of farm and canning prints by Riley Blake Fabrics and some denim chambray from AGF. I patched in a few pieces from Joann Fabrics as well that I have had since God only knows when….
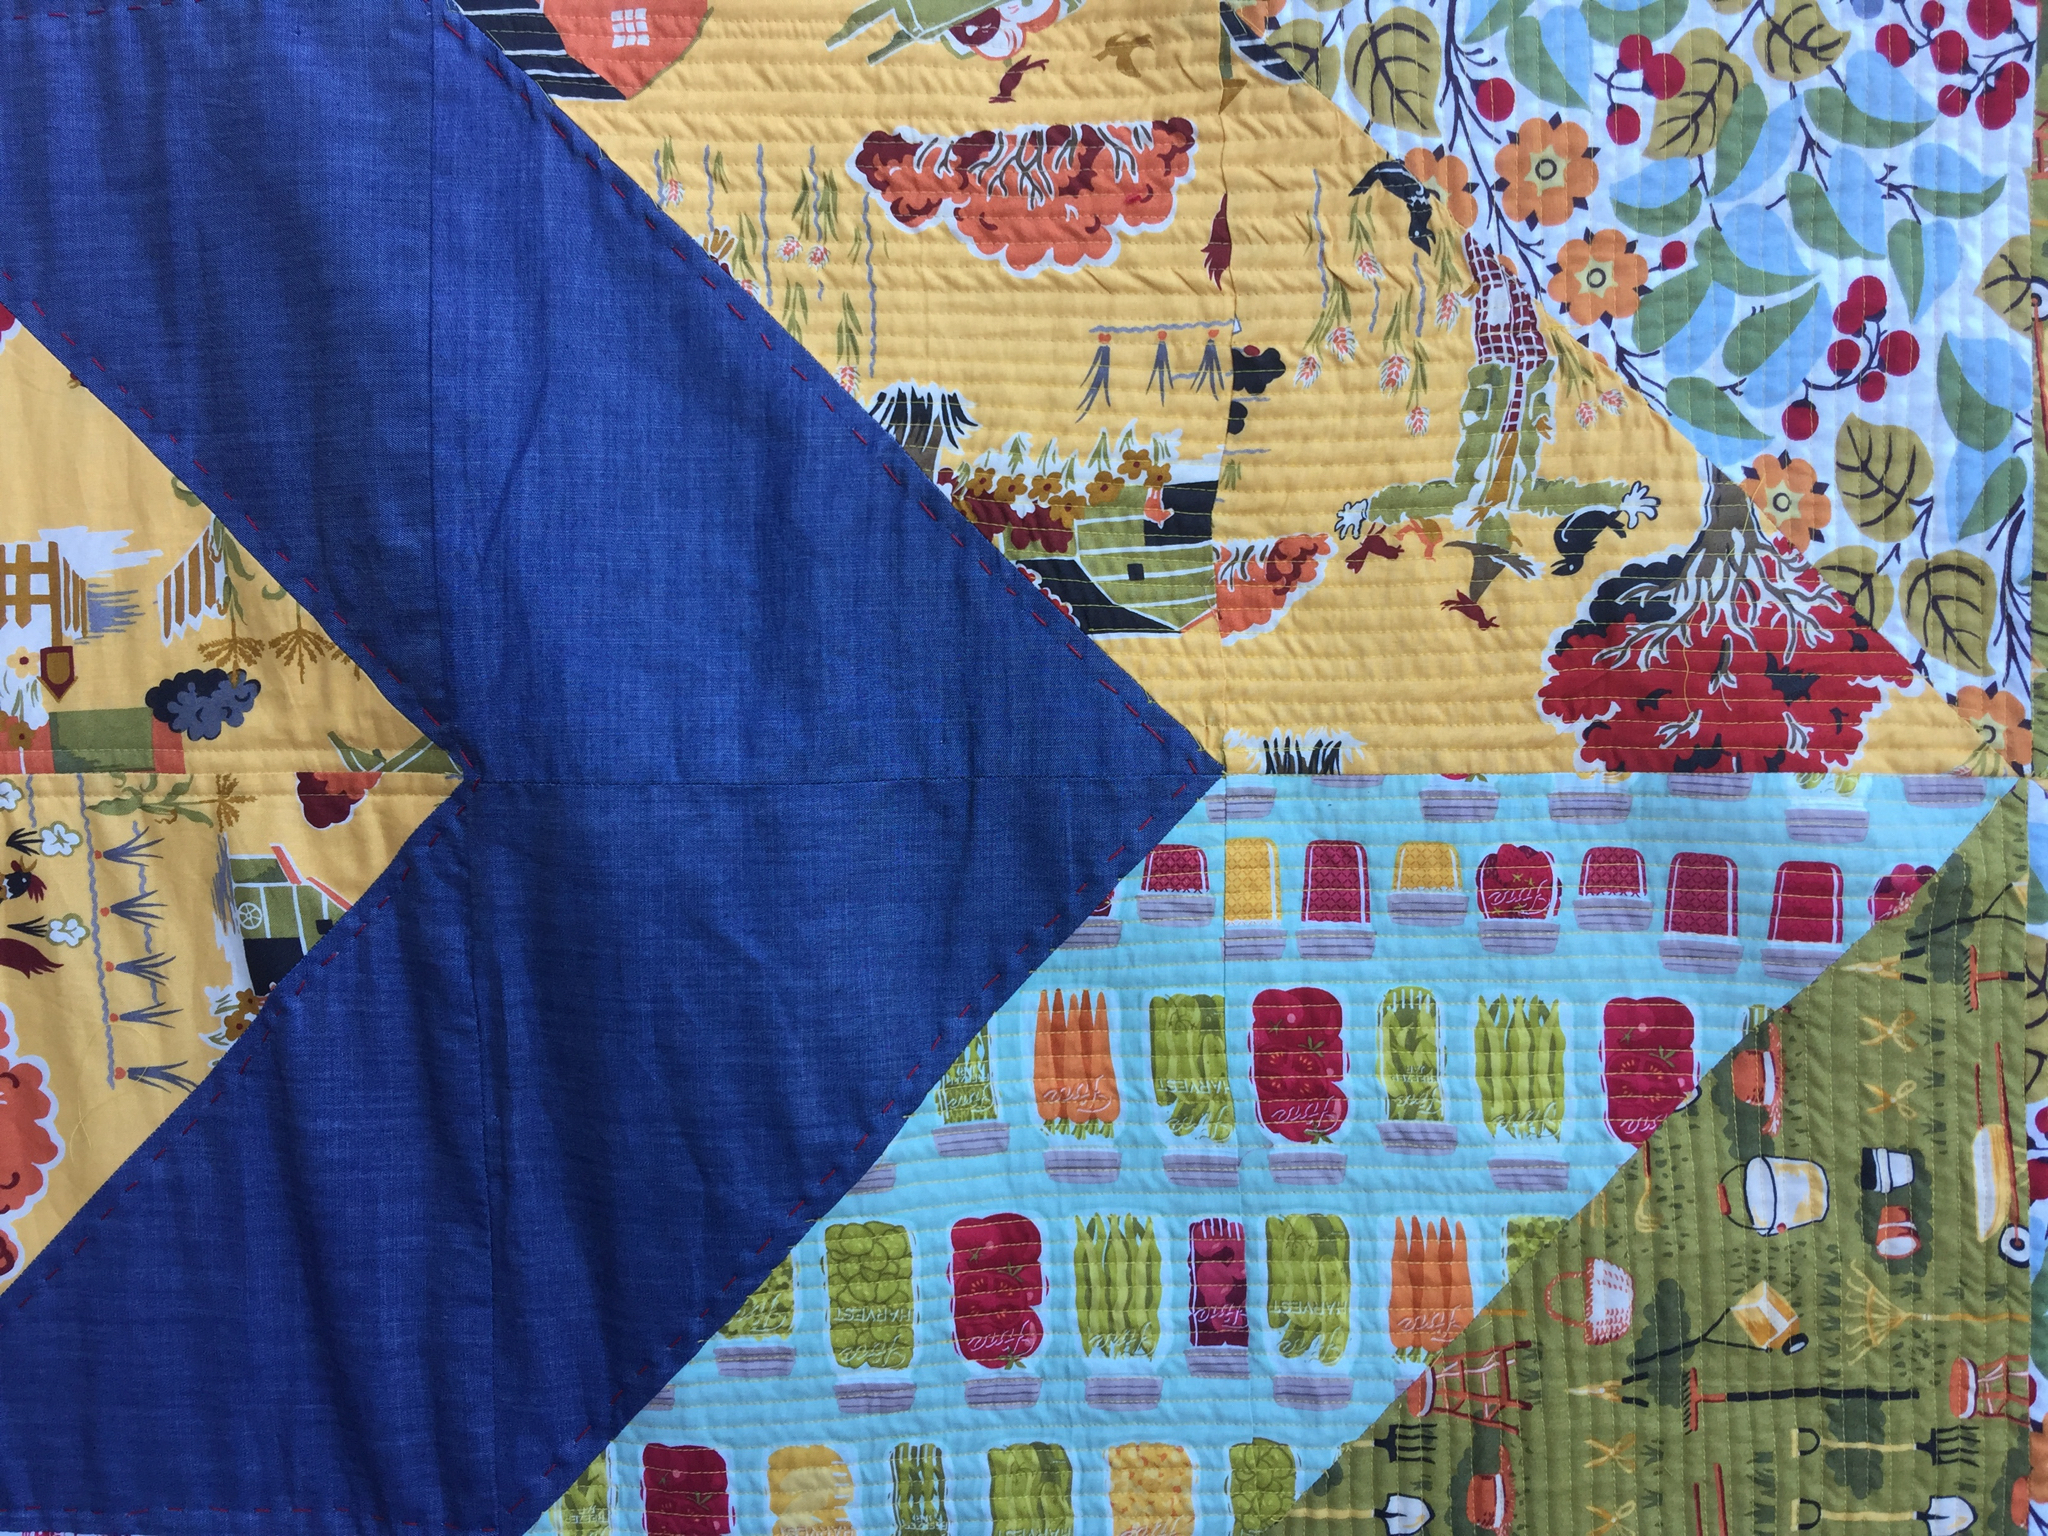
The pattern began as a lone star quilt block, but then I carried out it’s border with half square triangles to make the star burst out and featured the center using the chambray as contrast. The quilt was a lot of fun. While I sewed, it was a great opportunity to reminisce, pray for Haley and to finish several books on audible! In fact, I have a link from Amazon for 2 free audible books here if you want to grab it! I enjoyed the last Harry Potter novel, tried to listen to Fantastic Beasts, but it was too tedious, and ended with Missional Motherhood by Gloria Furman.
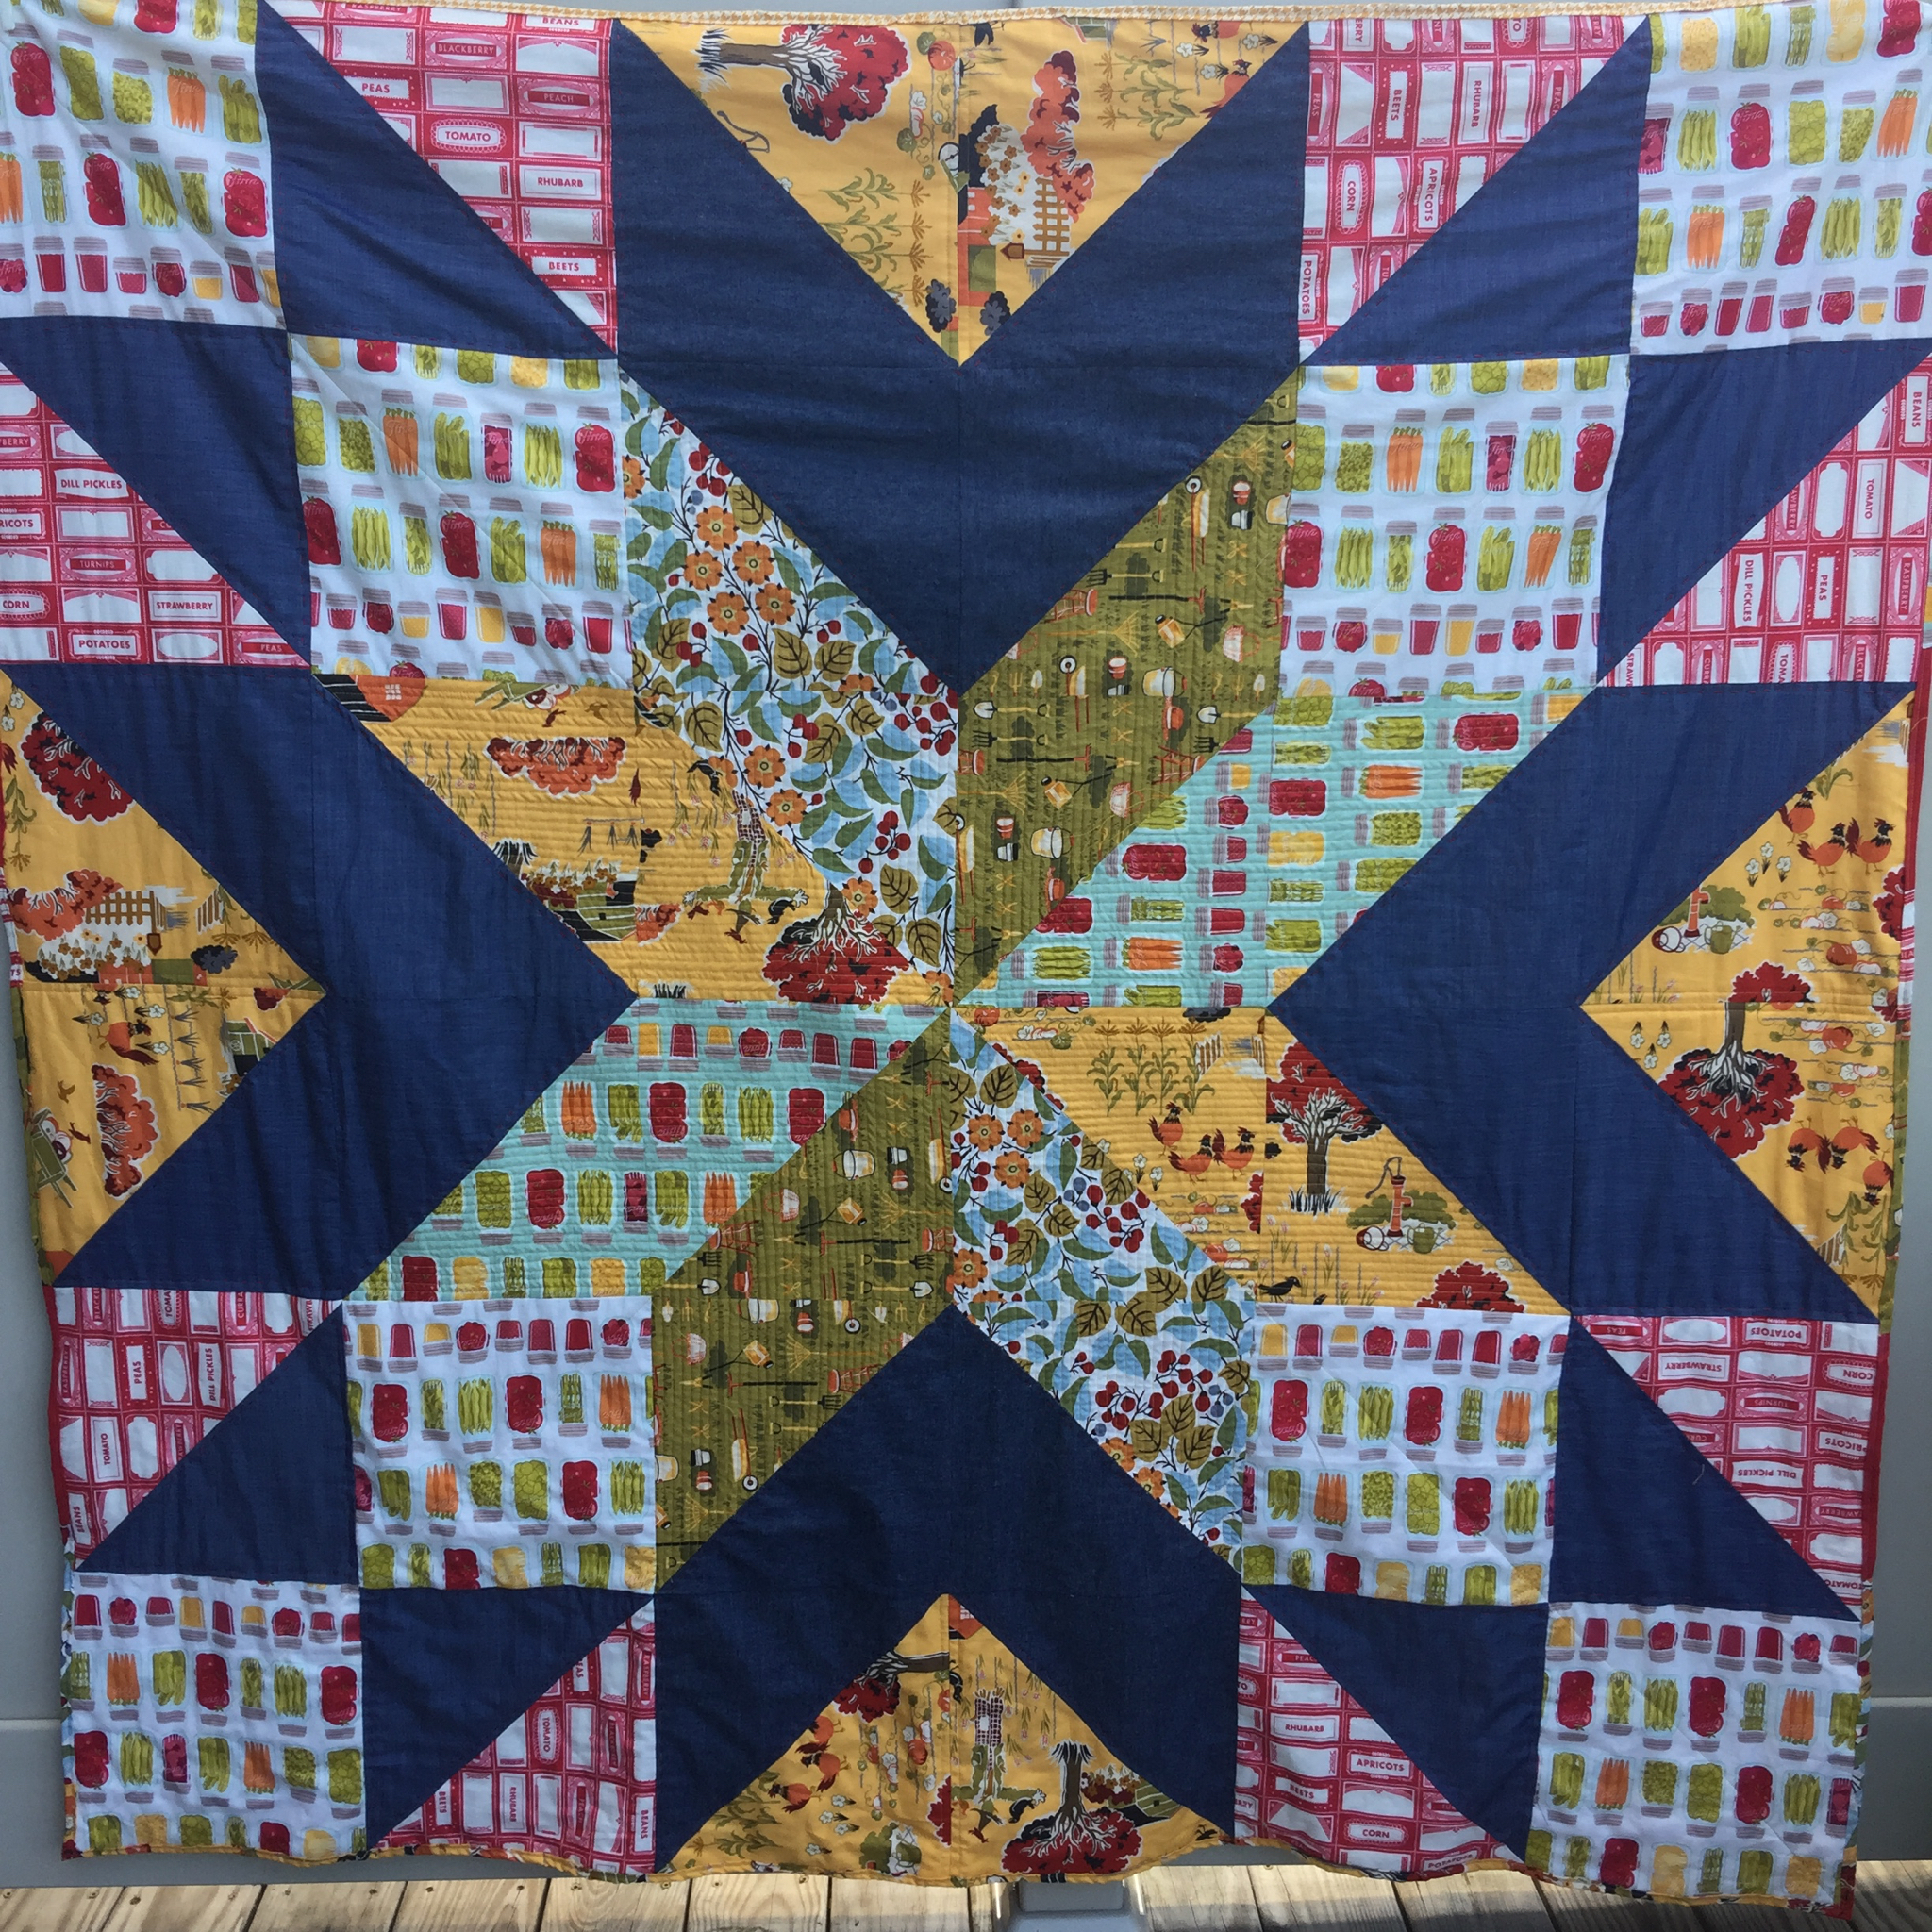
Fun facts about Haley’s quilt:
-At the last possible minute as she was pulling out of her long farm driveway in Illinois to leave for Arkansas for a week, her postman pulled in to deliver the box. Phew! PTL! She took it with her in the car.
-I tried quilting tiny lines close together for the first time…loved it!
-I used red pearl cotton to hand quilt the chambray sections.
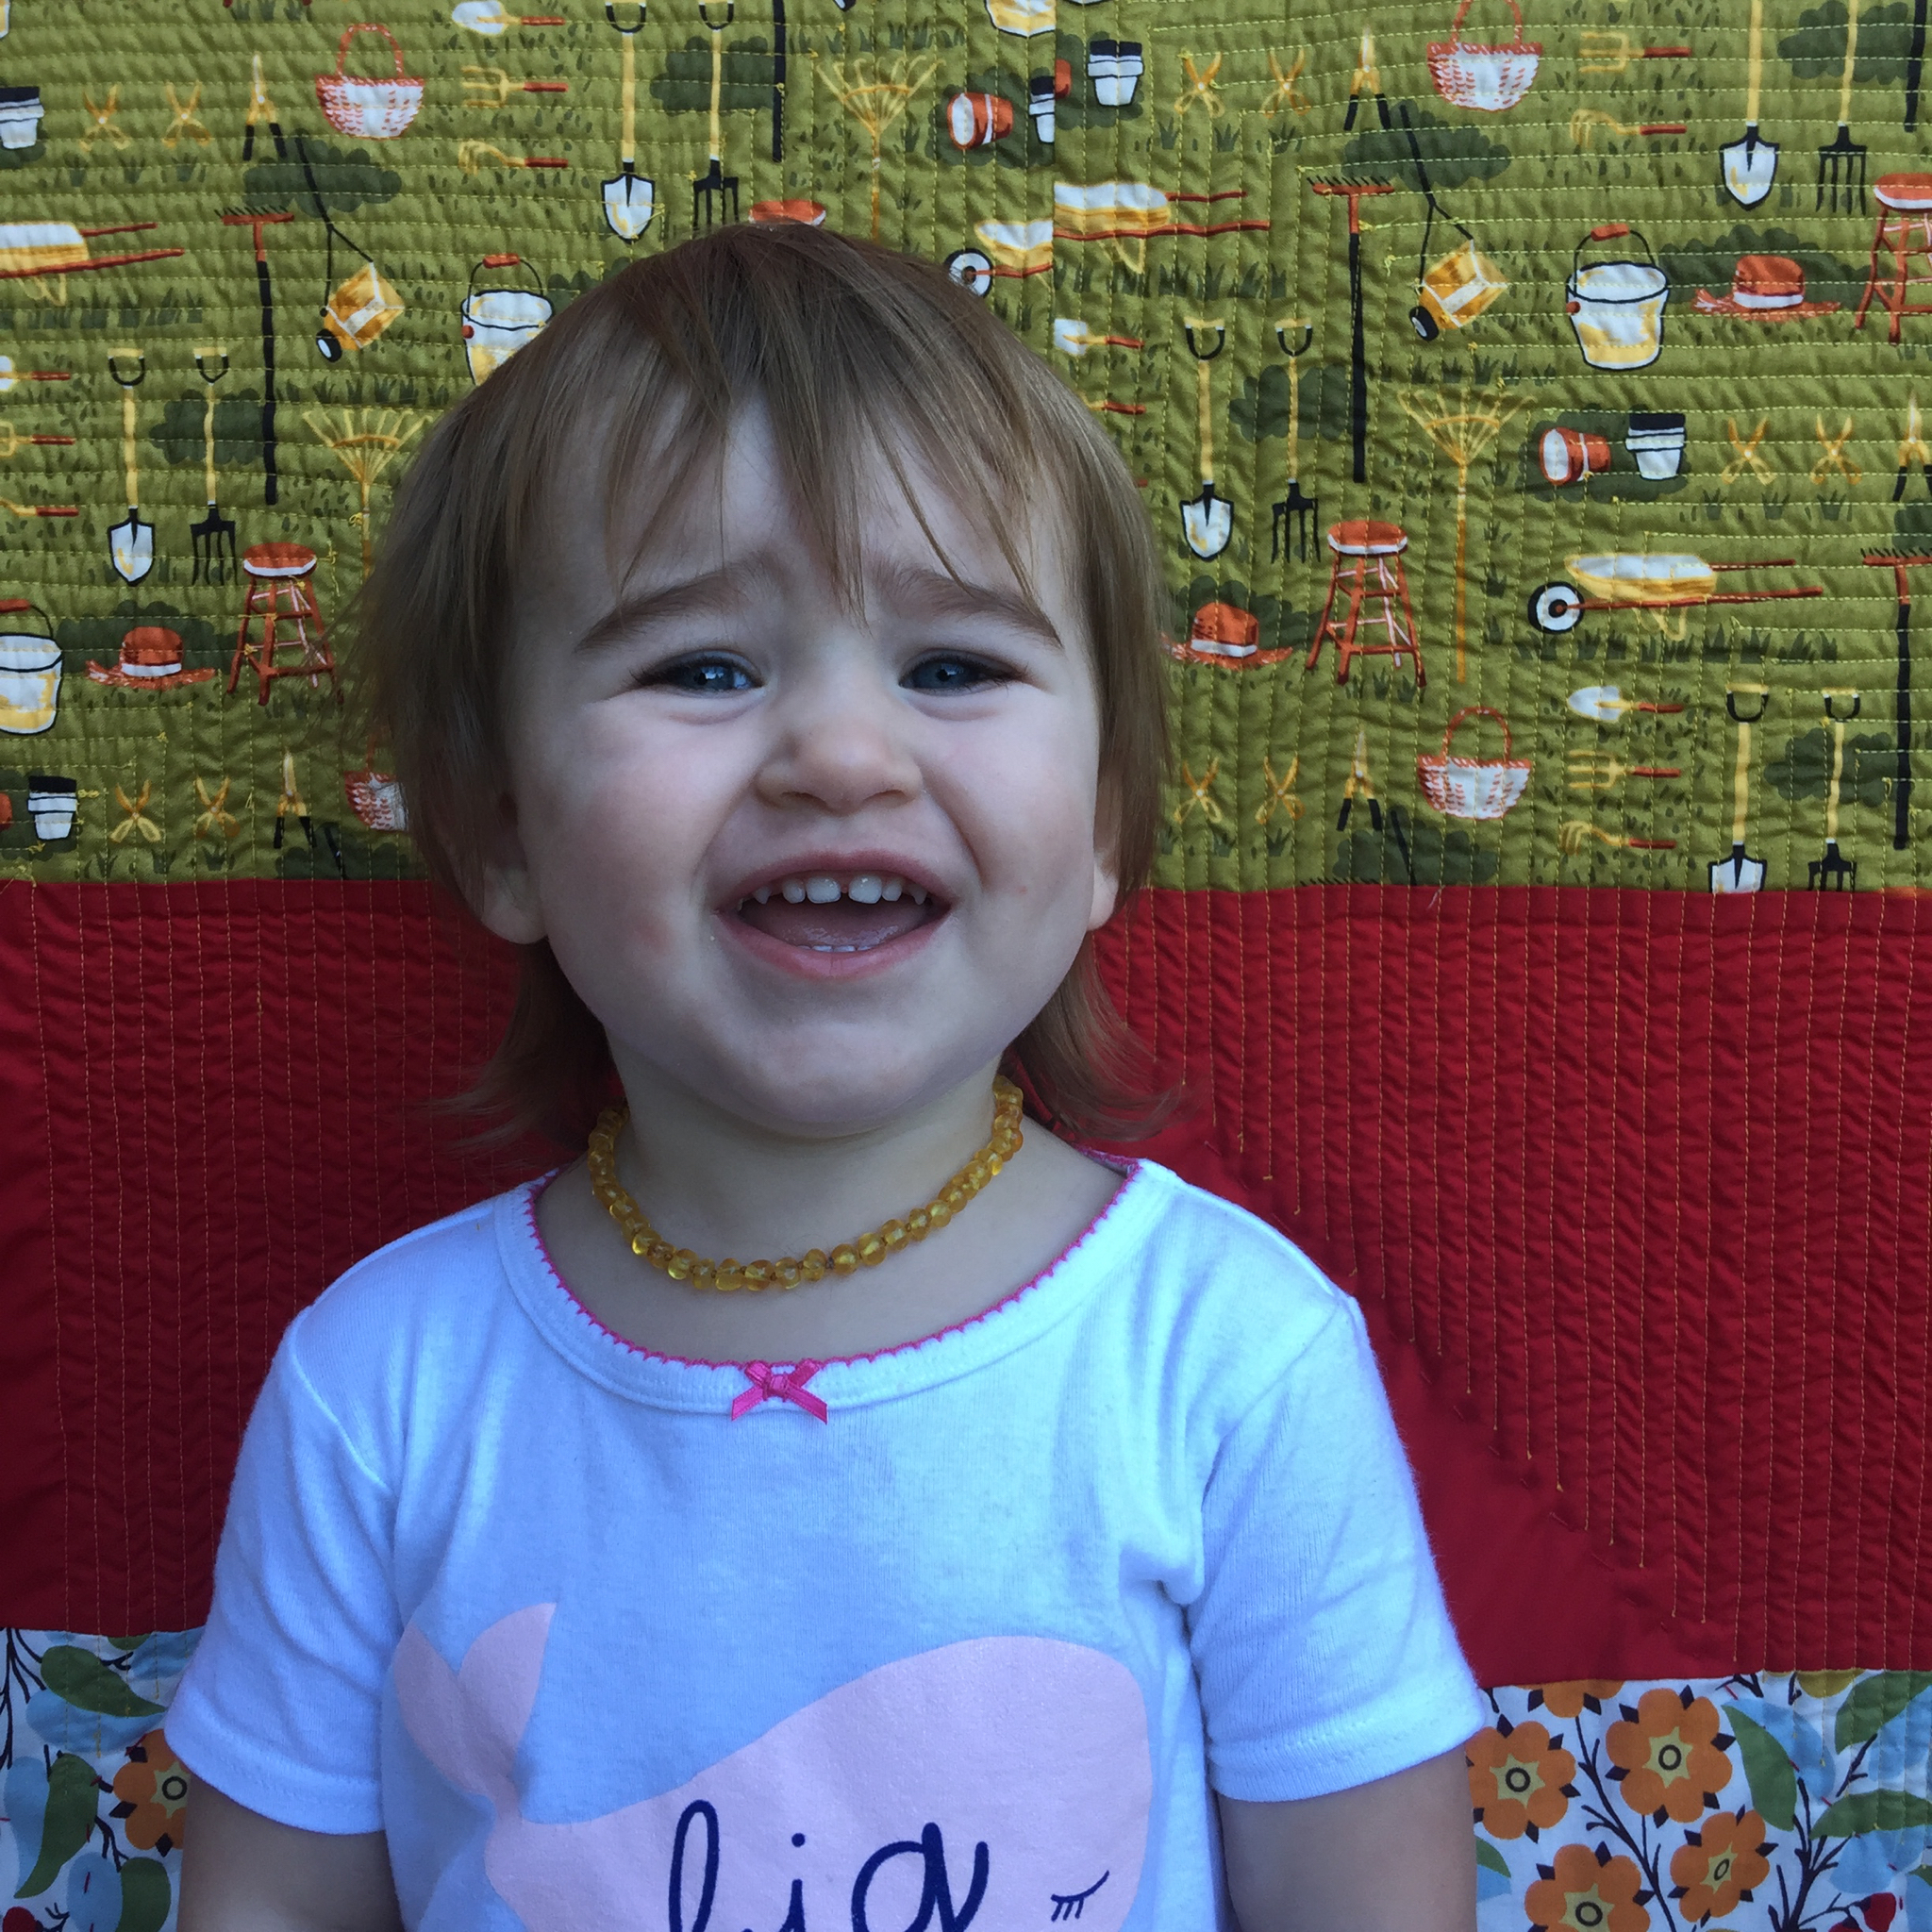
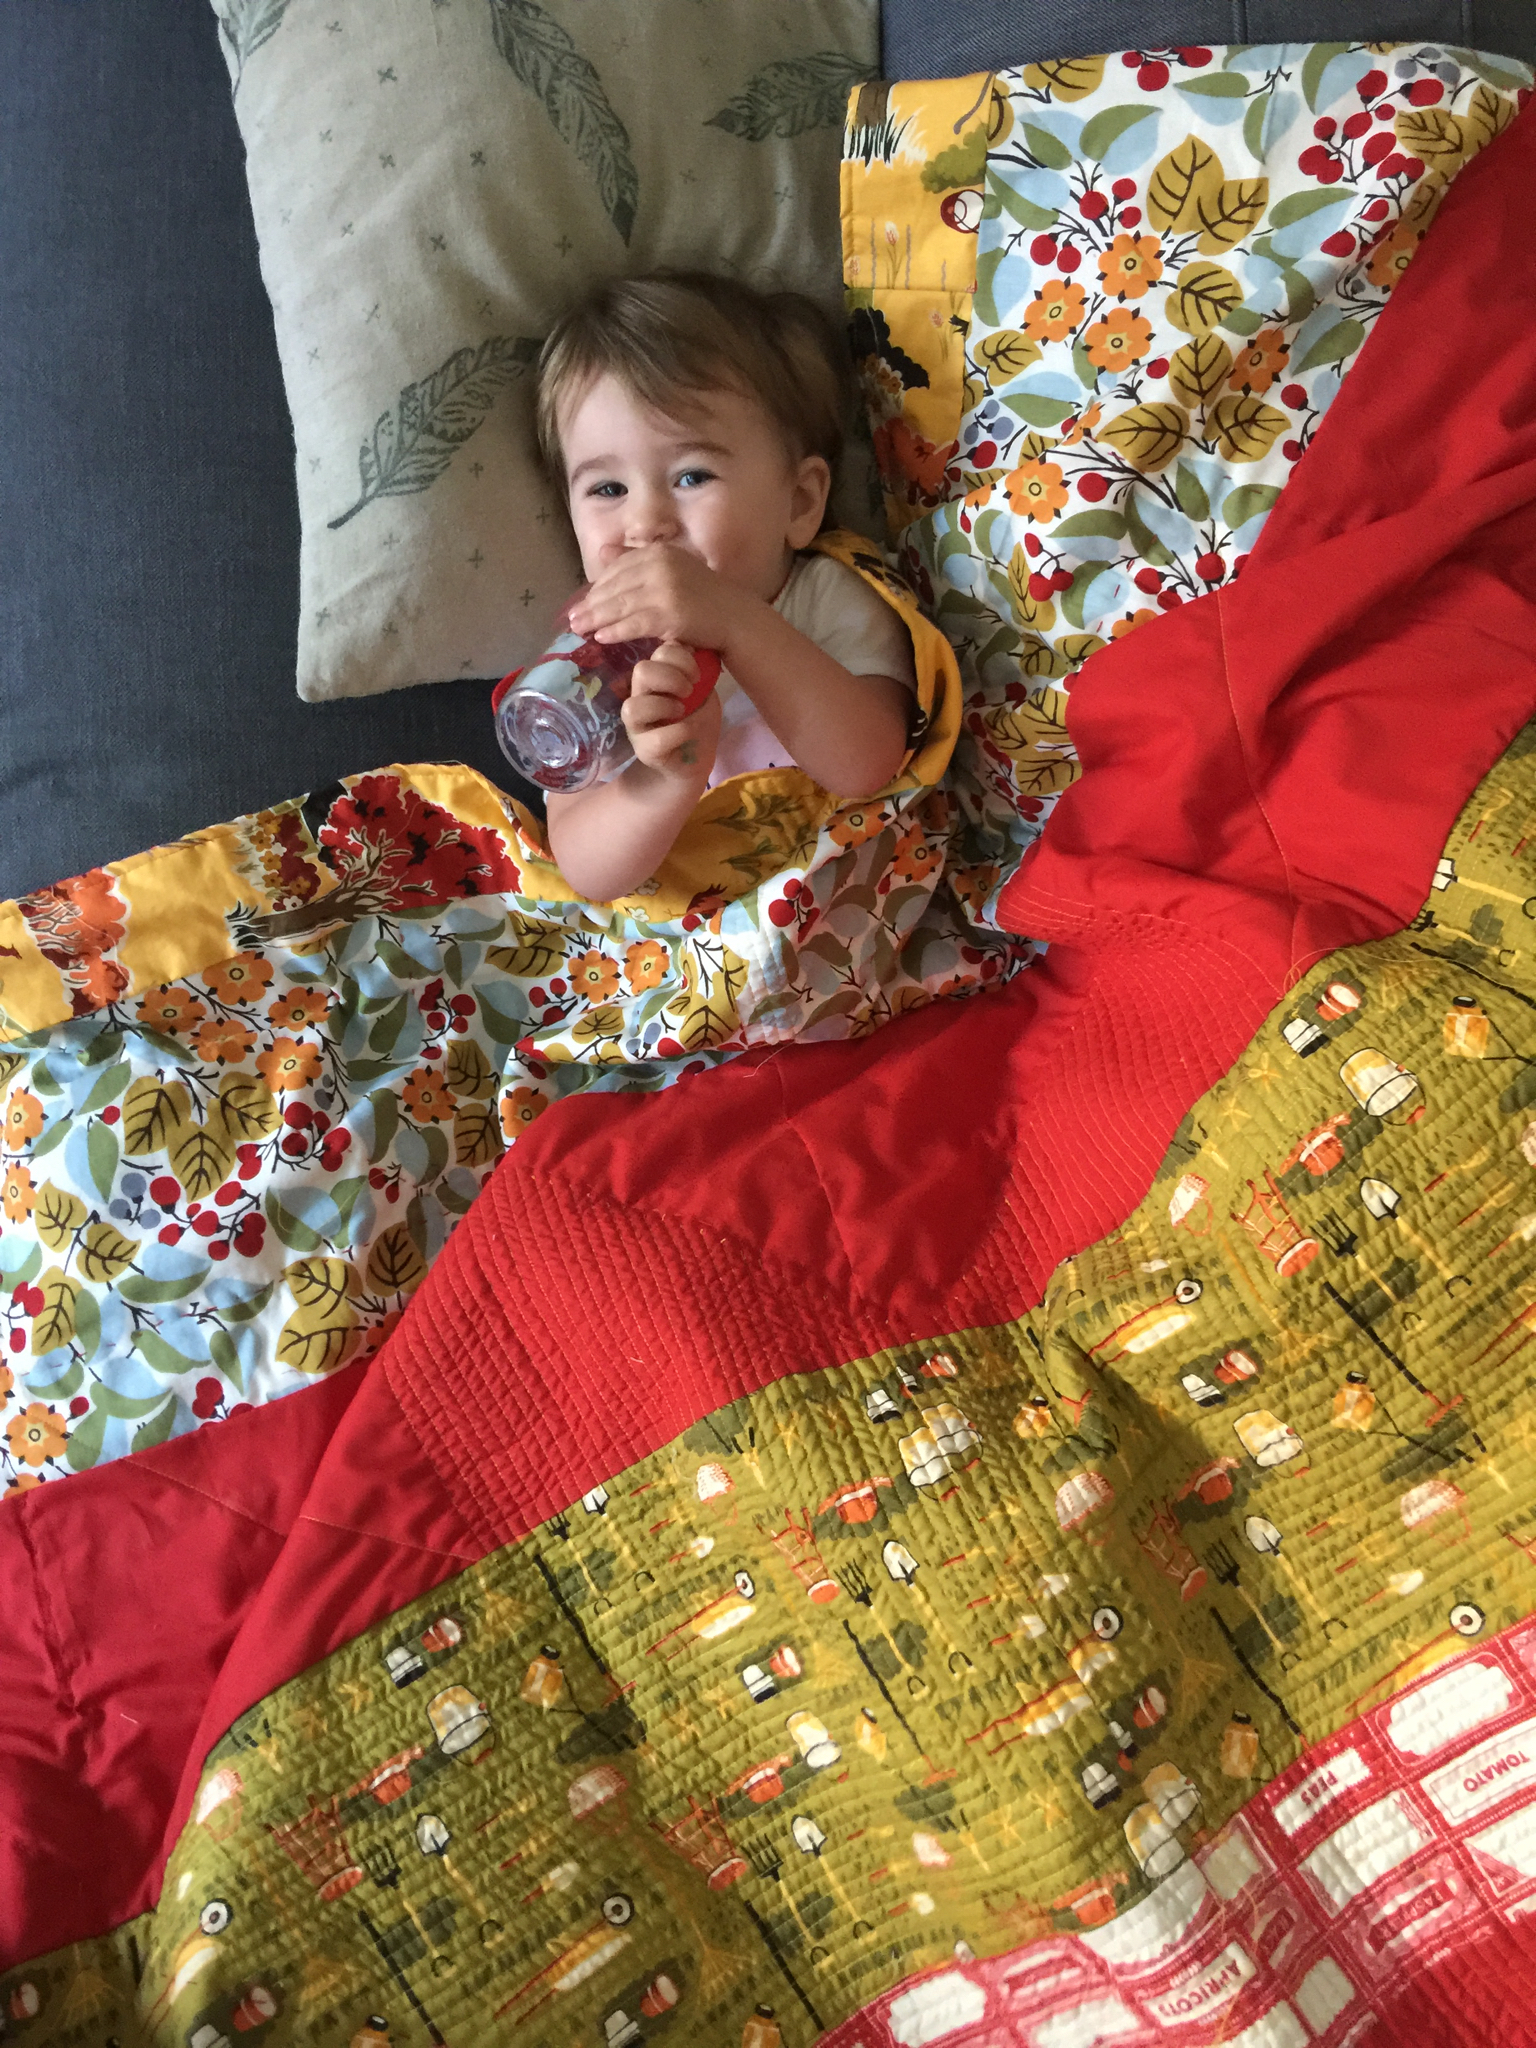
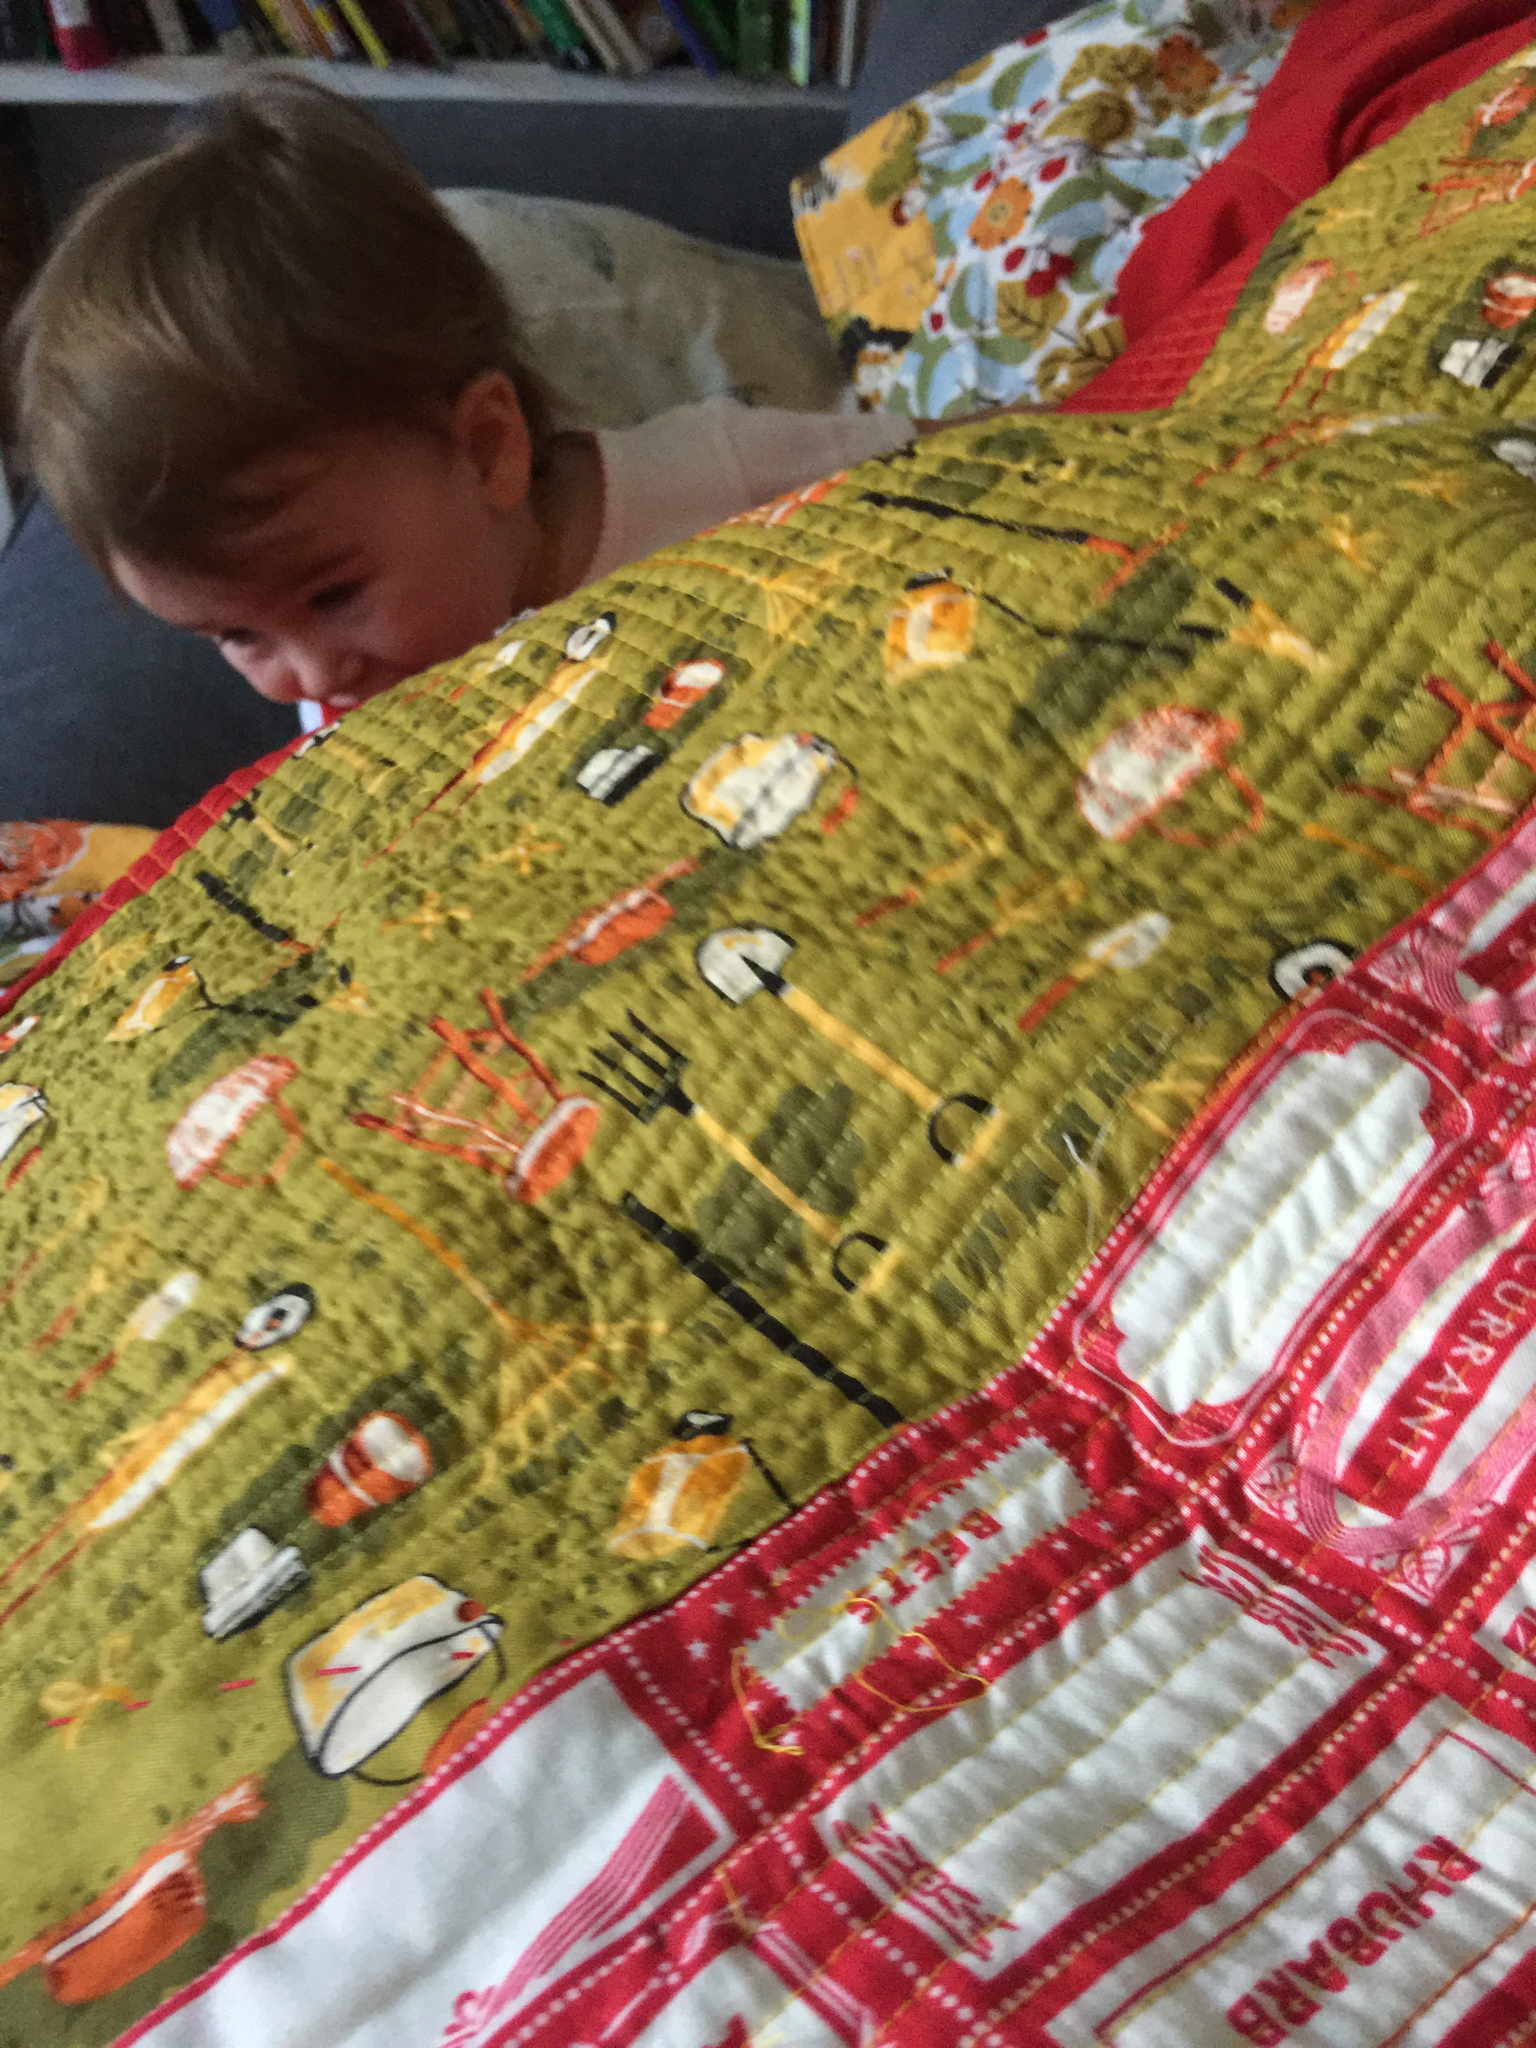
-Ruby Jane loved this quilt, and probably thought it was hers. She helped me photograph it. Why does it have to be so difficult to photograph quilts?! I need help.
I have a few more bestie quilts already in the works, but first I’ll be working on my #4 daughters quilt. She is getting so big and it’s time for her twin size quilt! Her 6th birthday is in a week!
Here are some links to the fabrics and batting I used! Annnnnnd lots more pictures below!
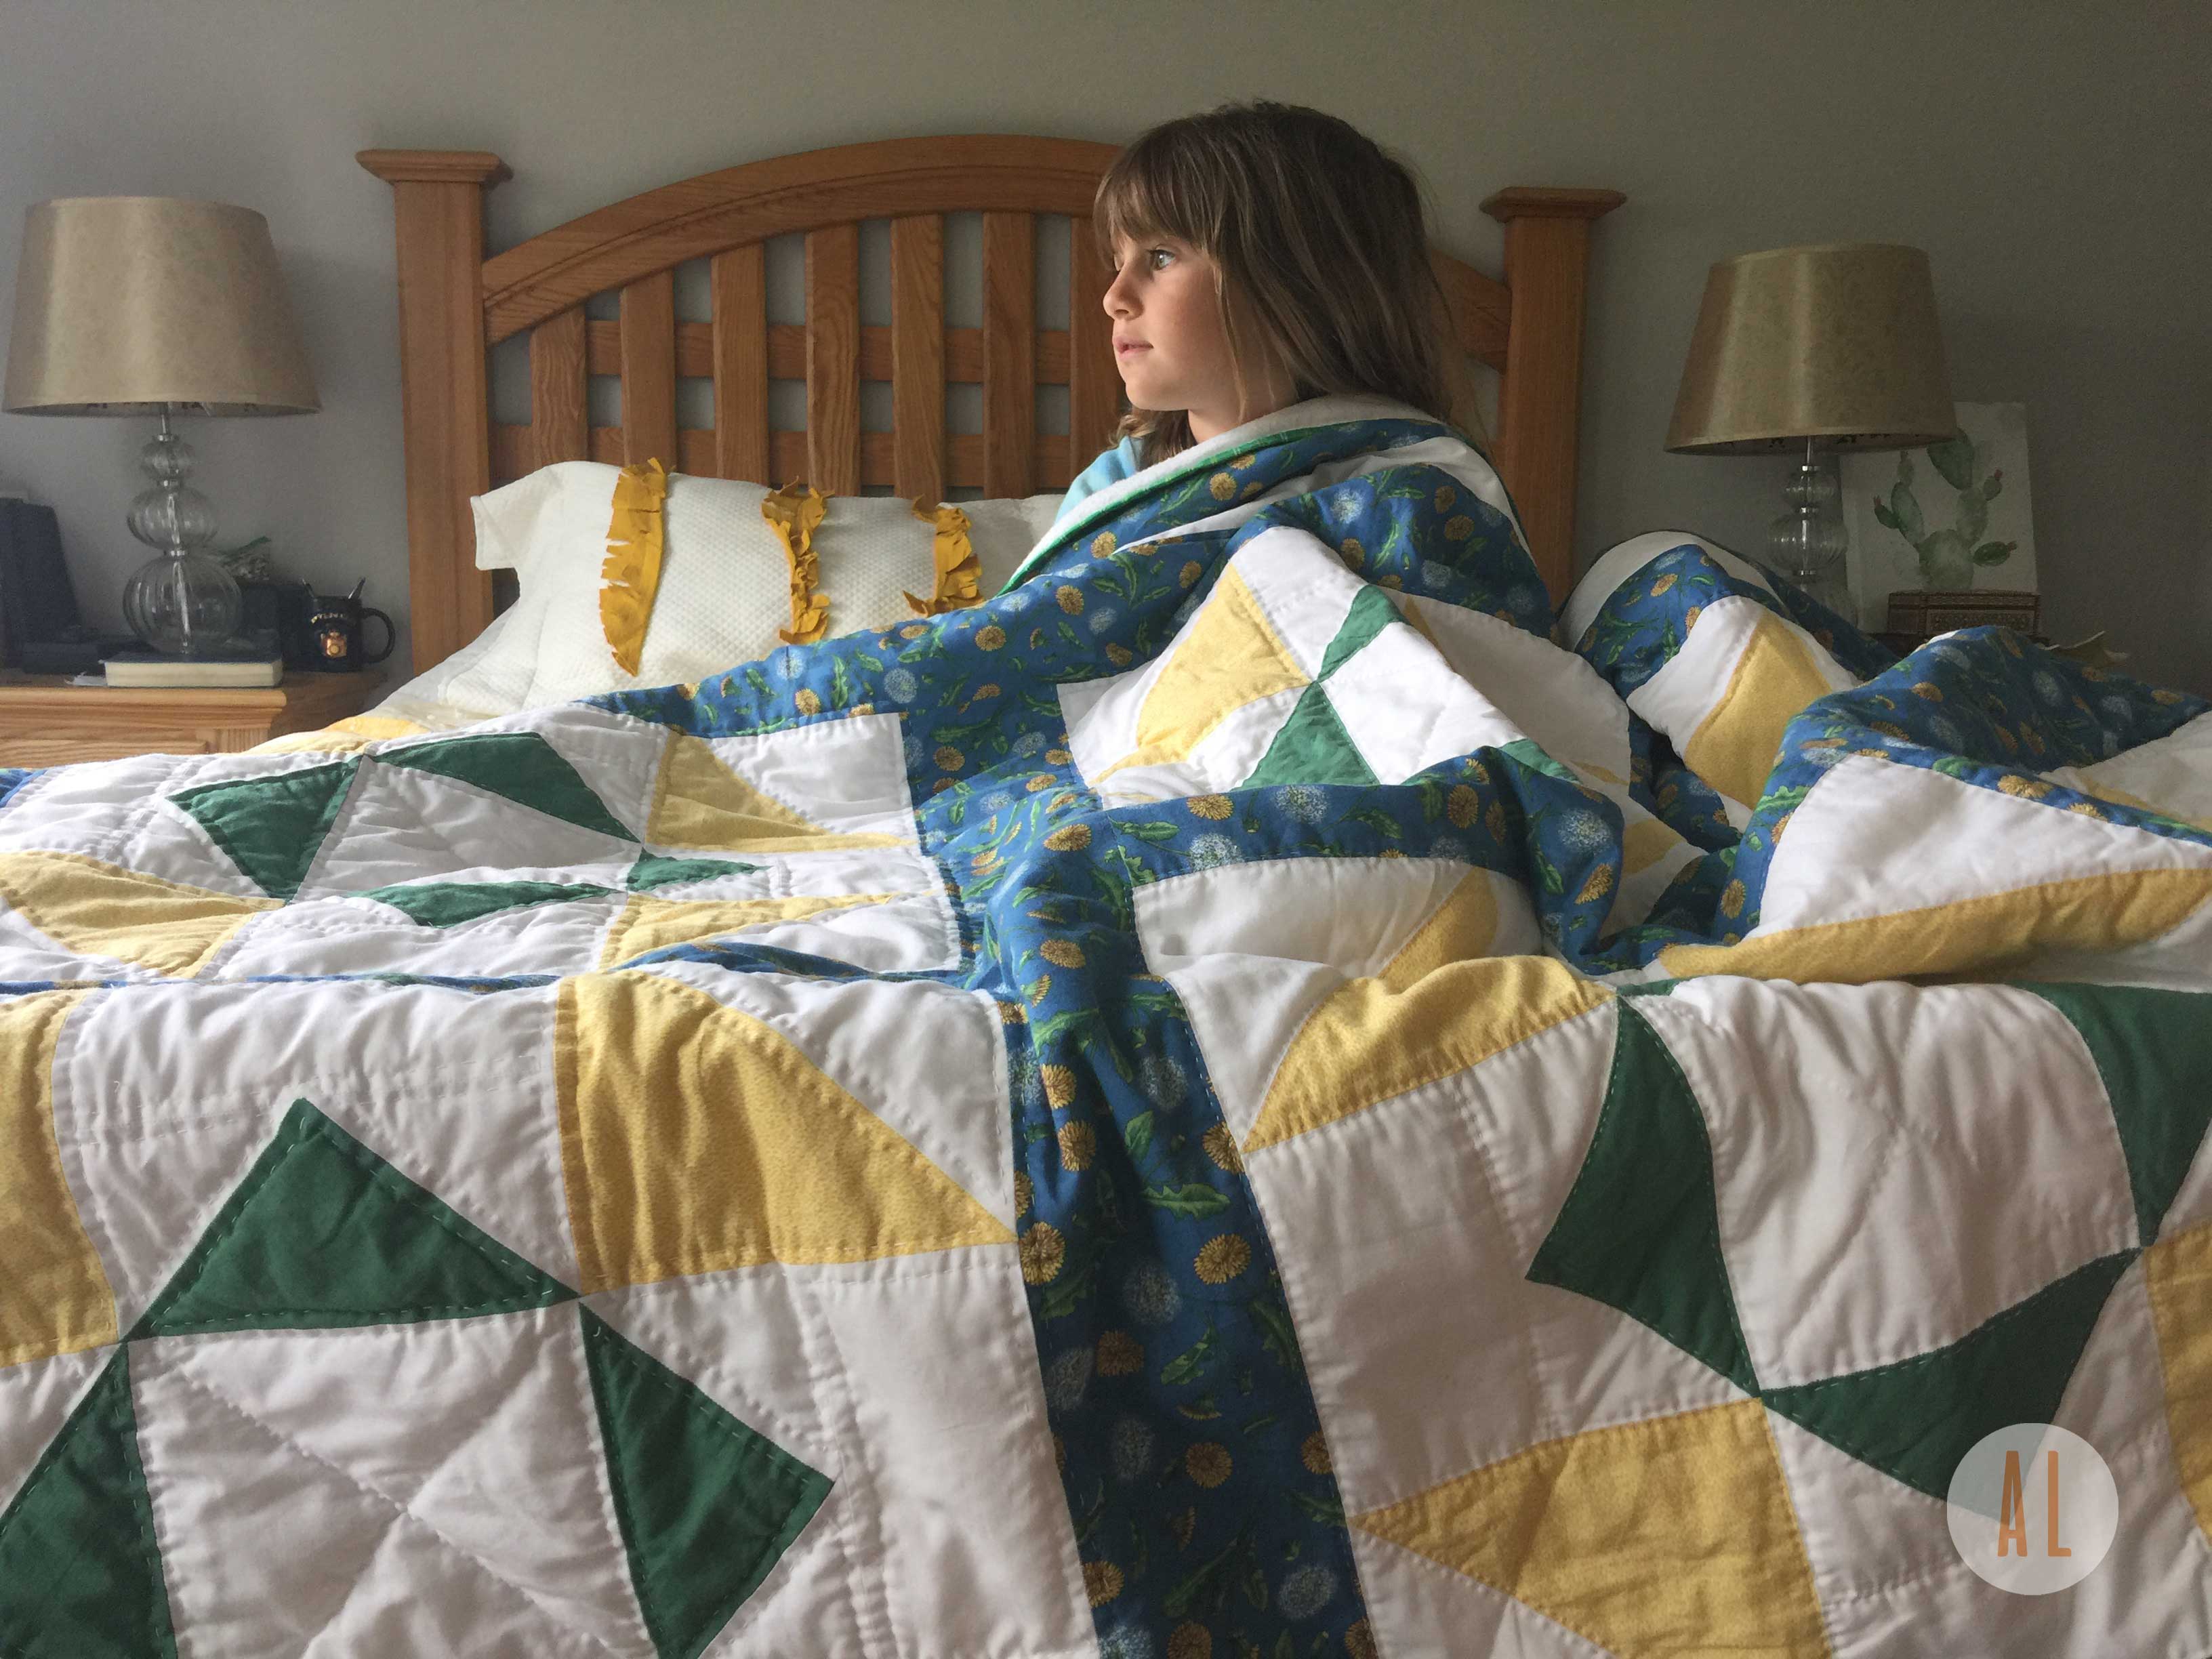
Finishing My First Quilt From 1994
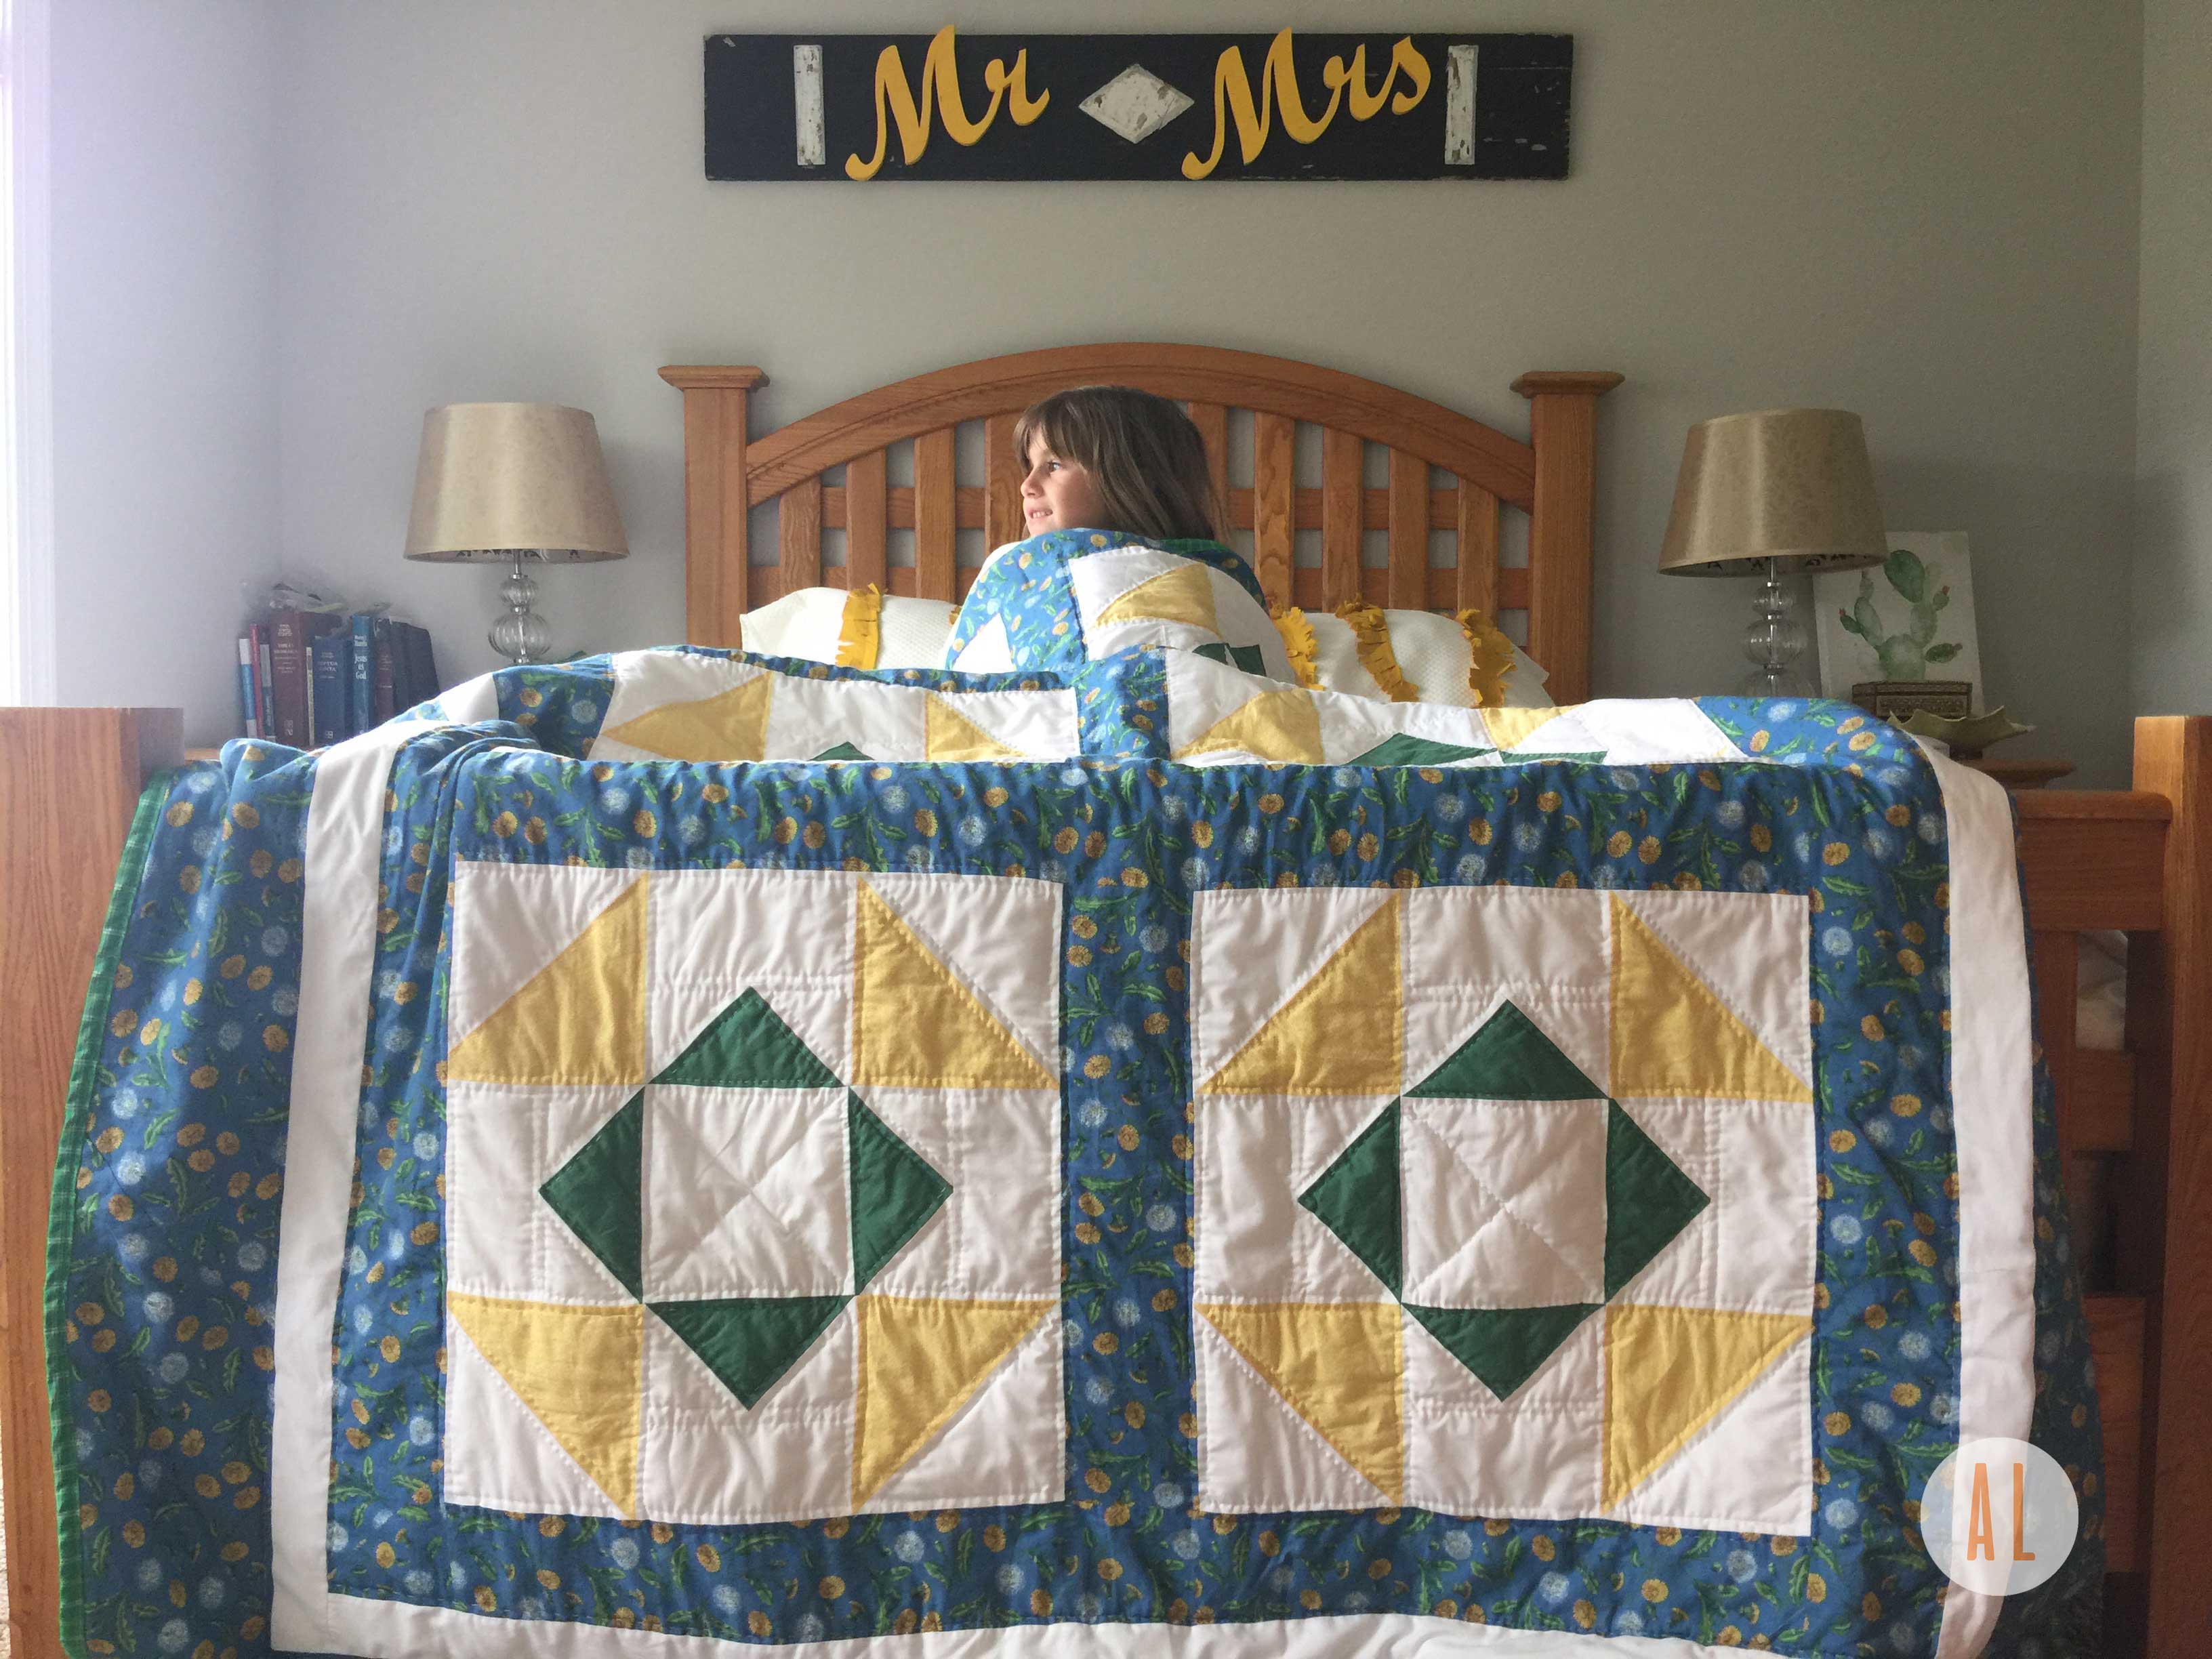
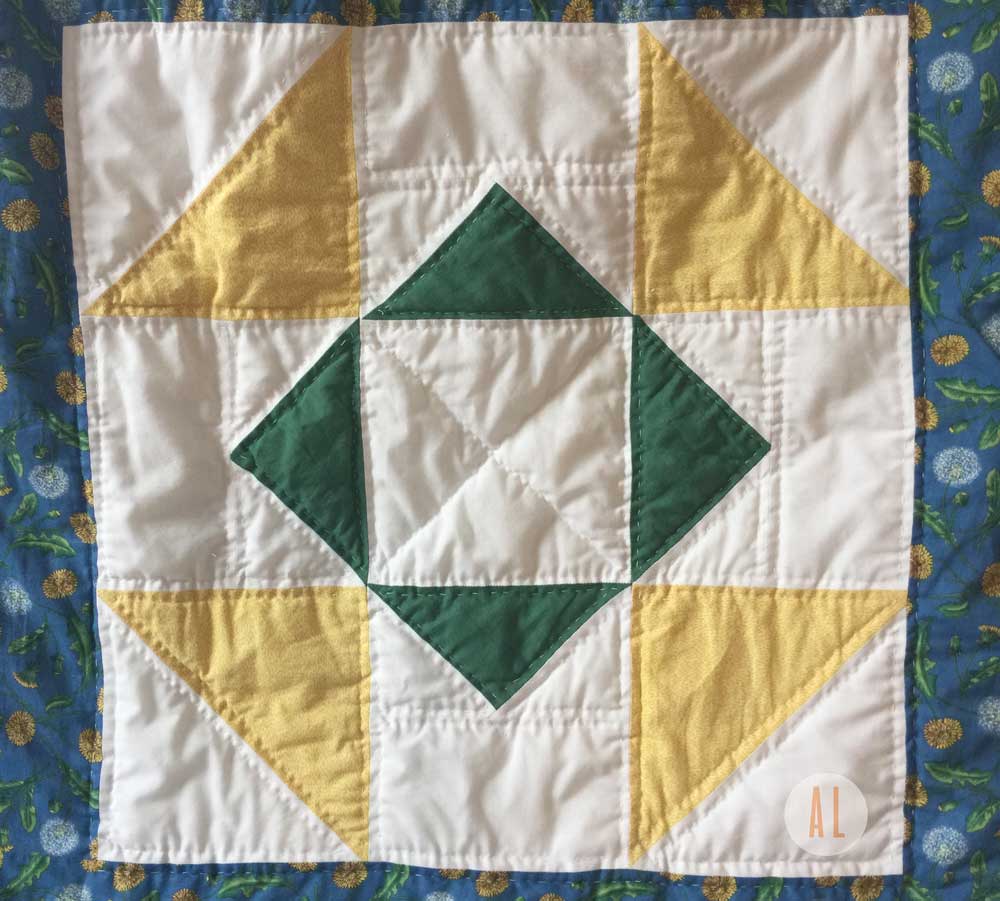
I started this quilt in 1994. It was the summer of my 7th grade year….Alanis Morissette was singing Ironic on my boom box cassette player. My cut offs were totally grunge and my mom was sponge painting the hunter green walls in our guest/sewing room. She taught me to quilt and I was hooked. For some reason though, life got busy when school started up again. The quilt top was left pieced but unquilted in the sewing room closet. I enrolled in 8th grade, got my Jennifer Anniston layered look and headed off to school with plaid flannel and dr. martens.
Several years later, I got married and my mom packed that quilt into my moving truck with me as we set off to rural Illinois. I was pregnant with our first child and the nesting of our home was in full swing. I got the quilt out and started working on it again. Slowly hand quilting here and there. I just never really stuck with it. I think part of it was because I didn’t like the style of the quilt. I never would have picked it out for my home now that I was a sophisticated newly wed hoping to decorate my farmhouse in trendy style. I put it away and purchased a Shabby Chic Quilt from Target!
After Illinois we had a long string of frequent moves and the quilt got moved about and lost in storage for several years. Fast forward to the most recent summer of 2016. 22 years after starting the quilt, I was mercilessly getting rid of everything I could because we were moving across the country for medical school and I did not want to haul anymore junk around for the rest of my life. I’m not a minimalist, but I decided we would sell everything and keep our moving expenses down.
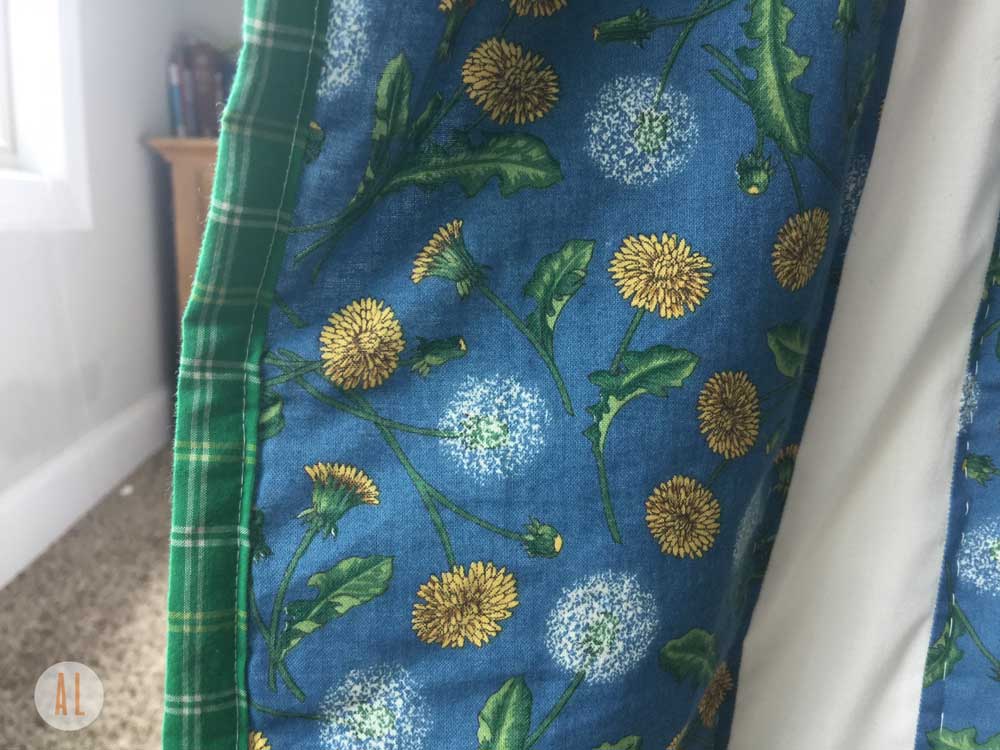
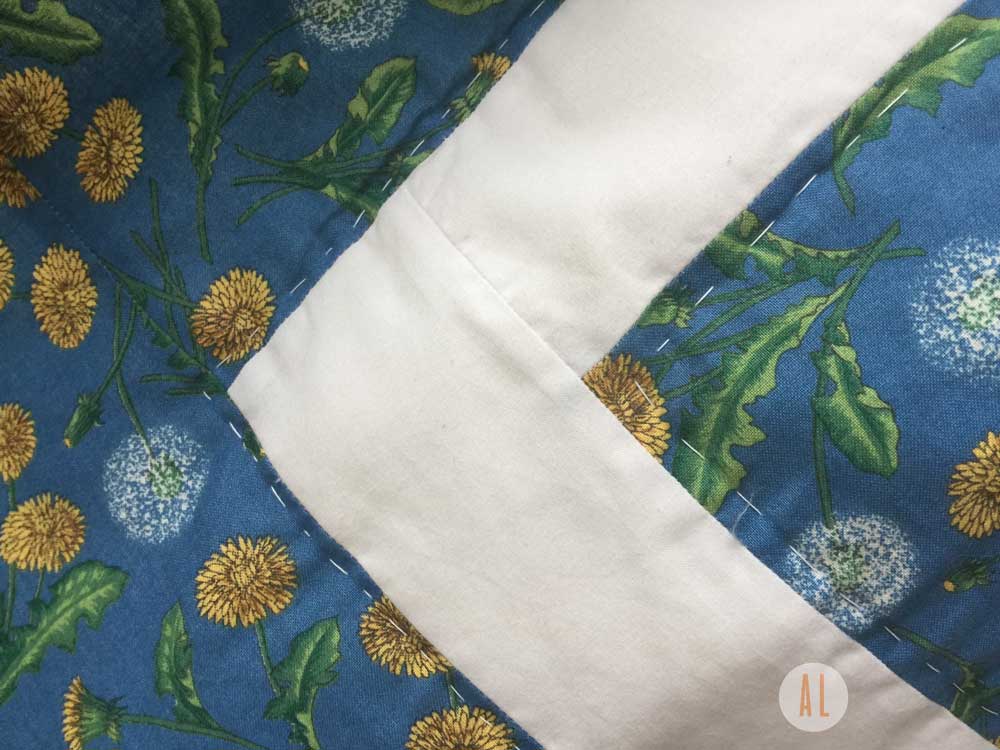
Despite my ability to get rid of tons of fabric and unfinished projects, I could not let that quilt go. I told my mom, I would finish it. She offered to take it home with her and keep it safe while we moved across the country. She set about quilting it for me this past year and in May she brought it out and we finished quilting it together. I bound it with some Ralph Lauren plaid sheeting I had been hoarding for about 8 years. It was finally done!
I love it because it is finished and it represents the beginning of my love of quilting. Do I love the colors and composition? Probably not as mush as I did in 7th grade! But I still love yellow and it’s a cheerful addition to our slowly growing collection of family quilts. It only took 23 years to finish!
This is the year I finish all the quilts I’ve started over the years! I am excited to get to work on the next one!
QUILTING MUST HAVES:
I tried out a new set of refill blades for my Olfa rotary cutter while I finished this quilt up and I have to tell you about these puppies! They were super sharp and came in a great little case. And the price made my jaw drop to the floor. You get 10 for less than the price of an Olfa 2-pack! Try them!
Also my 2 1/2″ strip die for my accuquilt cutter. I love it. It makes the binding go superfast.
This rubber thimble is my new favorite for hand quilting! Super comfy. It’s the best.
Makers Cottage – DIY Felt Ball Garland
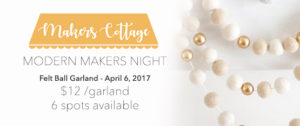
It’s time for my third Makers Cottage Night! Each Modern Makers Night has been so fun and filled with making not only great projects but new friends as well. For the April project I’ve chosen Felt Ball Garlands. I’m not able to source the wool felt balls locally from a herd, but that sure would be amazing! I’ve ordered some in bulk though and they are on the way! Check out the image above for a sample and details. Simply Click On The Image to Sign Up! I have a few spots left and I’d love for you to join me! I think this would be an easy kid project as well, so I’m sure my girls will be making some for their rooms too!
If you can’t join us here are a few links to buy the supplies yourself.
How To Magically Make More Time (for sewing) Part 3
Here it is friends. This is the LAST post in my Magical series. The people who need this post, won’t want too hear it… Honestly everyone is able to do this, at least for a season. You will have lots of excuses why you can’t, but if you love something, you will make the space and time for it.
To make more time for sewing you MUST LEAVE YOUR SEWING MACHINE OUT AND SET UP. You must find a space. You must make your kids share a room or have them eat outside on the deck or sew in your bedroom or even train your baby to go to sleep with the sound of the sewing machine whirring near her crib….all of these things I have done at one point or another. We have lived in a slew of tiny houses and apartments off and on over the years and the key to getting stuff sewn was and always is leaving my machine out.
I want to encourage you to “Just Do It” Nike doesn’t consider sewing a sport, but if they did I would totally be sponsored. HAHA.
Right now I am very fortunate to have a nice finished room to sew in. I share it with the girls so that if there are moments during school that I can sew, then I can! Here are a few creative ways to leave your machine out if you don’t have a sewing room.
THE PLASTIC STORAGE BIN
Just get a bin with a lid and shove it in there and slide it under the kitchen table. If it’s already there then you will be more likely to use it. Here is good one.
THE NOOK
There is always a place for a sewing nook. Get a nice wooden or sewing specific folding table, that way if you have company or need the space temporarily{ for something less fun than sewing }you can move it and put it back up easily. When my husband was in seminary we lived in the campus apartments. SO FREAKING TINY. Someone had left a wooden folding table in our apartment so we used it for that.
THE PLACE YOU DONT LIKE
Is the basement your sewing lair? Do you hate it so much? Is it watery and smelly and dark? Just set up your supplies and organize in such a way that you can have your project out and ready to grab easily so you can bring it up to the kitchen table for the afternoon or evening.
Give up on the ideal places you see on blogs and pinterest and give yourself the freedom to enjoy your sewing time. Sewing has been such a great way for me to lose myself and relax. I listen to a book on Audible, pop my headphones in my ears, and start making! Just do it!
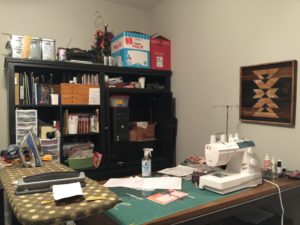
Here is a picture of my non pinterest worthy sewing space. I sure am thankful for it and I get so much more sewing in. My plans for it include painting the cabinet a bright happy color, but then I wouldn’t have as much time to sew….the struggle. 🙂
Happy Sewing Friends! JUST DO IT!
-Andrea
Not Your Grandmas Cheater Quilt!
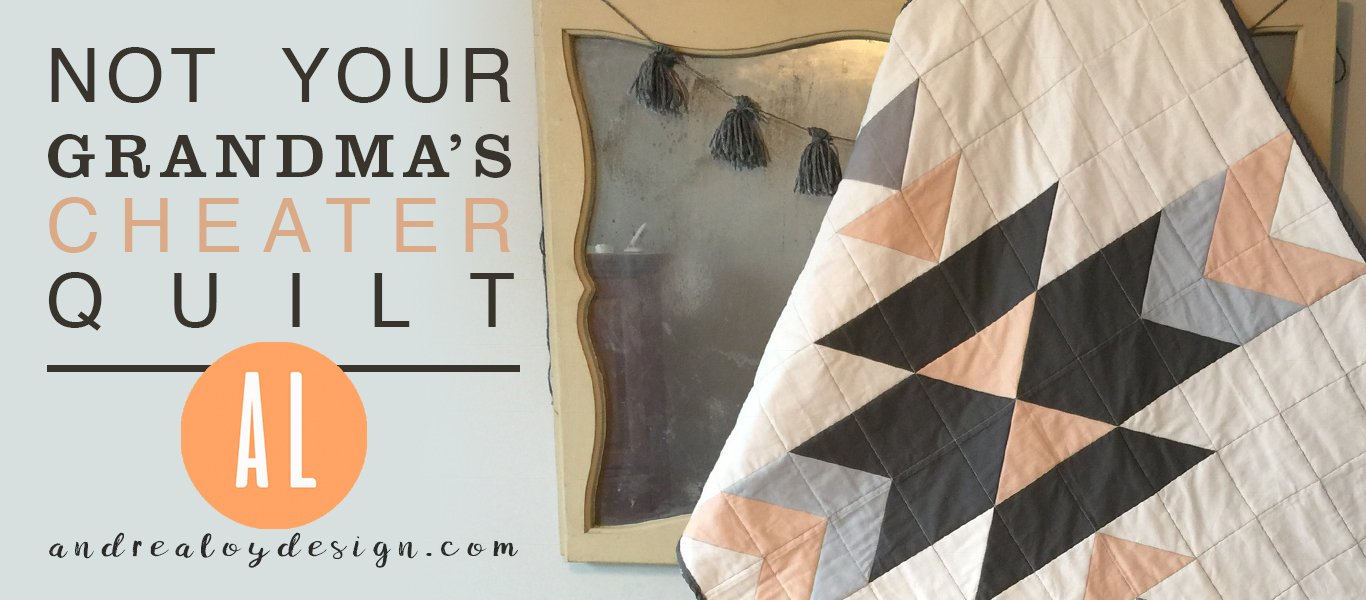
Welcome to the blog today! Several months ago I designed a fresh take on the old cheater quilt. After testing it out, I’m finally ready to share the whole process with you. Ever heard of Spoonflower? The company offers an amazing service that I’ve been wanting to take advantage of for years. So this is my year! I’m doing lots of things I’ve never done before. I’m seizing the day – Carpe Diem! Or perhaps I’m seizing the year? Carpe Anno! Spoonflower Fabric allows customers to upload a design to their website and have it printed on fabric. {They also offer wallpaper and wrapping paper.} If you aren’t a designer but want a custom piece of fabric you can shop the Spoonflower fabric site with thousands of designers from all over the world to find your perfect piece! They operate a bit like Etsy in that, you can look at each designers shop, not just the designs themselves. So I invite you to look at my Spoonflower shop and buy a modern cheater quilt to start with!
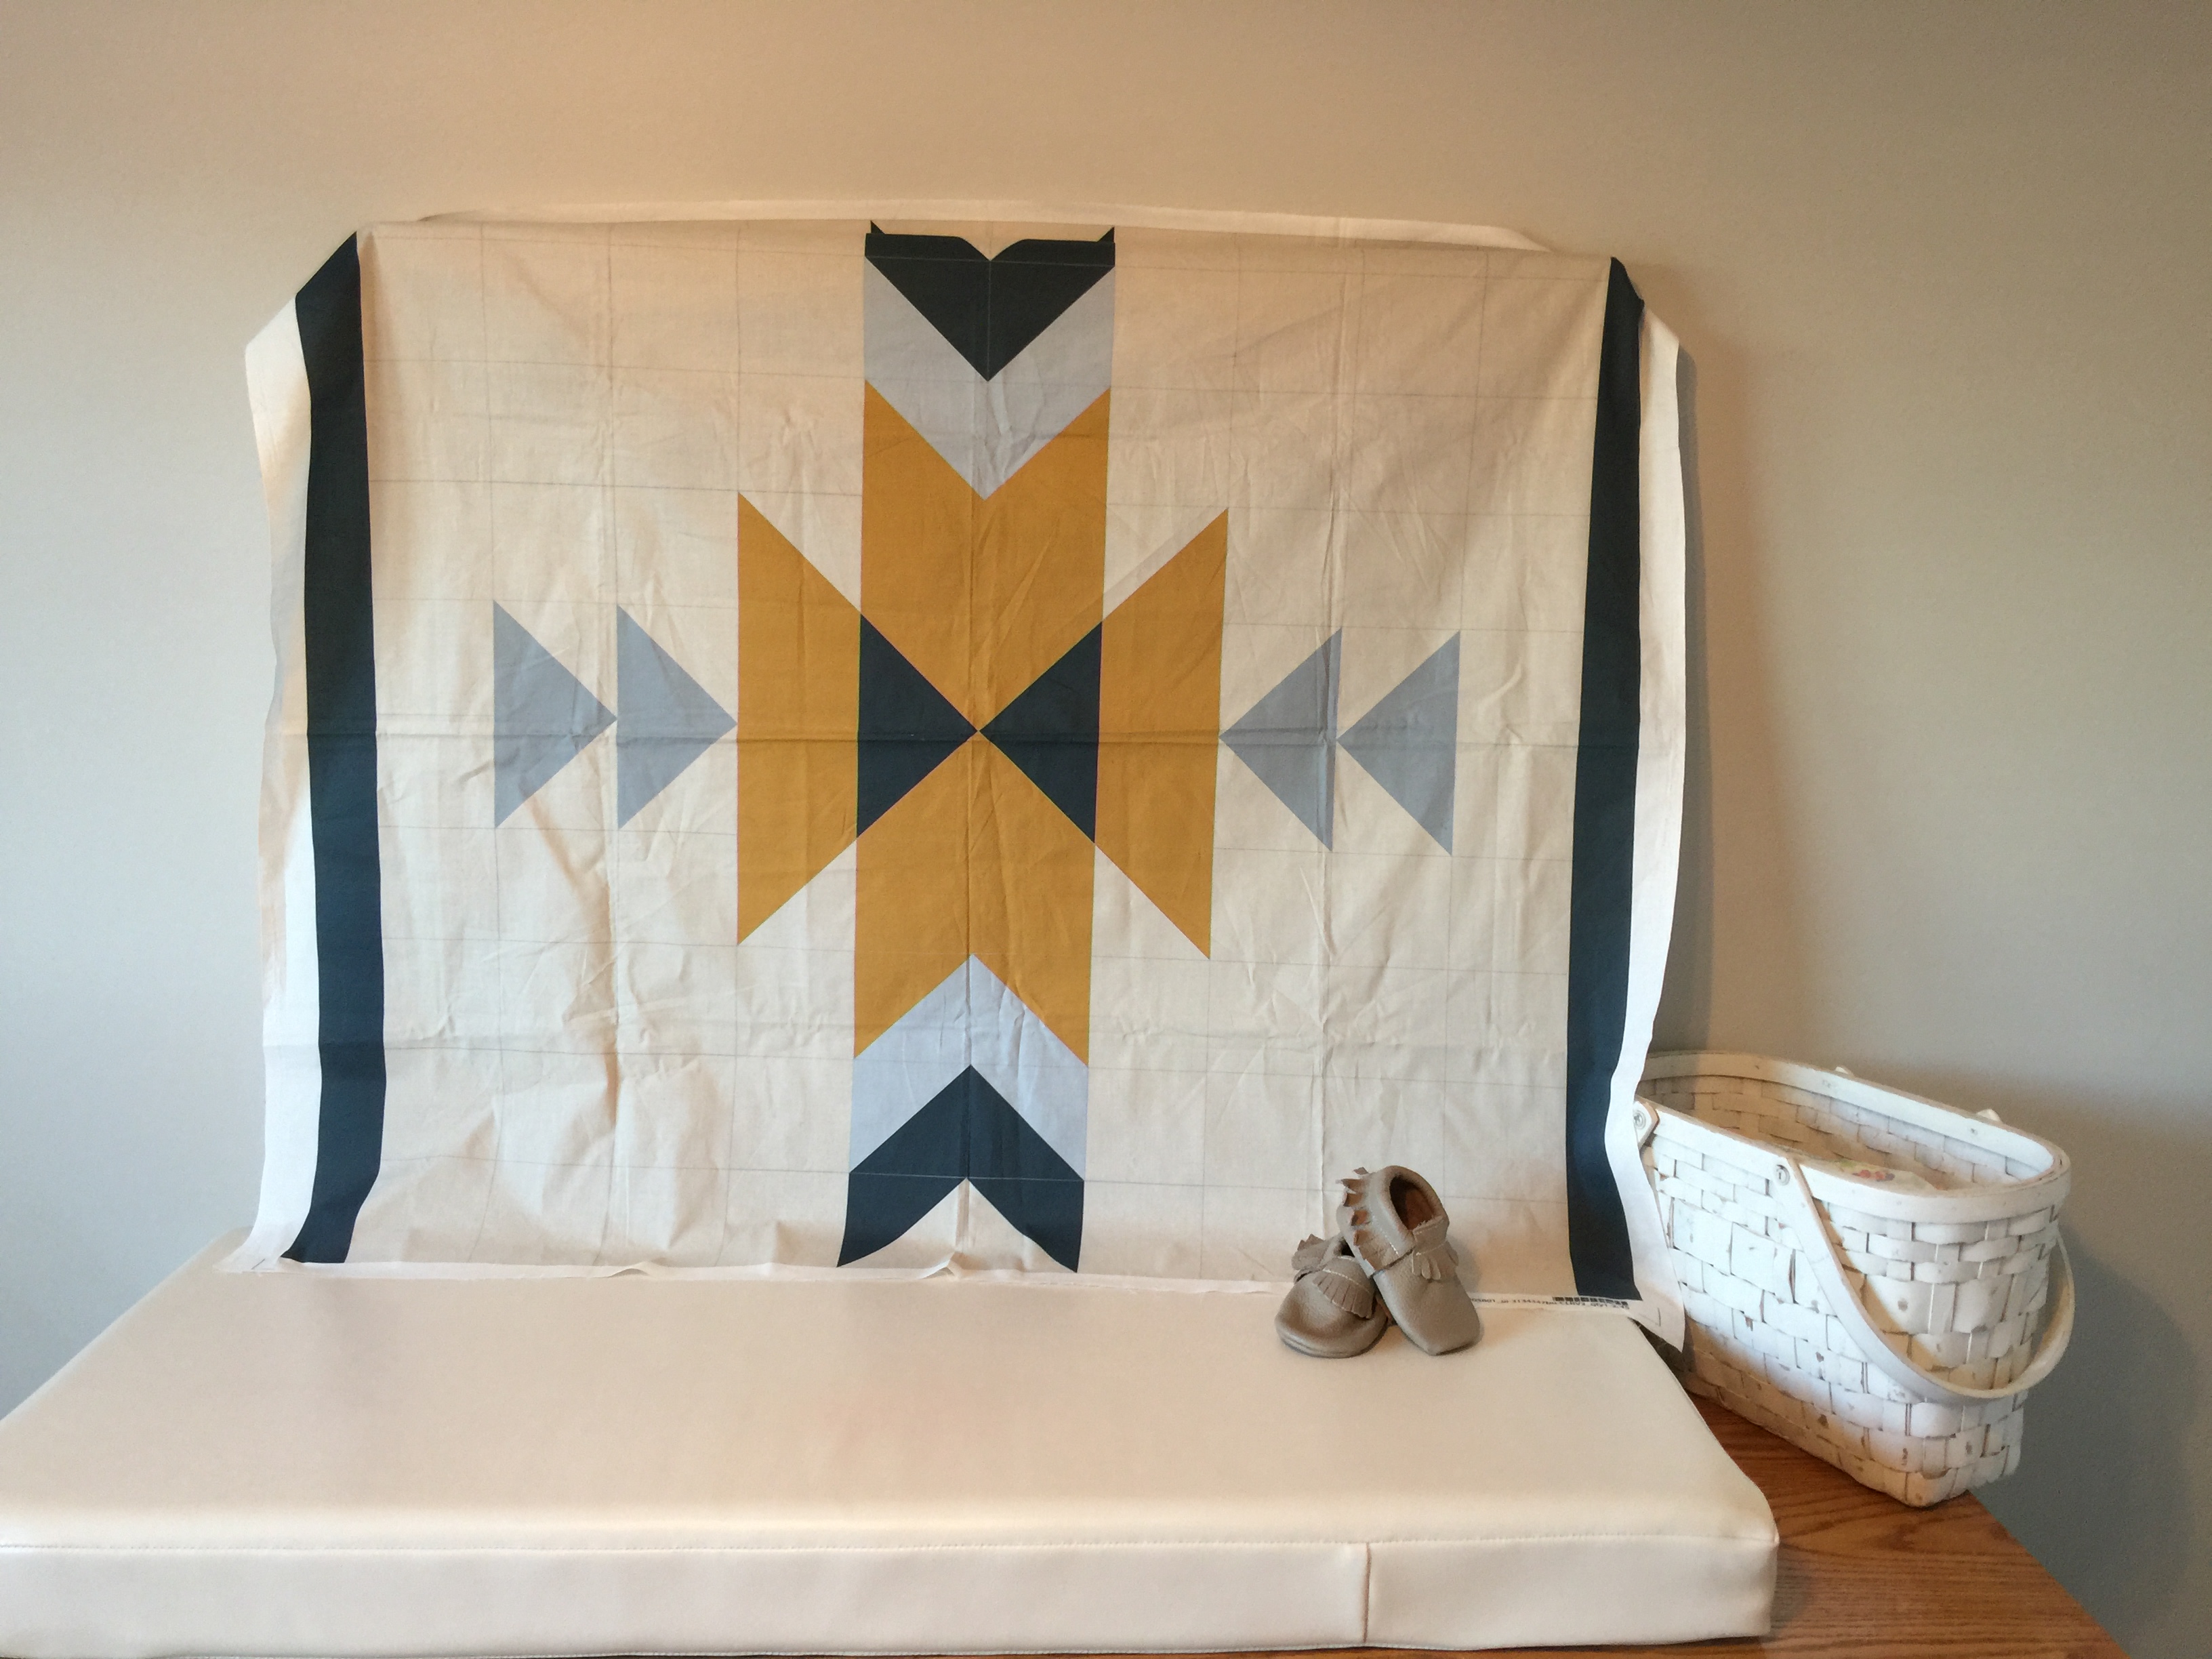
I love the idea of cheater quilts, they are fast and fun! Sadly, though, most cheater quilts are very ugly and outdated. In fact, I haven’t really seen a good cheater quilt until Spoonflower hosted a contest last year on them. It got me thinking about it. I wanted to incorporate some of the tried and true quilt blocks from the past and yet I wanted a modern airy feel to the cheater quilt. I chose a squash blossom pattern, enlarged it on a grid big enough for one yard of fabric, used half square triangles to construct the pattern and quilting lines. The panel is available in two color ways of cheerful, calm solids.
My Peachy version contains a few shades of grey, pale peachy pink, and a light smoky blue on navajo white. This design is great for a modern baby quilt, but also finds it’s home amongst cozy couches, and master bedrooms. You can make a large quilt out of several yards/panels. I included a border on two sides to help you implement this concept.
I hope you catch the cheater quilt bug…. You can buy it in my Spoonflower shop and whip it up in an afternoon….


Here’s a shot of the Teal Colorway panel. I’ll be sewing it up soon. It has dark and light teal, mustard, and navajo white.
