Christmas Quilt Guild
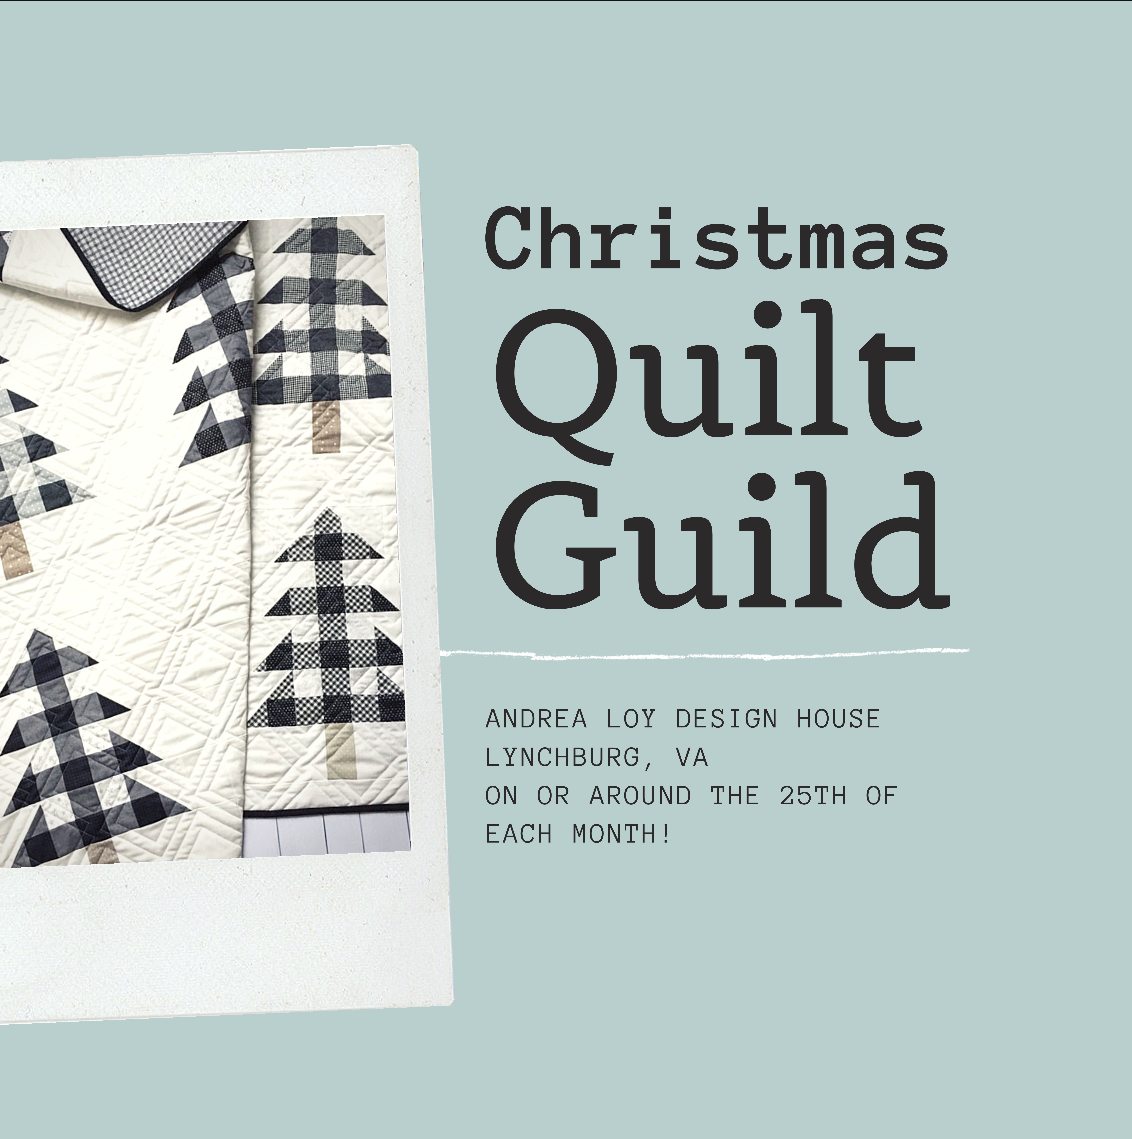
I am excited to host a monthly Christmas Quilt Guild this fall! I have had a lot of questions about this. So I thought I would explain a bit more and then anwer a few FAQ’s.
This summer I offered quilting lessons and a couple lovely ladies signed up. We had such a blast that we decided we could not imagine a world where we are not getting together and quilting every once in awhile. I started thinking about what I’d like to quilt next….I really wanted to take all my Christmas jammie scraps from years past and turn them into a Christmas Quilt for our family room. So I suggested we get together once a month this fall and make Christmas Quilts!!!
WE invite you to join us. (Squeal!) It’s basically just a cluck and sew, or a good old fashioned sewing bee. There will be snacks and Christmas cookies, and Christmas music. If you can’t handle all of that Christmas cheer, this is not the group for you.
FAQ’s:
Can I come? Of course! If you don’t live near Lynchburg, you are welcome to follow along and host your own! However, I am happy to pick anyone up from the airport. 🙂
Are we all making the same pattern? No we are all making our own different quilts. It is your choice. I will be here for help, questions, moral support, and seam ripping when necessary! I have started a beginner quilts and a Christmas Quilts board on Pinterest if you need ideas. >>> CLICK
Can I follow along at home? Yes! I will post where you should be in the process each month in order to get your quilt done in time for Christmas snuggles on the couch and Hallmark Christmas movie binge watching…..
When are you meeting? Our first meeting is August 27th from 7-10pm at my house. We will all decide together which date works best each month.
What if I can’t sew? But I really want to learn? Let’s have a few lessons first! I can’t teach lessons on Christmas Quilt Guild night or I will never finish my own quilt, but I would absolutely love to give you a few lessons to catch you up!!! Just send me an email. I love getting other women addicted, er I mean teaching other woman the love of sewing!
HERE’s THE PLAN:
August 27th: Cut our quilts up! Plan the layout.
September: Piece the tops.
October: Begin basting and quilting.
November: Binding!
You may need to spend some time catching up in between guild nights depending on the size or complexity of your quilt. Just spend 30 minutes a few nights a week and it will get done!
December: ENJOY! DISPLAY! LET YOUR CHILDREN FIGHT OVER IT AND SPILL STUFF ON IT. BRAG ABOUT YOUR FIRST CHRISTMAS QUILT. POST IT ON SOCIAL MEDIA.
-The Quilt in the picture above is a darling pattern by Center Street Quilts. It can be purchased here.
-AND HERE is that Christmas Quilty Pinterest Board link one more time.
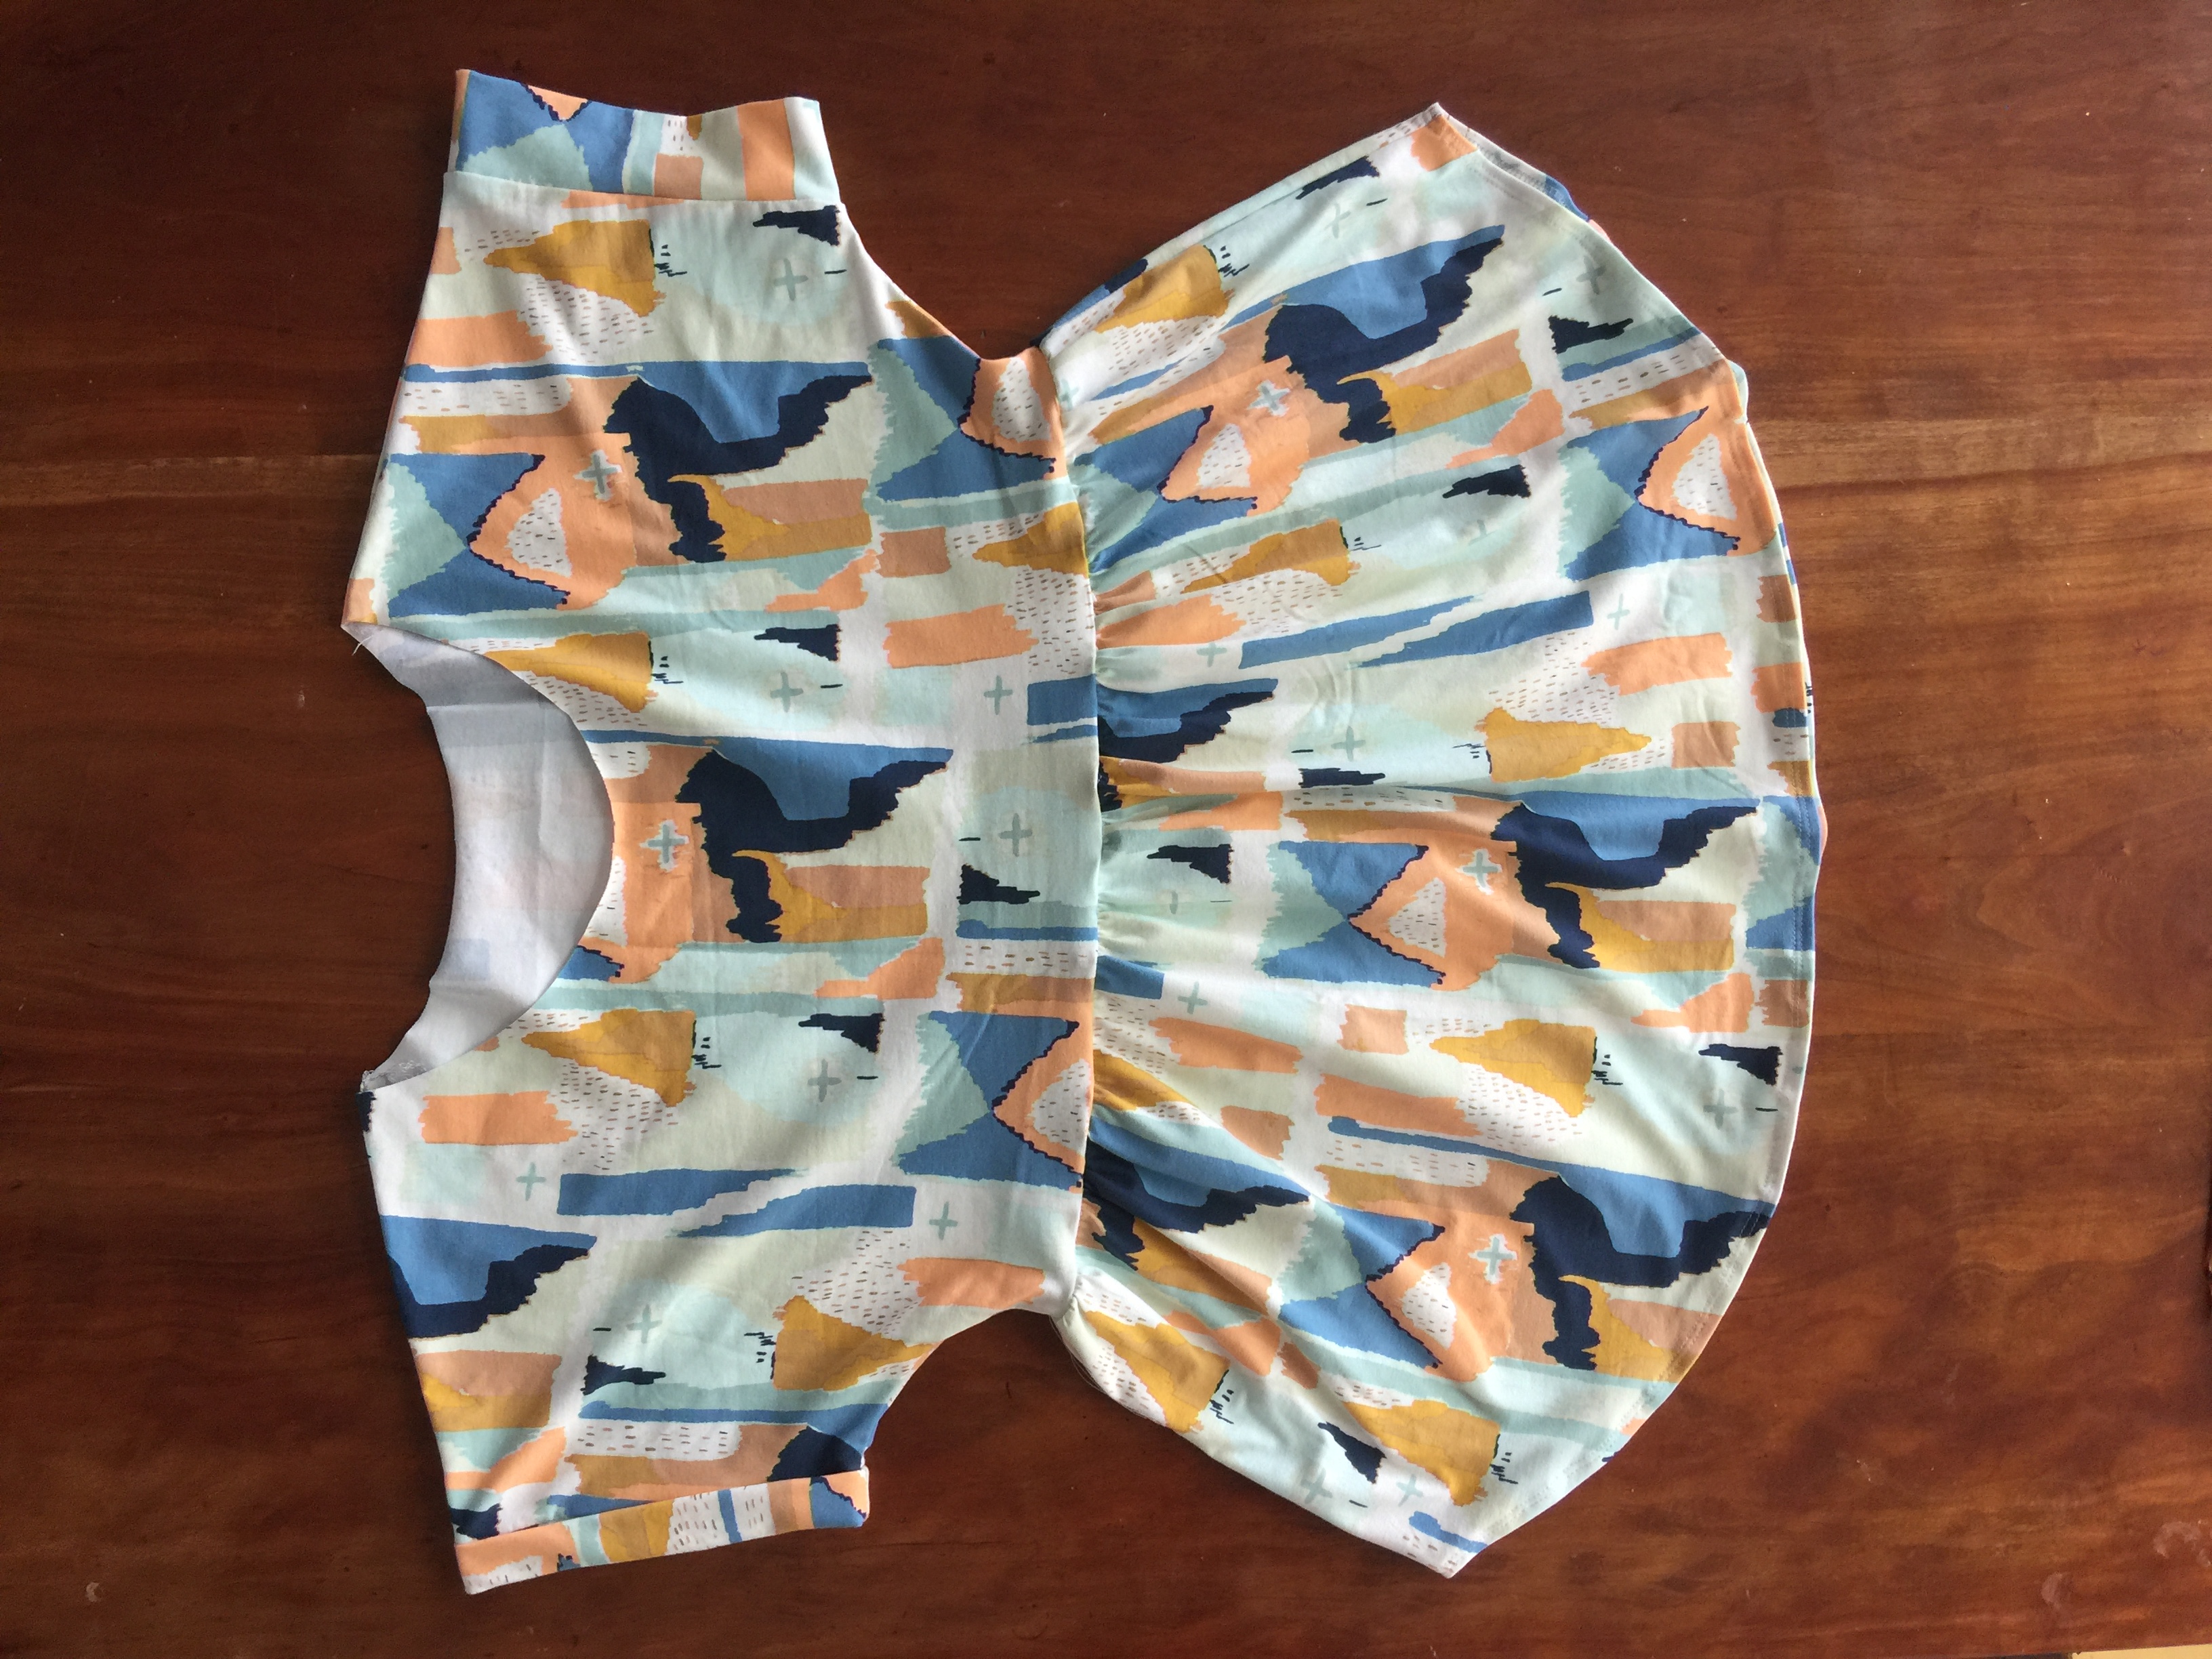
The Hermione Pattern Tutorial
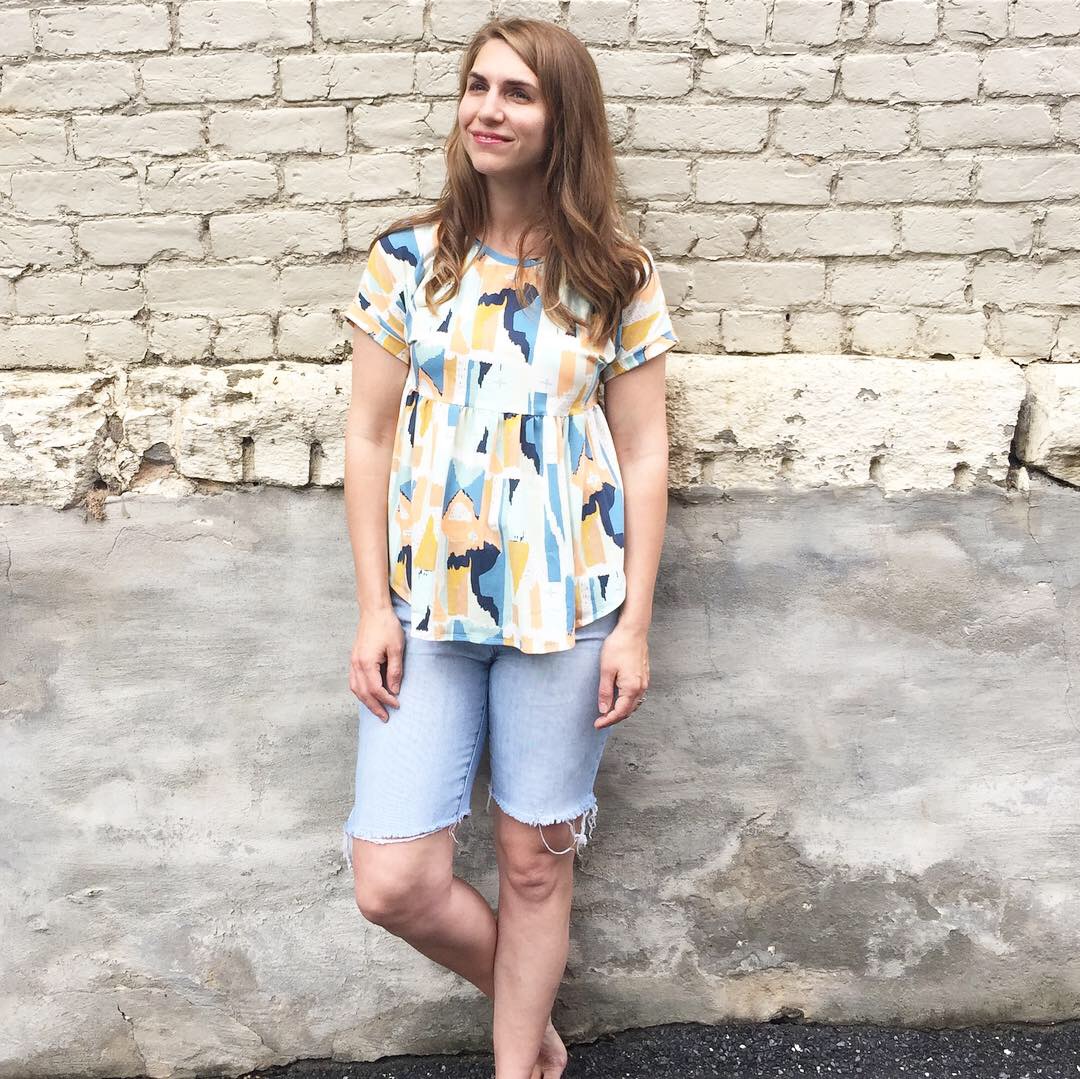
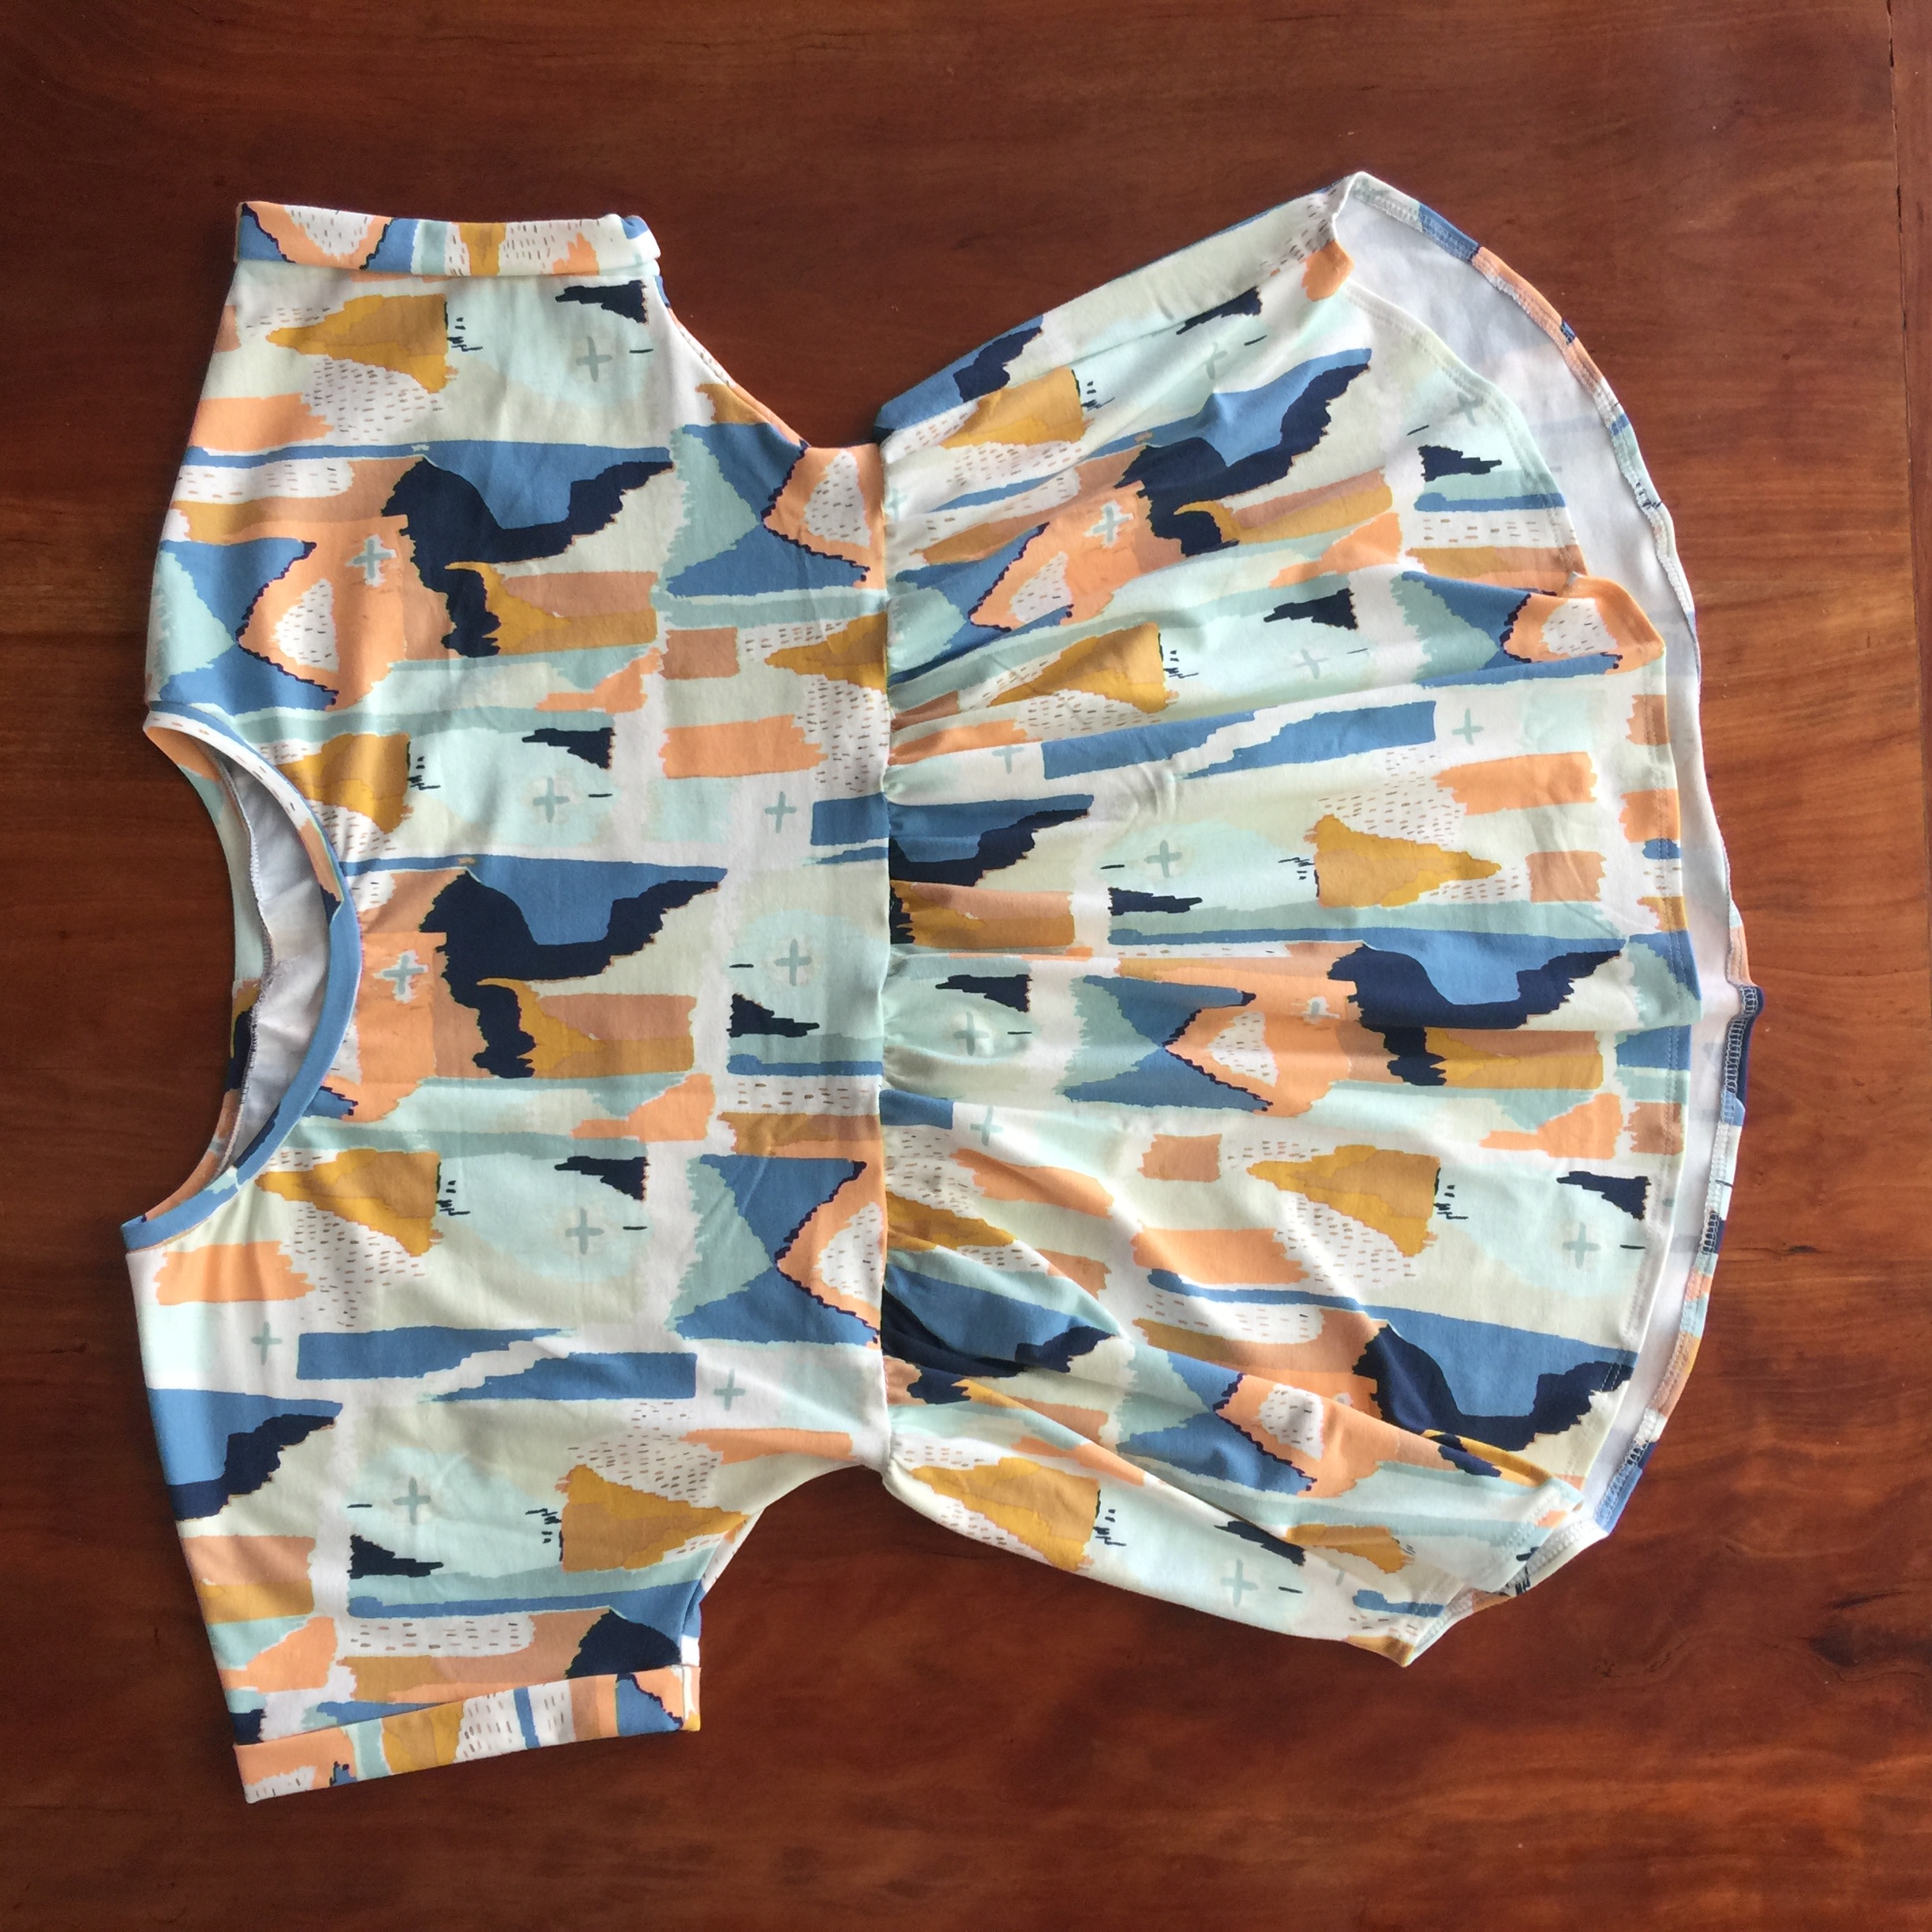
The Hermione Pattern is a shirt/tunic/dress pattern for women. It has a boat neckline, cuffed dolman sleeve, and an empire waist. Hermione is a good pattern to get you started sewing with knit fabrics.
PRINT: If you are new to pdf patterns, make sure to print off your pattern at 100% scale. This is important!
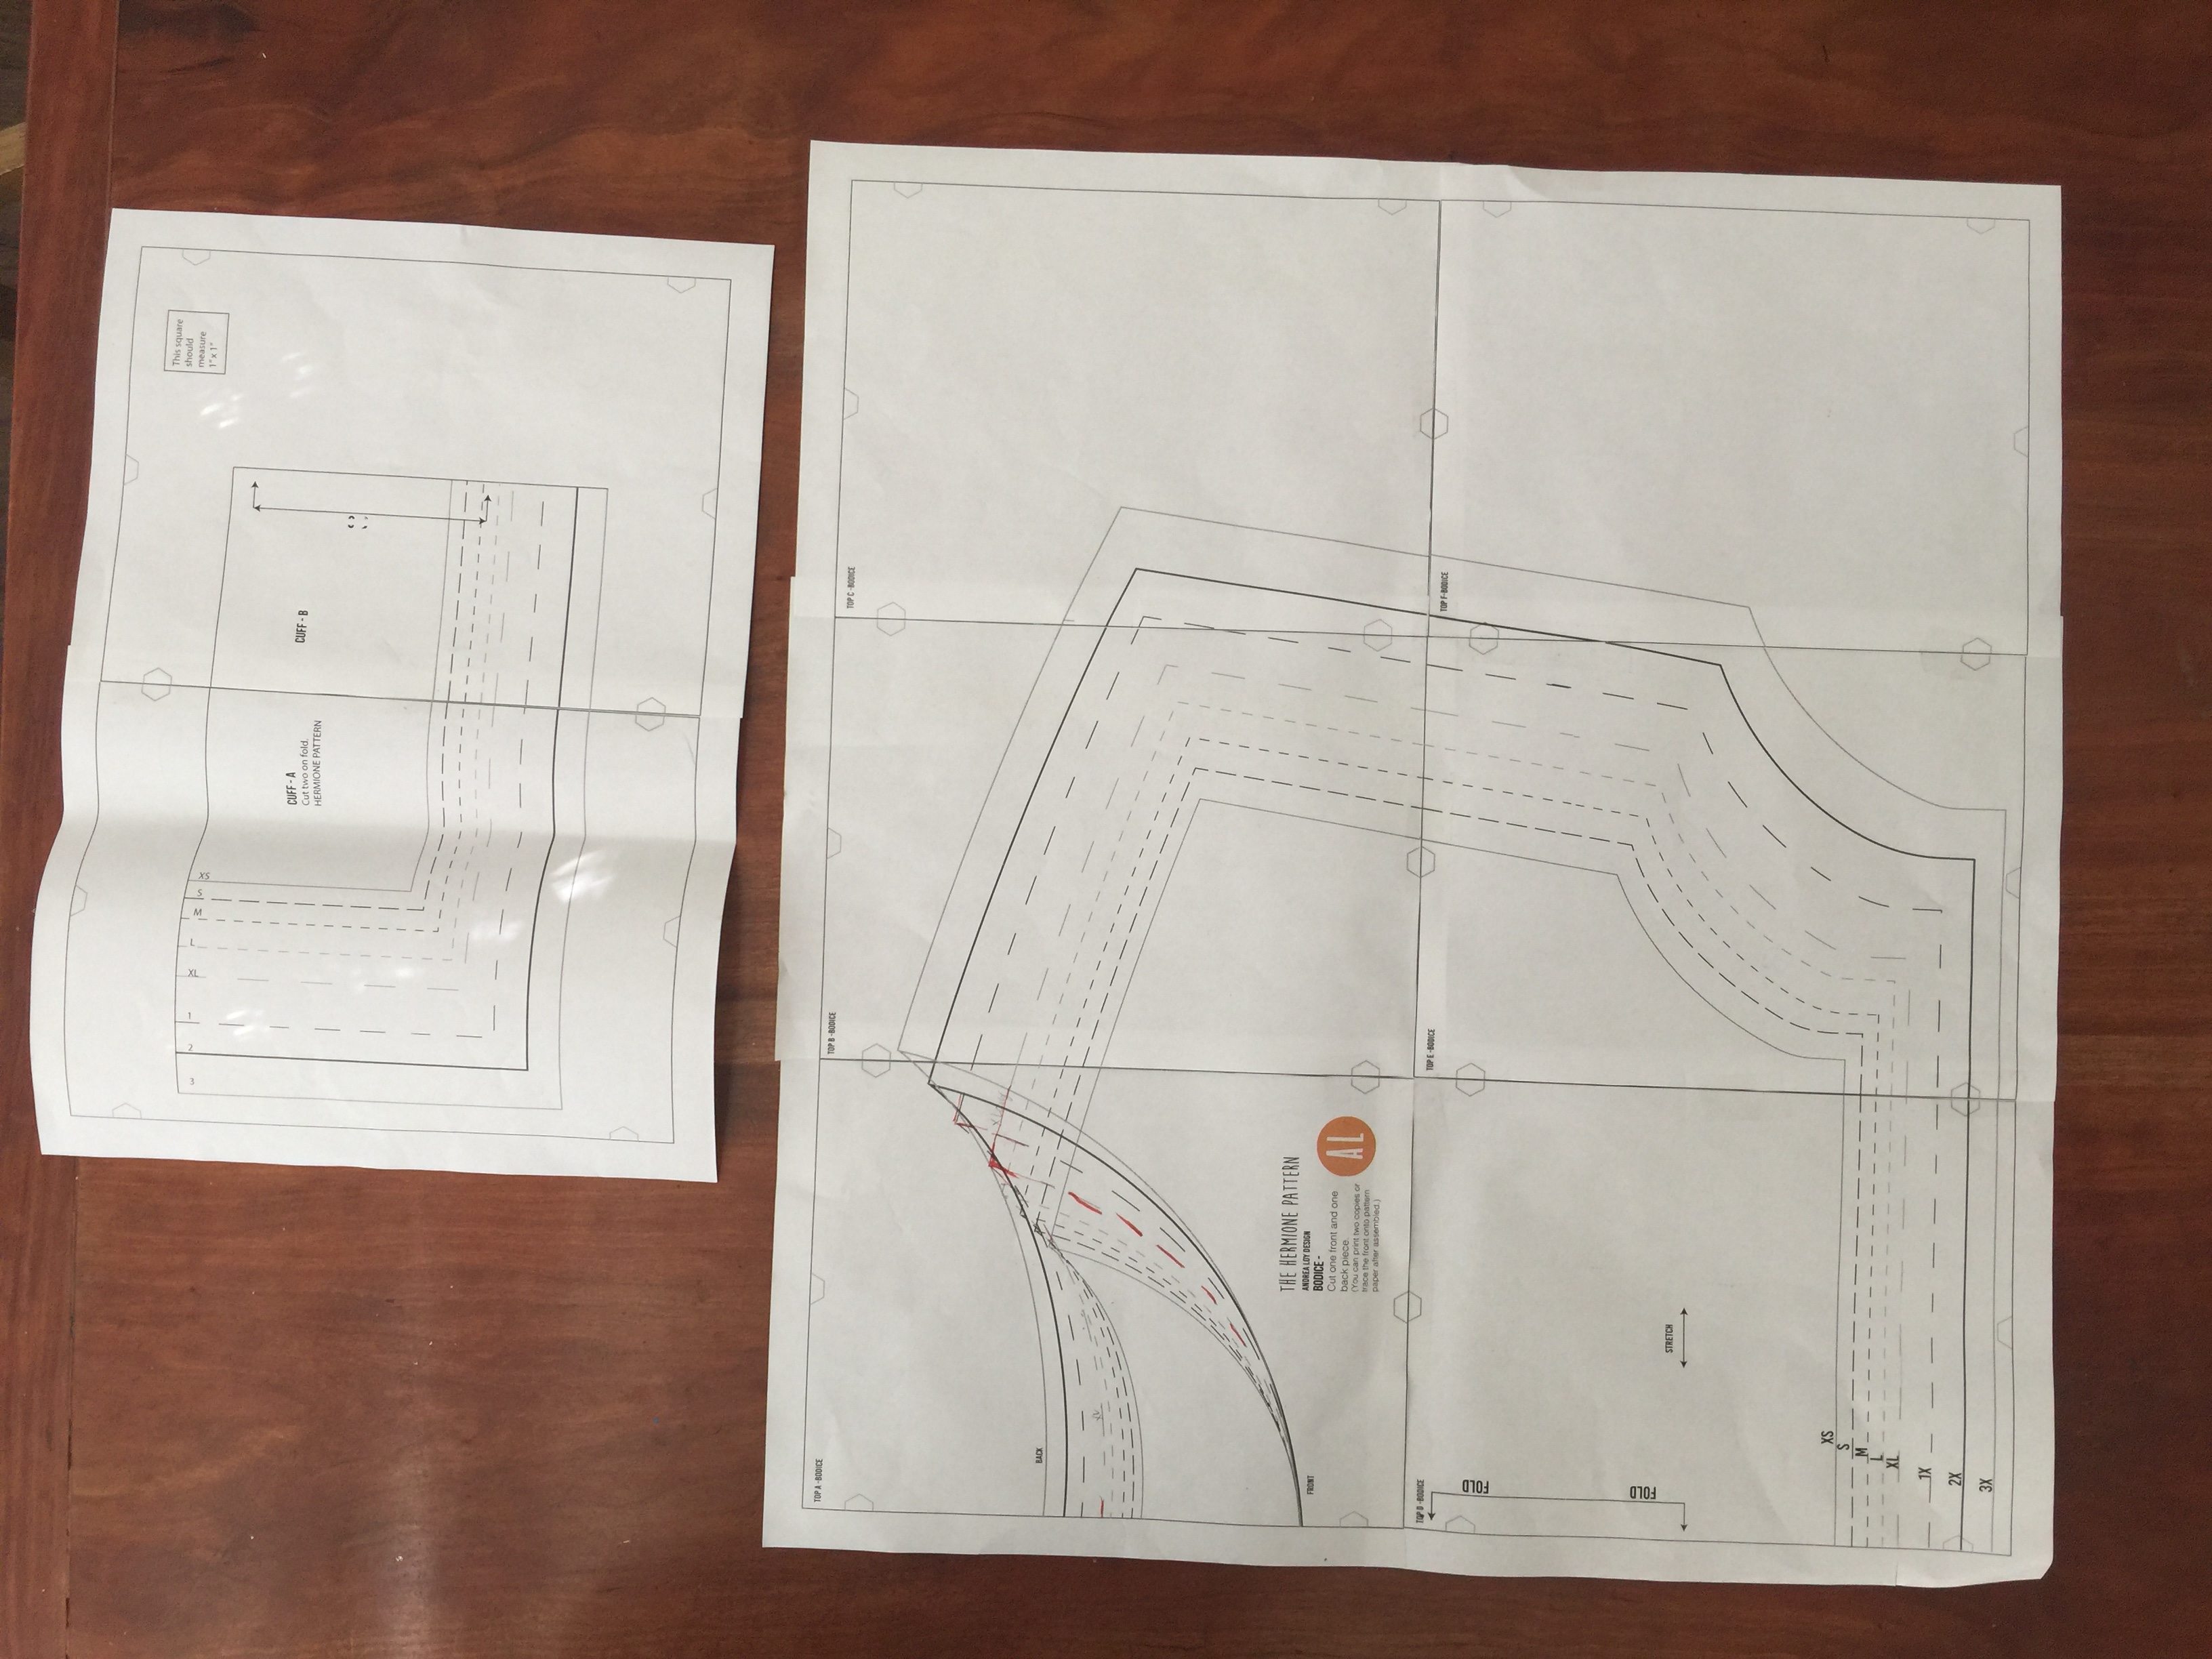
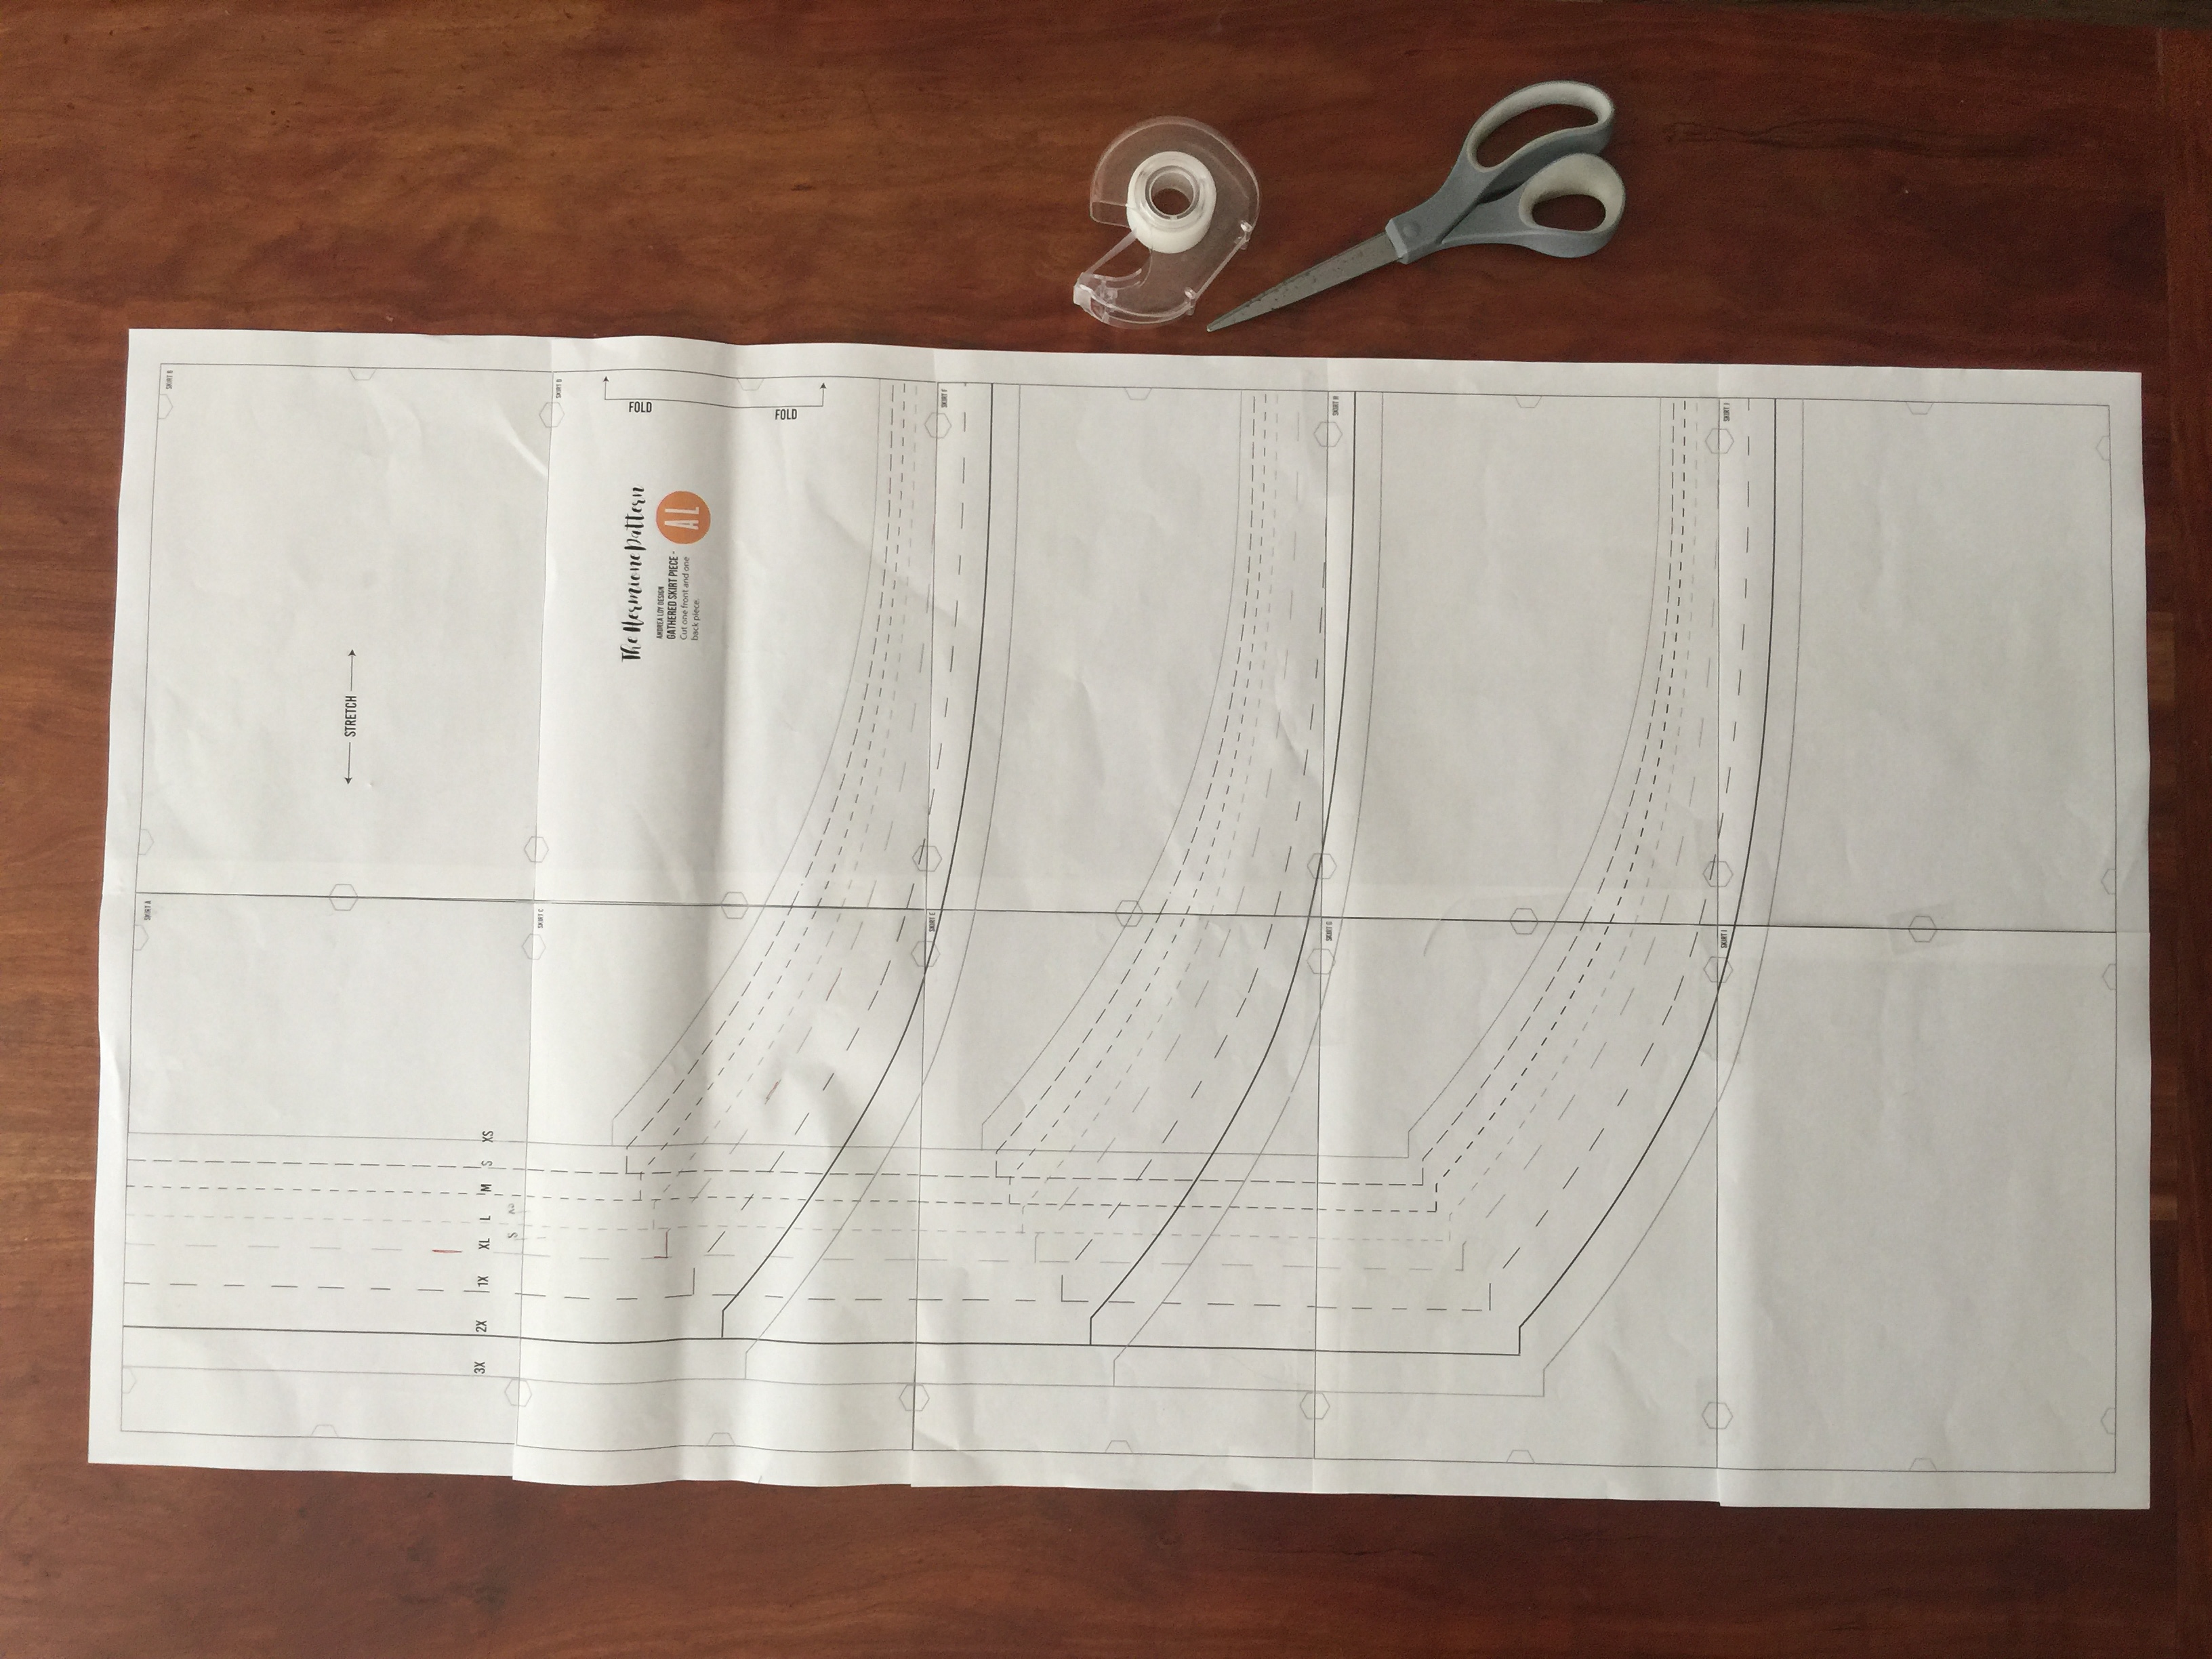
You shoud have 18 pattern pieces print out total. The cuff will have two pieces, the bodice will have six pieces, and the skirt will have ten total pieces.
After printing them out you will need to cut on the thin black line and tape them together using the hexagons to line the pieces up perfectly.
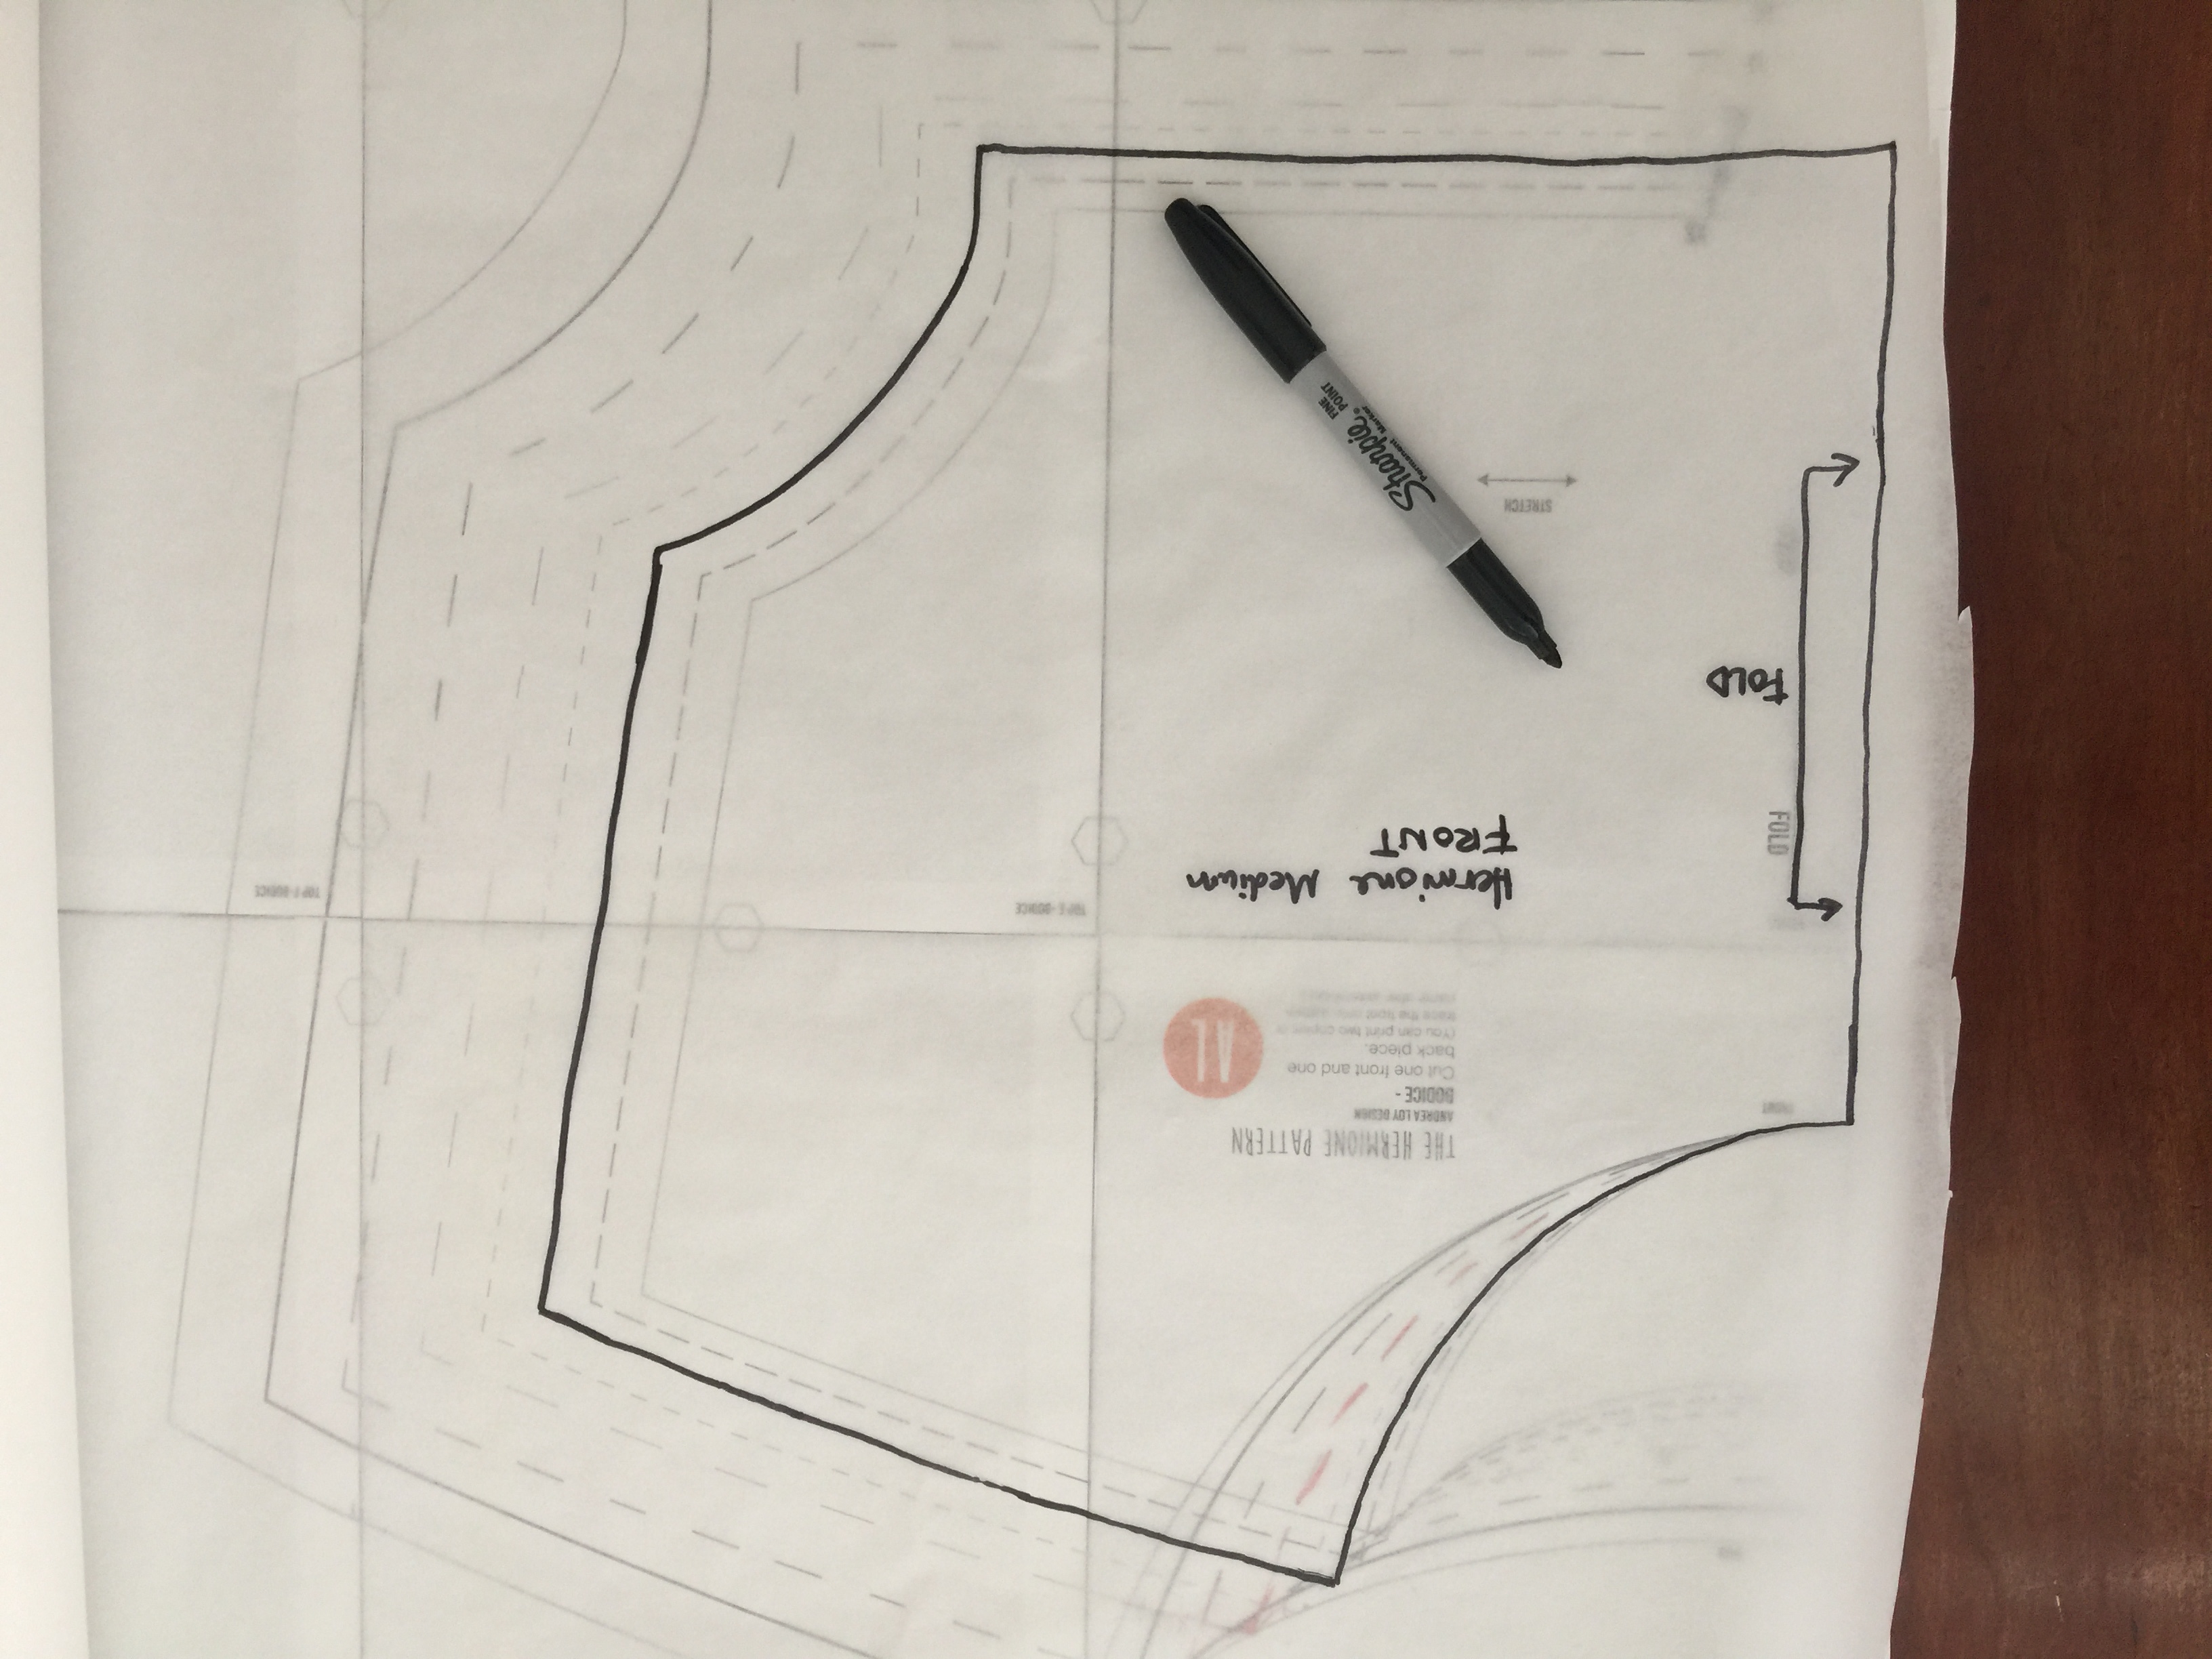

SIZE and TRACE:
So, for most people, one size DOES NOT FIT ALL. That’s part of the reason I designed this the way I did. I have a size 6-8 on top and a 10-12 on bottom…and that could keep changing! You can feel free to add a larger sized bodice to a smaller skirt or vice versa. Seriously, measure and fit to your own beautiful form.
Use a flexible tape to measure yourself and decide what size to cut or trace. This pattern was designed for a B sewing cup to fit just right across the bust so if you need a smaller size you should be ok, but if you need a full bust adjustment (FBA) use this tutorial to adjust your pattern: https://www.heyjunehand-made.com/dolman-full-bust-adjustment-tutorial/
Once you have decided on your size, trace or cut your pattern. You can simply cut or to preserve all sizes and the work of reassembing the pattern, use either medical exam table paper or swedish pattern tracing paper.
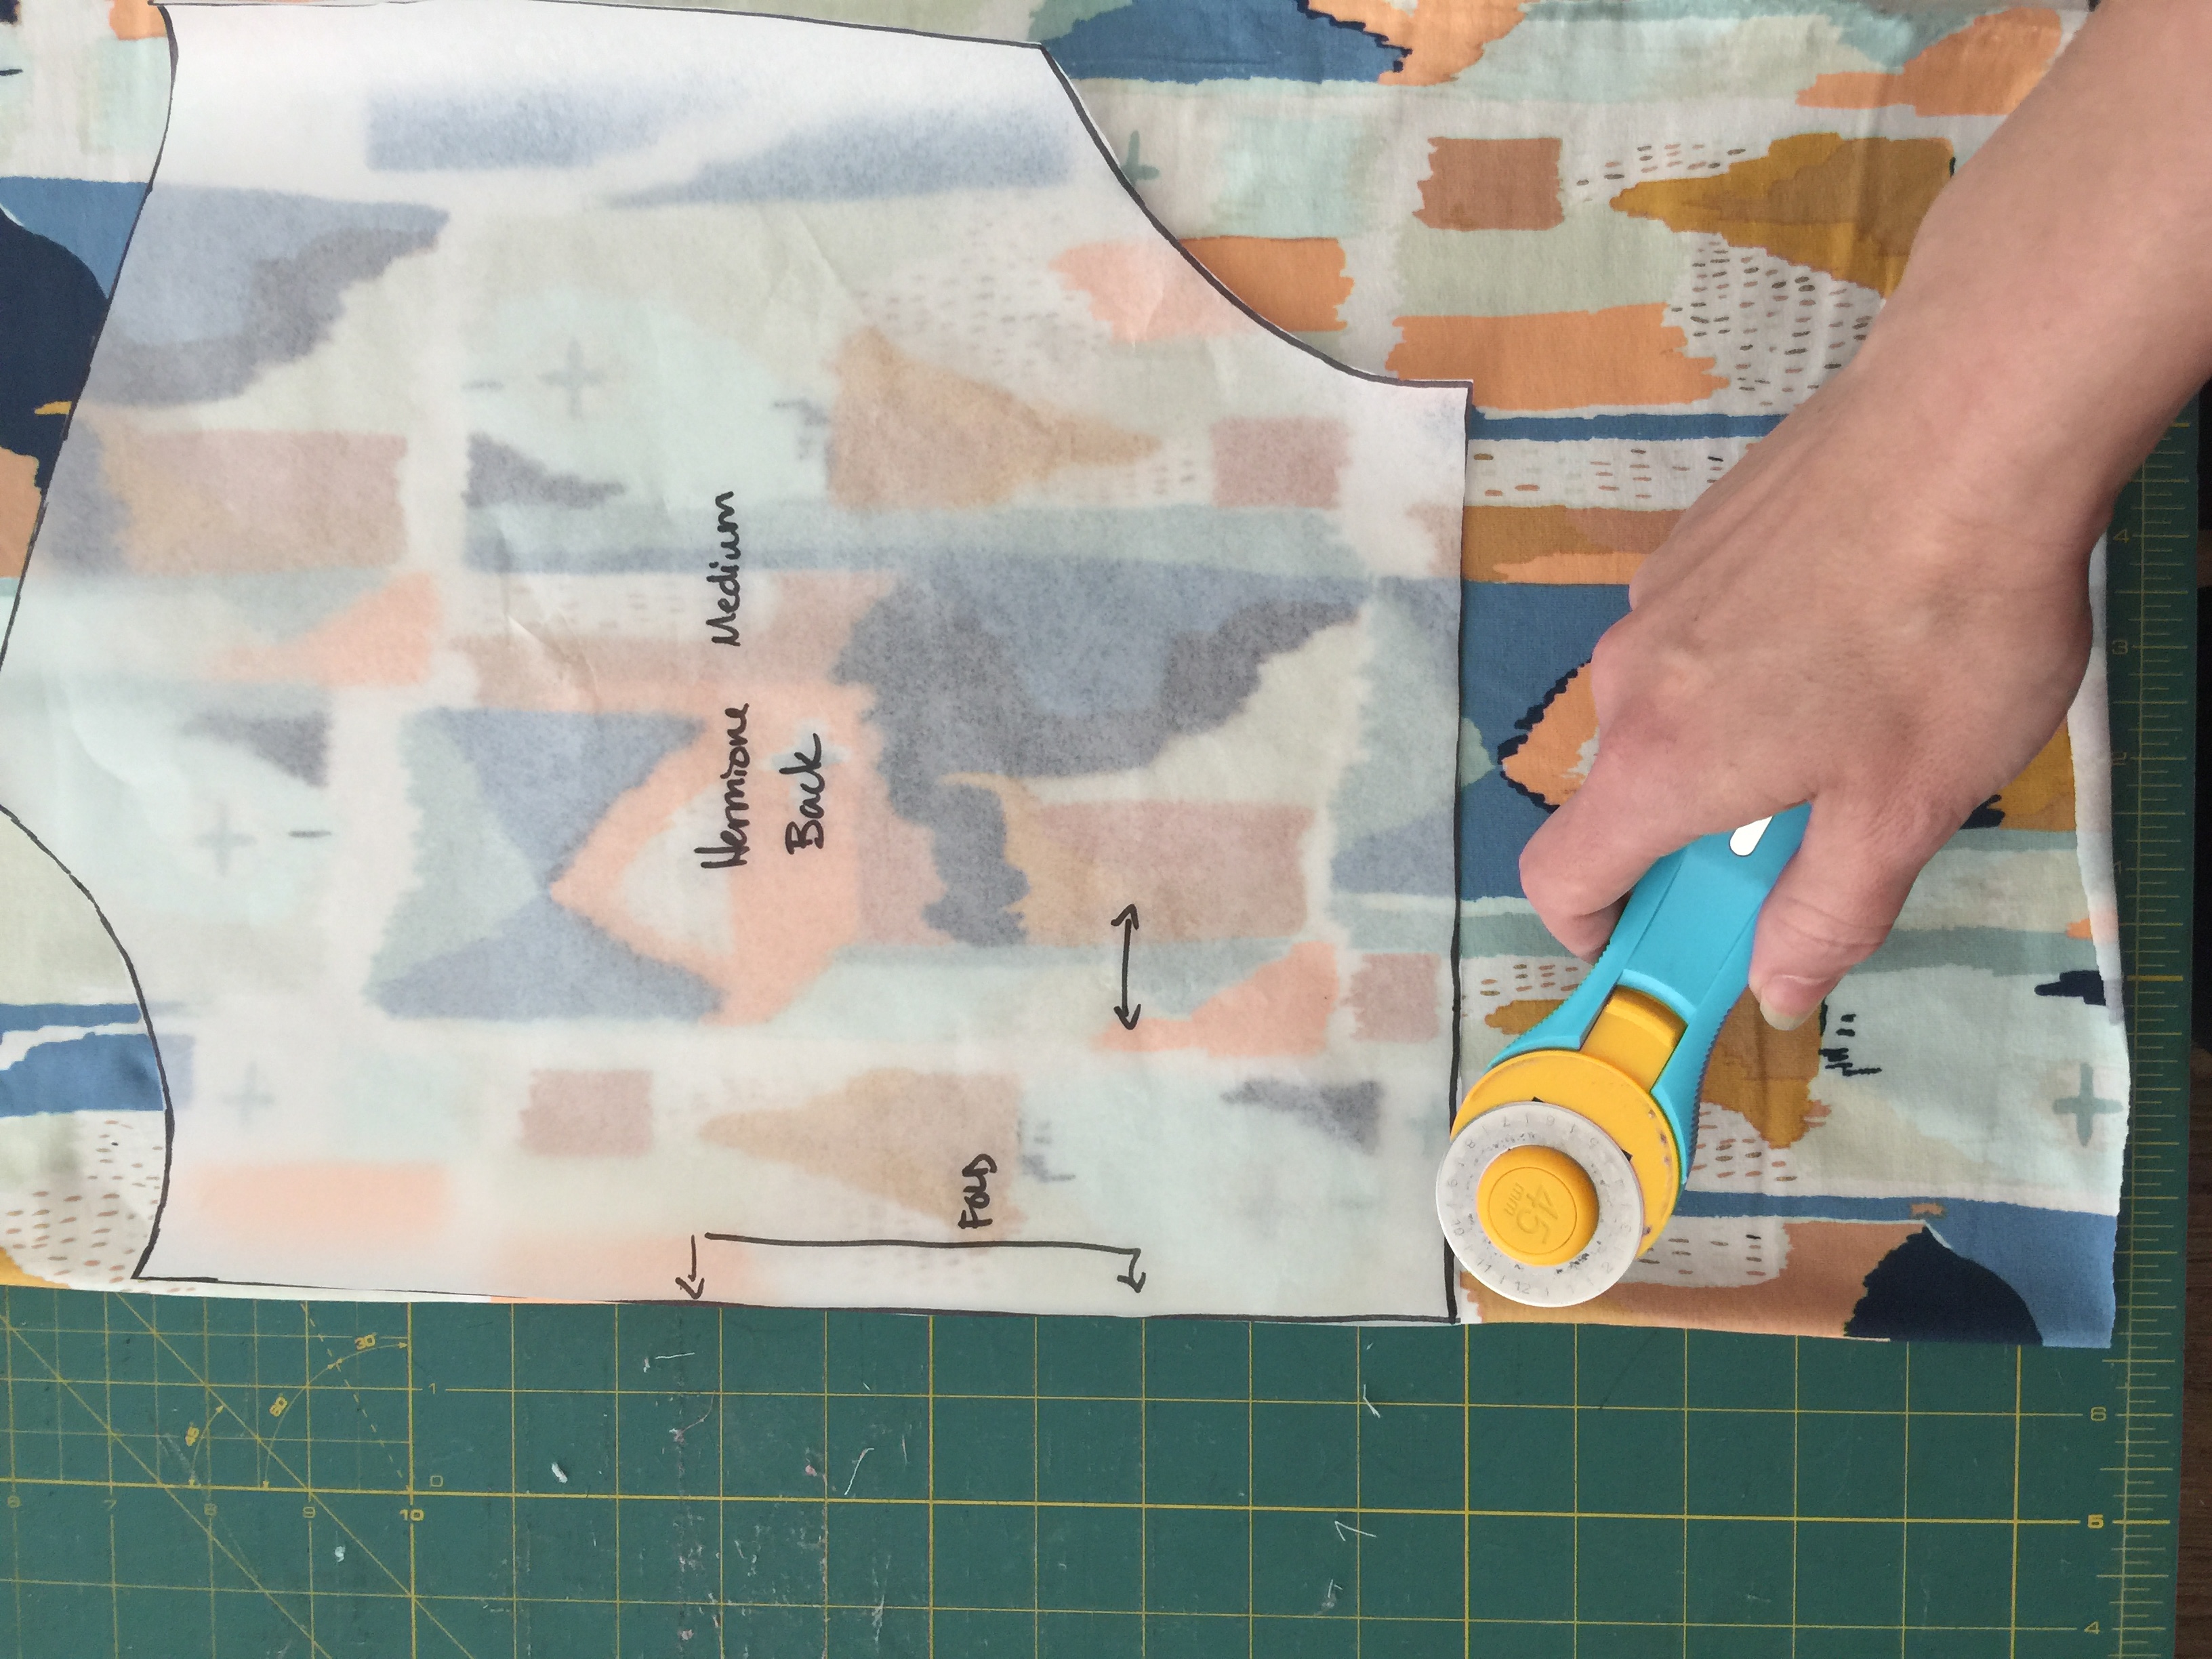
Cut out your fabric using a rotary cutter to speed the process along. If you are nervous, please be sure to pin or weight your pattern onto the fabric and cut with a nice sharp pair of fabric scissors.
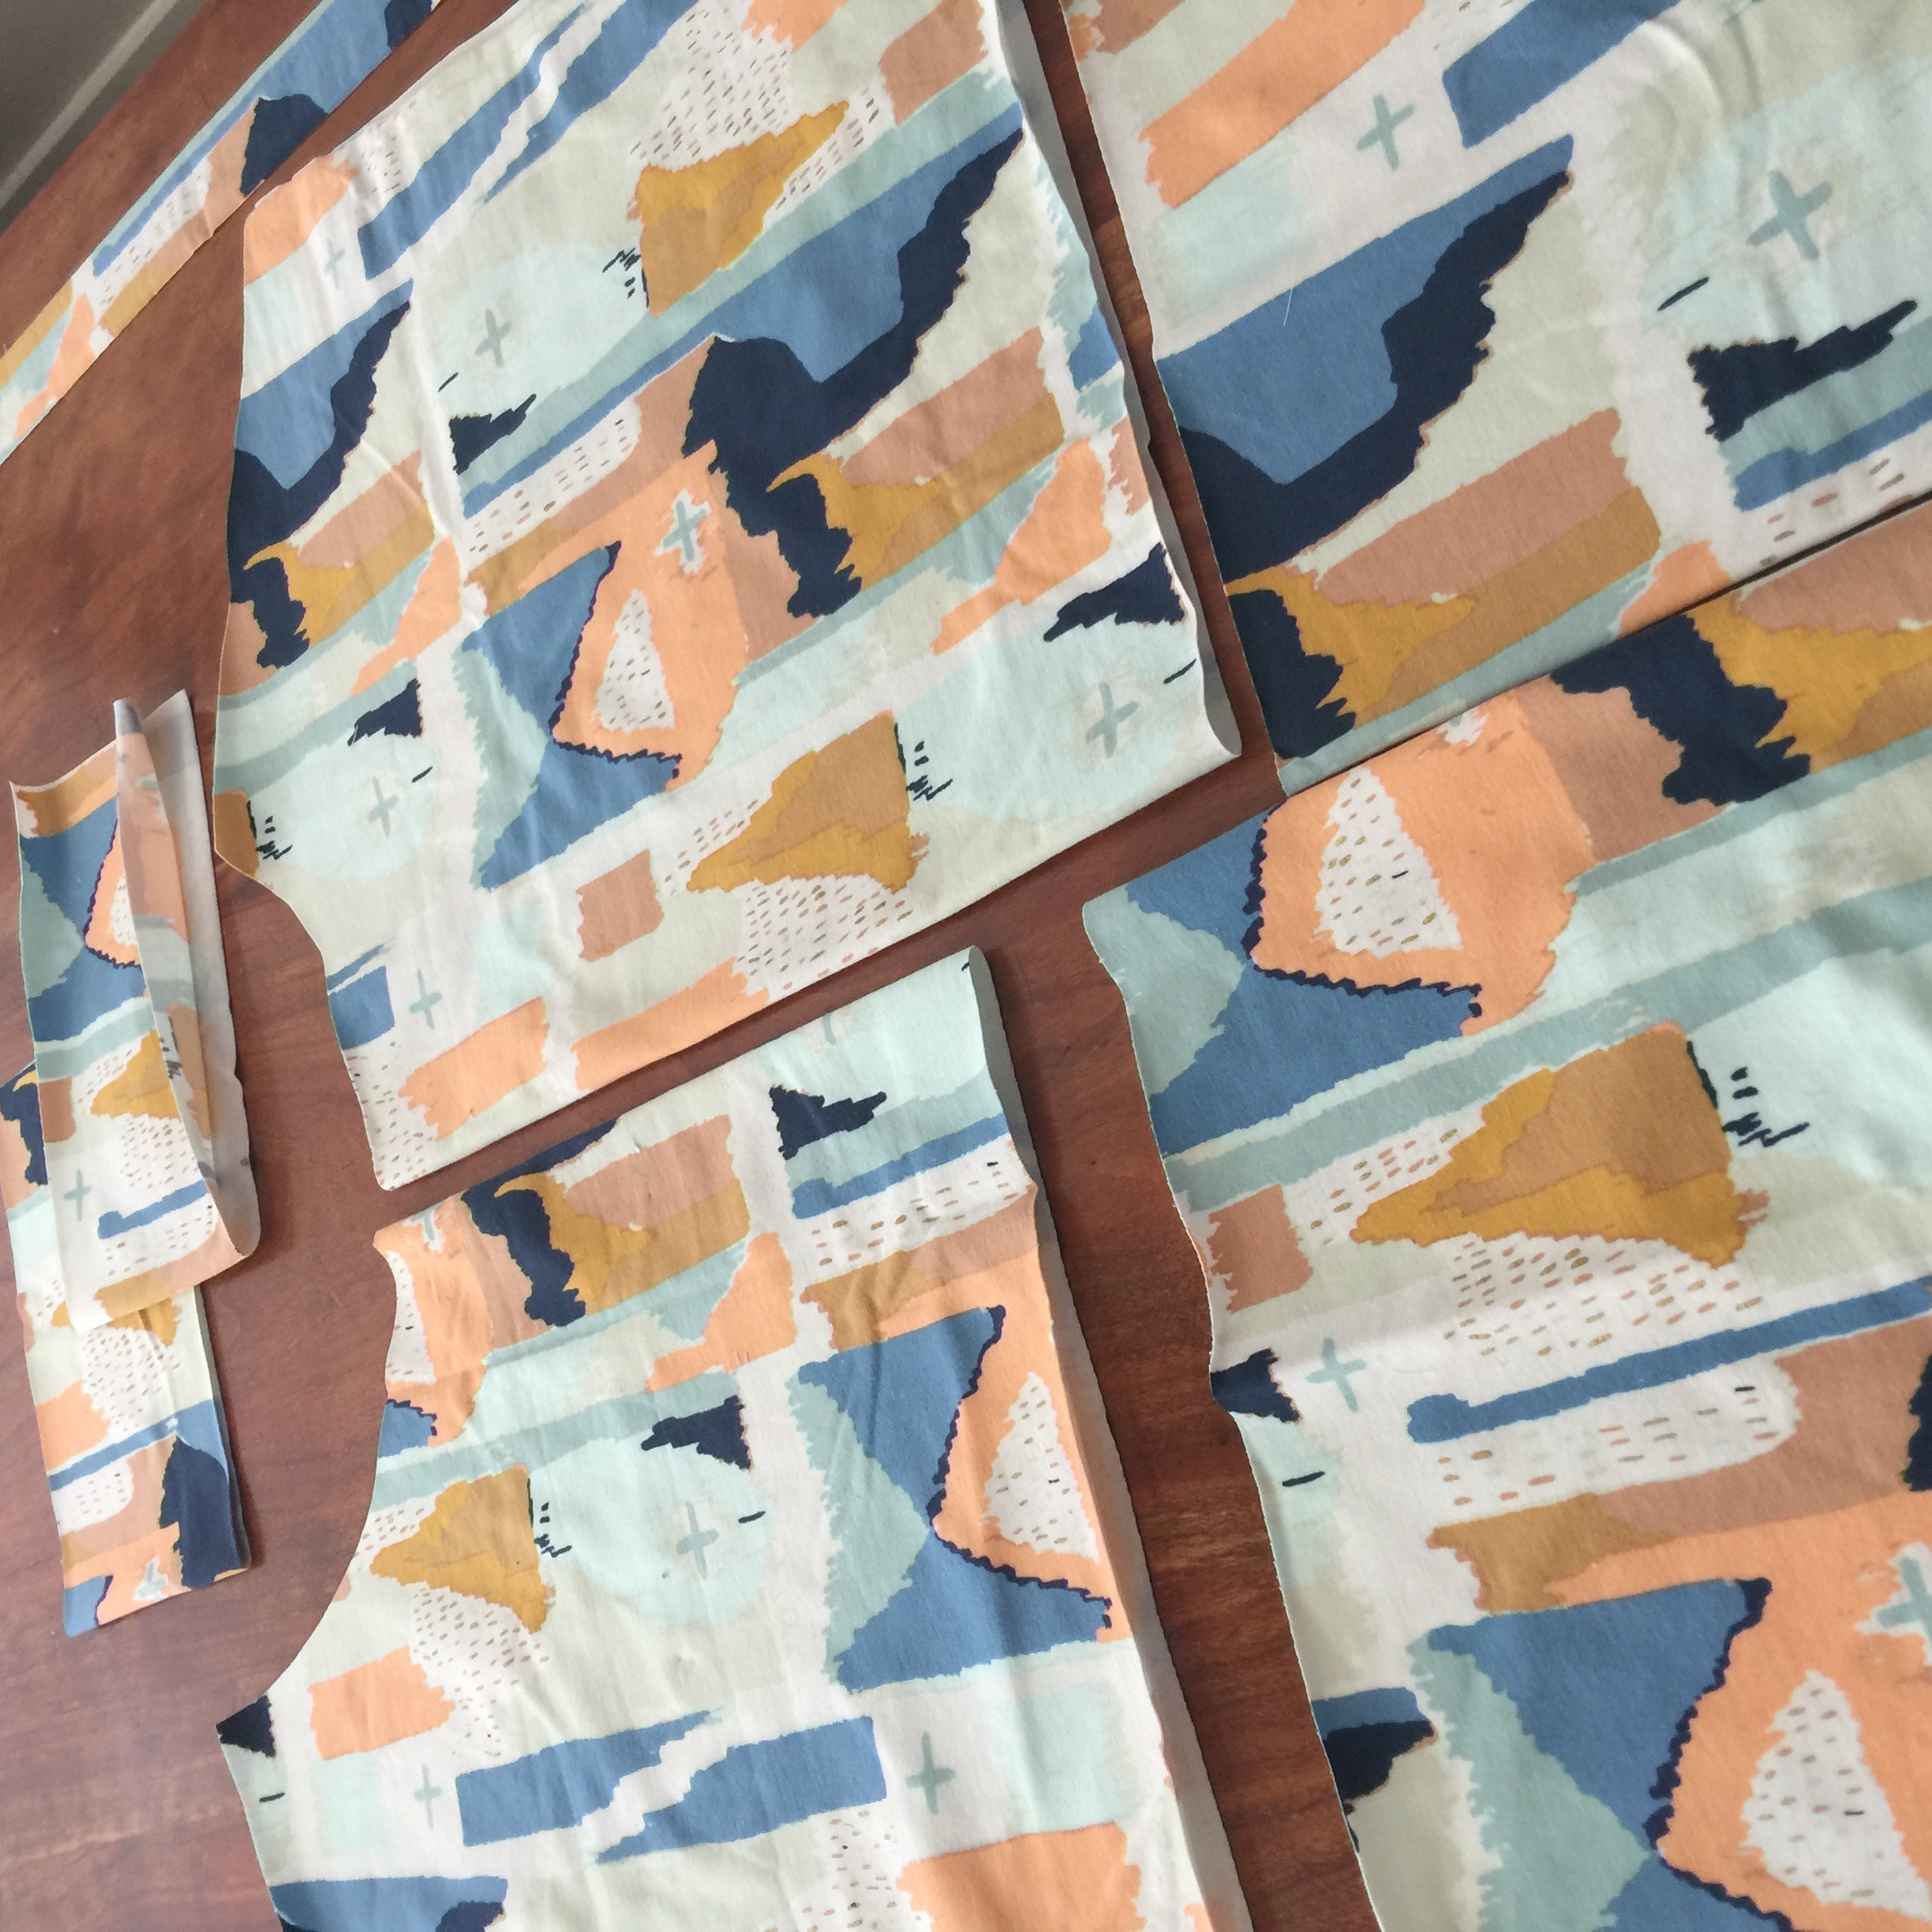
A few tips to read on cutting out the neckband:
-There is no pattern piece for the neckband, just use the measurements.
-USE A CLEAR RULER, this is an epic game changer.
-IF you are using stiff and unstretchy knit jersey, add 1 inch to the neck band.
-IF you are using thin and super stretchy knit, try subtracting 1 inch.
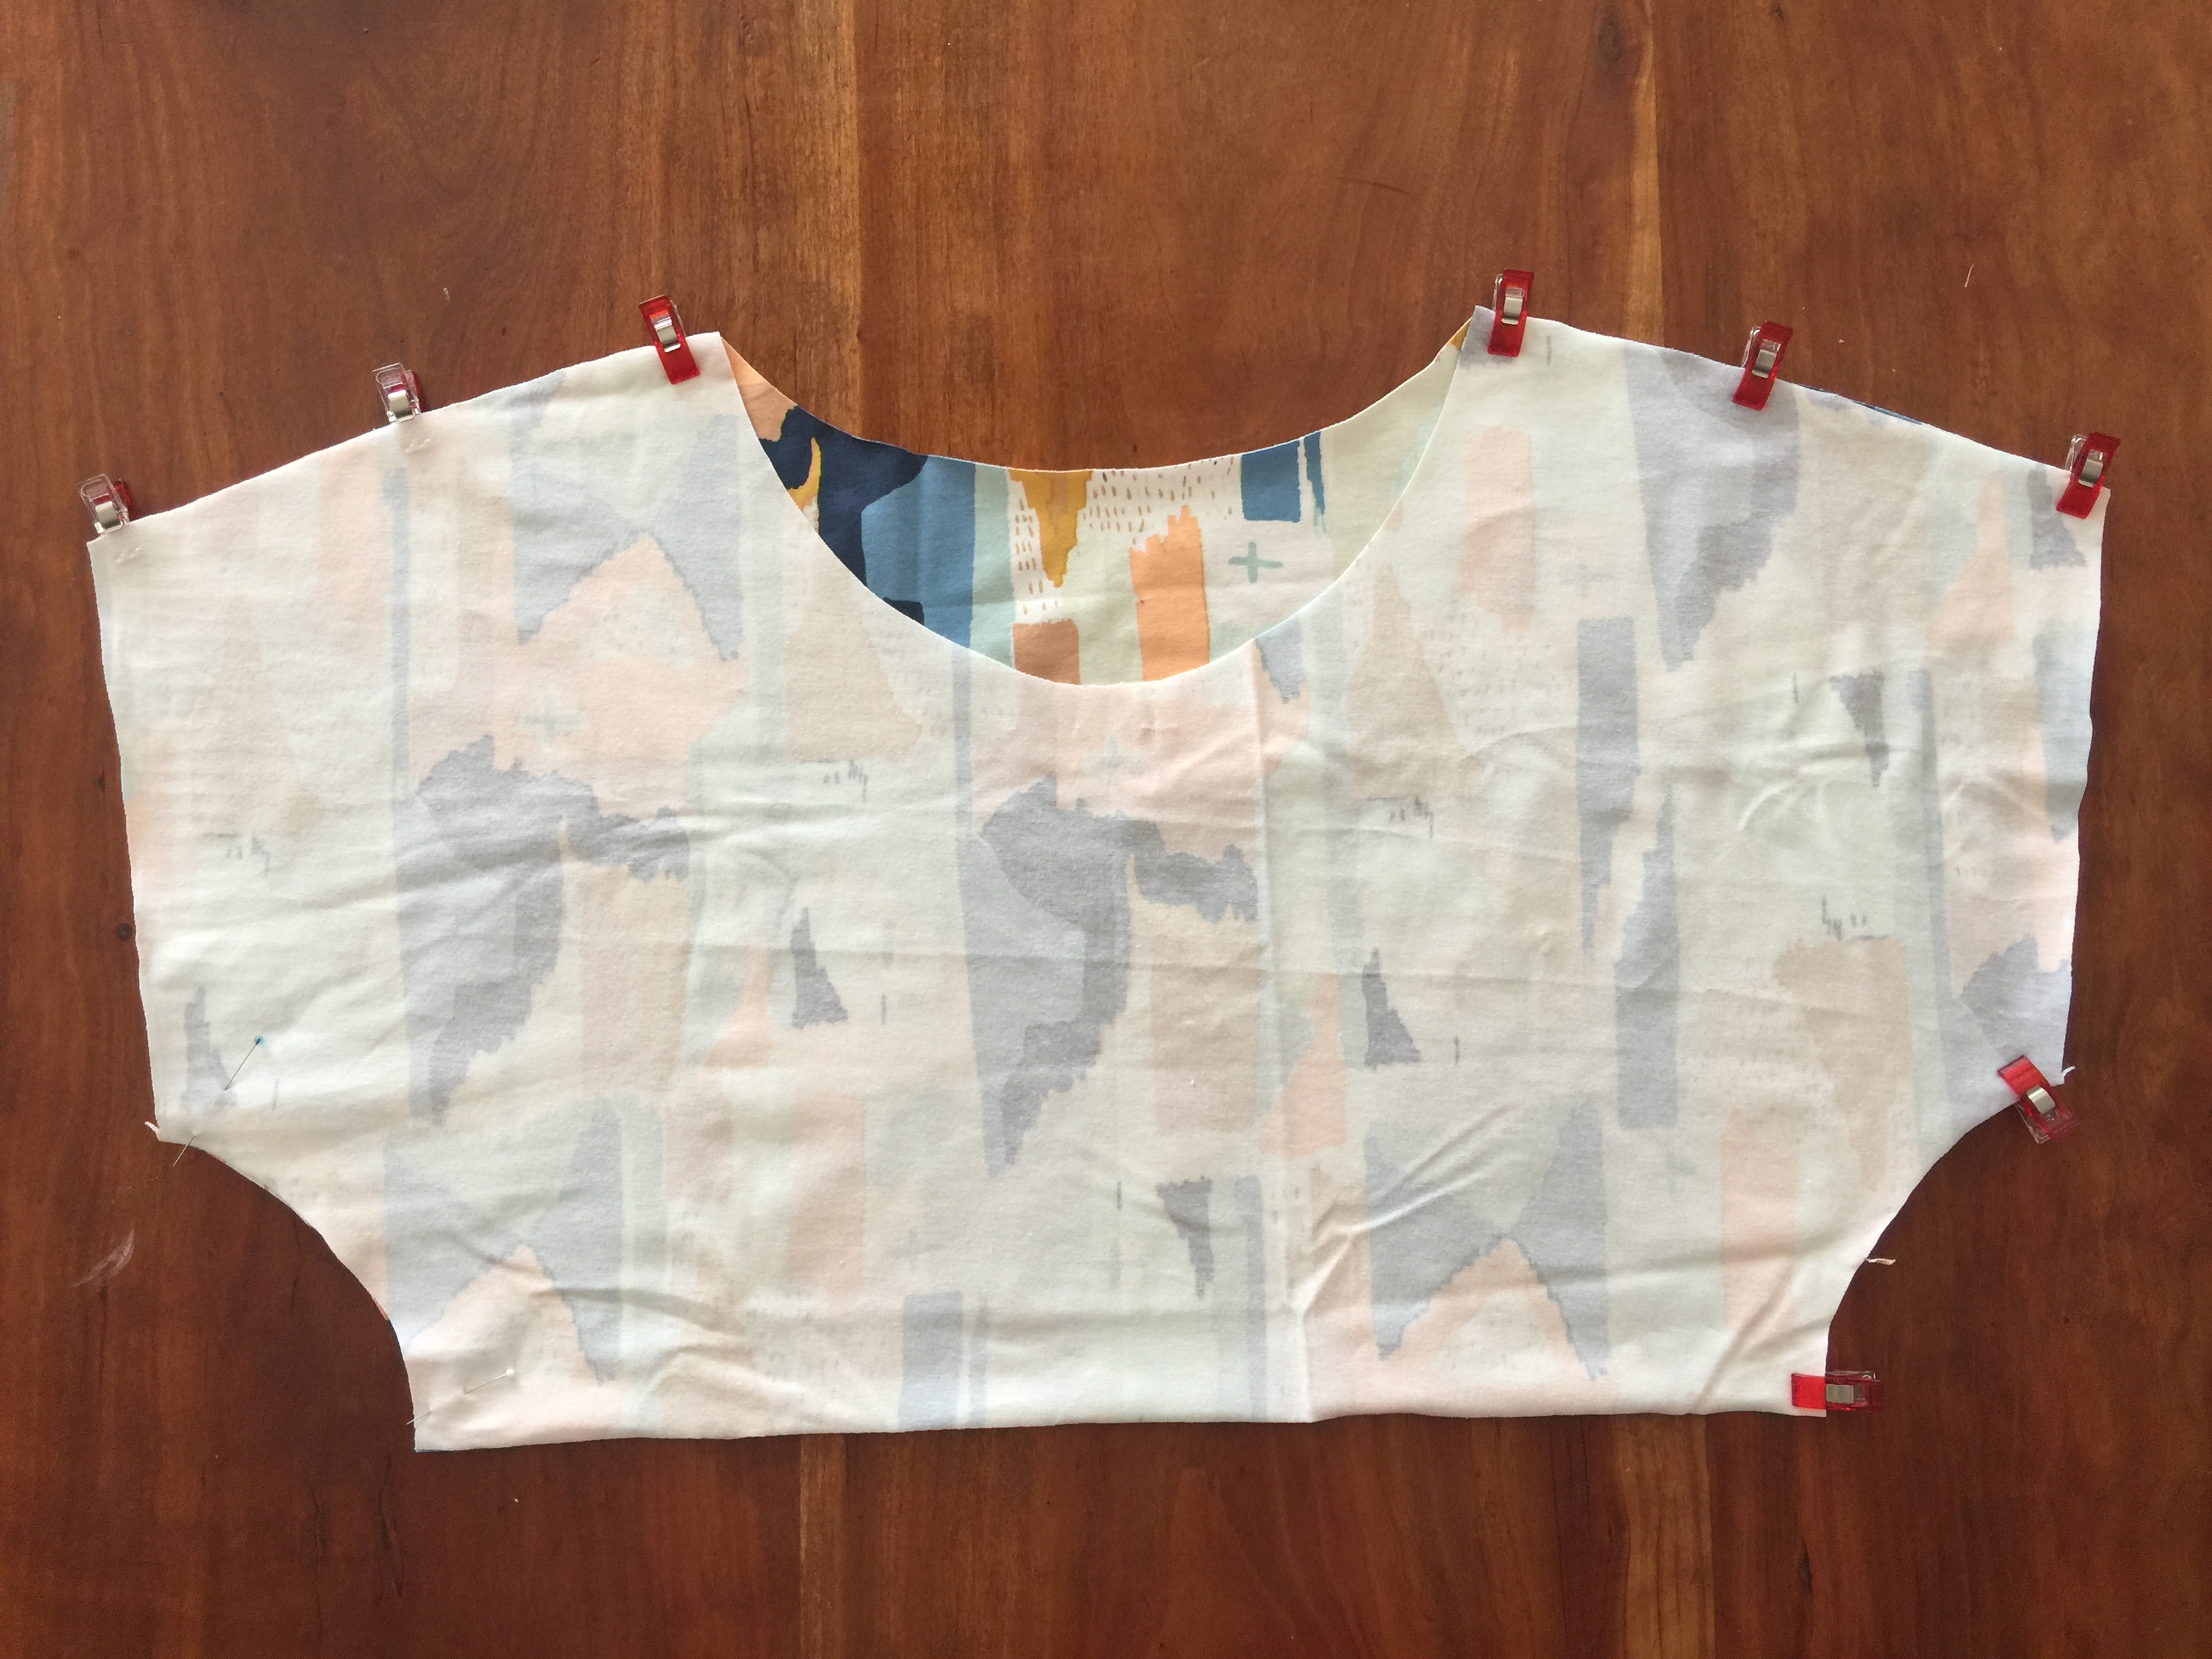
NEXT SEW THE BODICE and notch the centers of the neck as well as the center of the top of the skirt pieces.
-Wonderclips are the bomb. These are the best for serging ot not making holes in knits. you can use pins too. I don’t want any of my sewing friends feeling like they need a serger to sew this shirt. A regular zig zag stitch on your machine will do just fine. However, once you fall in love with sewing knits, you will get serger fever, coupled with serger fear. Just call me, I will hug you, and I will take that serger out of the box and thread that serger for you until feel all better.
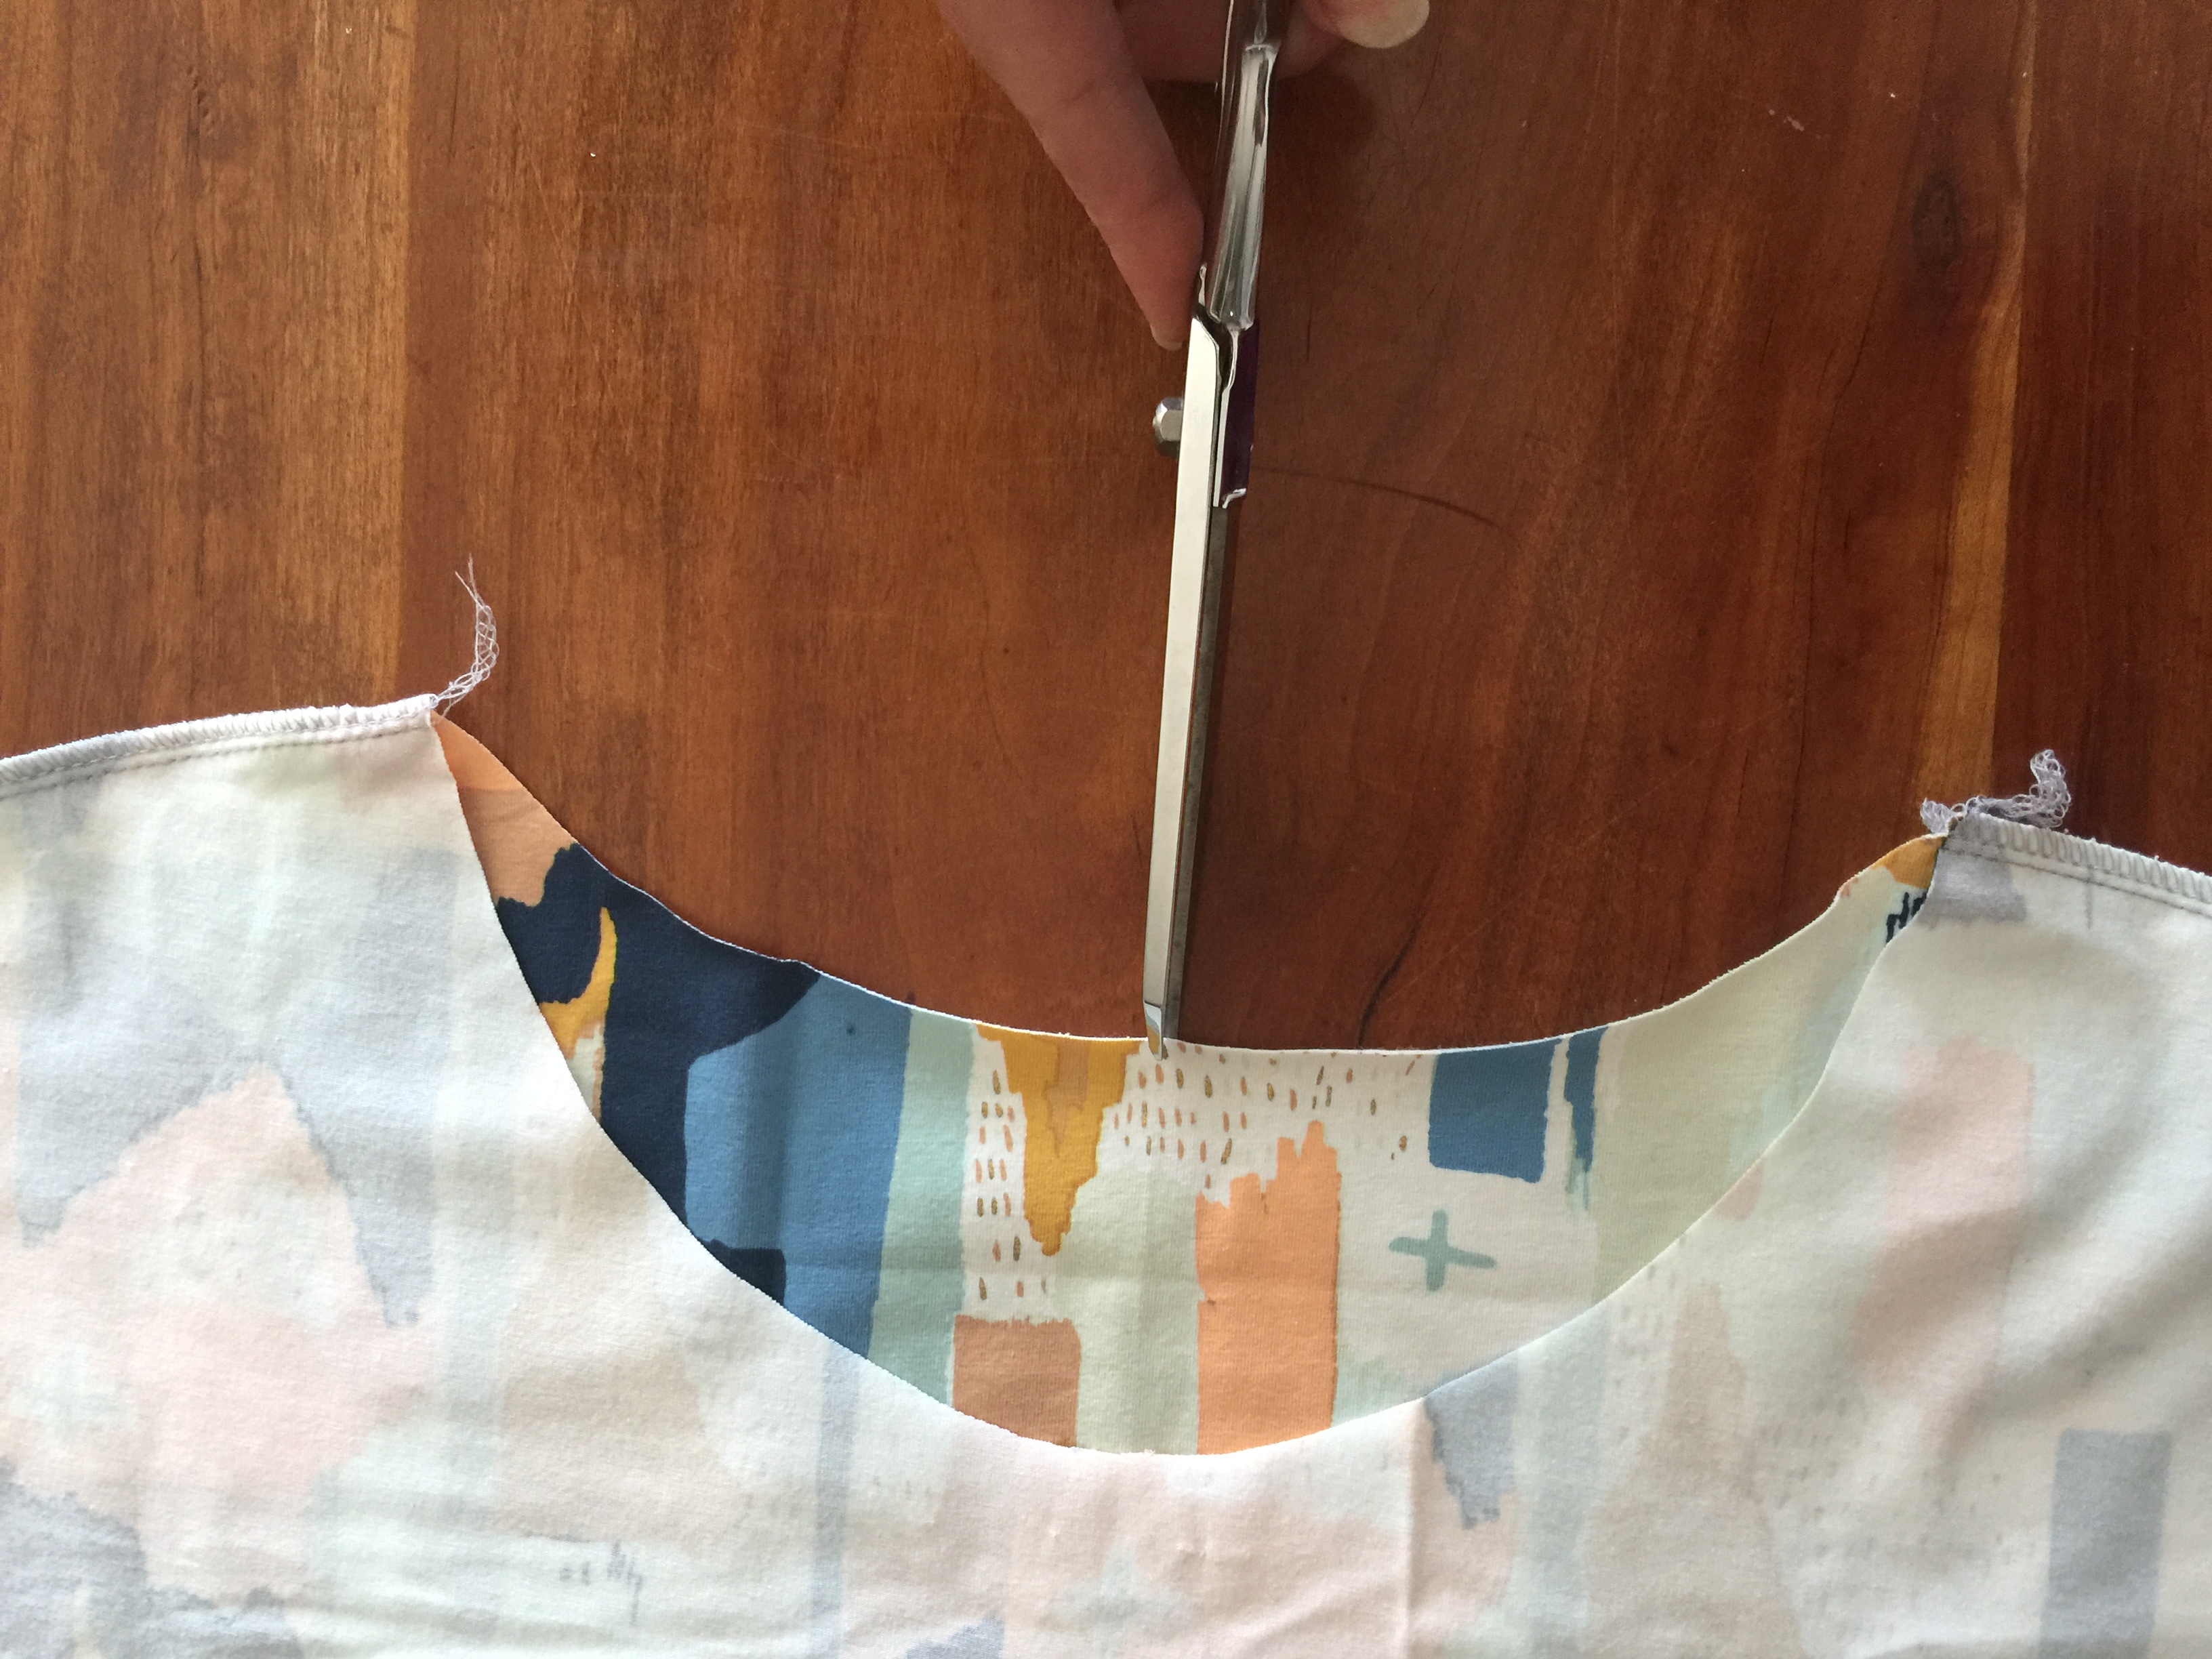
SEW THE CUFFS NEXT. Take the two rectangles and set them in front of you so that they are widest when horizontal to you. then fold right sides together so match up the short ends. Wonderclip or pin. Sew with zig zag or serge. Turn them right side out. Next fold that half and once you get it just right, clip it.
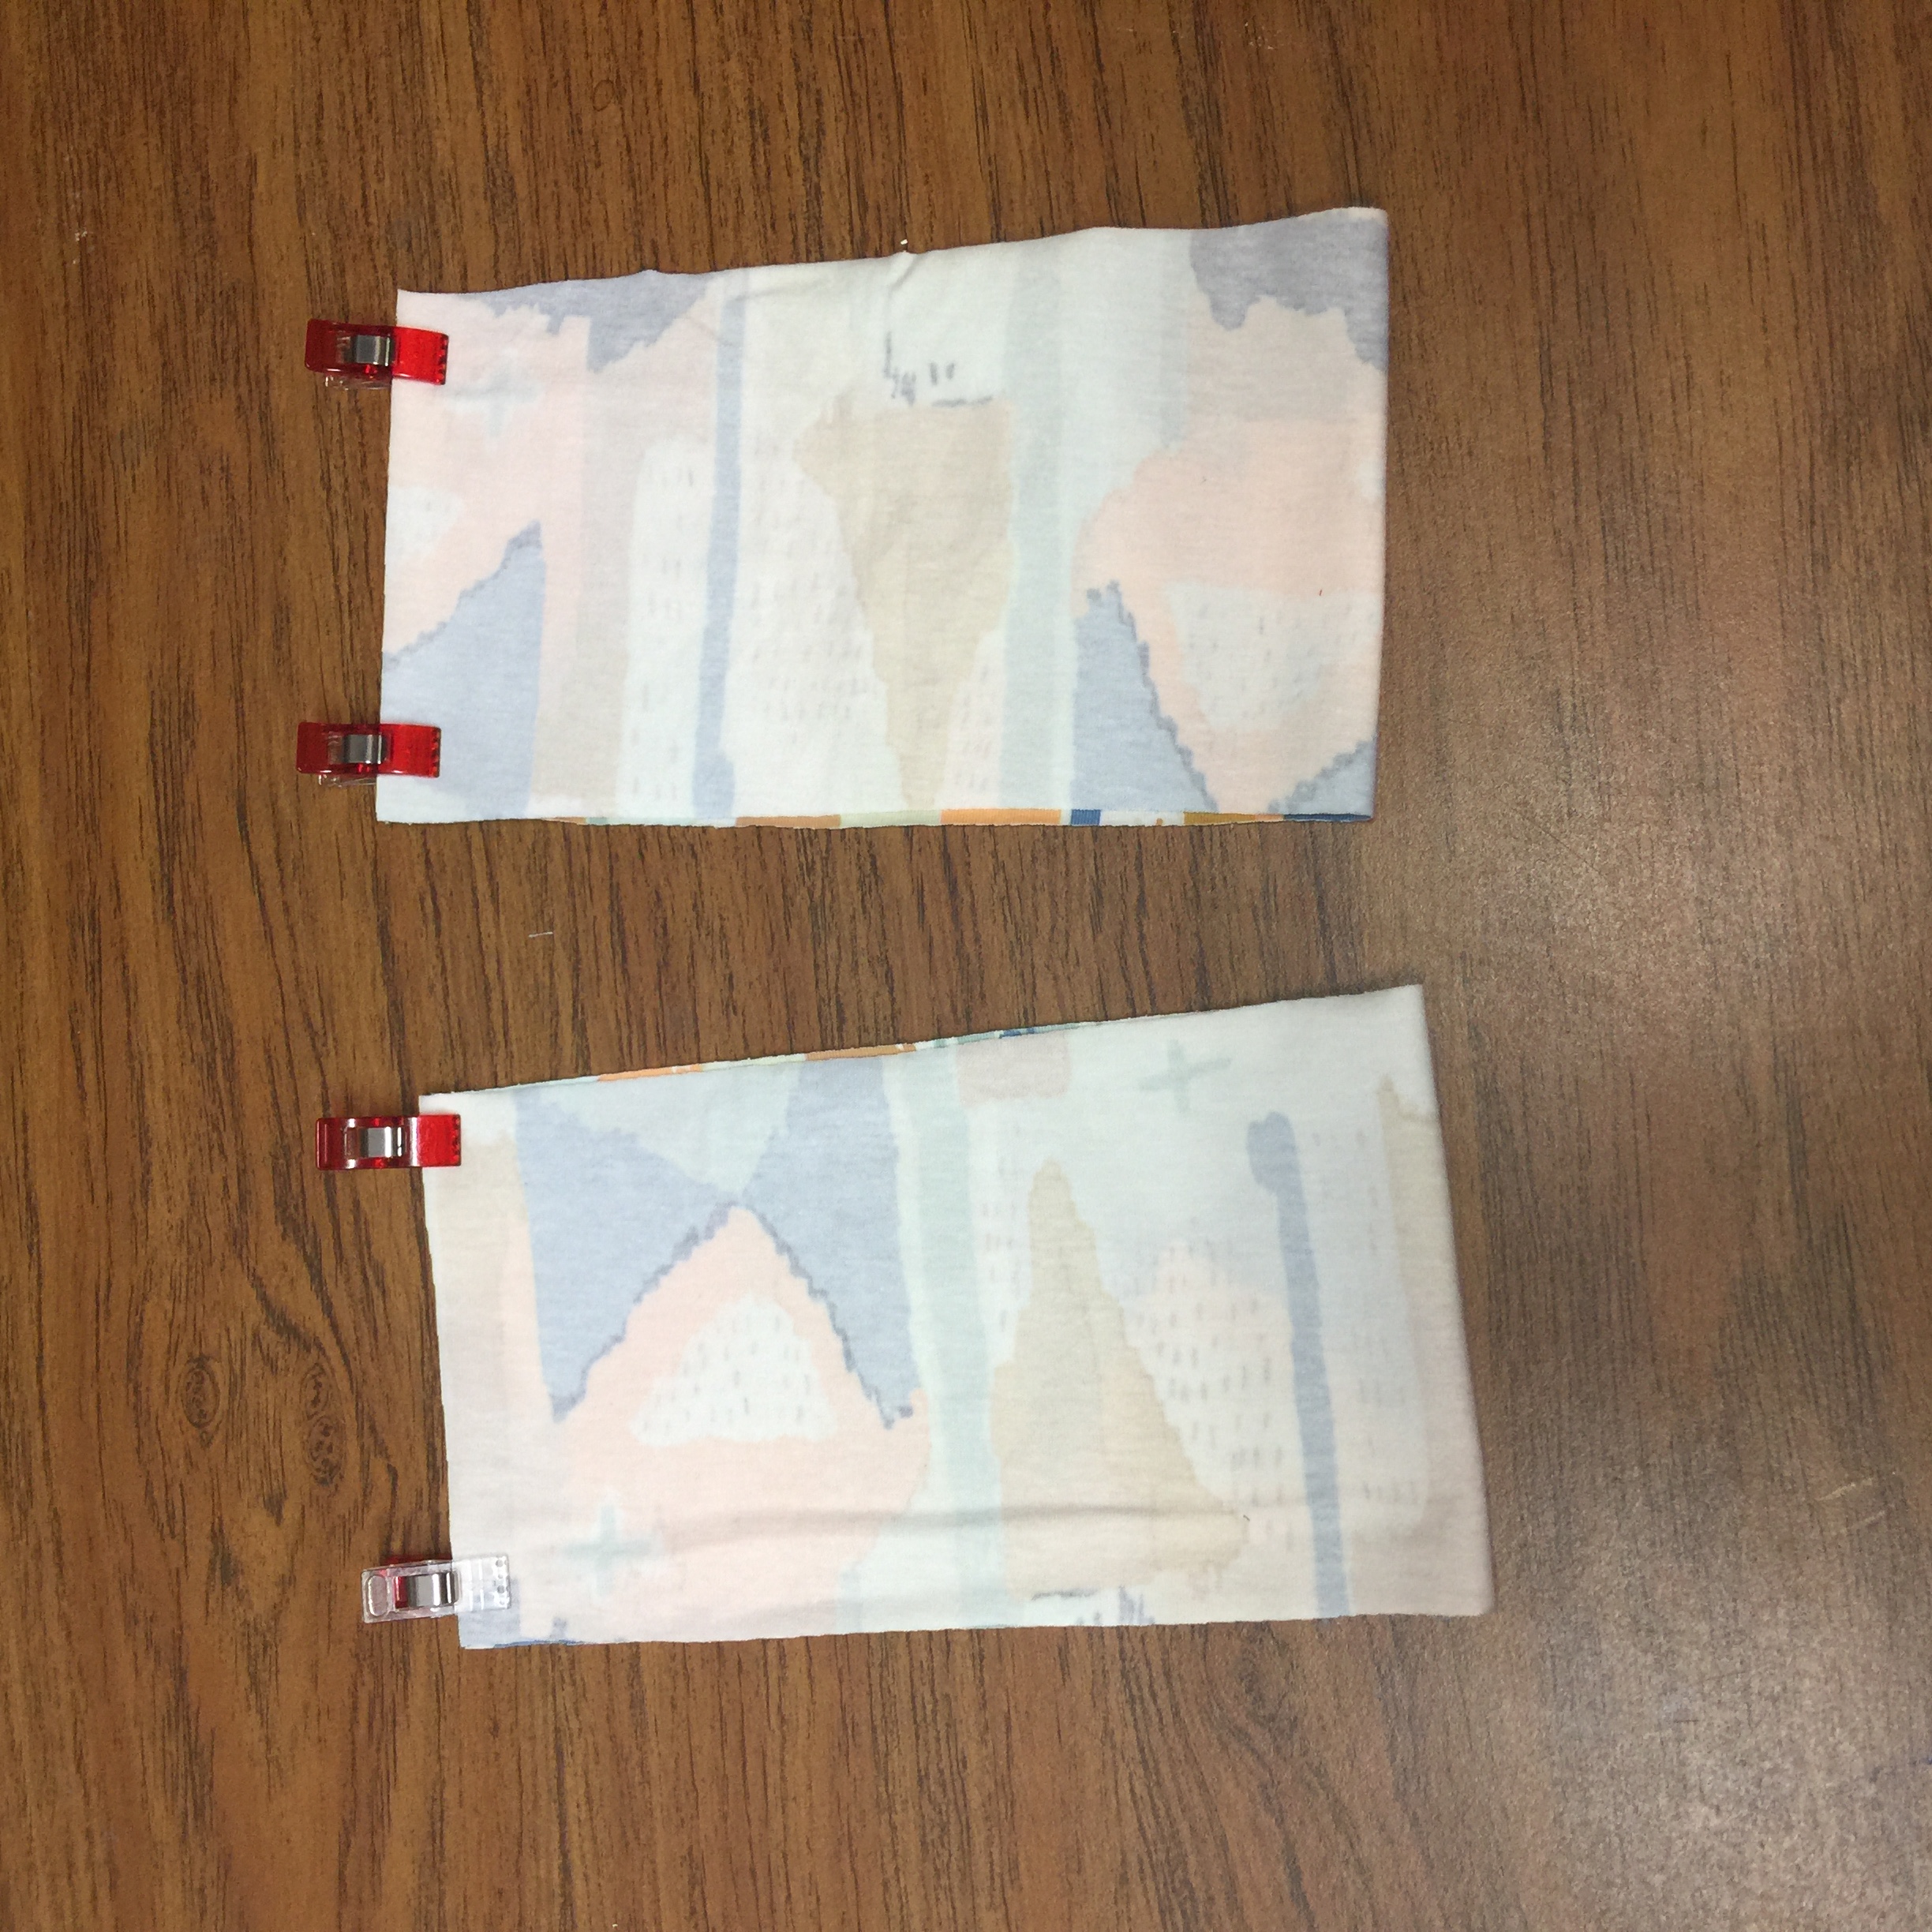
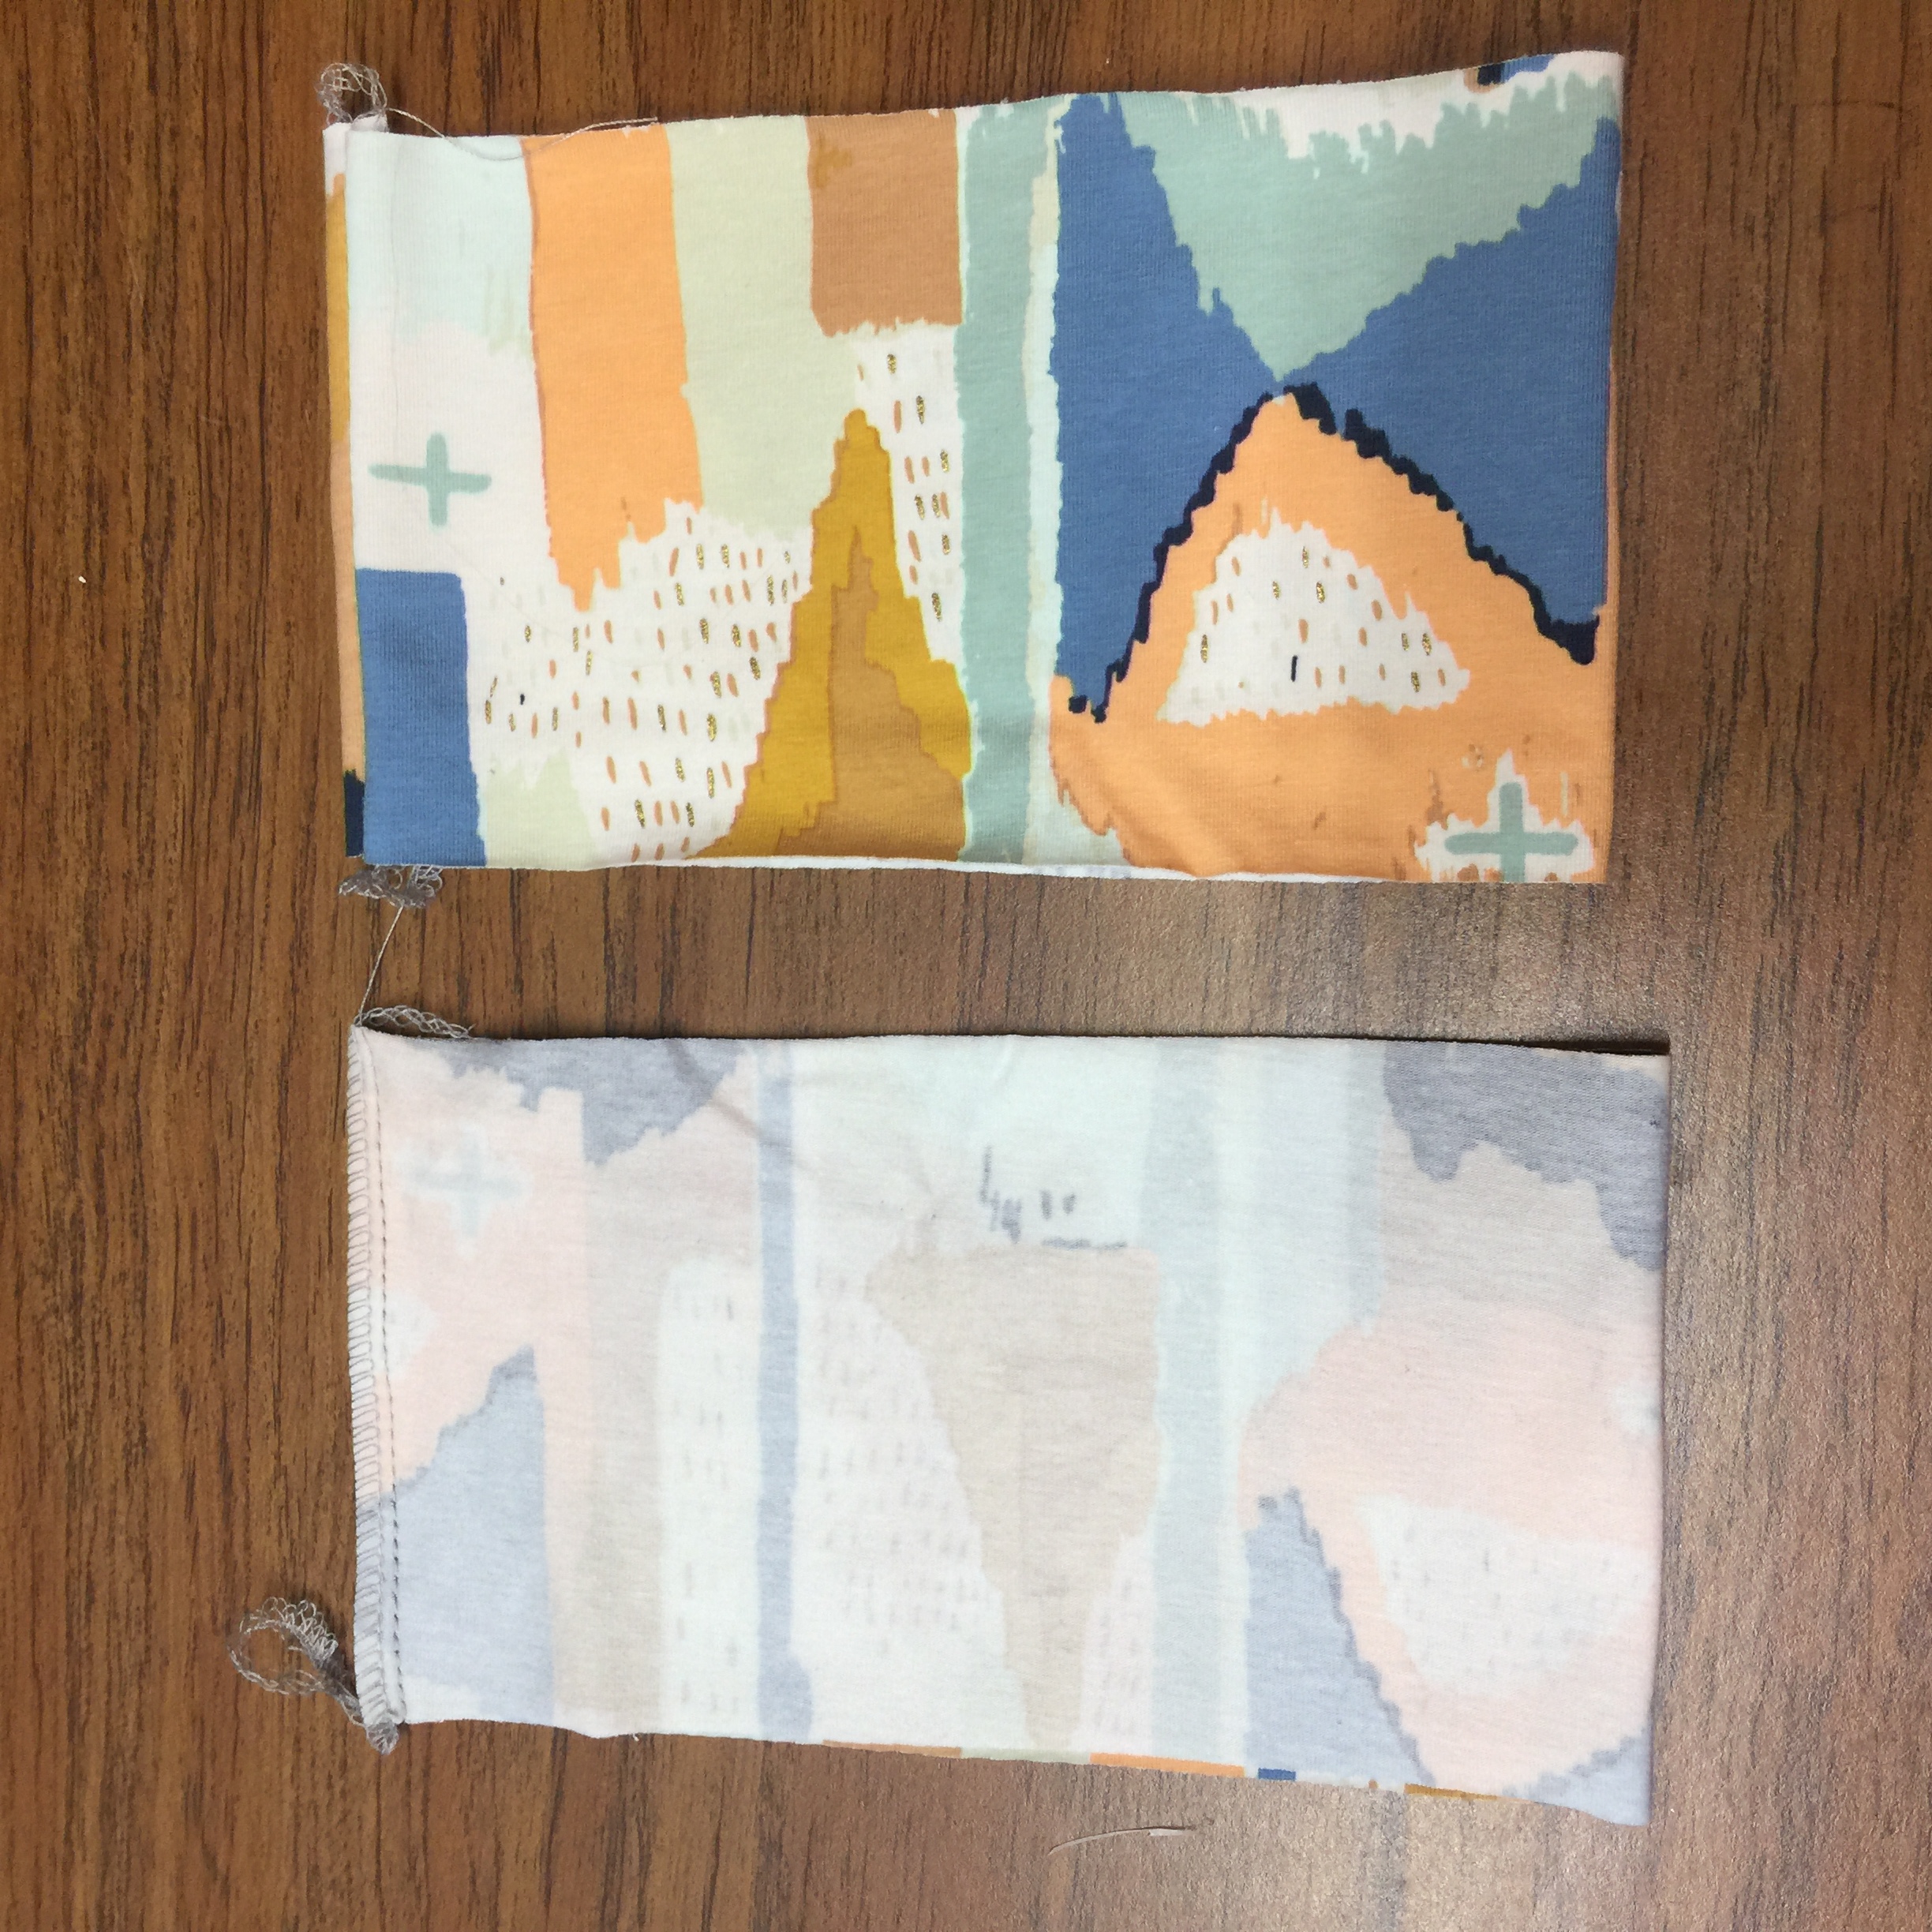
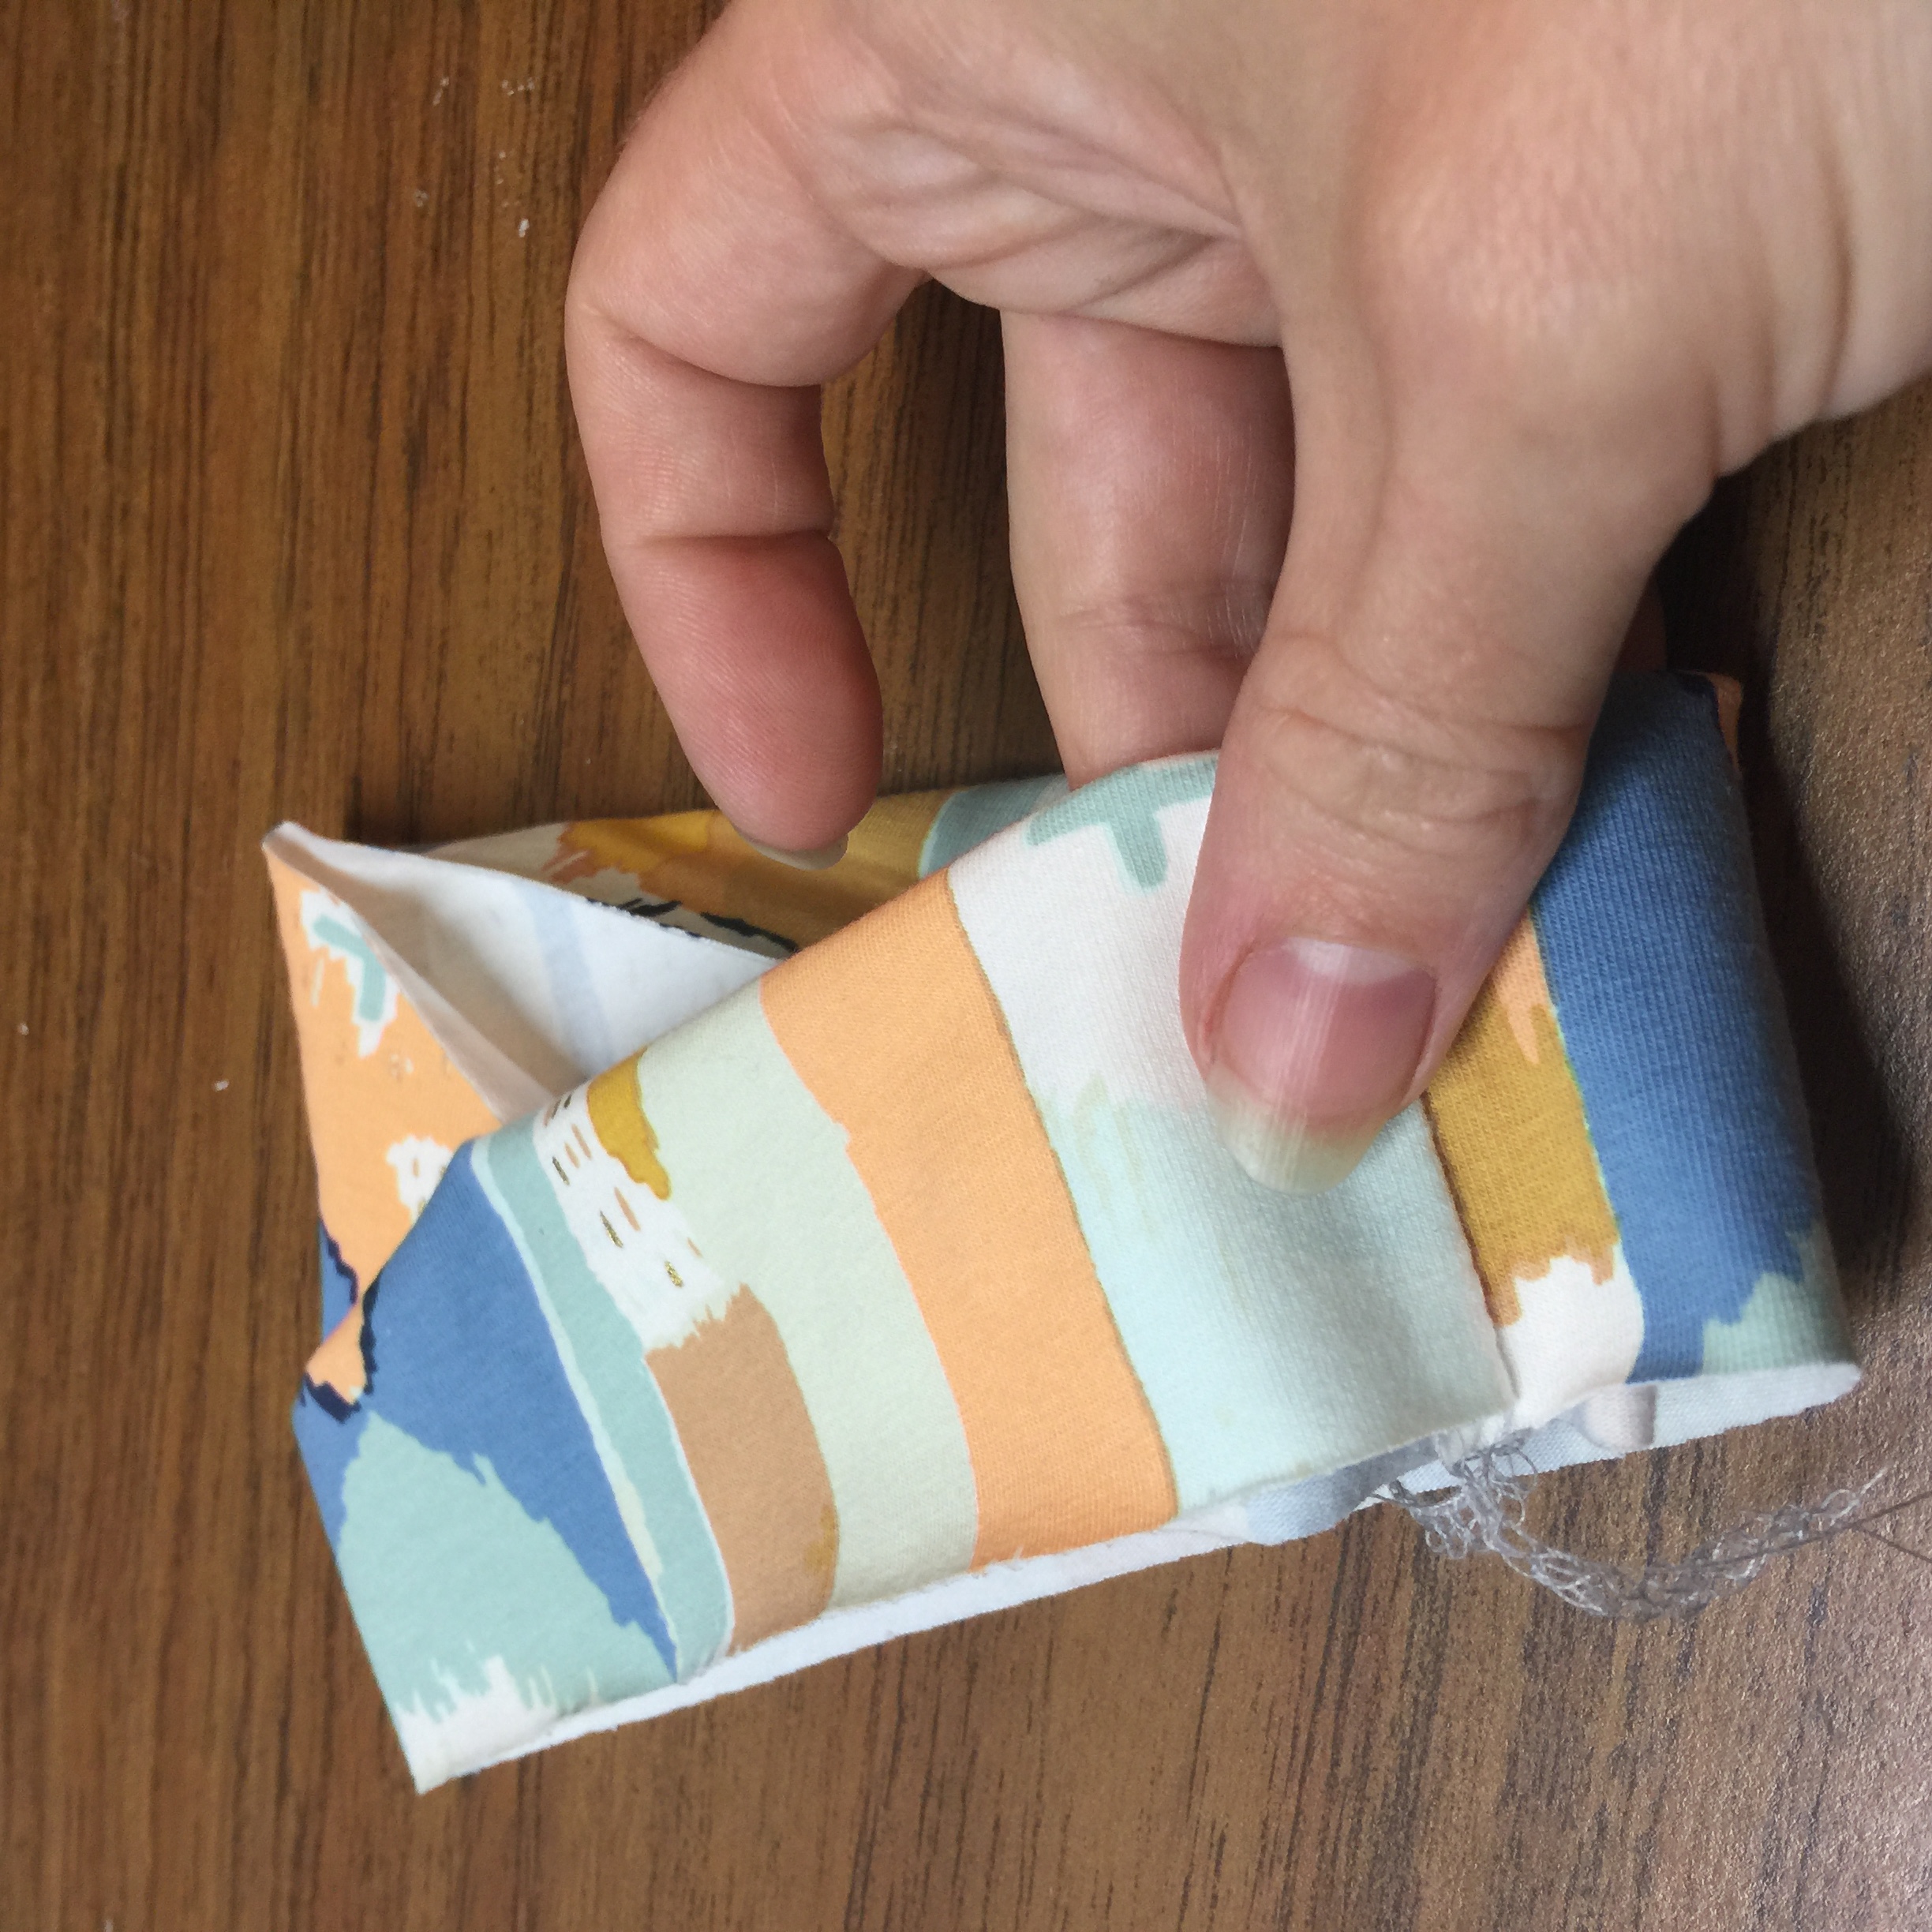
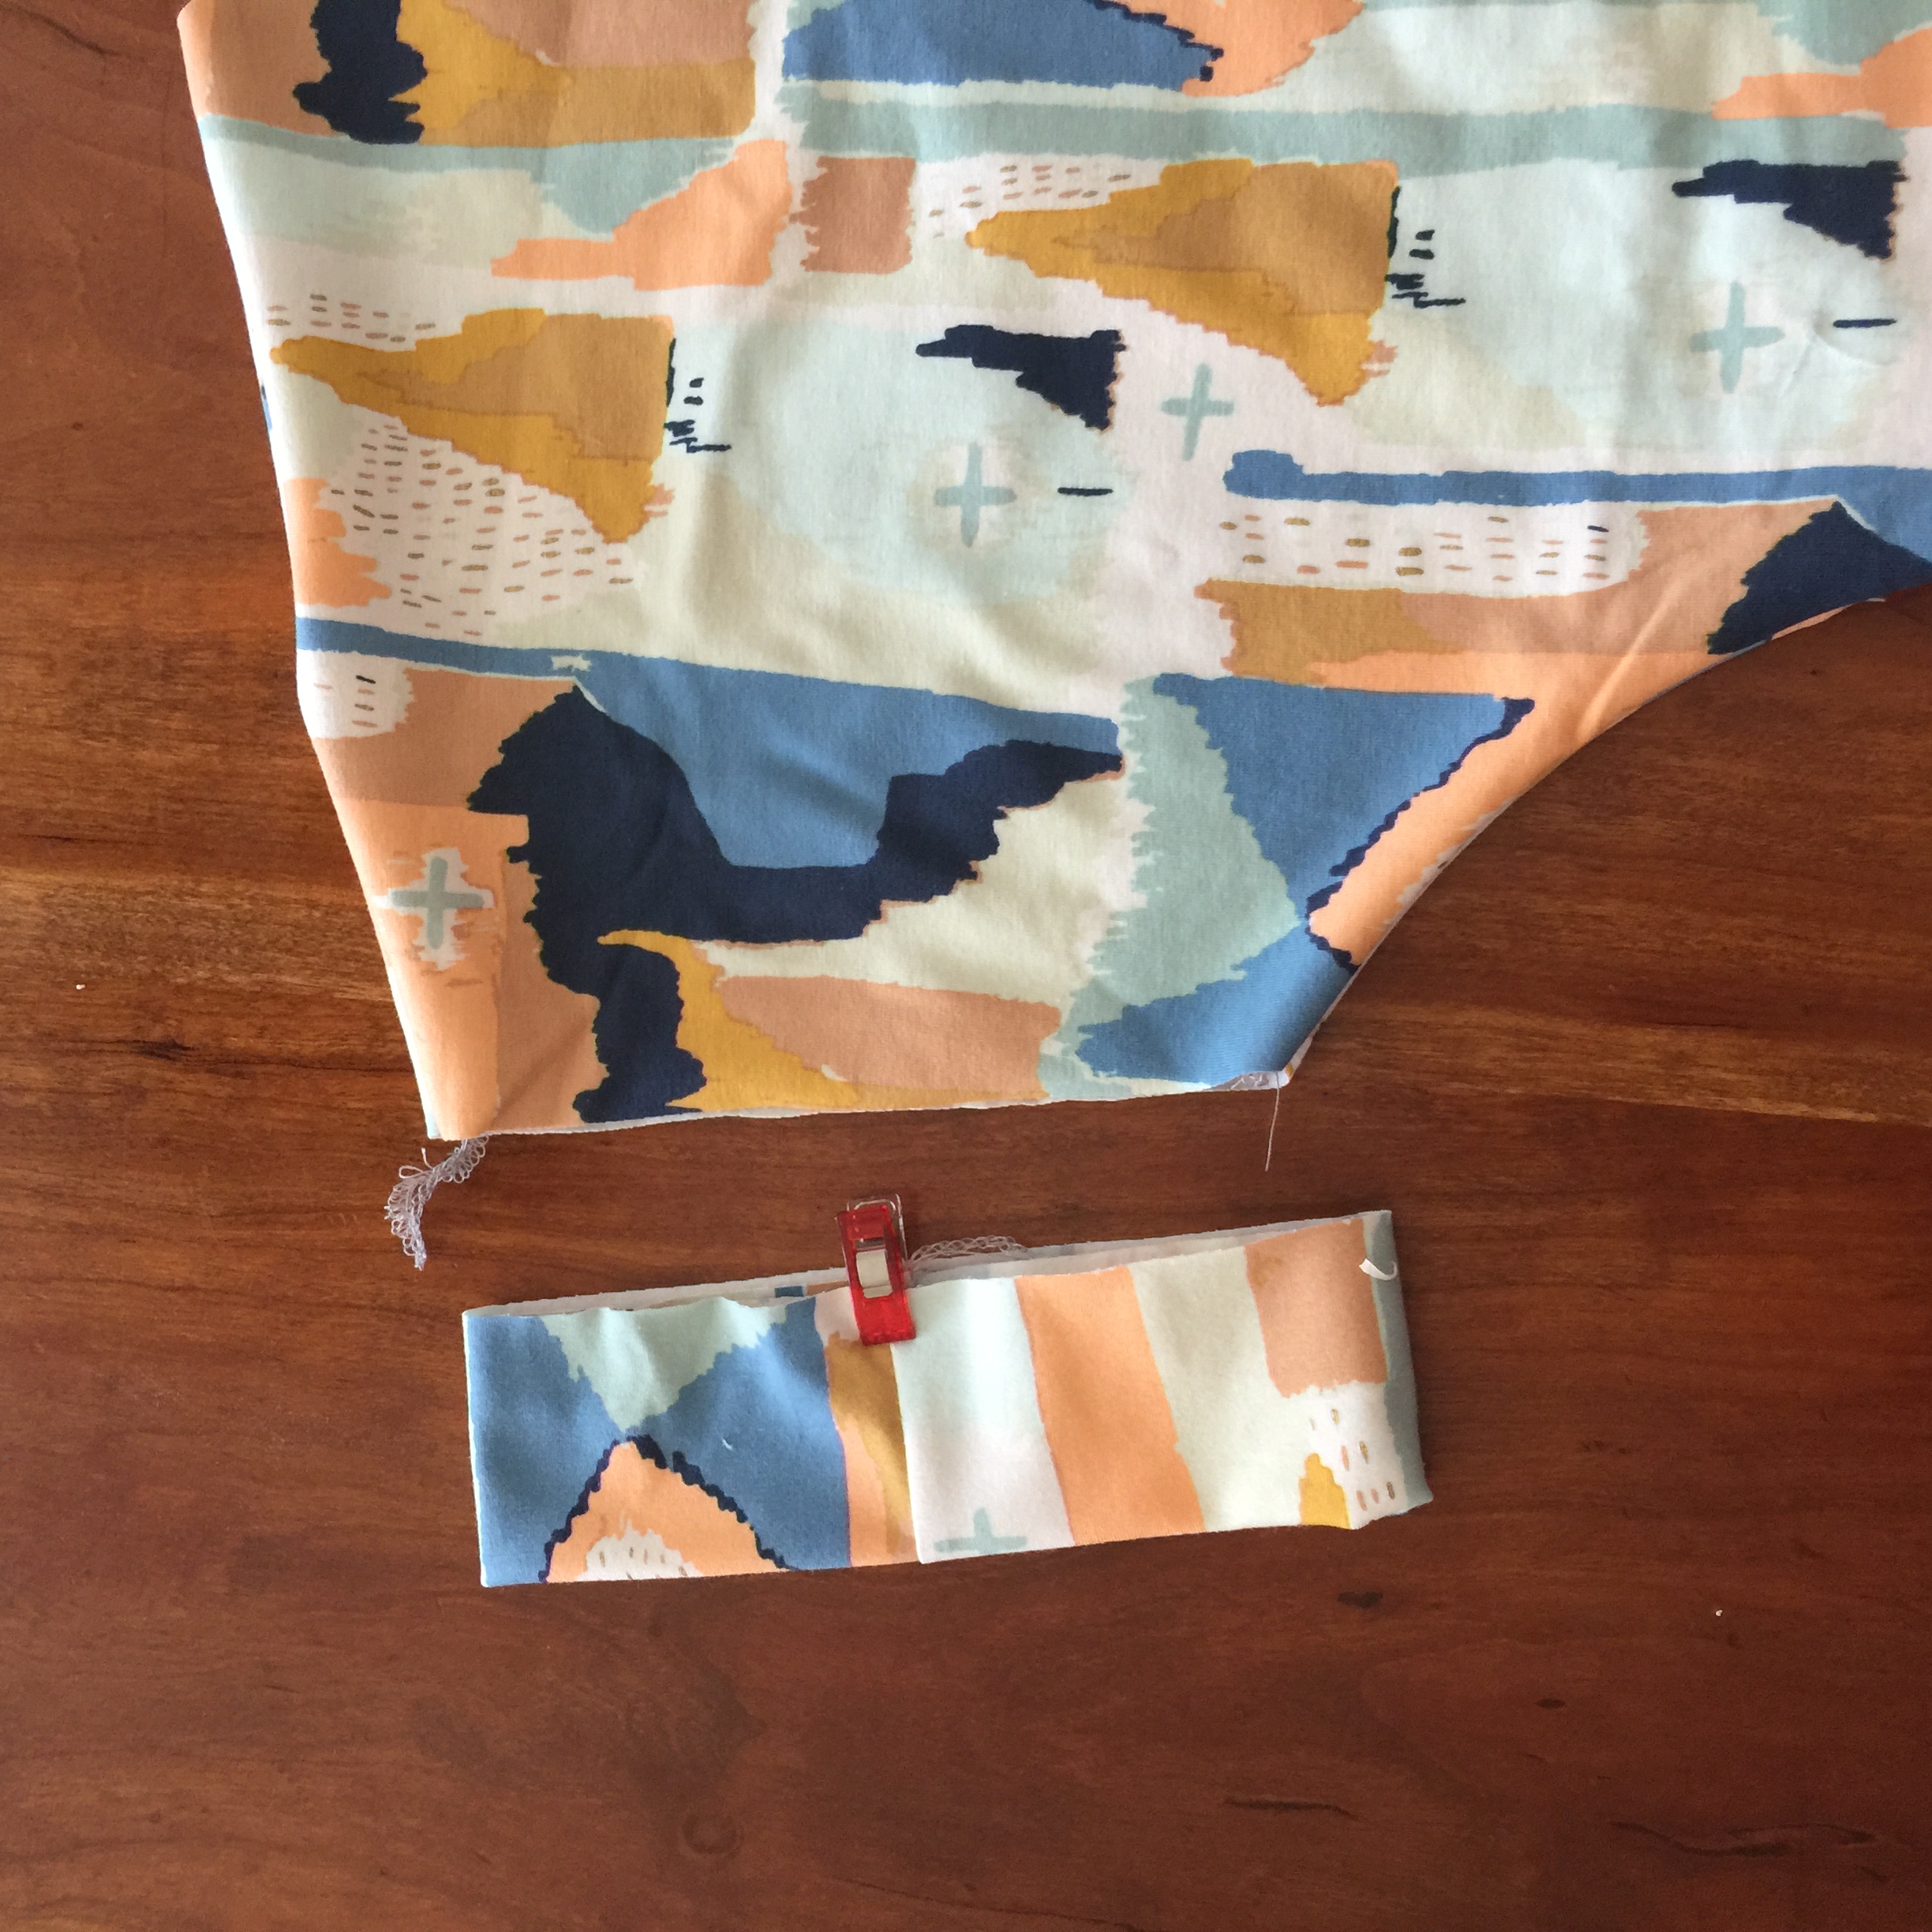
Pin the cuff to the bodice sleeve opening. Match the raw edges and be sure your cuff seam is matched up in the underarm seam of the bodice. Serge and press toward the bodice. Fold up the cuff toward the neckline and sew a tack by hand or machine to hold it in place at the top and bottom. TADA!
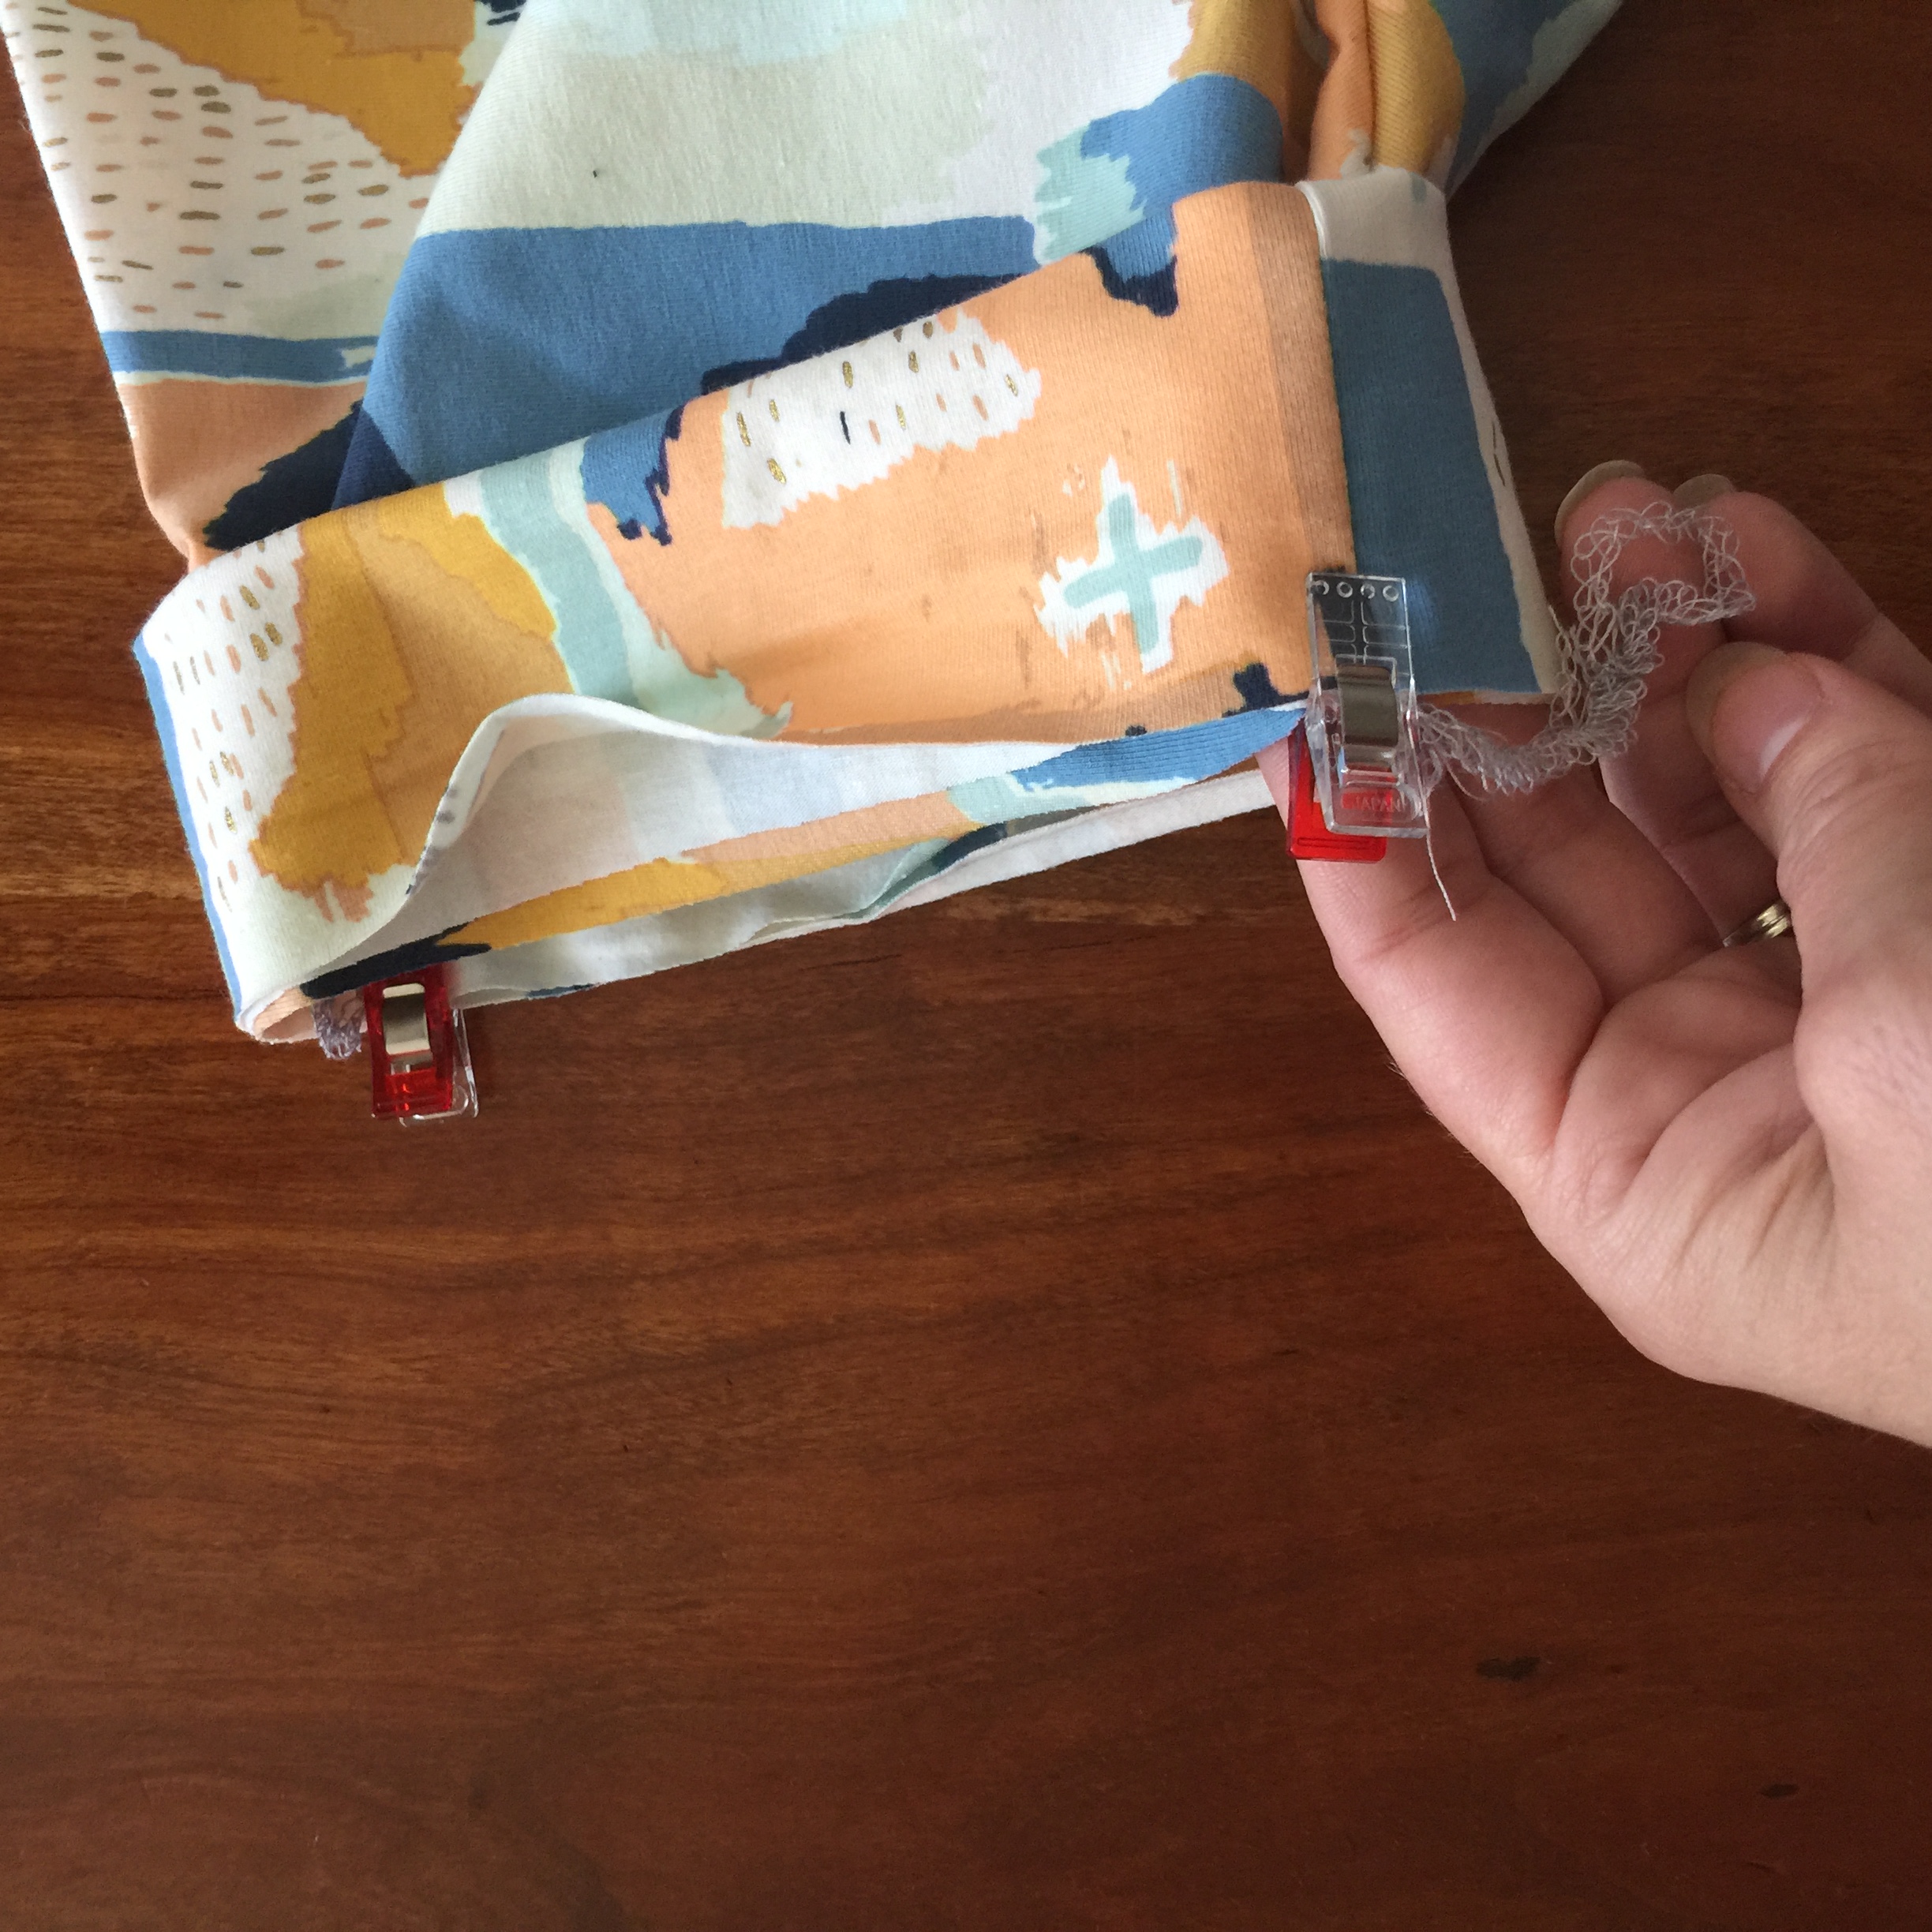
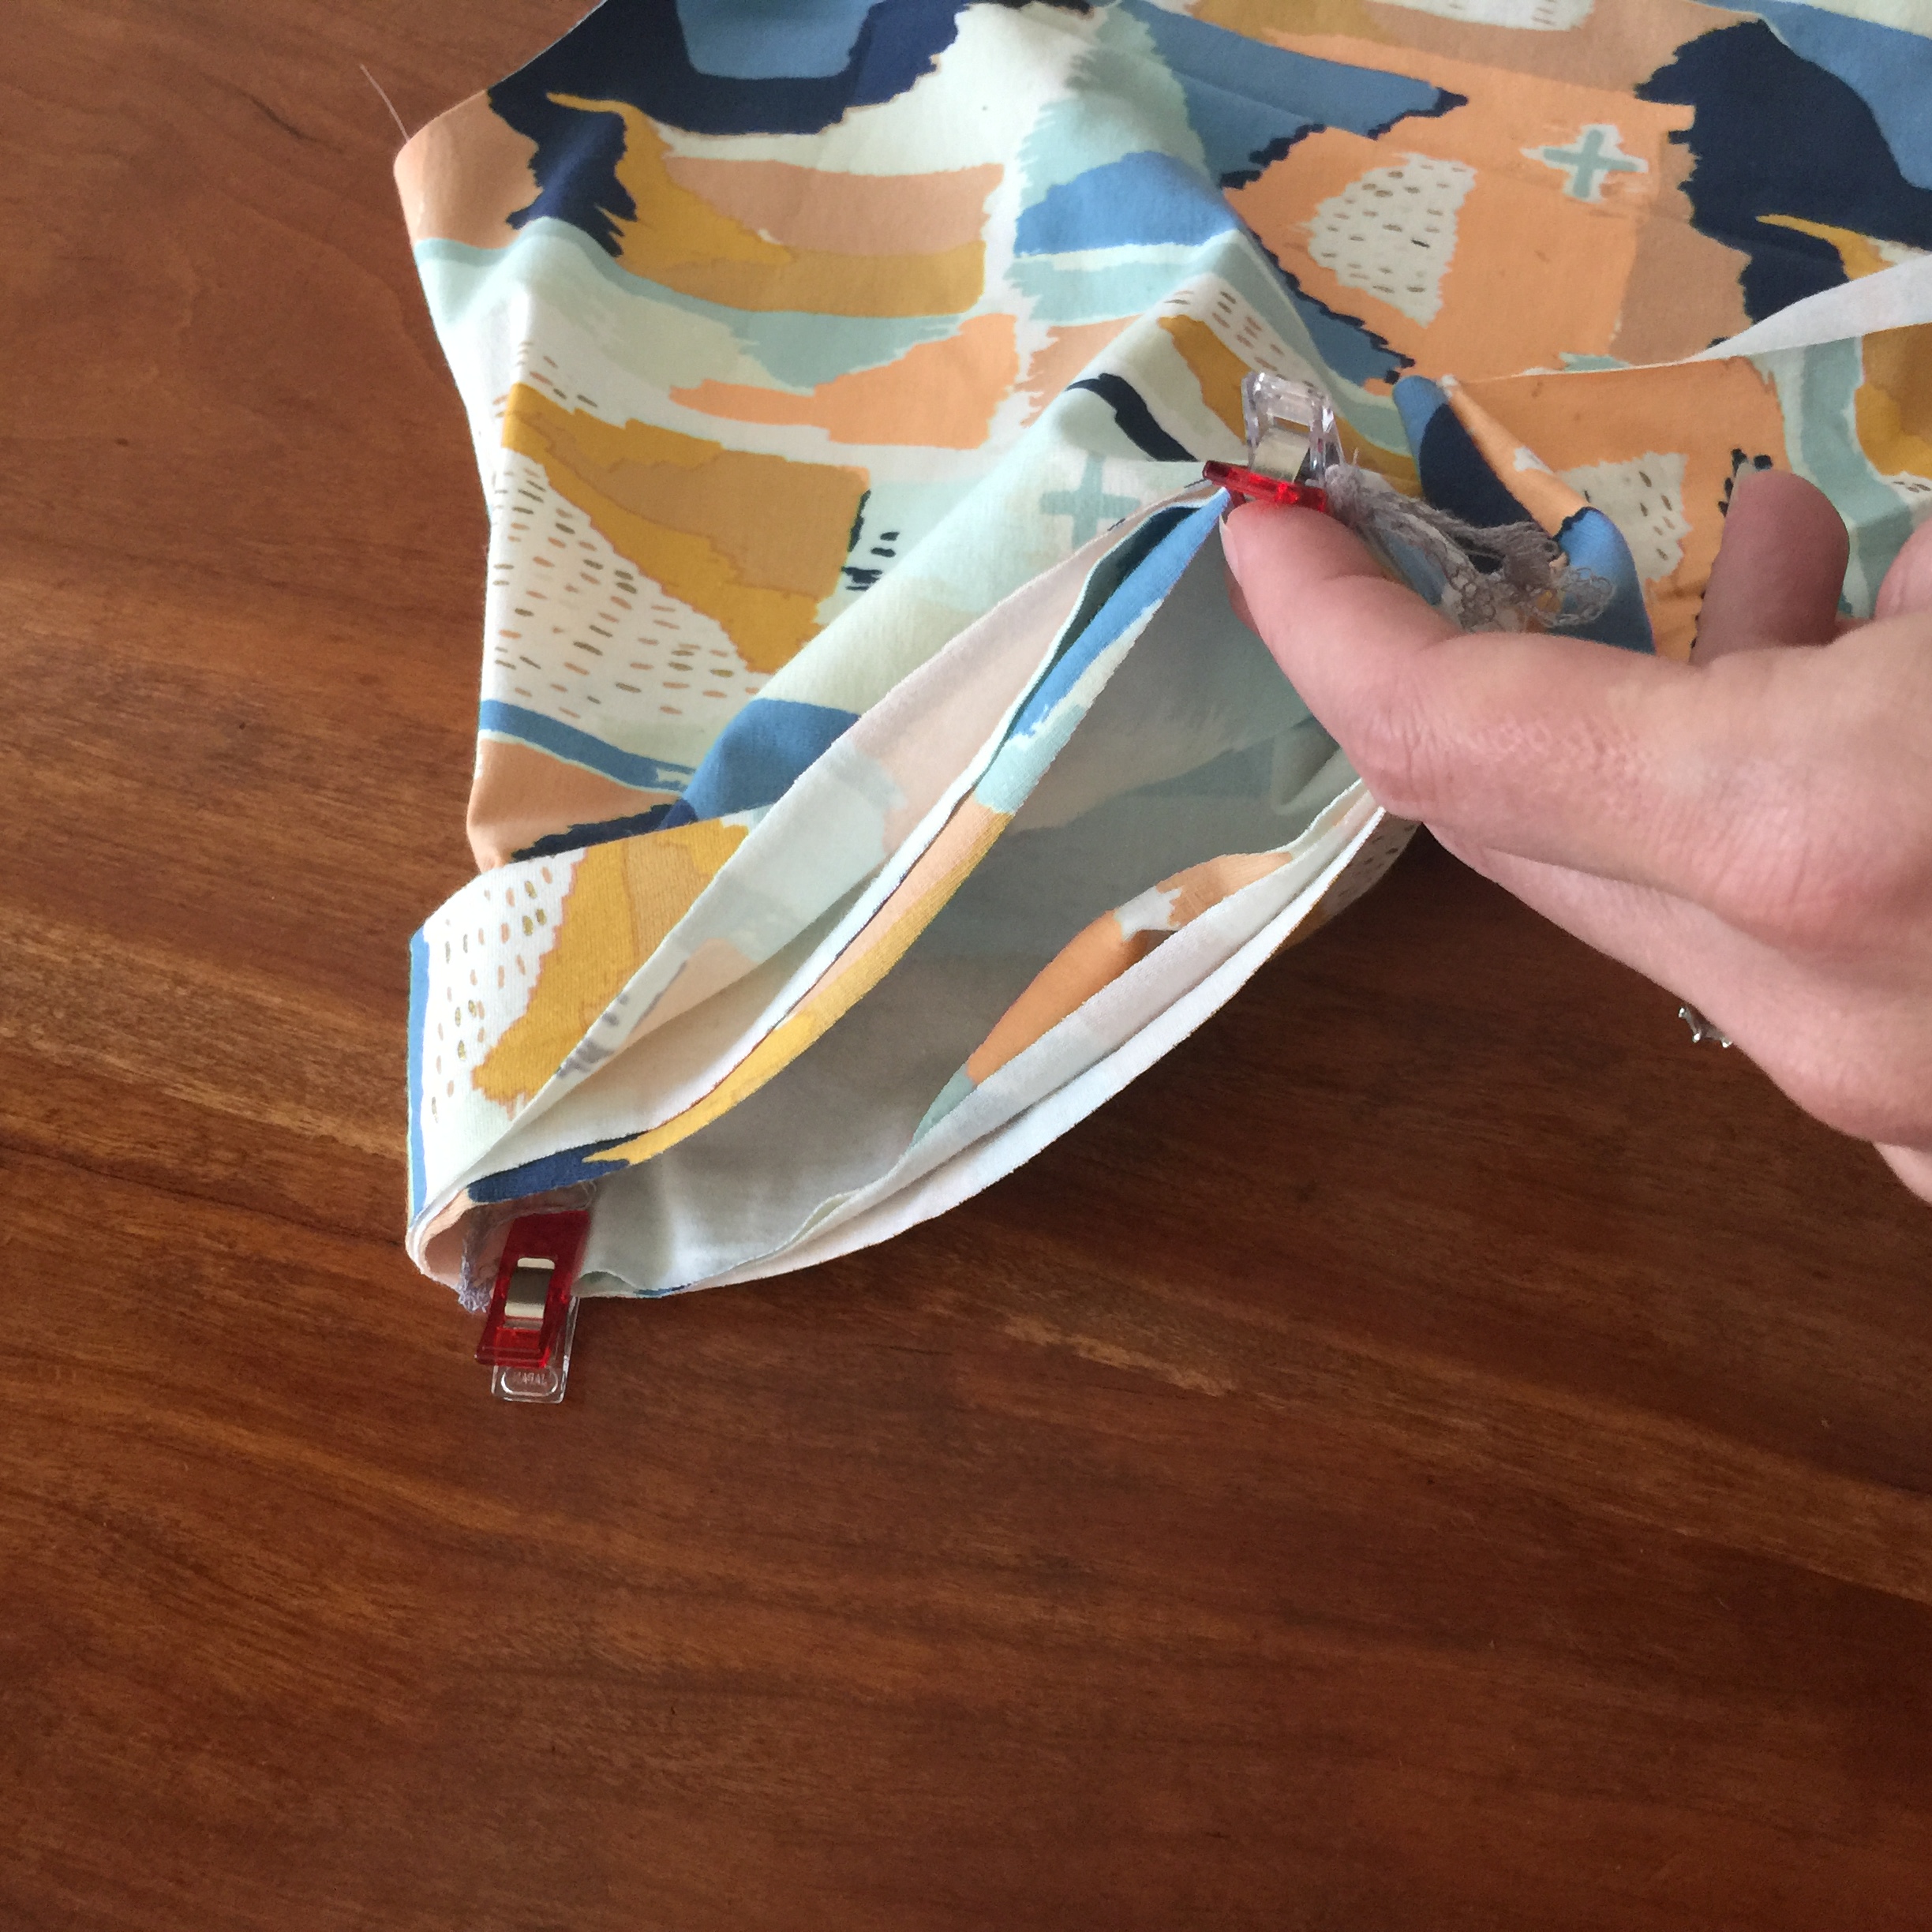
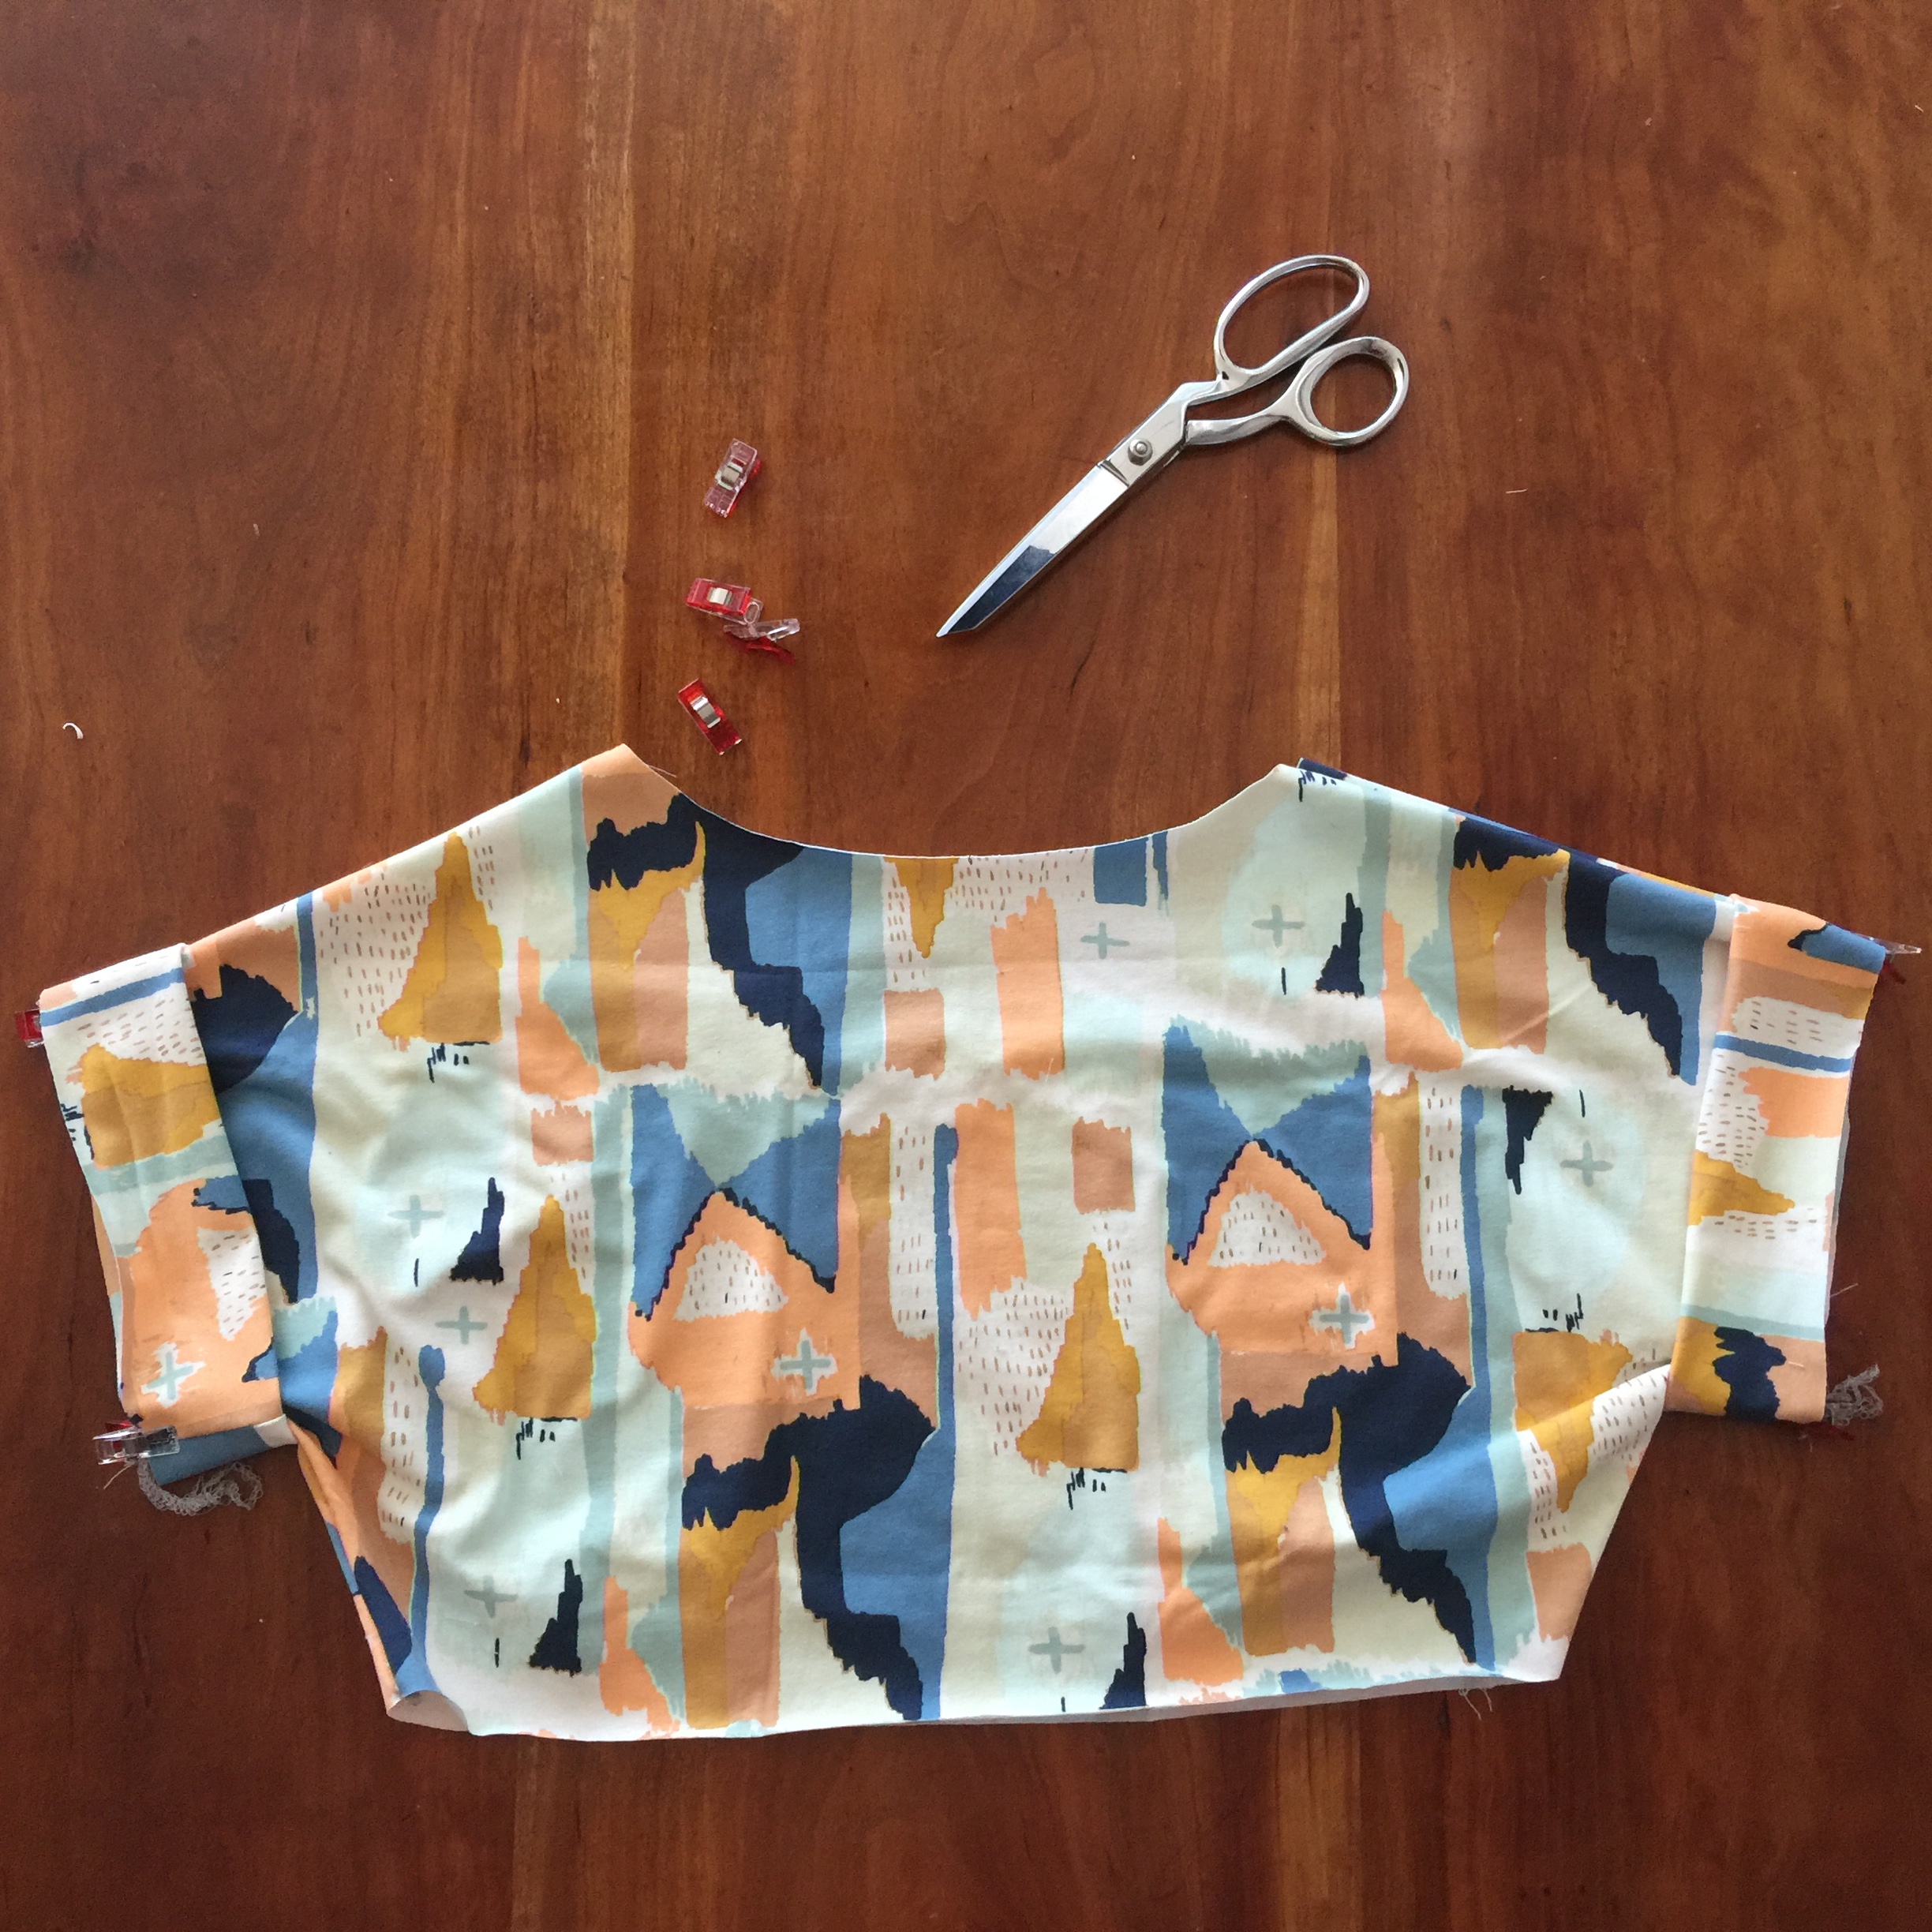

NEXT SEW THE SKIRT. Begin by pinning or wonderclipping the sides of the skirt piece, right sides together. Serge or zigzag. Now you can gather the skirt along the top raw edge.
-a nifty little gathering trick is to turn your stitch length up as long as it will go and adjust your tension to the highest setting. This configuration will gather the fabric slightly for you. Another nifty trick is to turn your stitich and tension back to normal settings after you are done gathering. I seldom remember the second one.
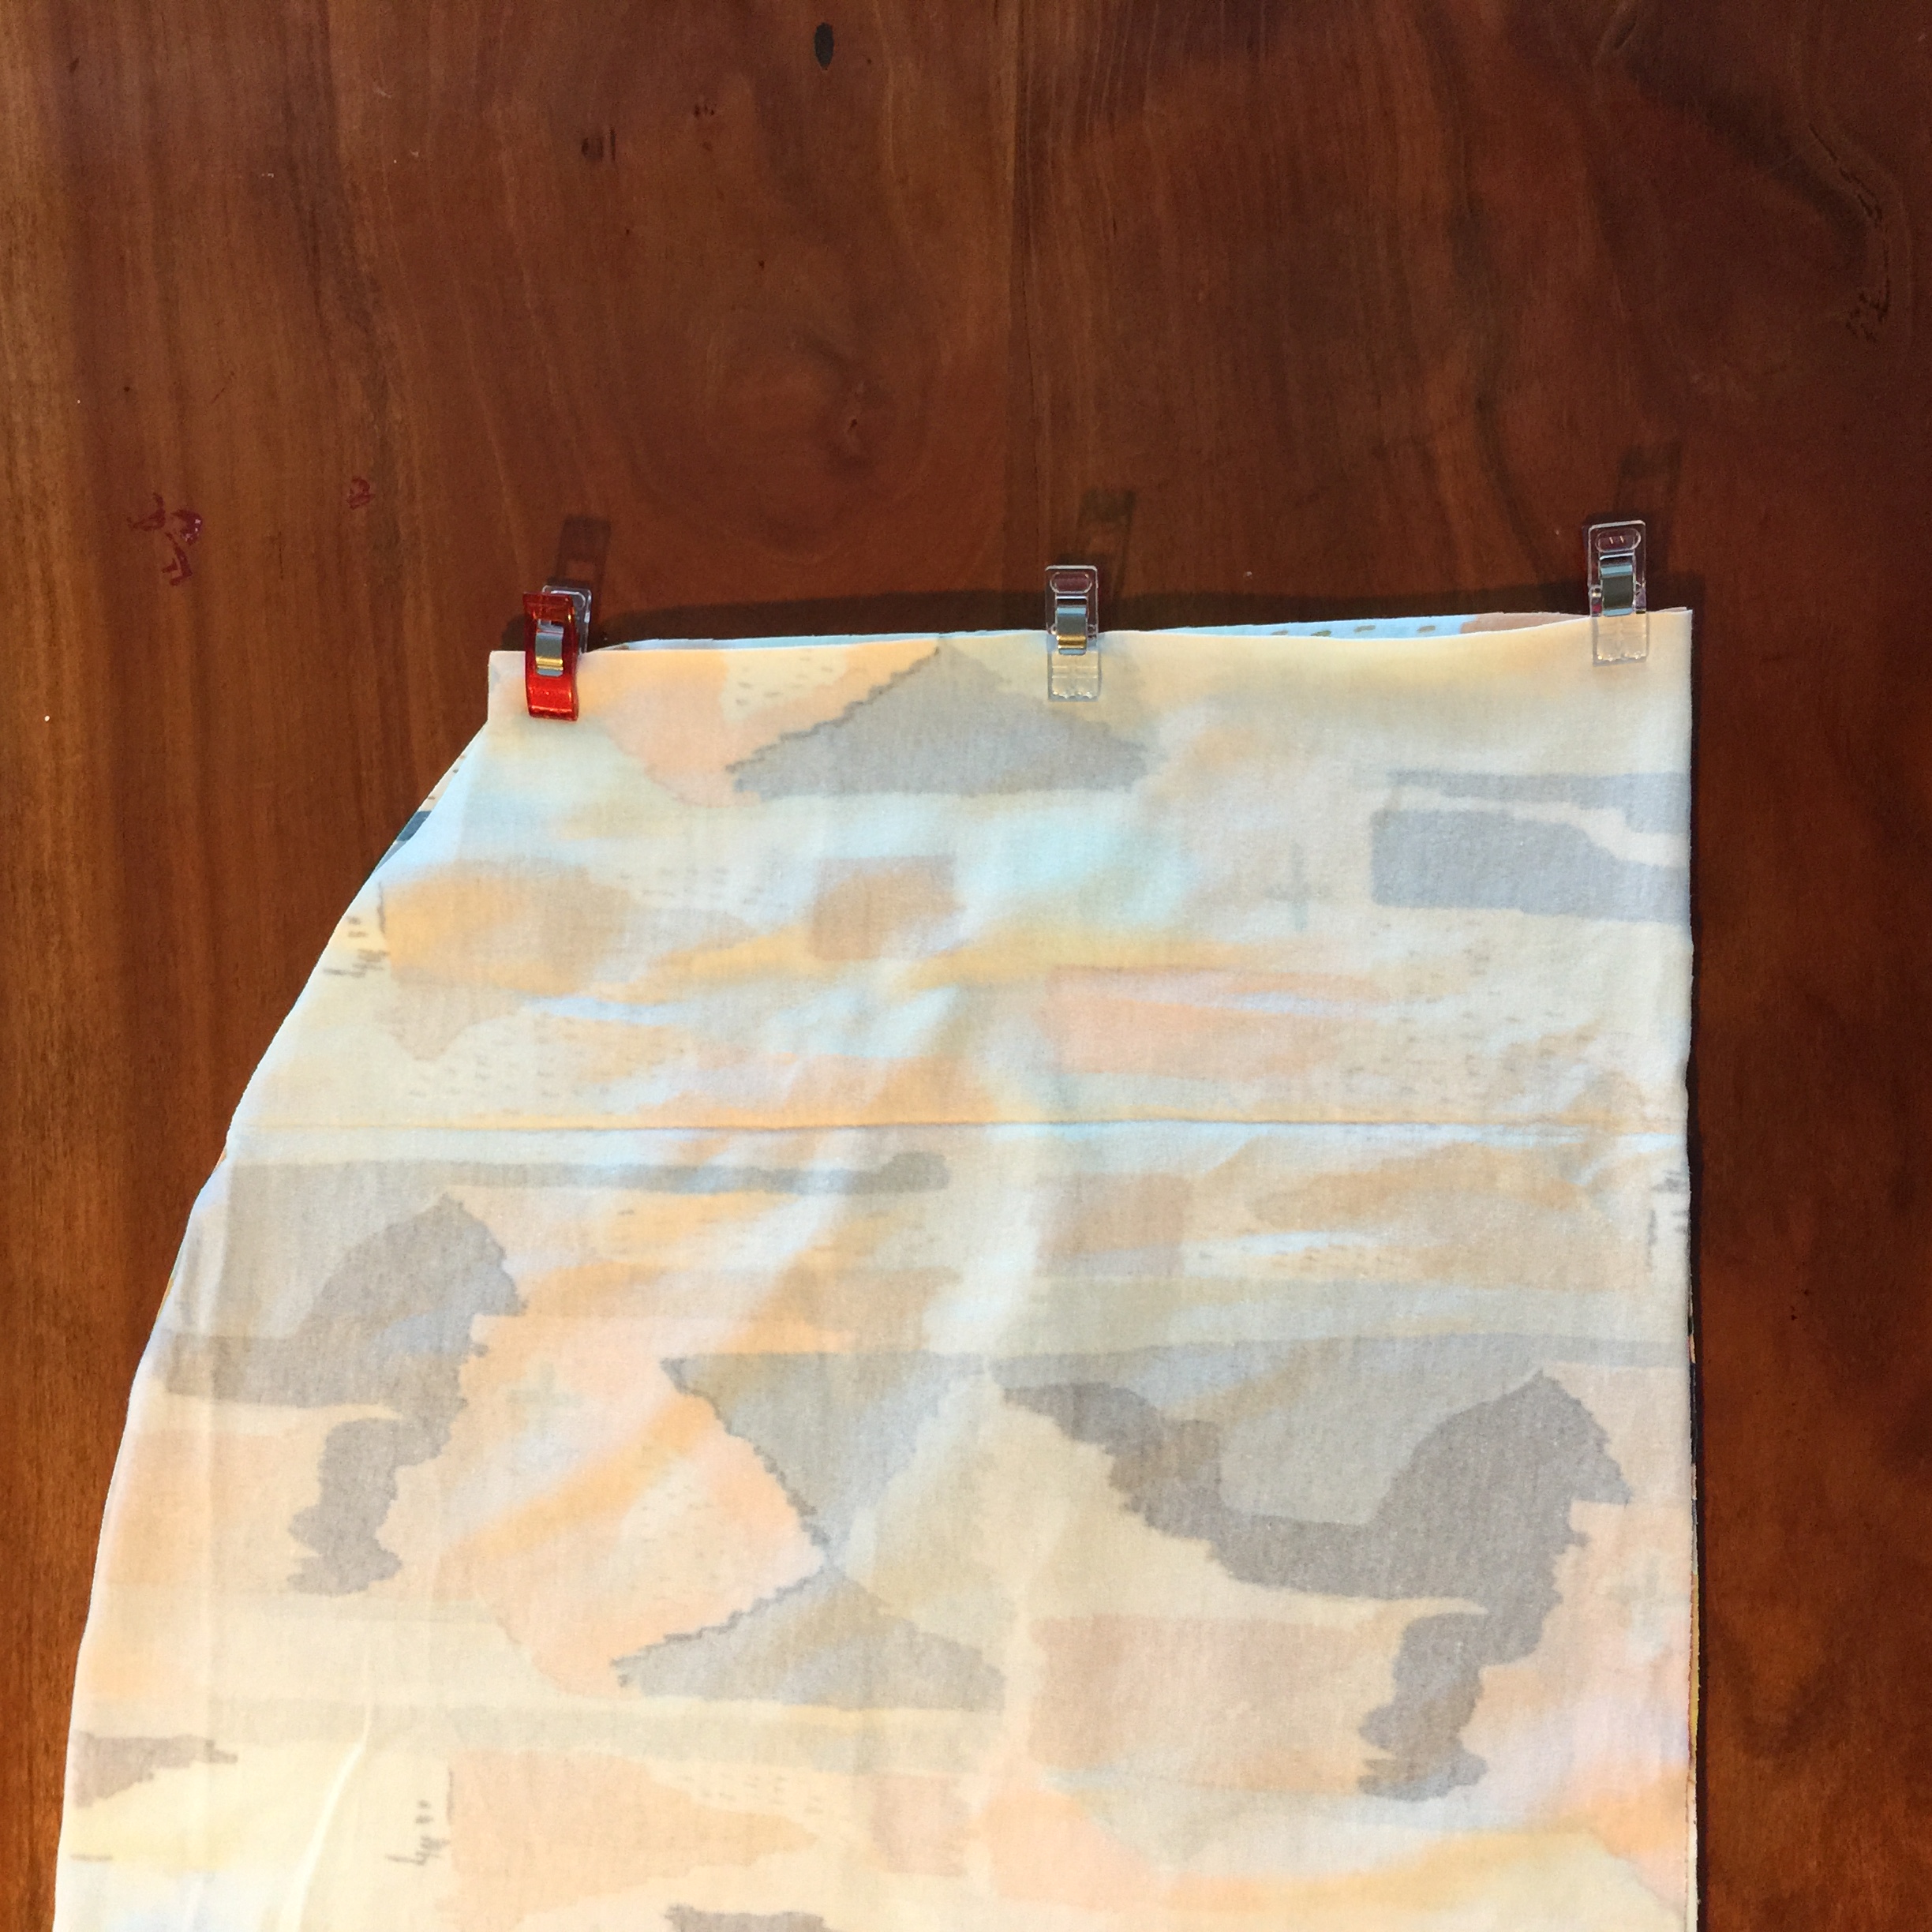
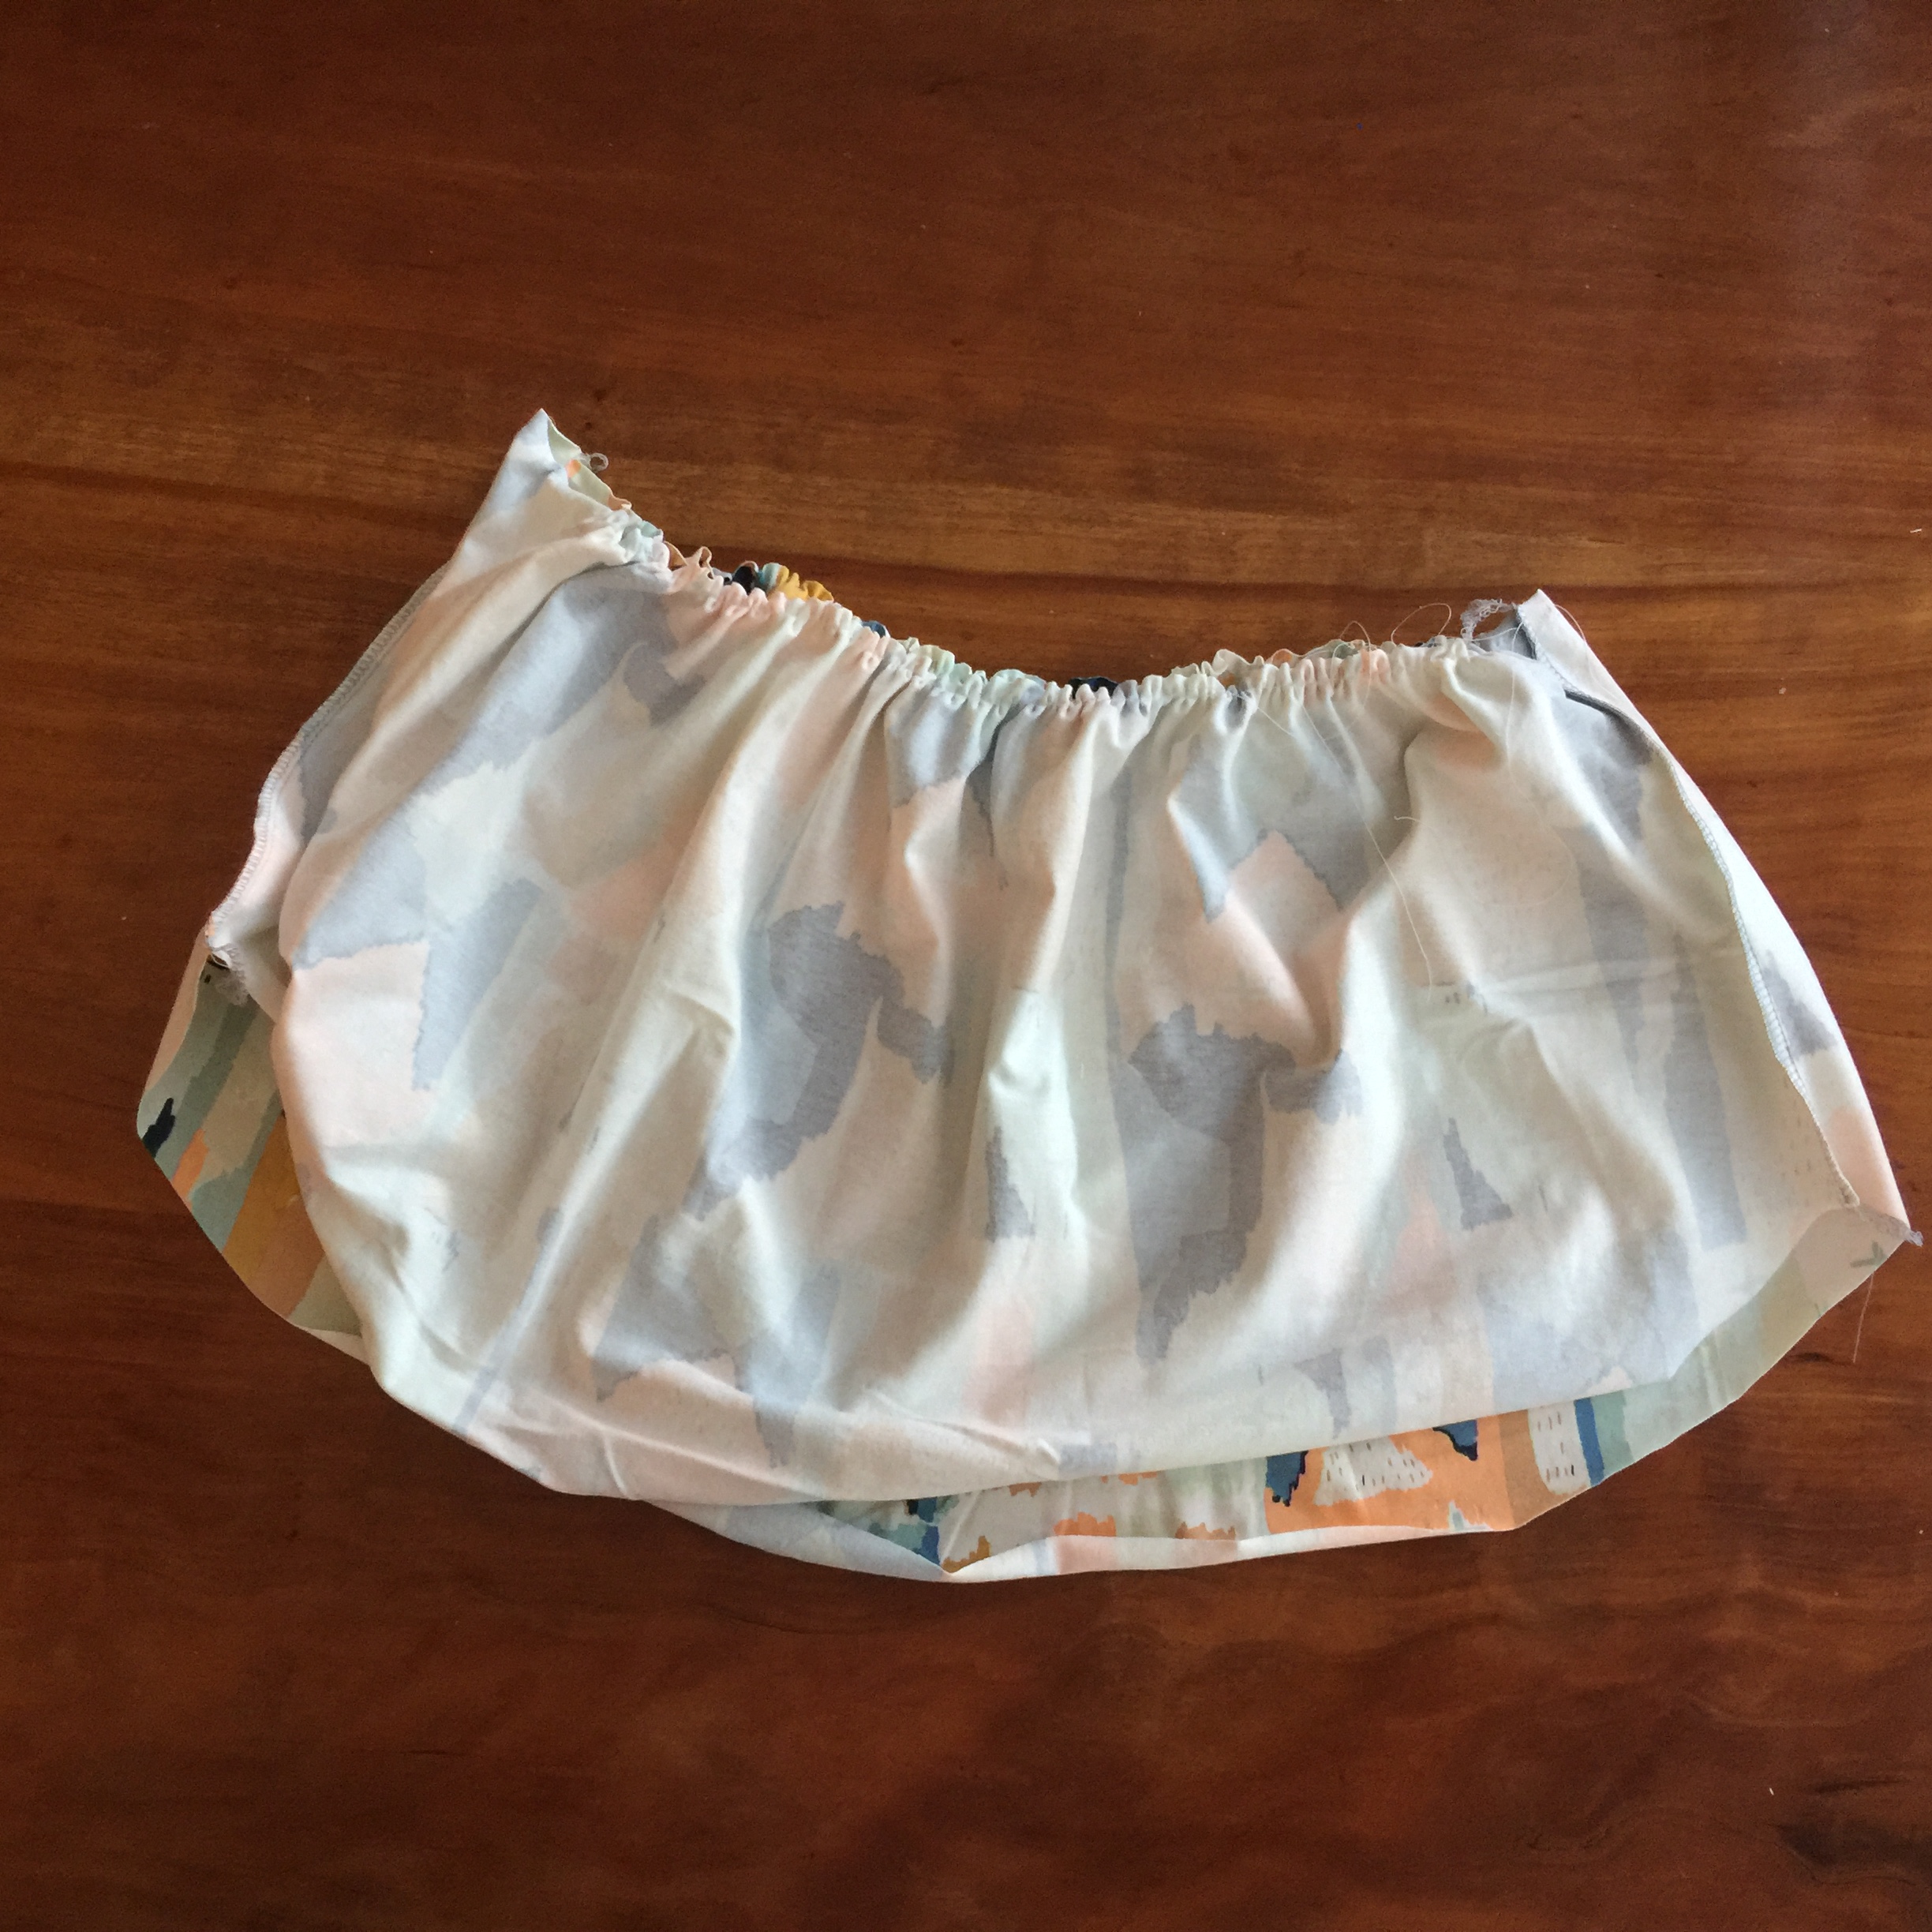

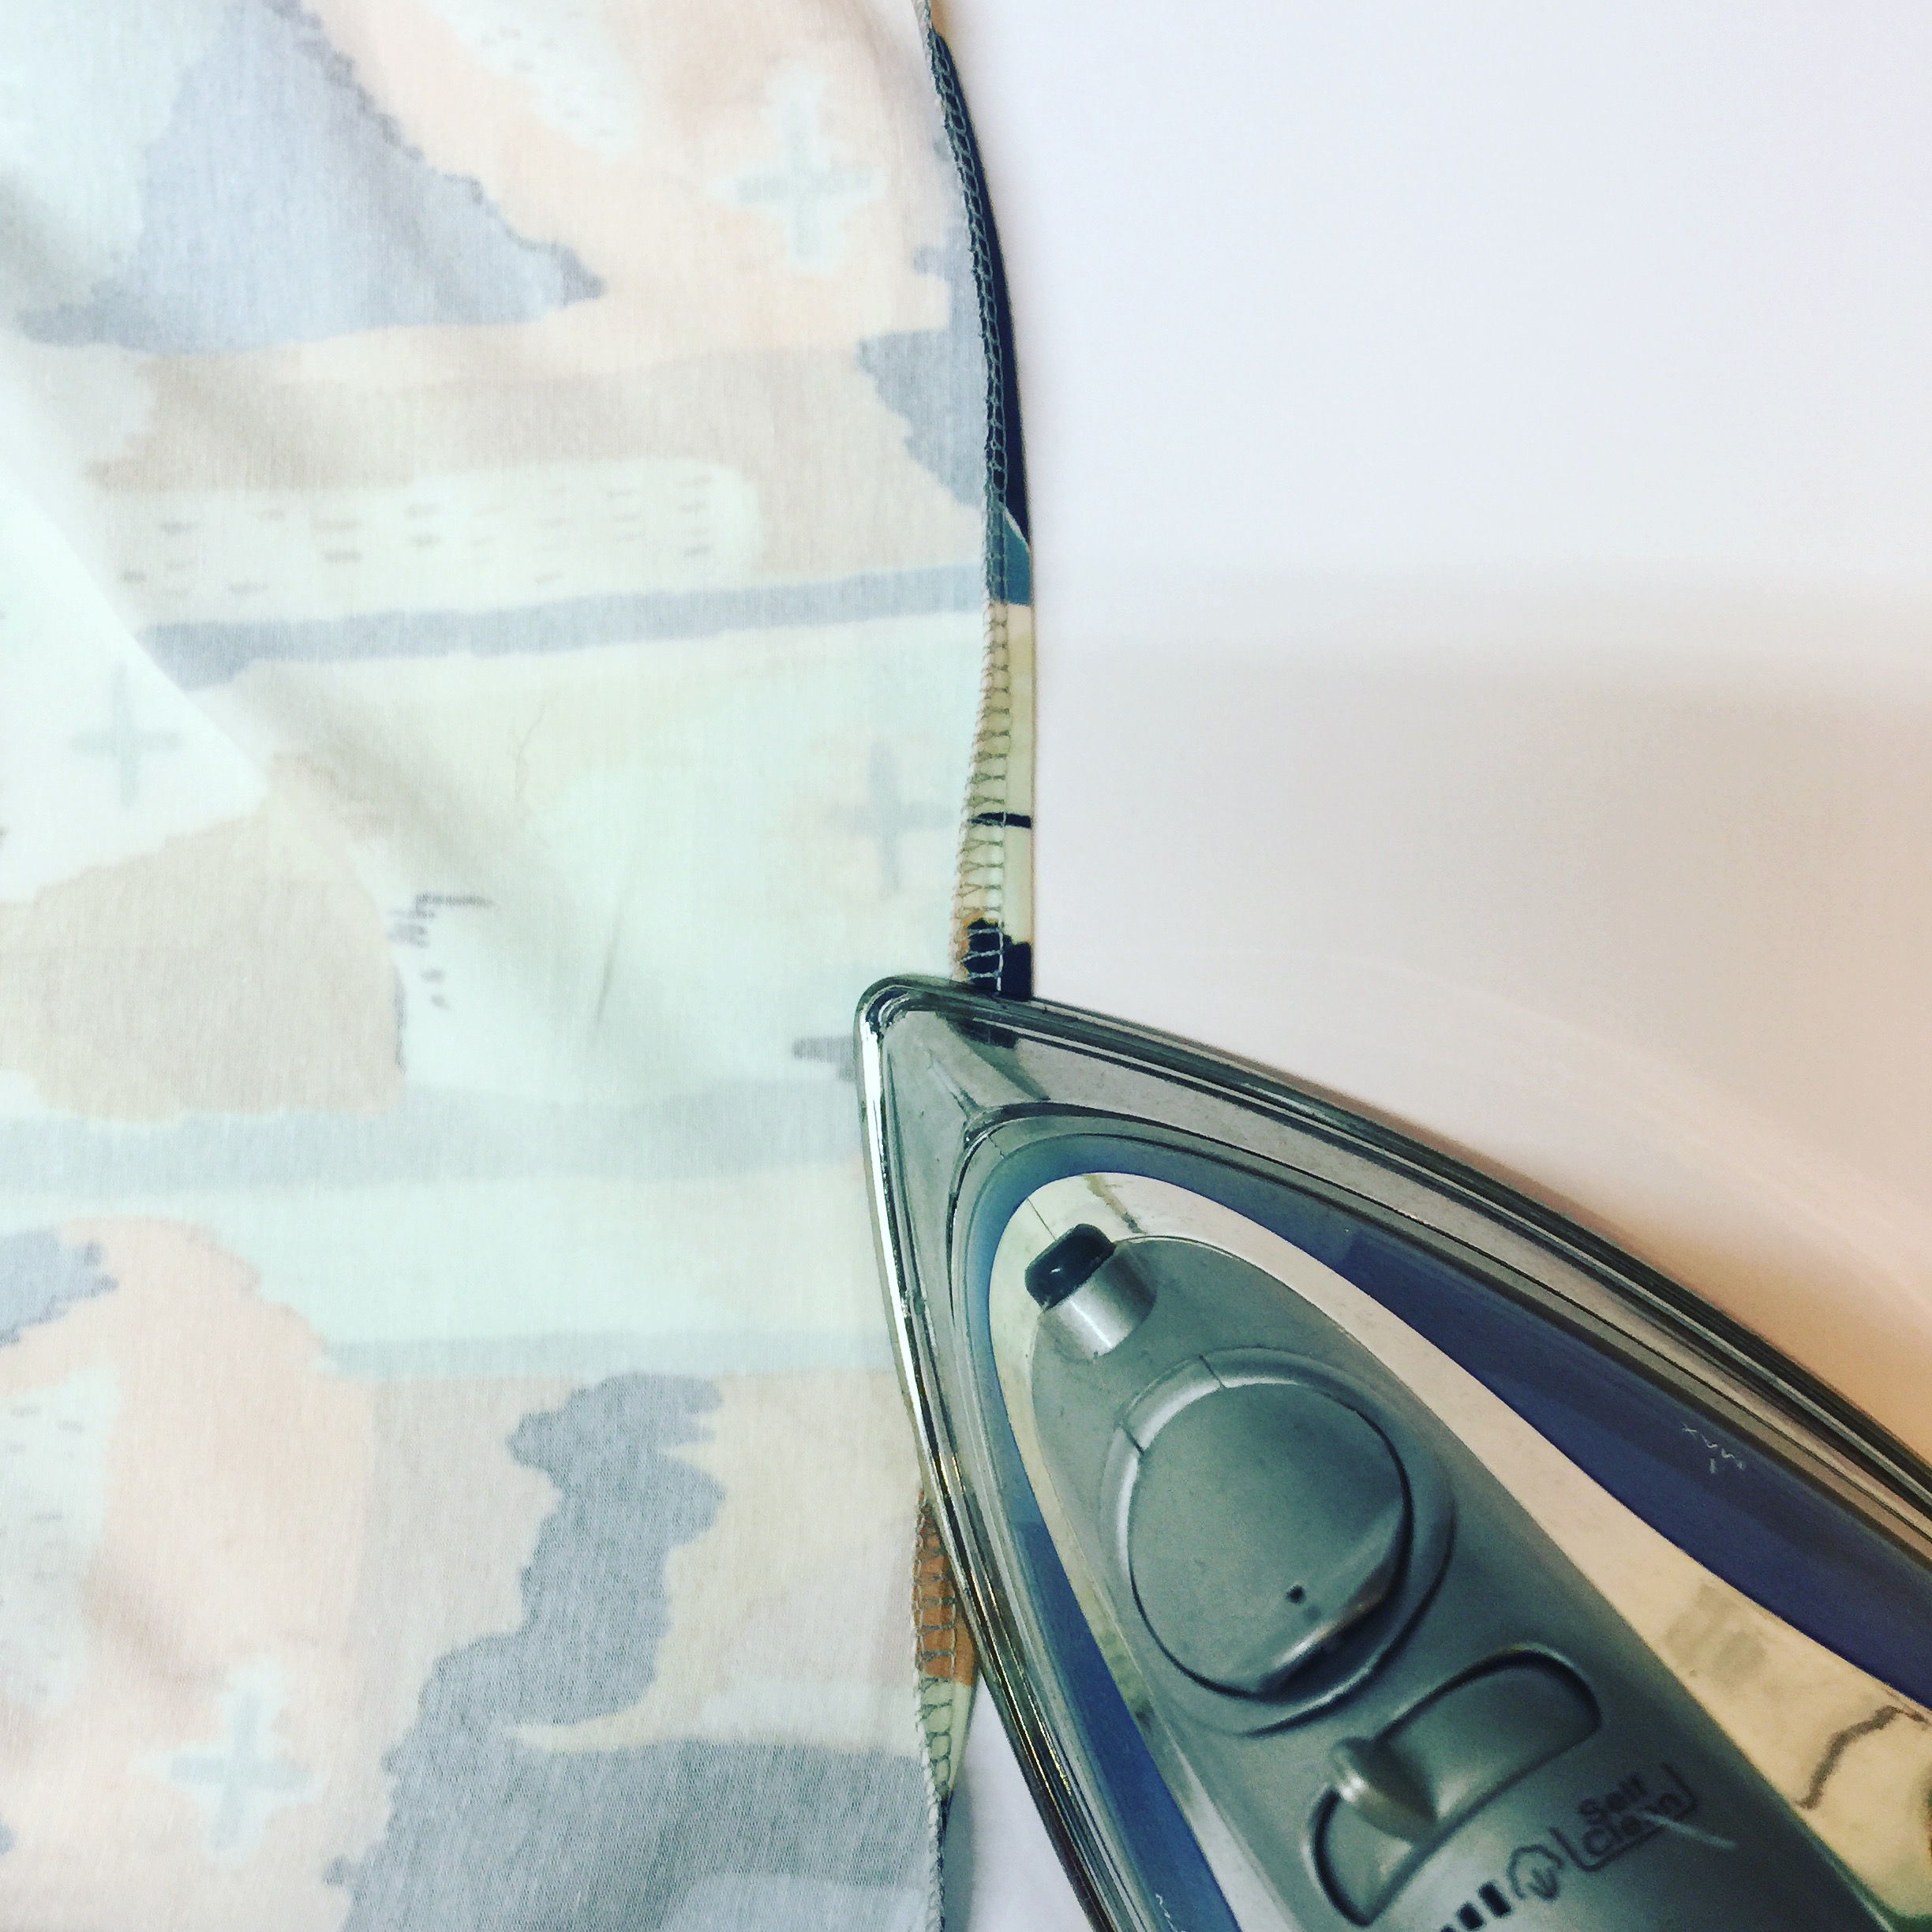
HEM your skirt. I like to serge or sew a zig zag along the raw edge and then press under. Next, sew a double hem line to secure and press again.
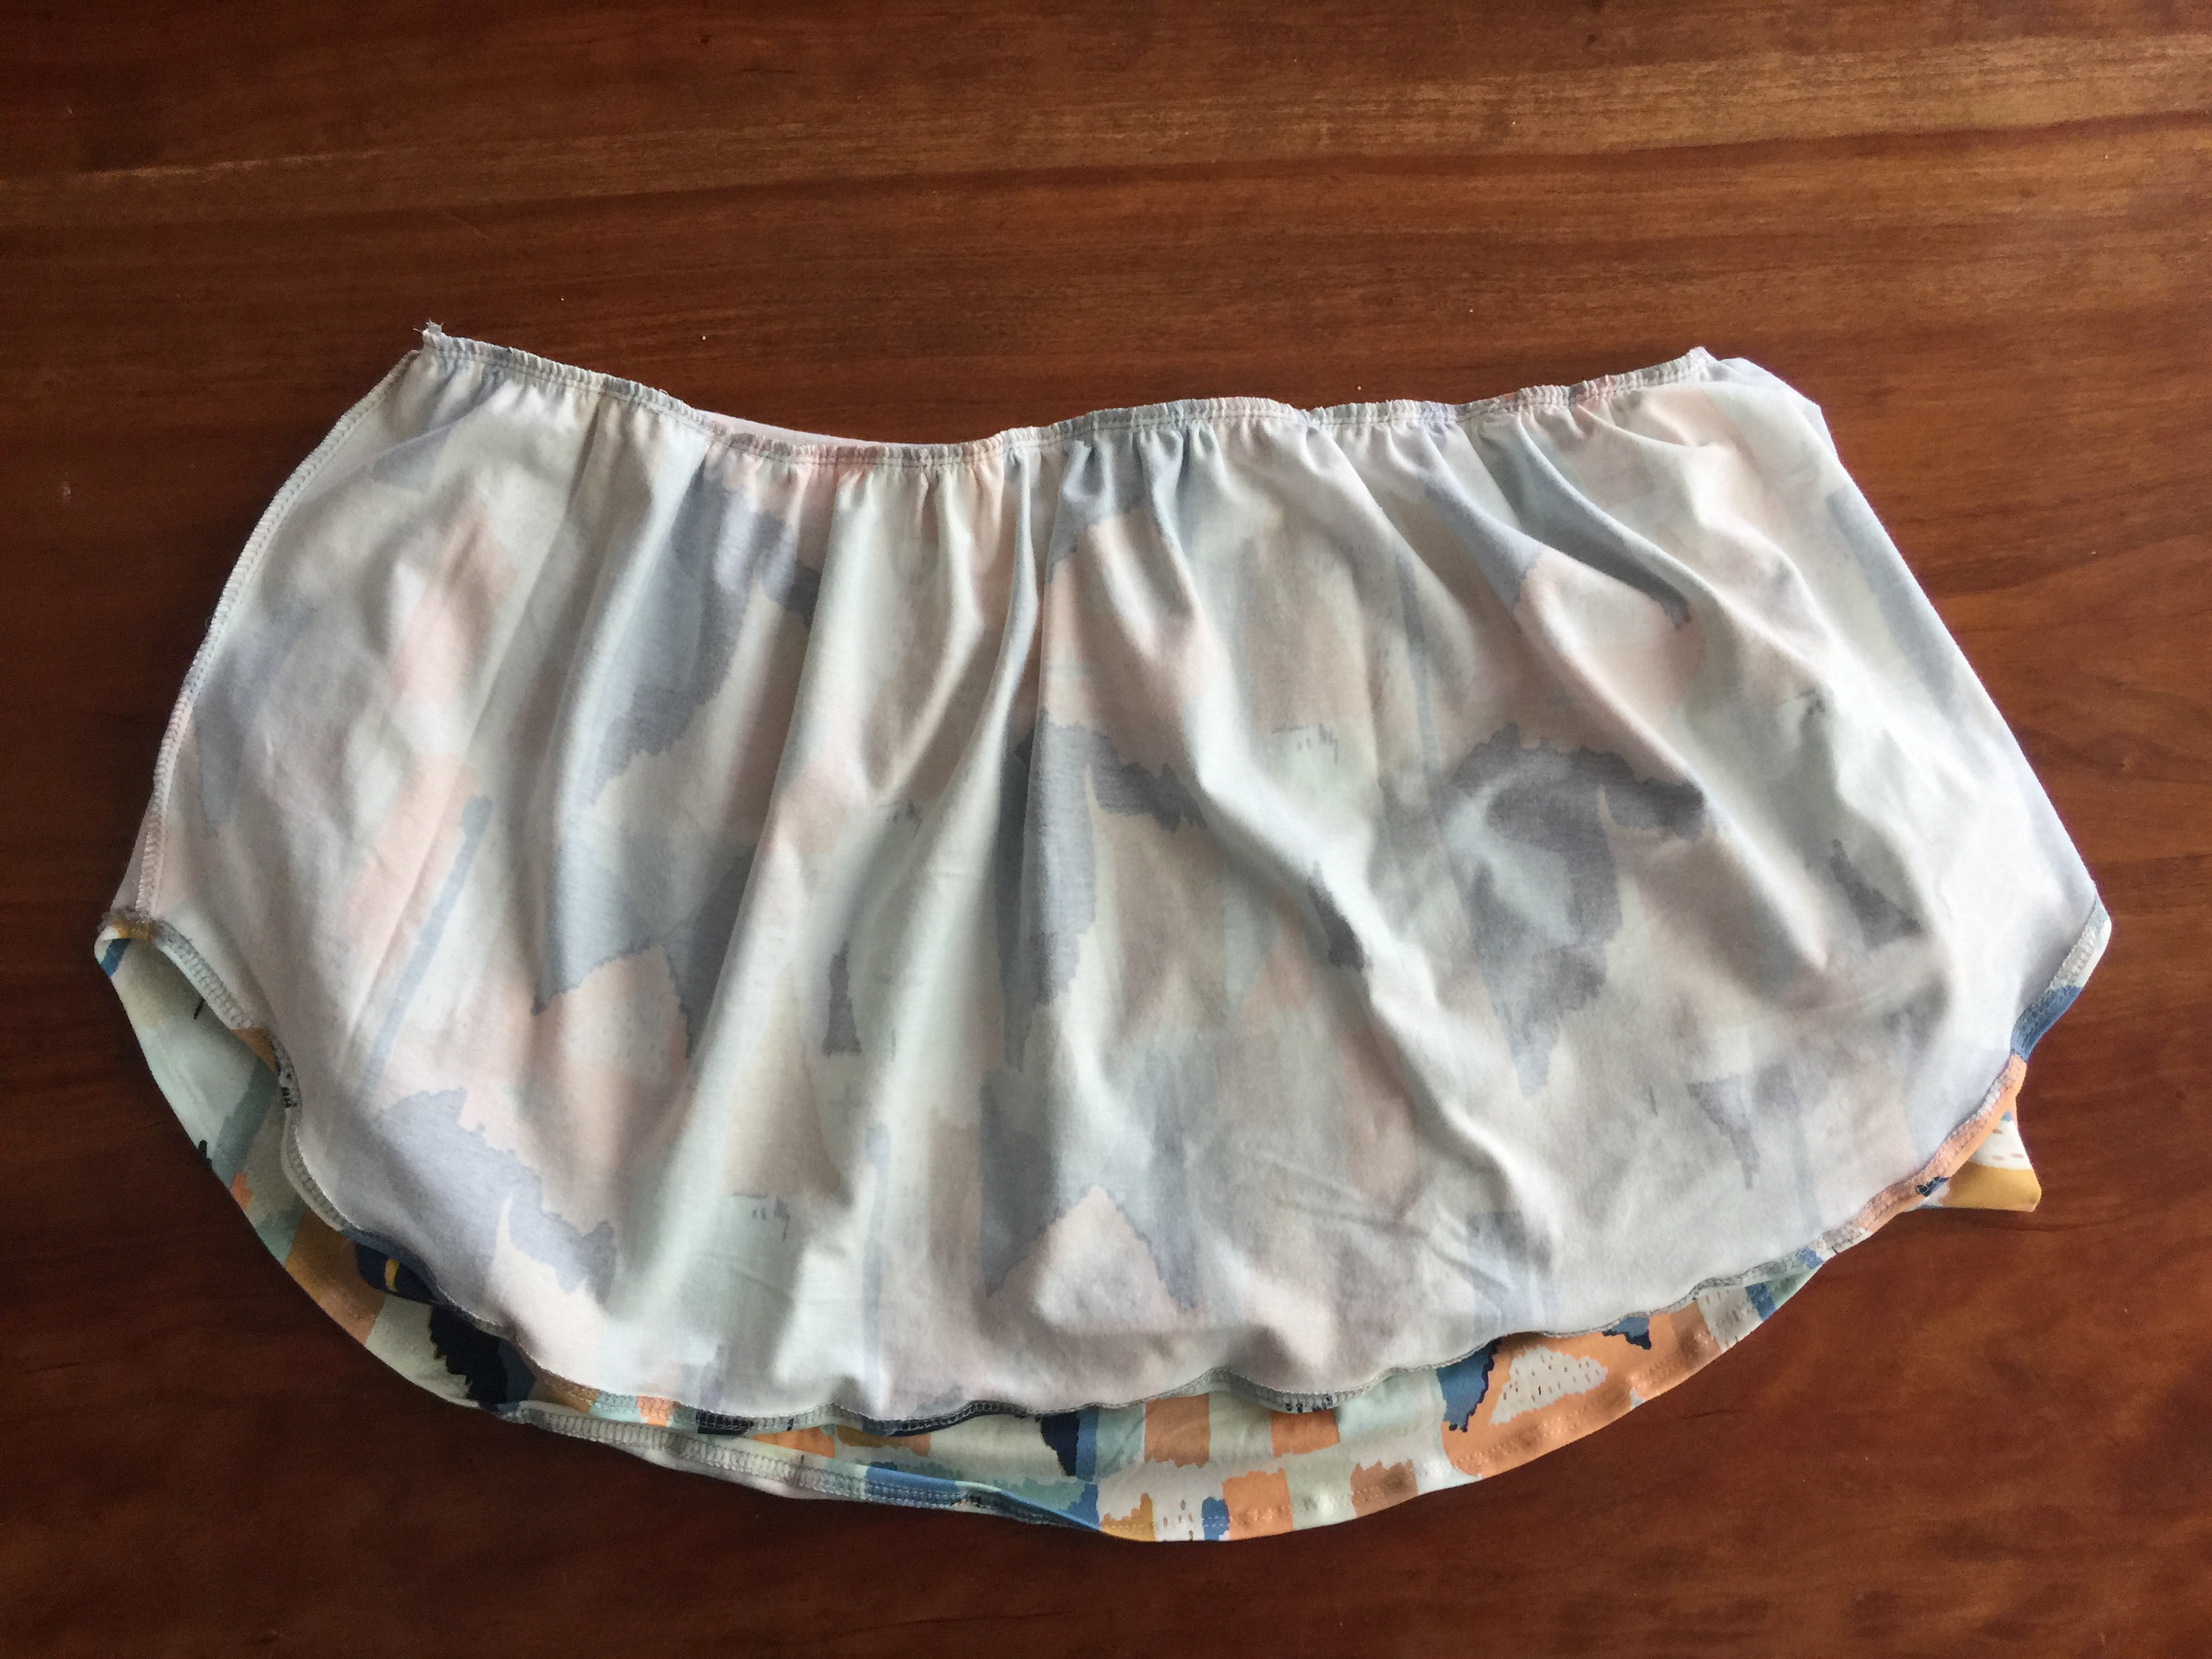
The best way to attach the skirt to the bodice is to turn the skirt inside out. Put the bodice inside the skirt piece. Right sides together and raw edges lined up. Pin at the side seams and adjust the gathering to fit the size of the bodice. Pin in the middle. (or wonderclip)
Stretch your bodice ever so slightly as you sew. If your fabric has poor stretch recovery or is delicate, try using clear elastic serger tape in the seam to reinforce this area. It will stretch a bit as it goes over your bust.
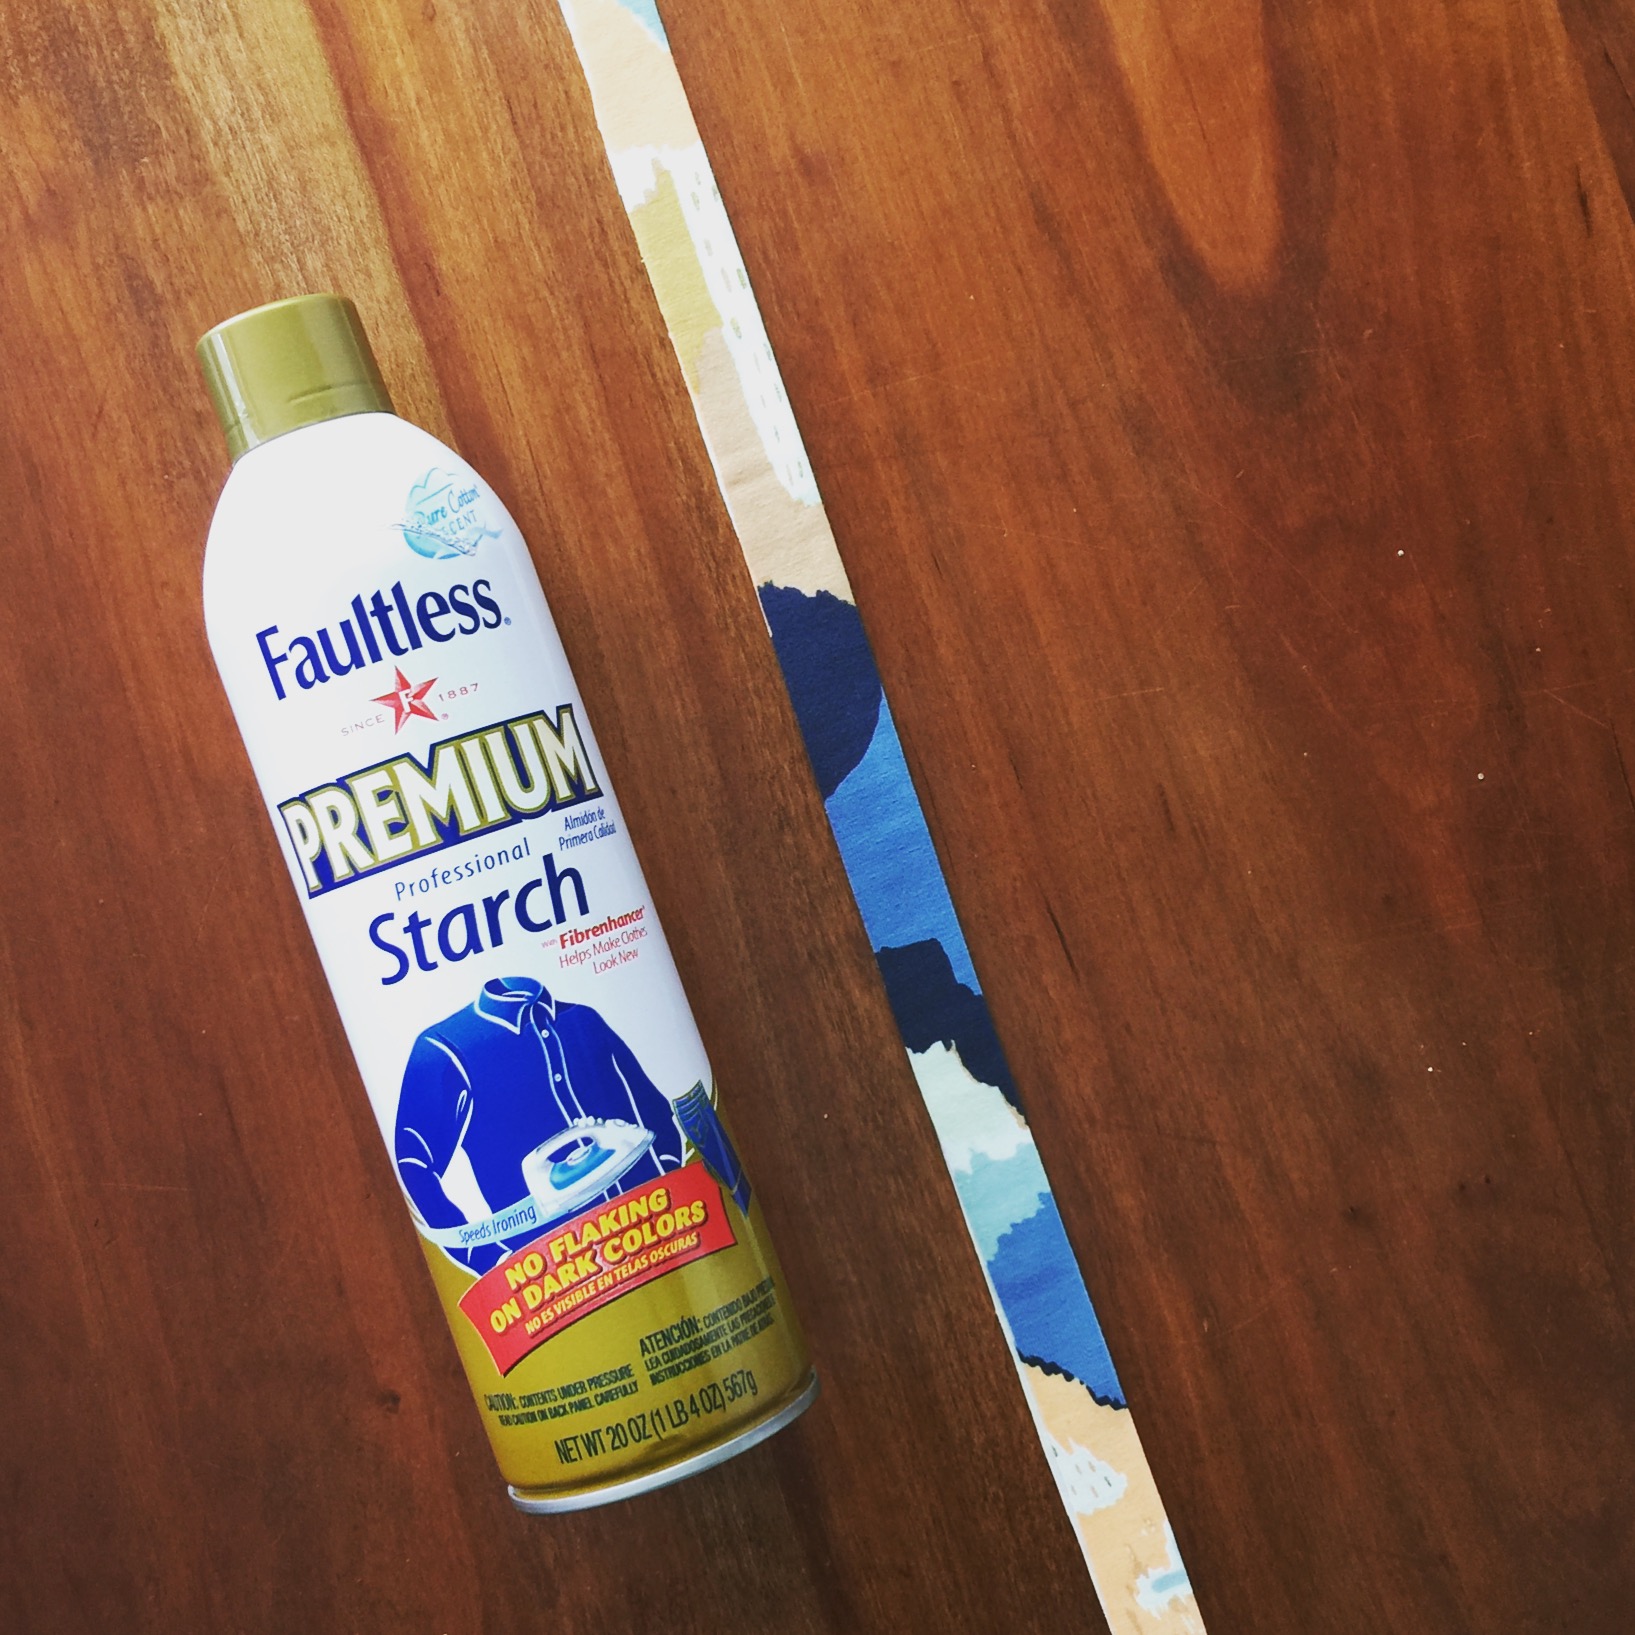
NECKBAND PARTY! Ok, deep breaths….make sure you notched the shirt bodice at the middle points of the neckline. If your fabric is curling, starch it. Fold it lengthwise and starch it again! Press it real good. (If starching neckbands is wrong, I don’t want to be right.)
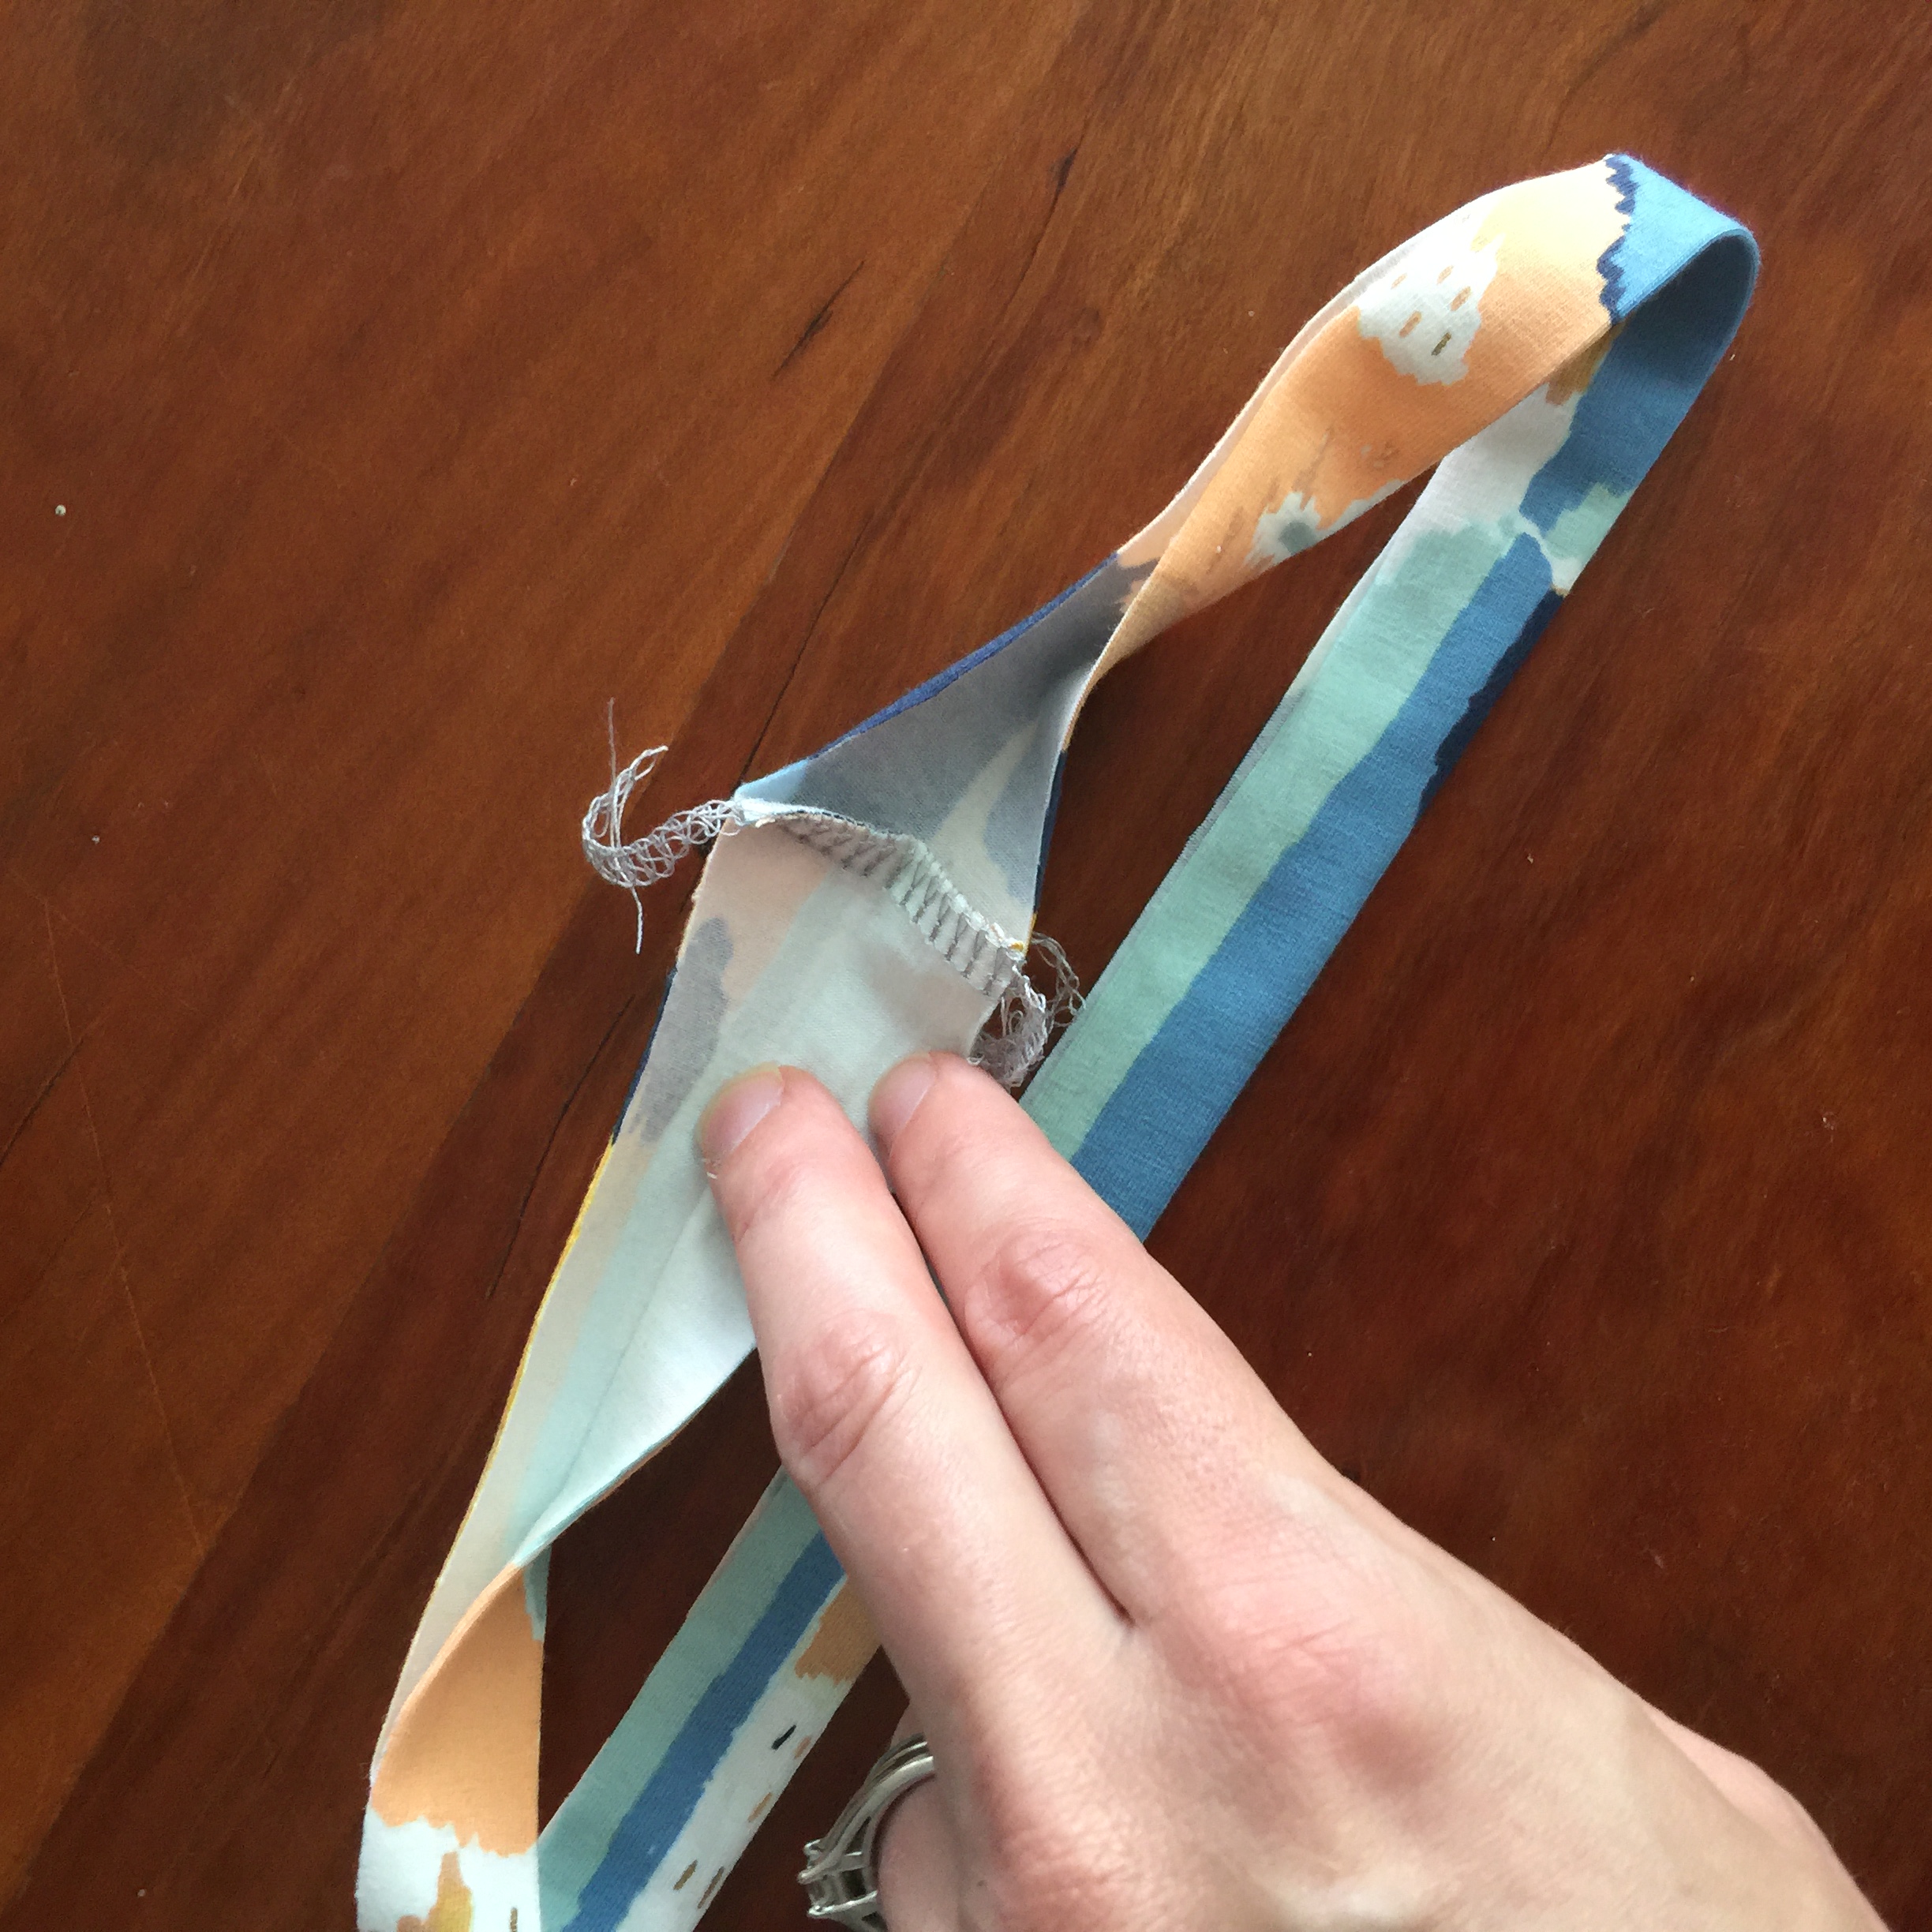
Sew/serge the short ends, right sides together. Fold it in half and put a pin at the half way point. Fold in half the other way and add two more pins. So you should have 4 equal points…The seam, and the three pins marking the quarter sections of the band. Pin the seam at the middle back of the neck. Then pin the front, then the sides about 1 inch away from the shoulder seam on the front bodice. Stretch the band as you sew to fit and ease into the neckline.
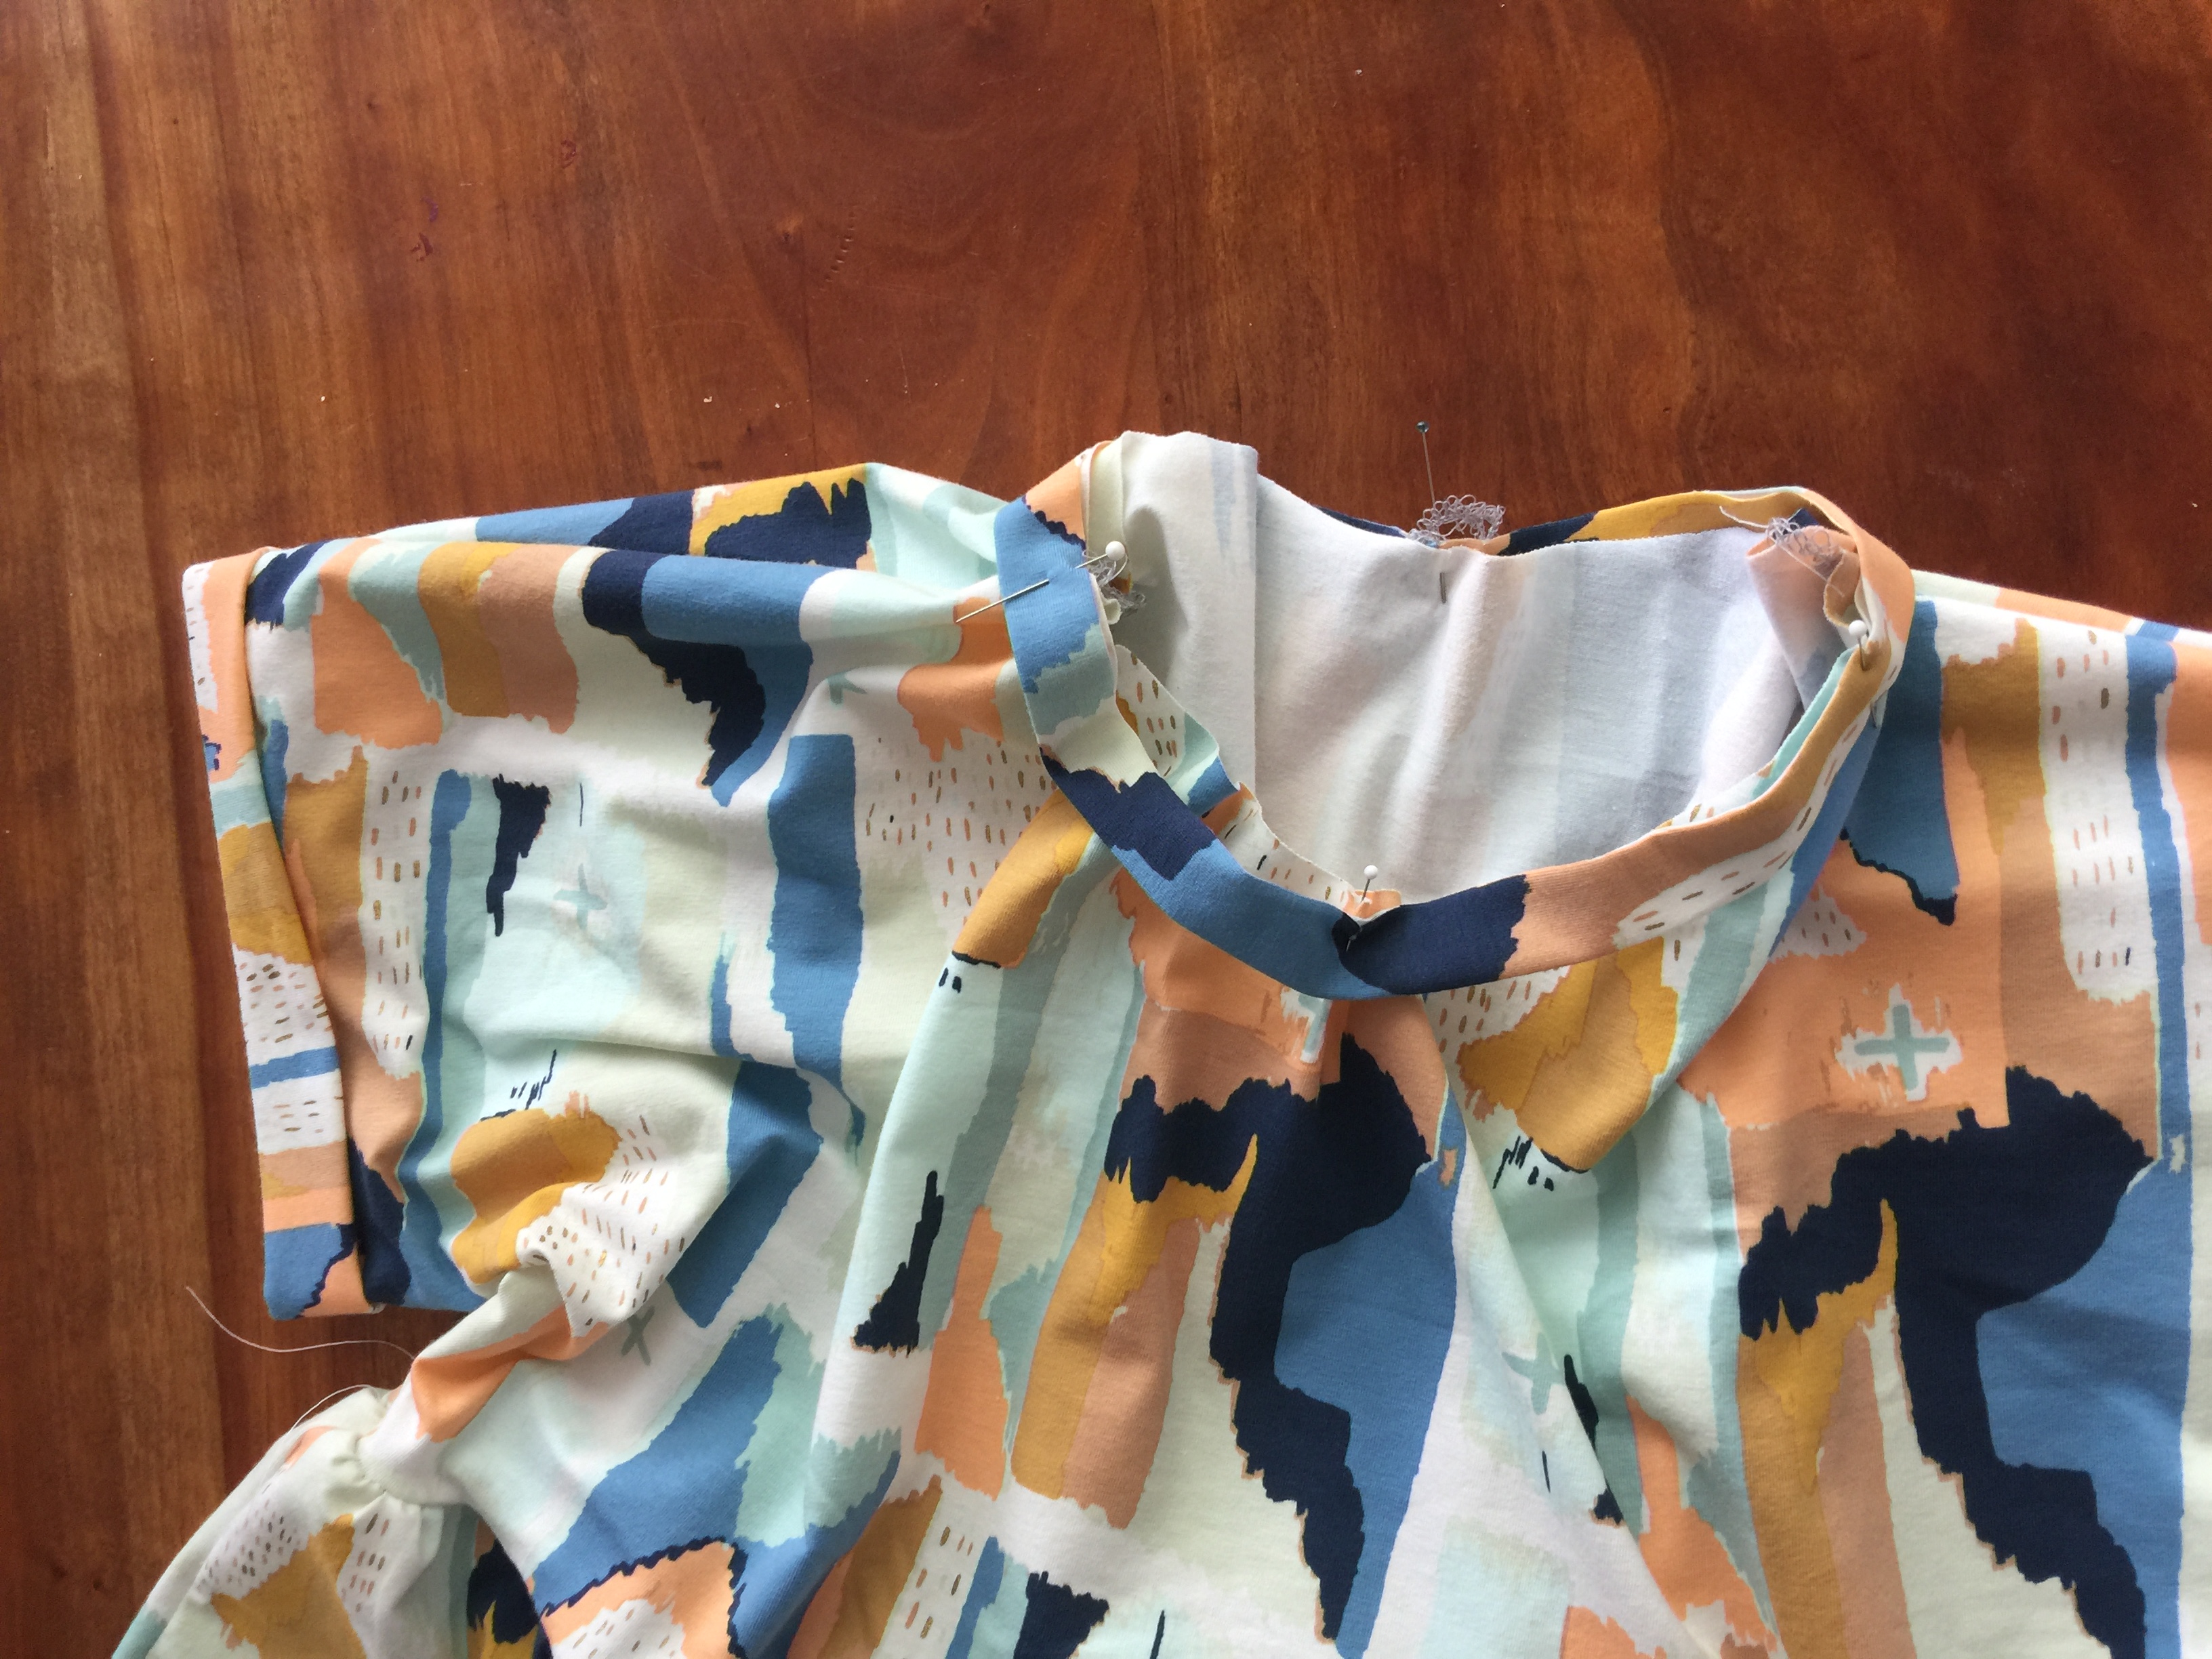
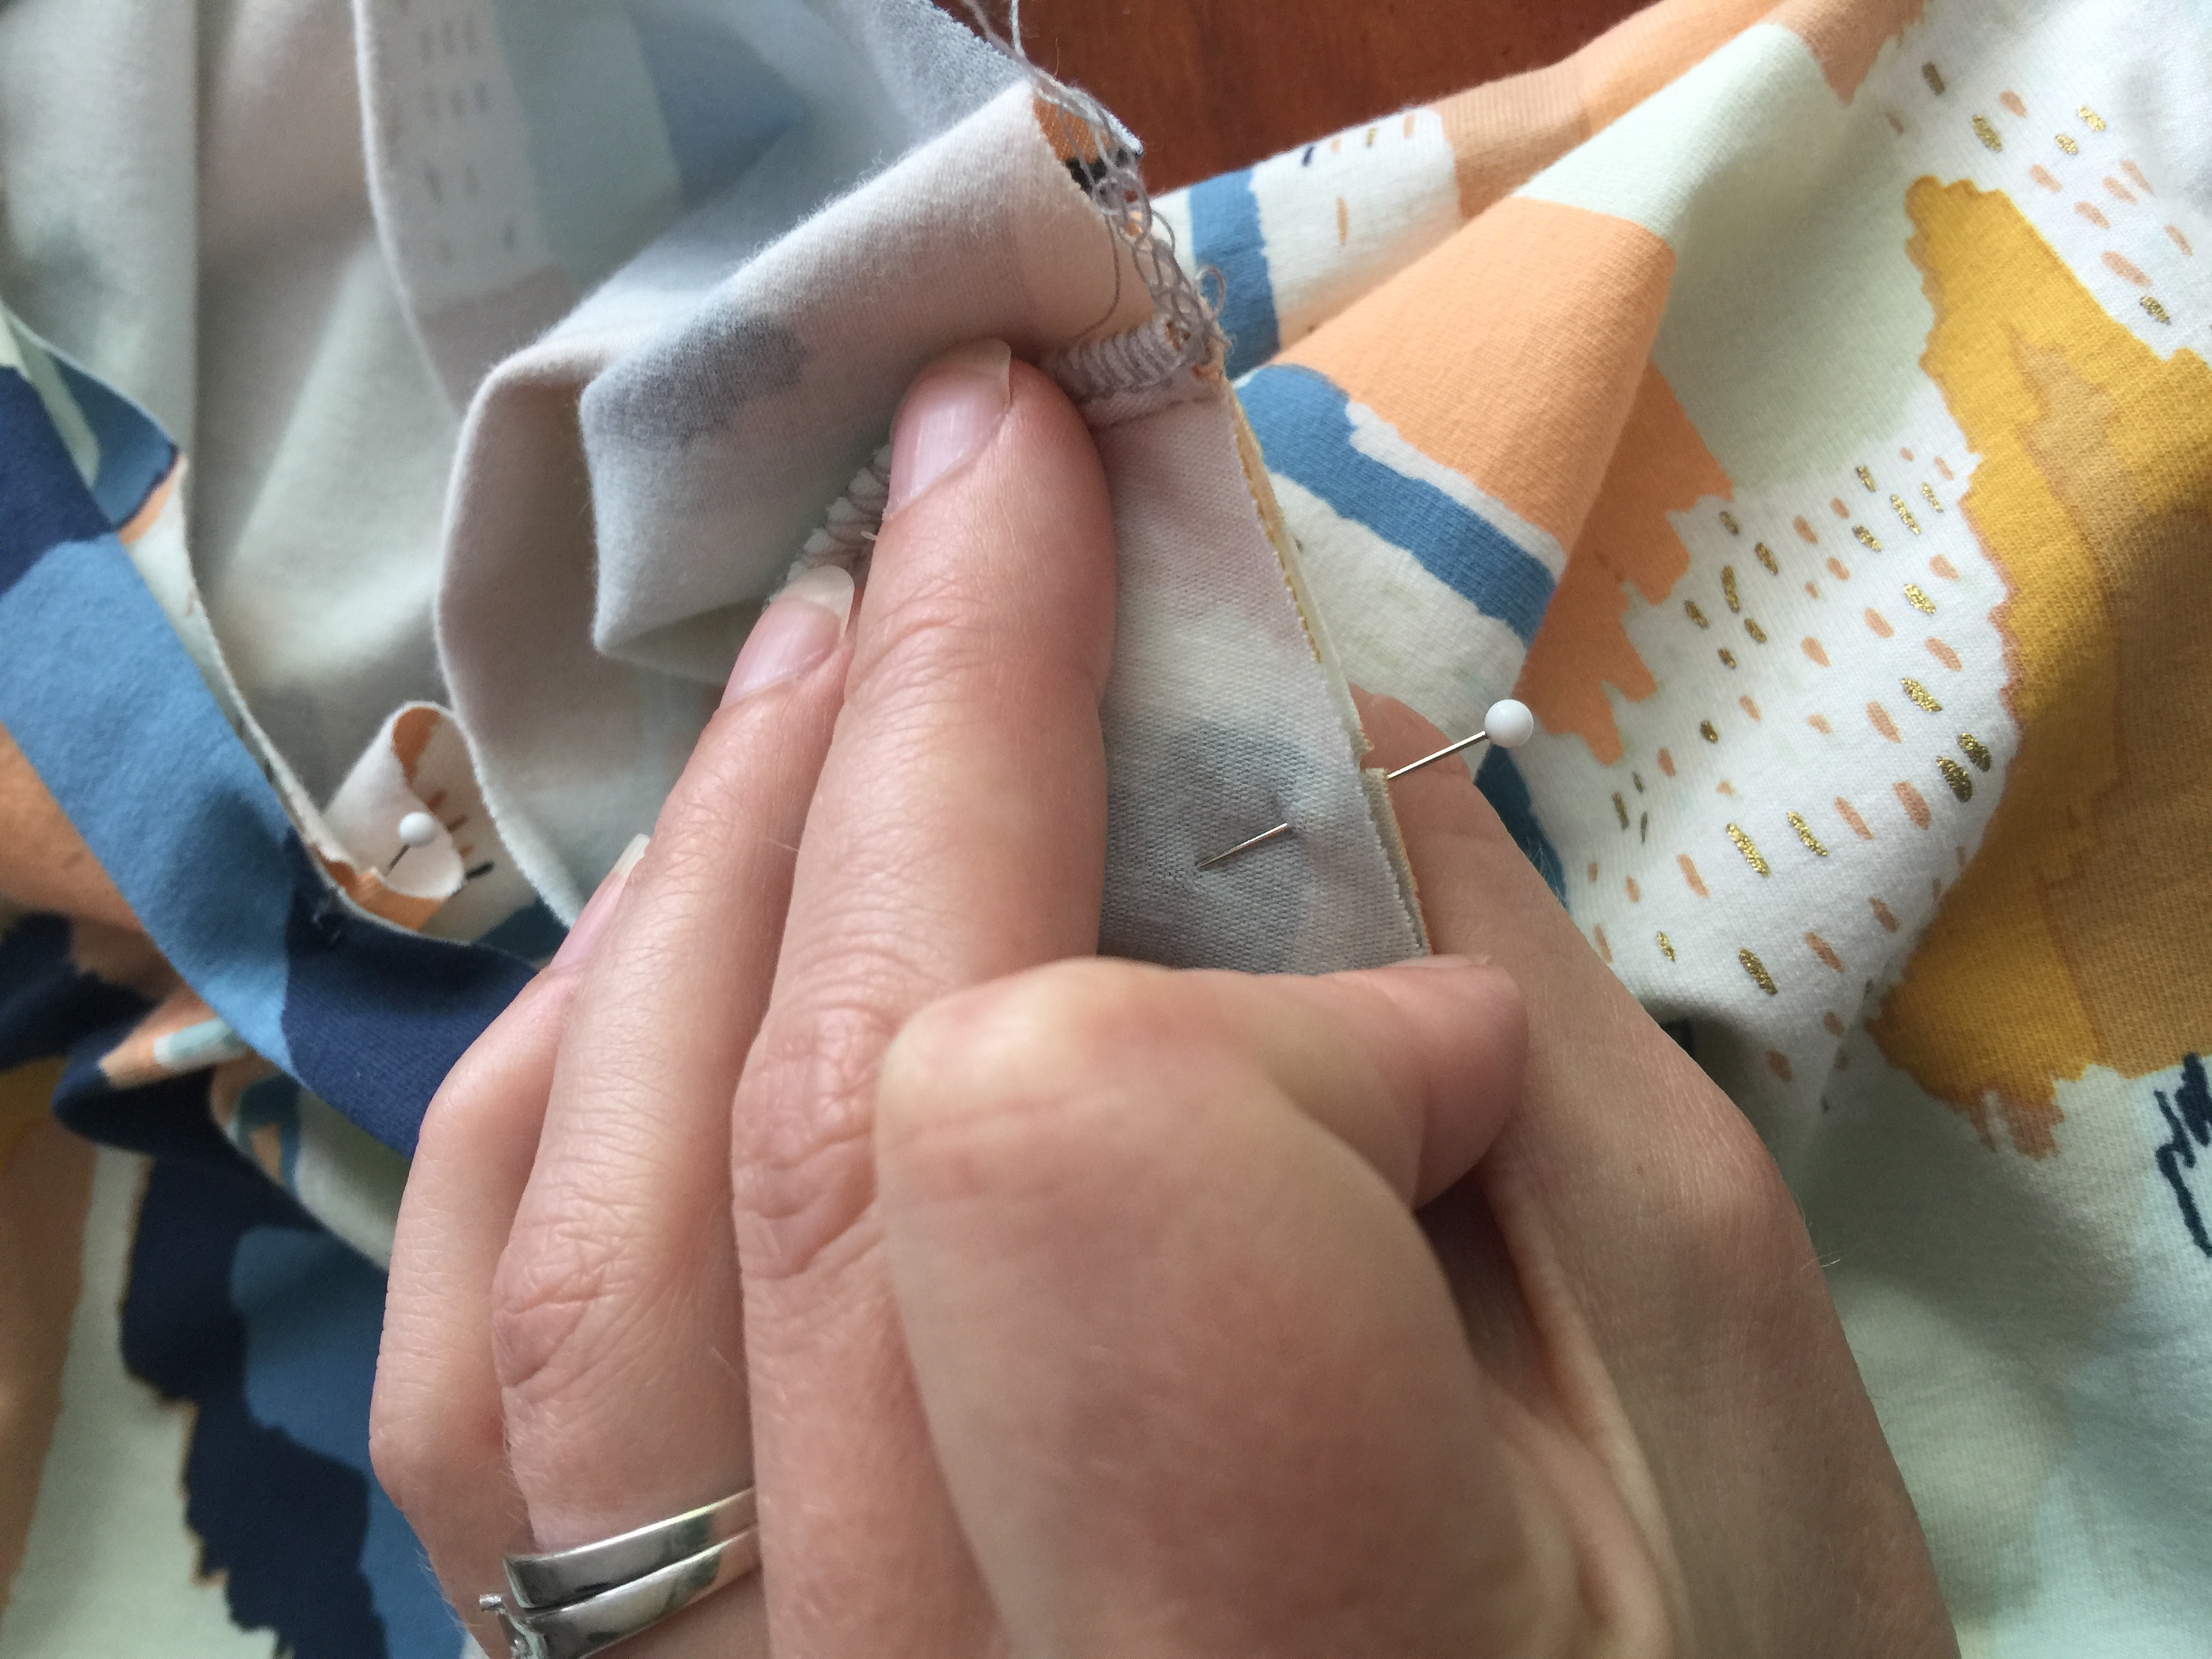
PRESS the neckband seam toward the bodice. For a professsional look and a band that lays flat, top stitch the neckline on the bodice a 1/4″ below the neckband and catch the seam allowance underneath. Press again.
Tada! Your done. If you have further questions or need something clarified just leave me a comment or send me an email and I would be happy to help!
Tag your photos on social with #thehermionepattern #andrealoydesign
Find me and my sewing projects on IG @handfulofarrows
Summer Sewing Classes
Summer is just around the corner and if I had a dollar for everyone in Lynchburg who has asked me if I can teach them to sew….well, I probably would teach them all for free! I’m excited to offer small group sewing lessons for Modern Quilting and private sewing lessons! These classes will be for 4 weeks in June and include all the fabric and batting you need to complete your craft. Plus you will have me, helping you every step of the way! I’ve got four different options for all aspiring seamstresses!
Other summer plans include a few Maker’s Cottage Craft Nights for gals. Plus, a fun workshop for little girls to sew and craft for their American Girl dolls. My daughters are pretty excited for all of these classes and seem to think I planned them just for them, but I certainly hope you will join us too!
If there is enough interest I would be happy to teach an adult class on how to sew clothing for yourself. The possibilities are endless!
Here are the sewing classes available, there is a limited number of spots, so be sure to sign up once you check your summer schedule!
Modern Quilting 101 – Mother / Daughter Class
June 5, 12, 19, 26 -2019 $40 session/$160 total
2:00 – 4:00 pm
1301 Main Street #102
Lynchburg, VA
SIGN UP BY MAY 24
Recommended for girls age 8+ and their mothers
Modern Quilting 101 is the perfect class for a mother and daughter who both want to learn how to do basic quilting! The class will be broken down into four 2 hour sessions. We will gather once a week for four weeks. There will be some homework if you don’t complete each step during class.
Week 1: Threading your machine, making a bobbin, cutting out your fabric (the right way with the right tools).
Week 2: Sewing straight seams, seam allowances, piecing your quilt top.
Week 3: The quilt sandwich; assembling your quilt top, basting it, machine quilting and hand quilting techniques will be taught.
Week 4: Binding, you will learn how to make your own and attach it!
GOOD NEWS!
This class will include all the fabric and batting you will need to create a table runner or American Girl sized doll quilt.
WHAT YOU NEED:
-You will need a working machine with the sewing machine manual.
(If you are unsure if your machine is working right, I will meet with you beforehand to determine your machine’s condition for a small charge.)
-thread (gutermann thread is recommended)
-Sharp sewing scissors
-bobbins to fit your machine
-hand sewing needle with large eye/thimble
————–
Modern Quilting 101 Ladies Night
June 5, 12, 19, 26 -2019 $25 session/$100 total
7:00 – 9:00 pm
1301 Main Street #102
Lynchburg, VA
SIGN UP BY MAY 24
Recomended for women 18+
Modern Quilting 101 is the perfect class for women who want to learn how to do basic quilting! The class will be broken down into four 2 hour sessions. We will gather once a week for four weeks. There will be some homework if you don’t complete each step during class especially during Week 3. I will have wine and charcuterie! It will be a blast! Friends are encouraged to sign up together!
Week 1: Threading your machine, making a bobbin, cutting out your fabric.
Week 2: Sewing straight seams, seam allowances, piecing your quilt top.
Week 3: The quilt sandwich; assembling your quilt top, basting it, machine quilting and hand quilting techniques
Week 4: Binding, you will learn how to make your own and attach it!
GOOD NEWS!
This class will include all the fabric and batting you will need to create a table runner or infant sized quilt.
WHAT YOU NEED:
-You will need a working machine and the sewing machine manual.
(If you are unsure if your machine is working right, I will meet with you beforehand to determine your machine’s condition for a small charge.)
-thread (gutermann thread is recommended)
-Sharp sewing scissors
-bobbins to fit your machine
-hand sewing needle with large eye/thimble
Private Sewing Lessons
Sewing Lessons are available for all ages and abilities. Tell me a little about yourself or your child, what you want to learn to sew, and what time works best for you. Lessons are $25/hour.
American Girl Sewing & Craft Class
June 17 or 19 $50
9:00 am – 12:00 pm
1301 Main Street #102
Lynchburg, VA
SIGN UP BY MAY 24
Recomended for ages 5-10
Your child will learn basic sewing skills to create a doll skirt for their 18″ doll. Next they will create a pillow and a rug to decorate dolly’s home, and finally they will make a doll sized floral wreath. All materials needed and snacks will be provided.
That Buffalo Check Quilt Trend
Are you pro buffalo check? All the buffalo check, all the time. Are you in that camp!? I’ve loved it for a long time, and I’m thrilled it is so widely available in home decor fabrics. It’s a classic look. Buffalo check quilts popped up on Pinterest last summer and I thought it was both an amazing and yet totally rediculous idea all at the same time.
But if by rediculous, I define the process as cutting out little pieces of fabric from larger pieces and sewing them back together again, then all quilts are rediculous. I guess I’ve just proved myself wrong, Becuase for me and great deal of others, quilting is life. It’s about organizing the creative process in a supremely satisfying way. This process involves a deeper level of emotion and pleasure than watching tv or organizing a sock drawer or even painting a masterpiece. Quilting is the marriage of art, love, and functionality for me. It’s perfect for a type A creative who can’t stand the thought of making something for no other reason than to look at it.
Now, back to the Buffalo check quilt trend. I began to get the itch for this quilt not more than a few seconds after the Pinterest image flashed before my eyes. I filed it under “must do” in the sewing section of my brain.
Once I found out I was going to be an auntie again I decided that my sister in law (who already had a buffalo check chair in her nursery ) was going to be the fitting recipient of my buffalo check quilt. Little boy was going to need to know my love in quilt form.
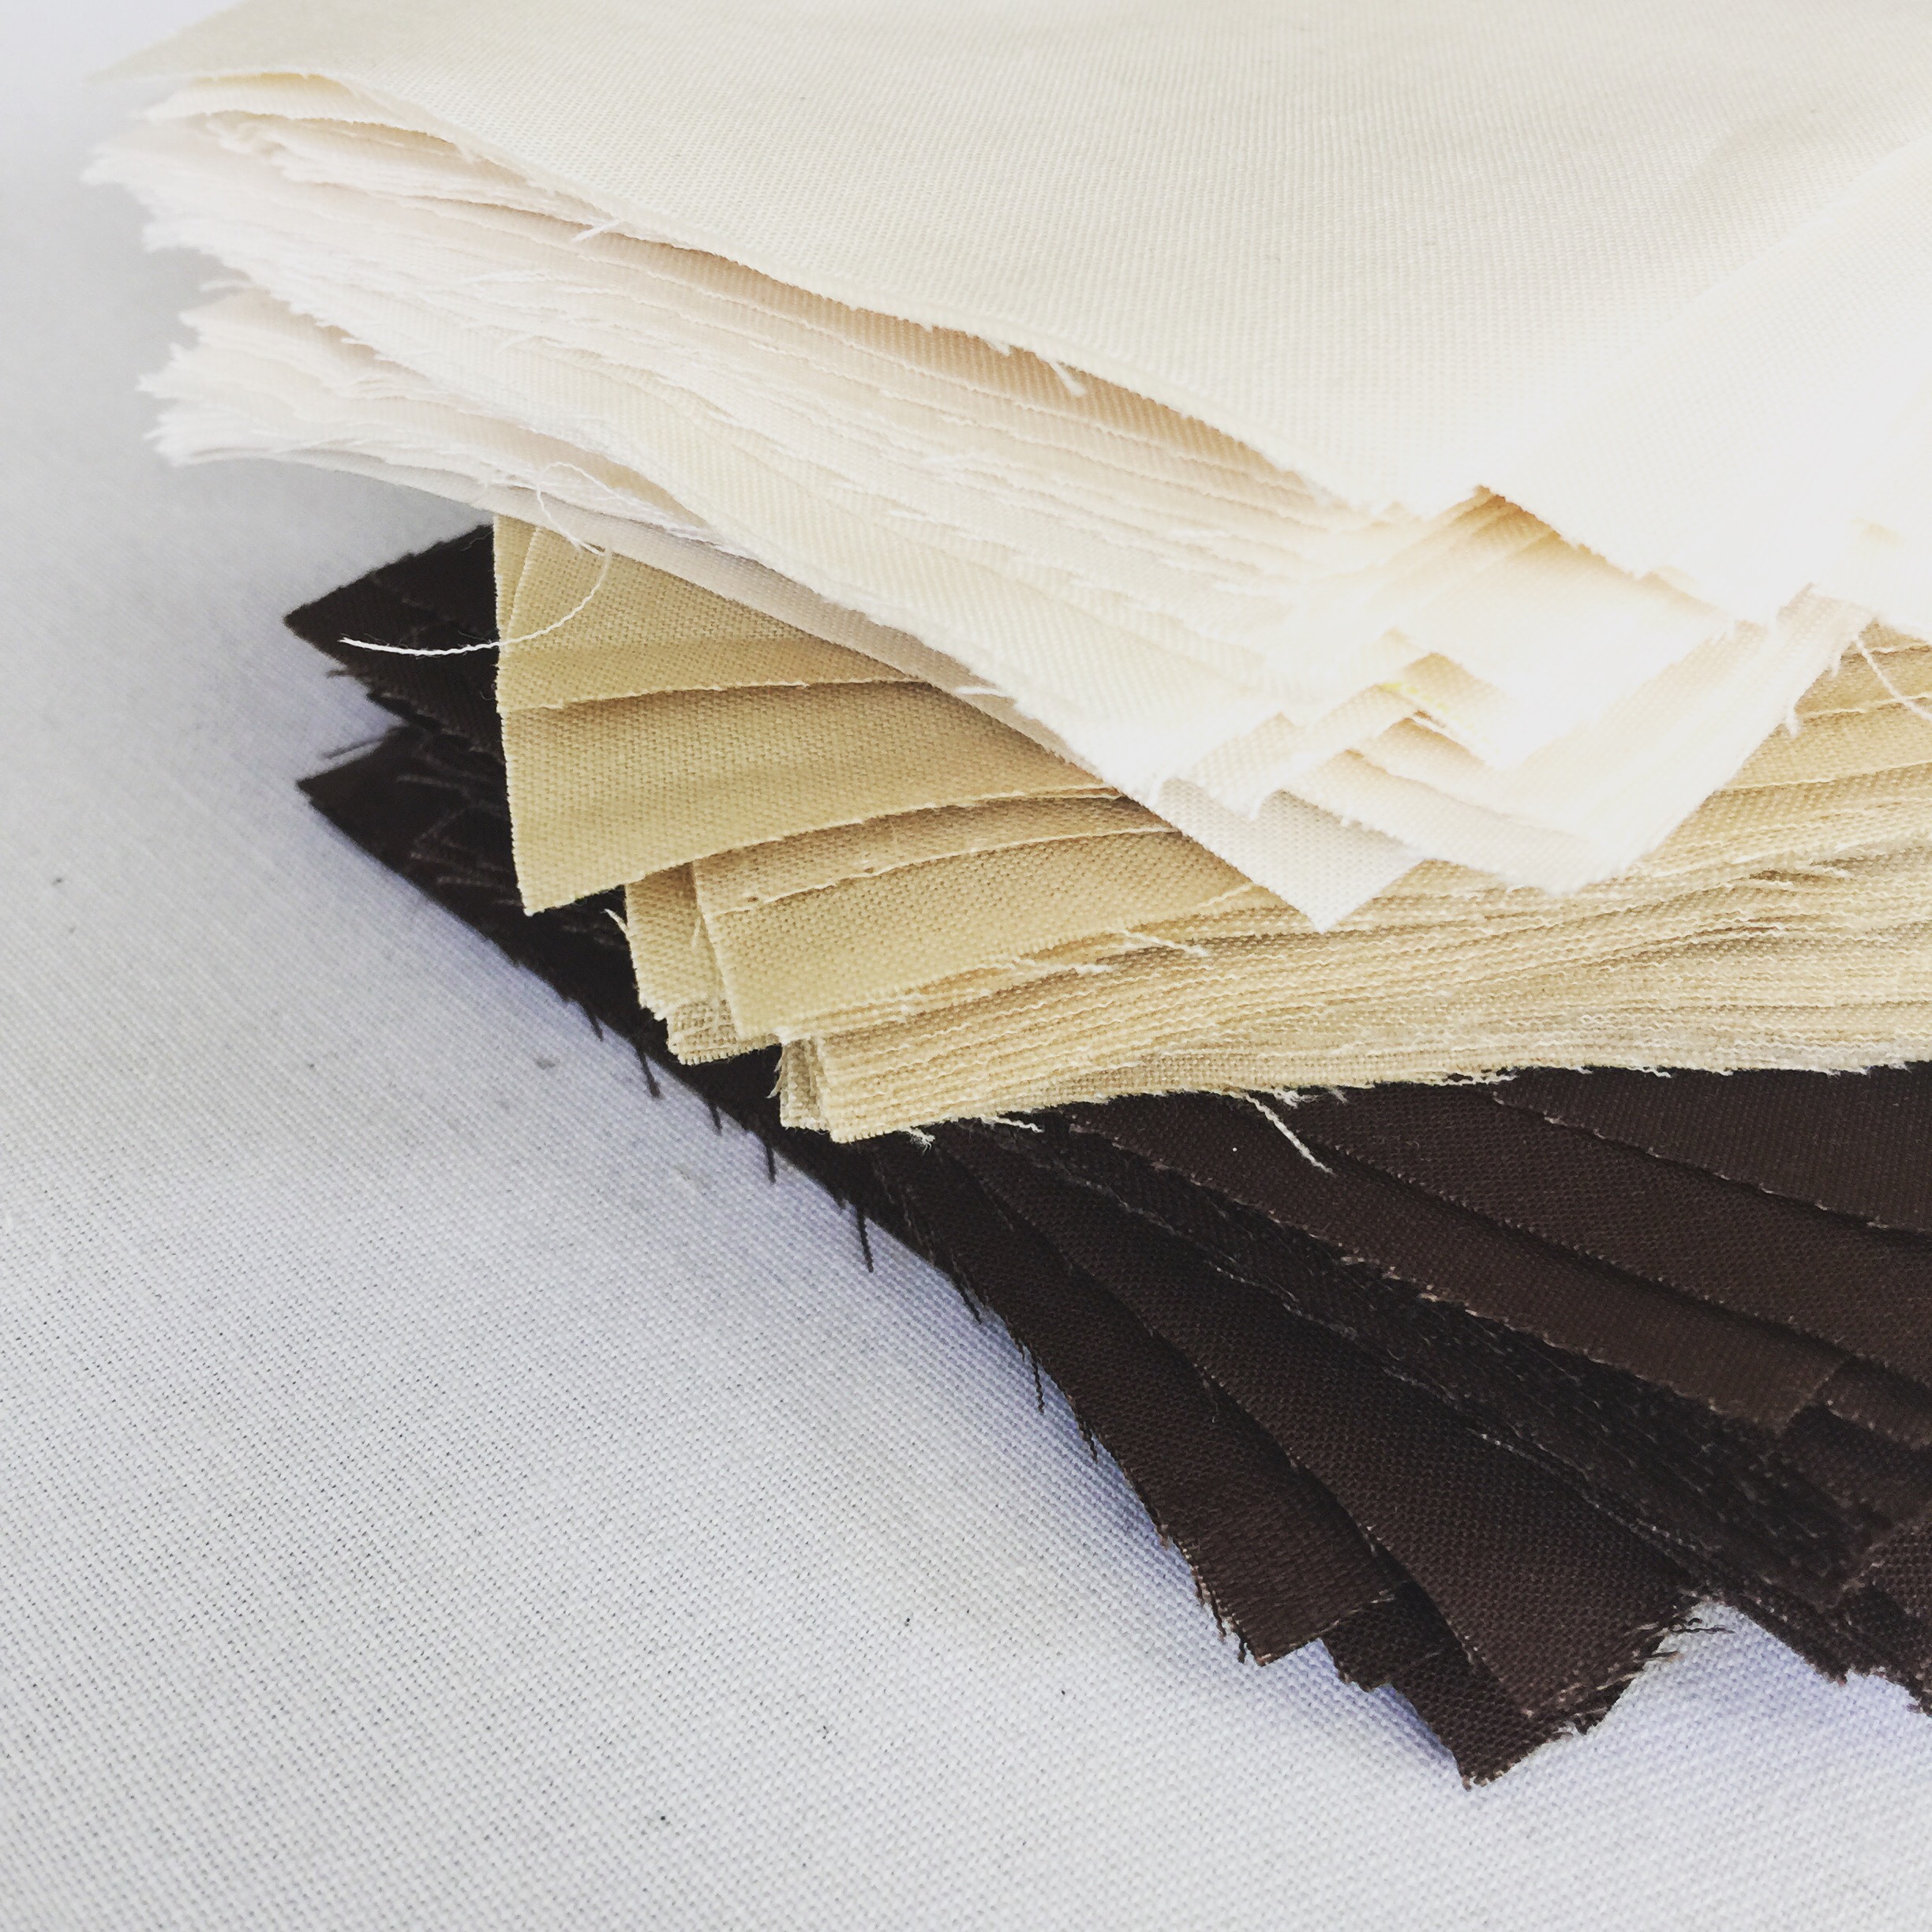
Then I waited for the fabric to come to me. I watched my stash for inspiration out of the corner of my eye when daily passing my fabric shelves. I browsed online fabric stores, but one day I was walking down the aisle of my local Walmart looking for a button and I saw the little precut packages of Waverly solids. They were perched in a little row along the bottom. I immediately reached out to touch them and test for quality. They were well made. The store had all the right shades to compose the three values needed for a buffalo check.
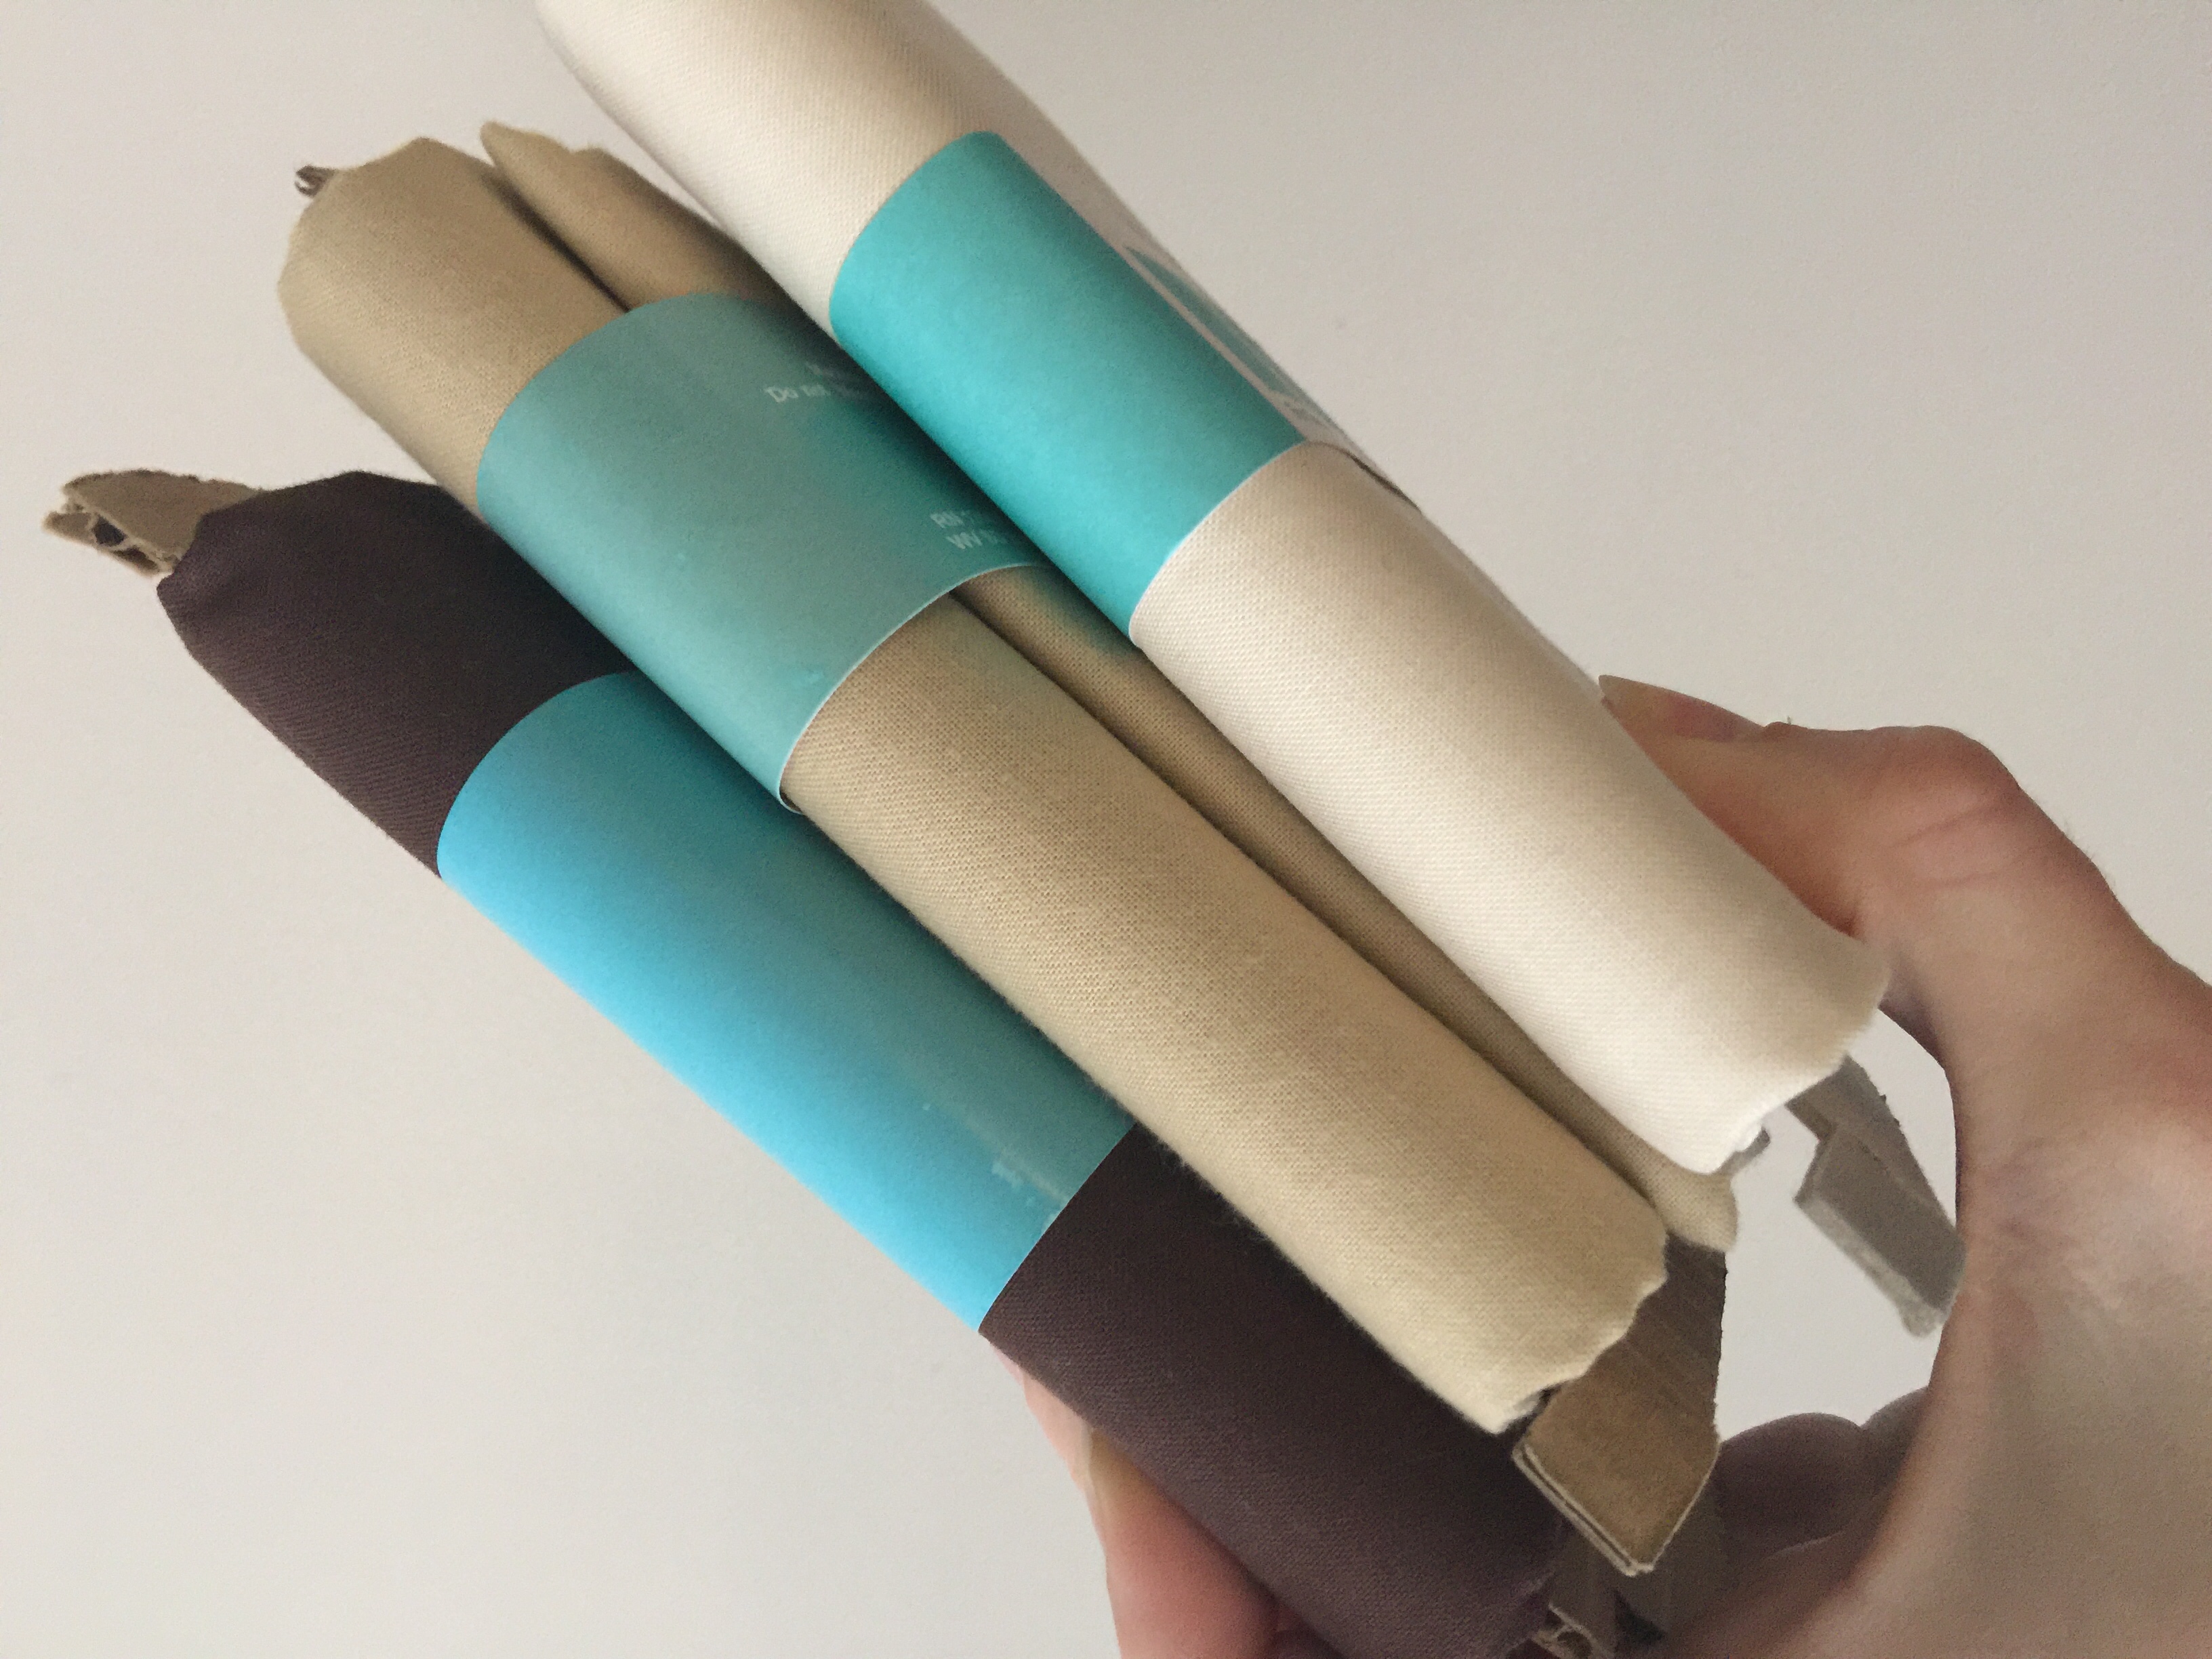
I took those little guys home with me and waited for Spring Break so I could have some uninterrupted sewing time.
Here is what I learned: Do not get sooo excited to start a project that you forget to think through the best process.
I could have cut strips and been very clever to piece this quilt in half the time I did. But I got excited, pulled out my accucut square die and chopped the yards up all into squares. About three rows into laying out the pattern on the floor I realized what I had done but it was too late.
I should have cut long strips out of my colors. Then sewed together Fabric A and B alternating and Fabric A and C alternating, so that I could strip piece.
But alas, I was just too excited.
Consequently, these squares are what I began my quilt with.
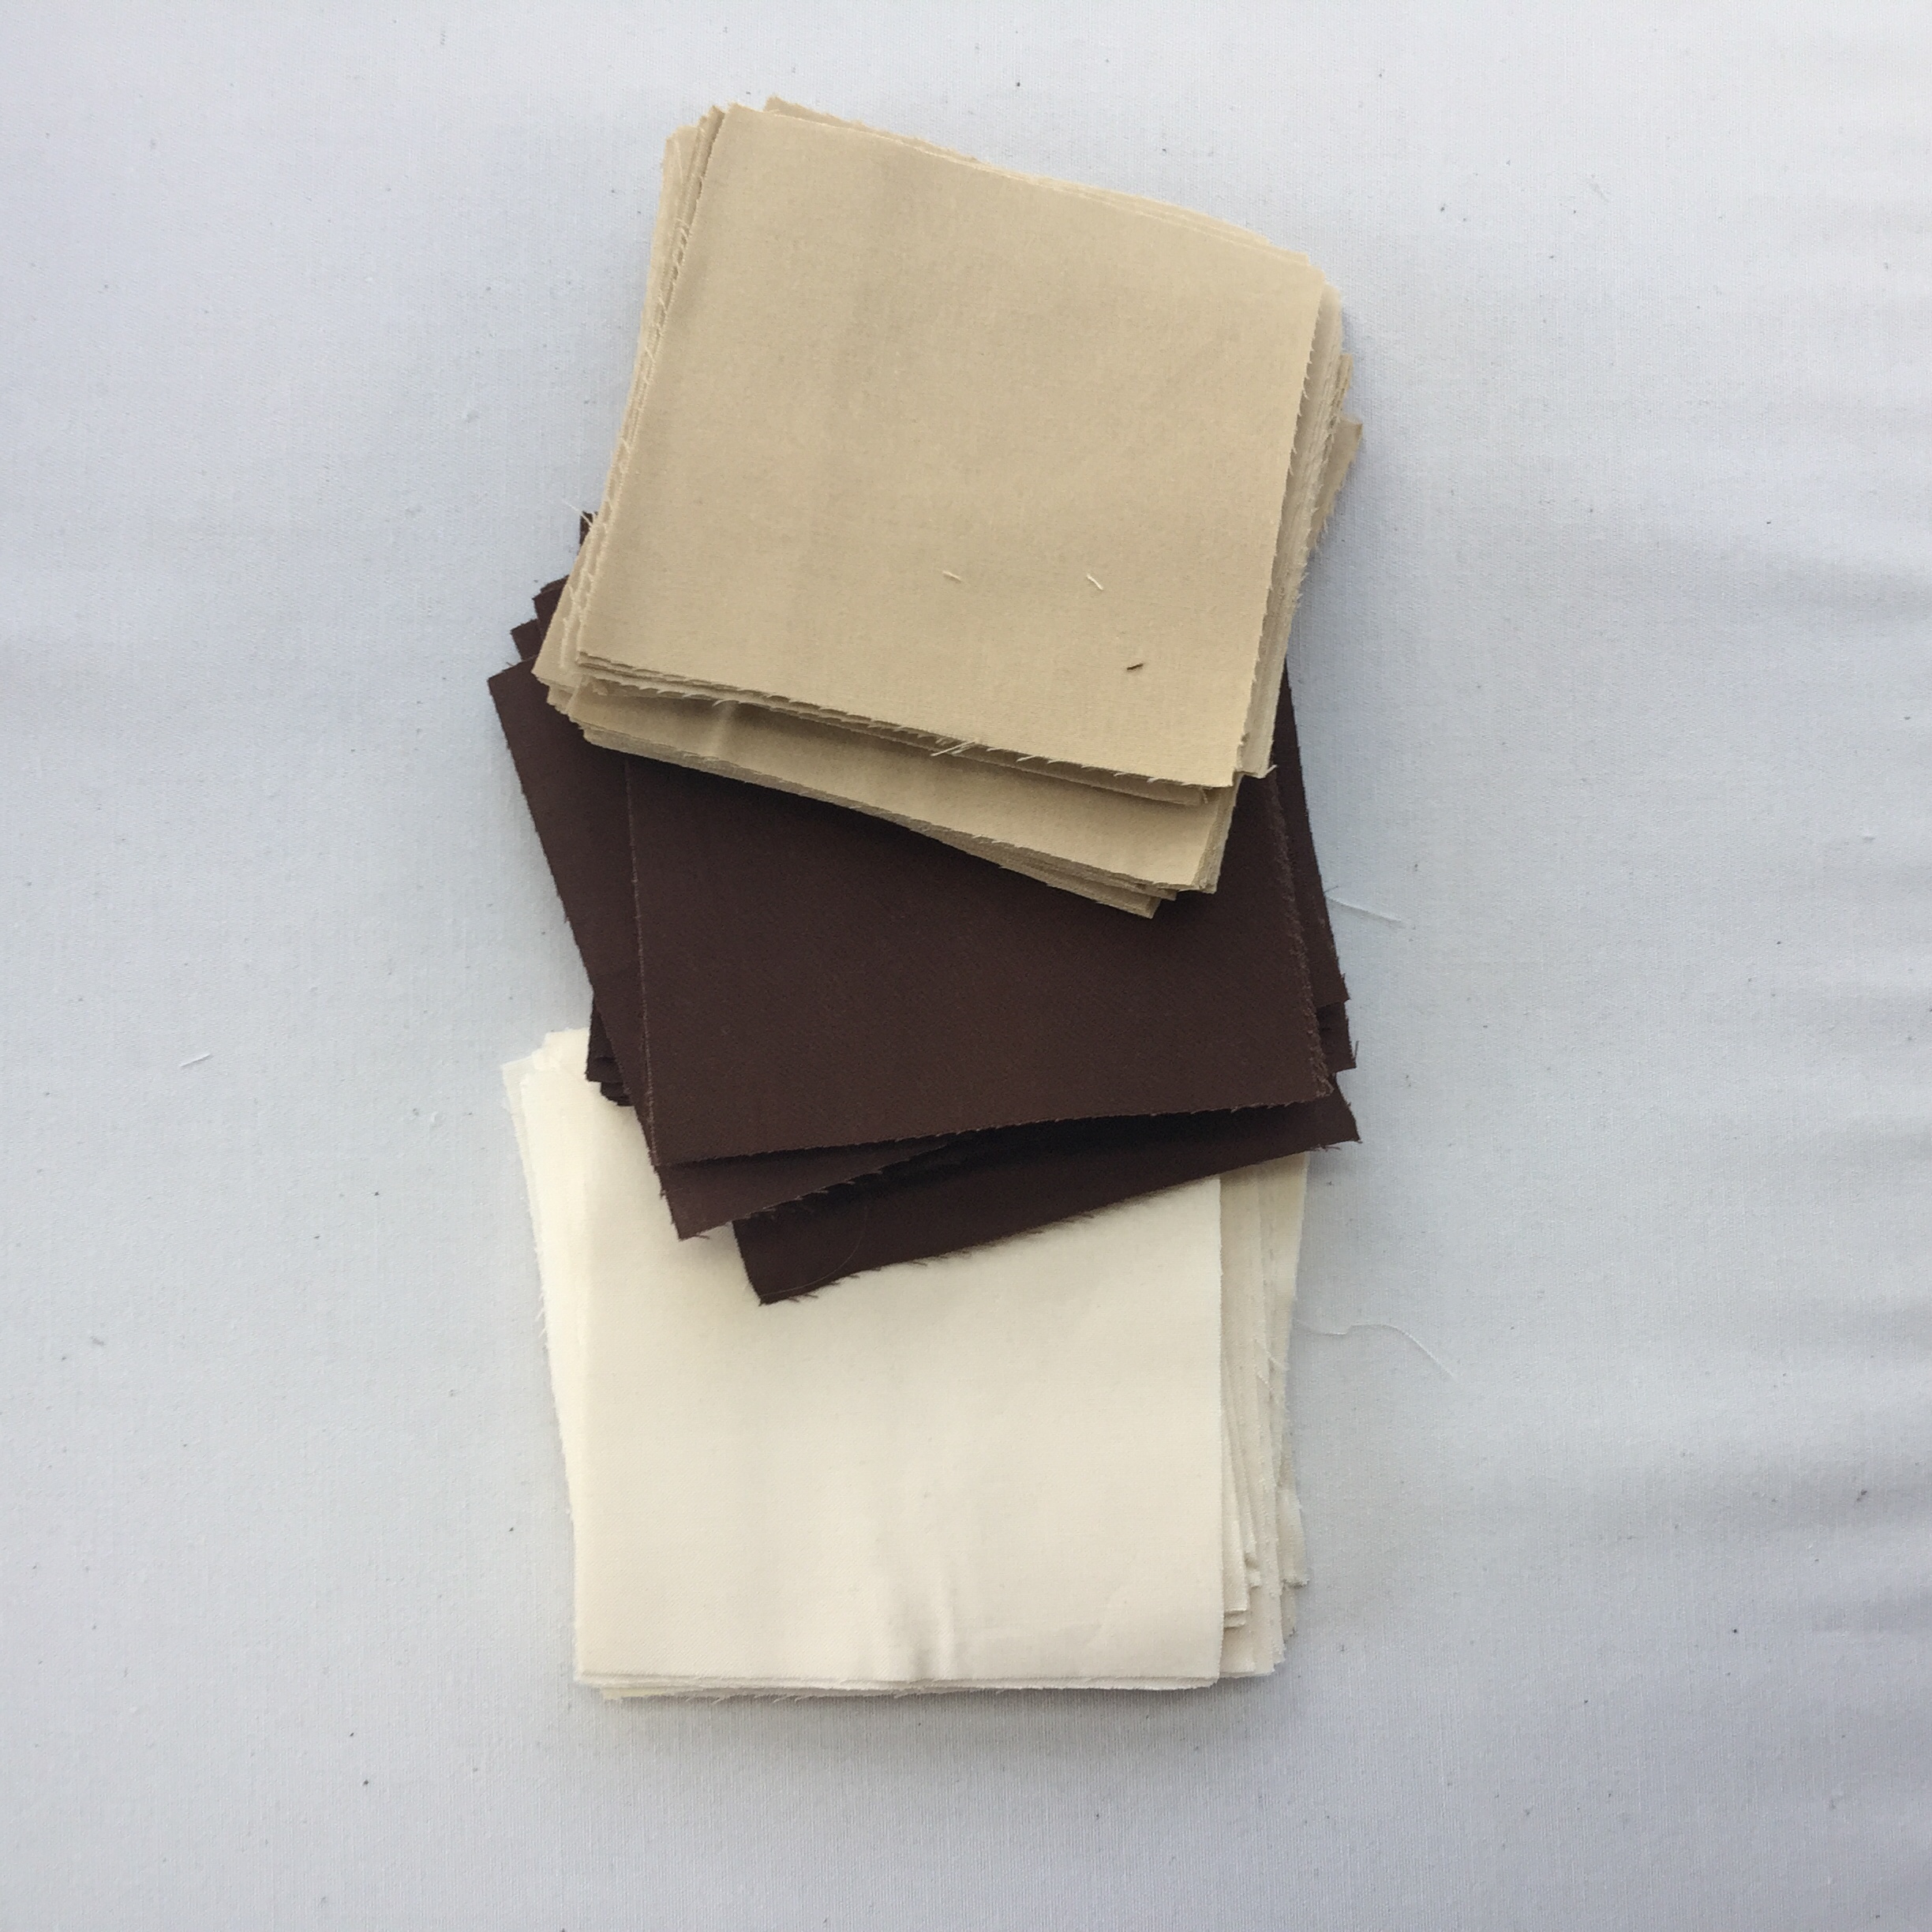
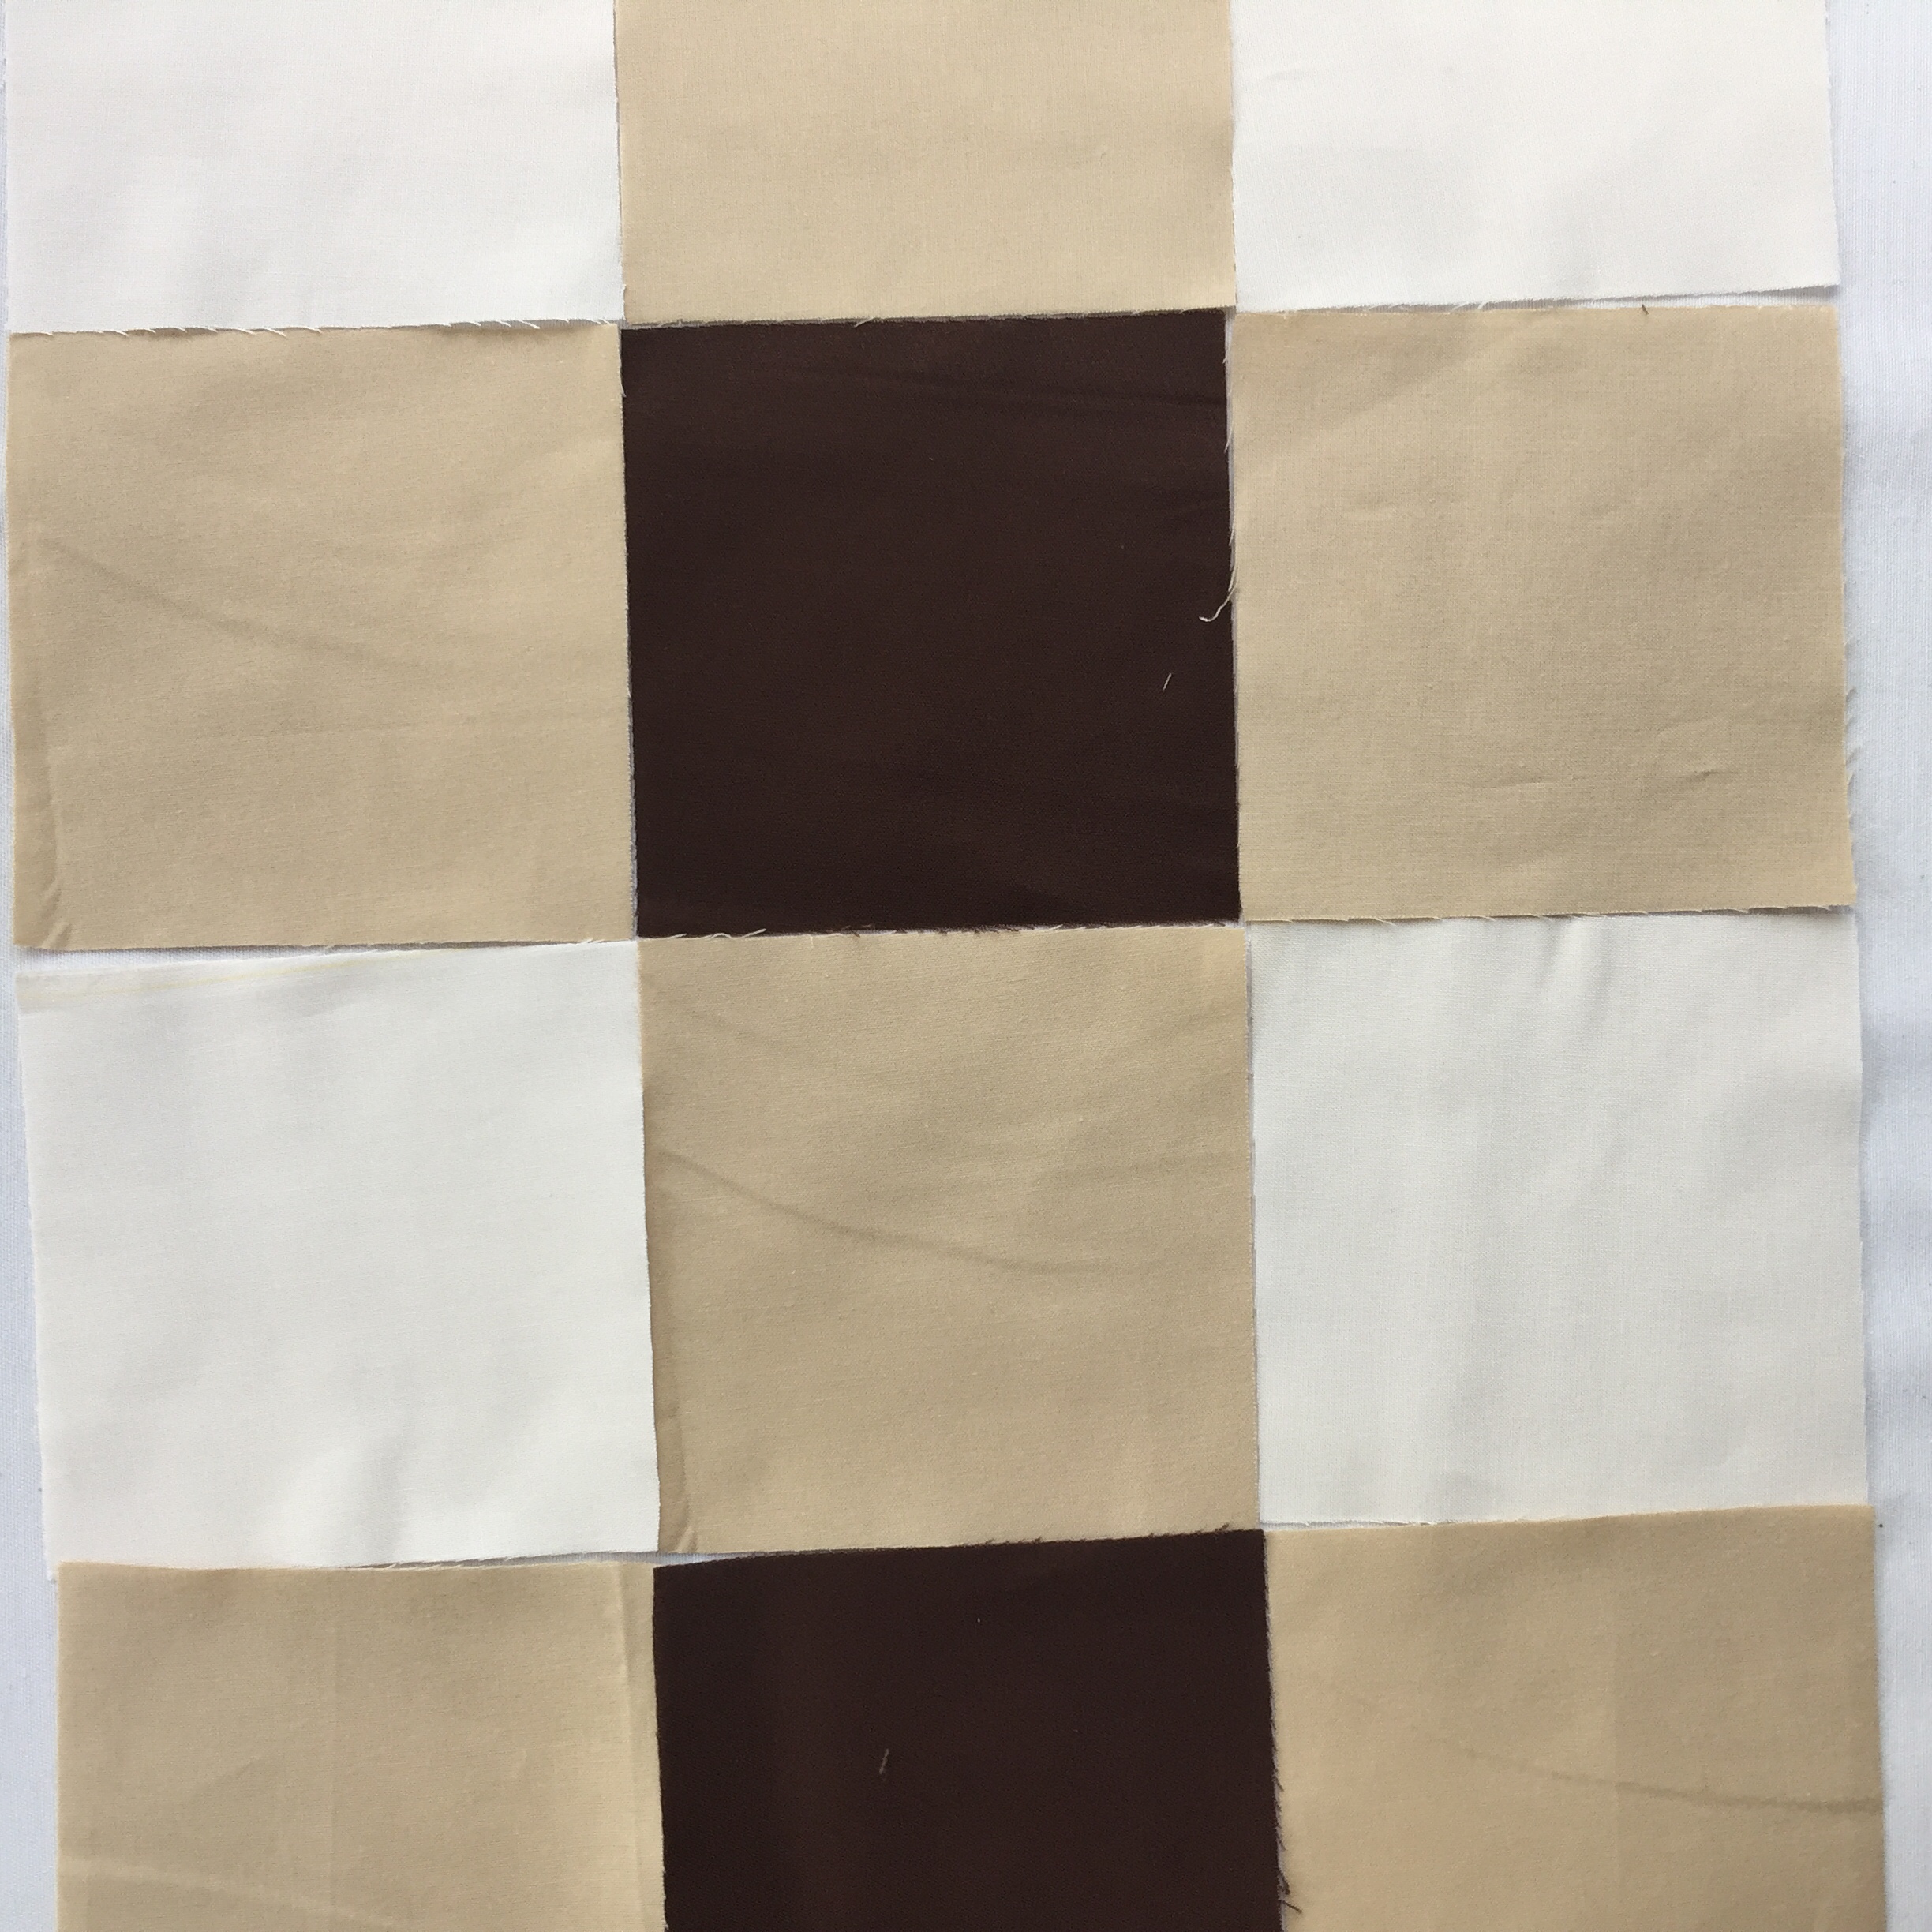
The top piecing was fairly easy after laying out the pattern. I bought one yard of each fabric. I ended up using the full yard of the medium value and only half or less of the dark and light values. I ended up with a perfect crib size quilt.
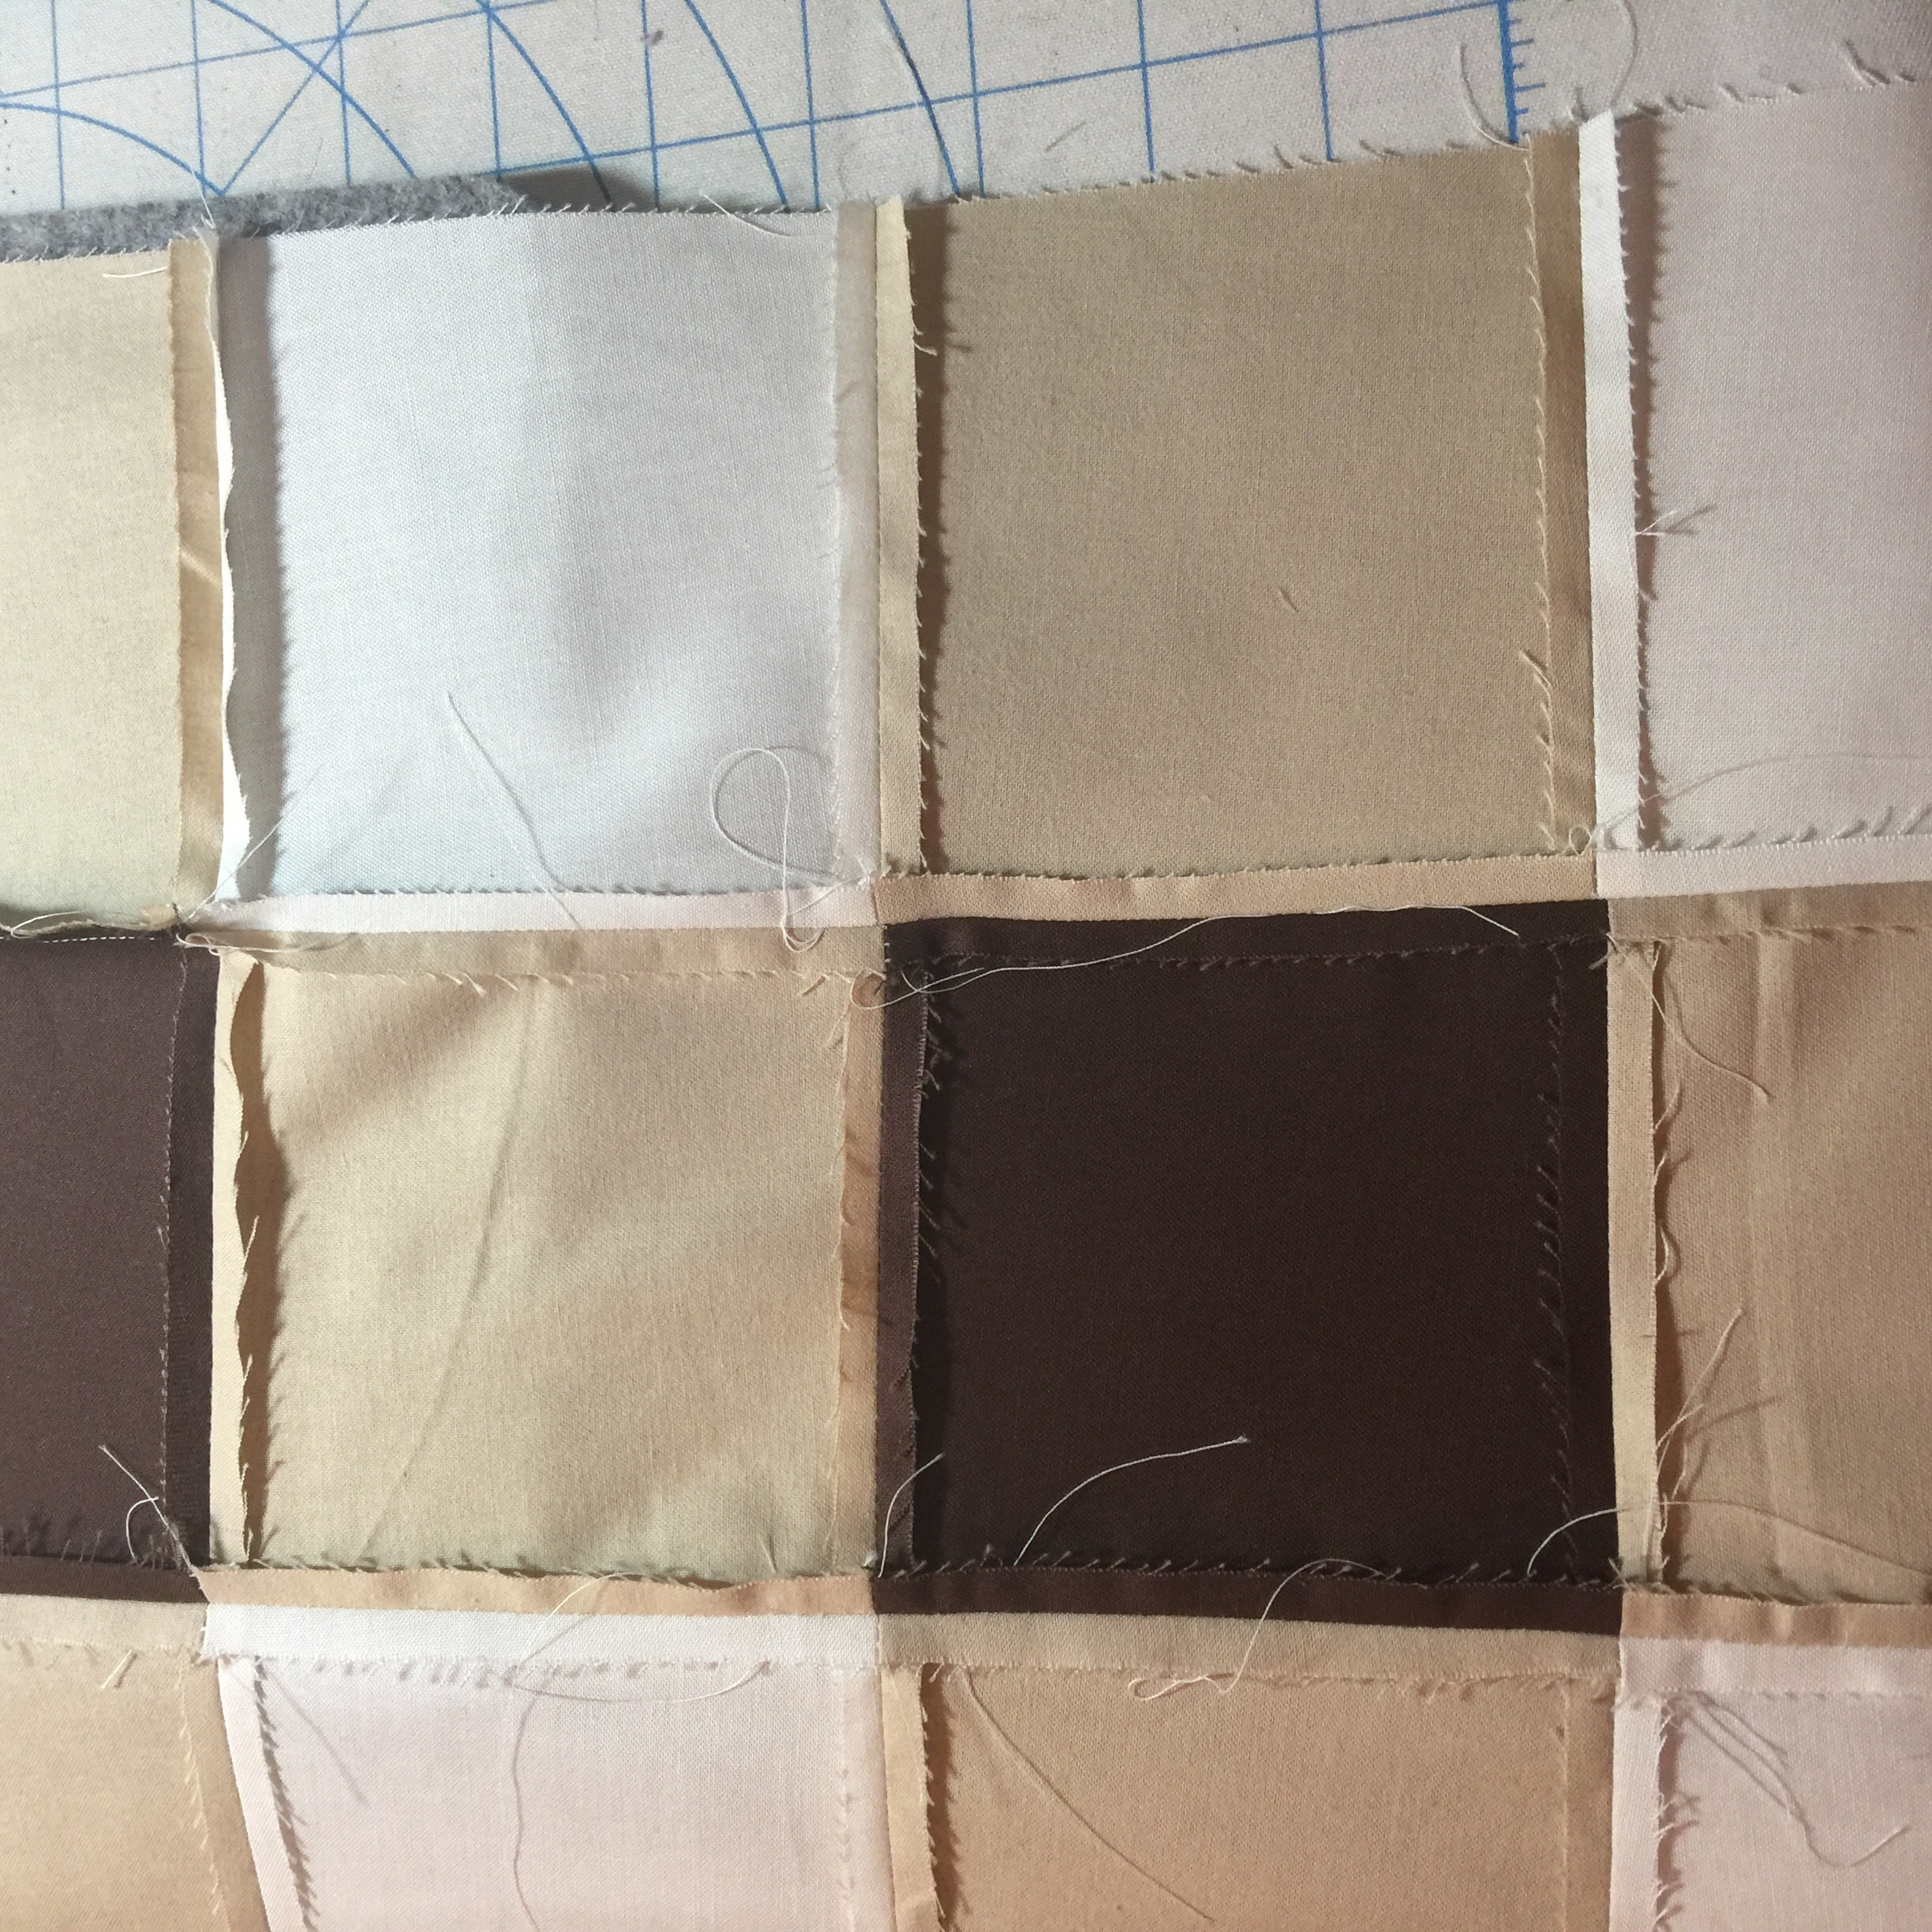
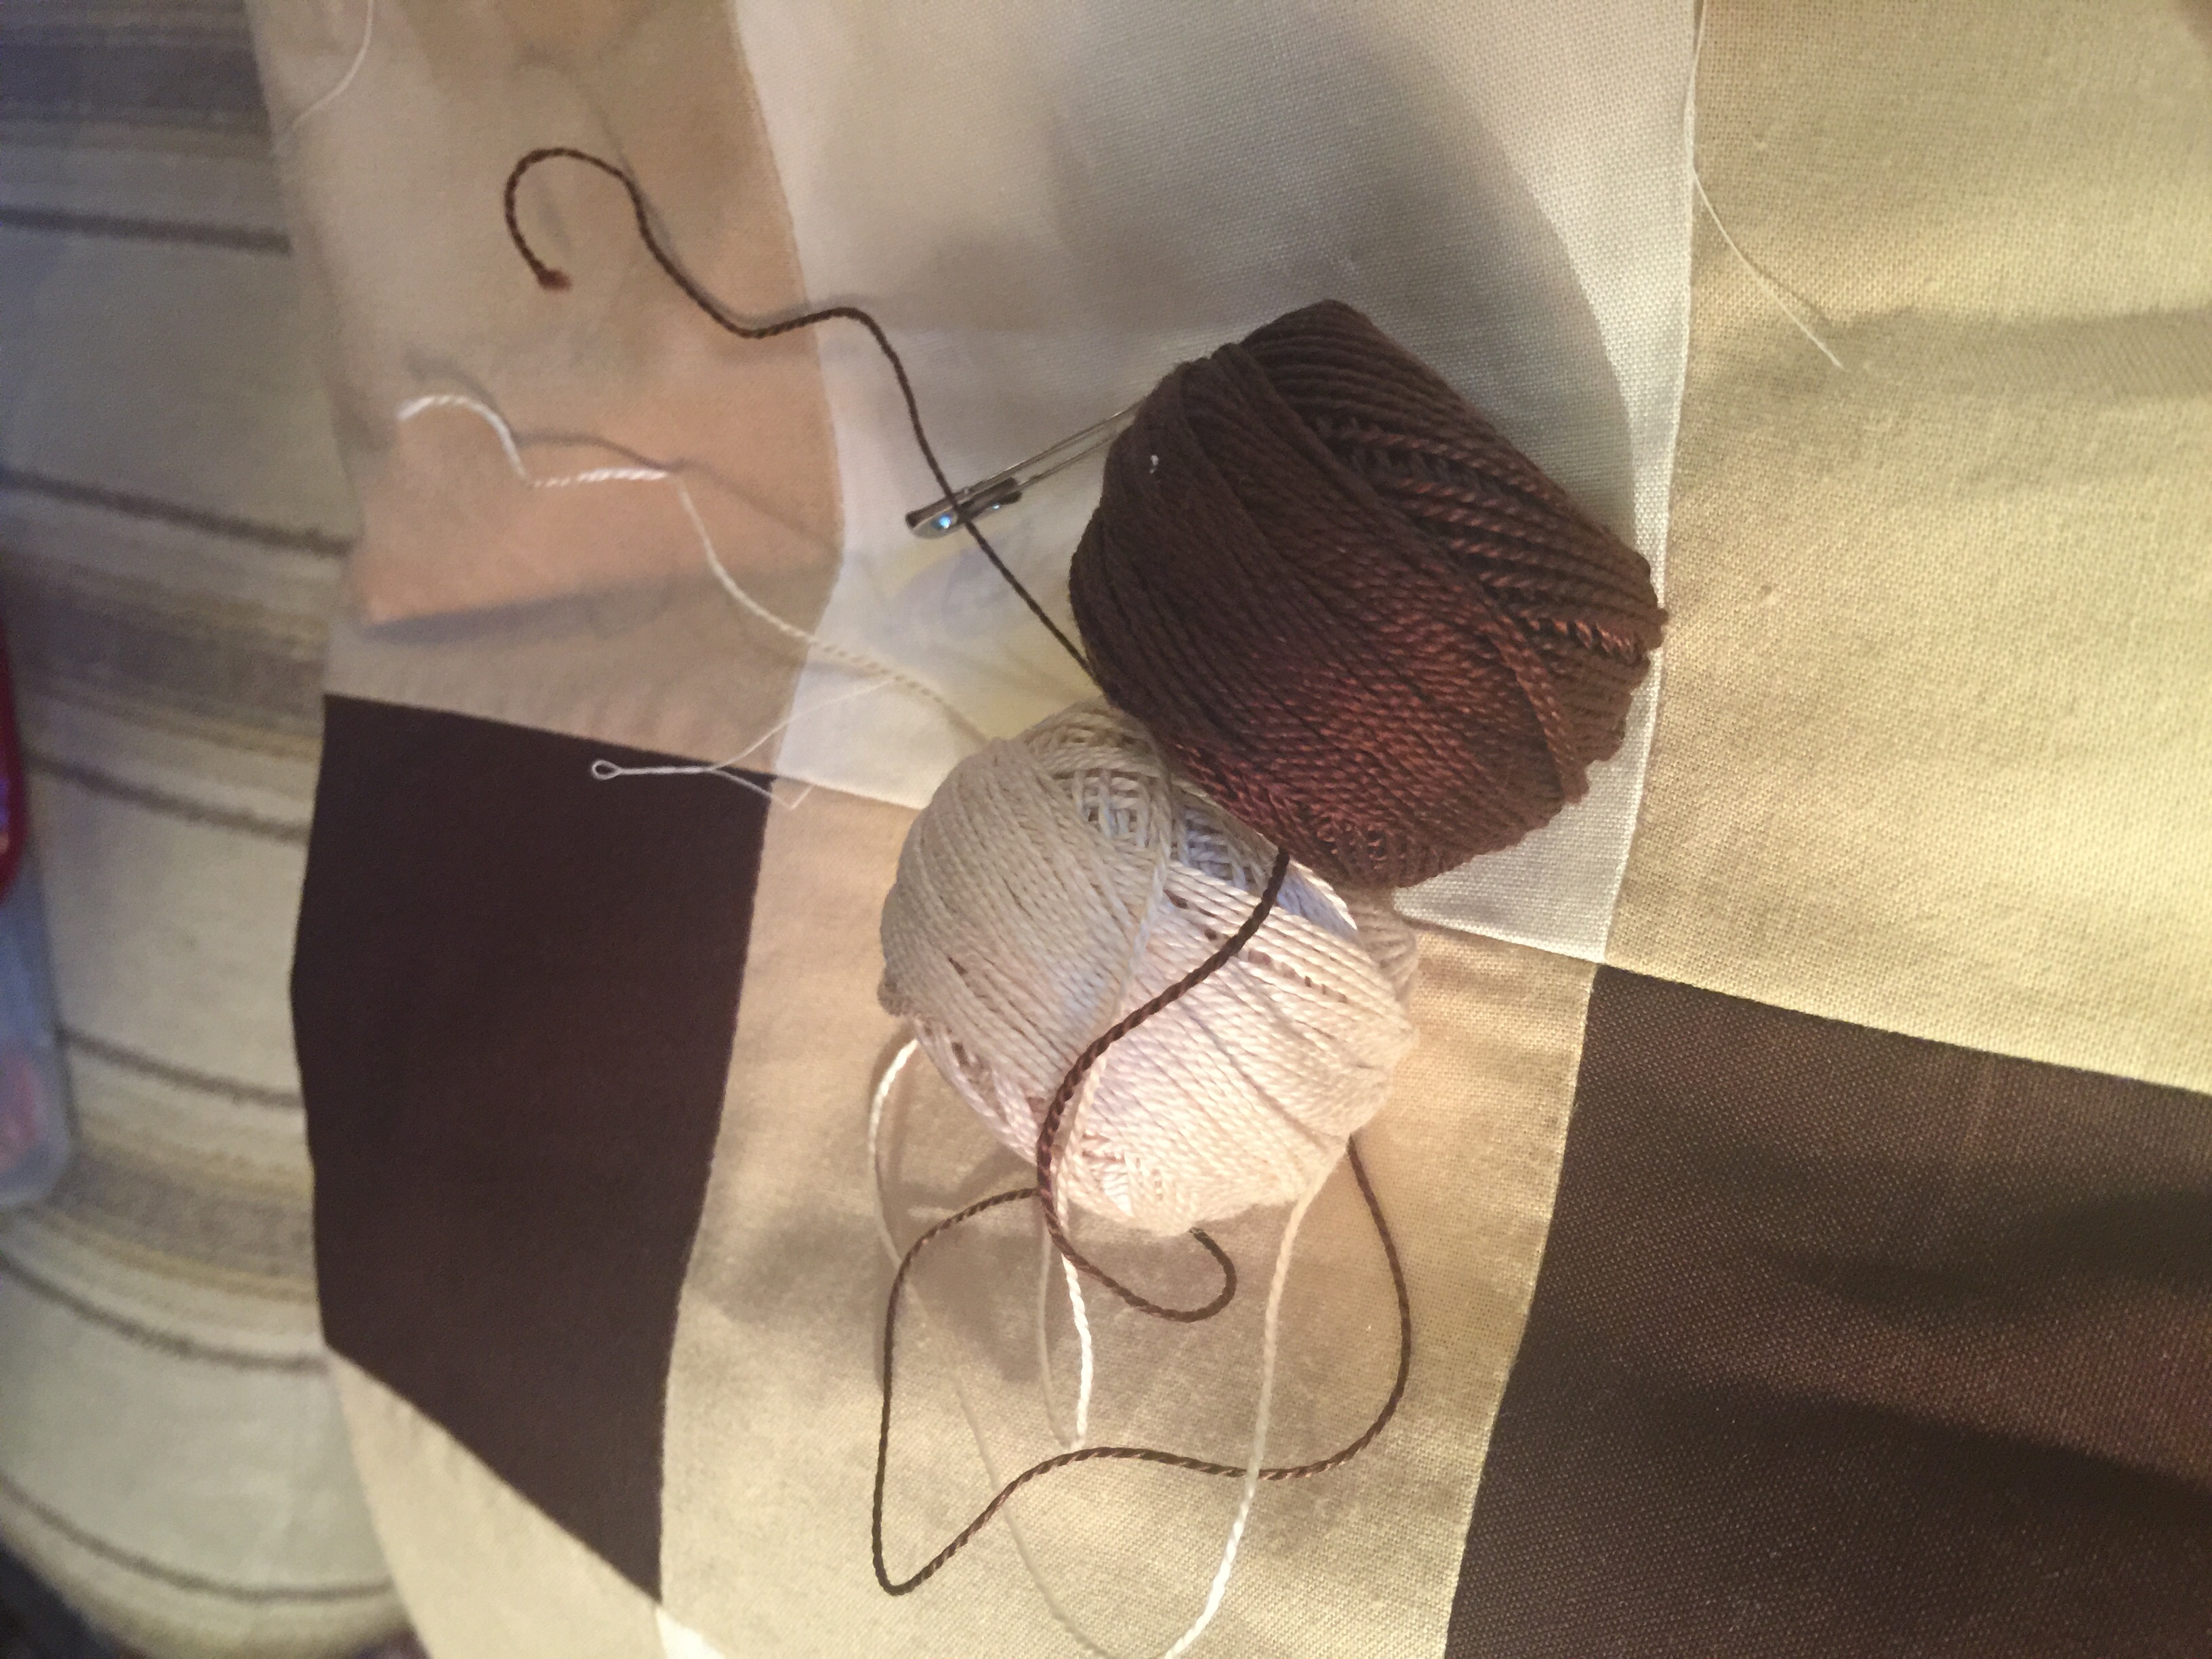
Choosing the thread and how to quilt it was the hardest decision. I landed on pearl cotton in two colors. After various texts to friends for their opinion and a few trial stitches I decided on dark brown for all the light and medium tone squares and off white thread for the brown.
The backing is tan and off white double gauze stripes! It’s so soft! I have no idea who made it.
Here’s how it ended up! I started out hating my color choices once I sewed the top together. I was actually wondering if I needed to start over, but after I hand quilted it with the pearl cotton, I fell in love with it.
And look at this amazing walnut quilt rack my dad made me while I was sewing!! Love it so much and am so thankful for his amazing woodworking skills. He always brings my designs to life.
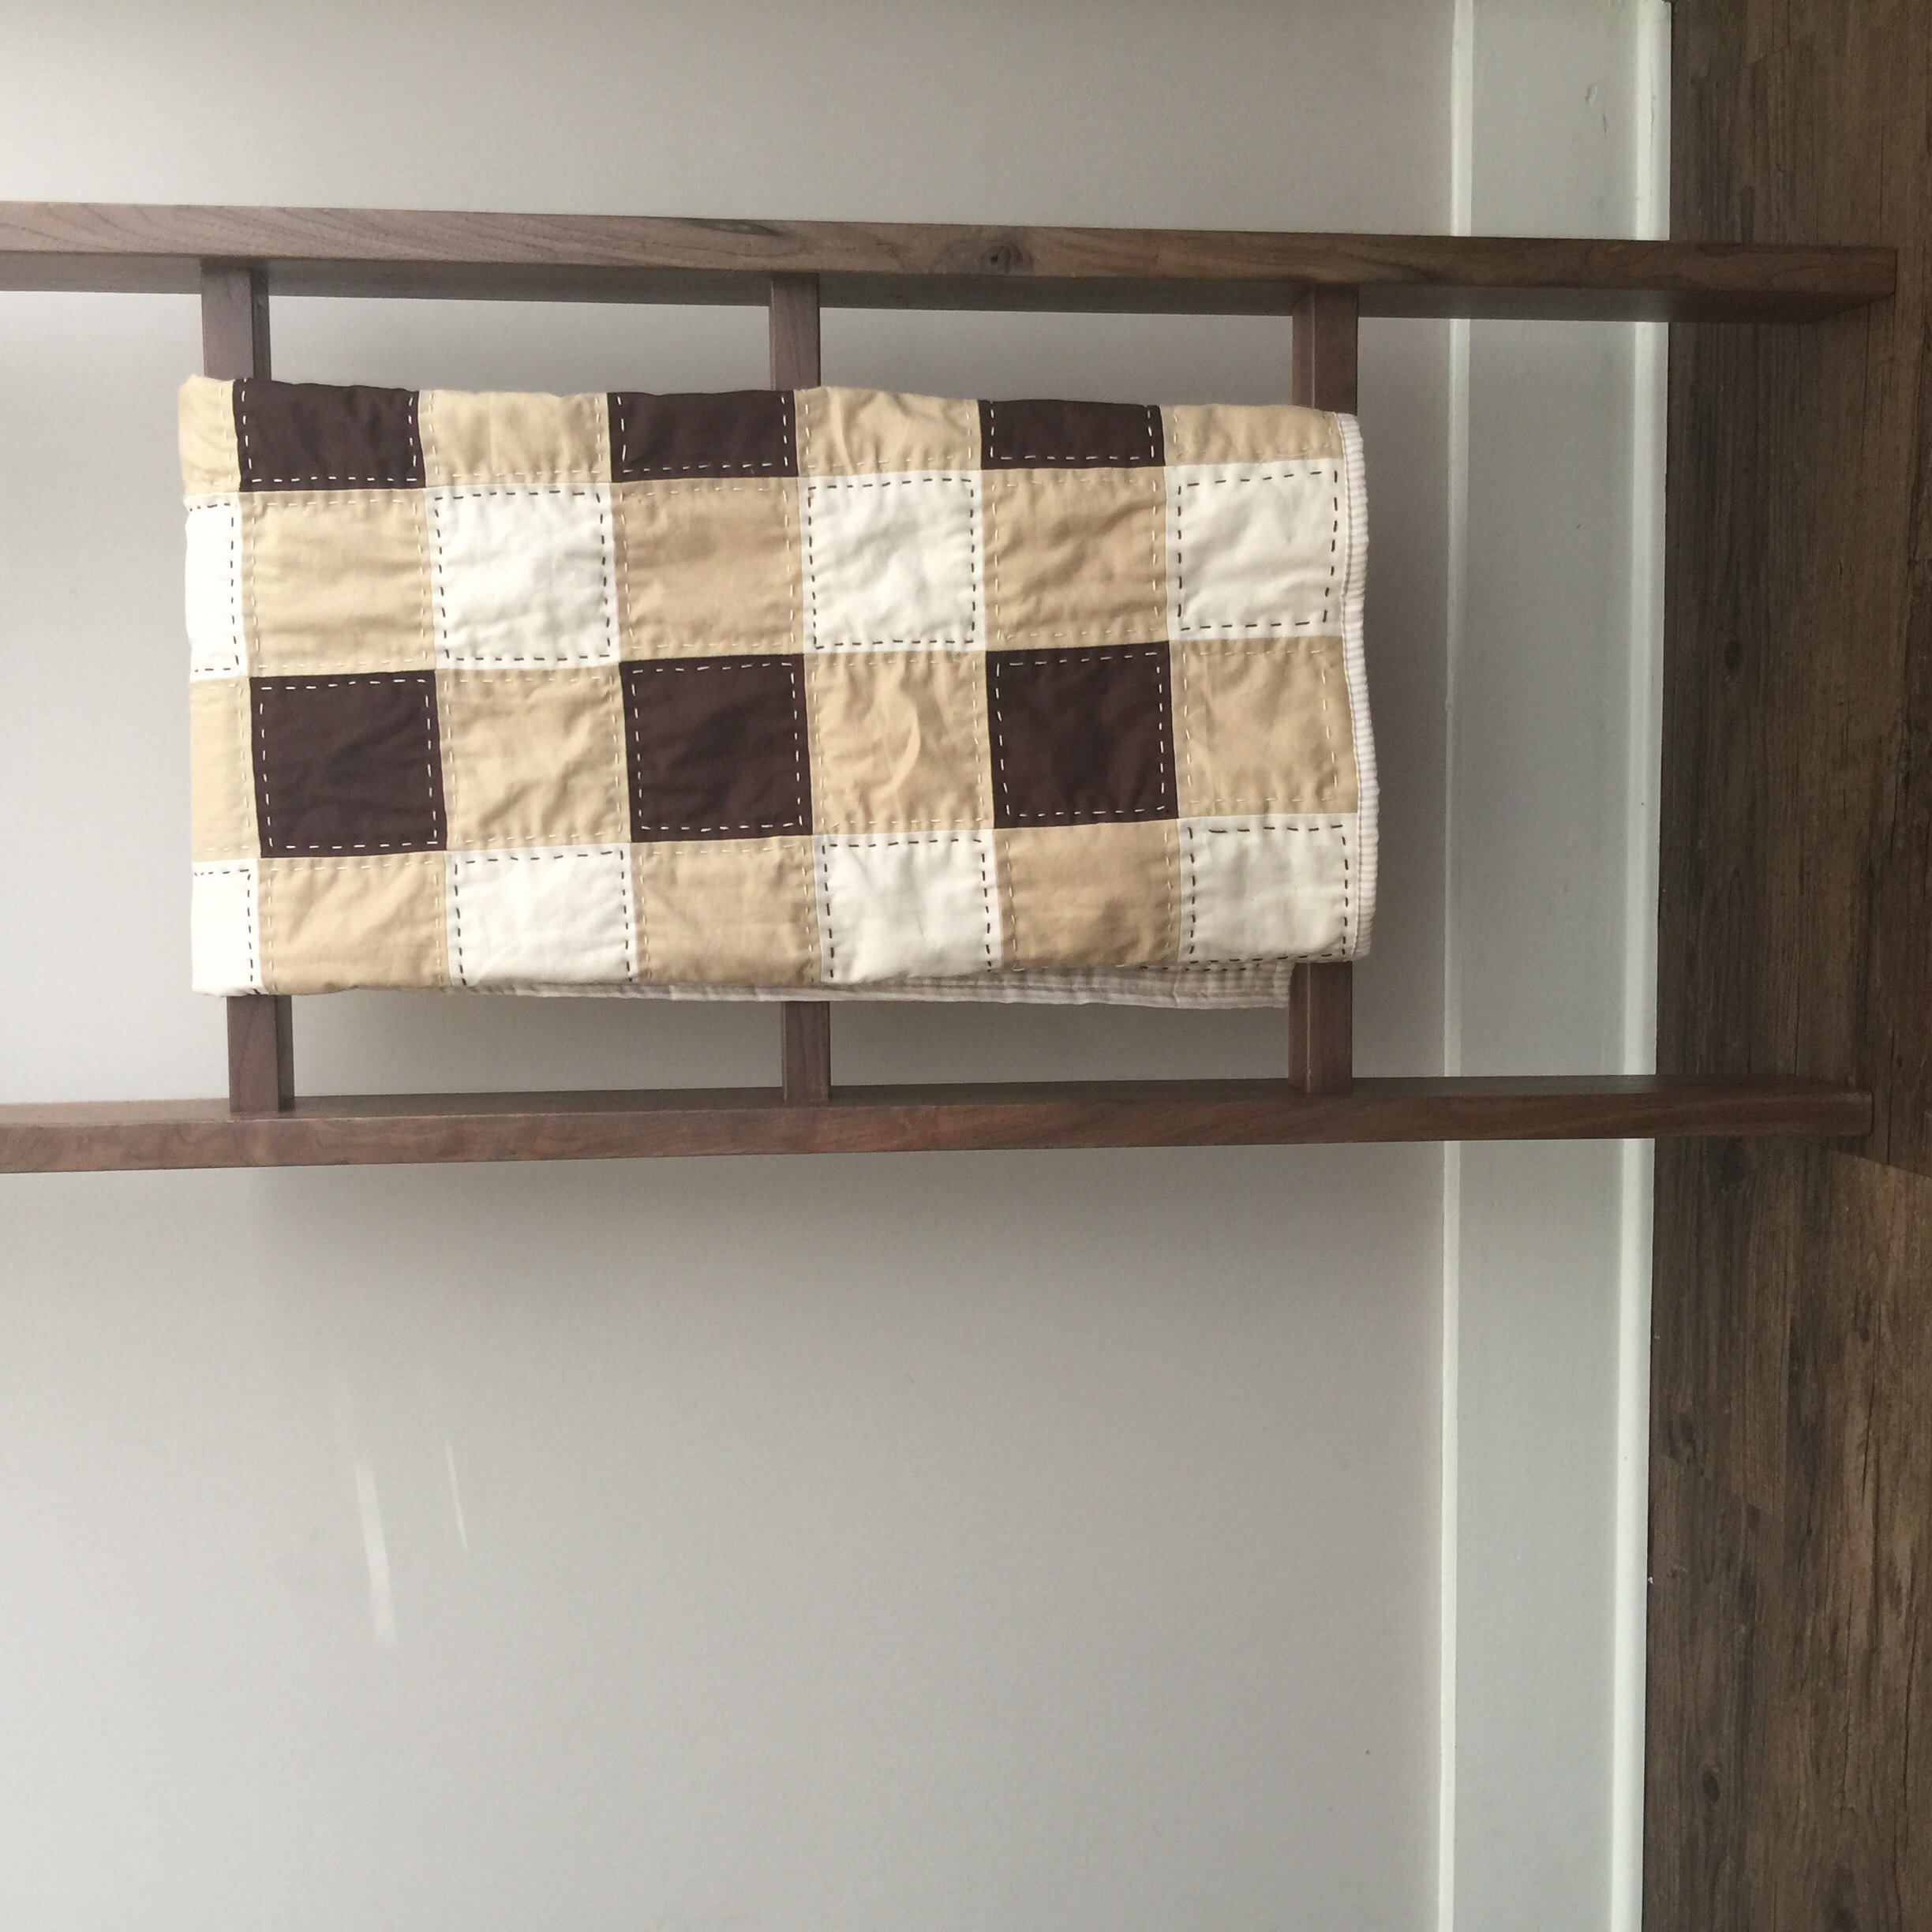
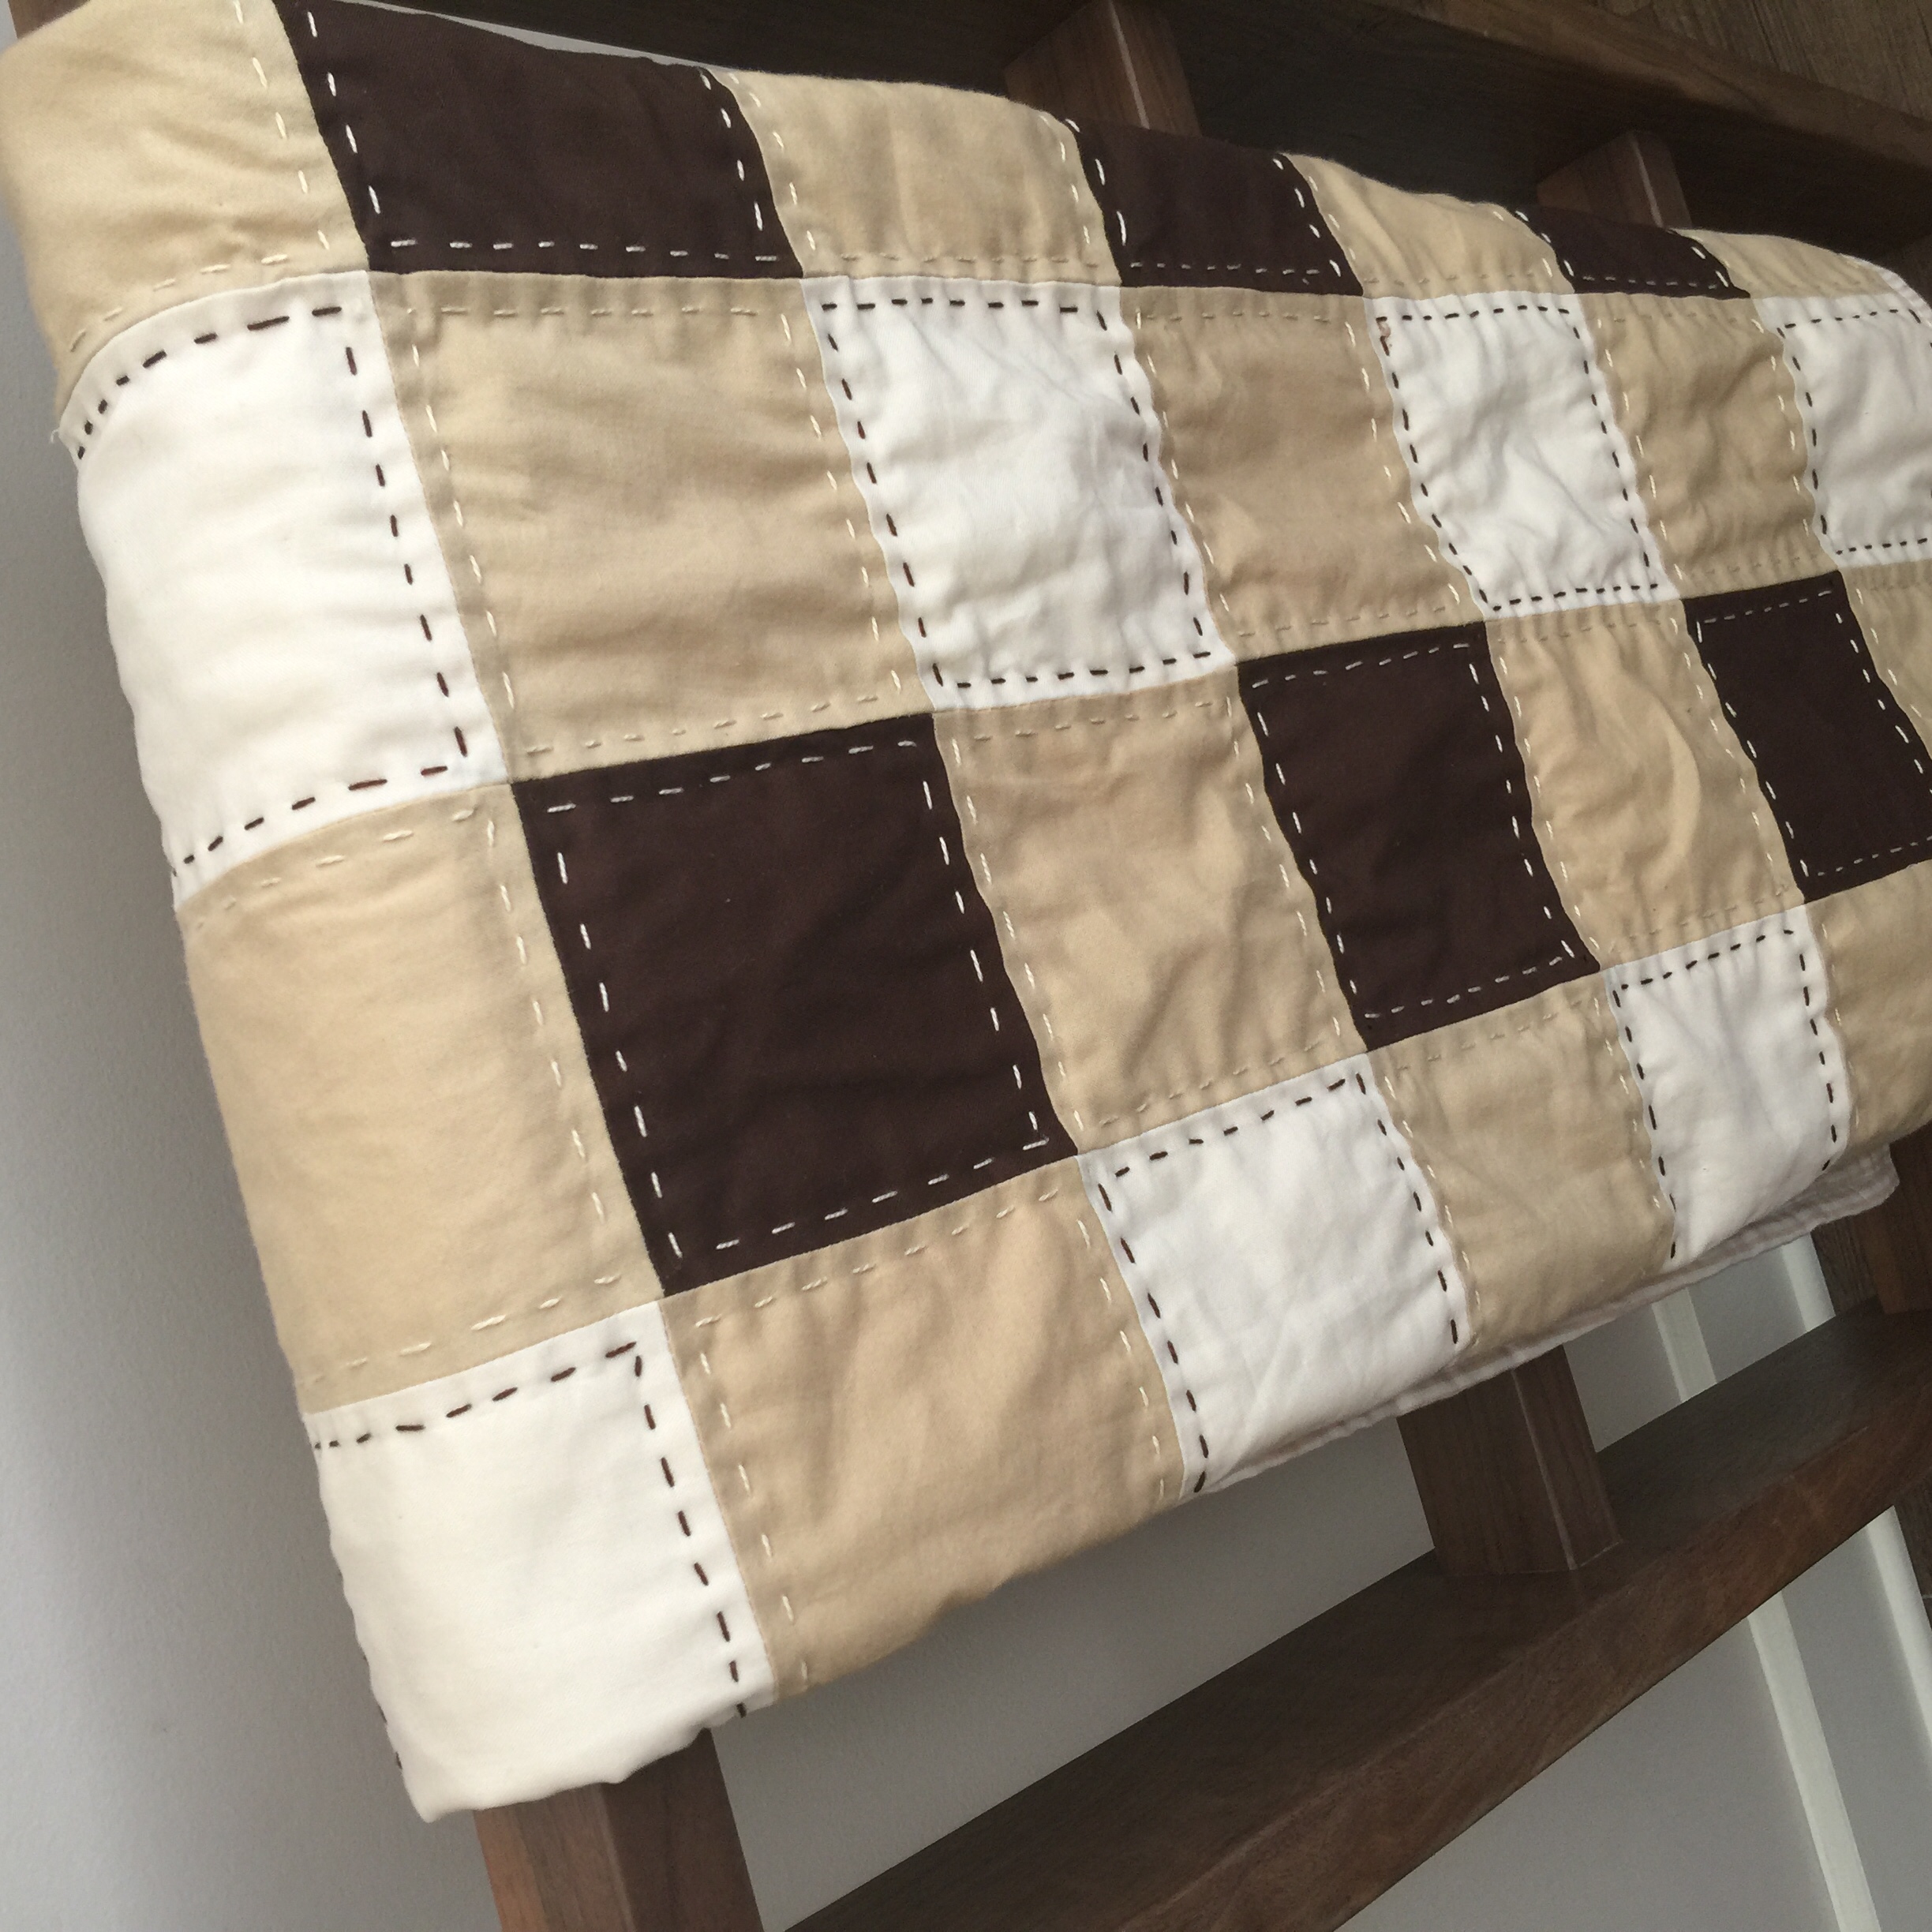
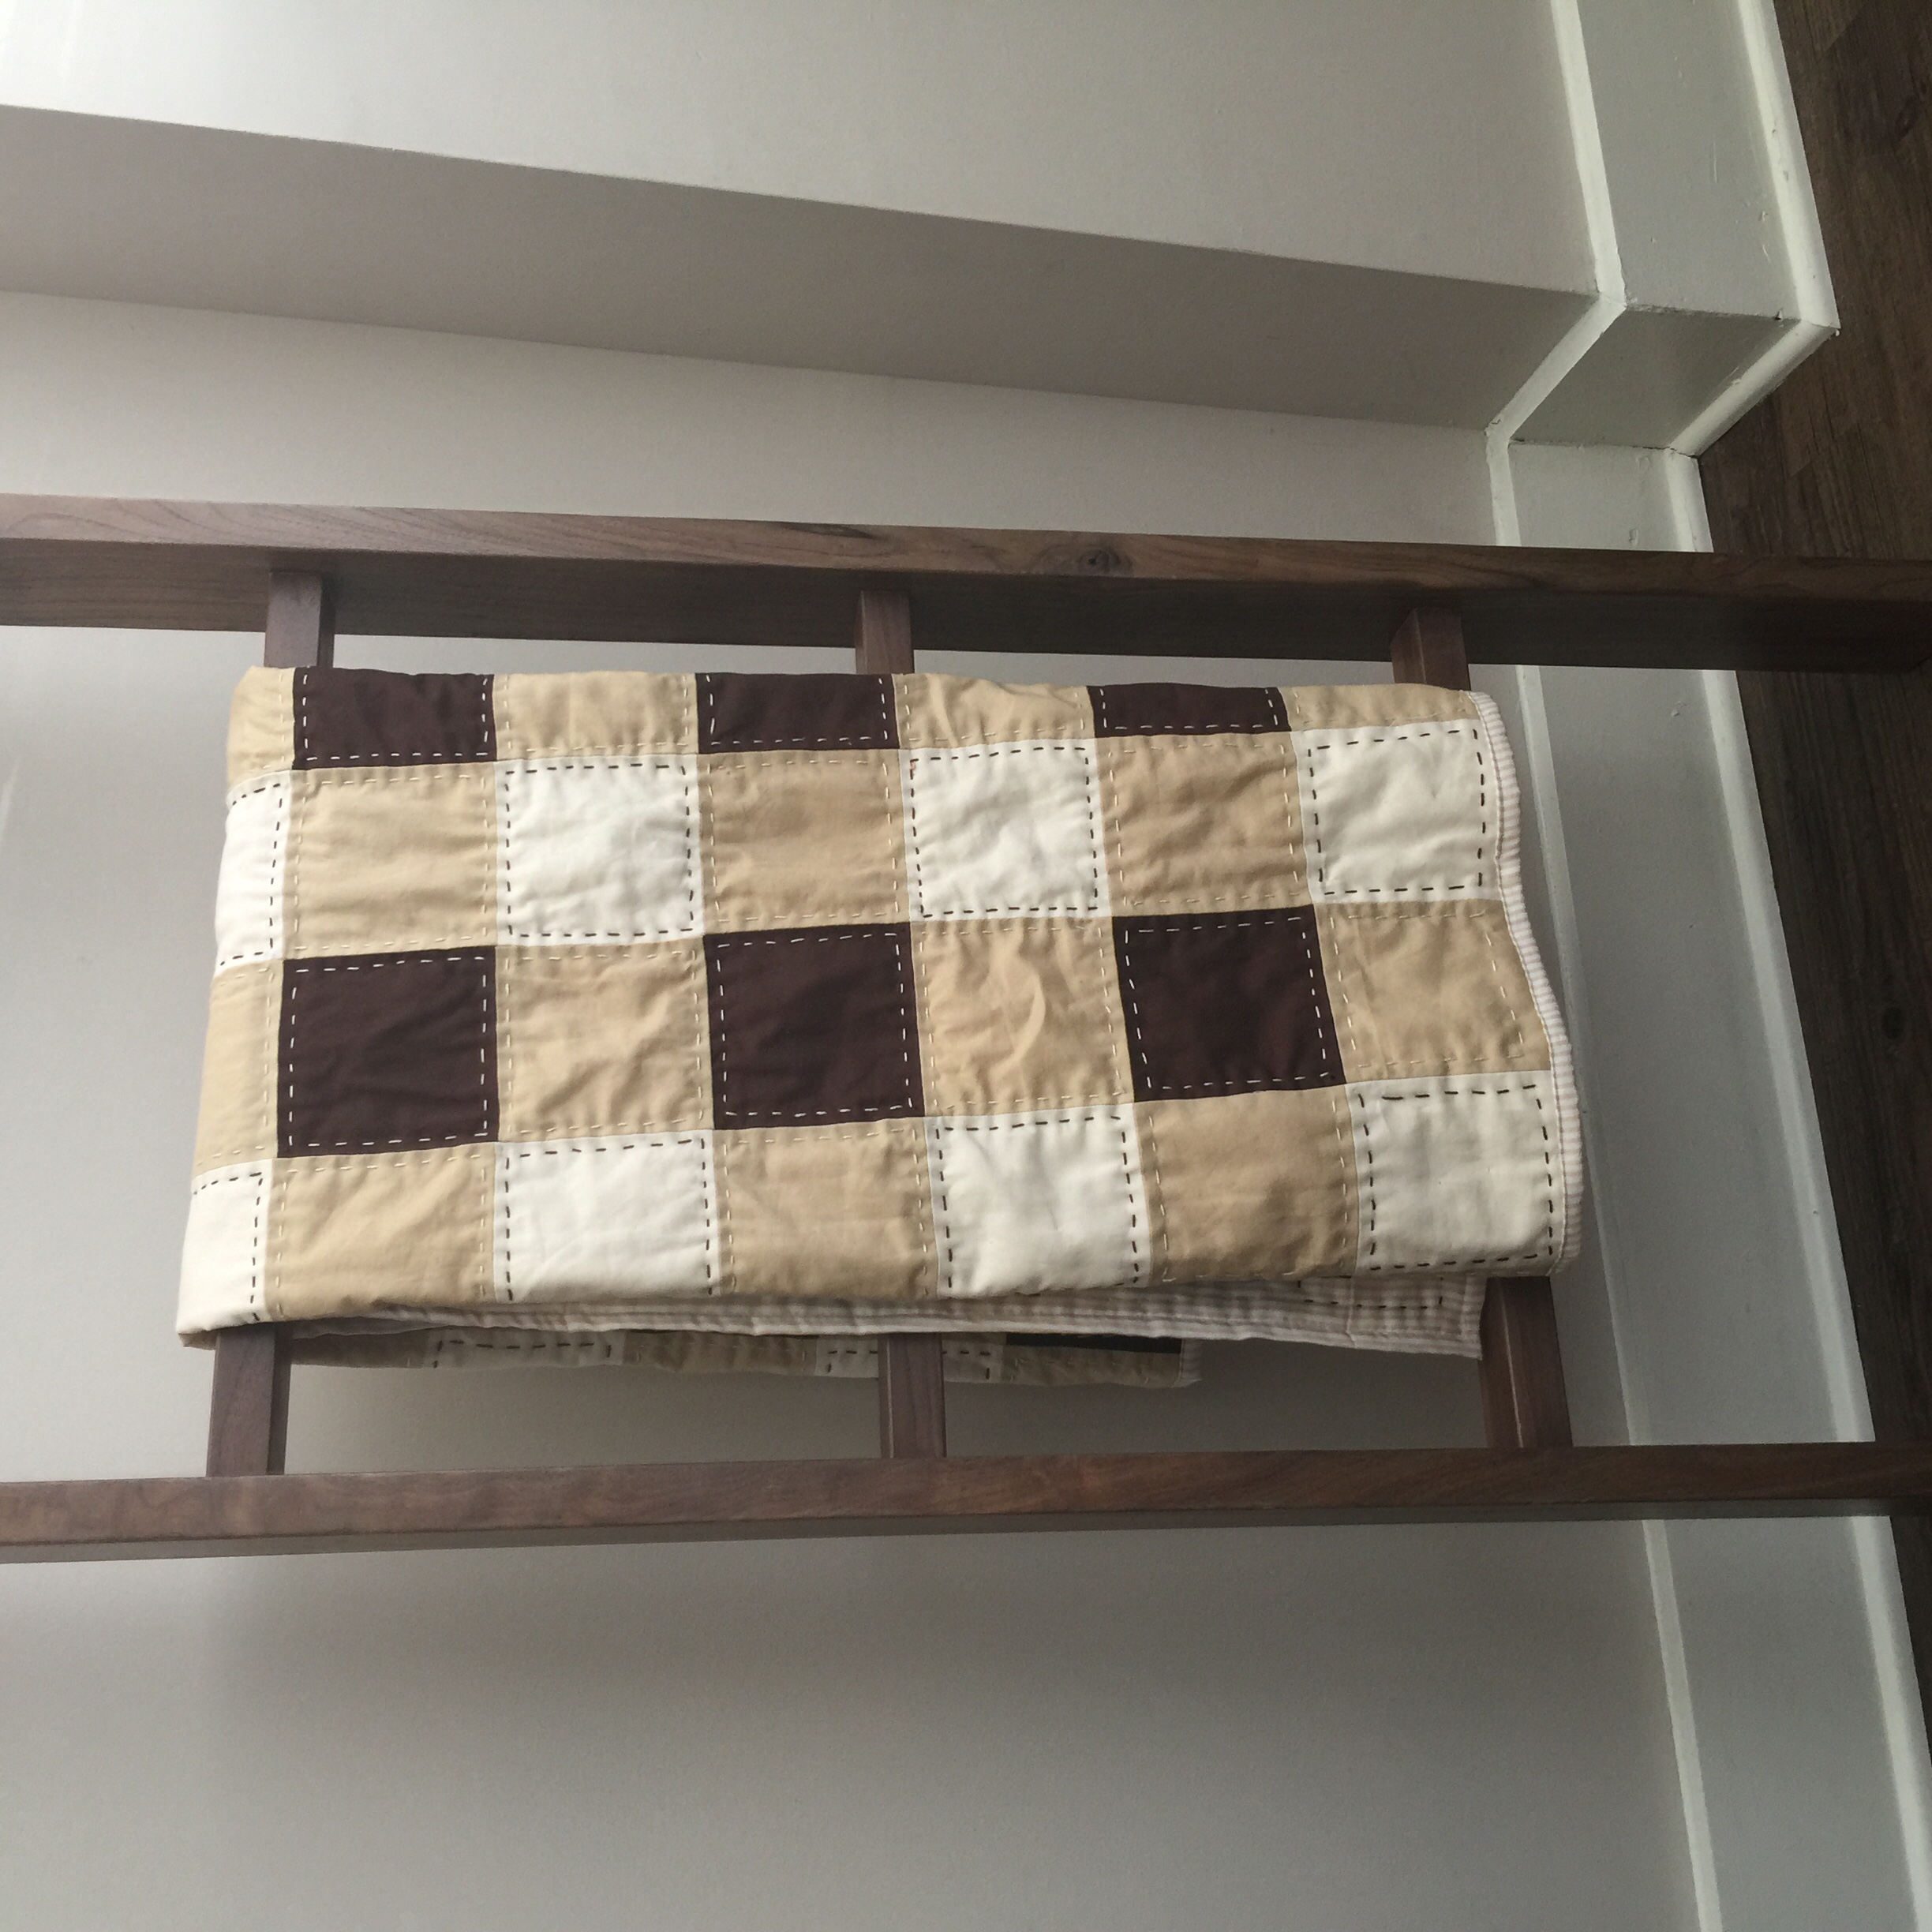
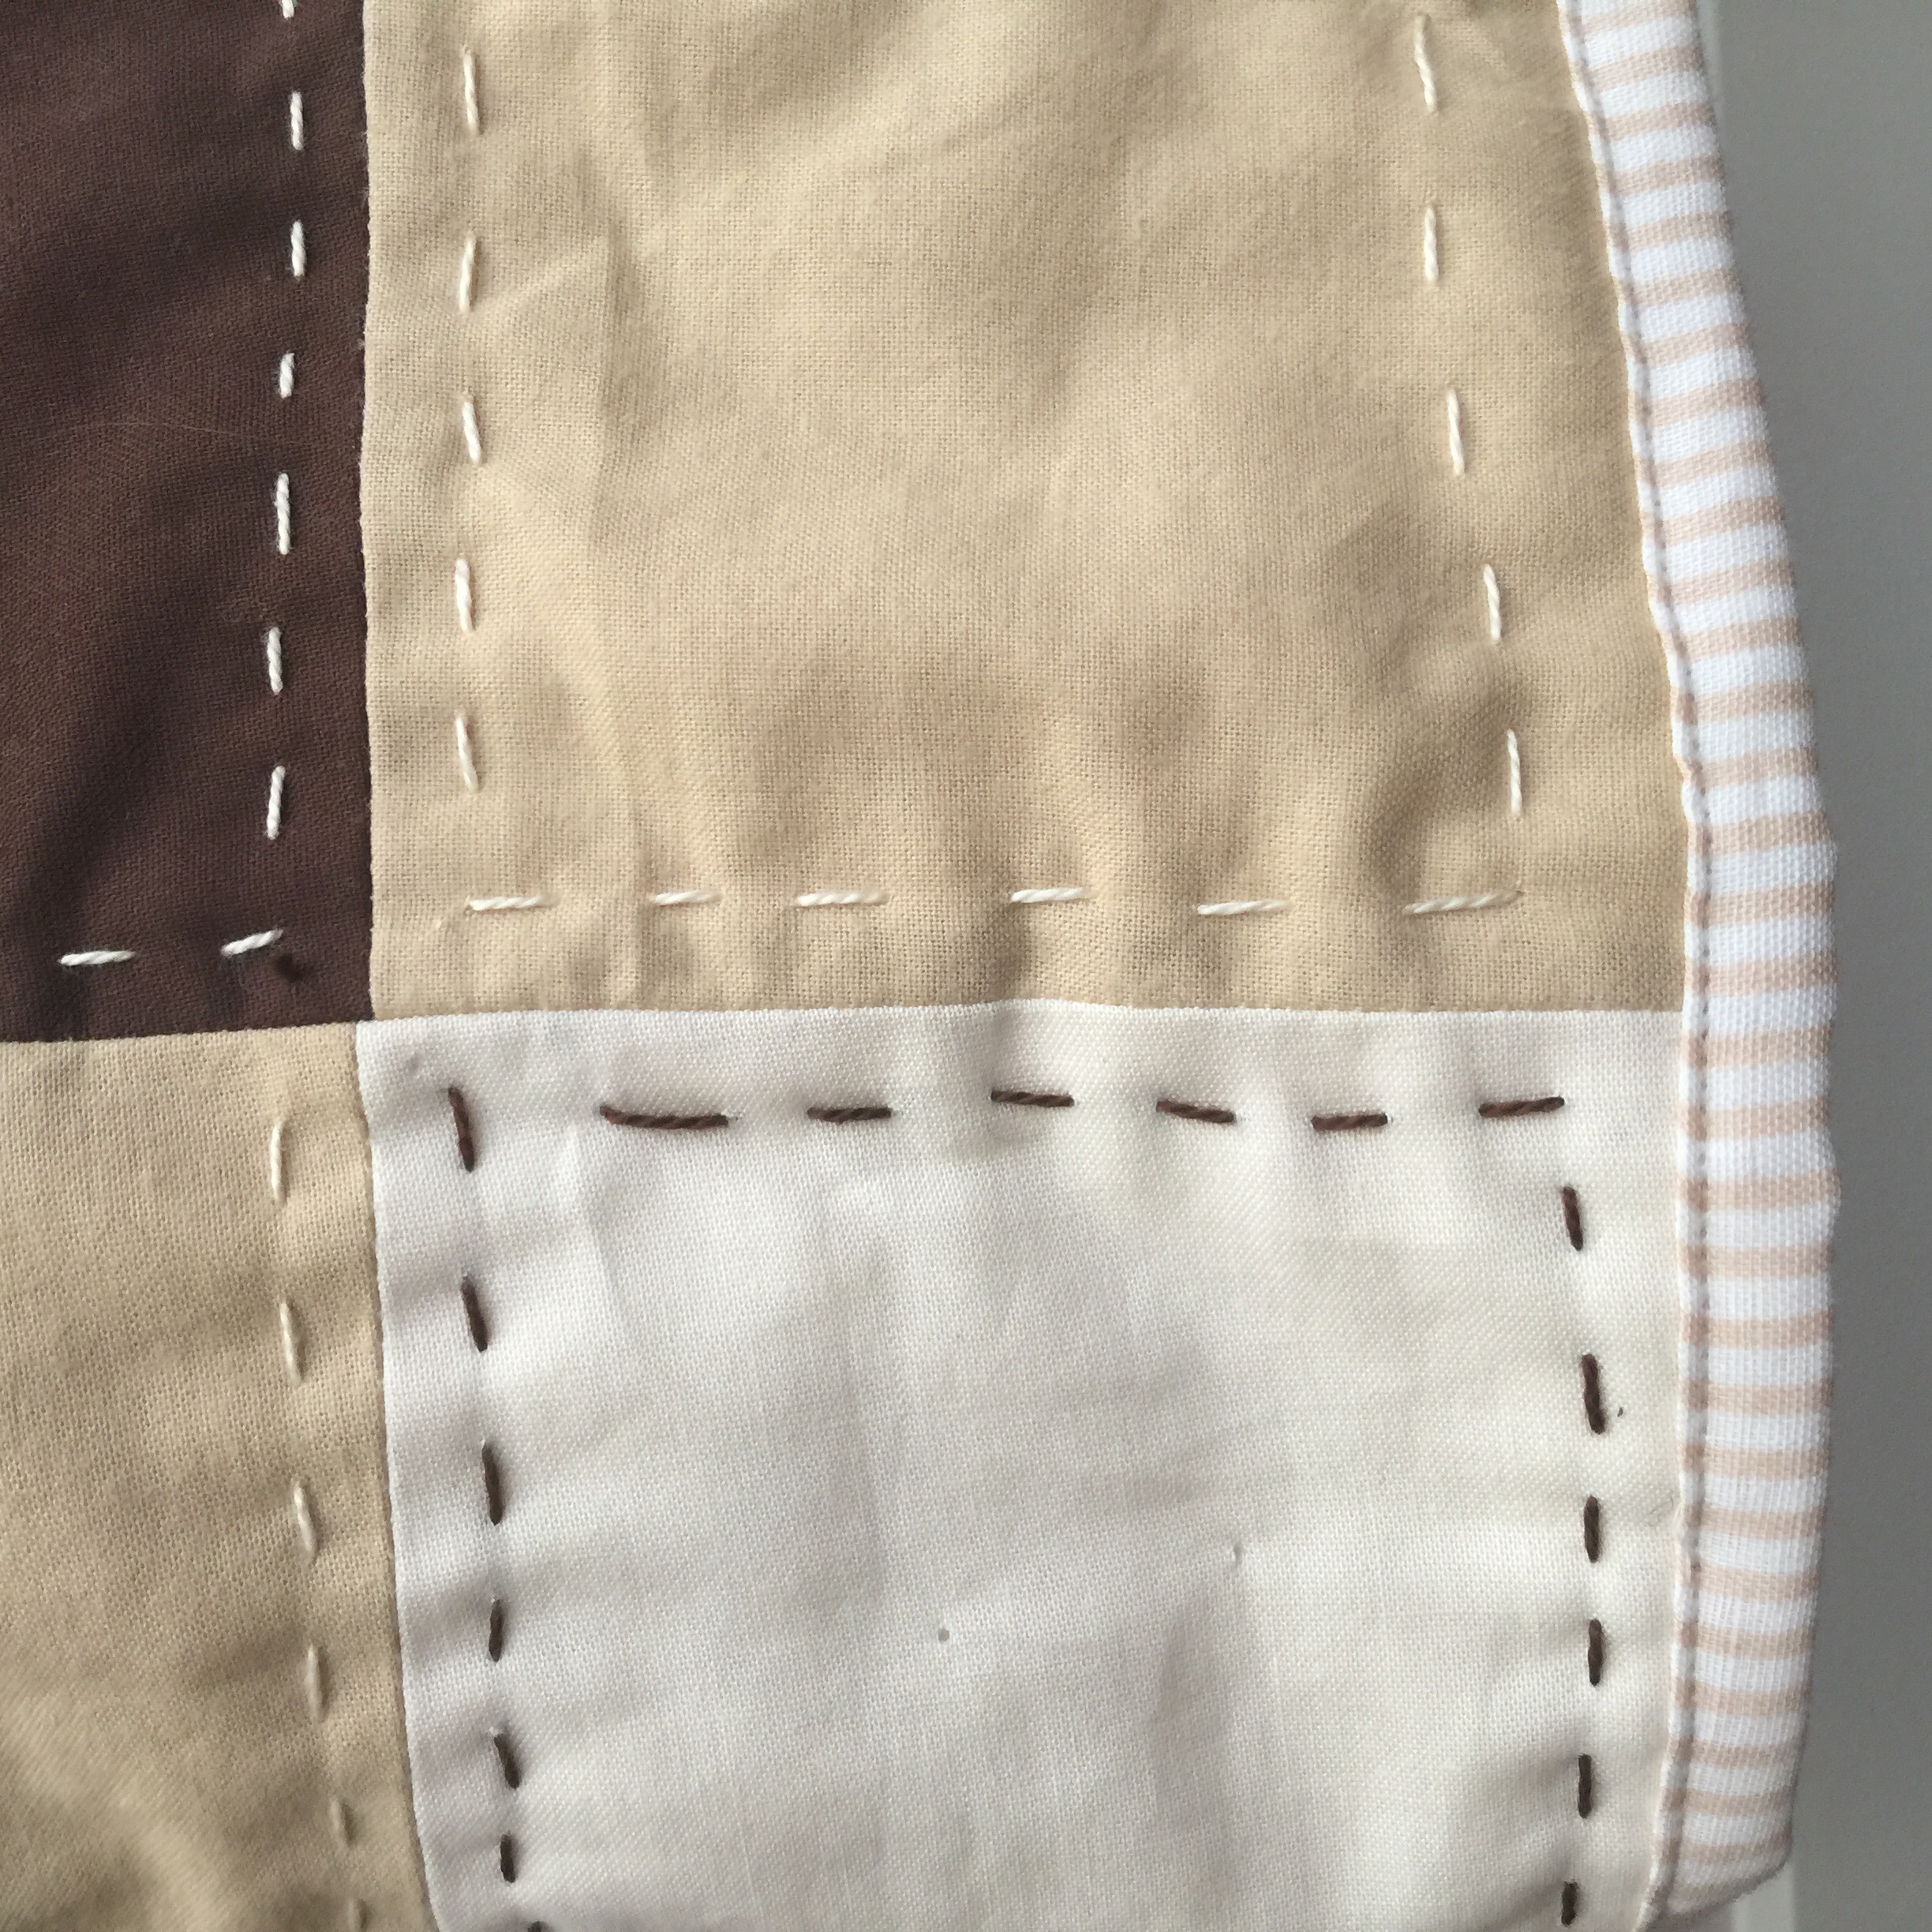
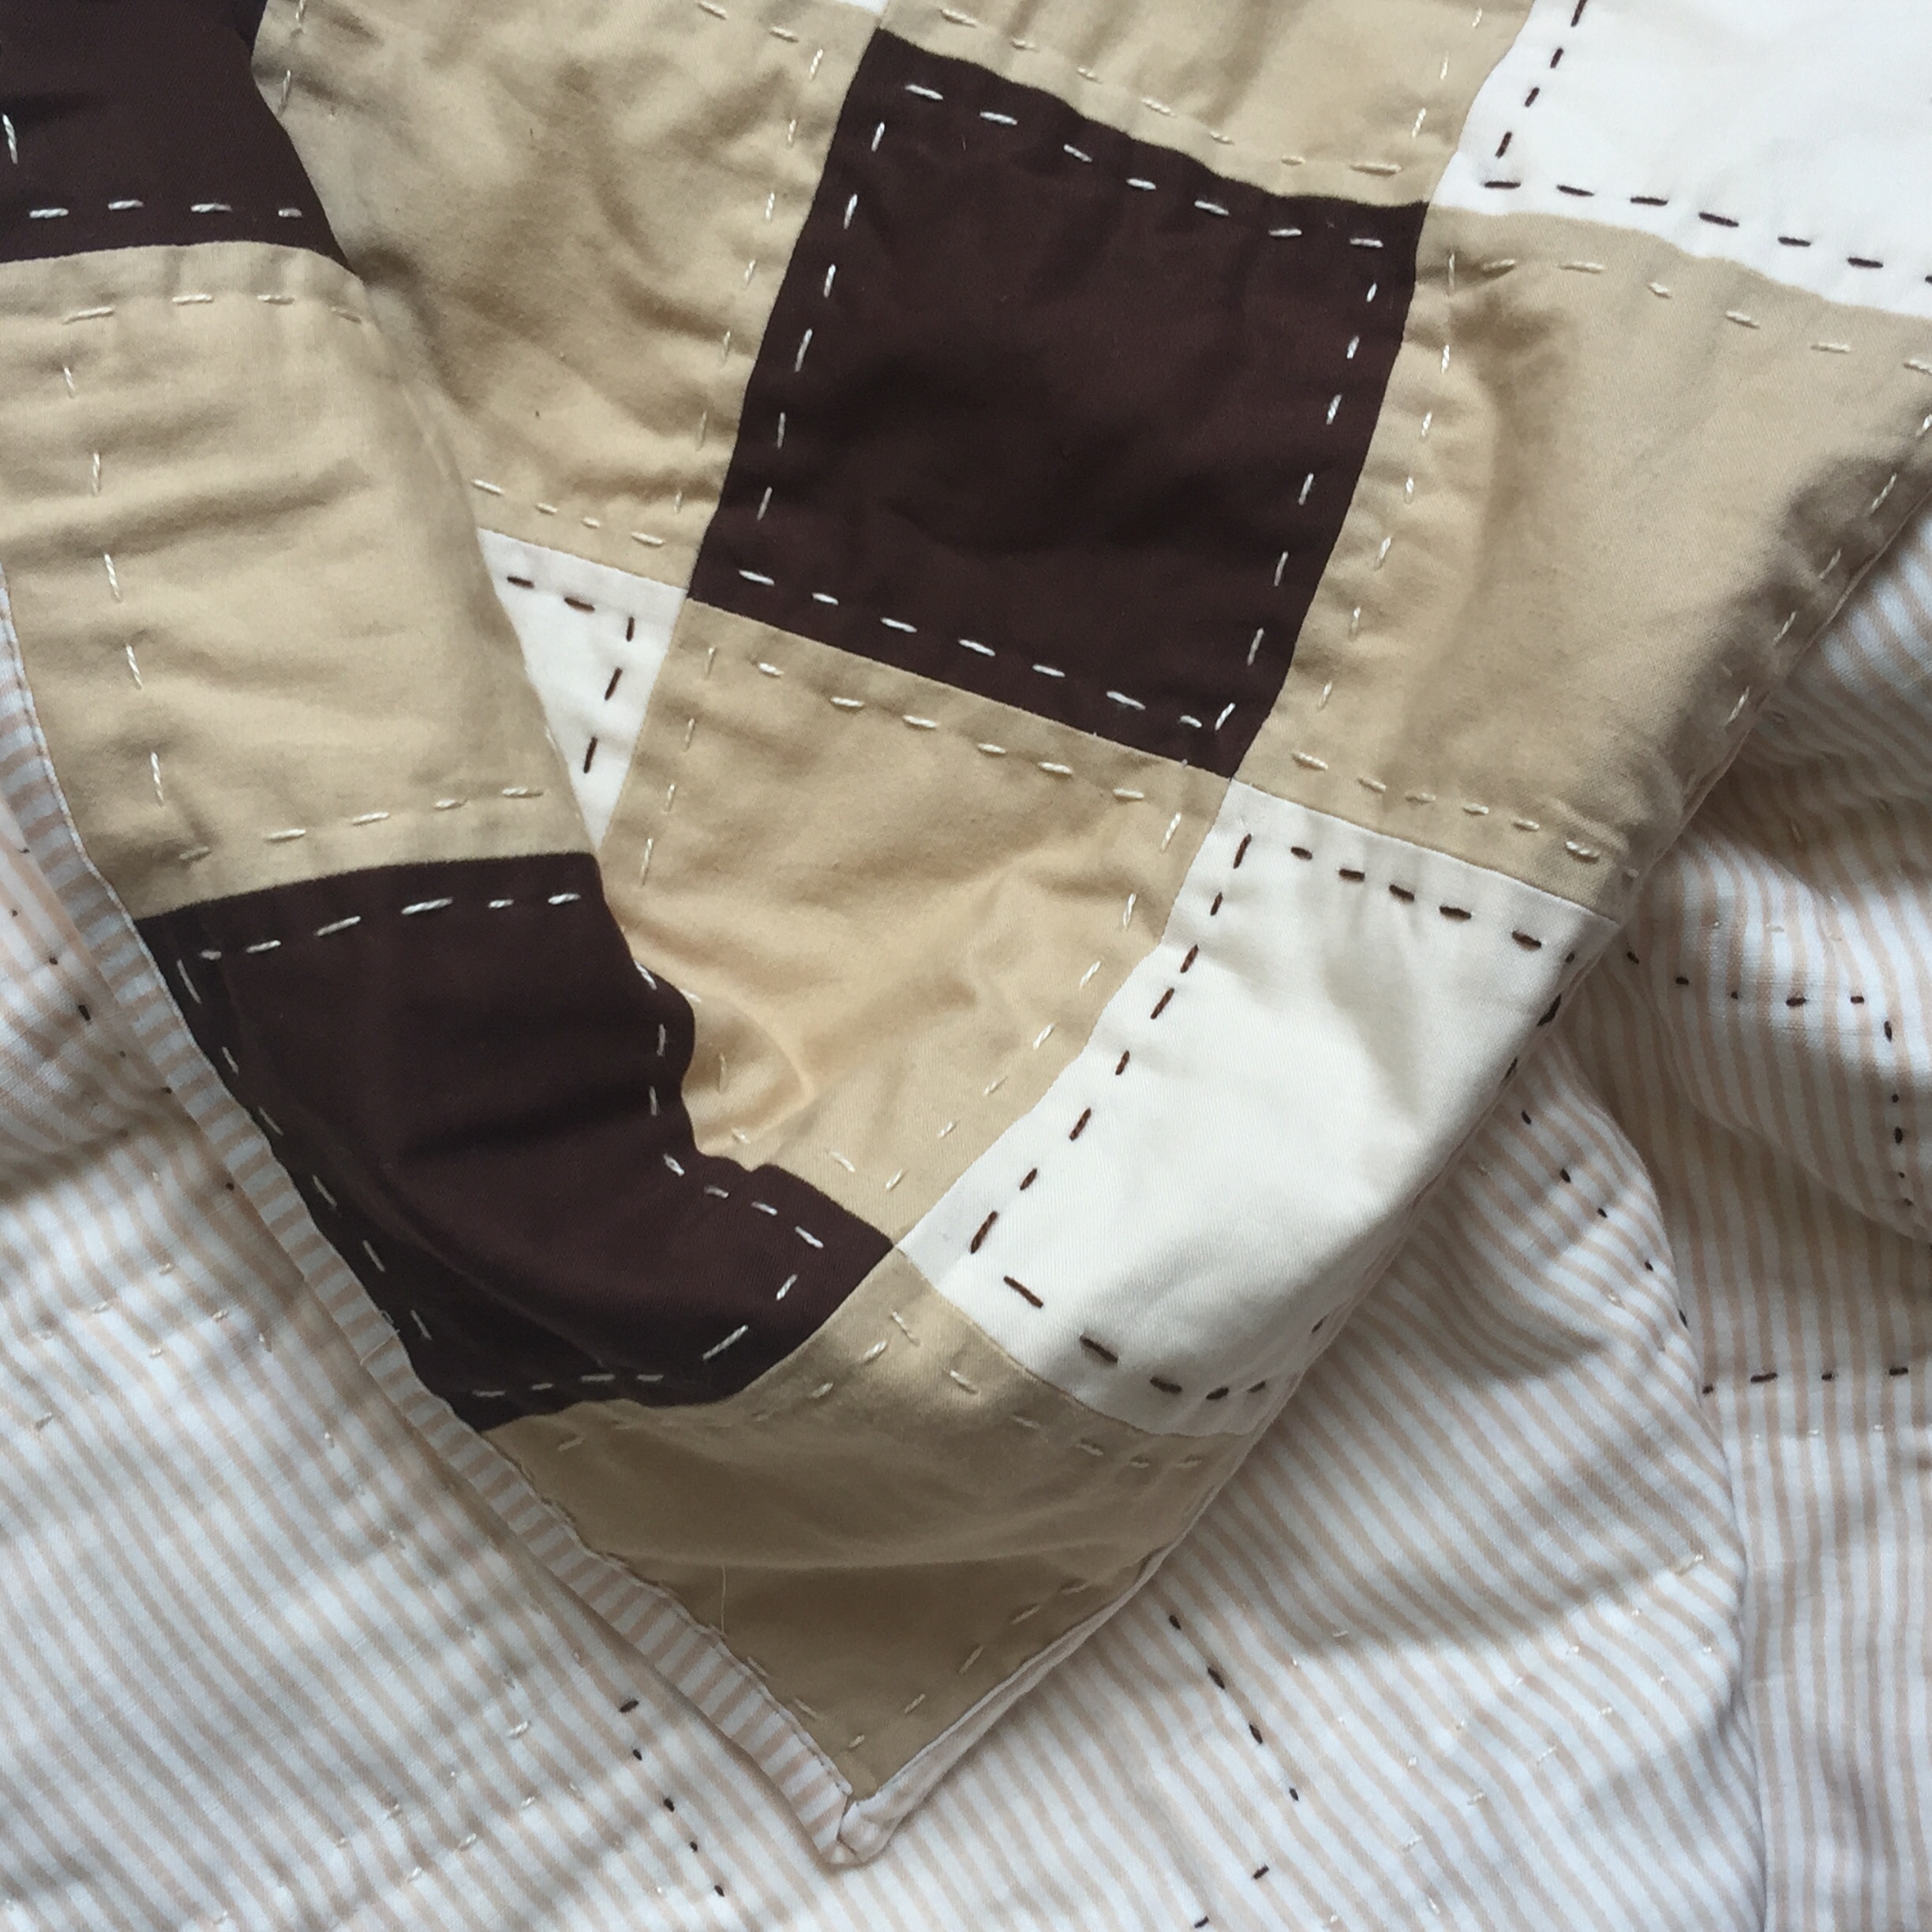

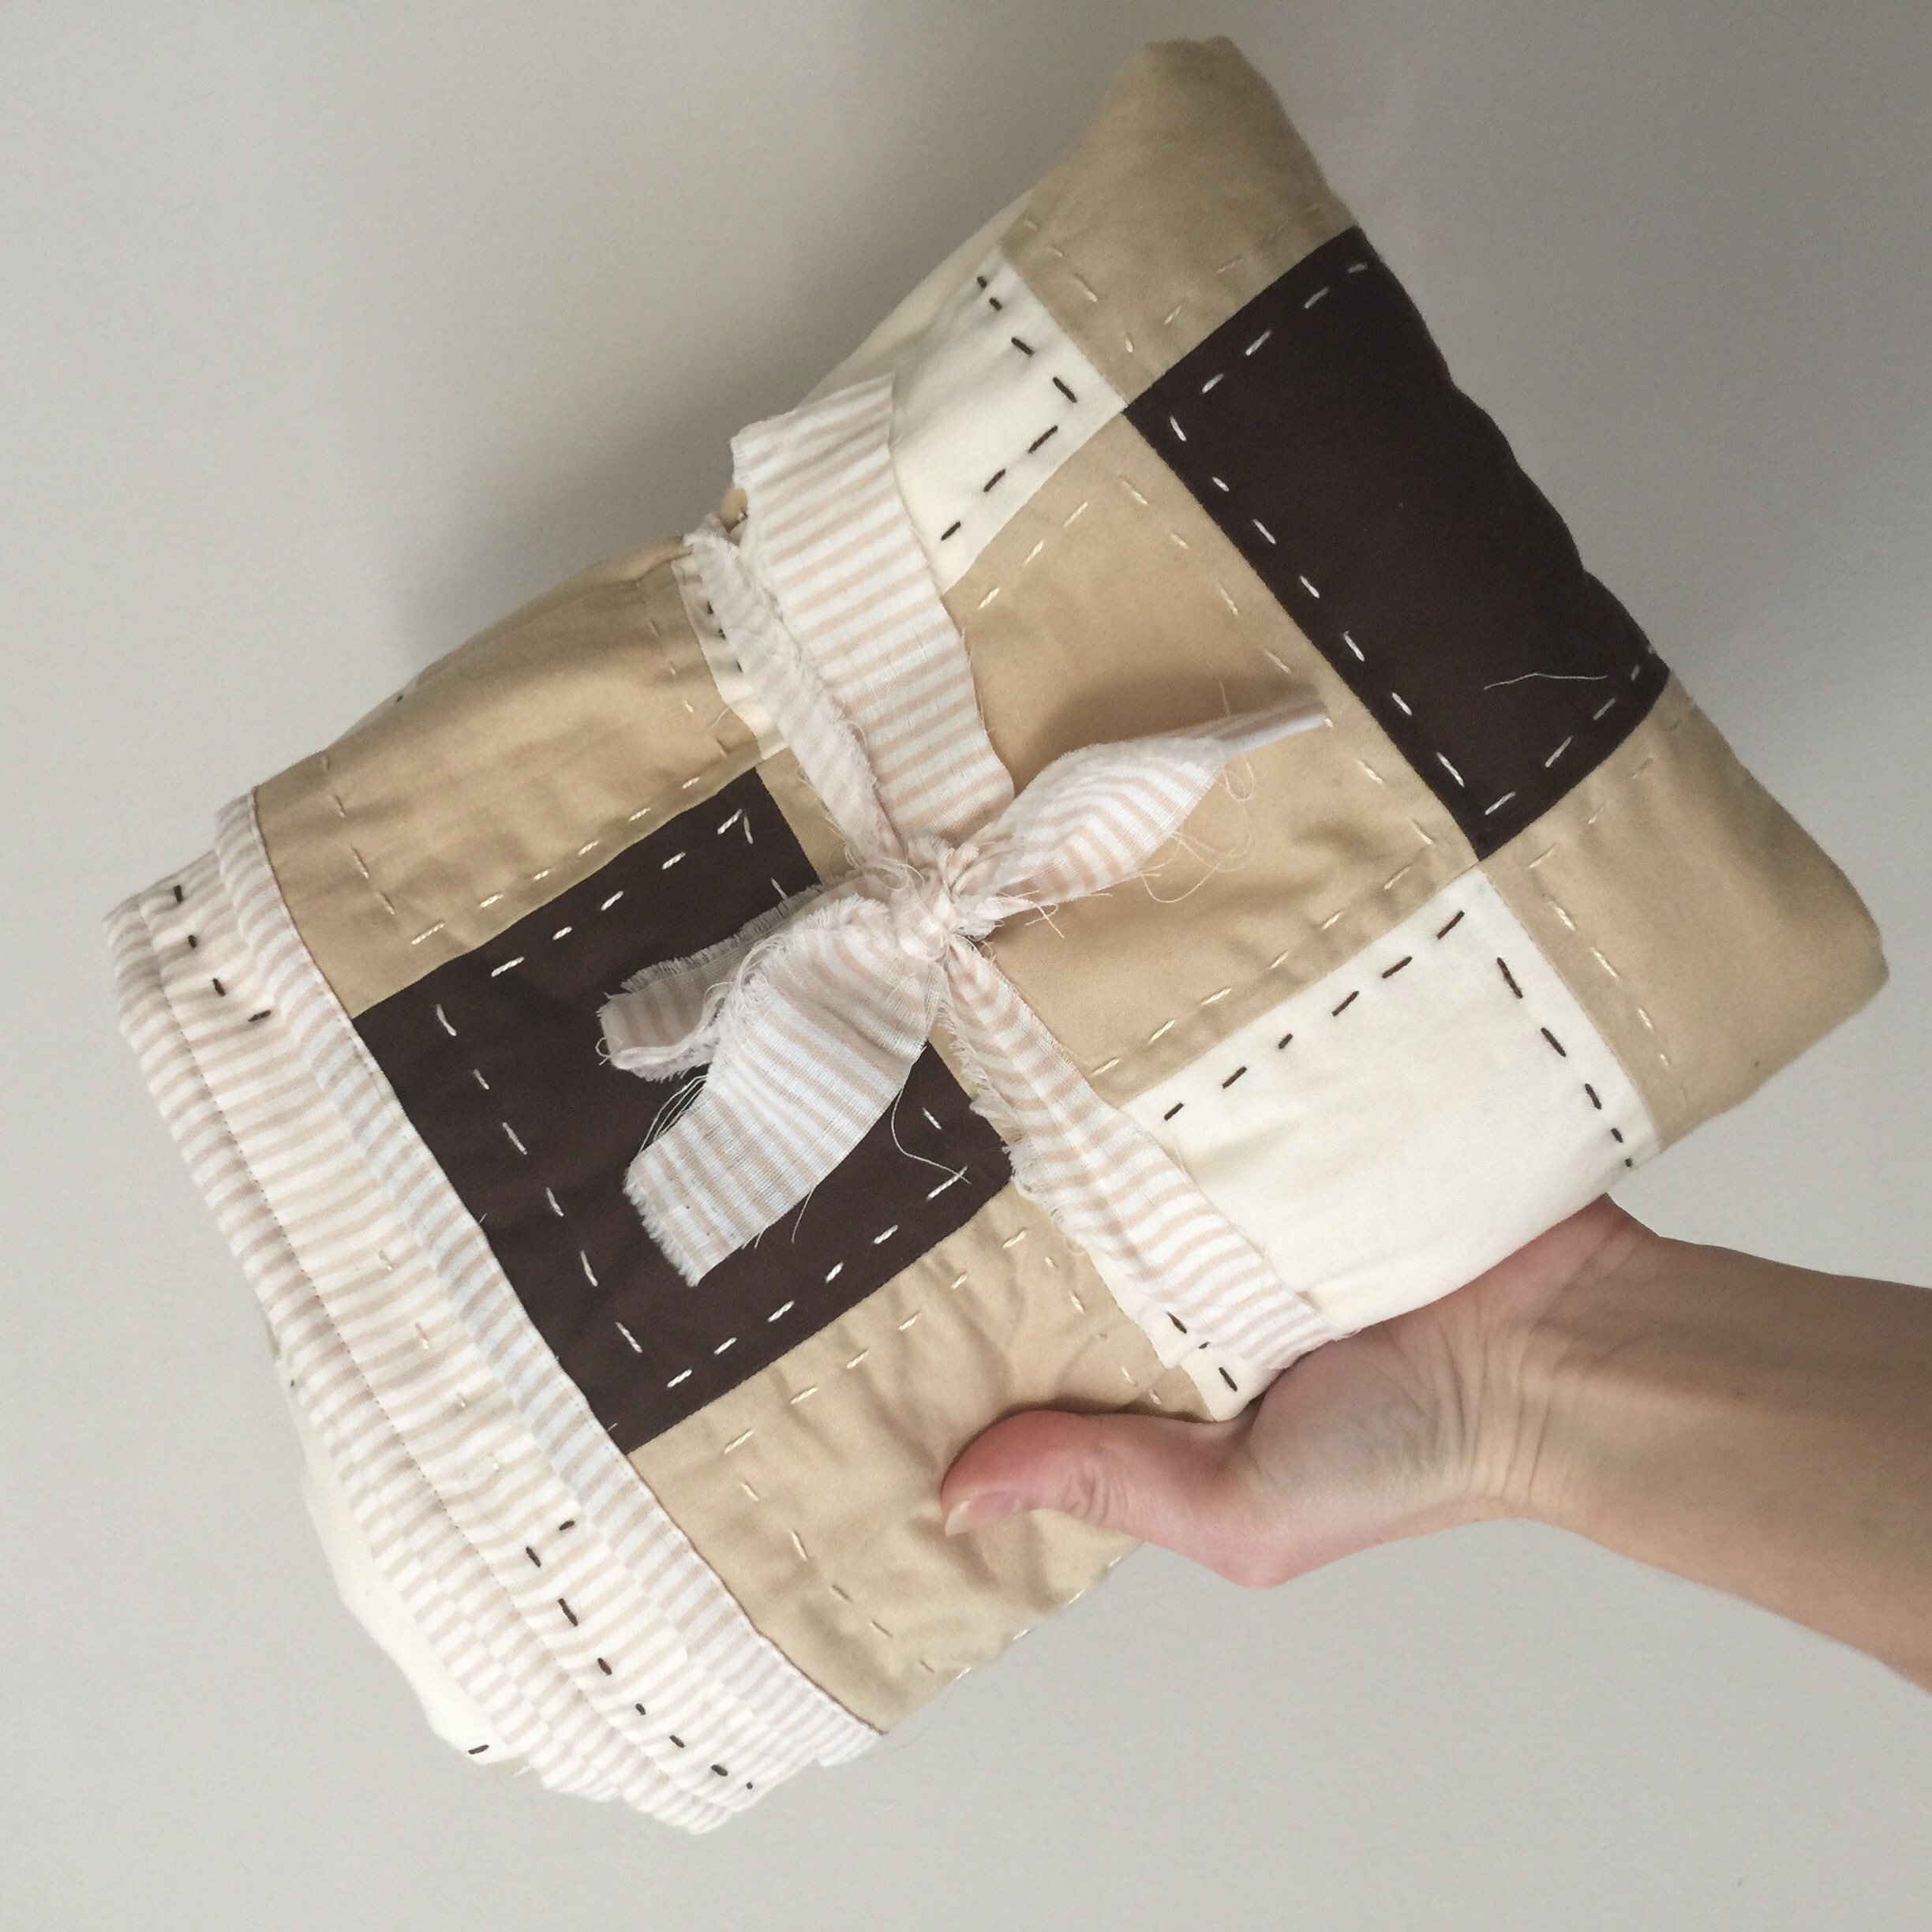
The stitching is wonky. I chose not to be a perfectionist and love how it looks. Kind of primitive and loose…
The best part of Little Boy’s gift, however, is this adorable wool teddy bear my twelve year old daughter designed and hand stitched, all by herself!
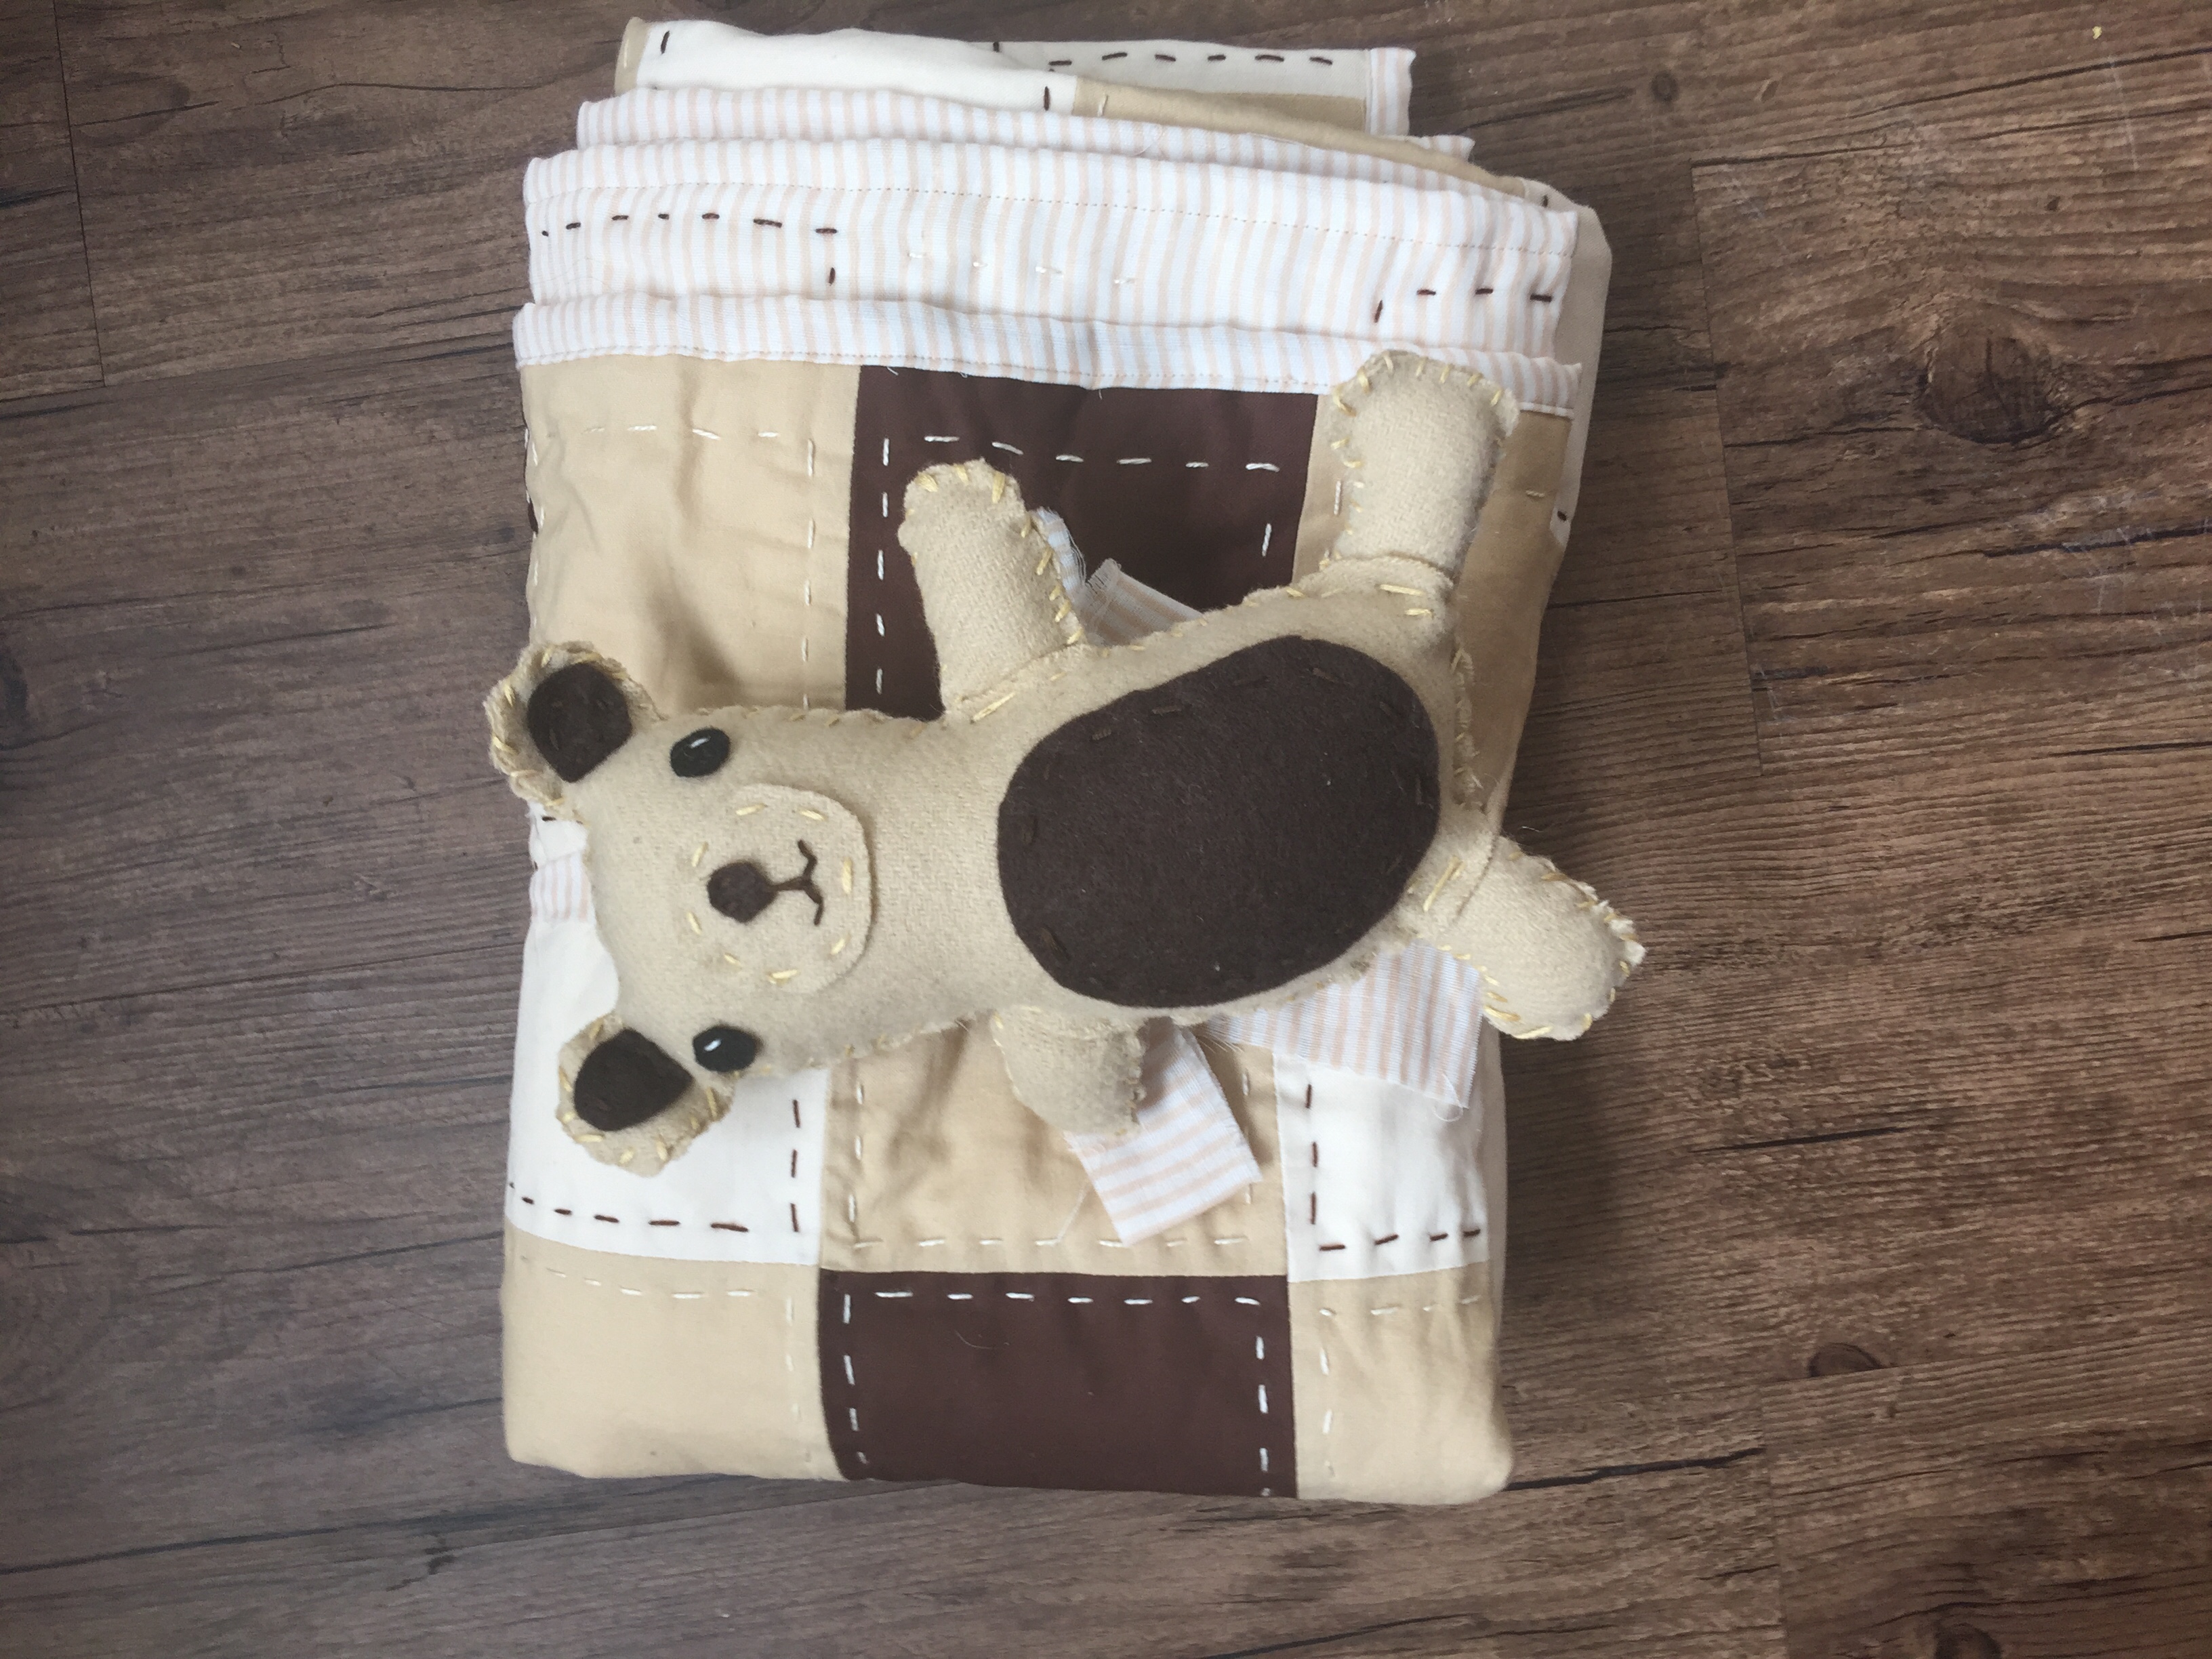
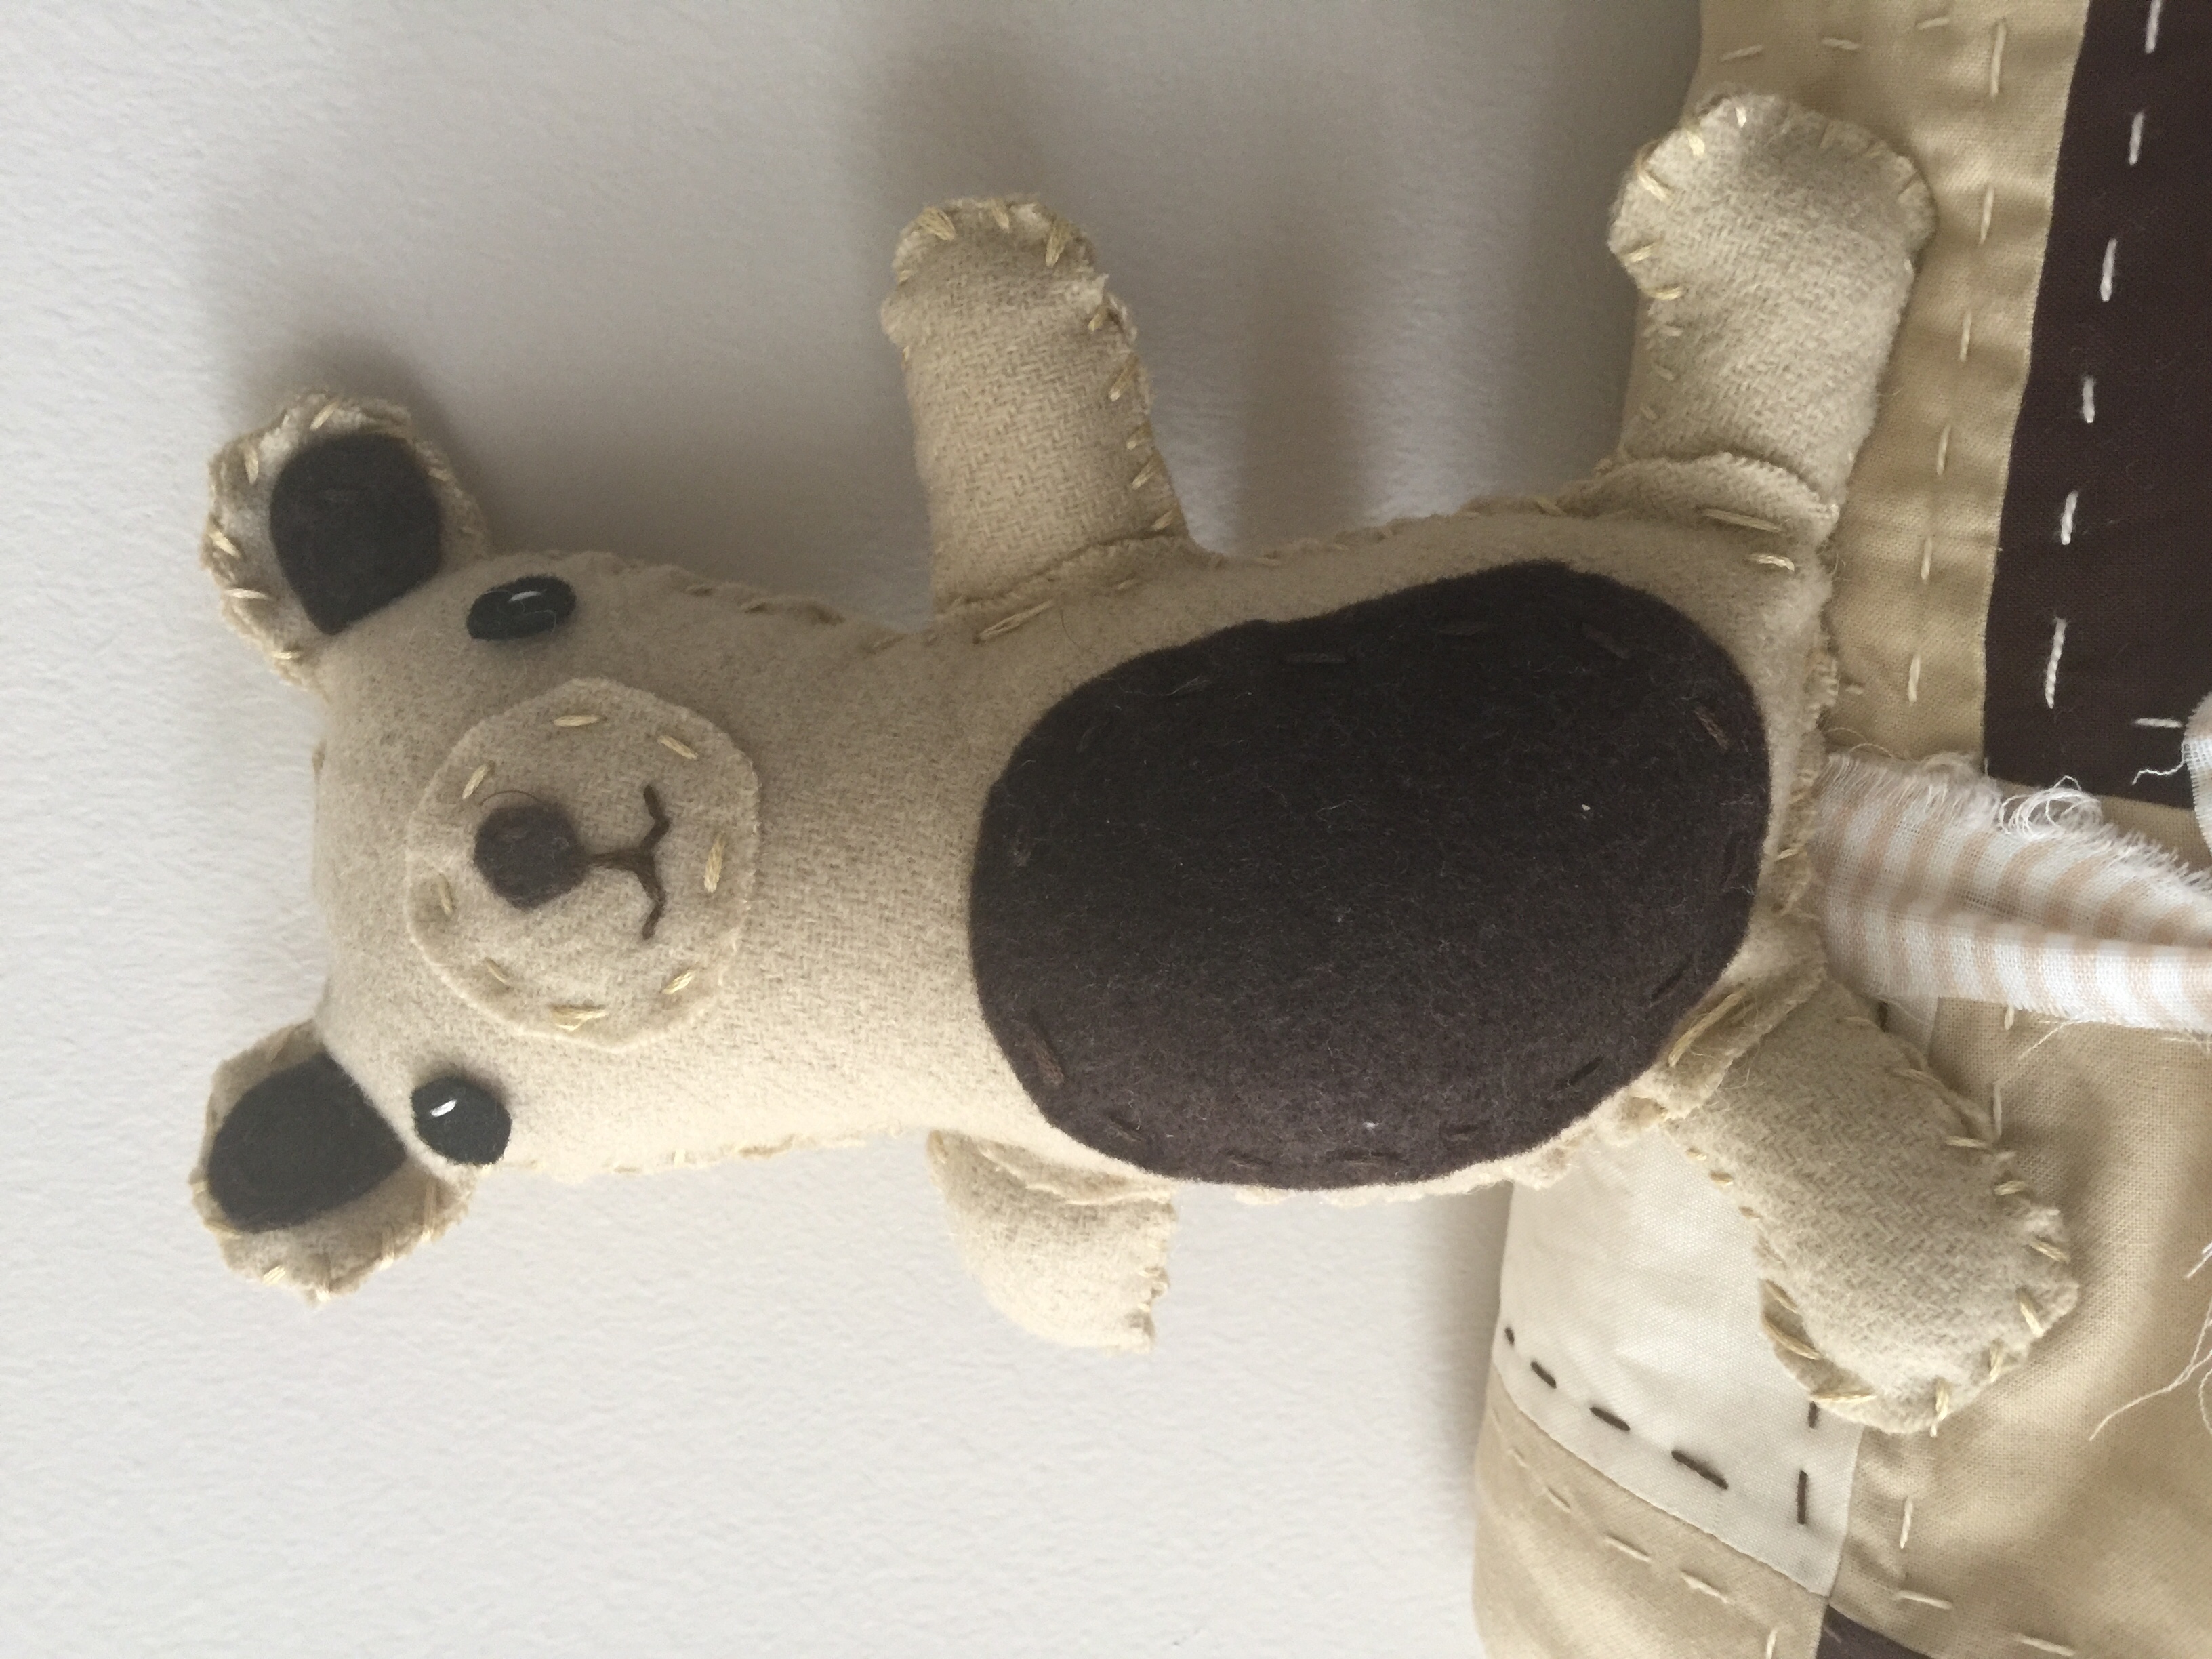
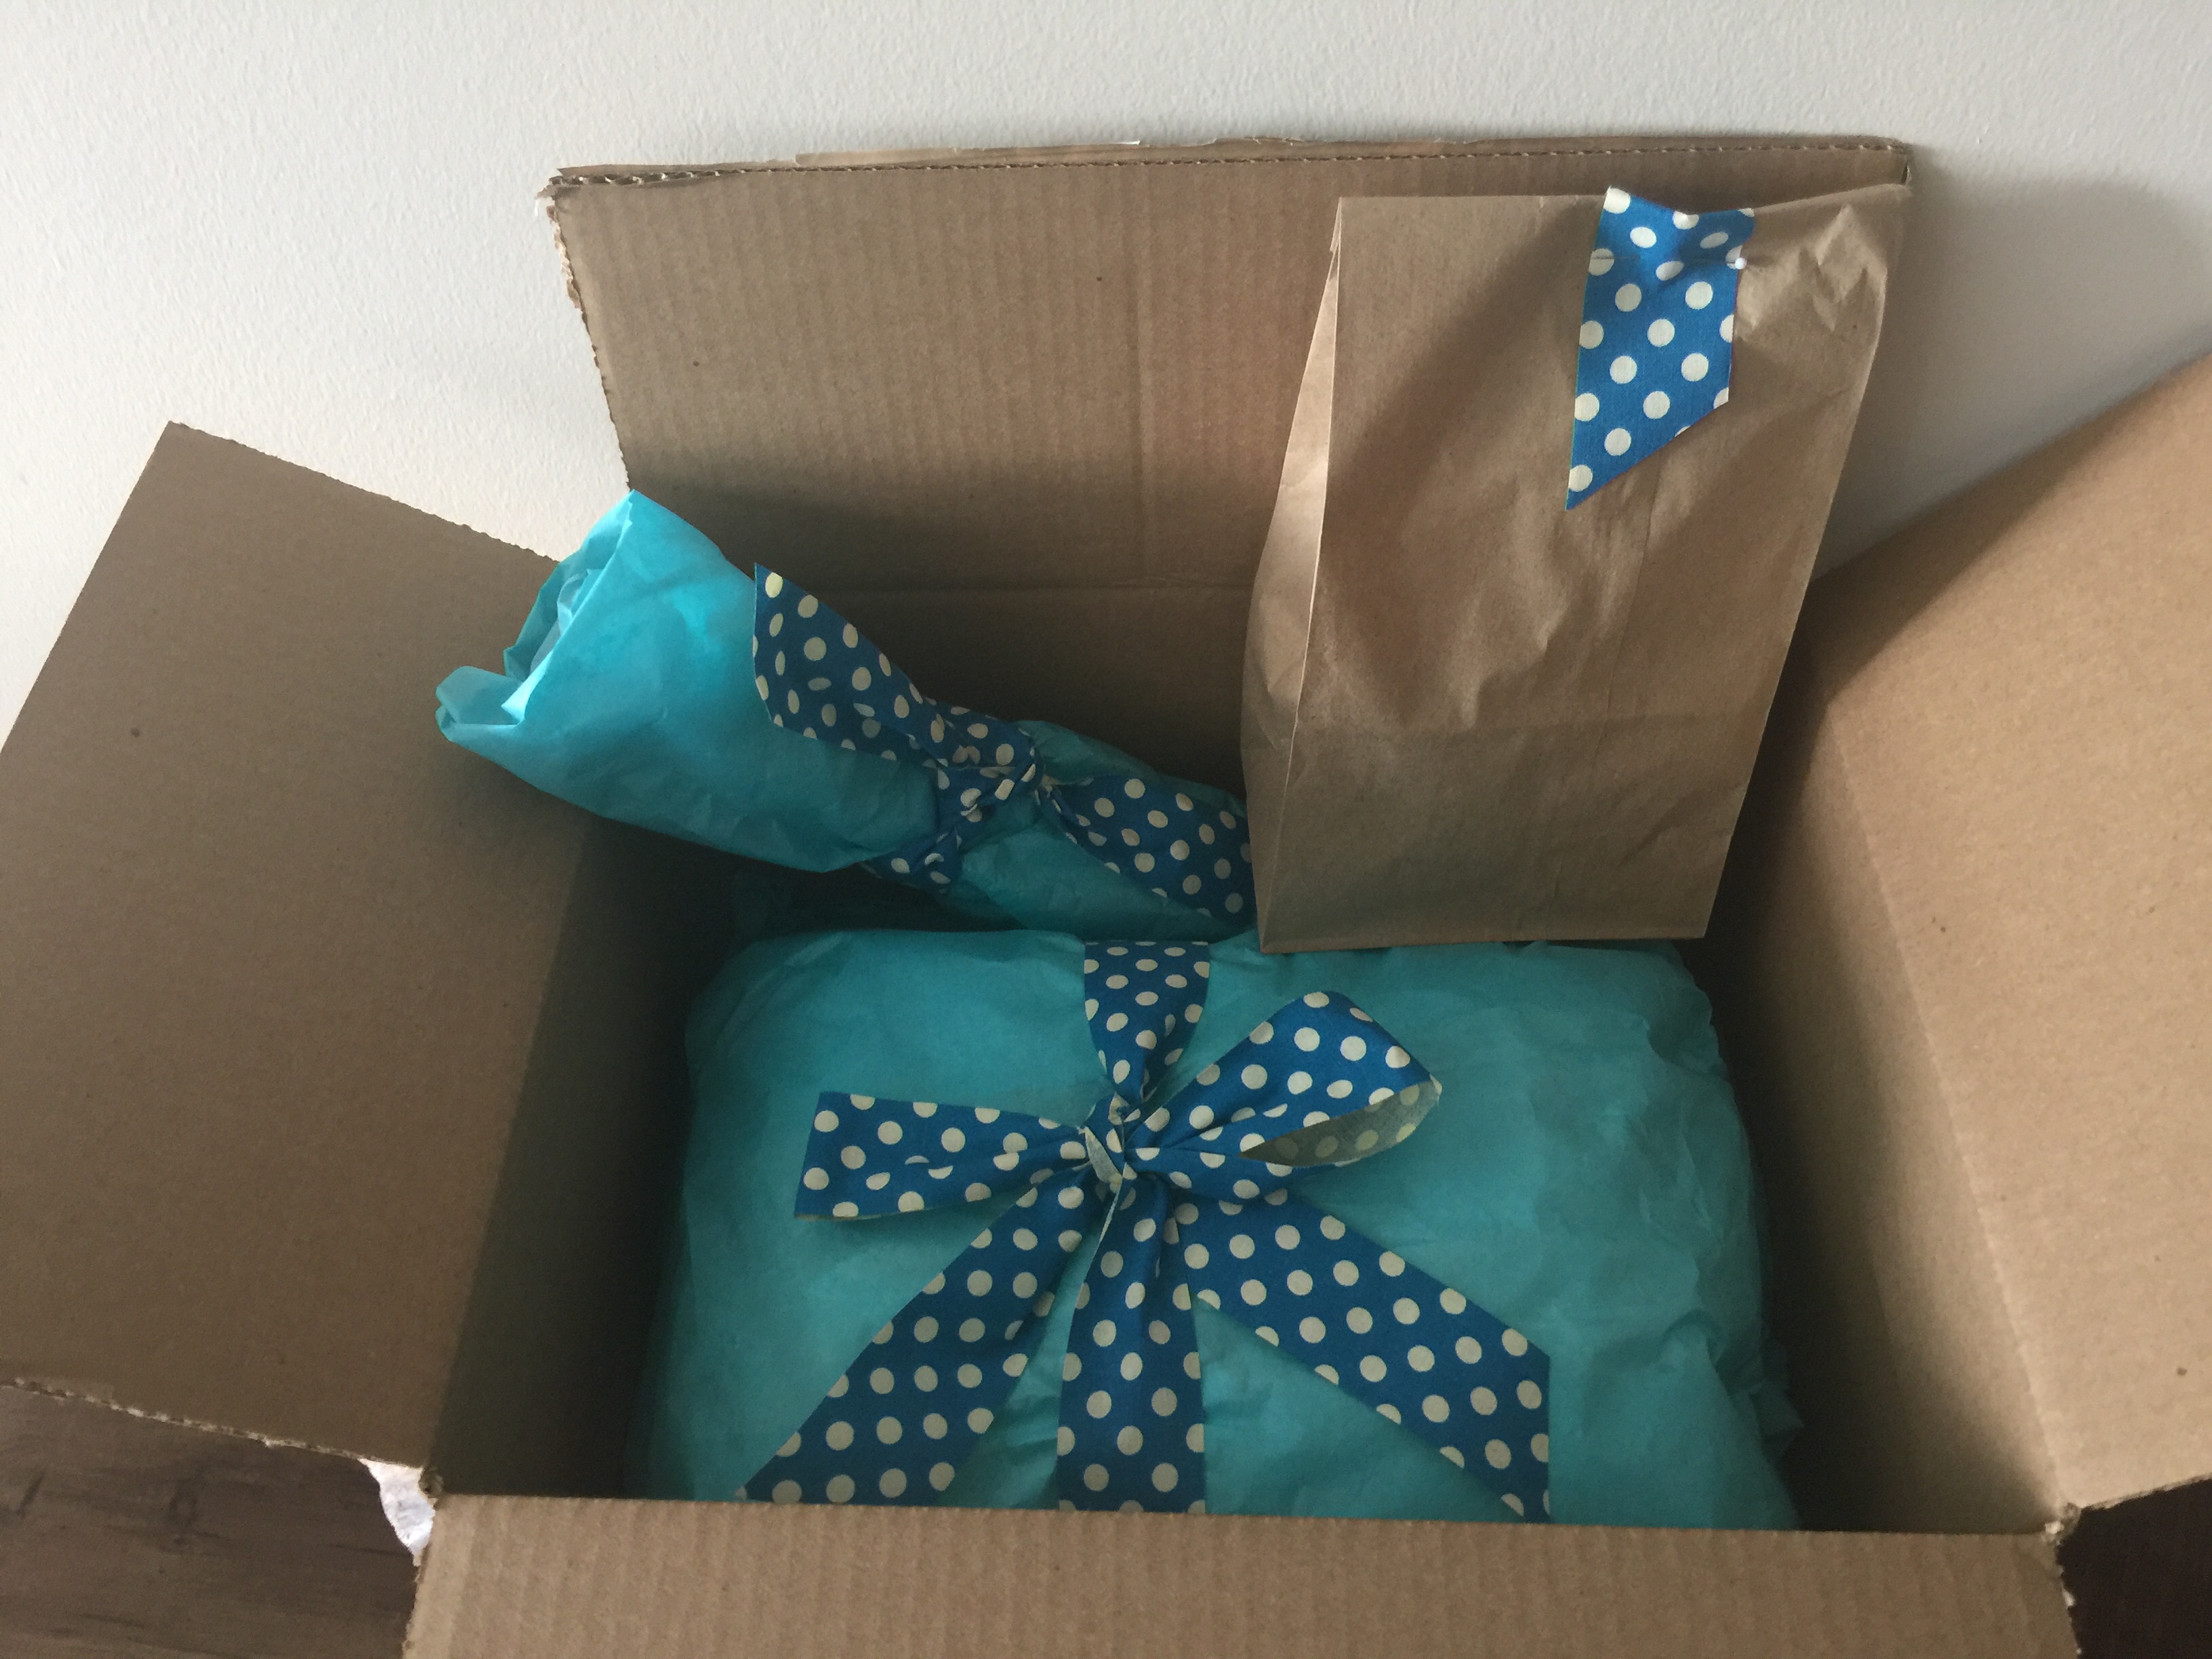
I wrapped it using some vintage ribbon I found at an estate sale 15 years ago!
Welcome little one, and thanks for giving me an excuse to quilt!
Makers Cottage ORNAMENTS!
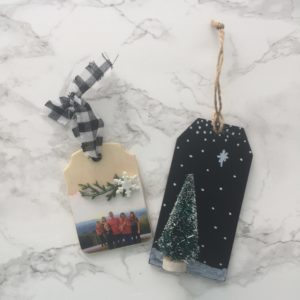
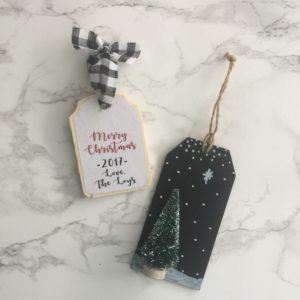
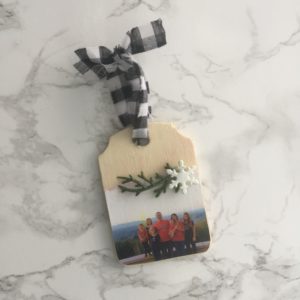
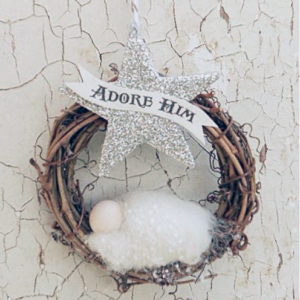
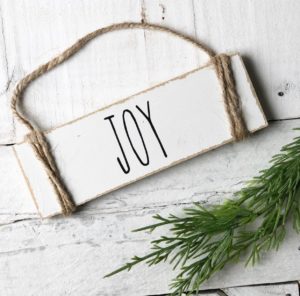
Christmas Ornaments are on the table for Makers Cottage this time! Whether you send an ornament for a gift or tie them to your packages for a little bonus, you won’t want to miss out on making a few unique ornaments with me at the loft. I have 4 ornaments to choose from. (I know I said 3 on the invite, but then I got excited and added another to the line up)
This year I plan to give a photo ornament to everyone on my Christmas Card list instead of a card. I’m pretty excited about it! AND you won’t find 2 of these ornaments on pinterest. I’ve designed them myself. IF you want in on this project, you’ll need to upload me your family photo and greeting text ahead of time so I can lay them out and print them off…so be sure you are on the ball and USE THE SIGN UP SHEET !
Please join me December 7 for crafting and clucking! Drinks, Christmas Music and hot glue will be provided!
Here are the ornament options:
Sign up by clicking the button!
Makers Cottage
One day, I hope to own my very own company, with a brick and mortor store. A place where art and craft meet. A place where fellowship and therapy happen over busy hands around a table of makers. A place that feels like your home away from home, only more heavenly.
It starts here…with Maker’s Cottage. Will you join me? I host small gatherings of modern makers where we rekindle the lost art of busy hands and beautiful handmade gifts.
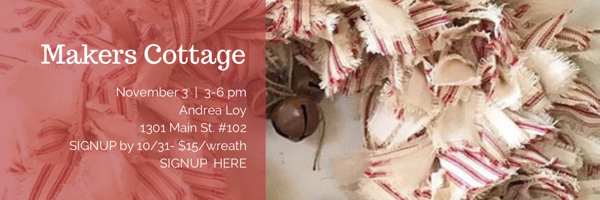
This month I’ll be kicking back into gear after almost a year hiatus from Maker’s Cottage. Our first event will be Christmas Rag wreaths. These wreaths will be made on wire frames and the only skill you need is knot tying! Come join the fun and sign up below so I have enough supplies ready.
I’ll be here to make sure you go home with a new skill and a giftable handmade craft. Click on the image below to sign up!

