Triangle Baby Quilt
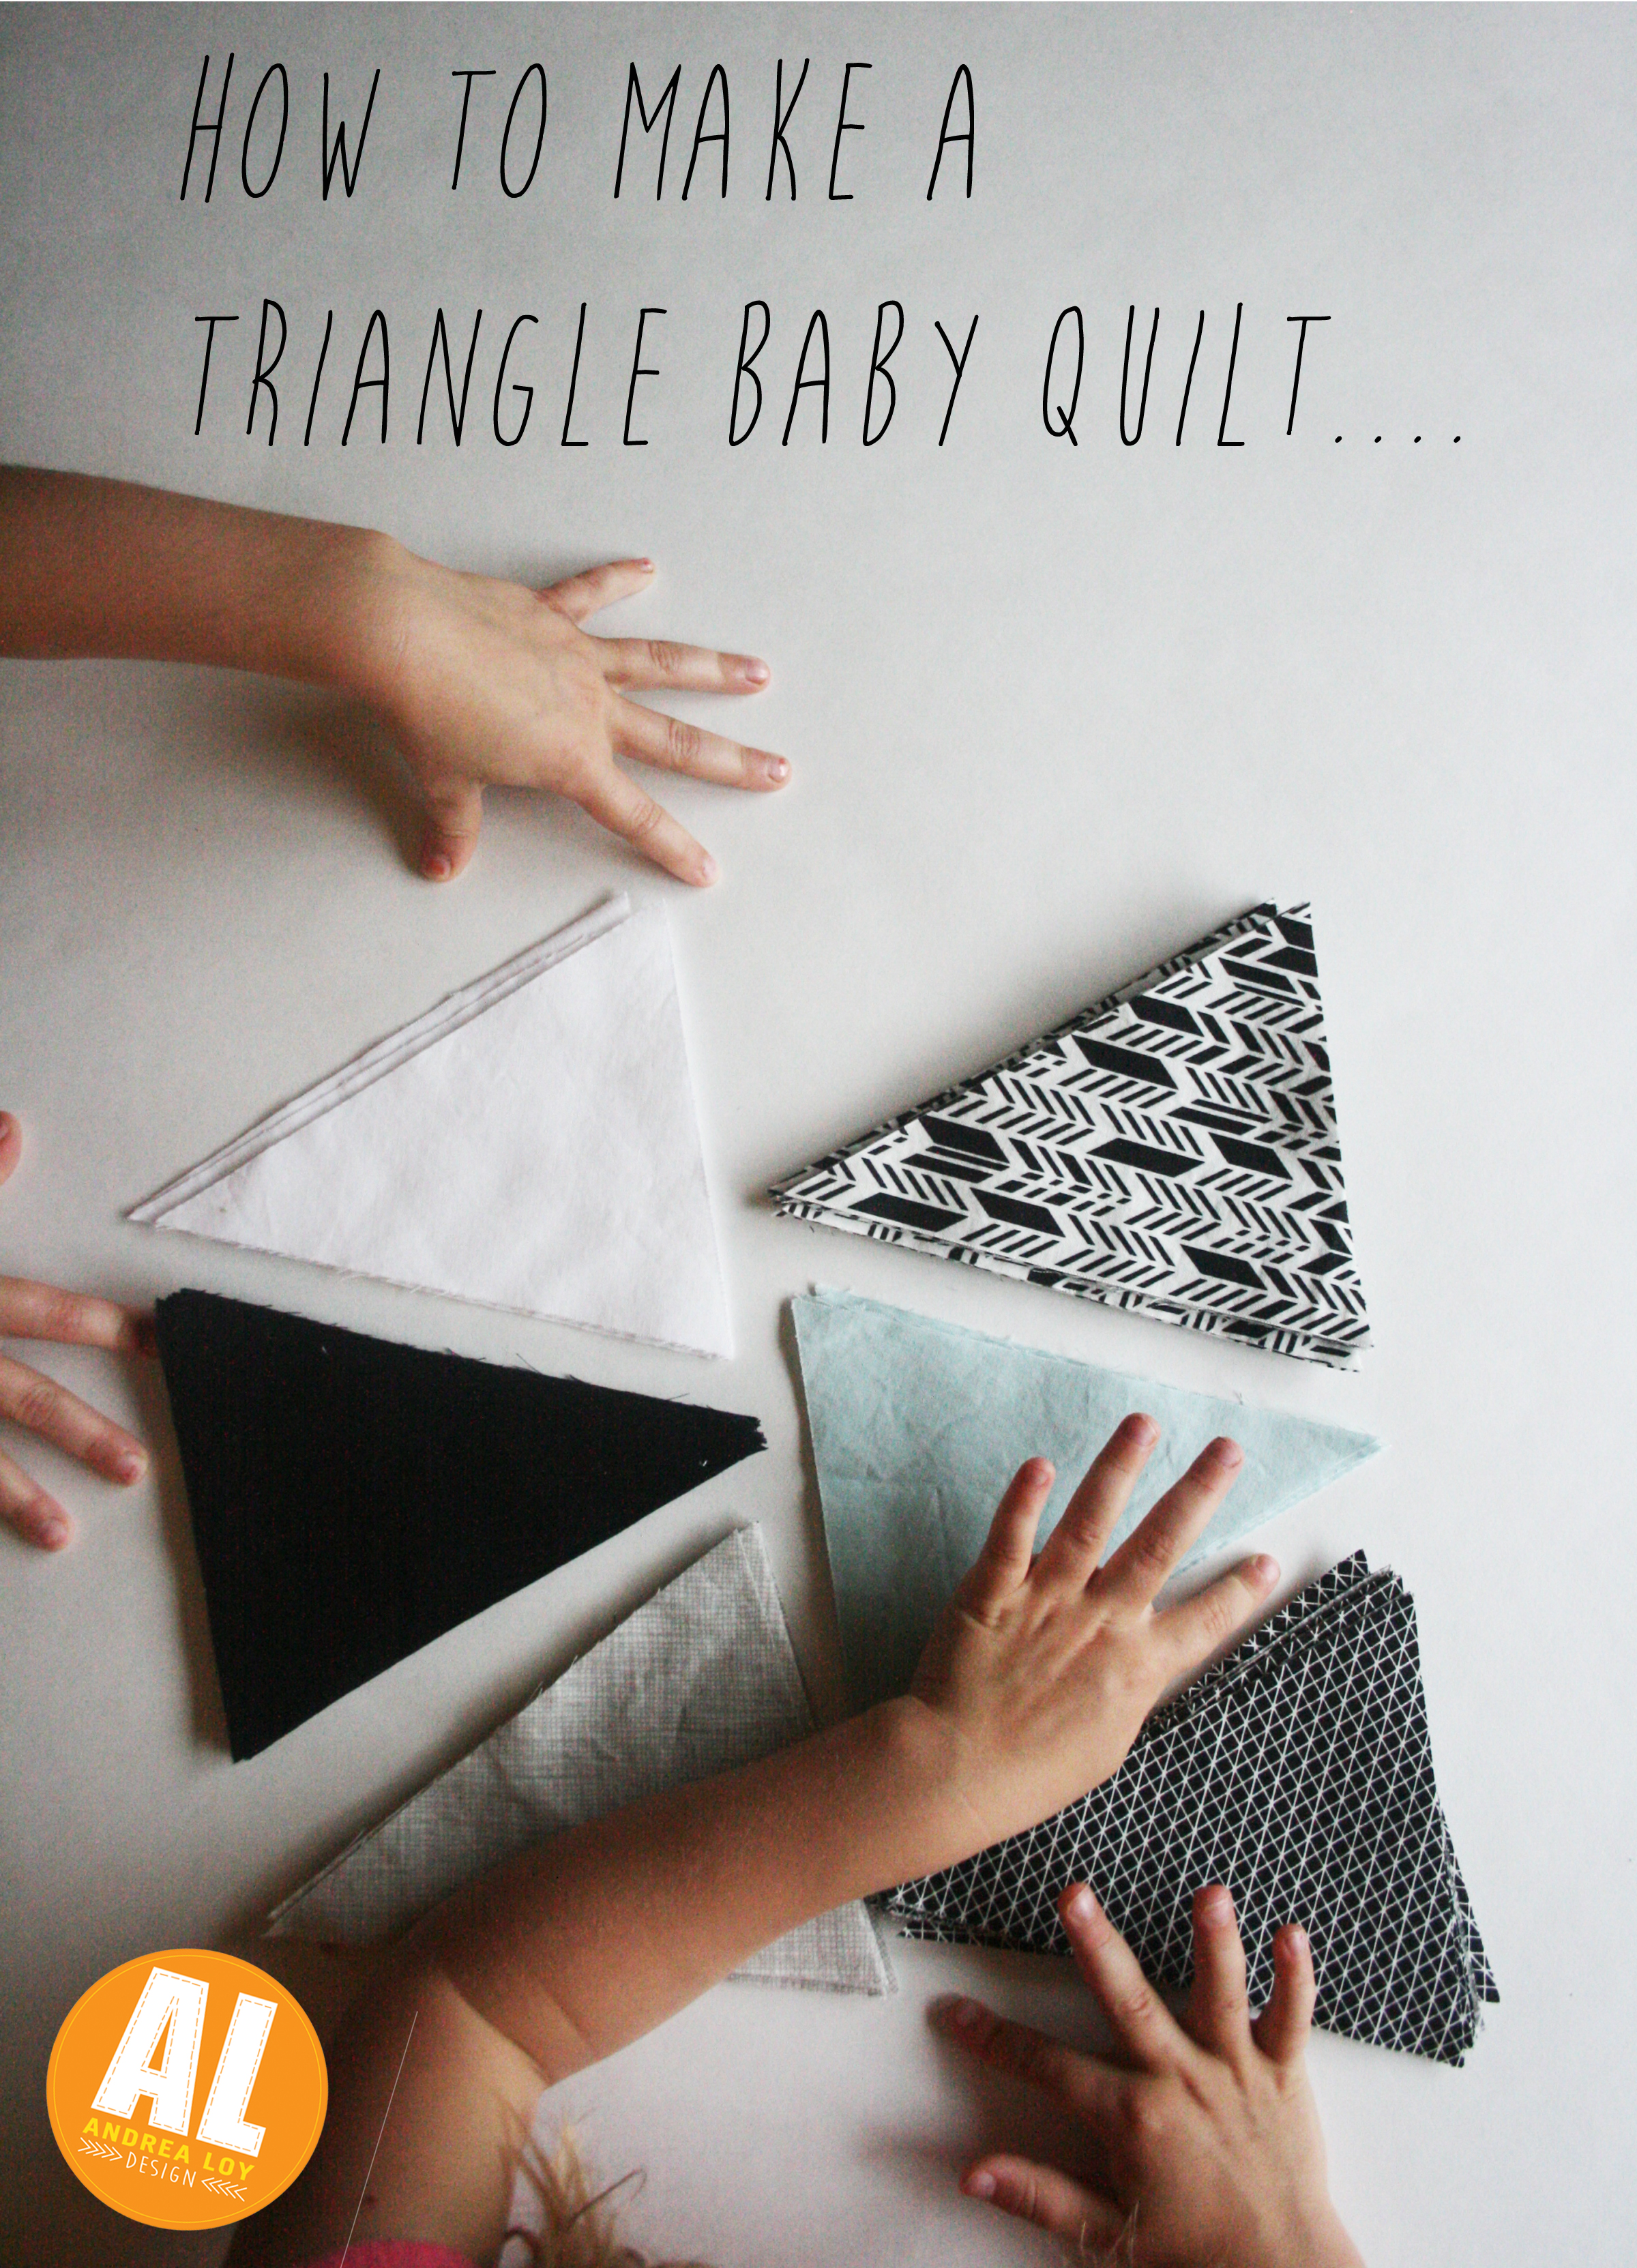
Triangle Quilts are my favorite. They are so fun. I prefer isosceles triangles, but I won’t berate all you equilateral lovers out there. To each her own…..I made my first triangle quilt out of all my baby crib sheets. I couldn’t bear to throw them away, or give them away, but it felt silly to keep them when I didn’t plan on having any more children. So I bought a triangle die for my accuquilt studio cutter and started in on turning all those sheets into triangles. I made two quilts. I was really stressed at the time. Sewing all those triangles together was therapy. When a woman can’t do anything to change her circumstances it feels nice to sew something together. With each stitch, I was reminded that God is near to the brokenhearted and He binds up the fiercest wounds to the human heart.
You really should get an accuquilt cutter if you can afford it and you quilt a lot. And also mainly, if your kind of a perfectionist….Just start saving!
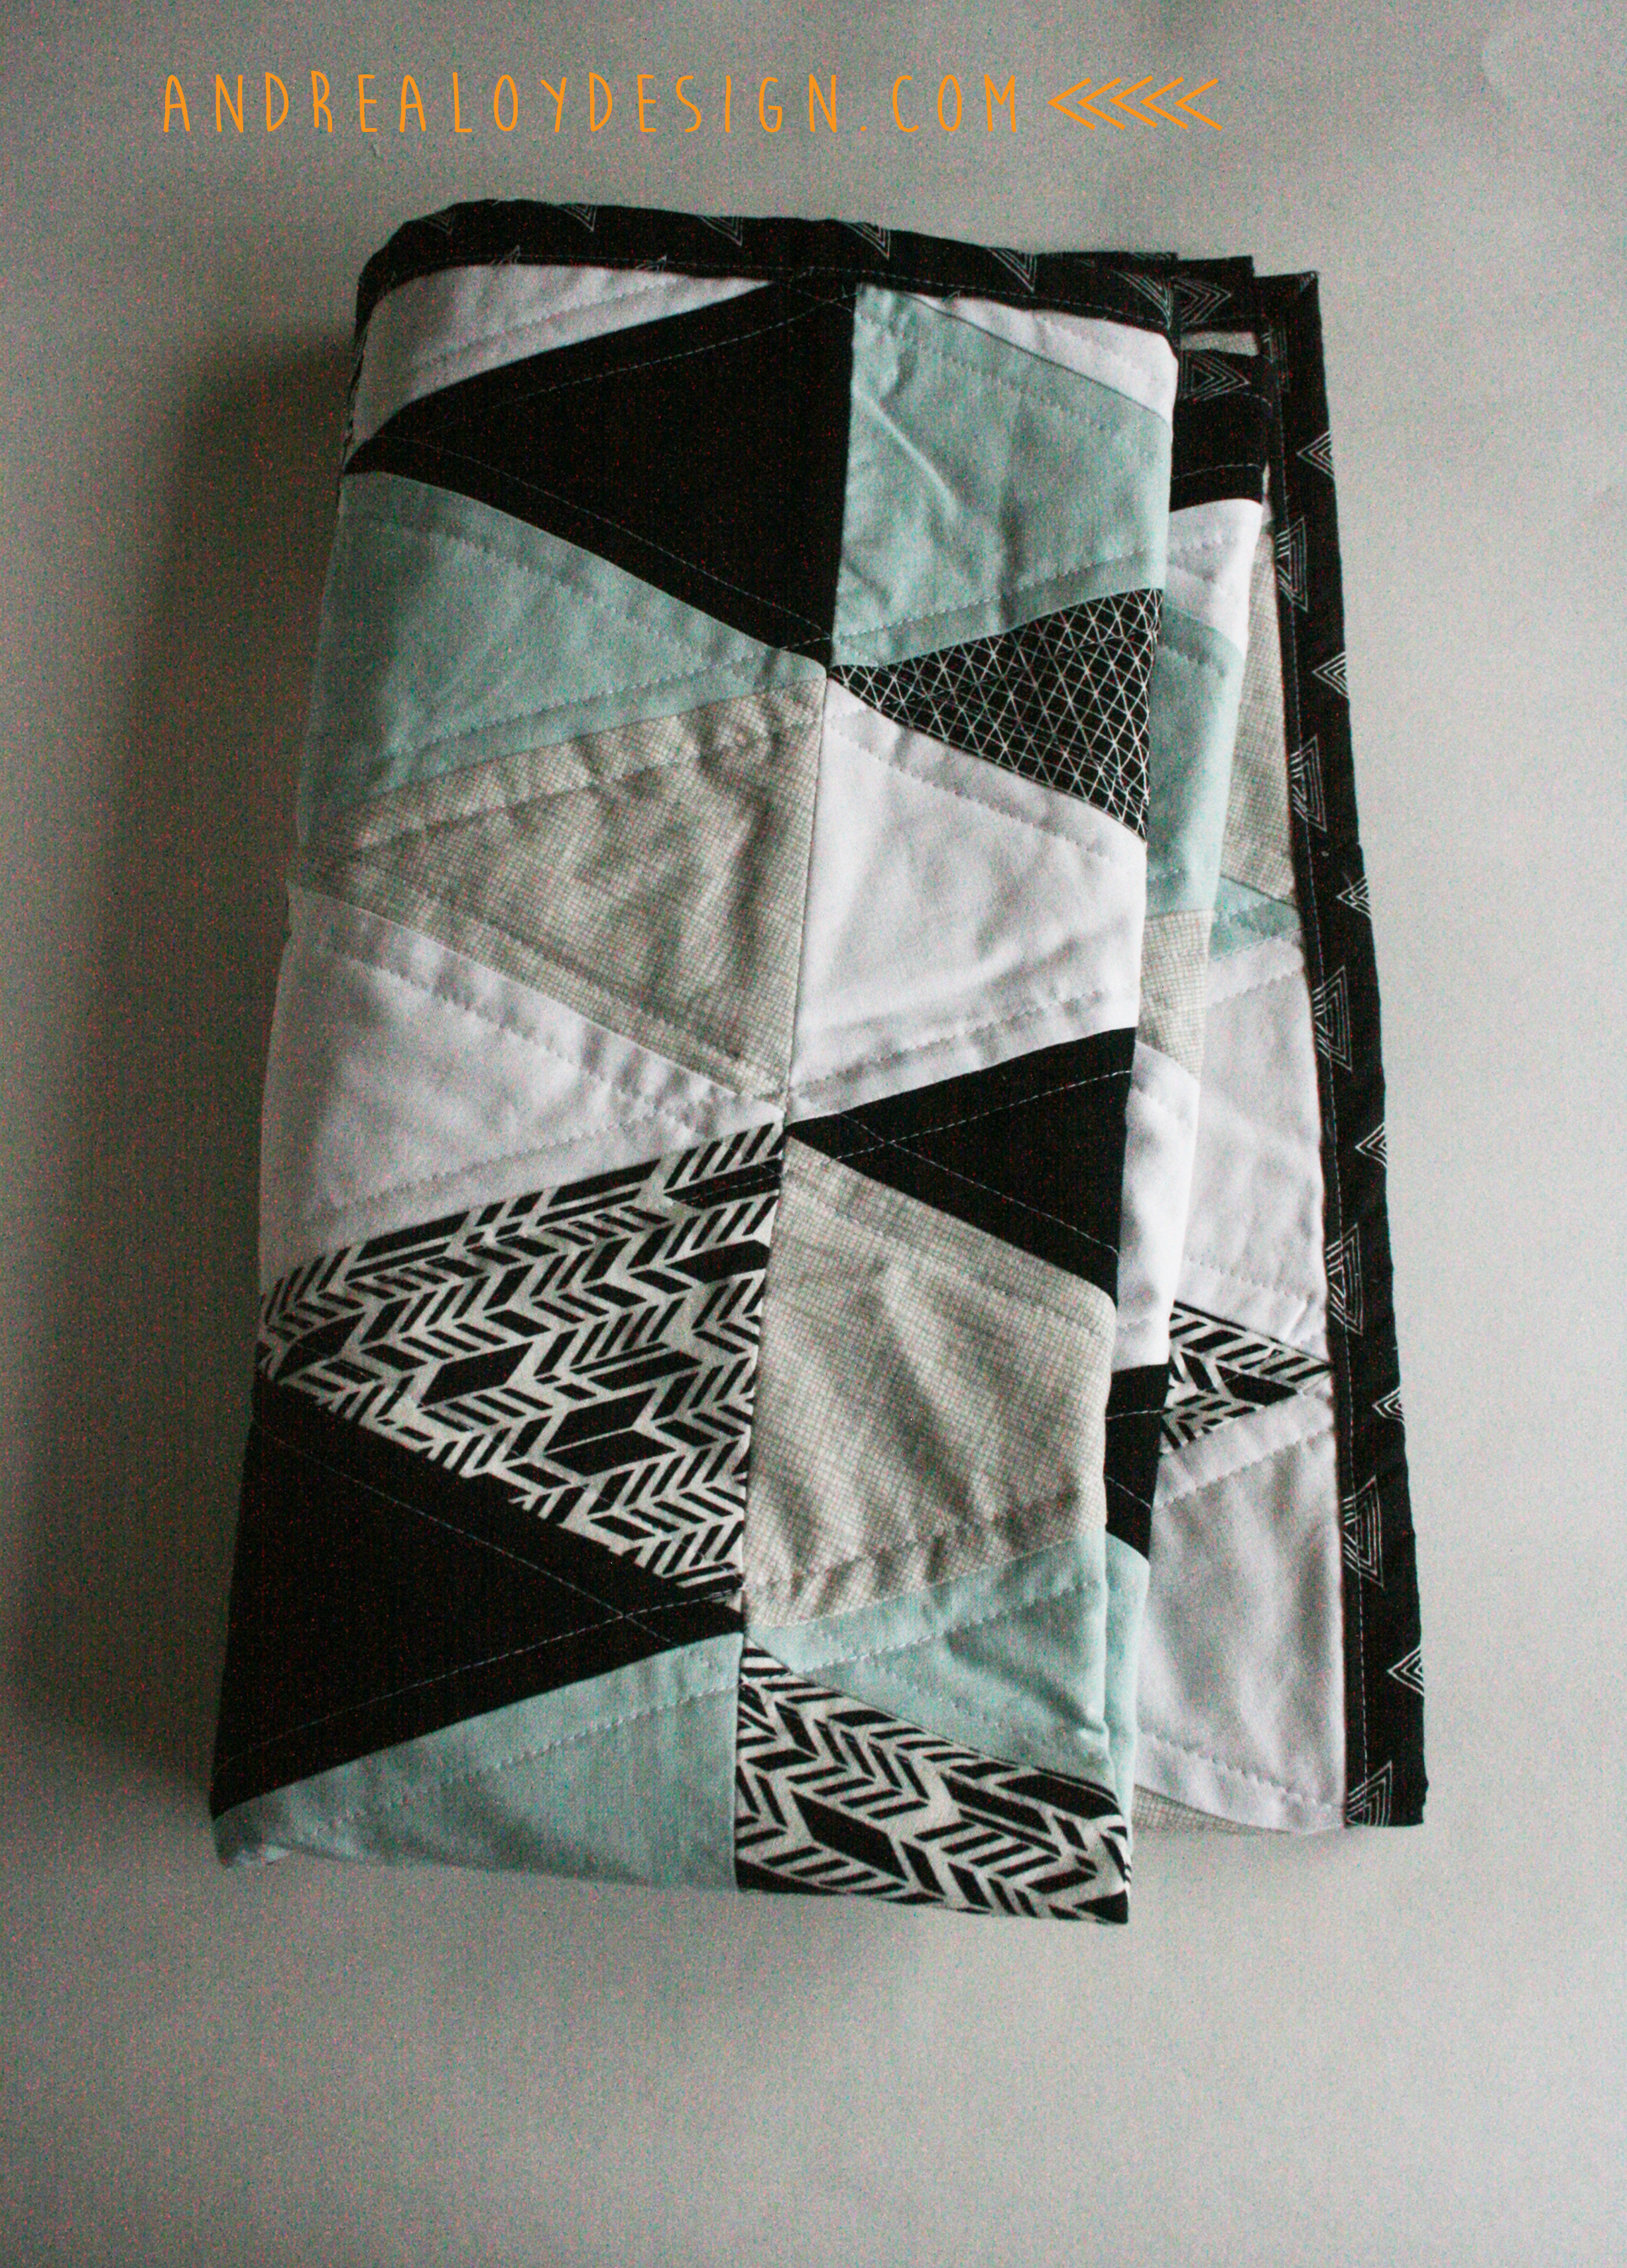
But enough back story….So my very talented sister in law and bro are having their first little one and she requested a triangle quilt. She is an amazing graphic designer, so naturally I made sure to get paint swatches, design preferences, and lots of samples she liked before I nervously picked out the fabric for this piece. It took a lot of deliberation and shopping trips to quilt stores like Missouri Star Quilt Co. and The Fabric Shack……I may have purchased some other quilting fabric while there. I’m not sure. It was sort if like a fabric addicts heaven, and I can’t be responsible for being let loose in there.
Anyway, so my little helpers and I cut the painstakingly perfect triangles in like two minutes on the accuquilt cutter with the decided upon fabrics and I began to lay out the top pieces. When you do a triangle quilt, it’s easier on the eye to make a random pattern. You need to lay it all out to be sure you have it looking the way you want.
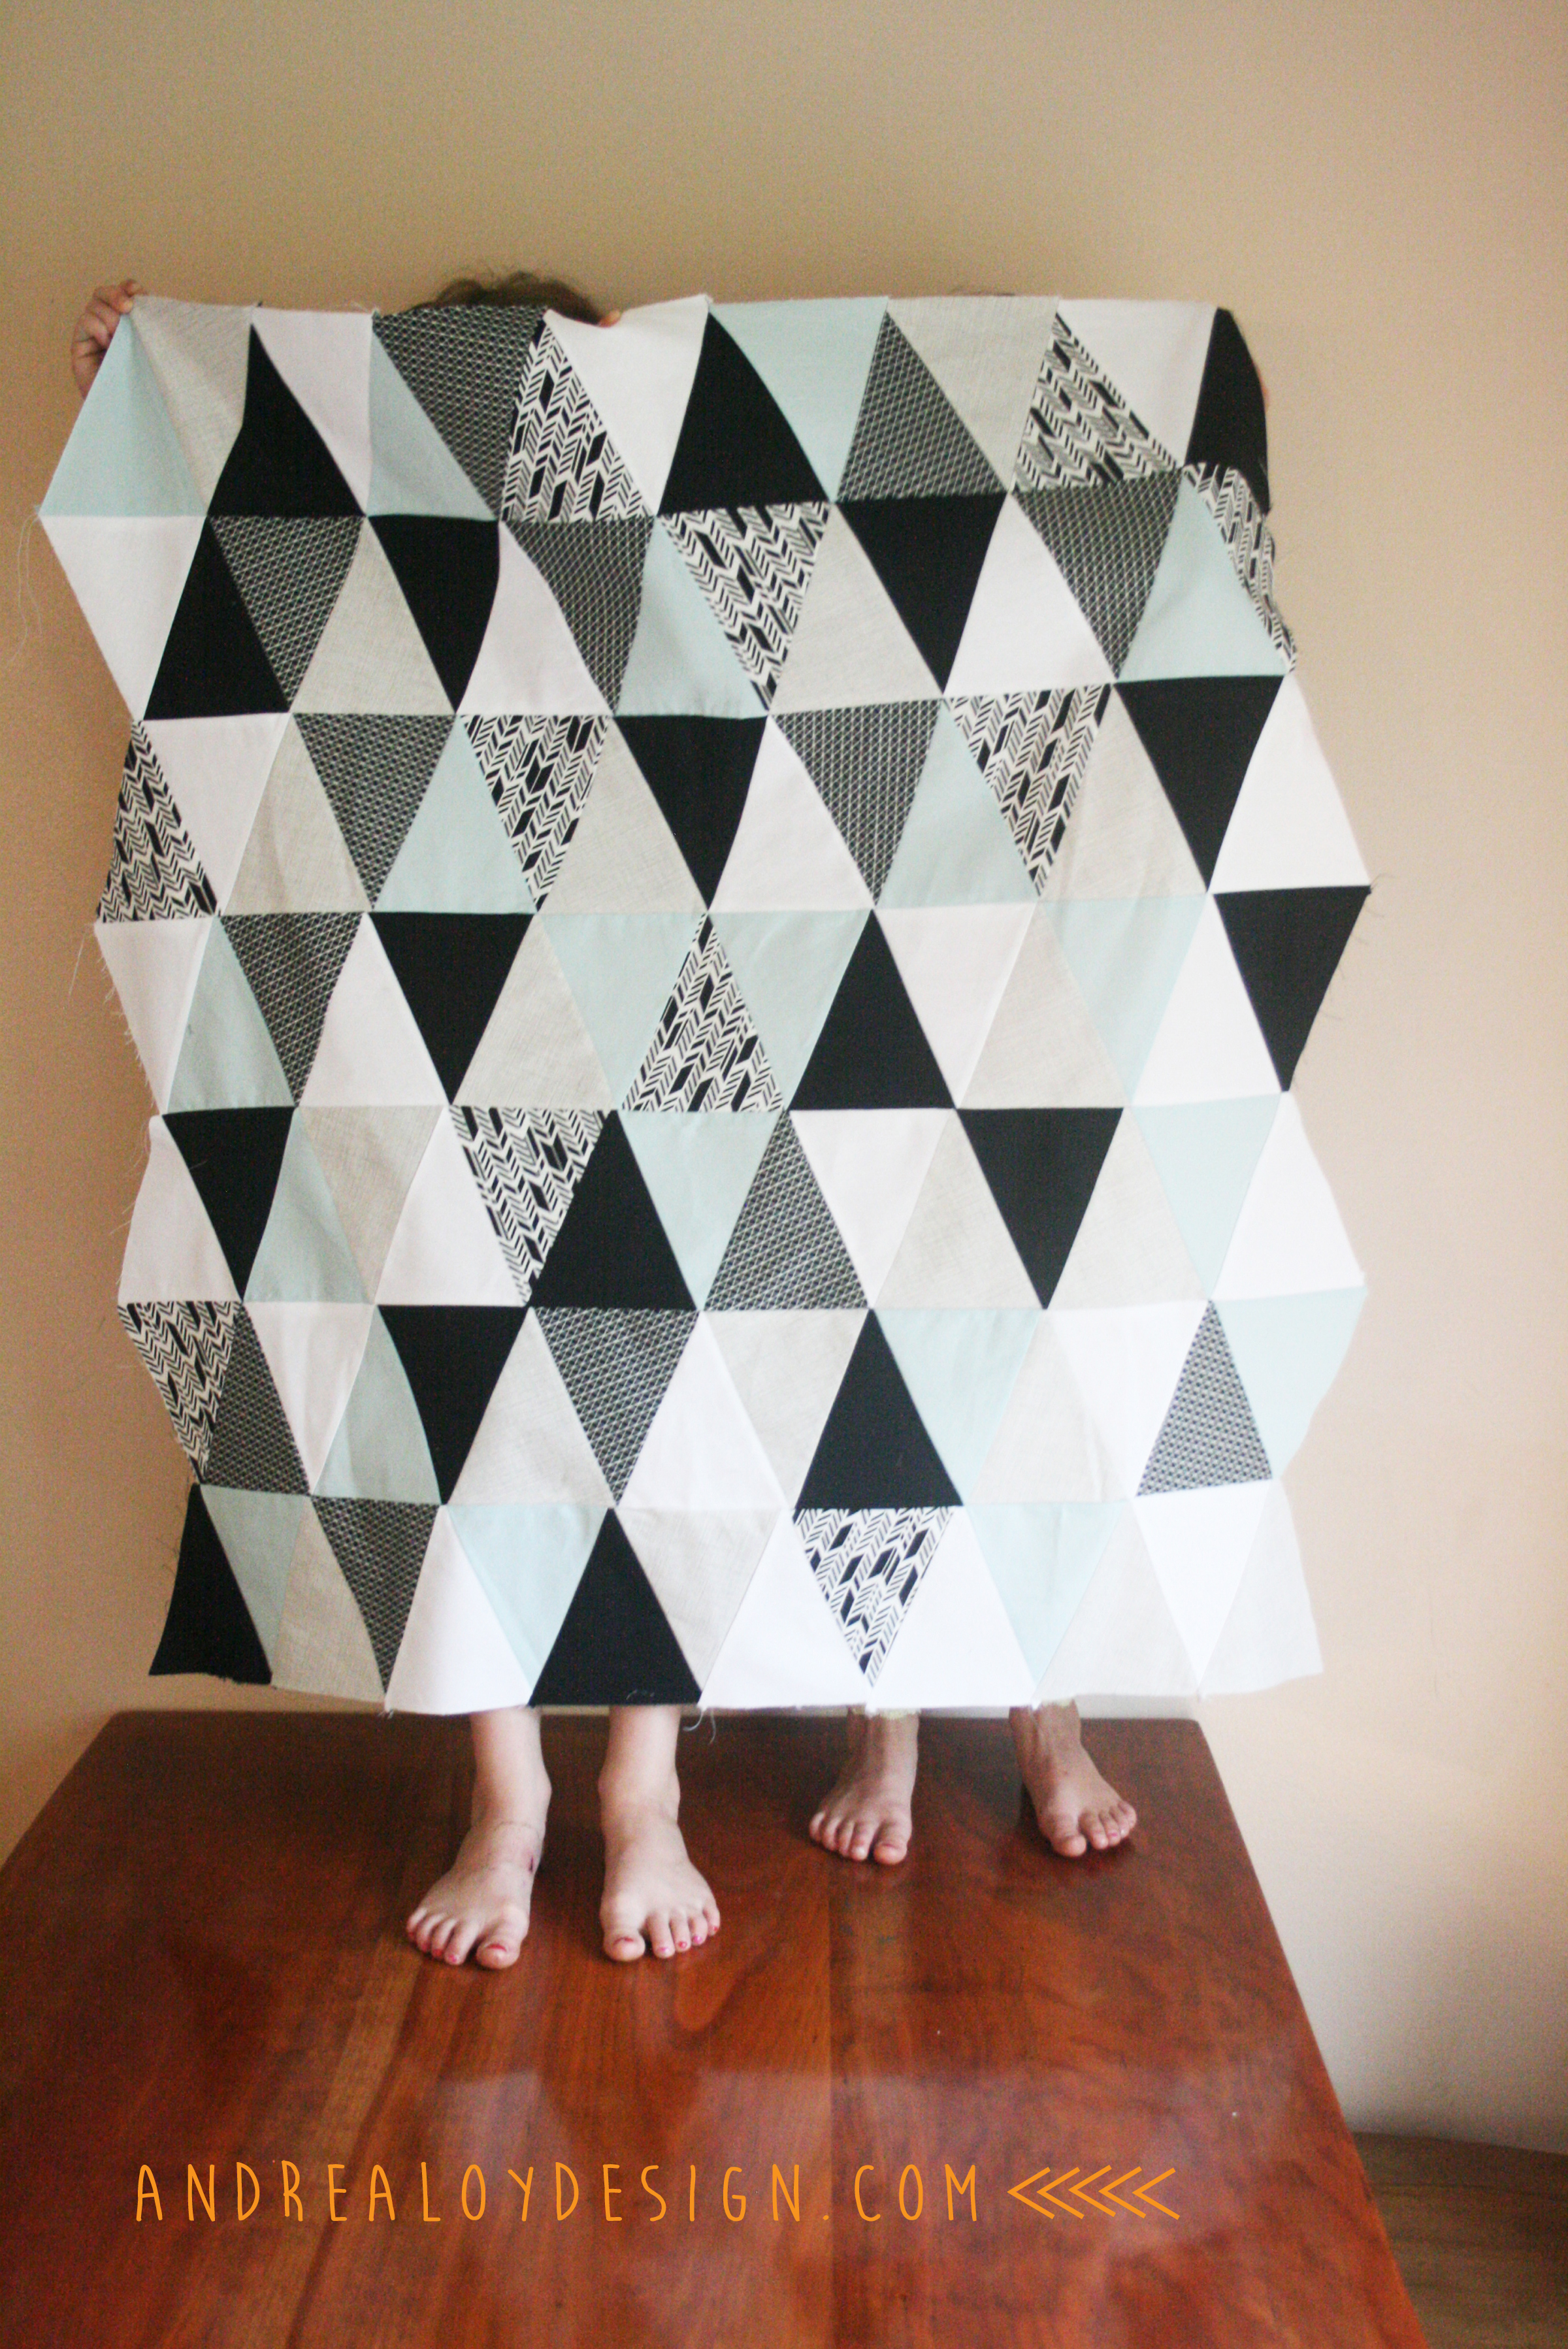
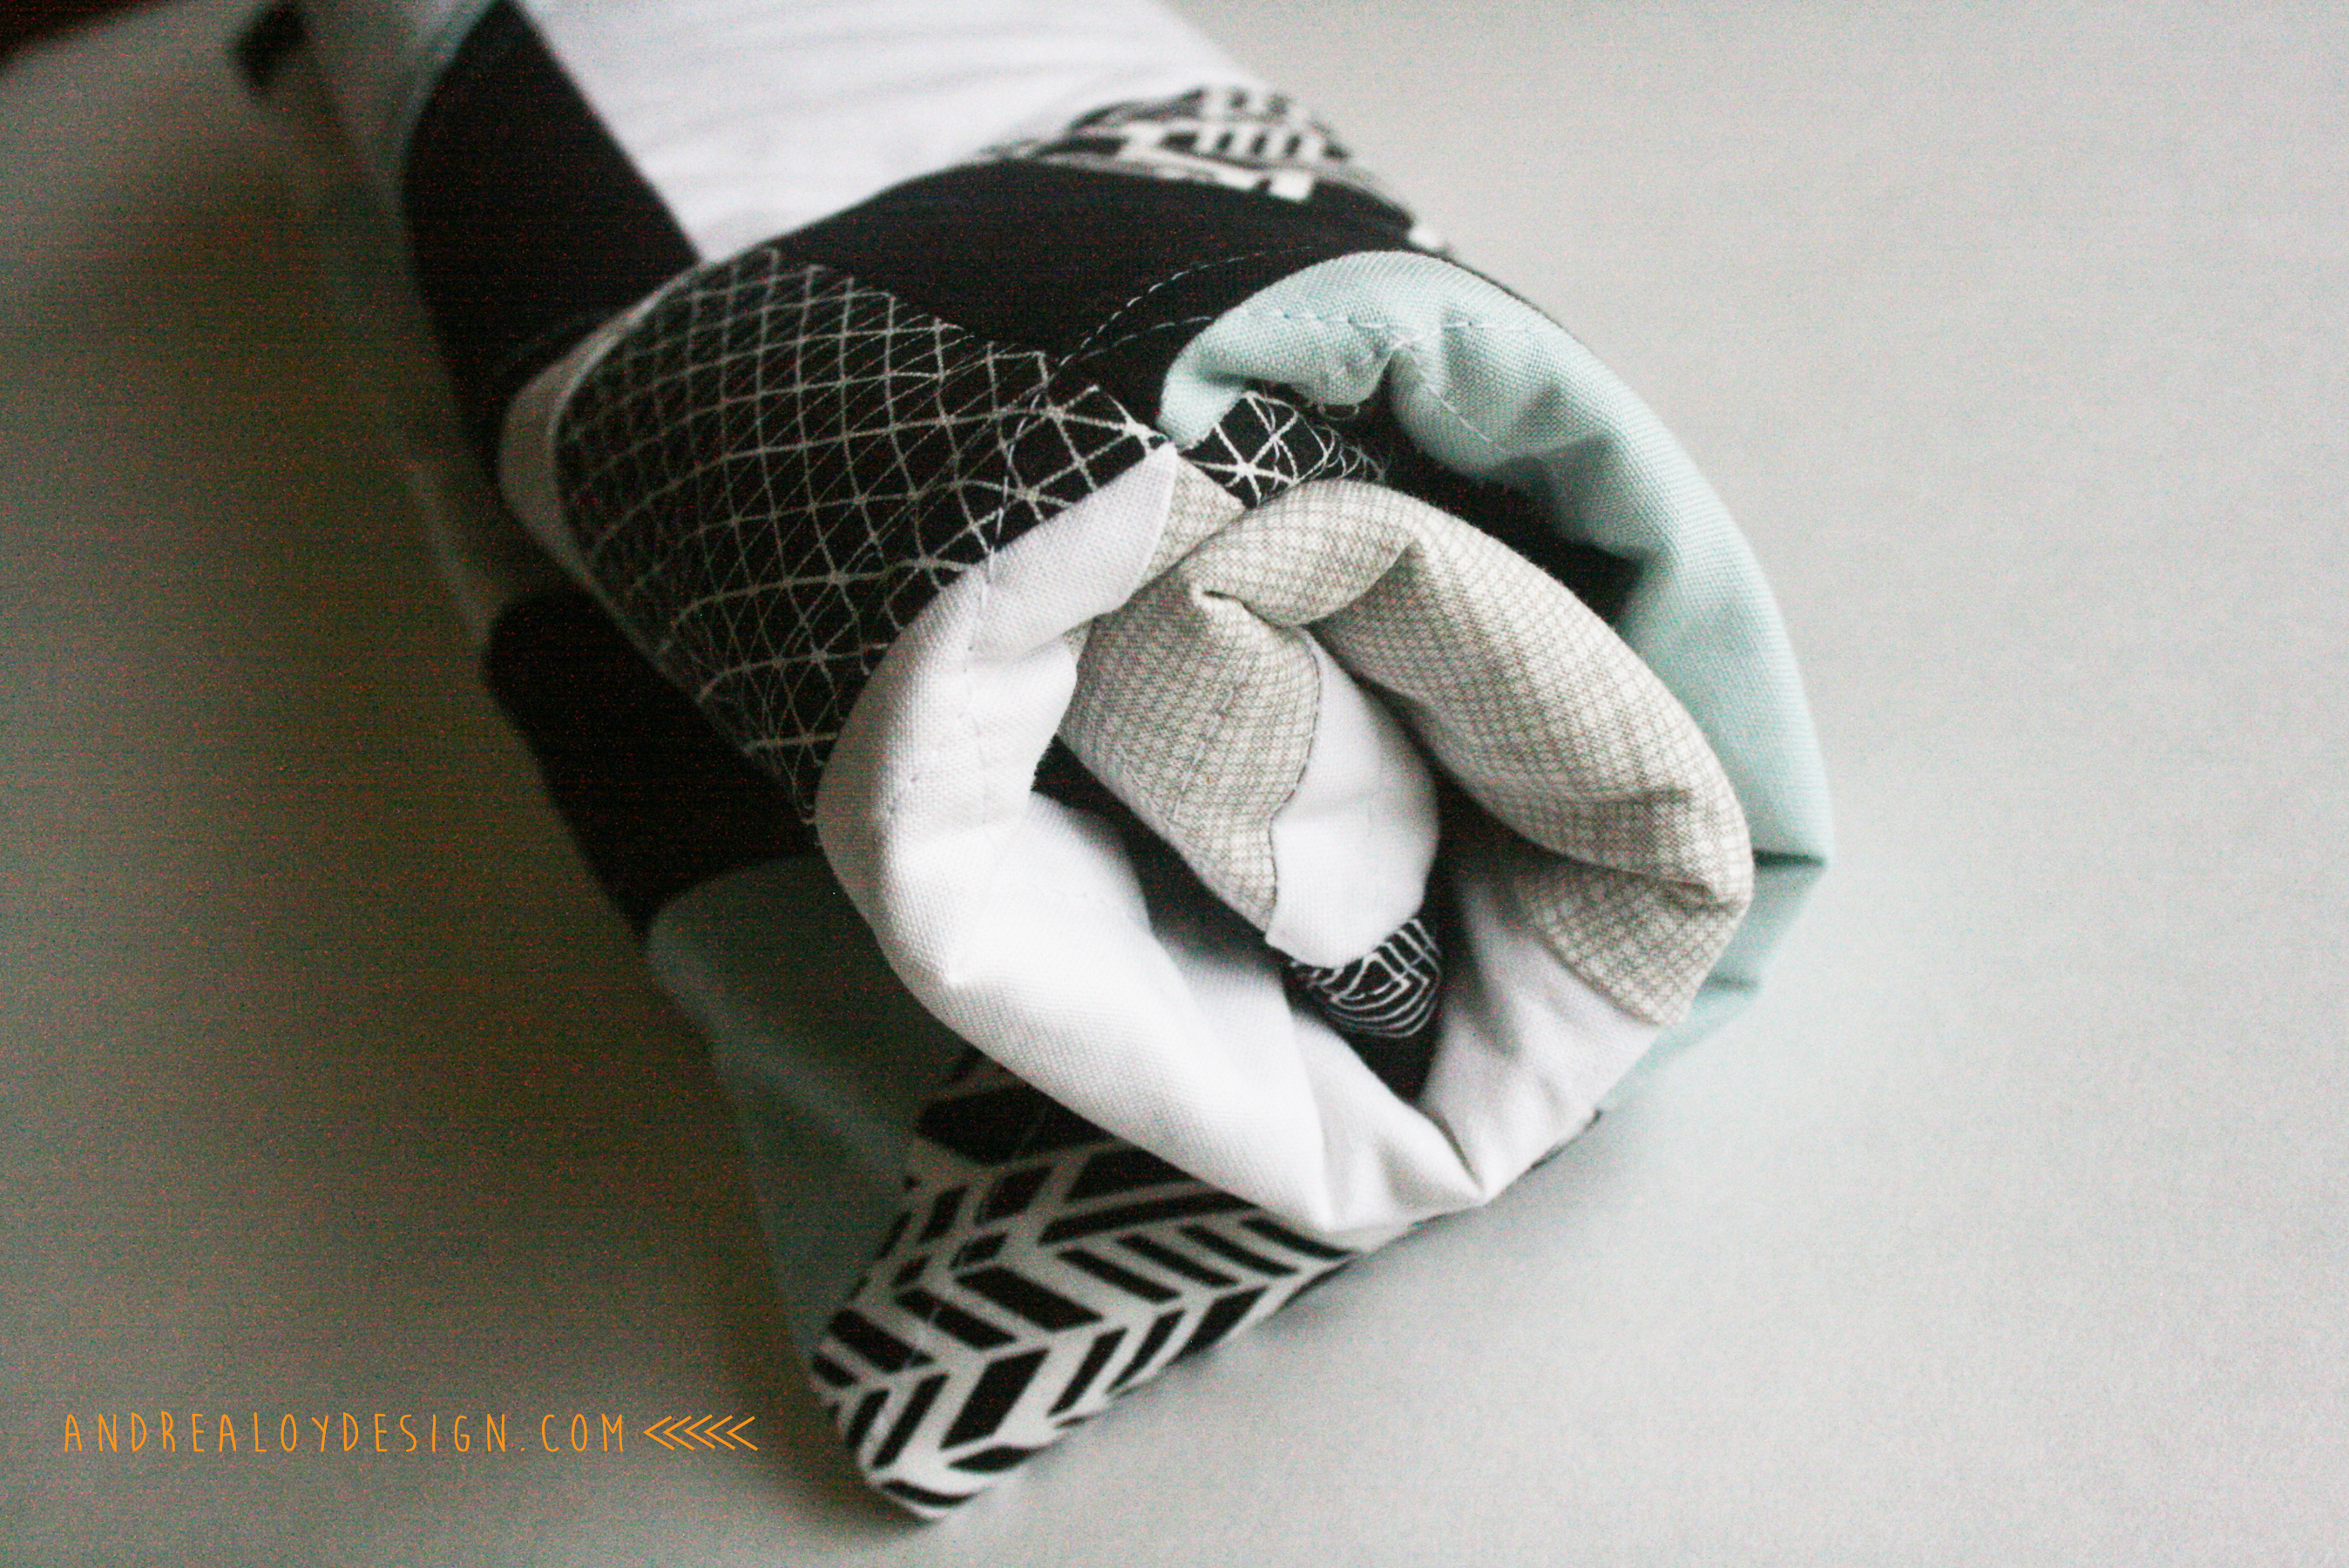
This quilt was supposed to be 36″by 36″ but sometimes you run out of the perfect pool blue Kona Cotton or you don’t know exactly how many triangles of each color your going to use….It ended up 31″ by 36″. I used 7 rows of 15 iscosoles triangles 4″ long. So if you wanted to make a baby quilt just plan on a bit more of your favorite color or be less picky than me! A twin size quilt would require triple the amount of triangles. I had a few triangles left over but basically not enough to do anything other than make a small pillow with. I purchased 1/2 yard of each of the 5 fabrics. You’ll want to prewash your fabrics and iron them to get a good precise unwonky quilt. Triangles are a little tricksy if you don’t. Plus, my MOM says you should always prewash and iron your fabric. She’s always right.
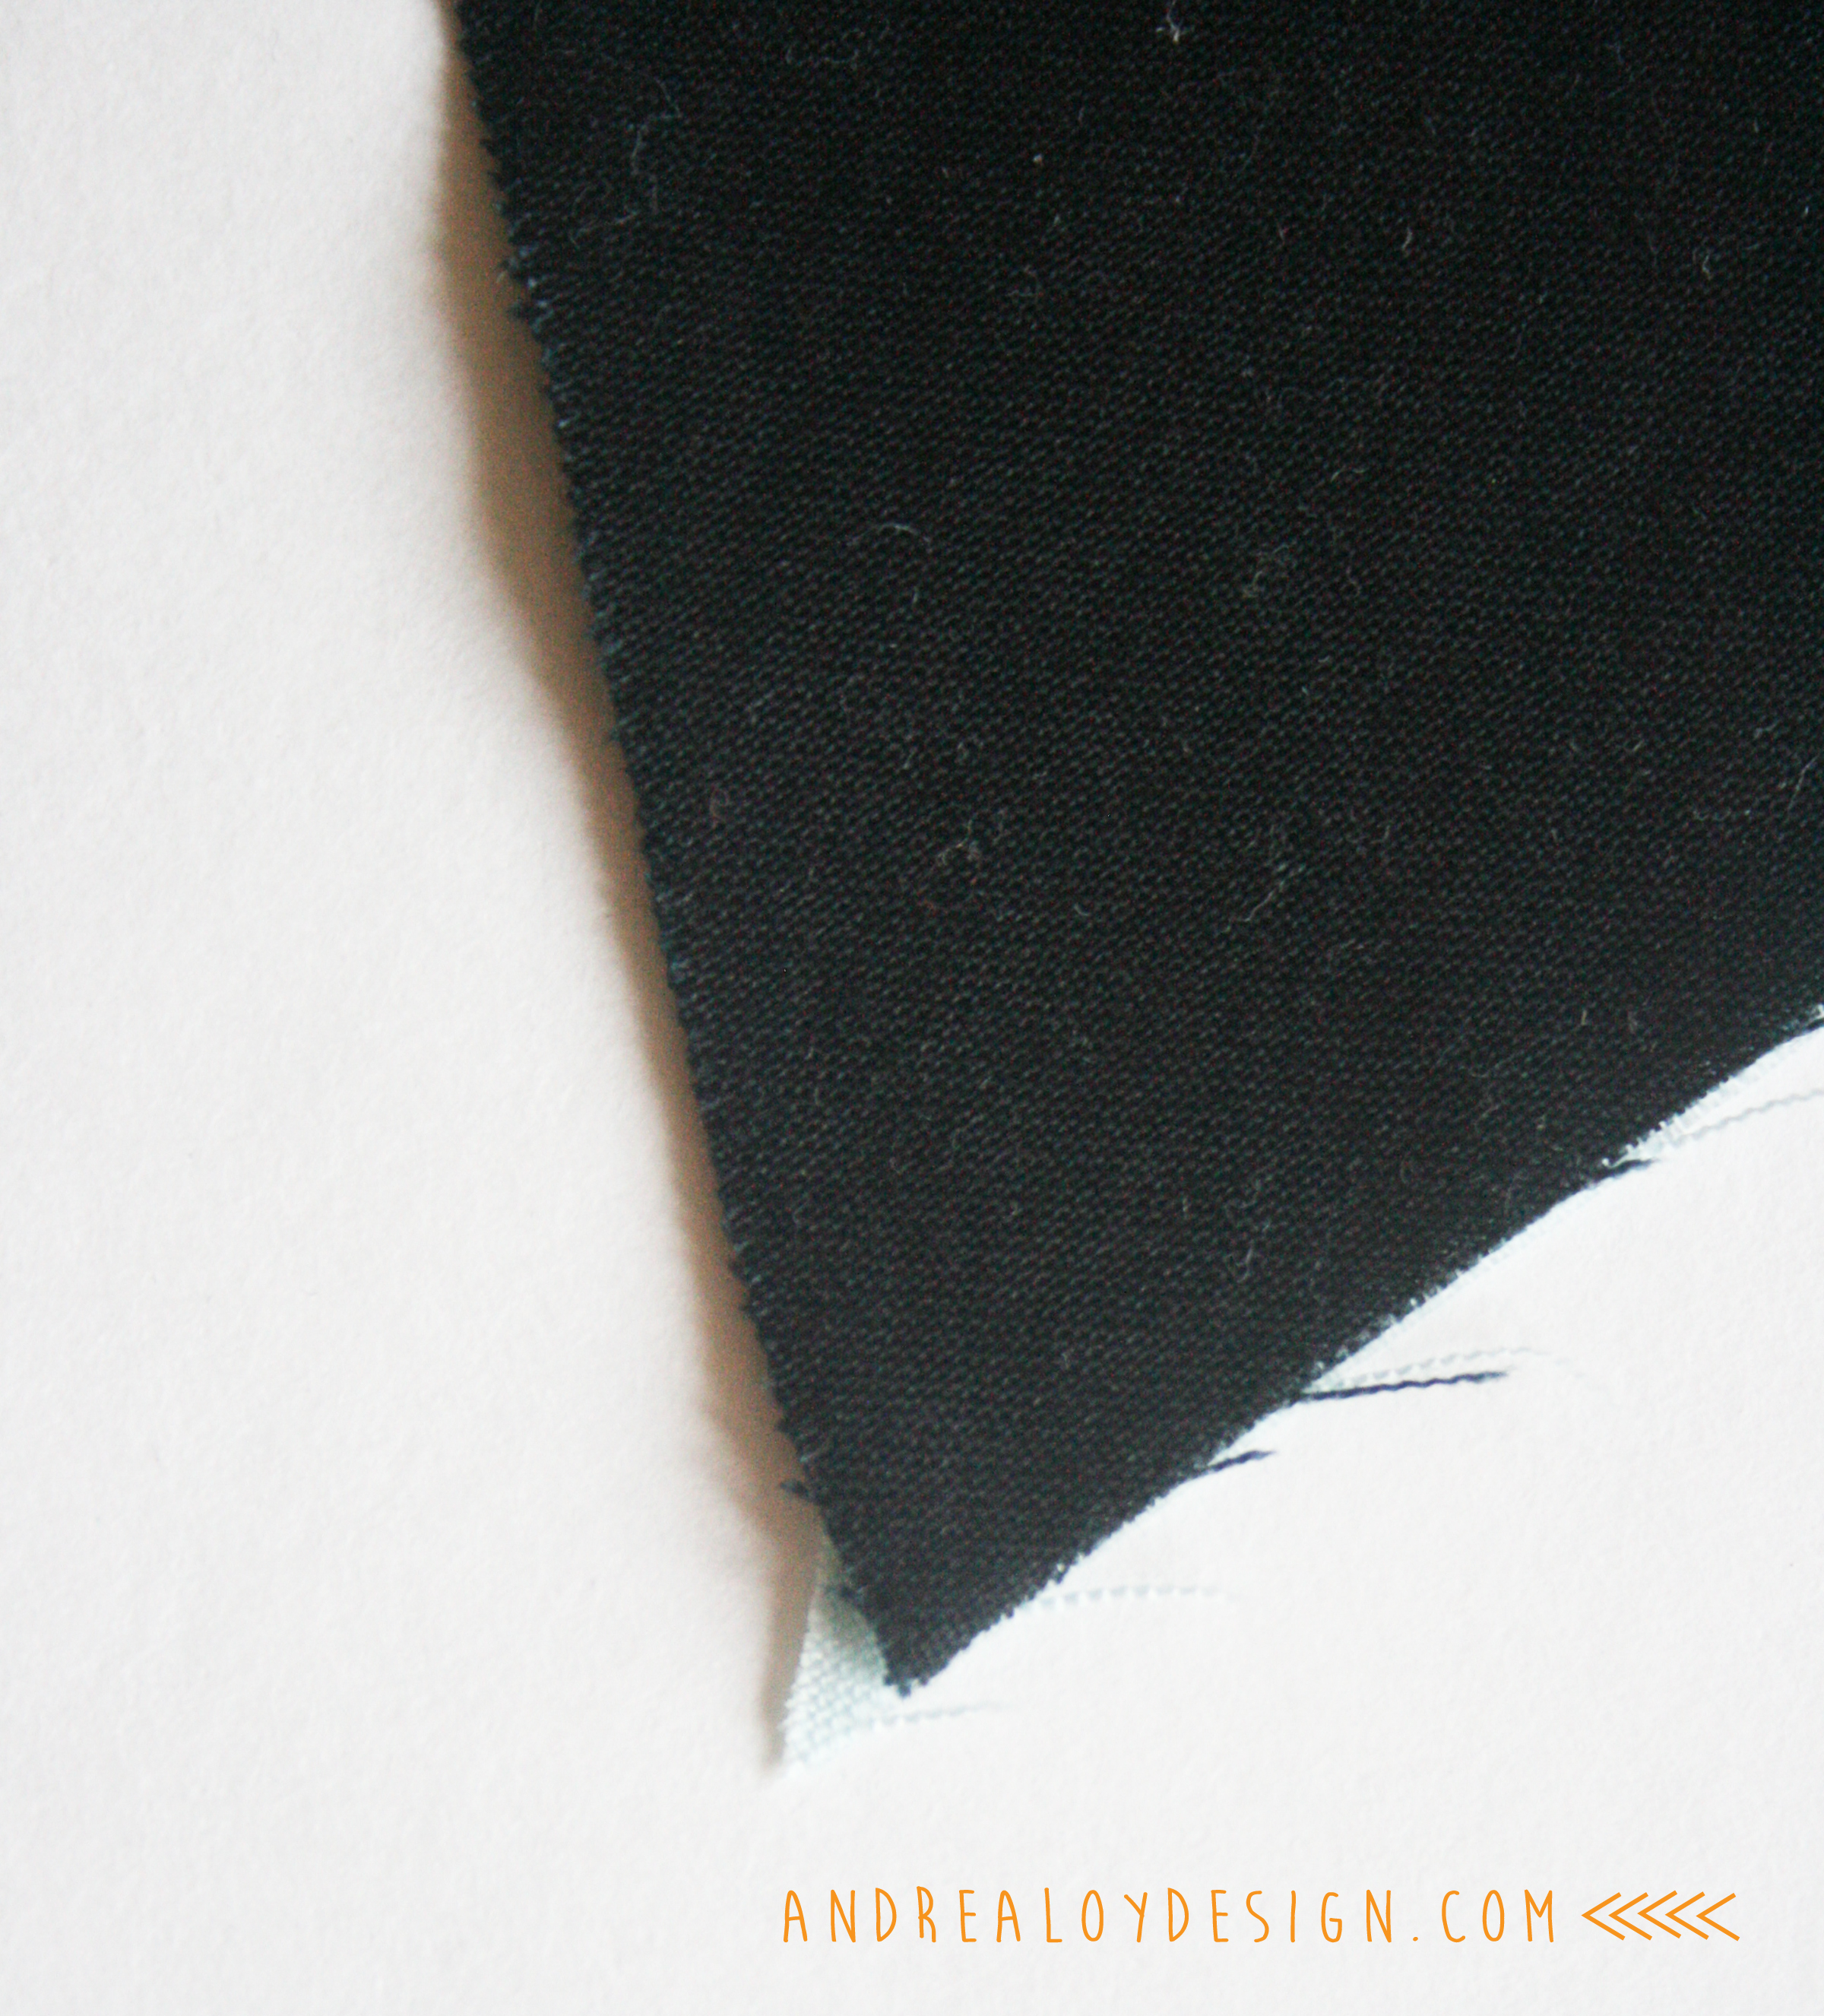
TIP: Be sure to leave a tiny over lap when sewing your triangles together. The thin point of the triangle should hang past a 1/4″ or 3/8″ depending on your seam allowance of course. Here is what I mean:


At this point in the process there are some missing pictures. Not sure why. I blame the children. First, sew all your horizontal rows of triangles together and iron the seams to reduce bulk. Then, pin the rows together one at a time, matching the seams and sew your quilt top together. As you can see above, I chose Mountain Soft thin cotton quilt batting. I like that one or Warm and Natural. It’s easier to quilt through the thinner, natural fibers of these types. Joannes always has their batting on sale, so you should never have to buy it full price. I absolutely love the backing fabric for this quilt! It’s Art Gallery’s Prism Elements line!!!! I’m so glad I didn’t buy the backing until I was ready because they just came out with it. There are a variety of colors and simple patterns in this line to go with all your quilty projects!
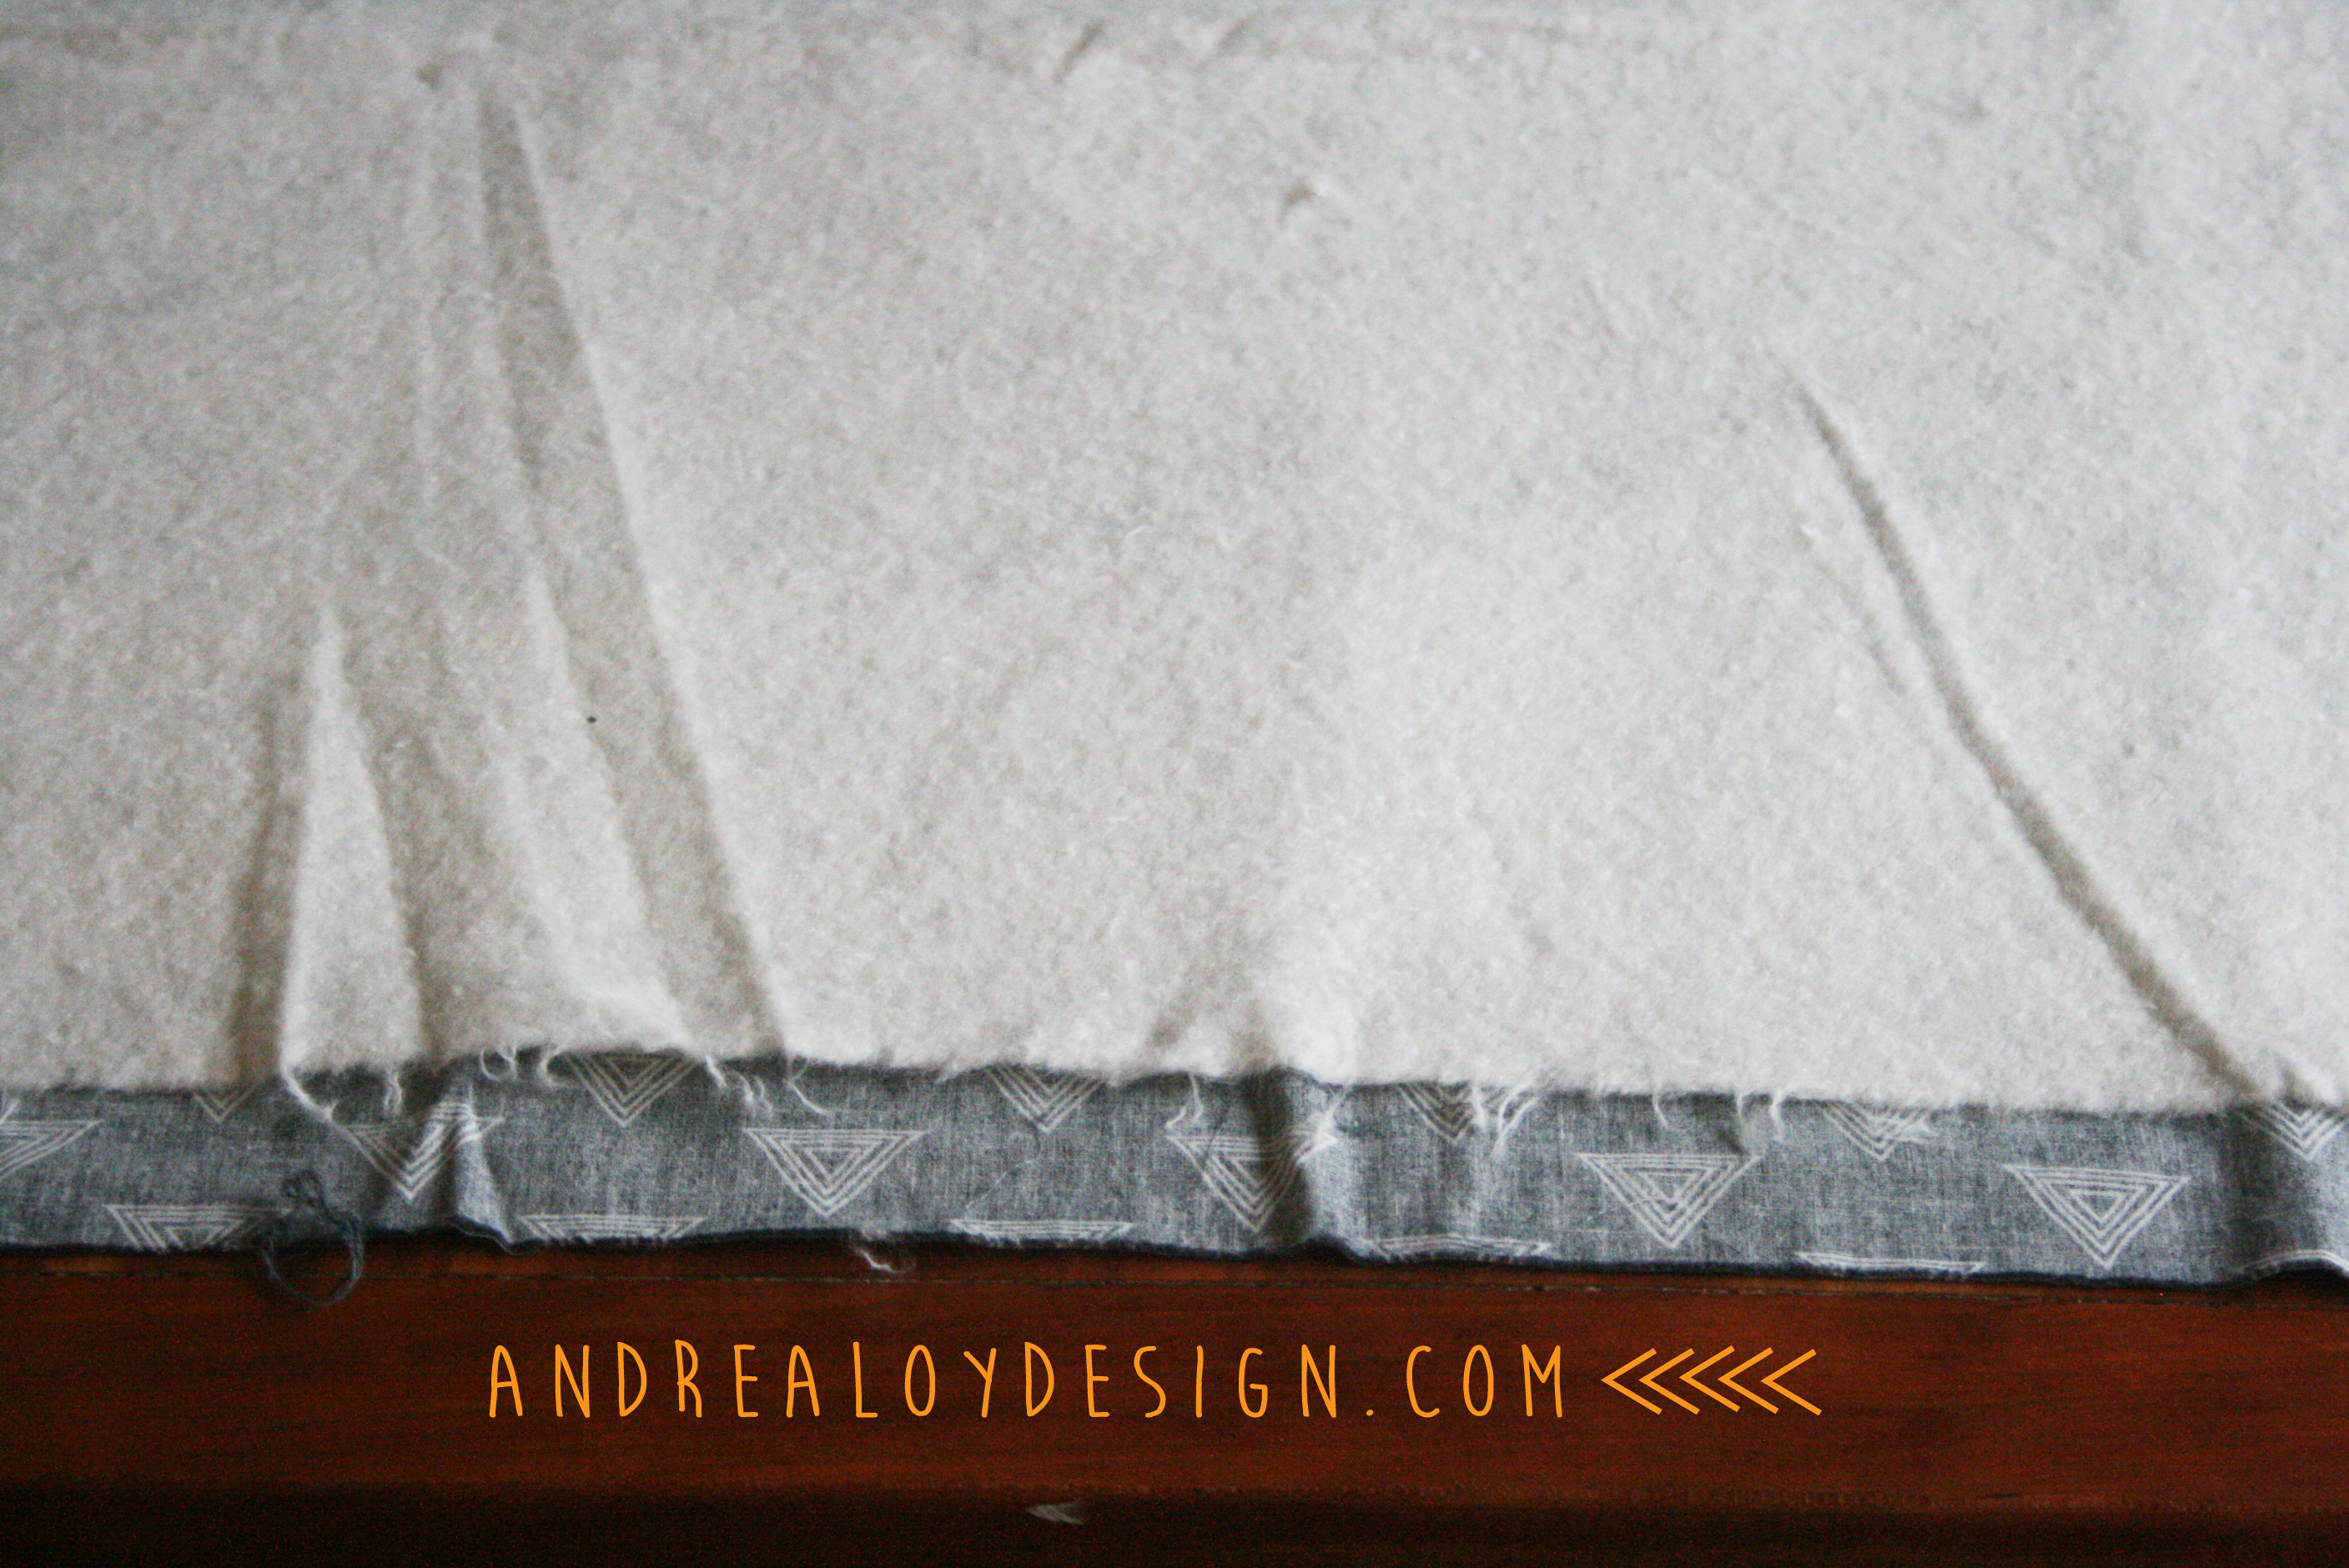
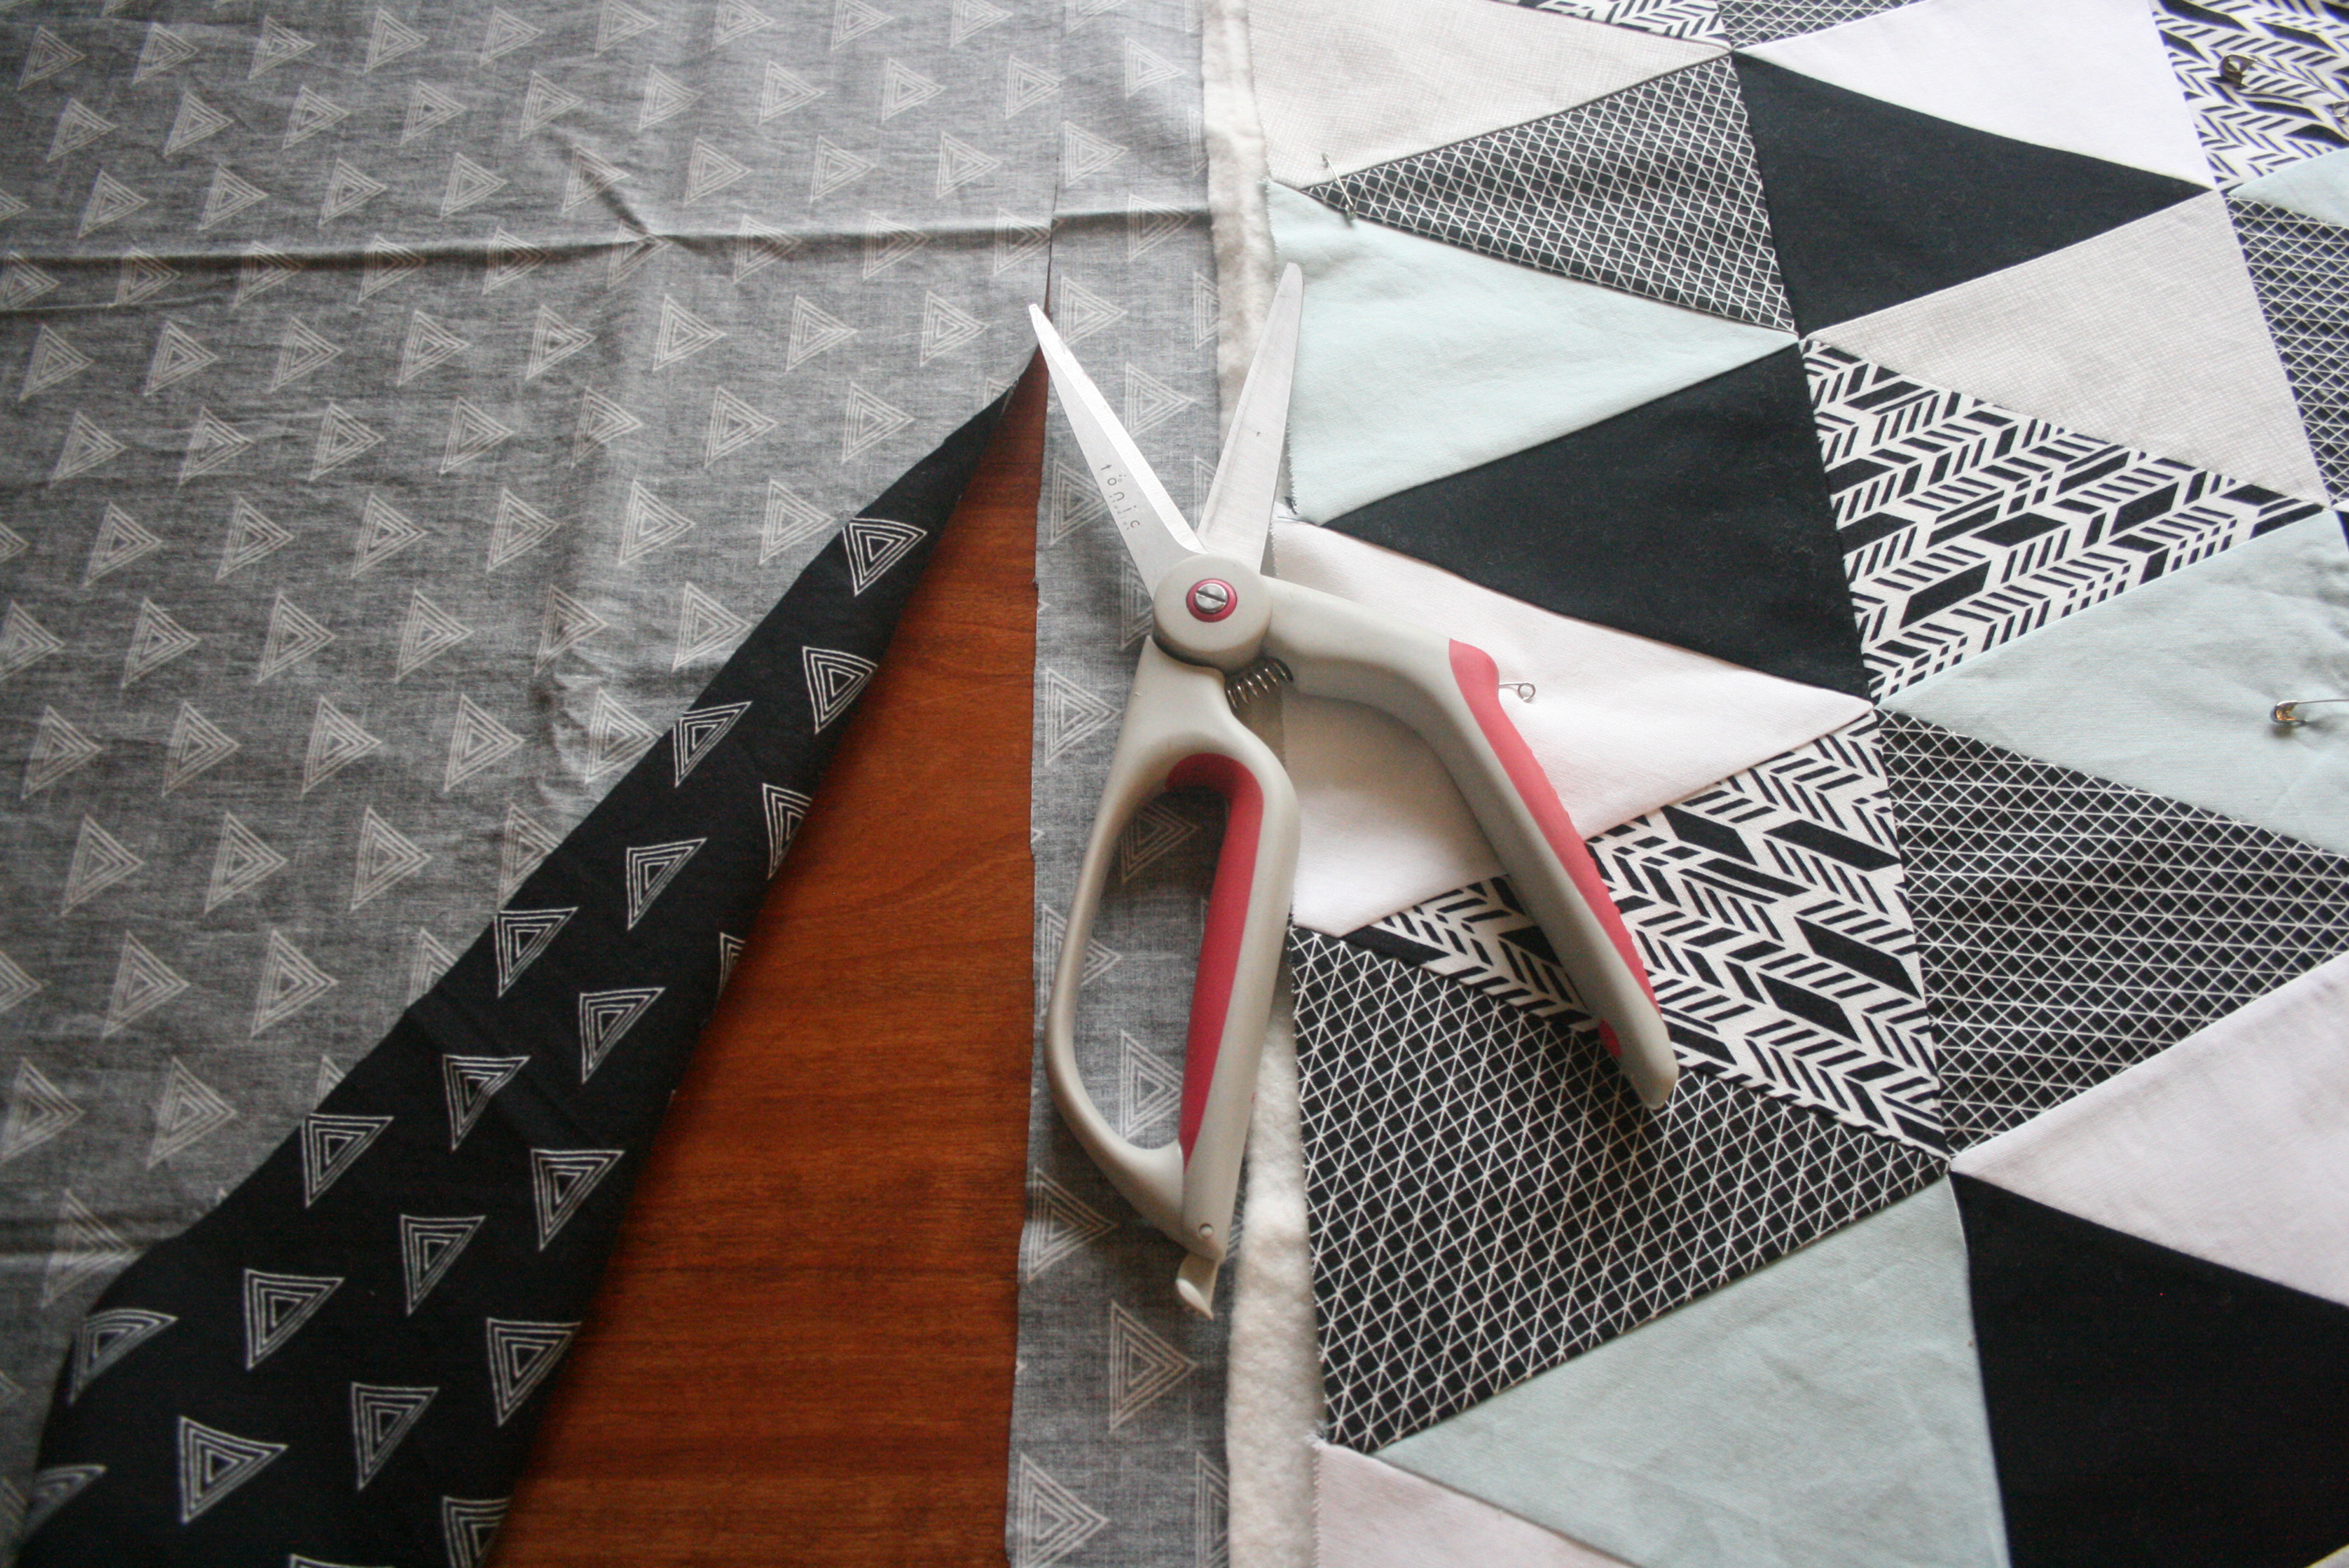
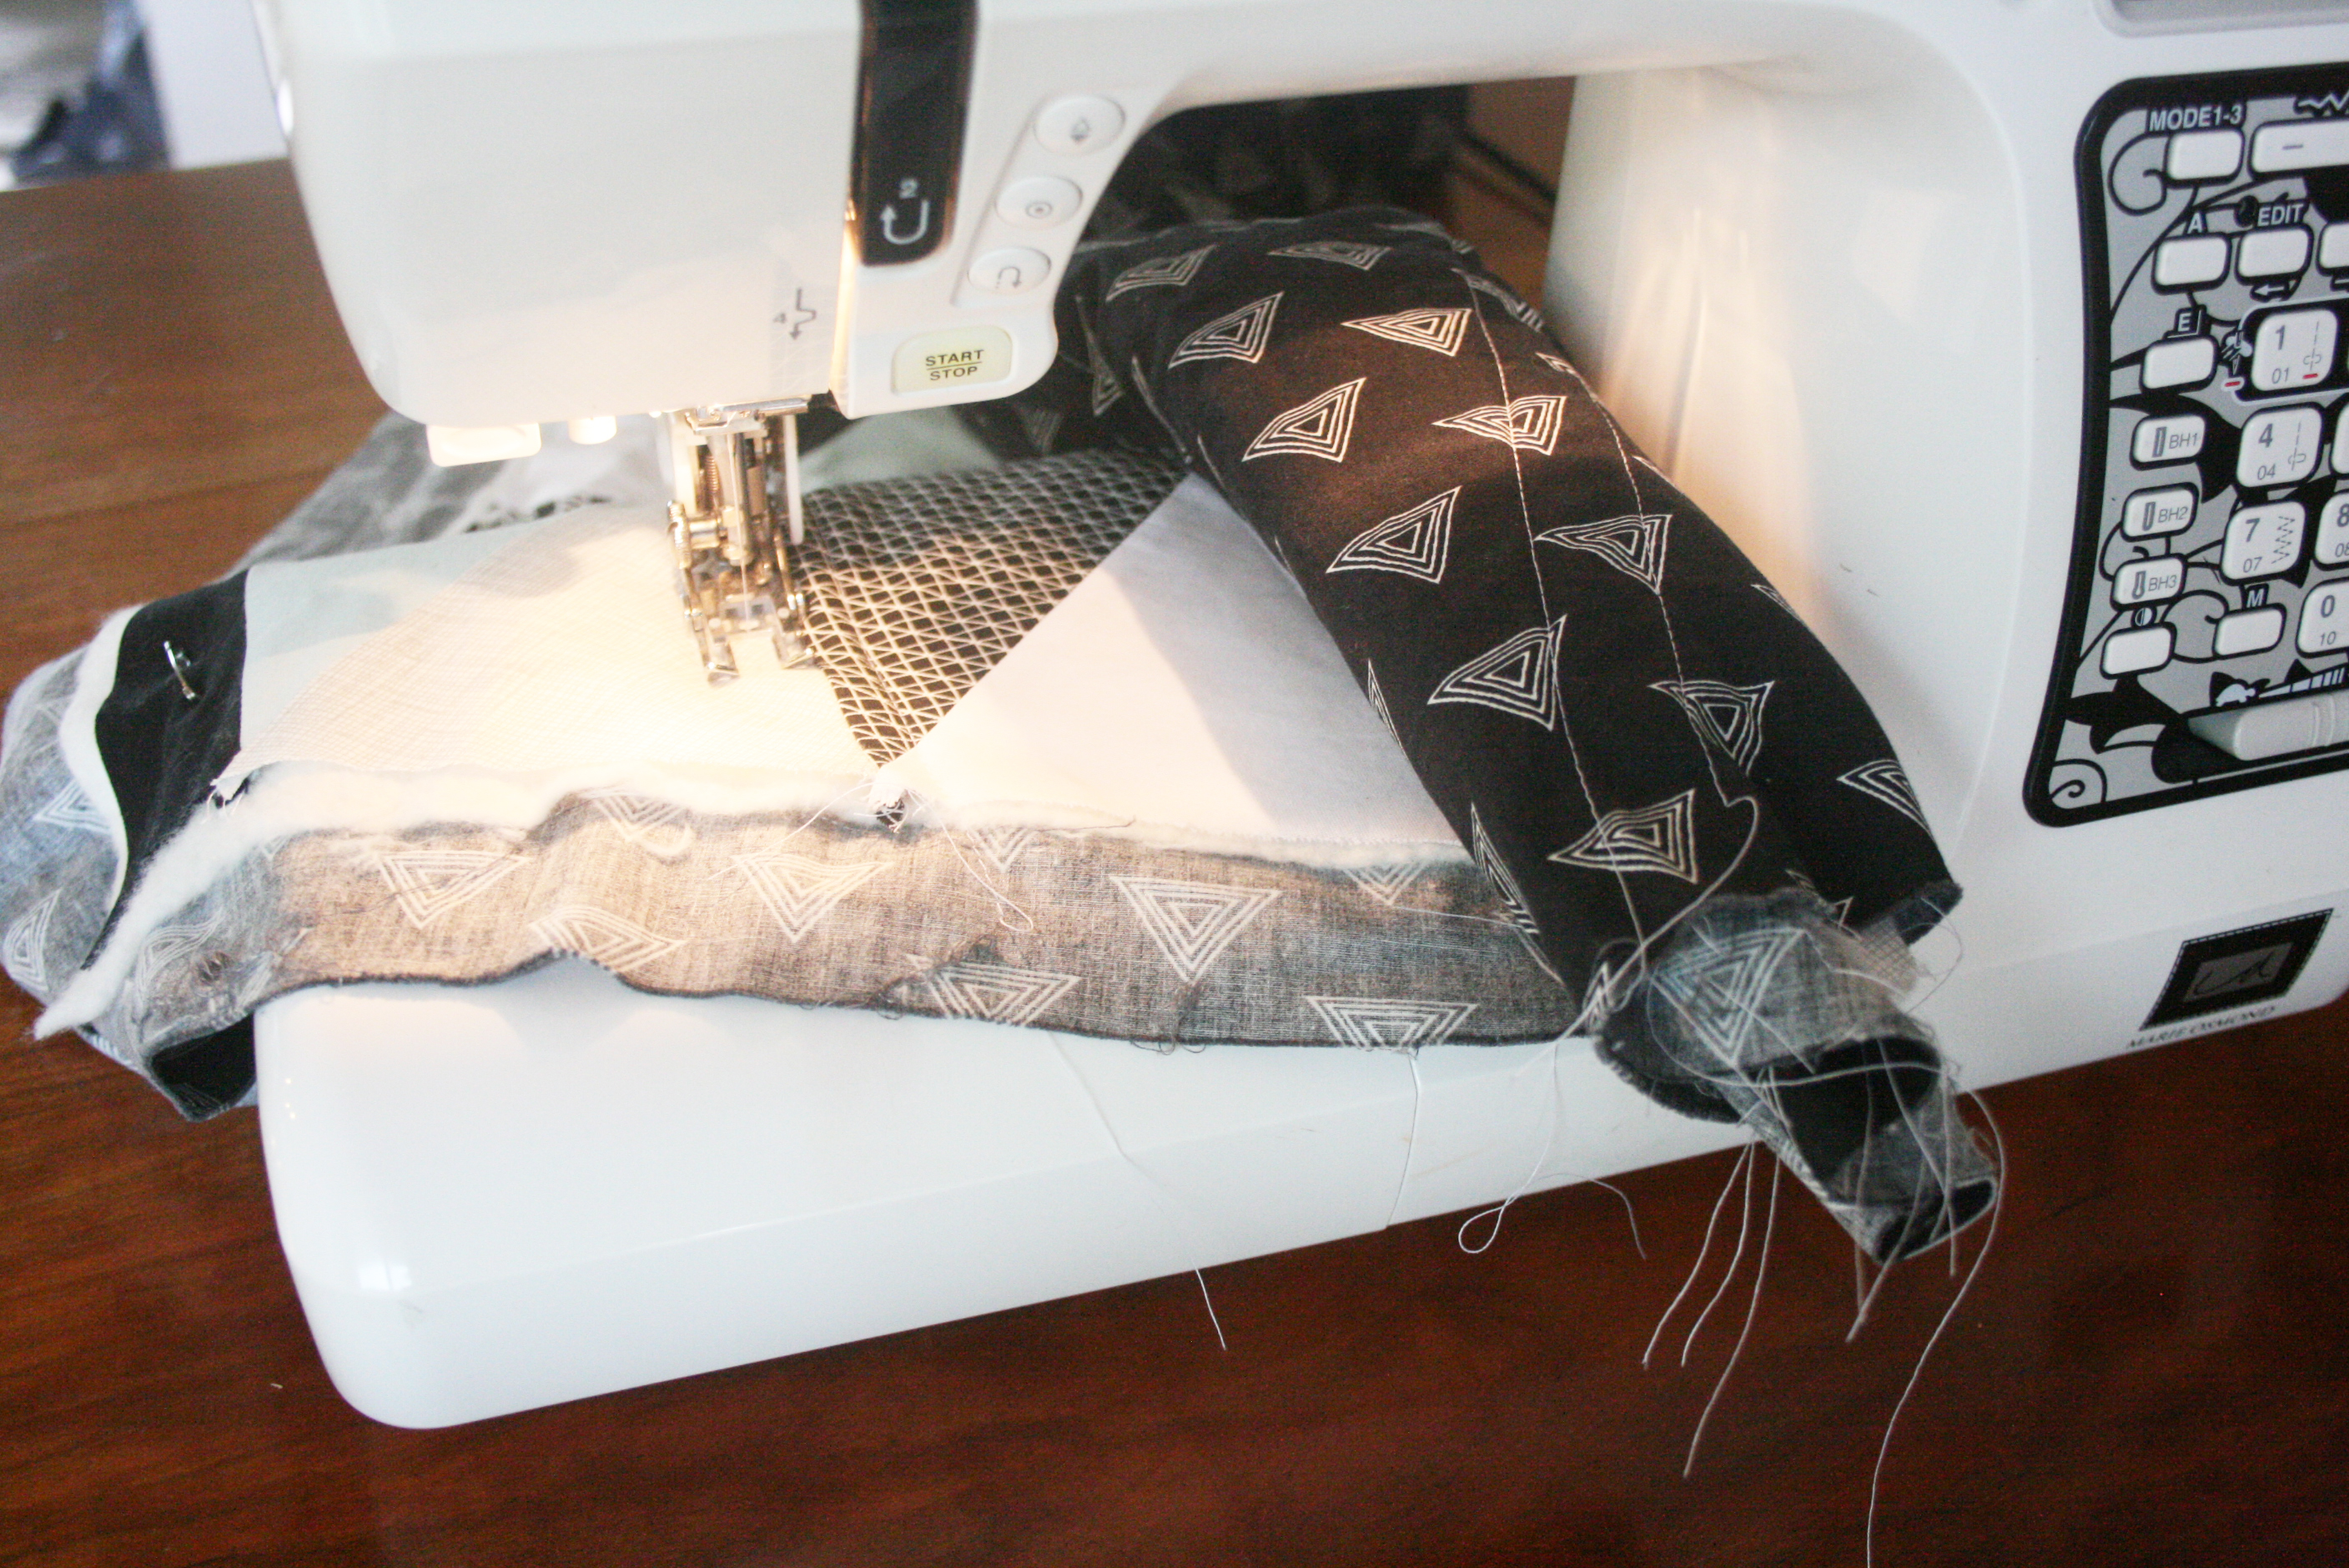
When you make your quilt sandwich, think about how you want to do your binding. I NEVER do the backing binding method, but this was such a small quilt and I loved the fabric. So of course, for my first ever blog tutorial I do it! I carefully trimmed my top and batting with a rotary cutter and pressed them before laying them atop my backing. Next I safety pinned the layers together. Always start in the middle and smooth from there to pin your quilt together. Work out in a cross and diagonal from the center. Last step before quilting: I trimmed a 2″ margin of my backing carefully. I wanted to have a 1.25″ margin for my binding but sometimes when you quilt it uses a bit of the backing, better safe than sorry! I quilted on the diagonal and LOVE how it turned out. When quilting on your home machine, use a walking foot. Roll your fabric up to help it fit in the “armpit” of the machine easier. Set your stitch a bit longer than normal to help the quilting stay smooth. Work from the middle out with your stitching…
Let’s talk binding. Trimmed it up to a nice straight 1.25″ with the rotary cutter. Pressed the quilt nicely. Then, I ironed the binding over to the top of the quilt making a crease. Next I double folded the binding, pressing after each fold.
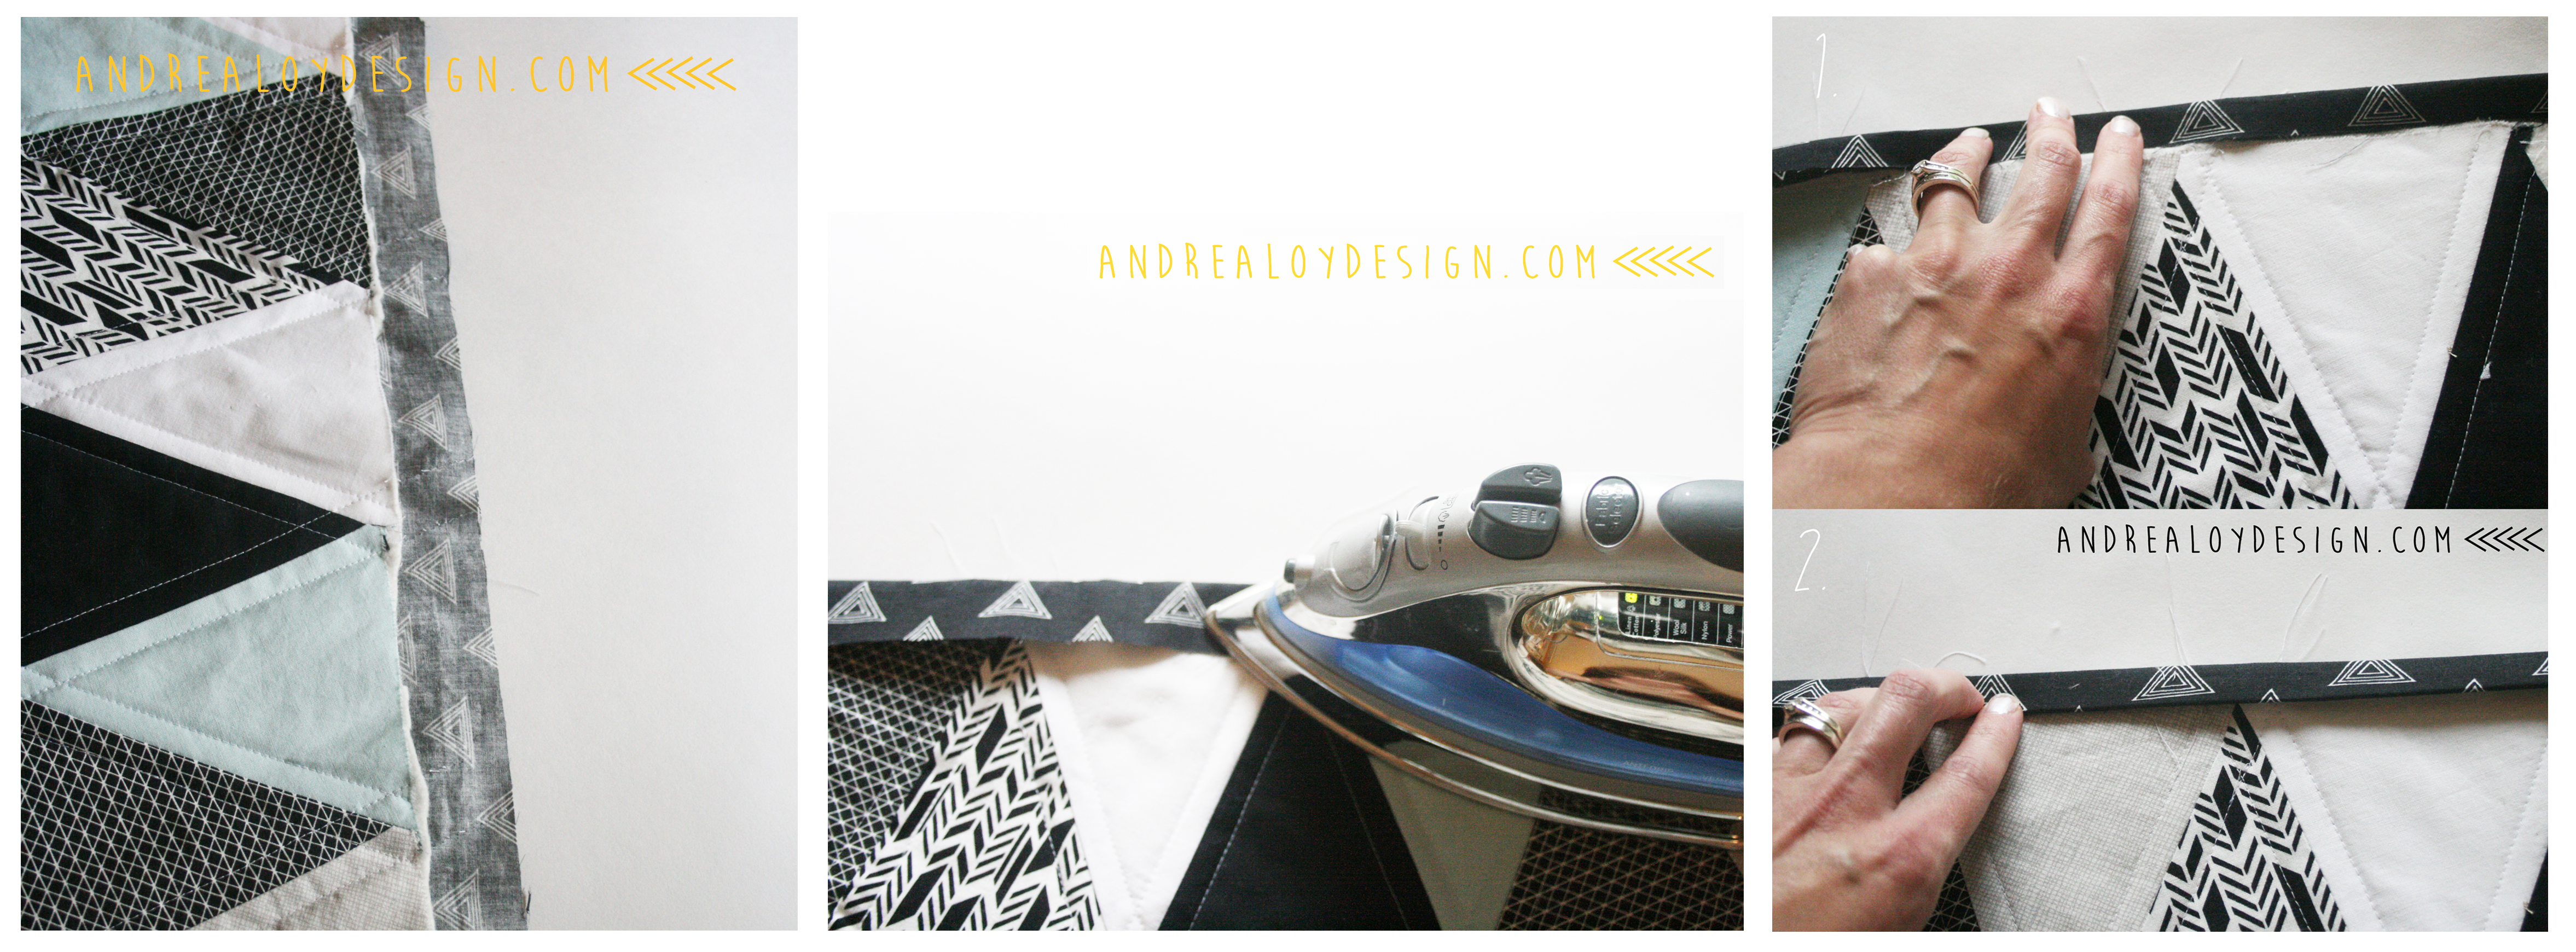
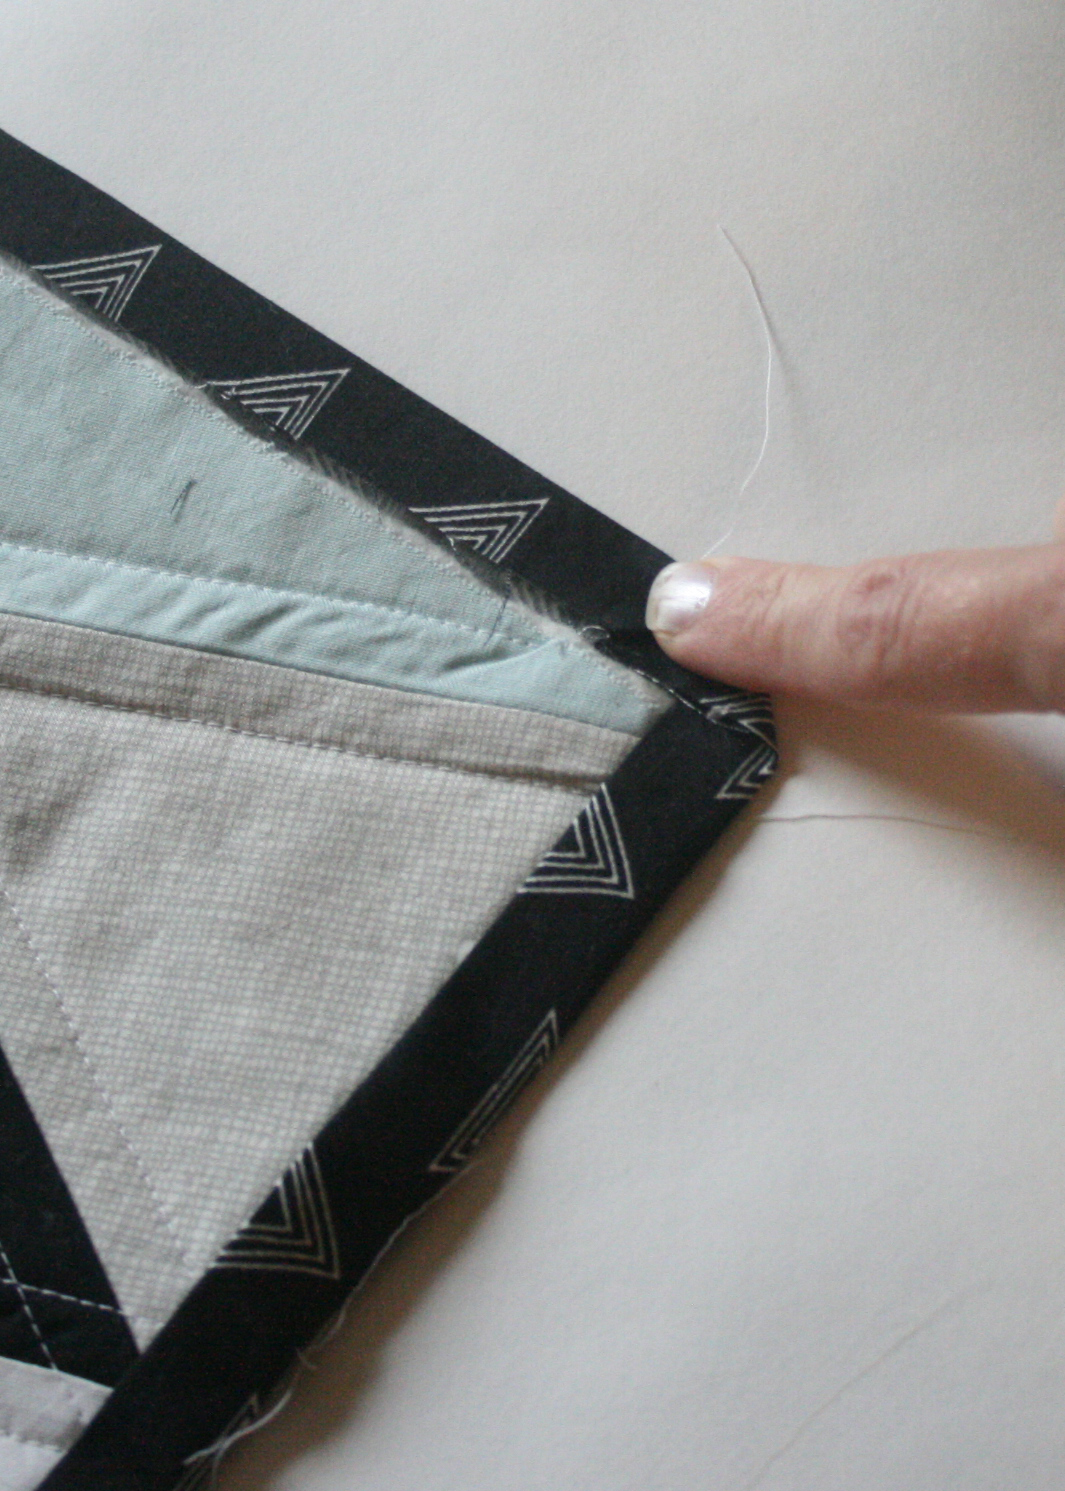
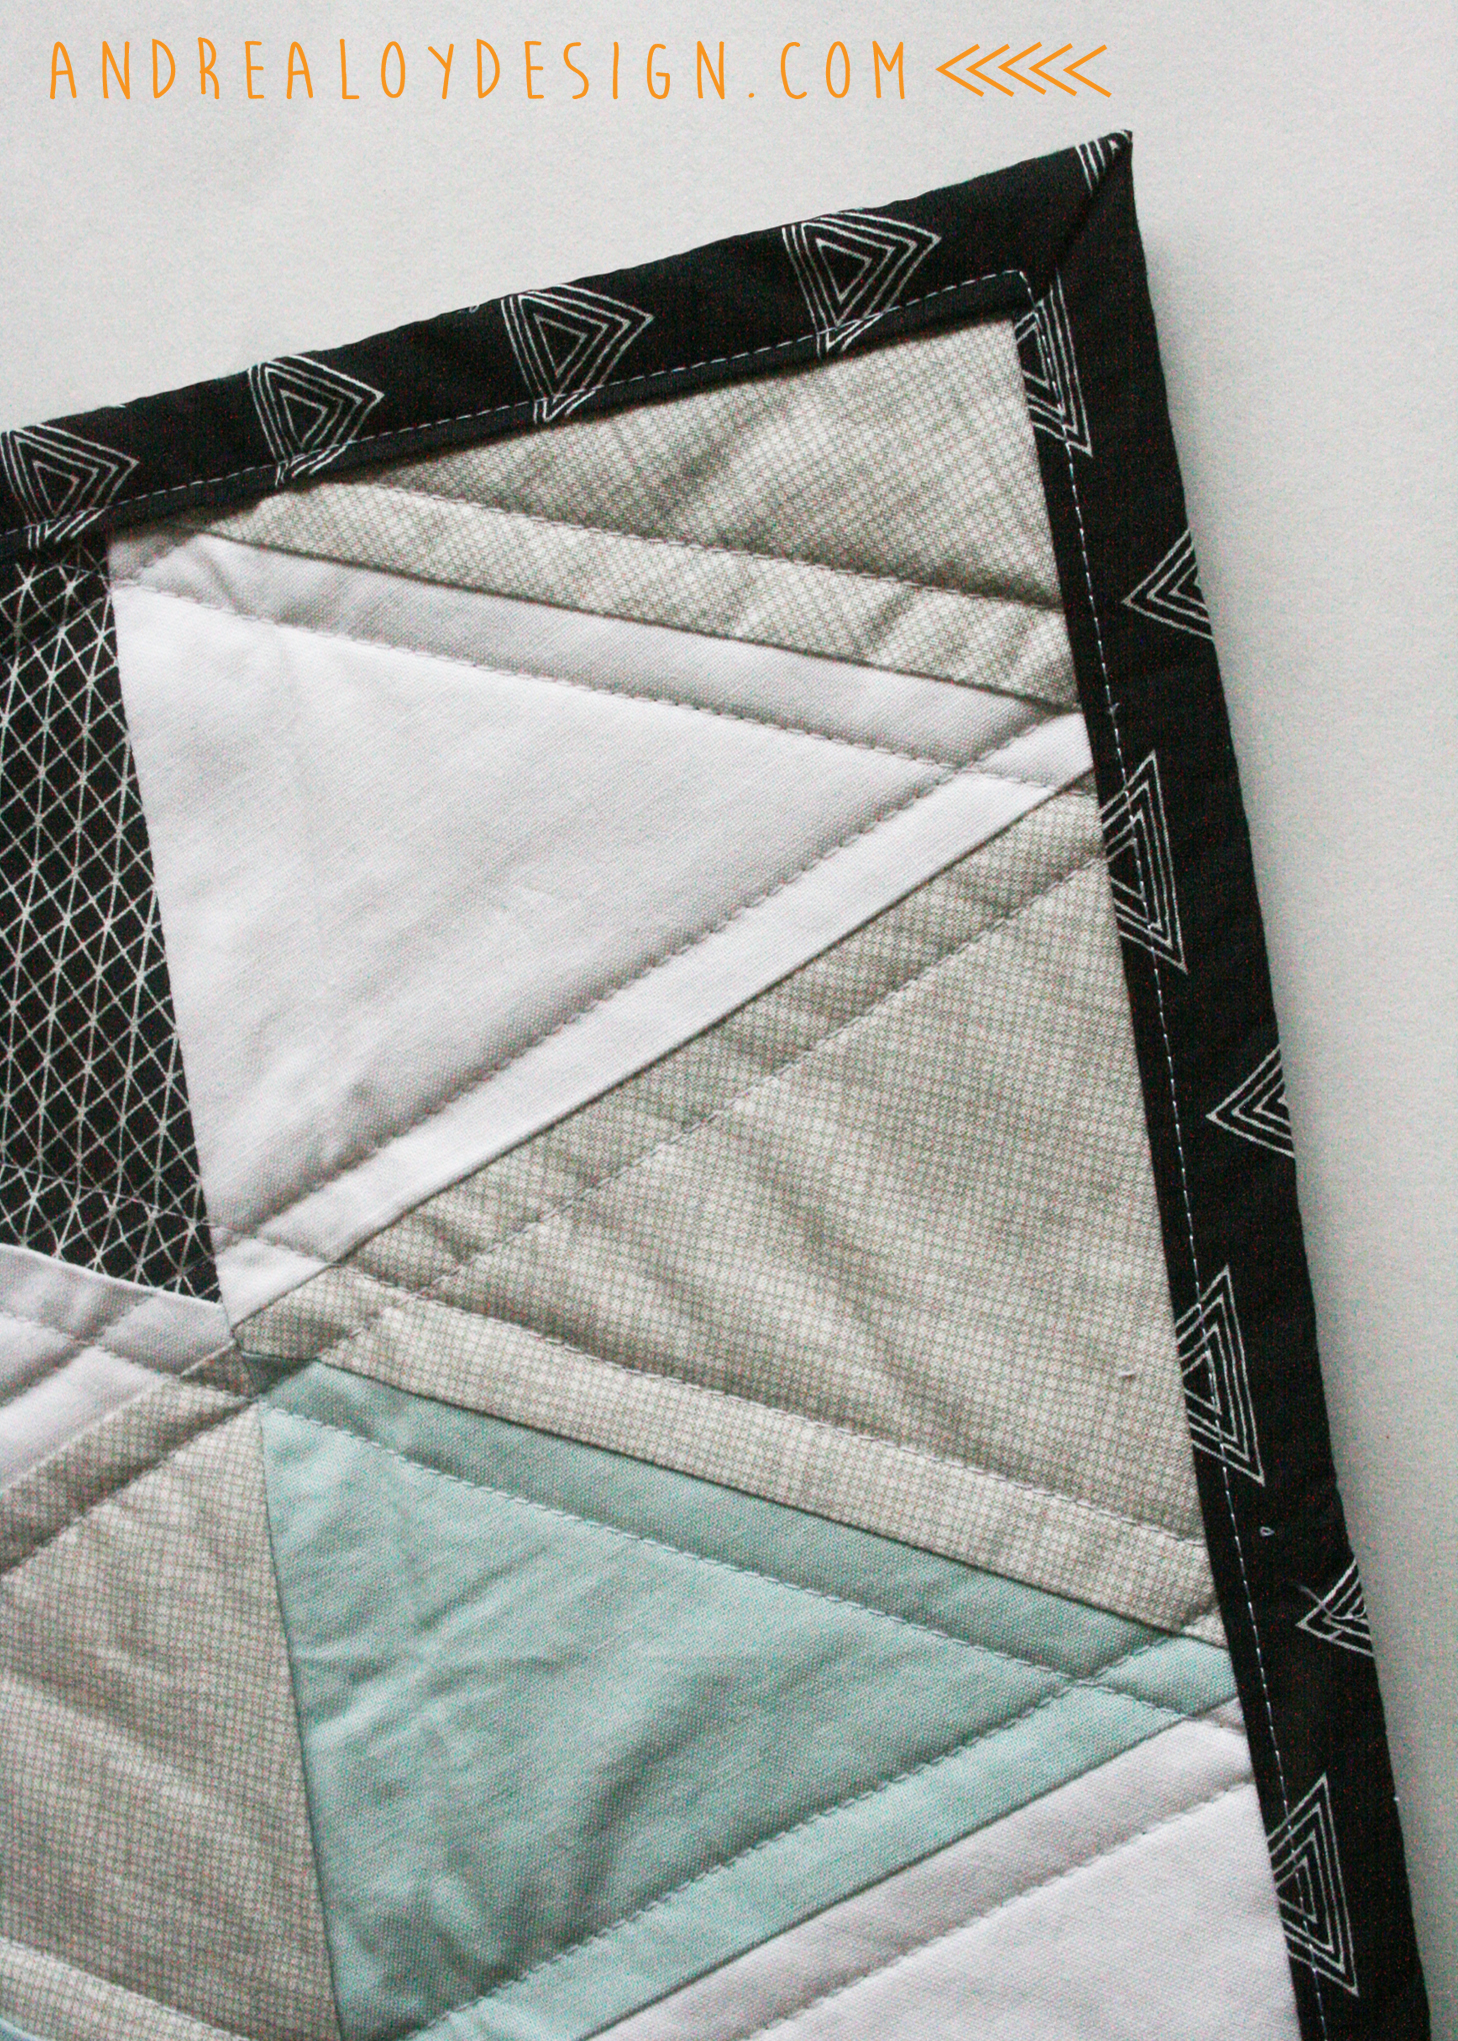
Are you hoping at this point that I don’t forget to show you how to miter the corners? First open one fold of one of the quilt binding sides. Fold the corner down toward that opened side. The fold the binding back over where sit should go. Poof! Magical mitered corner… I think it’s best to show you in pictures:

There. All done! Thanks for reading! Share your triangle quilts with me on my FB page as soon as their done! I’d love to see them. Now that baby O is on the way today I can share this. We can’t wait to meet him! Here are pictures of what was happening behind the scenes while I worked on this with the hoodlums. Just your basic sprinkler situation and some attitudes of course…. 🙂 For the Gmas….

