Makers Cottage – DIY Felt Ball Garland

makers cottage

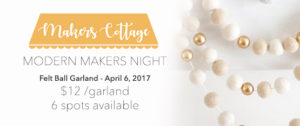
It’s time for my third Makers Cottage Night! Each Modern Makers Night has been so fun and filled with making not only great projects but new friends as well.  For the April project I’ve chosen Felt Ball Garlands.  I’m not able to source the wool felt balls locally from a herd, but that sure would be amazing!  I’ve ordered some in bulk though and they are on the way!  Check out the image above for a sample and details. Simply Click On The Image to Sign Up!  I have a few spots left and I’d love for you to join me!  I think this would be an easy kid project as well, so I’m sure my girls will be making some for their rooms too!

If you can’t join us here are a few links to buy the supplies yourself.

How To Magically Make More Time (for sewing) Part 3

sewing

Here it is friends. This is the LAST post in my Magical series.  The people who need this post, won’t want too hear it… Honestly everyone is able to do this, at least for a season. You will have lots of excuses why you can’t, but if you love something, you will make the space and time for it.

To make more time for sewing you MUST LEAVE YOUR SEWING MACHINE OUT AND SET UP. You must find a space. You must make your kids share a room or have them eat outside on the deck or sew in your bedroom or even train your baby to go to sleep with the sound of the sewing machine whirring near her crib….all of these things I have done at one point or another. We have lived in a slew of tiny houses and apartments off and on over the years and the key to getting stuff sewn was and always is leaving my machine out.

I want to encourage you to “Just Do It” Nike doesn’t consider sewing a sport, but if they did I would totally be sponsored. HAHA.

Right now I am very fortunate to have a nice finished room to sew in. I share it with the girls so that if there are moments during school that I can sew, then I can! Here are a few creative ways to leave your machine out if you don’t have a sewing room.

THE PLASTIC STORAGE BIN
Just get a bin with a lid and shove it in there and slide it under the kitchen table. If it’s already there then you will be more likely to use it. Here is good one.

THE NOOK
There is always a place for a sewing nook. Get a nice wooden or sewing specific folding table, that way if you have company or need the space temporarily{ for something less fun than sewing }you can move it and put it back up easily. When my husband was in seminary we lived in the campus apartments. SO FREAKING TINY. Someone had left a wooden folding table in our apartment so we used it for that.

THE PLACE YOU DONT LIKE
Is the basement your sewing lair? Do you hate it so much? Is it watery and smelly and dark? Just set up your supplies and organize in such a way that you can have your project out and ready to grab easily so you can bring it up to the kitchen table for the afternoon or evening.

Give up on the ideal places you see on blogs and pinterest and give yourself the freedom to enjoy your sewing time.  Sewing has been such a great way for me to lose myself and relax.  I listen to a book on Audible, pop my headphones in my ears, and start making!  Just do it!

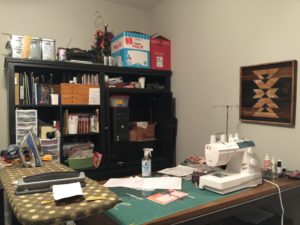
Here is a picture of my non pinterest worthy sewing space. I sure am thankful for it and I get so much more sewing in.  My plans for it include painting the cabinet a bright happy color, but then I wouldn’t have as much time to sew….the struggle. 🙂

sewing room

Happy Sewing Friends! JUST DO IT!

-Andrea

Not Your Grandmas Cheater Quilt!


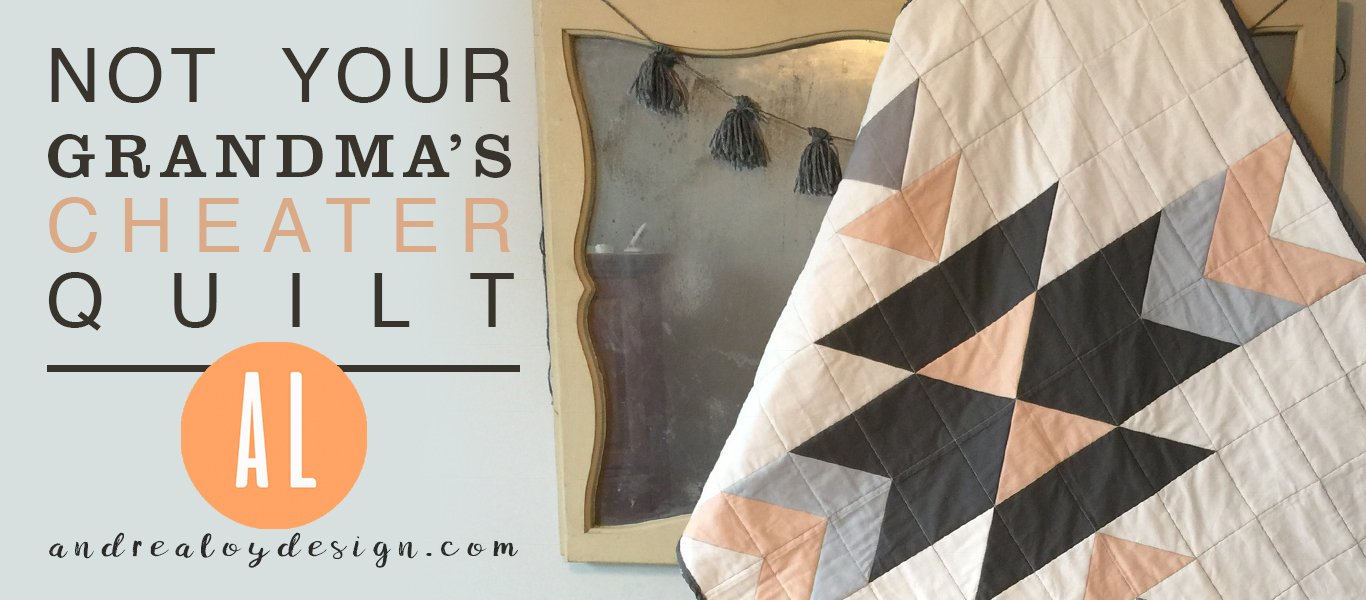
Welcome to the blog today! Several months ago I designed a fresh take on the old cheater quilt.  After testing it out, I’m finally ready to share the whole process with you.  Ever heard of Spoonflower?  The company offers an amazing service that I’ve been wanting to take advantage of for years.  So this is my year!  I’m doing lots of things I’ve never done before.  I’m seizing the day – Carpe Diem! Or perhaps I’m seizing the year?  Carpe Anno!  Spoonflower Fabric allows customers to upload a design to their website and have it printed on fabric.  {They also offer wallpaper and wrapping paper.}  If you aren’t a designer but want a custom piece of fabric you can shop the Spoonflower fabric site with thousands of designers from all over the world to find your perfect piece! They operate a bit like Etsy in that, you can look at each designers shop, not just the designs themselves. So I invite you to look at my Spoonflower shop and buy a modern cheater quilt to start with!

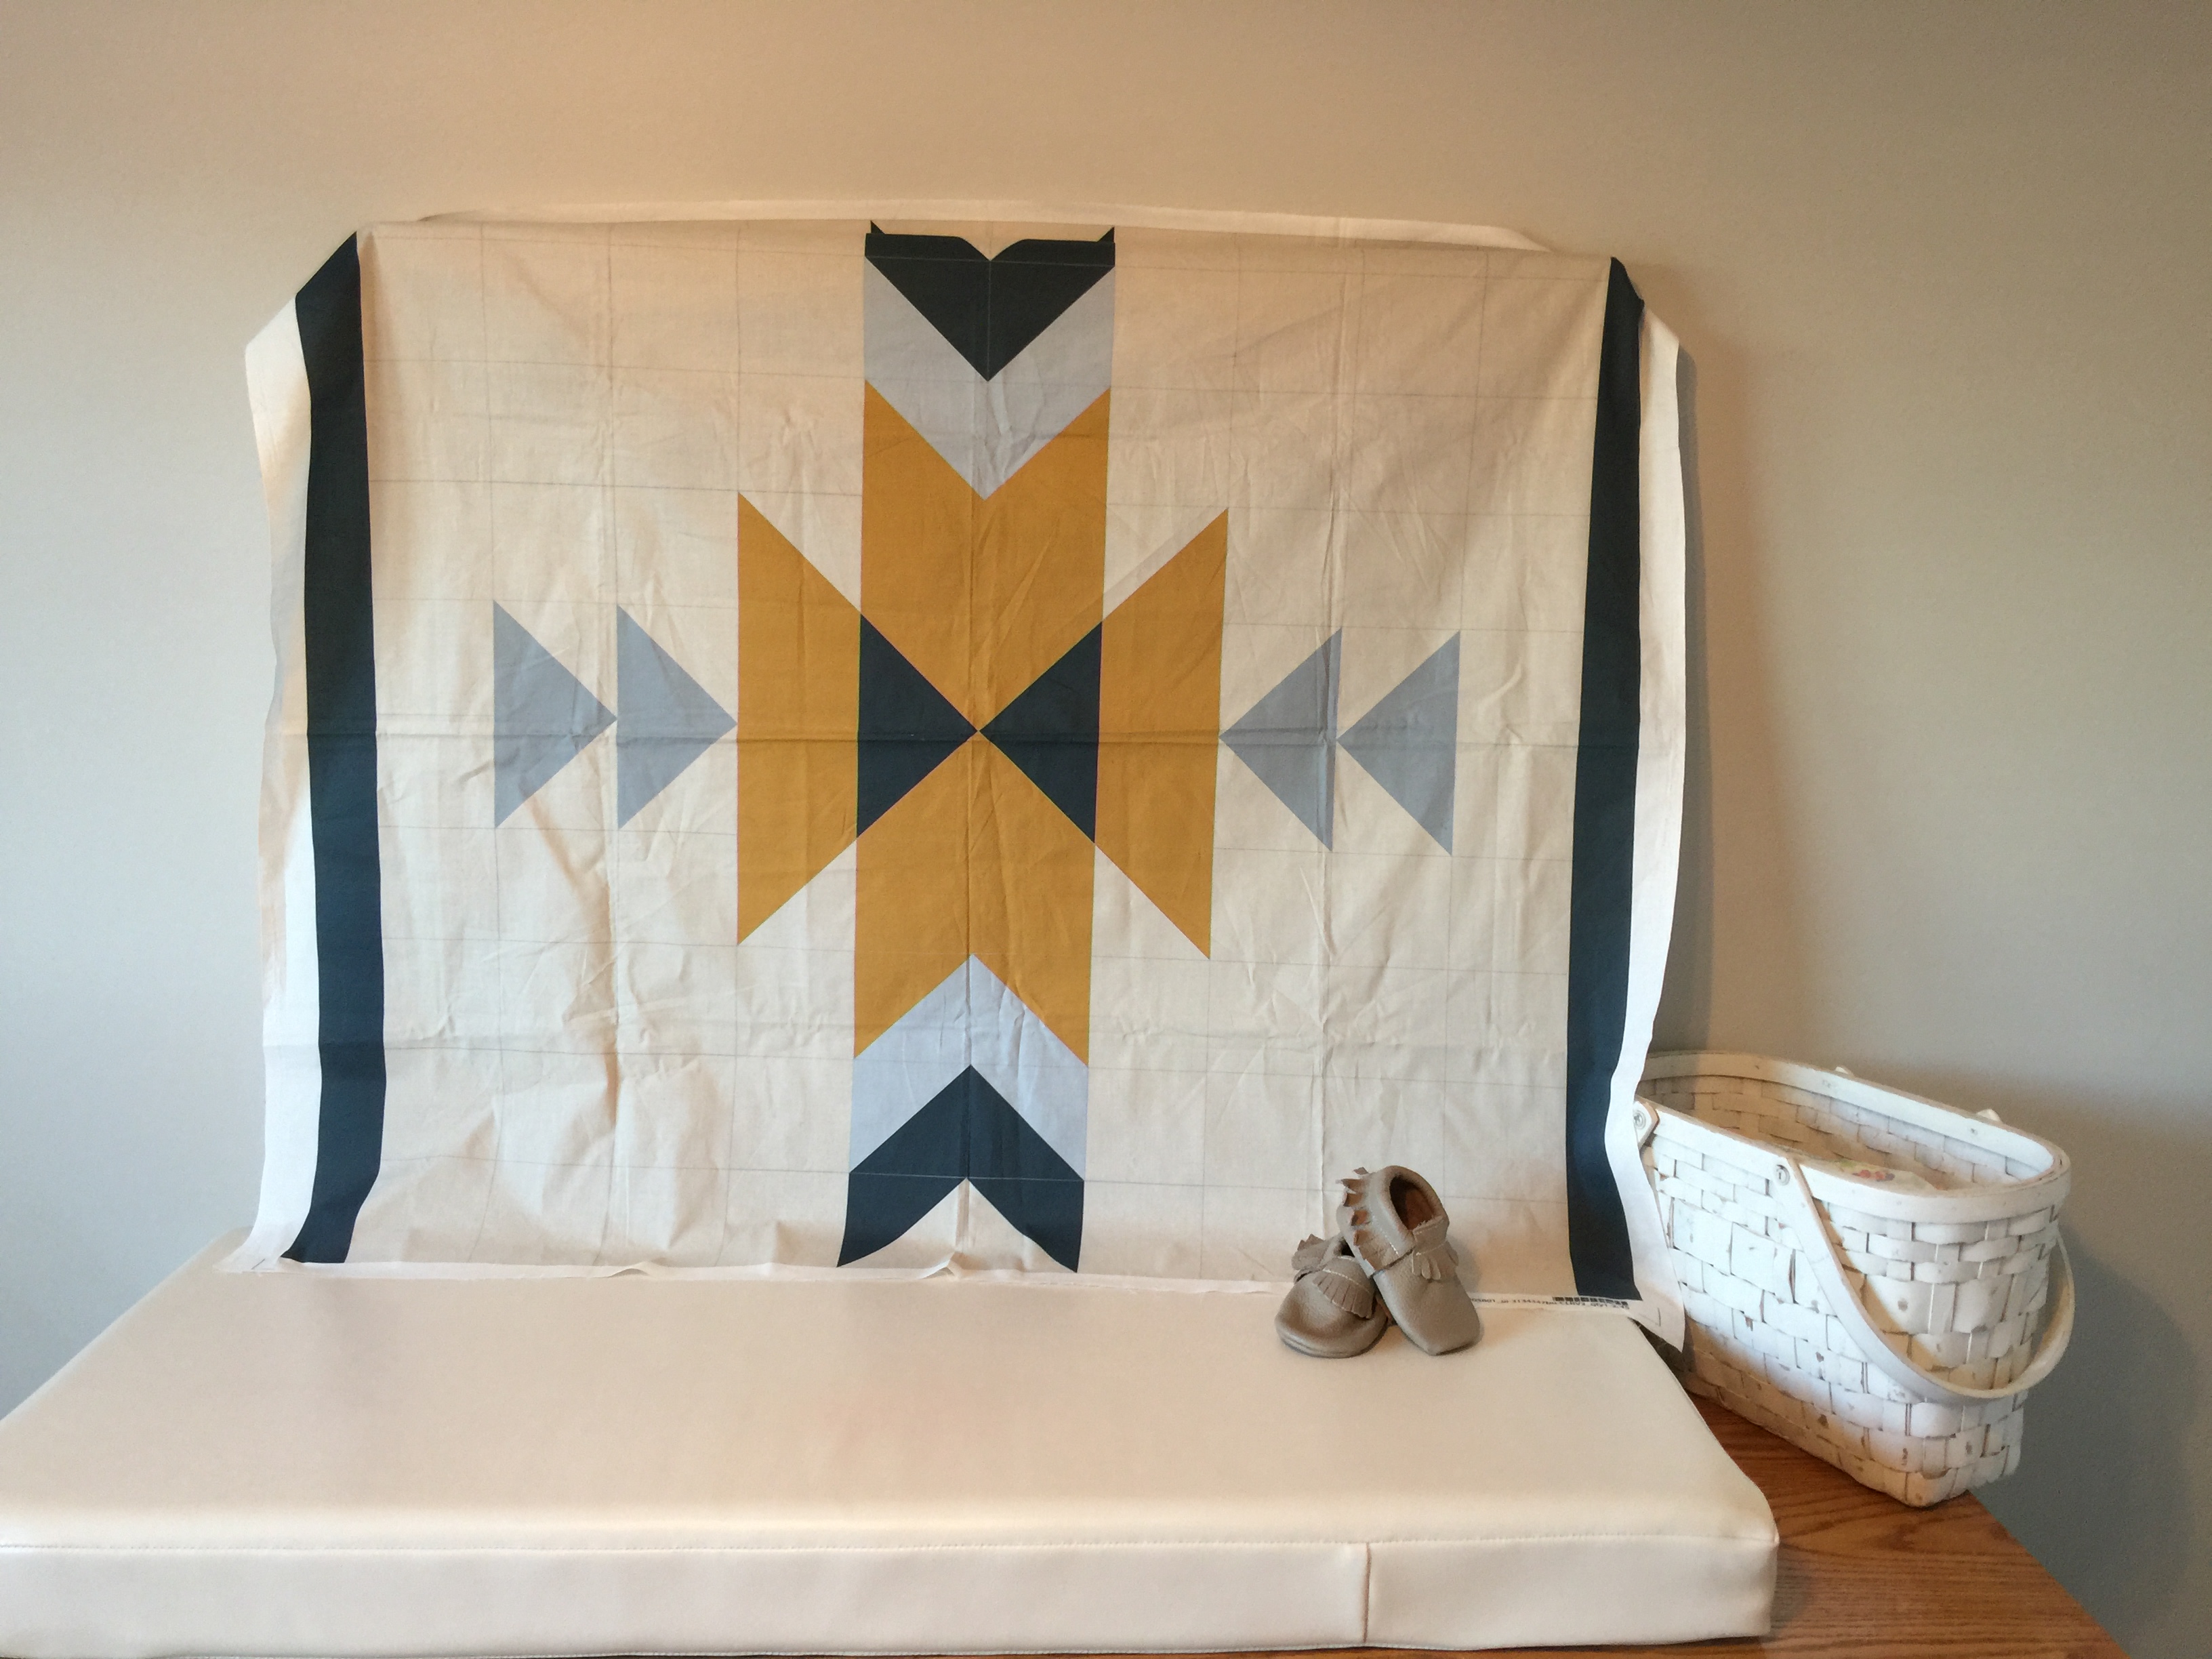
I love the idea of cheater quilts, they are fast and fun! Sadly, though, most cheater quilts are very ugly and outdated.  In fact, I haven’t really seen a good cheater quilt until Spoonflower hosted a contest last year on them.  It got me thinking about it.  I wanted to incorporate some of the tried and true quilt blocks from the past and yet I wanted a modern airy feel to the cheater quilt.  I chose a squash blossom pattern, enlarged it on a grid big enough for one yard of fabric, used half square triangles to construct the pattern and quilting lines.  The panel is available in two color ways of cheerful, calm solids.

My Peachy version contains a few shades of grey, pale peachy pink, and a light smoky blue on navajo white.  This design is great for a modern baby quilt, but also finds it’s home amongst cozy couches, and master bedrooms.  You can make a large quilt out of several yards/panels. I included a border on two sides to help you implement this concept.

I hope you catch the cheater quilt bug…. You can buy it in my Spoonflower shop and whip it up in an afternoon….


Here’s a shot of the Teal Colorway panel.  I’ll be sewing it up soon.  It has dark and light teal, mustard, and navajo white.

Makers Cottage – A Modern Maker Night Of Fun

Maker’s Cottage is not a new idea for me but it is a major exciting one! I’d love to have new and future Lynchburg friends join me for an evening of creating once a month.  If you really like DIY projects but your afraid to tackle one on your own or you don’t know where to start….or maybe you don’t know what you need…..You can now just enjoy the creative process, make friends, have fun and take home a really great on trend DIY project to use or give.  Maker’s Cottage is also available in party form if you’d like to have a party tailored just for you in your home for birthdays and girls nights.

Here are the details:

Modern Makers Night!
Make It, Take It, and leave the planning, prepping, and mess to me!
Each Makers night I’ll prepare a short and easy on trend project suitable for keeping or gift giving. Learn new skills, have fun with your friends, make really cool stuff!
-all projects are low cost, pre pay, on trend, and EASY
-for ladies 18 and up!
-childcare available for a small fee

——February 9, 2017 7-9:30 pm ——————-
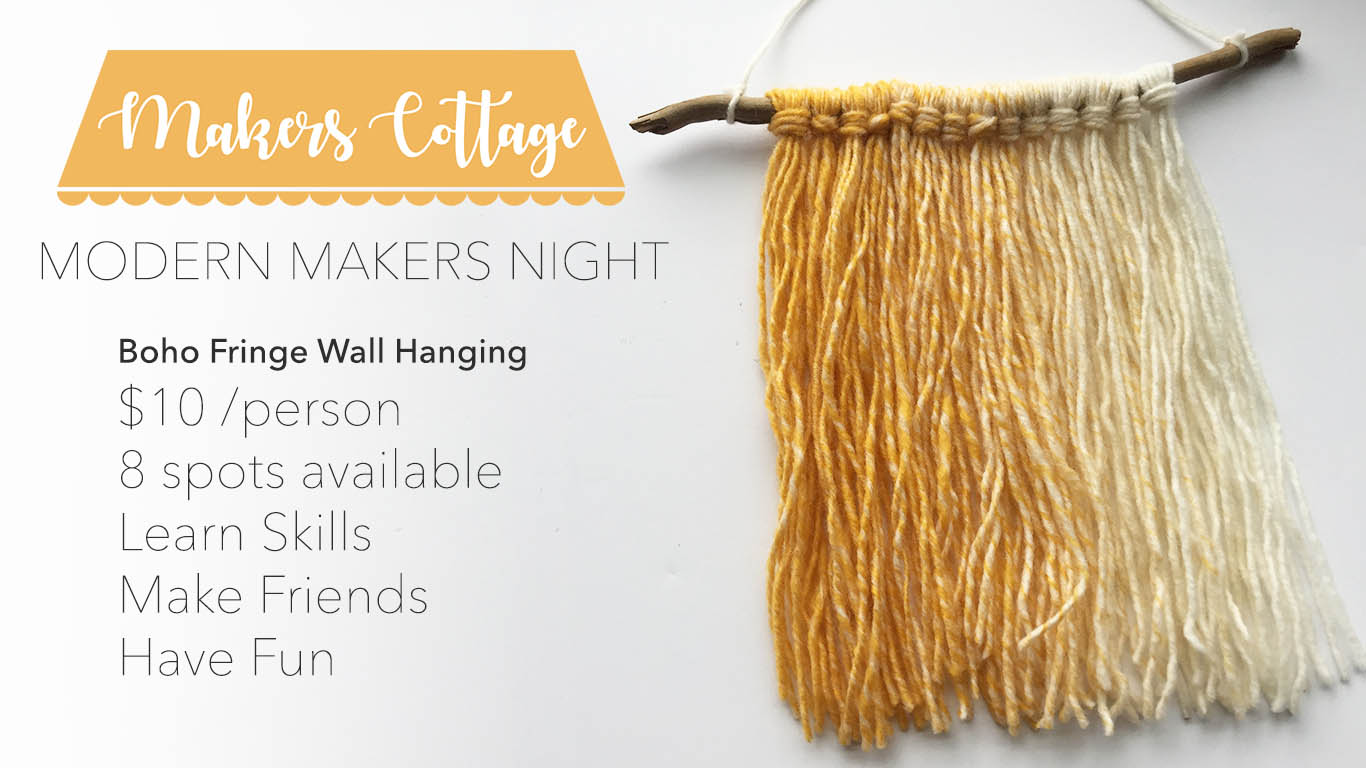
Boho Fringe Wall Hangings
8 Spots Available
Make Up to 3!
Andrea Loy’s Home
Braxton Park Townhomes
134 Mallard Lane
Lynchburg, VA 24502


Makers Cottage -February 9, 2017

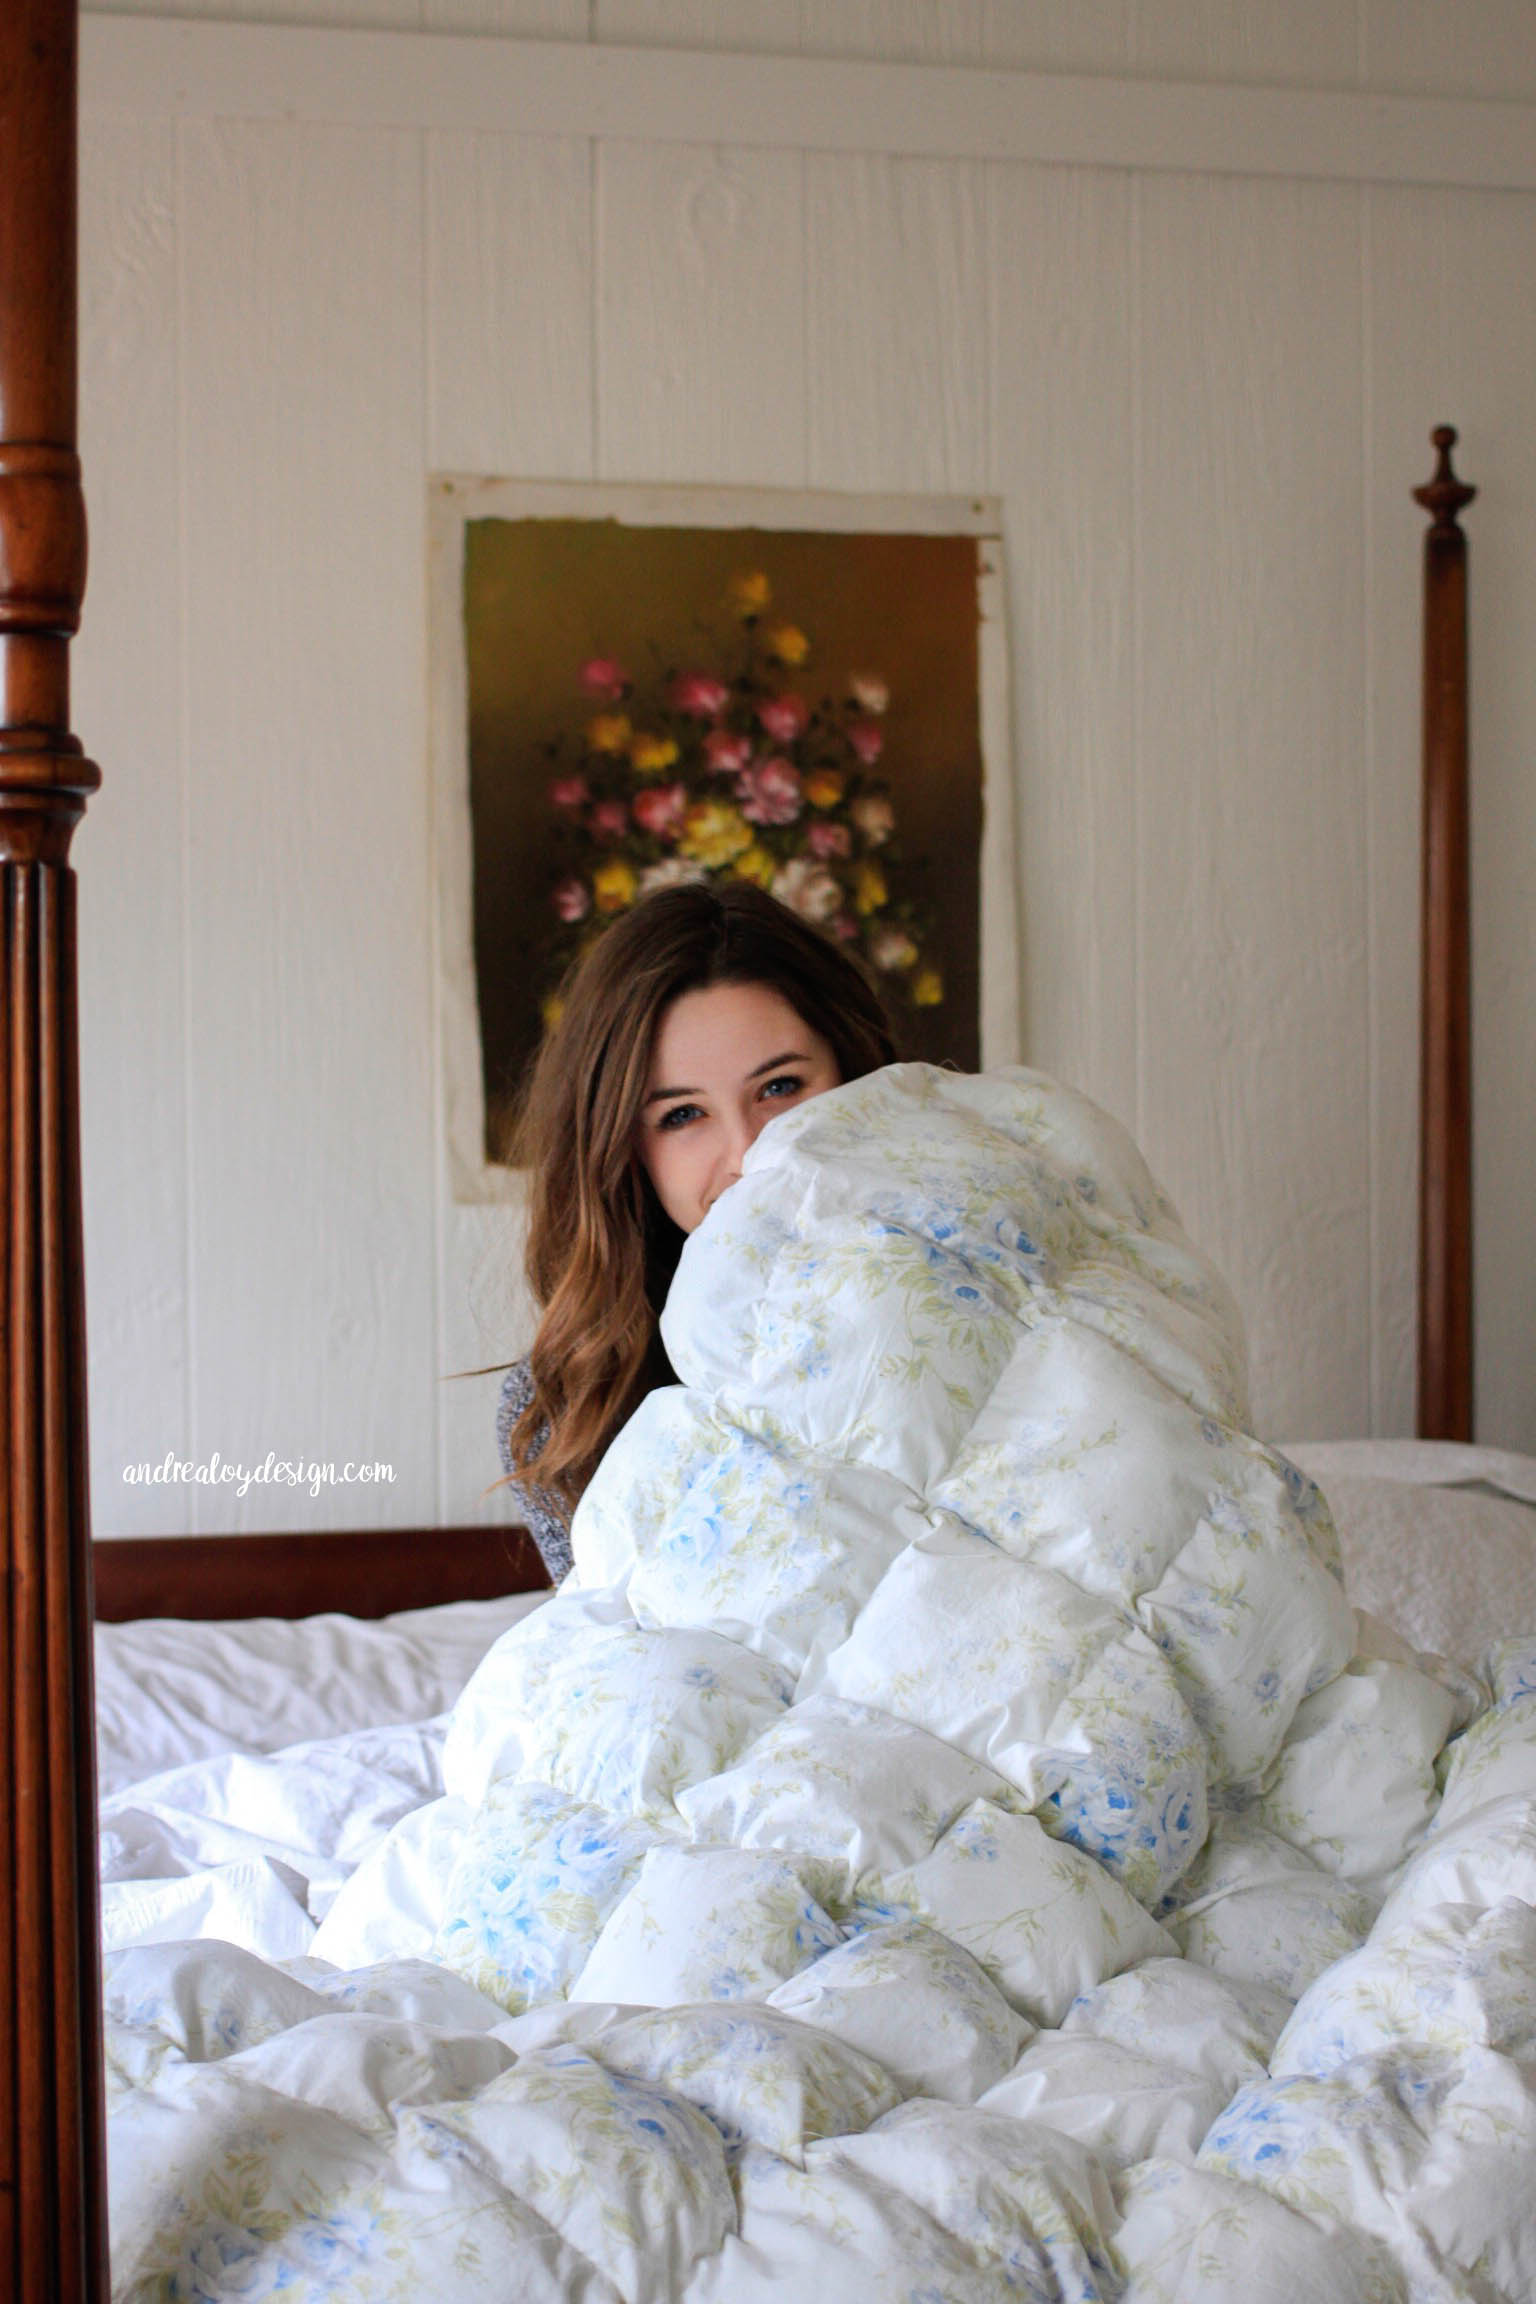
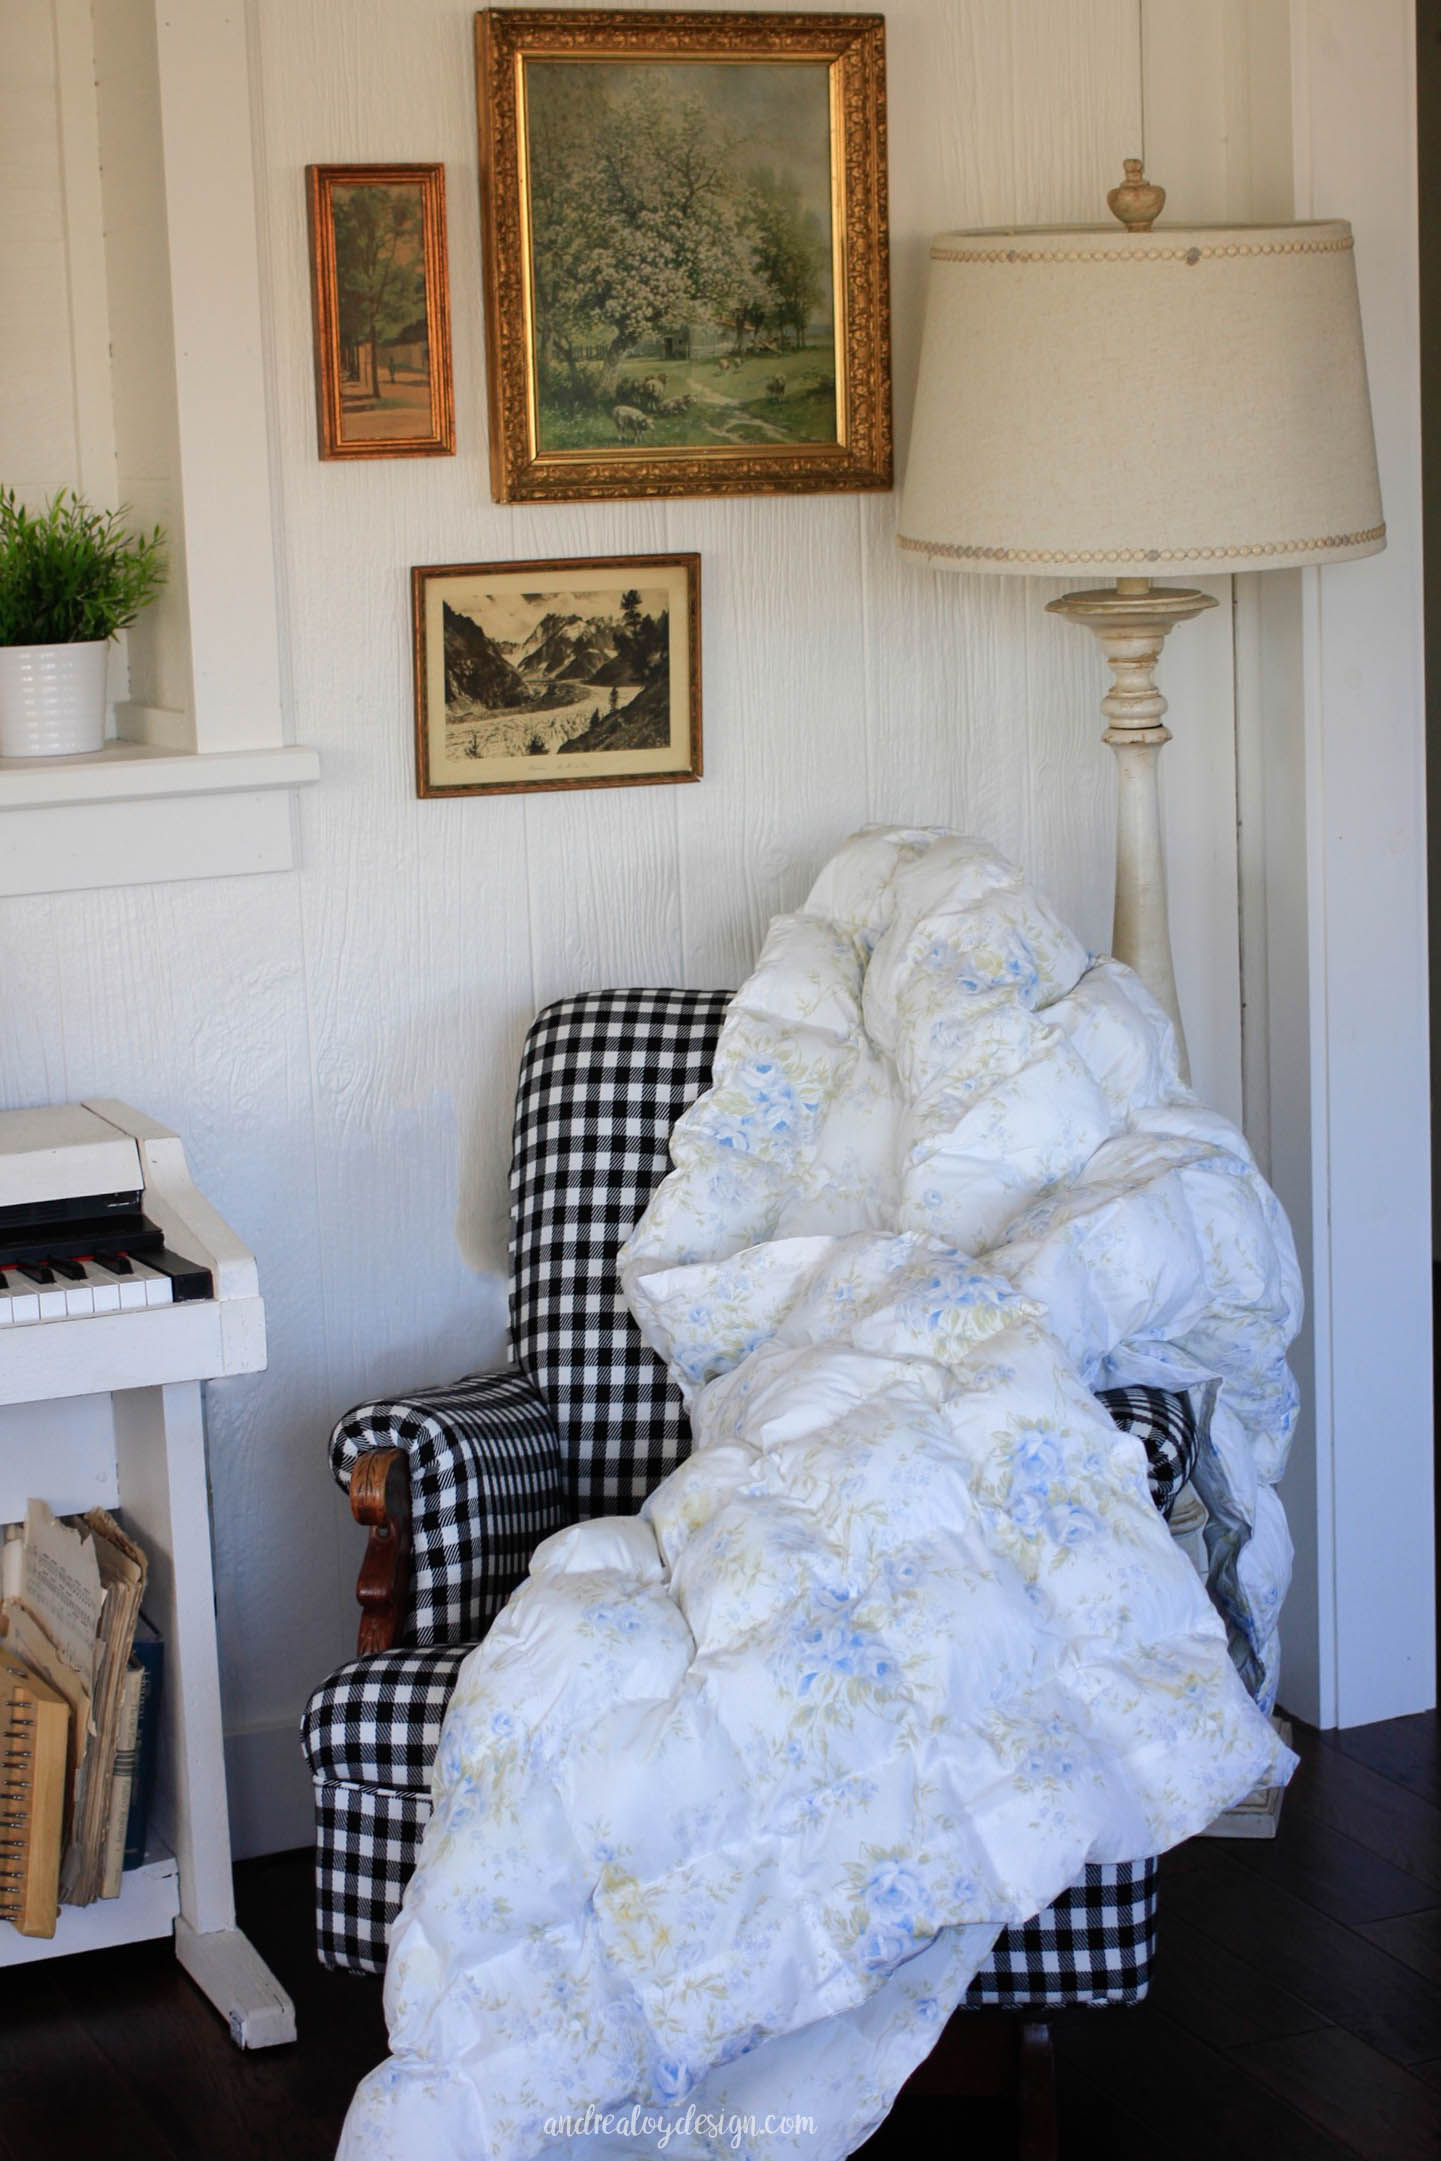
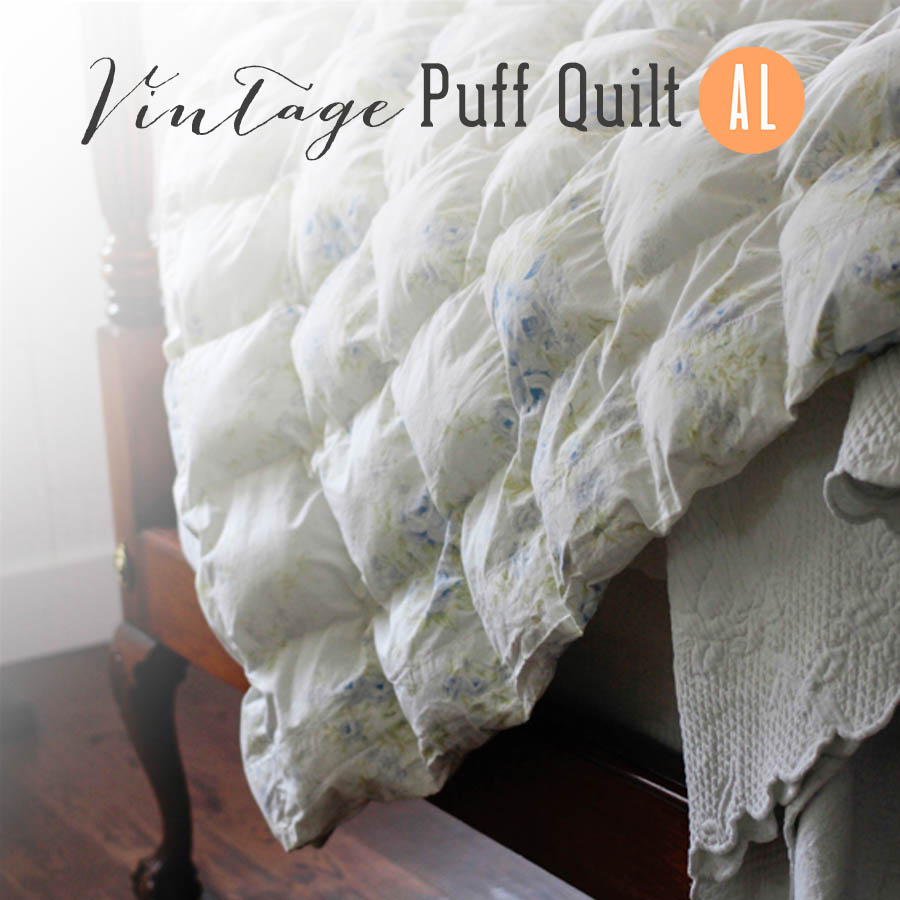
Vintage Puff Quilt


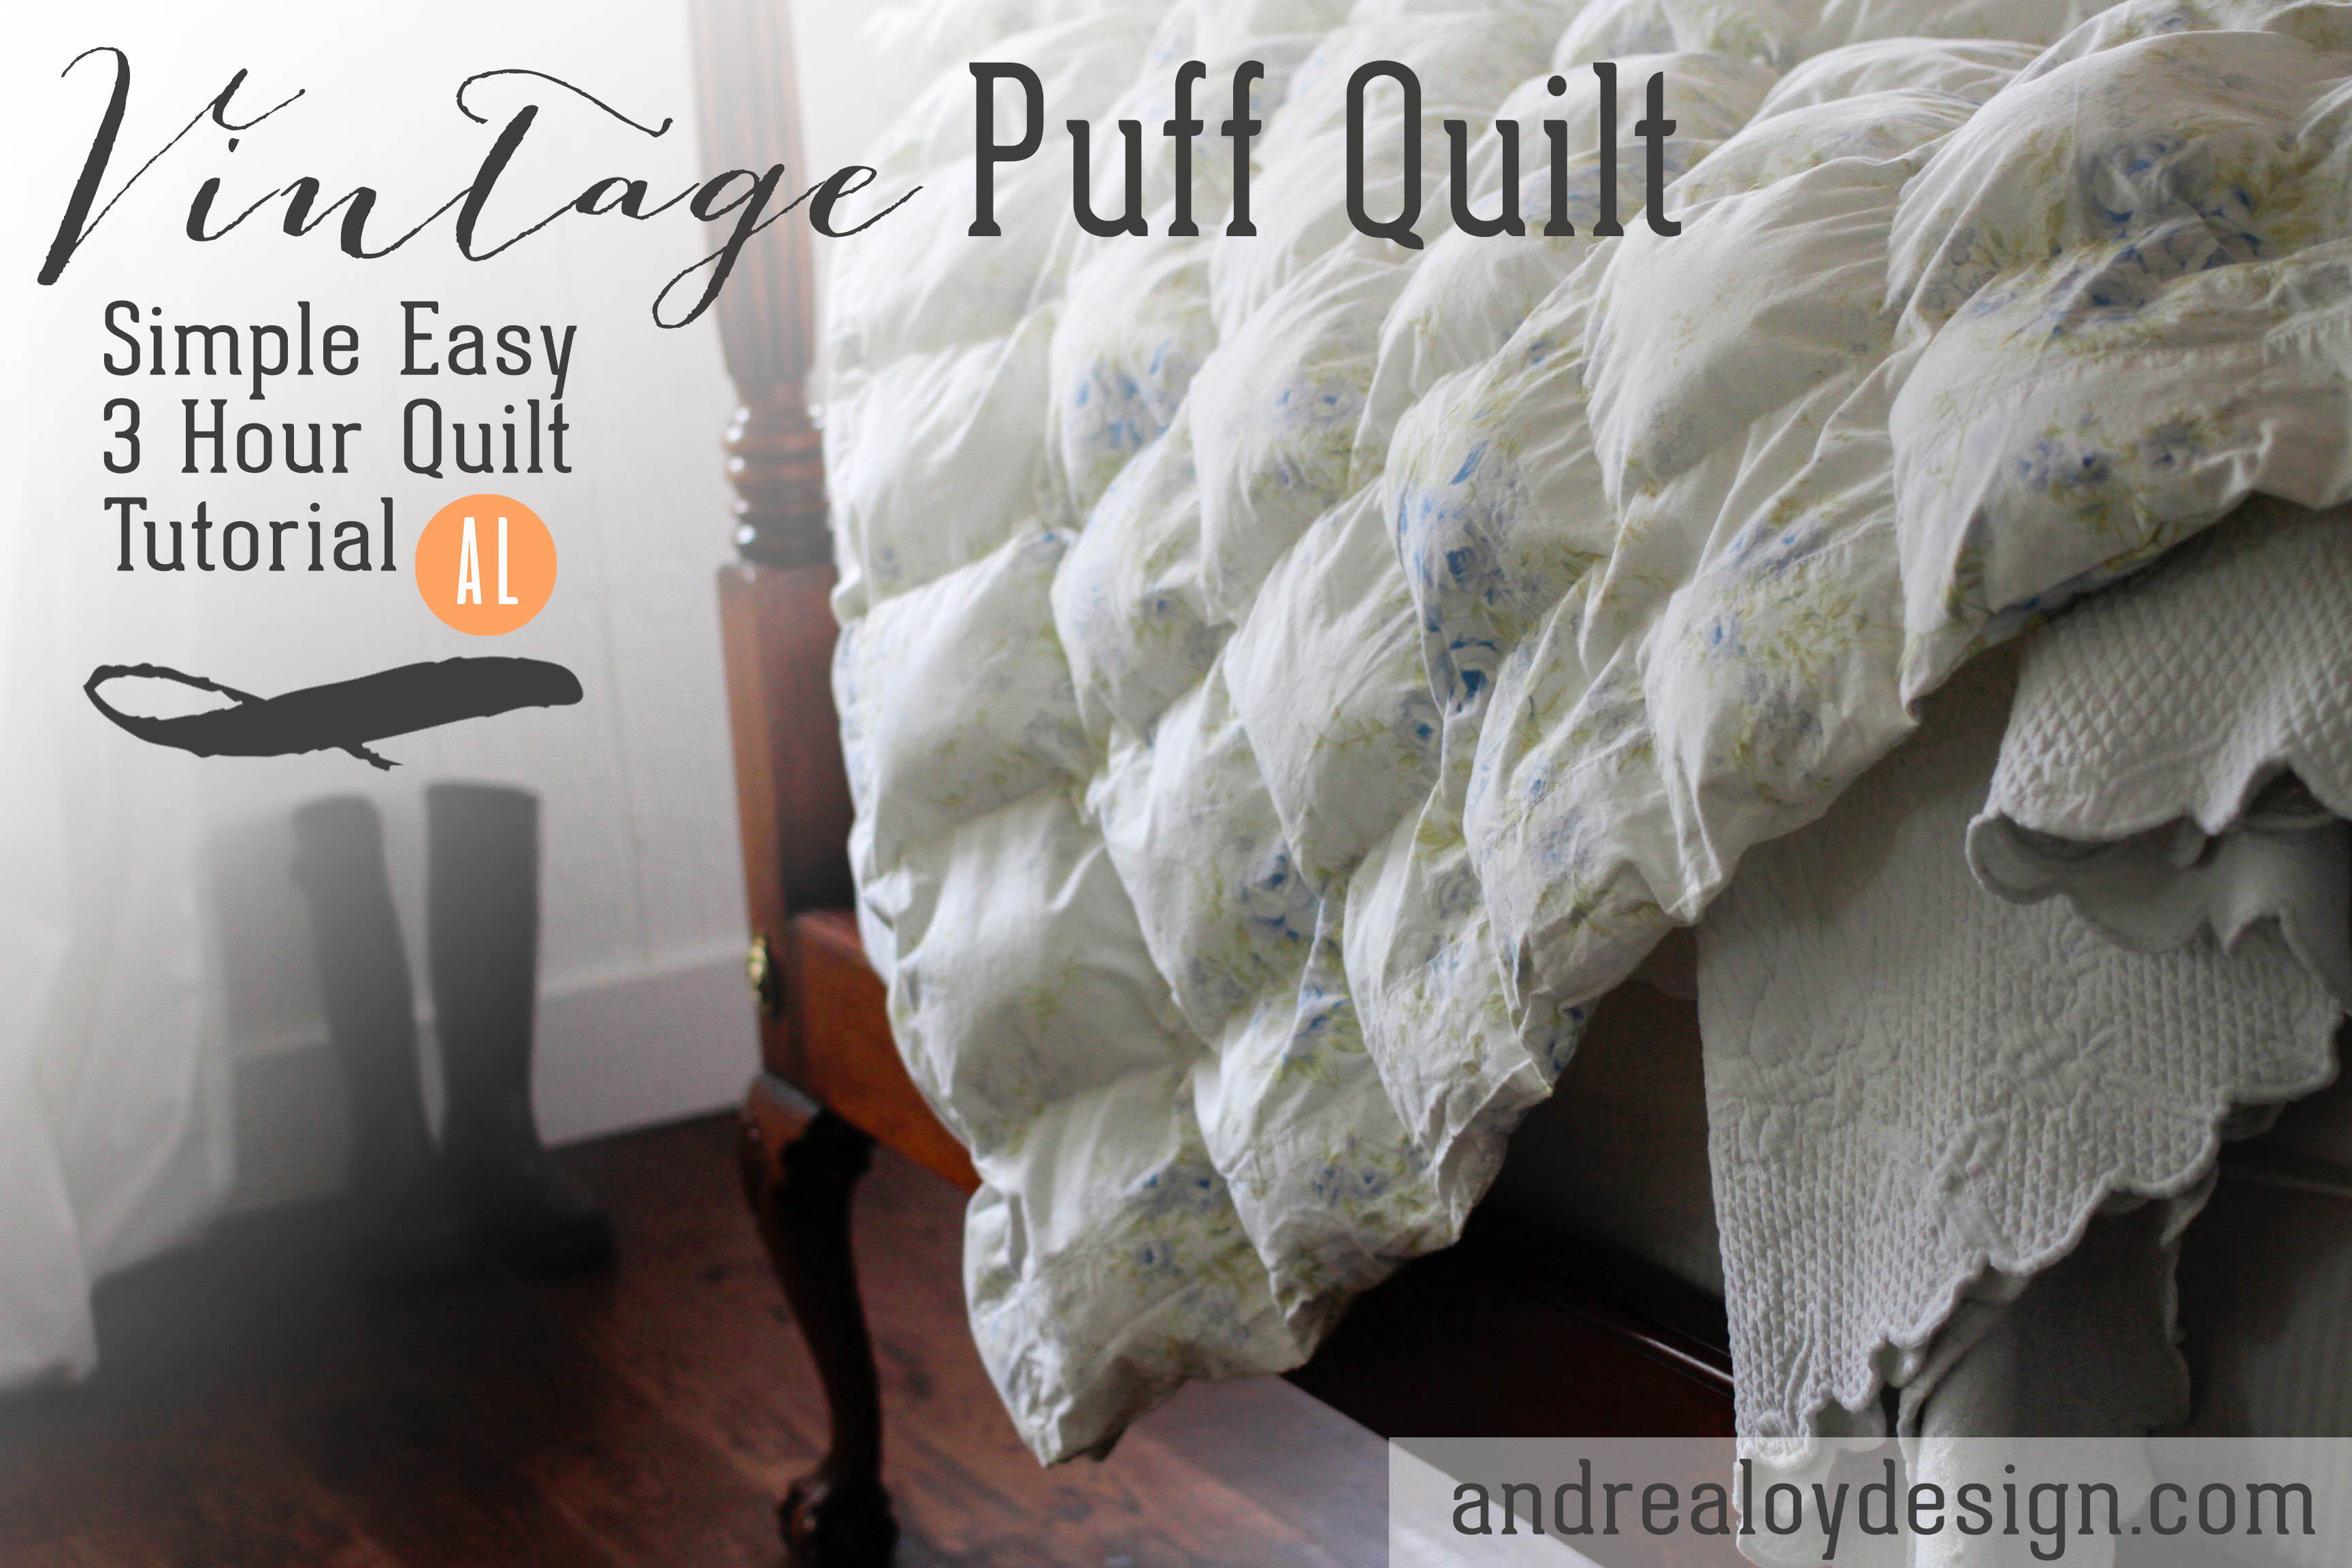
Interested in puff quilts? I saw some very ugly ones last summer and I haven’t been able to get them out of my mind ever since. This Vintage Puff Quilt happened because I have a problem. When I can’t get to sleep at night I lie awake and solve design problems in my head.

PROBLEMS

Problem One:  Most puff quilts are ugly. I wanted a puff quilt that was not ugly.
Problem Two:  Most puff quilts are pieced squares, therefore time consuming. I wanted to make a beautiful puff quilt quickly. {Like in a day or less.}
Let’s face it, I wanted to make a puff quilt just to spite these glaring problems. It also occurred to me that children would love these. The texture is so fun! I have lots of children, therefore I must make one. My children don’t really have a huge need for blankets, seeing as I make so many quilts already….and I come from a family of talented quilters. So I still lacked a little in motivation even after I had solved the afore mentioned problems in my head.
I was thinking about the puff quilts in Mary Poppins one night at the end of Jane and Michael’s beds and it occurred to me how lovely they would be as a gift to someone starting a home.
Well, my lovely sister in law decided to grow up, move out of her parents house and turn 21 so I finally found the proper justification to indulge myself in a puff quilt making marathon.

It’s quite simple, really. I hope you’ll be encouraged to make one soon once I reveal just how easy and quick it really is.

MATERIALS
2 flat twin sheets
2 bags stuffing, Fiber-Fil
Thread
Clear Quilting Ruler
Pencil
Sewing Machine

INSTRUCTIONS
1.) First, find two flat sheets or curtains. Preferably soft vintage fabric or just a high quality set with a soft hand. I used the vintage Shabby Chic Curtains from my first bedroom that I had been hoarding for a long time for this project. They were 60″ x 84″ roughly the size of a twin blanket. I had four, so that means I will be making another one very soon!

2.) Sew your sheets right side together on both long ends and one short end. You’ll need the fourth end open for stuffing. *Turn right side out. (CRUCIAL)

3.) Make a grid. You’ll be sewing a grid of squares to stuff and puff! Measure your sheet and divide into equal square sections. I used less math than you might think. An easy way to do this is divide your sheet in half then keep halving the sections. Mine ended up being 6.5″ wide. I measured across the shorter measurement, the width of the sheet. and marked each using a clear quilting ruler and a pencil. Once you’ve made a mark at each equal point, draw these lines vertically up the entire length of your sheet.
Now measure 6.5″ up and make a horizontal line. Continue until you have marked a grid of squares entirely over your whole sheet.

4.) Sew & Stuff. Sew the vertical lines starting at the bottom of your quilt. Sew only two-three squares up at a time. You can’t fit your arm all the way dow the entire vertical column of the quilt, trust me(*wink, wink) I know from experience. Grab a handful of stuffing. Put a handful in each colomn all the way down and sew your horizontal line across to secure your squares of puff stay put. Next stuff a hand full of stuffing down each vertical column again and sew your horizontal line across the quilt to secure.

5.) Just keep sewing and stuffing your way to the top. If your sheet doesn’t end up with a perfect square at the top (mine didn’t) that is OK!

6.) Finish the top seam. Fold the ends of your quilt down inside the quilt 1 inch. Pin and iron….Then sewed across. No binding. No lengthy finishing process. Whoo Hoo!

The whole quilt took me 3 hours. That’s all! It was a blissfully fun project! I hope you’ll make a puff quilt and share it with me! Happy Sewing! -Andrea