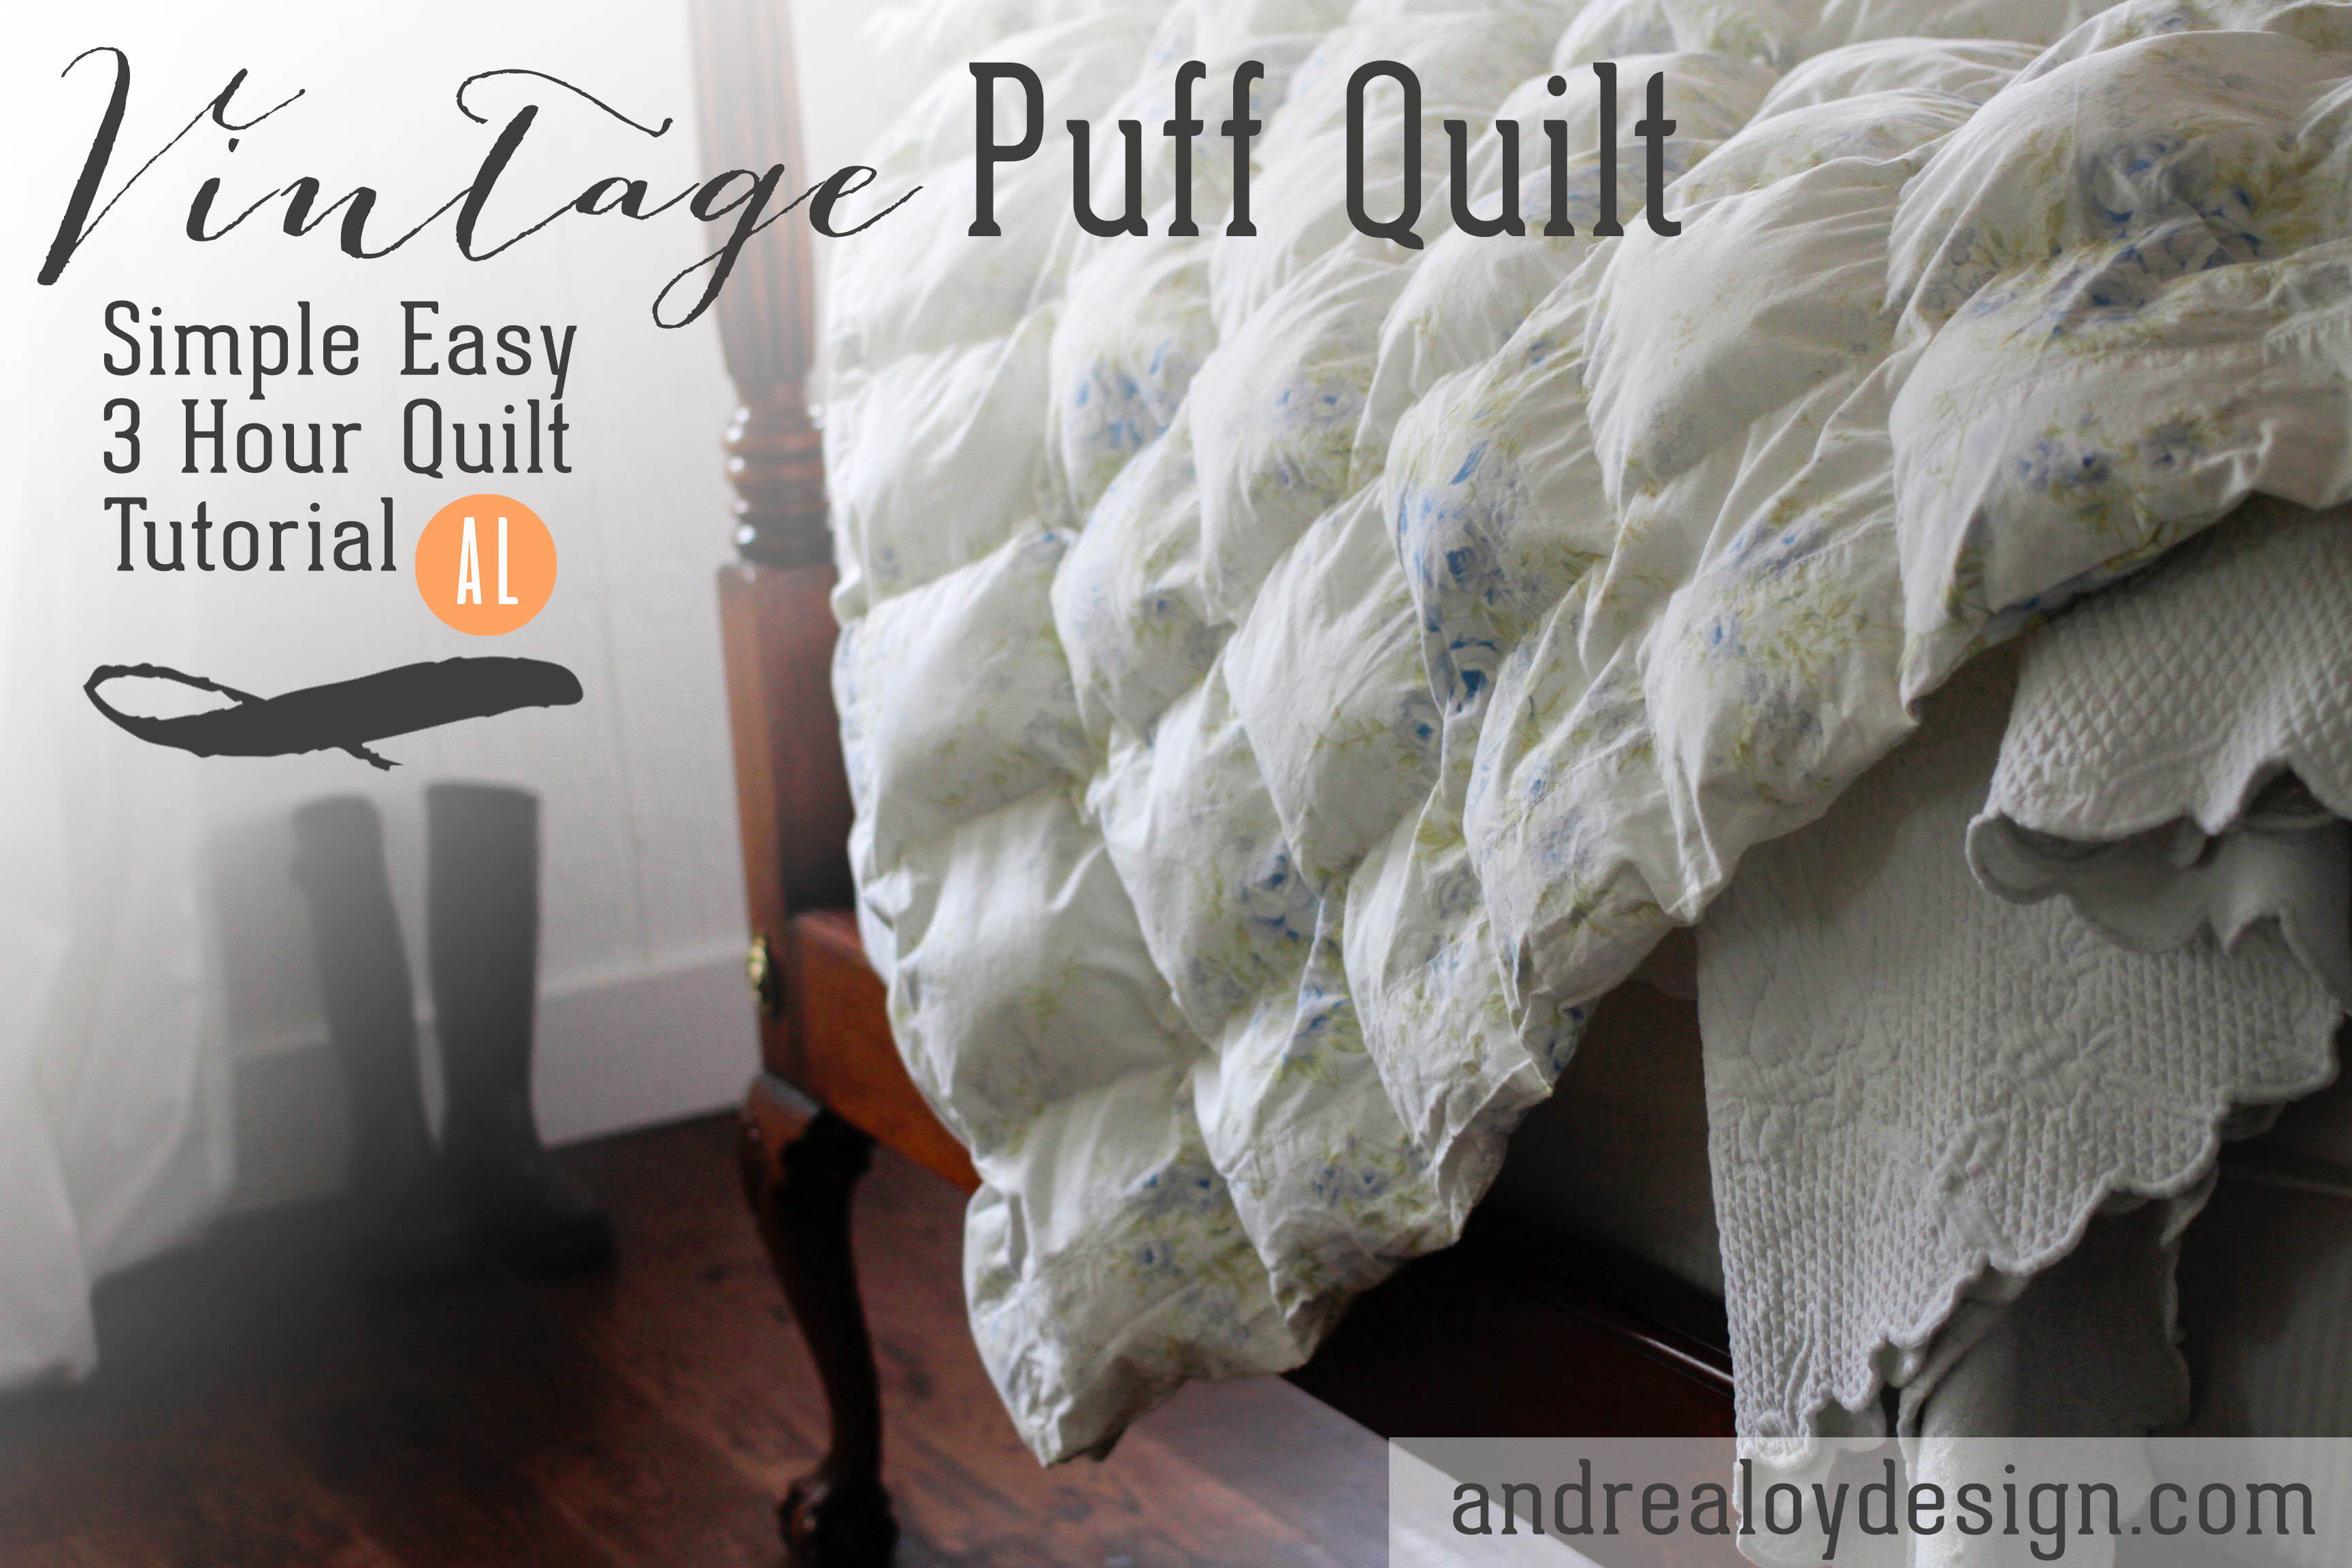
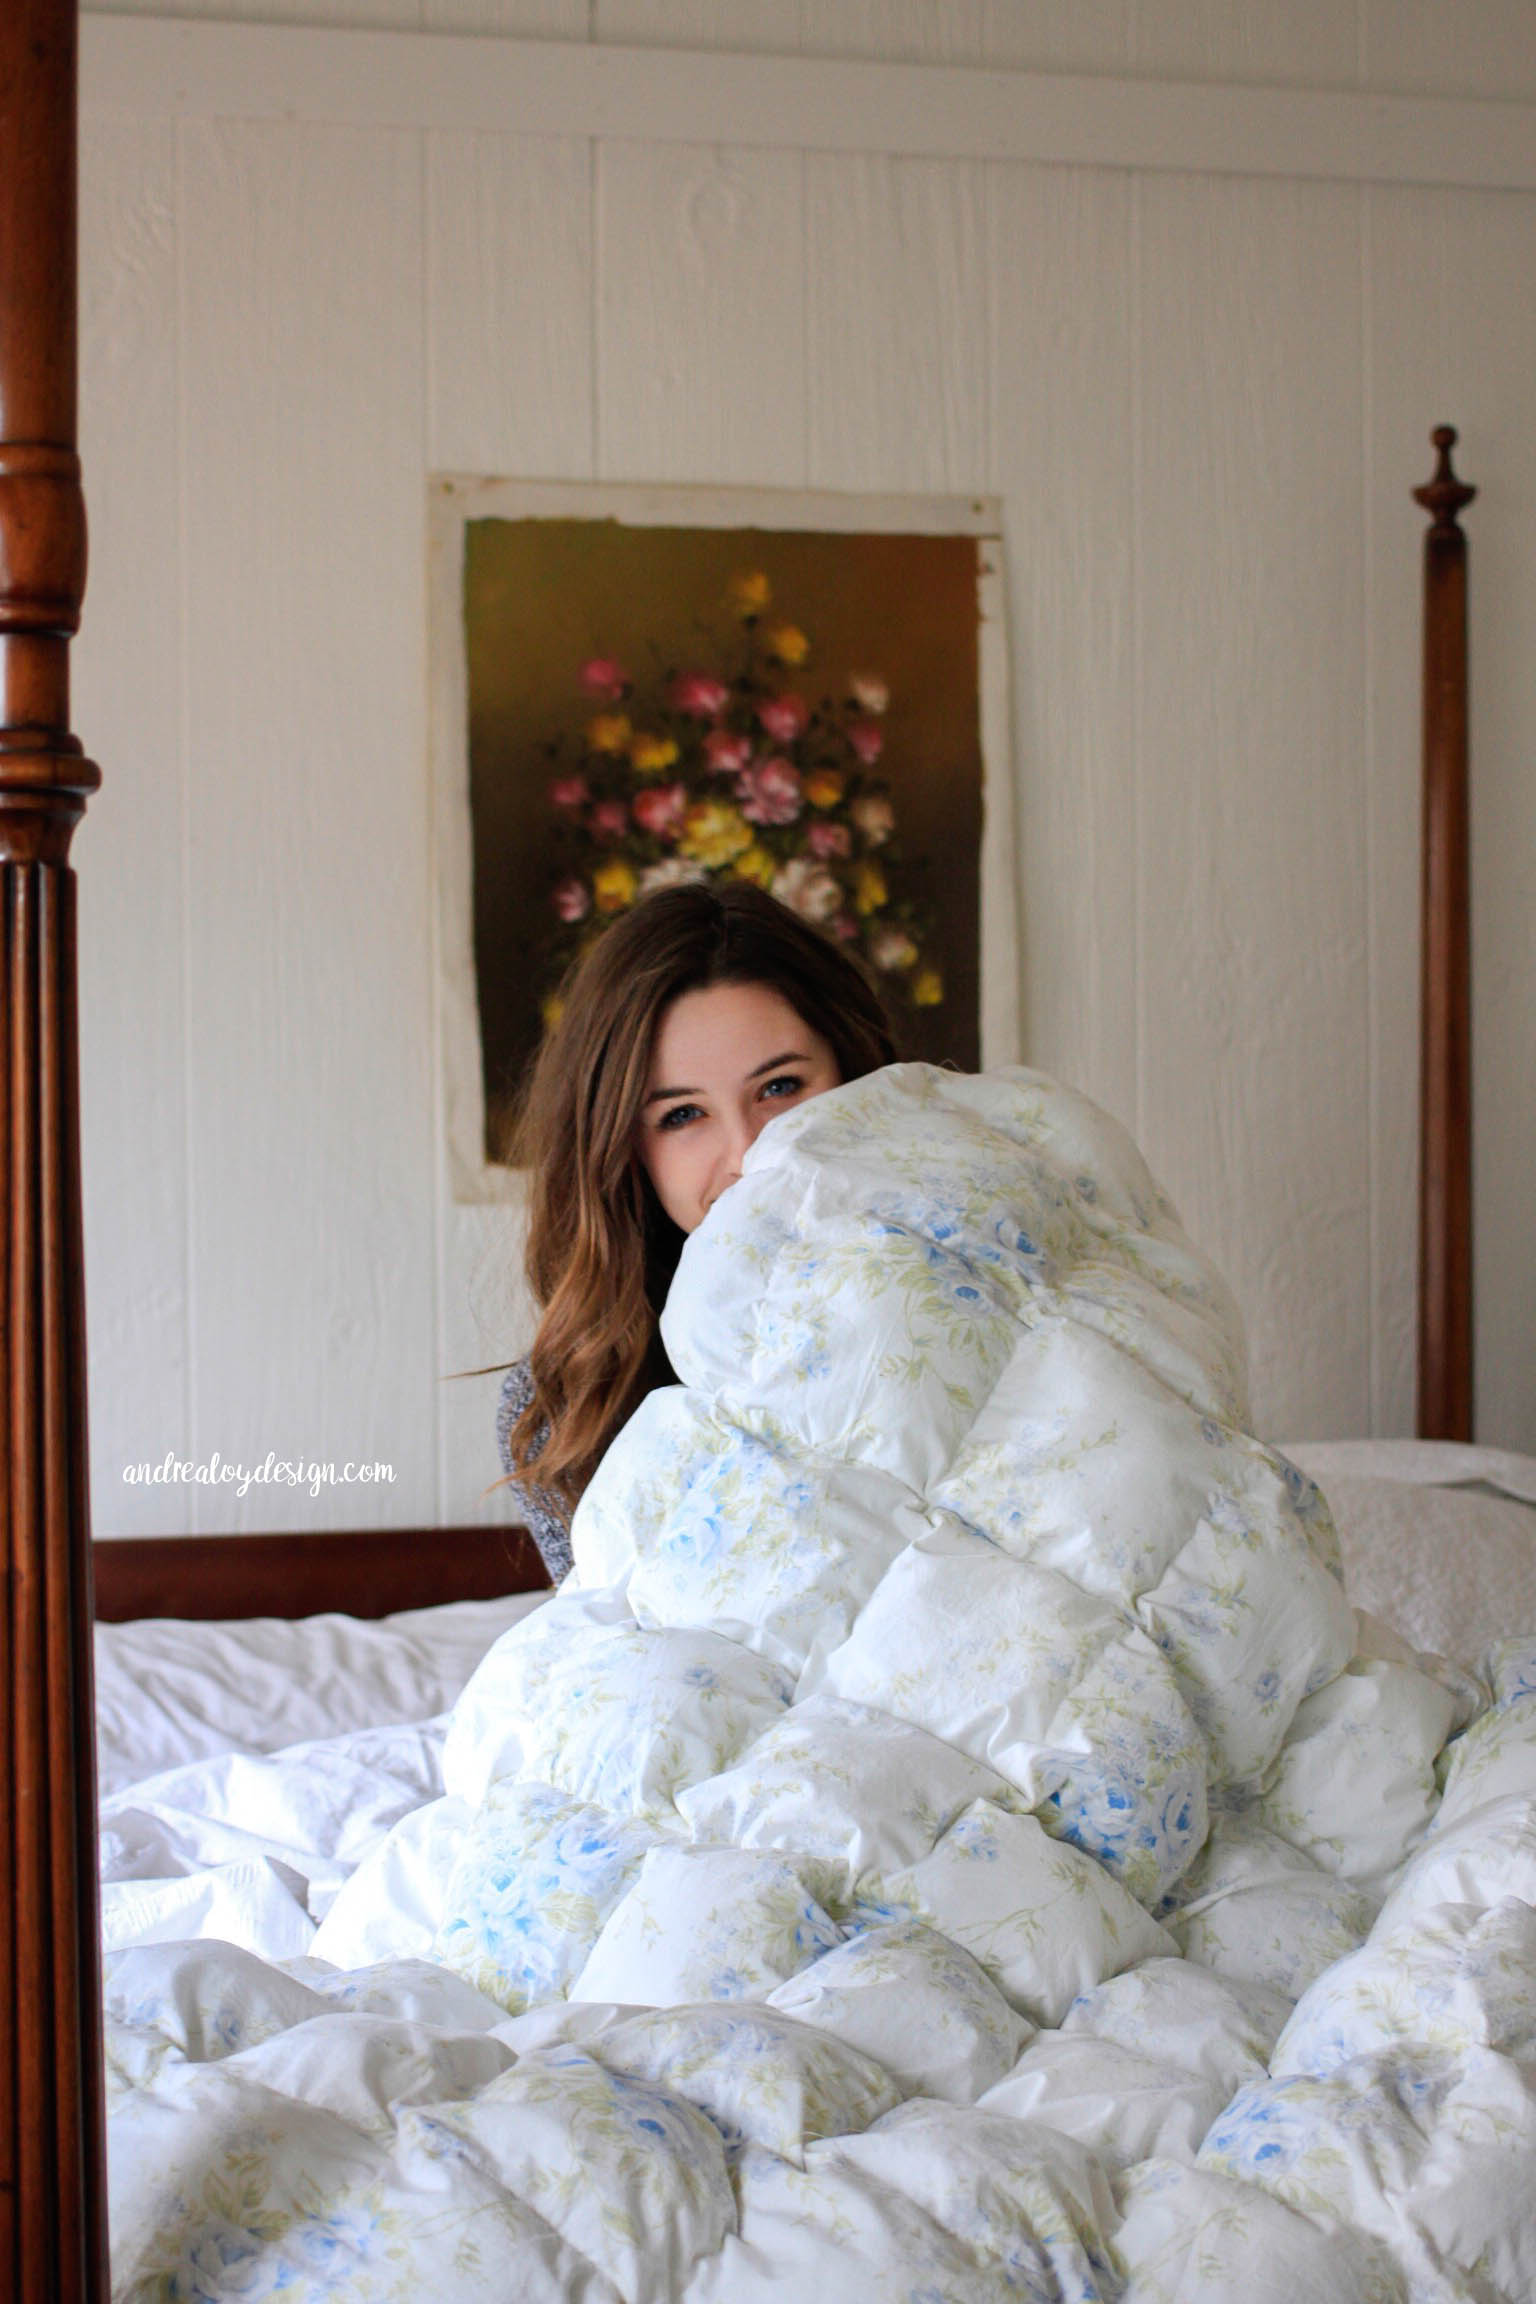
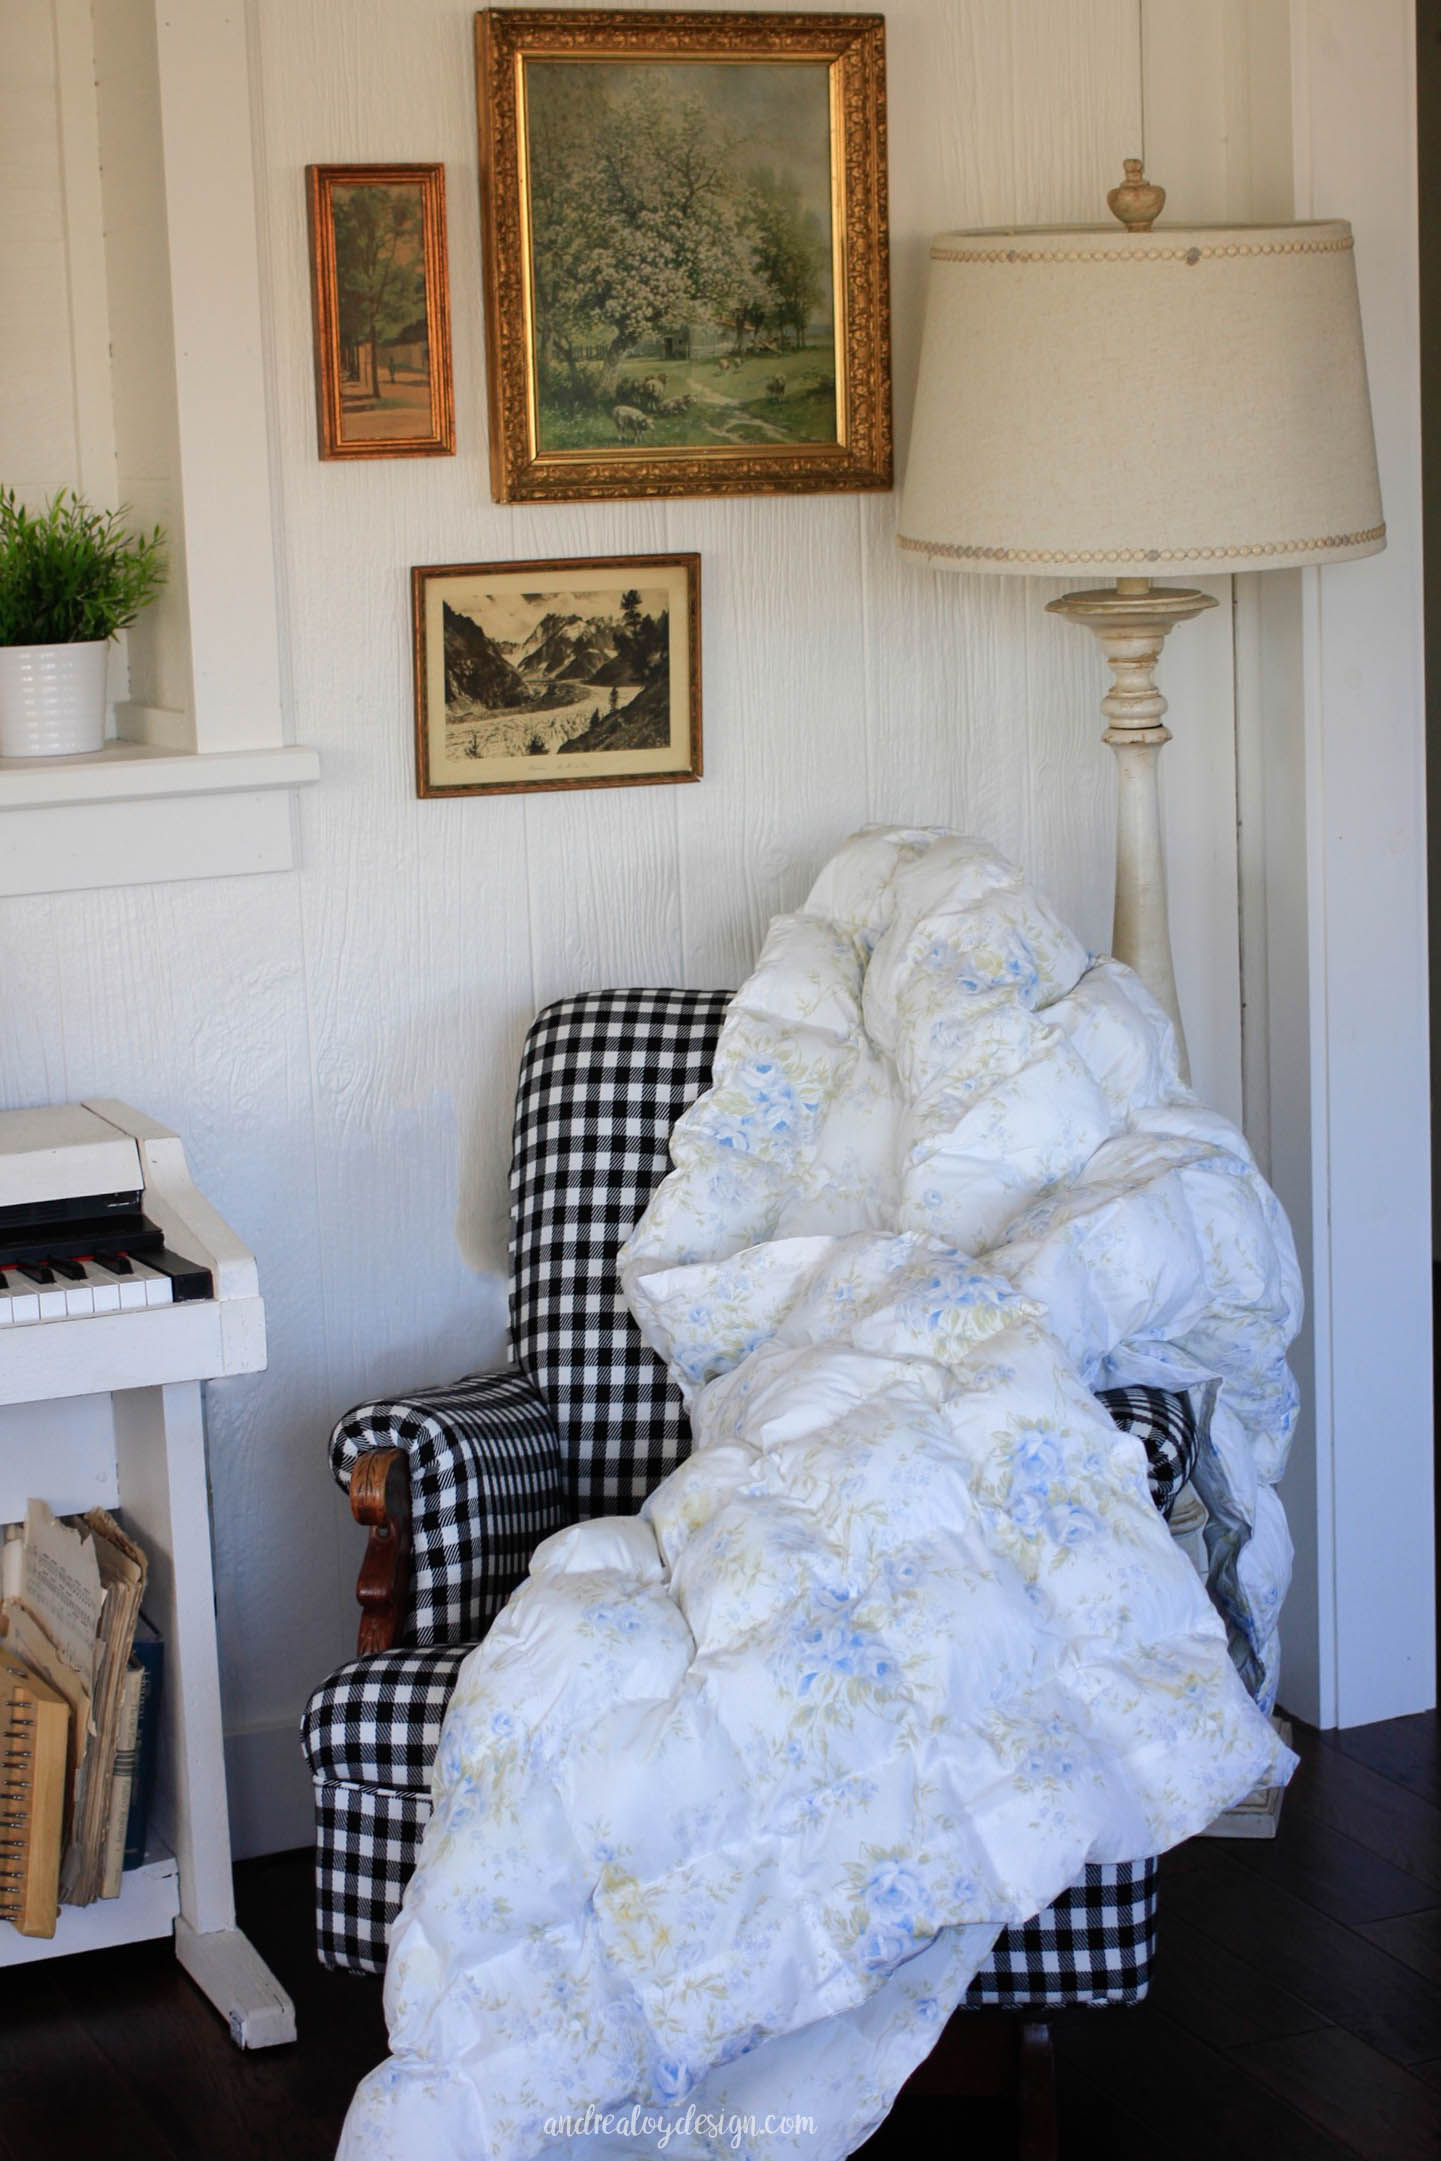
Interested in puff quilts? I saw some very ugly ones last summer and I haven’t been able to get them out of my mind ever since. This Vintage Puff Quilt happened because I have a problem. When I can’t get to sleep at night I lie awake and solve design problems in my head.
PROBLEMS
Problem One: Most puff quilts are ugly. I wanted a puff quilt that was not ugly.
Problem Two: Most puff quilts are pieced squares, therefore time consuming. I wanted to make a beautiful puff quilt quickly. {Like in a day or less.}
Let’s face it, I wanted to make a puff quilt just to spite these glaring problems. It also occurred to me that children would love these. The texture is so fun! I have lots of children, therefore I must make one. My children don’t really have a huge need for blankets, seeing as I make so many quilts already….and I come from a family of talented quilters. So I still lacked a little in motivation even after I had solved the afore mentioned problems in my head.
I was thinking about the puff quilts in Mary Poppins one night at the end of Jane and Michael’s beds and it occurred to me how lovely they would be as a gift to someone starting a home.
Well, my lovely sister in law decided to grow up, move out of her parents house and turn 21 so I finally found the proper justification to indulge myself in a puff quilt making marathon.
It’s quite simple, really. I hope you’ll be encouraged to make one soon once I reveal just how easy and quick it really is.
MATERIALS
2 flat twin sheets
2 bags stuffing, Fiber-Fil
Thread
Clear Quilting Ruler
Pencil
Sewing Machine
INSTRUCTIONS
1.) First, find two flat sheets or curtains. Preferably soft vintage fabric or just a high quality set with a soft hand. I used the vintage Shabby Chic Curtains from my first bedroom that I had been hoarding for a long time for this project. They were 60″ x 84″ roughly the size of a twin blanket. I had four, so that means I will be making another one very soon!
2.) Sew your sheets right side together on both long ends and one short end. You’ll need the fourth end open for stuffing. *Turn right side out. (CRUCIAL)
3.) Make a grid. You’ll be sewing a grid of squares to stuff and puff! Measure your sheet and divide into equal square sections. I used less math than you might think. An easy way to do this is divide your sheet in half then keep halving the sections. Mine ended up being 6.5″ wide. I measured across the shorter measurement, the width of the sheet. and marked each using a clear quilting ruler and a pencil. Once you’ve made a mark at each equal point, draw these lines vertically up the entire length of your sheet.
Now measure 6.5″ up and make a horizontal line. Continue until you have marked a grid of squares entirely over your whole sheet.
4.) Sew & Stuff. Sew the vertical lines starting at the bottom of your quilt. Sew only two-three squares up at a time. You can’t fit your arm all the way dow the entire vertical column of the quilt, trust me(*wink, wink) I know from experience. Grab a handful of stuffing. Put a handful in each colomn all the way down and sew your horizontal line across to secure your squares of puff stay put. Next stuff a hand full of stuffing down each vertical column again and sew your horizontal line across the quilt to secure.
5.) Just keep sewing and stuffing your way to the top. If your sheet doesn’t end up with a perfect square at the top (mine didn’t) that is OK!
6.) Finish the top seam. Fold the ends of your quilt down inside the quilt 1 inch. Pin and iron….Then sewed across. No binding. No lengthy finishing process. Whoo Hoo!
The whole quilt took me 3 hours. That’s all! It was a blissfully fun project! I hope you’ll make a puff quilt and share it with me! Happy Sewing! -Andrea




oh andrea, these are BEAUTIFUL!
what a great idea!
Thank you!
I wish there was photos, it’s a great technique.
Do you mean photos of the process? Like a tutorial?
Beautiful. Love. Thank you for simplifying the process.