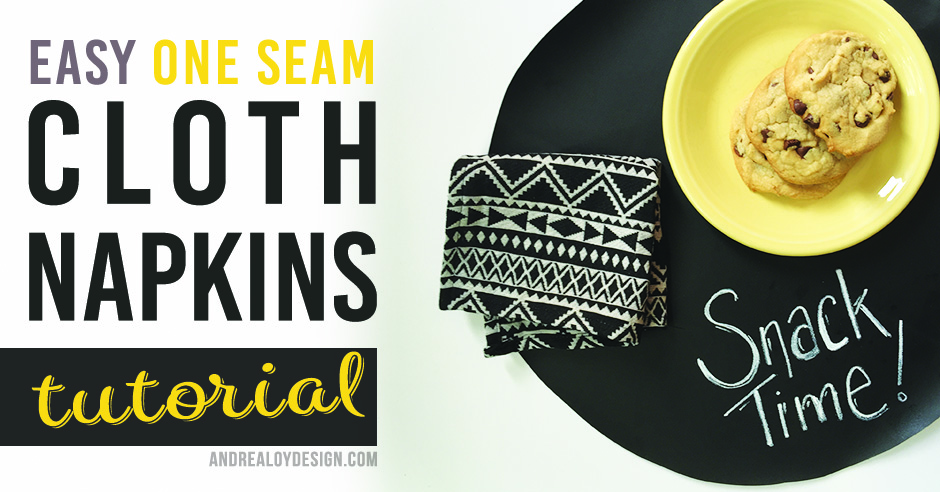
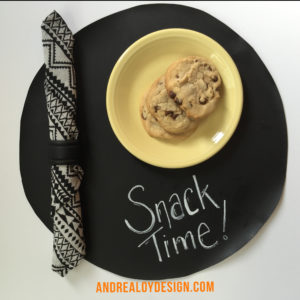
I really love cloth napkins. If you are thinking, “Who uses cloth napkins anymore?” Then you need to give them an everyday chance. I am here to show you how easy it is to make cloth napkins with ONLY ONE SEAM! All you need is a yard of fabric and some basic sewing supplies. You can do it! No advanced sewing skills needed. Think of all the cute dinner party themes! Think about how much money you’ll save not buying 1000 paper napkins every week. My children use like 50 napkins a day times 5 kids. I switched to cloth so everyone can keep the same napkin all day unless there is a major spill. Plus now my 12 year old helps with the laundry so basically I can just sit around and be lazy all day eating truffles and sewing more napkins.
FABRIC
Lets talk fabric. There are a variety of terms that no one on the inter-webs uses consistently. Basically you want a woven double cloth. This means a fabric with two right sides. I used some apparel cloth from Joann fabric stores. I can’t find a link to it online but here is some nice double cloth flannel they have… Anna Maria Horner has a beautiful collection called Loominous out that I have heart eyes over.
THE TUTORIAL
MATERIALS
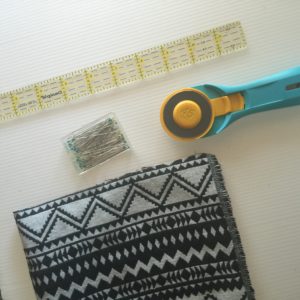
- •1 yard double face woven fabric
- •pins
- •rotary cutter
- •cutting mat
- •clear cutting ruler
- •sewing machine
- •thread
- •optional: wonderclips
Cue the 90’s music “This Is How We Do It”
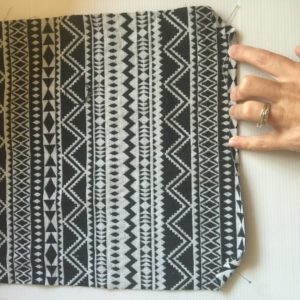
STEP 1.) Cut out 10″ squares of your fabric.
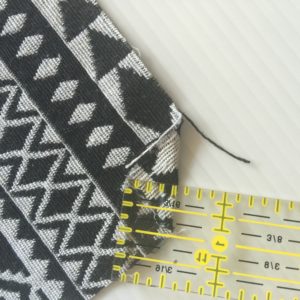
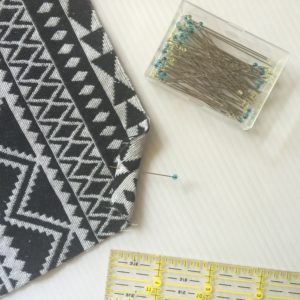
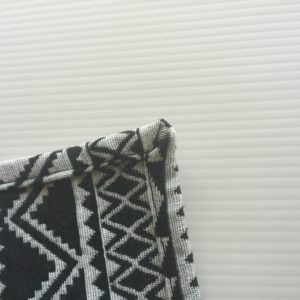
STEP 2.) Fold the fabric: turn corner down toward the center of your square 1/2″ then again 1/2″ and pin in place. Make your pin points to the exact middle of your square. Do this with all four corners of your square.
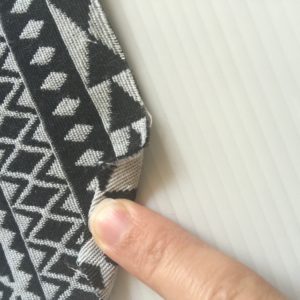
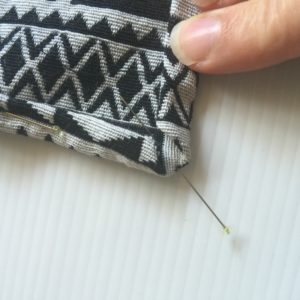
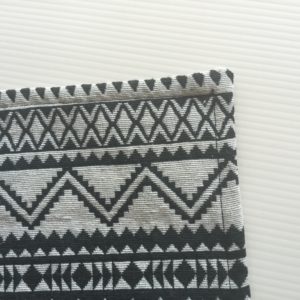
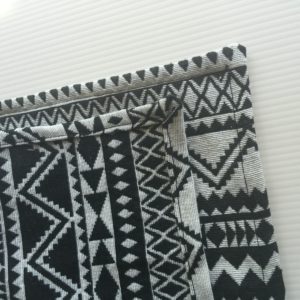
STEP 3.) Take one side of the square and fold it along the length as shown. Then again to conceal the raw edge. Be sure it makes a mitered edge to the corner. Use pins or wonder clips to hold in place. Repeat on all sides.
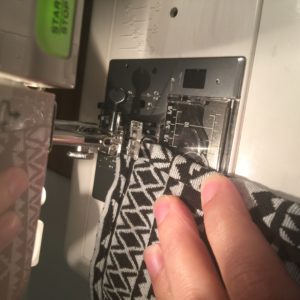
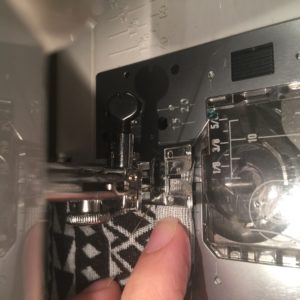
STEP 4.) IF you want to, at this point, you can iron your pinned napkin if you have glassed pins. Confession: I didn’t iron mine. I should have. You should too. Put a corner of your cloth napkin under your sewing machine and lower your needle to start/end in the downward position. When you get to the next corner leave the needle down, raise the presser foot and pivot. Keep sewing and pivoting until you get back to the first corner. Ta DA! You did it. Now have some cookies and wipe your milk mustache off with a cute napkin.
Thanks for joining me! Happy Sewing Friends! -Andrea

