Christmas Quilt Guild
I am excited to host a monthly Christmas Quilt Guild this fall! I have had a lot of questions about this. So I thought I would explain a bit more and then anwer a few FAQ’s. 

This summer I offered quilting lessons and a couple lovely ladies signed up. We had such a blast that we decided we could not imagine a world where we are not getting together and quilting every once in awhile. I started thinking about what I’d like to quilt next….I really wanted to take all my Christmas jammie scraps from years past and turn them into a Christmas Quilt for our family room. So I suggested we get together once a month this fall and make Christmas Quilts!!!  

WE invite you to join us. (Squeal!) It’s basically just a cluck and sew, or a good old fashioned sewing bee. There will be snacks and Christmas cookies, and Christmas music. If you can’t handle all of that Christmas cheer, this is not the group for you.


FAQ’s: 


Can I come? Of course! If you don’t live near Lynchburg, you are welcome to follow along and host your own! However, I am happy to pick anyone up from the airport. 🙂  


Are we all making the same pattern? No we are all making our own different quilts. It is your choice. I will be here for help, questions, moral support, and seam ripping when necessary! I have started a beginner quilts and a Christmas Quilts board on Pinterest if you need ideas. >>> CLICK   


Can I follow along at home? Yes! I will post where you should be in the process each month in order to get your quilt done in time for Christmas snuggles on the couch and Hallmark Christmas movie binge watching….. 


When are you meeting? Our first meeting is August 27th from 7-10pm at my house.  We will all decide together which date works best each month. 


What if I can’t sew? But I really want to learn? Let’s have a few lessons first! I can’t teach lessons on Christmas Quilt Guild night or I will never finish my own quilt, but I would absolutely love to give you a few lessons to catch you up!!! Just send me an email. I love getting other women addicted, er I mean teaching other woman the love of sewing!  

HERE’s THE PLAN:  

August 27th: Cut our quilts up! Plan the layout.  

September: Piece the tops.  

October: Begin basting and quilting.  

November: Binding!  

You may need to spend some time catching up in between guild nights depending on the size or complexity of your quilt.  Just spend 30 minutes a few nights a week and it will get done! 

December: ENJOY! DISPLAY! LET YOUR CHILDREN FIGHT OVER IT AND SPILL STUFF ON IT. BRAG ABOUT YOUR FIRST CHRISTMAS QUILT. POST IT ON SOCIAL MEDIA.   

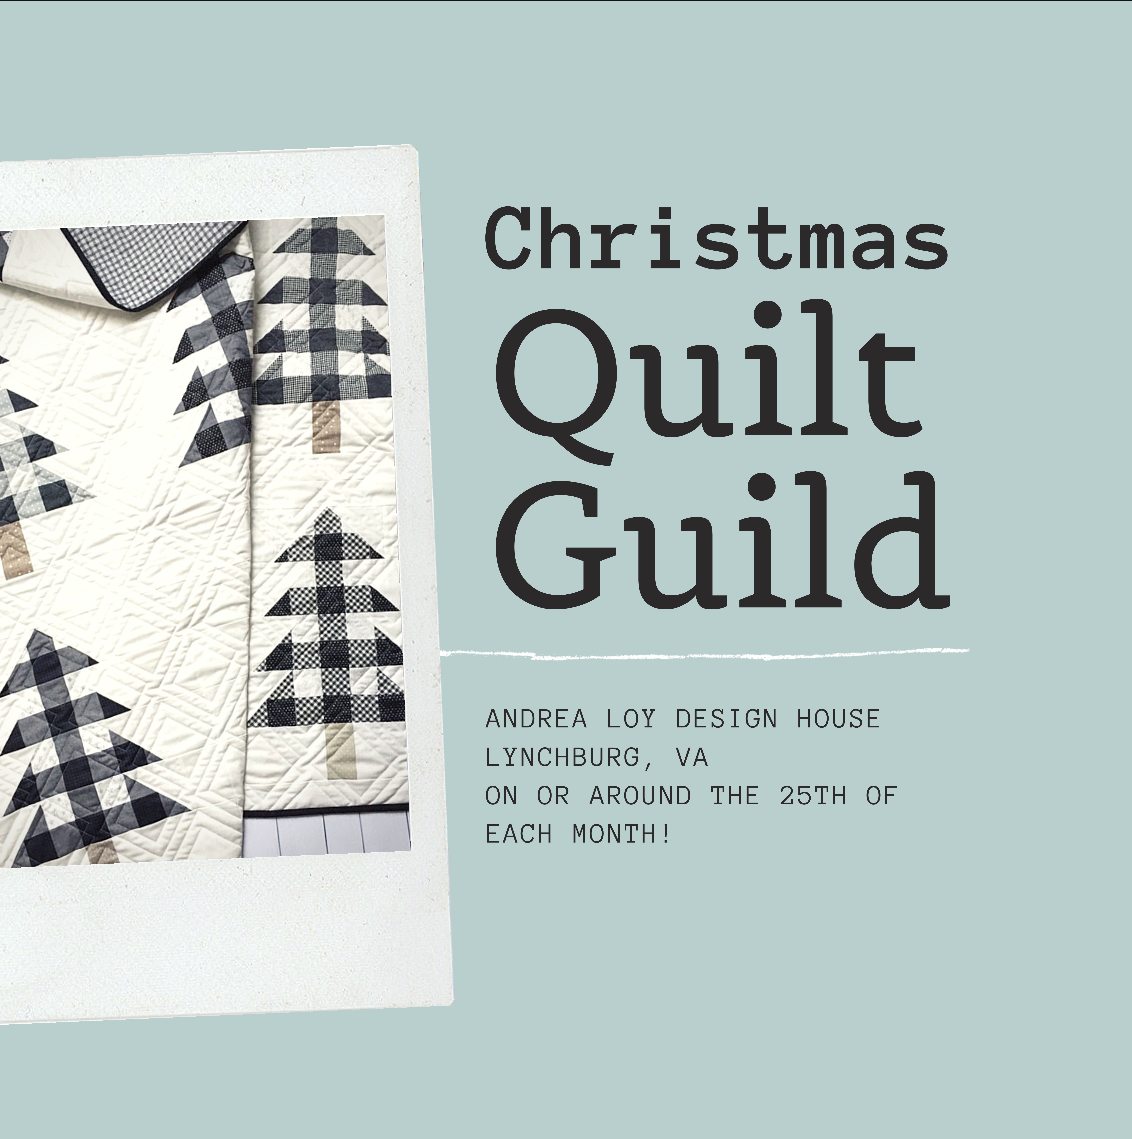
-The Quilt in the picture above is a darling pattern by Center Street Quilts. It can be purchased here.  

-AND HERE is that Christmas Quilty Pinterest Board link one more time.


The Hermione Pattern Tutorial

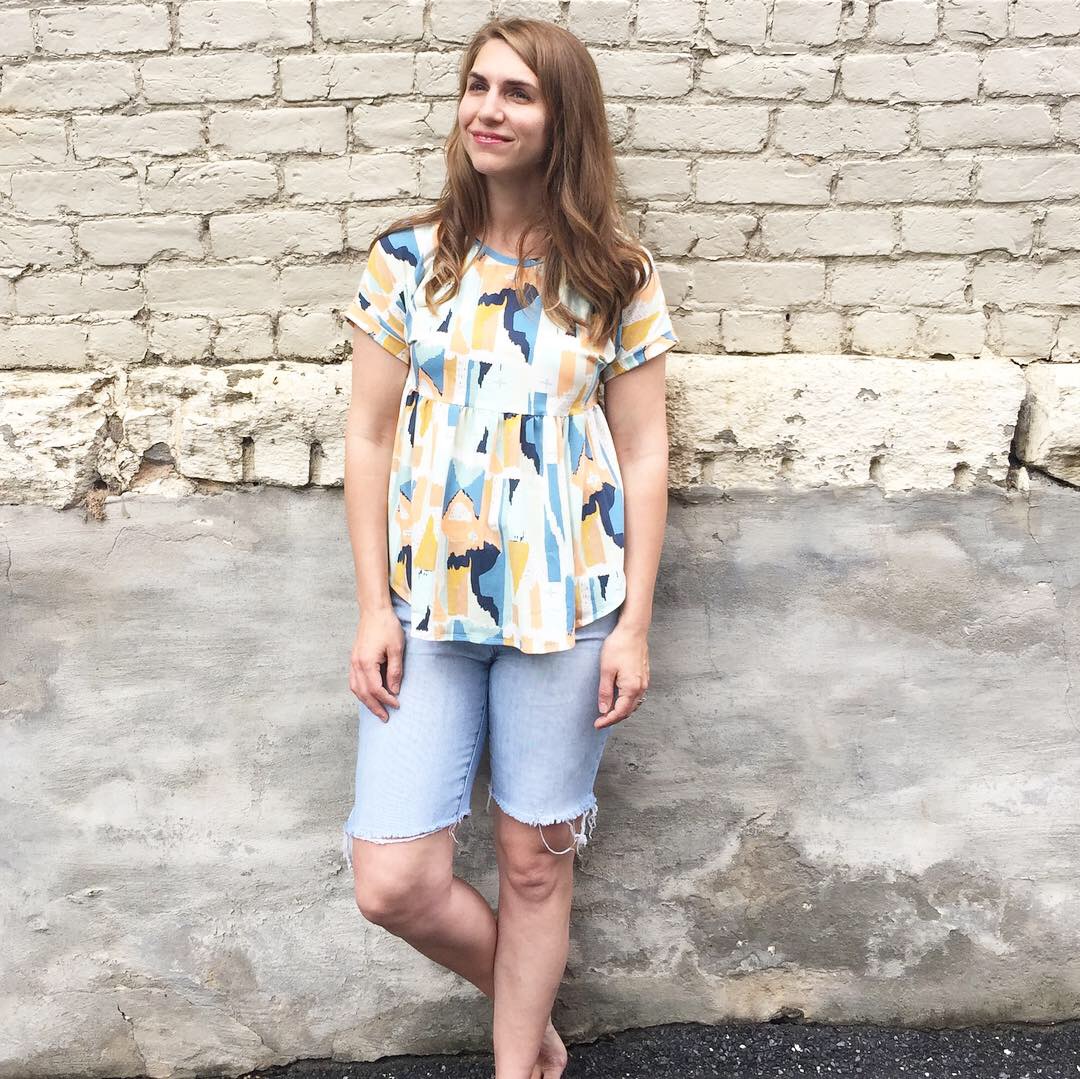
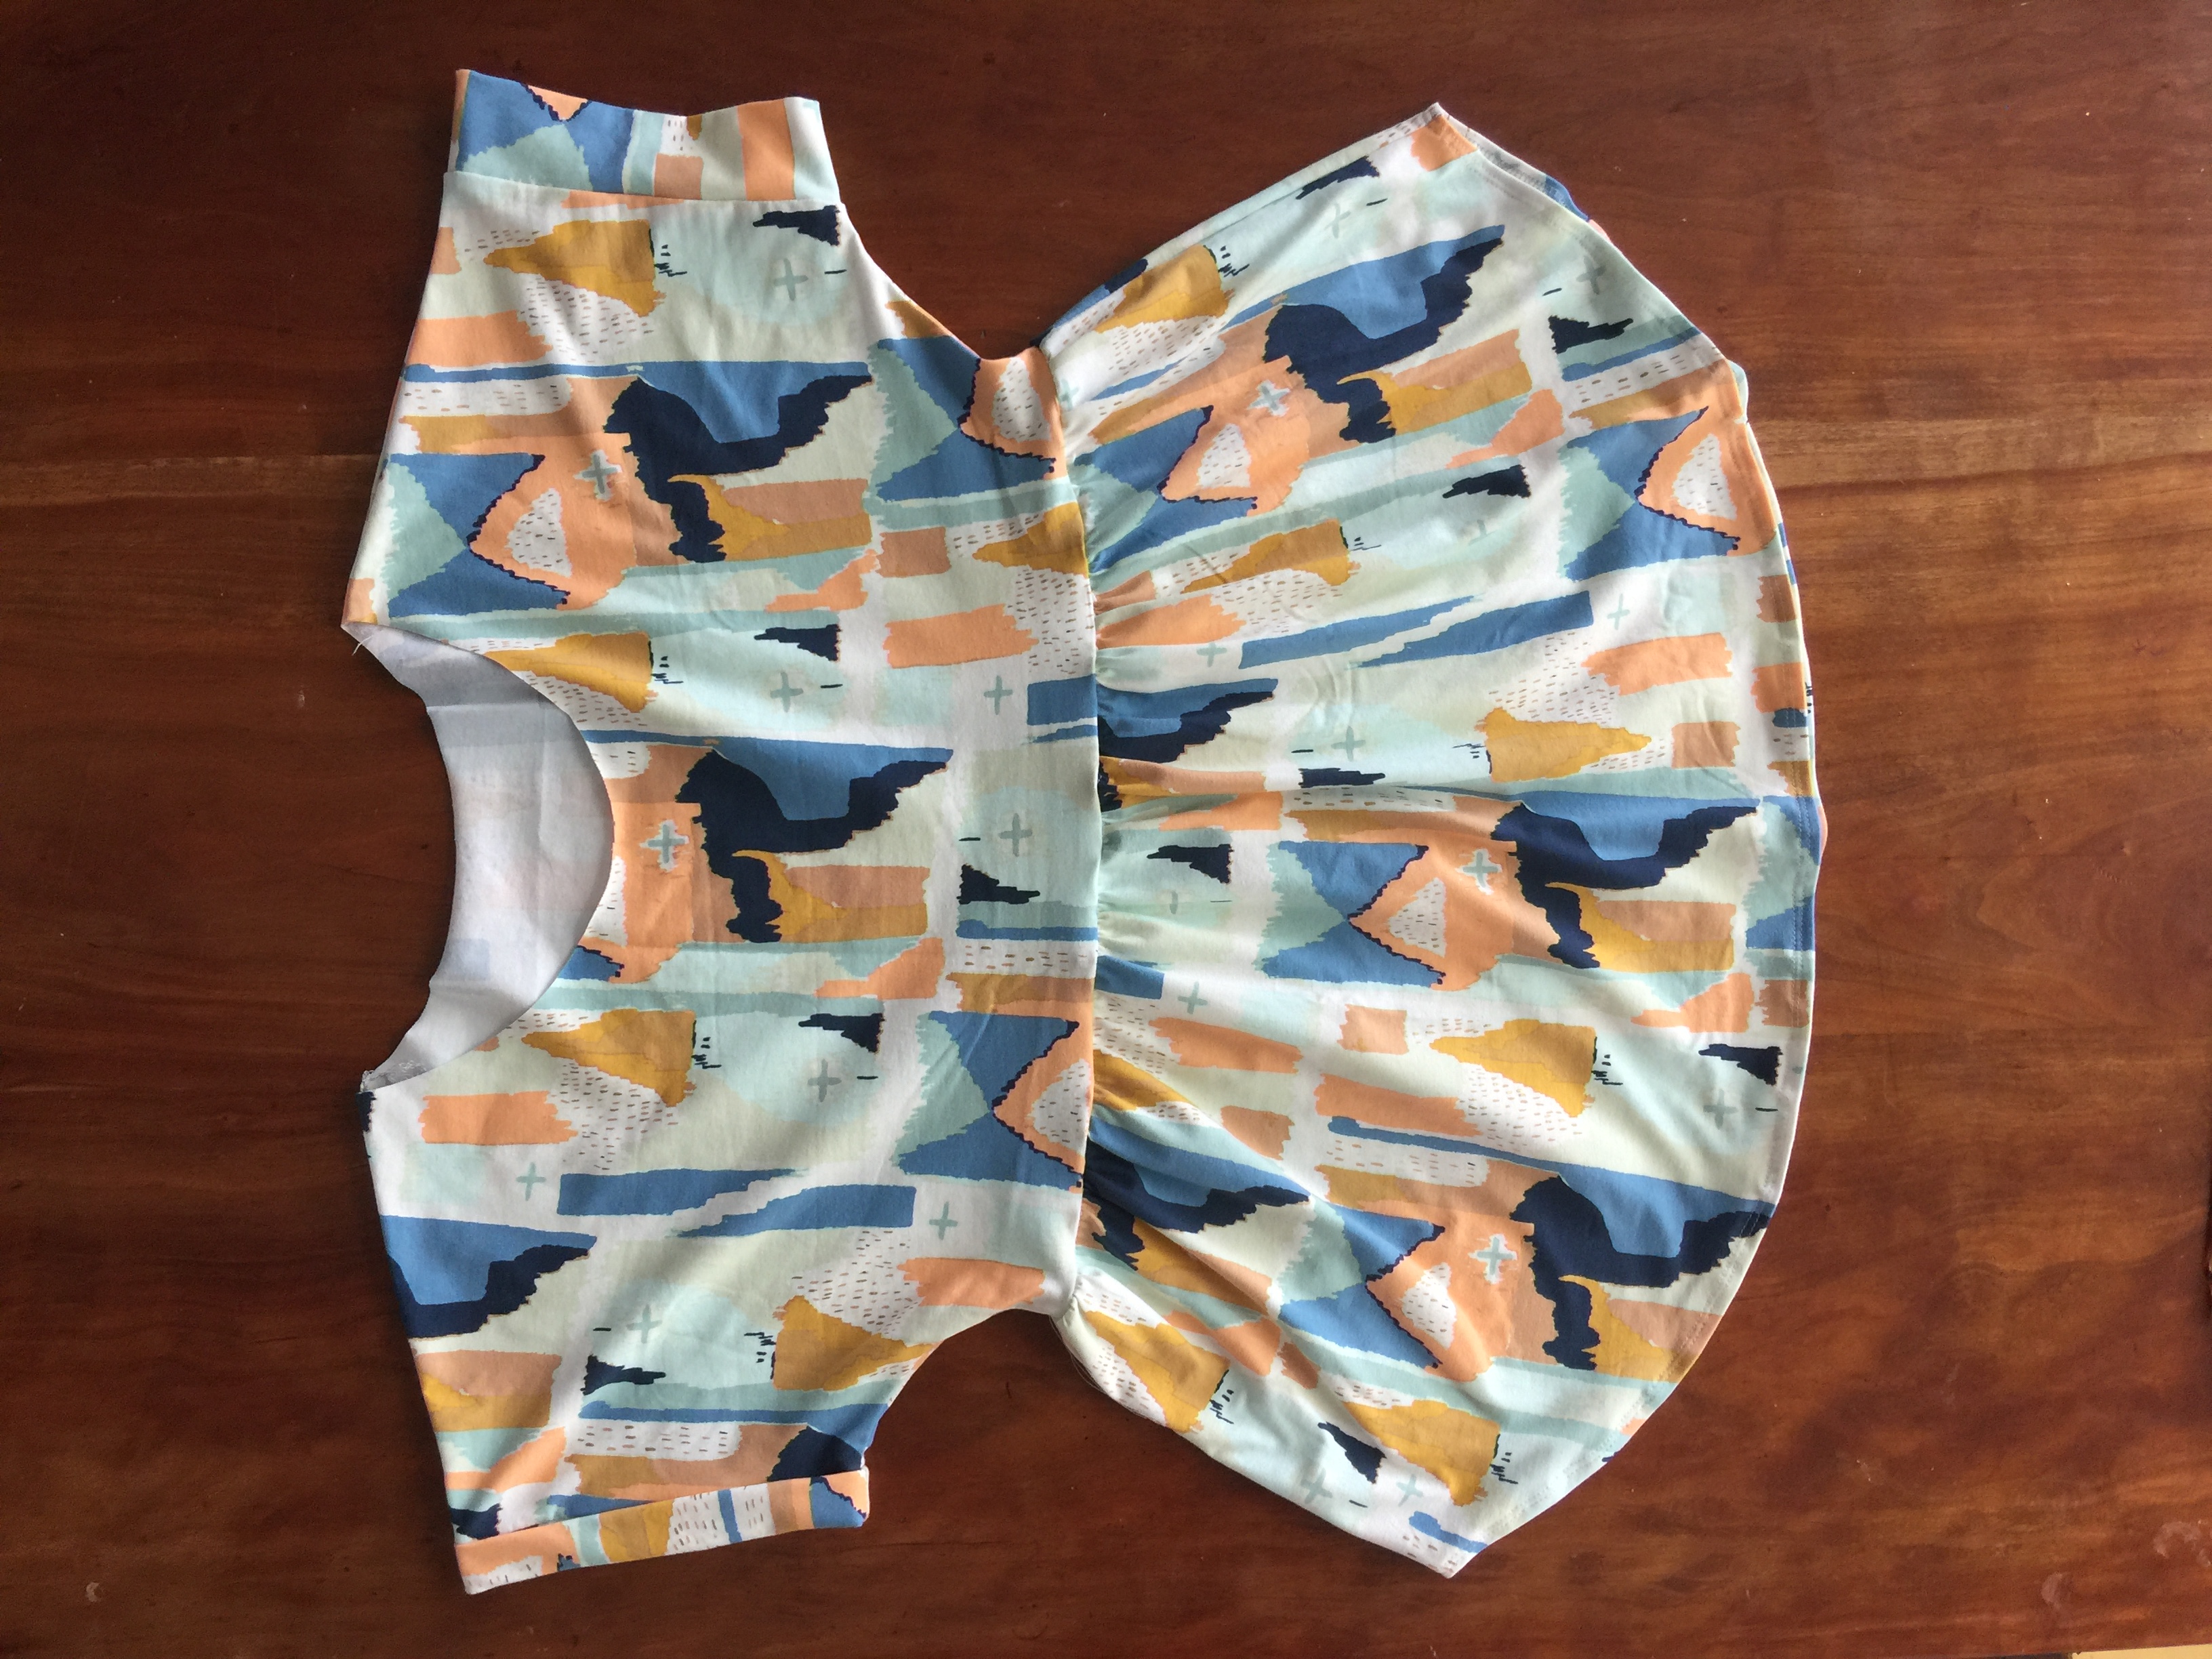
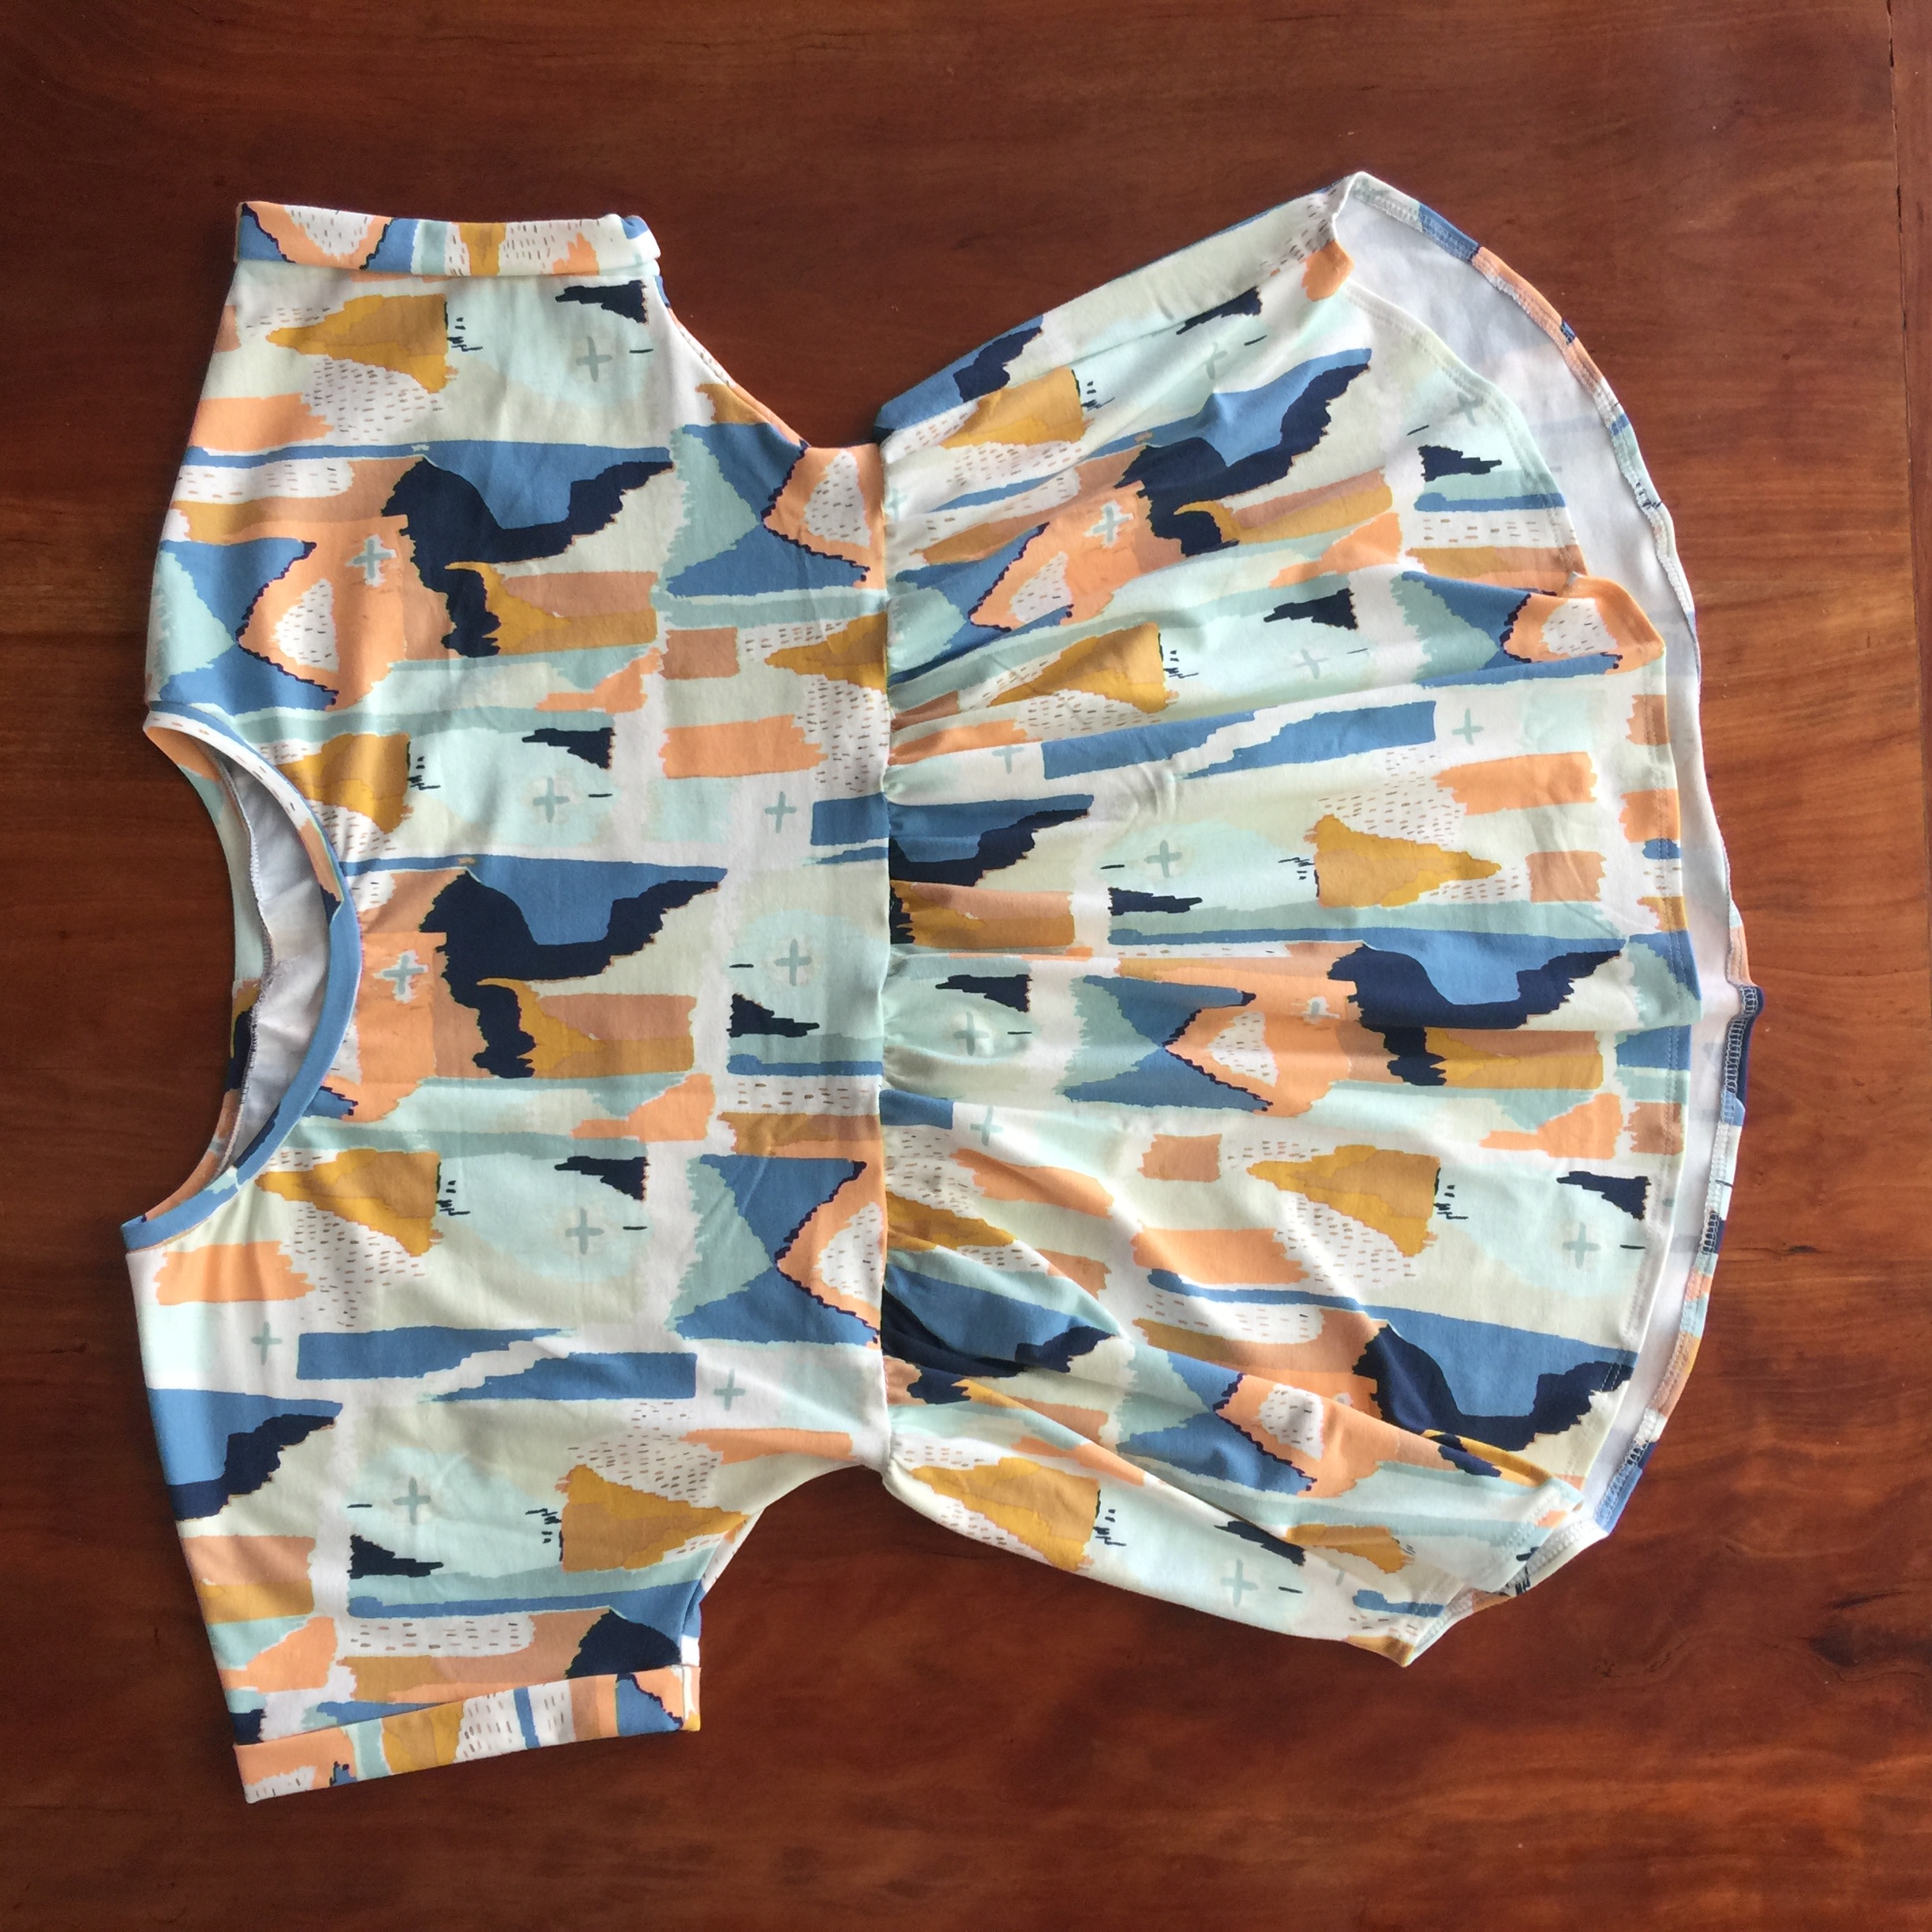
The Hermione Pattern is a shirt/tunic/dress pattern for women. It has a boat neckline, cuffed dolman sleeve, and an empire waist.  Hermione is a good pattern to get you started sewing with knit fabrics.

PRINT:  If you are new to pdf patterns, make sure to print off your pattern at 100% scale. This is important! 

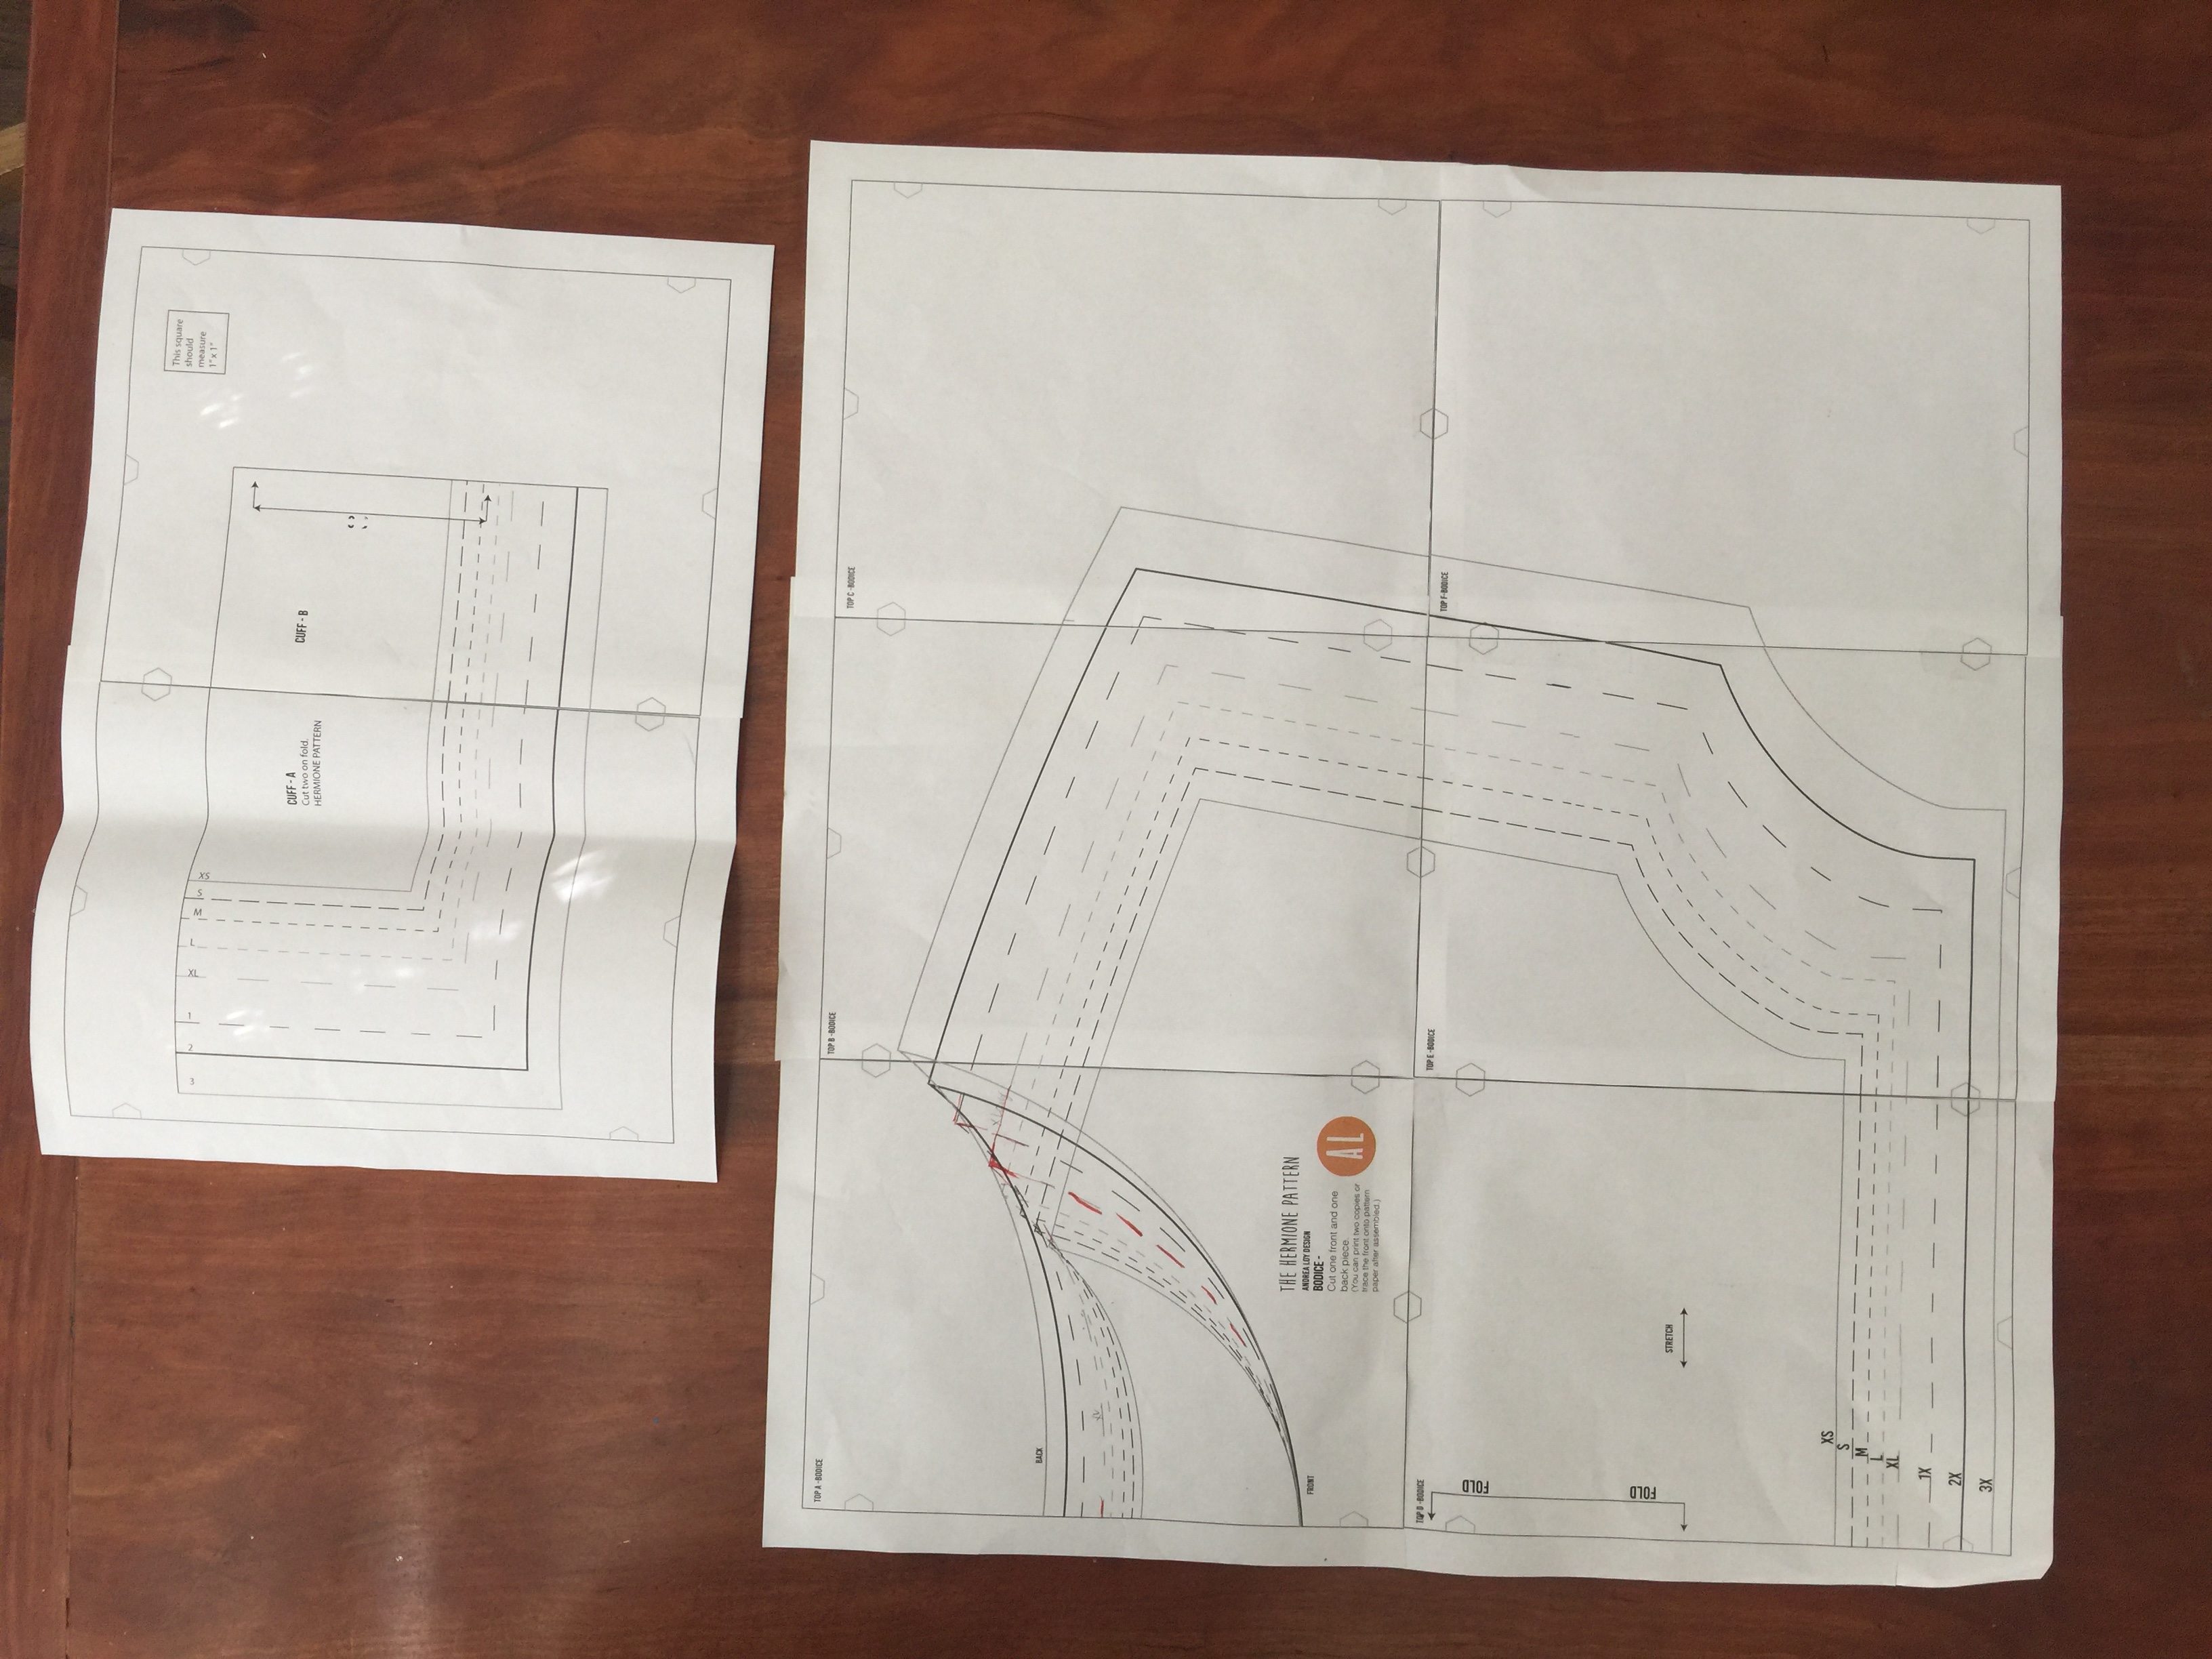
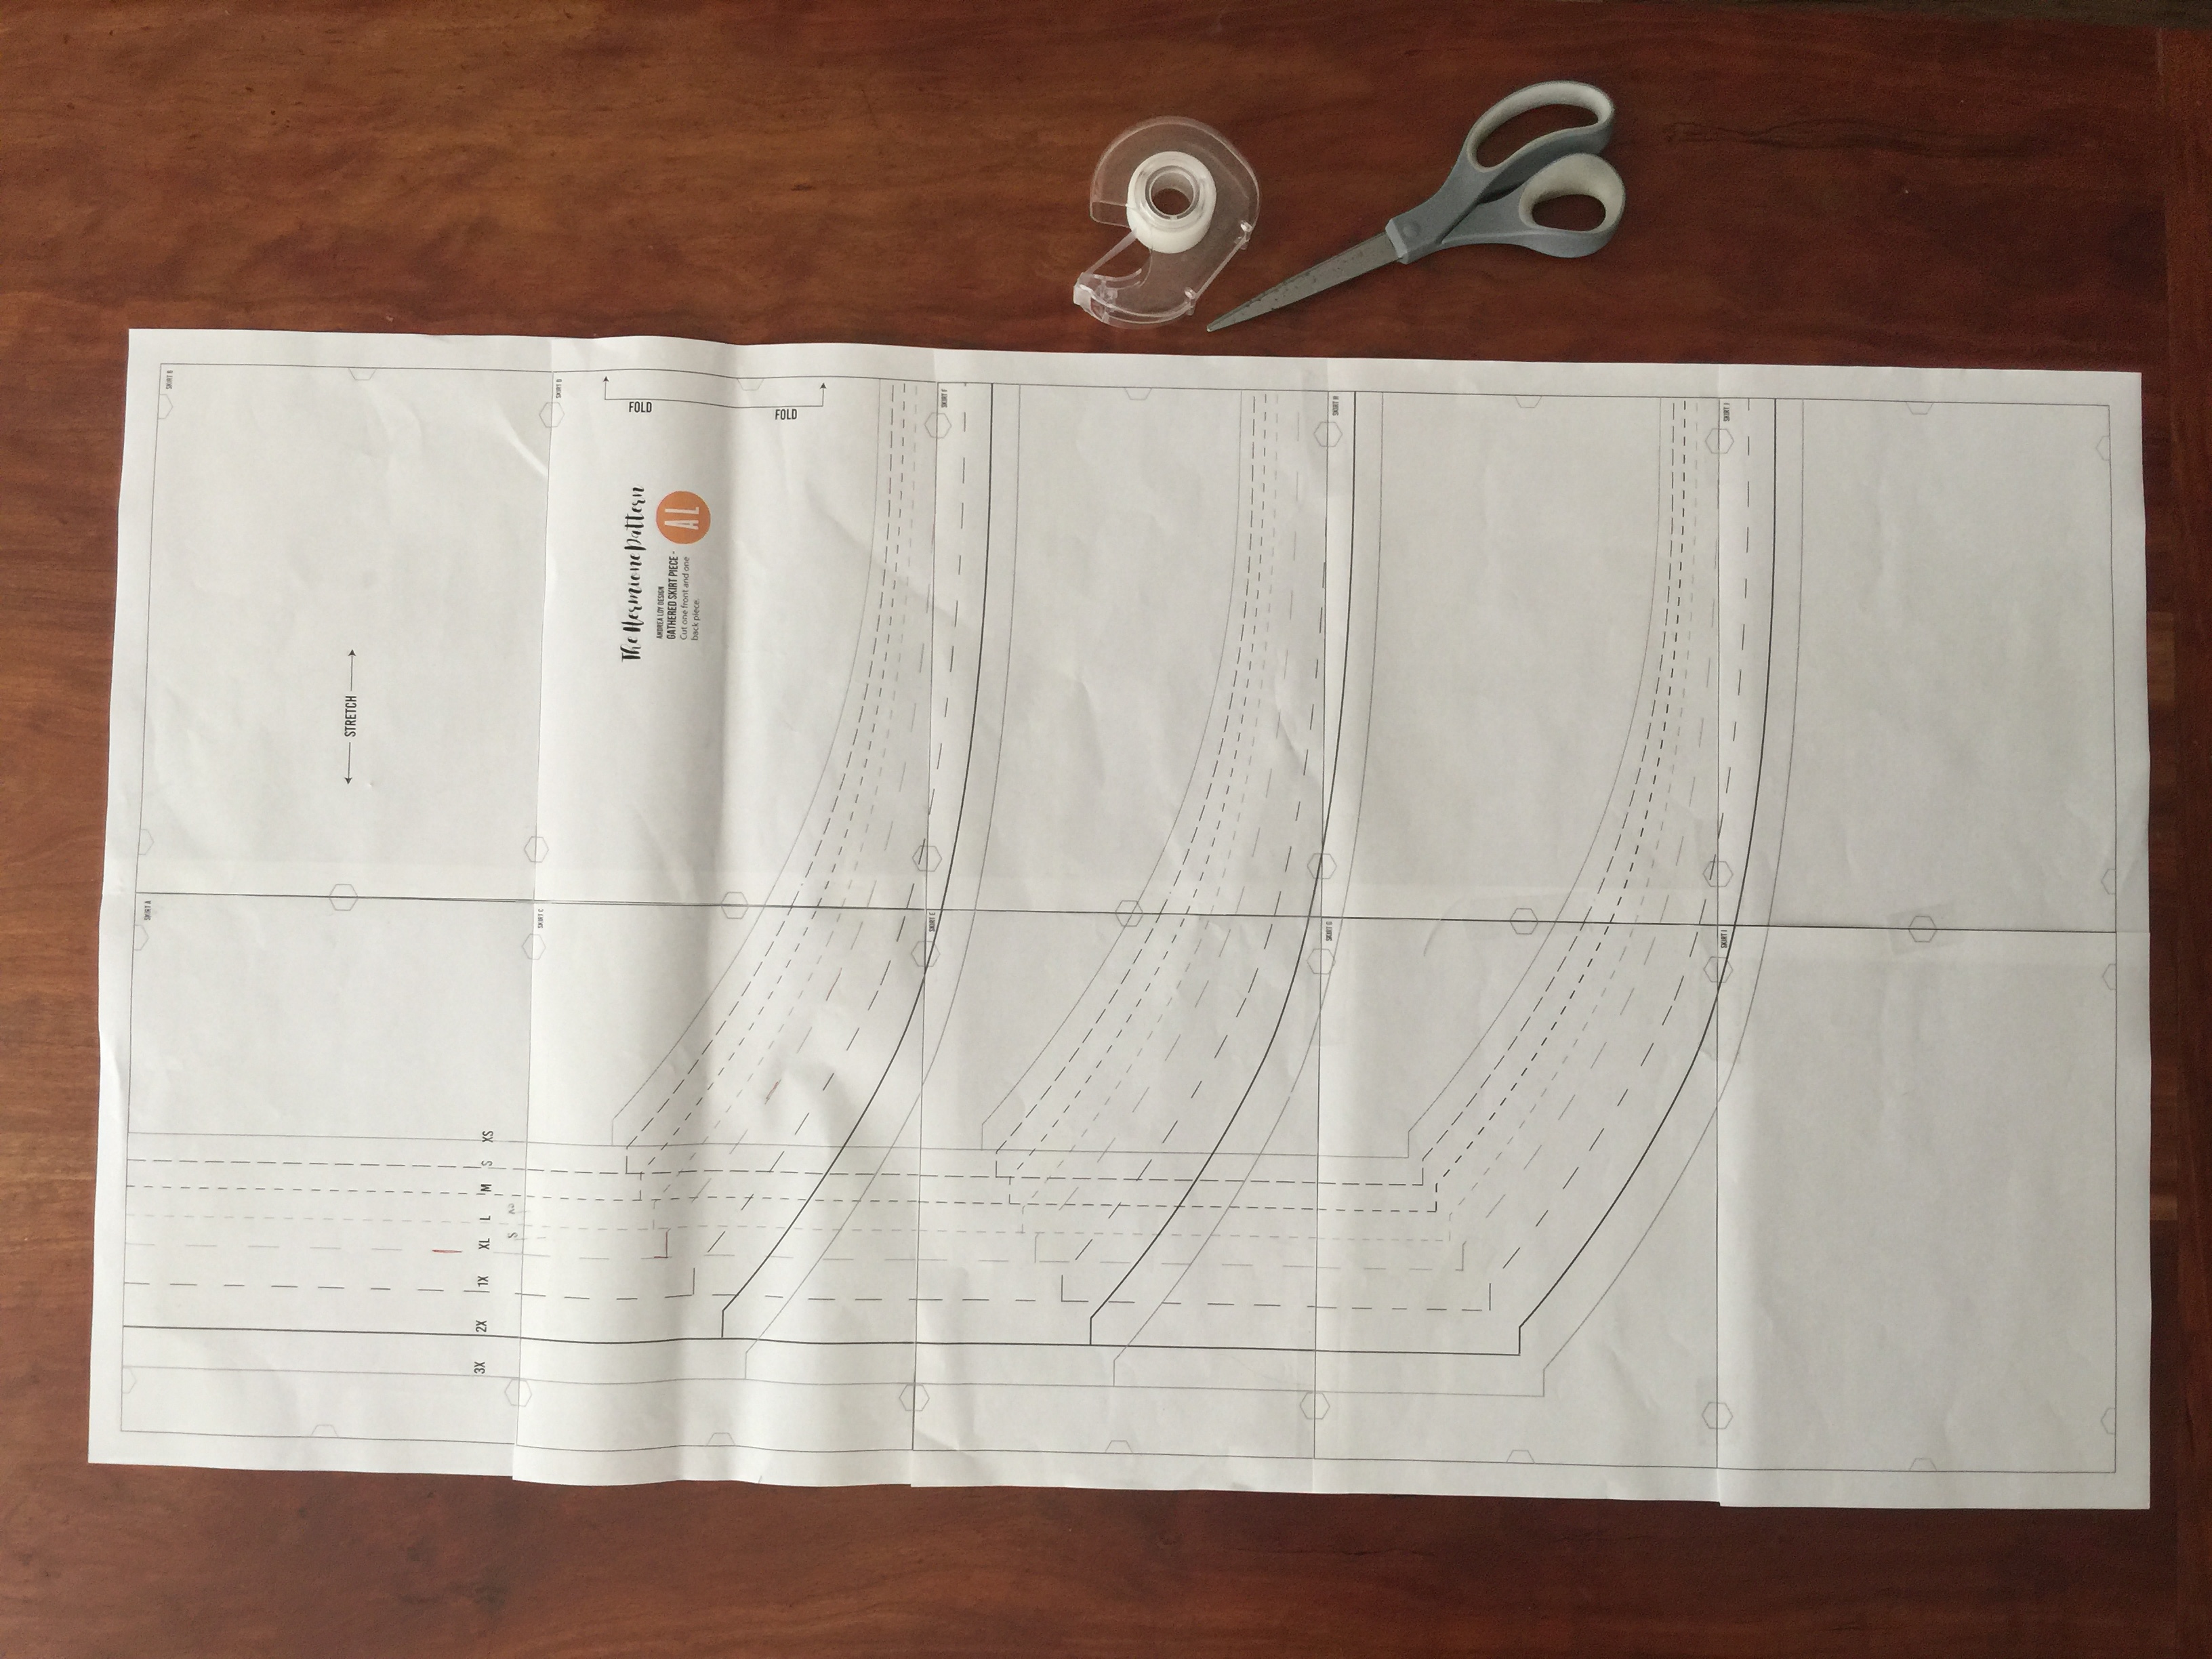
 You shoud have 18 pattern pieces print out total. The cuff will have two pieces, the bodice will have six pieces, and the skirt will have ten total pieces. 

After printing them out you will need to cut on the thin black line and tape them together using the hexagons to line the pieces up perfectly. 

SIZE and TRACE:

So, for most people, one size DOES NOT FIT ALL. That’s part of the reason I designed this the way I did. I have a size 6-8 on top and a 10-12 on bottom…and that could keep changing! You can feel free to add a larger sized bodice to a smaller skirt or vice versa. Seriously, measure and fit to your own beautiful form. 

Use a flexible tape to measure yourself and decide what size to cut or trace. This pattern was designed for a B sewing cup to fit just right across the bust so if you need a smaller size you should be ok, but if you need a full bust adjustment (FBA) use this tutorial to adjust your pattern: https://www.heyjunehand-made.com/dolman-full-bust-adjustment-tutorial/

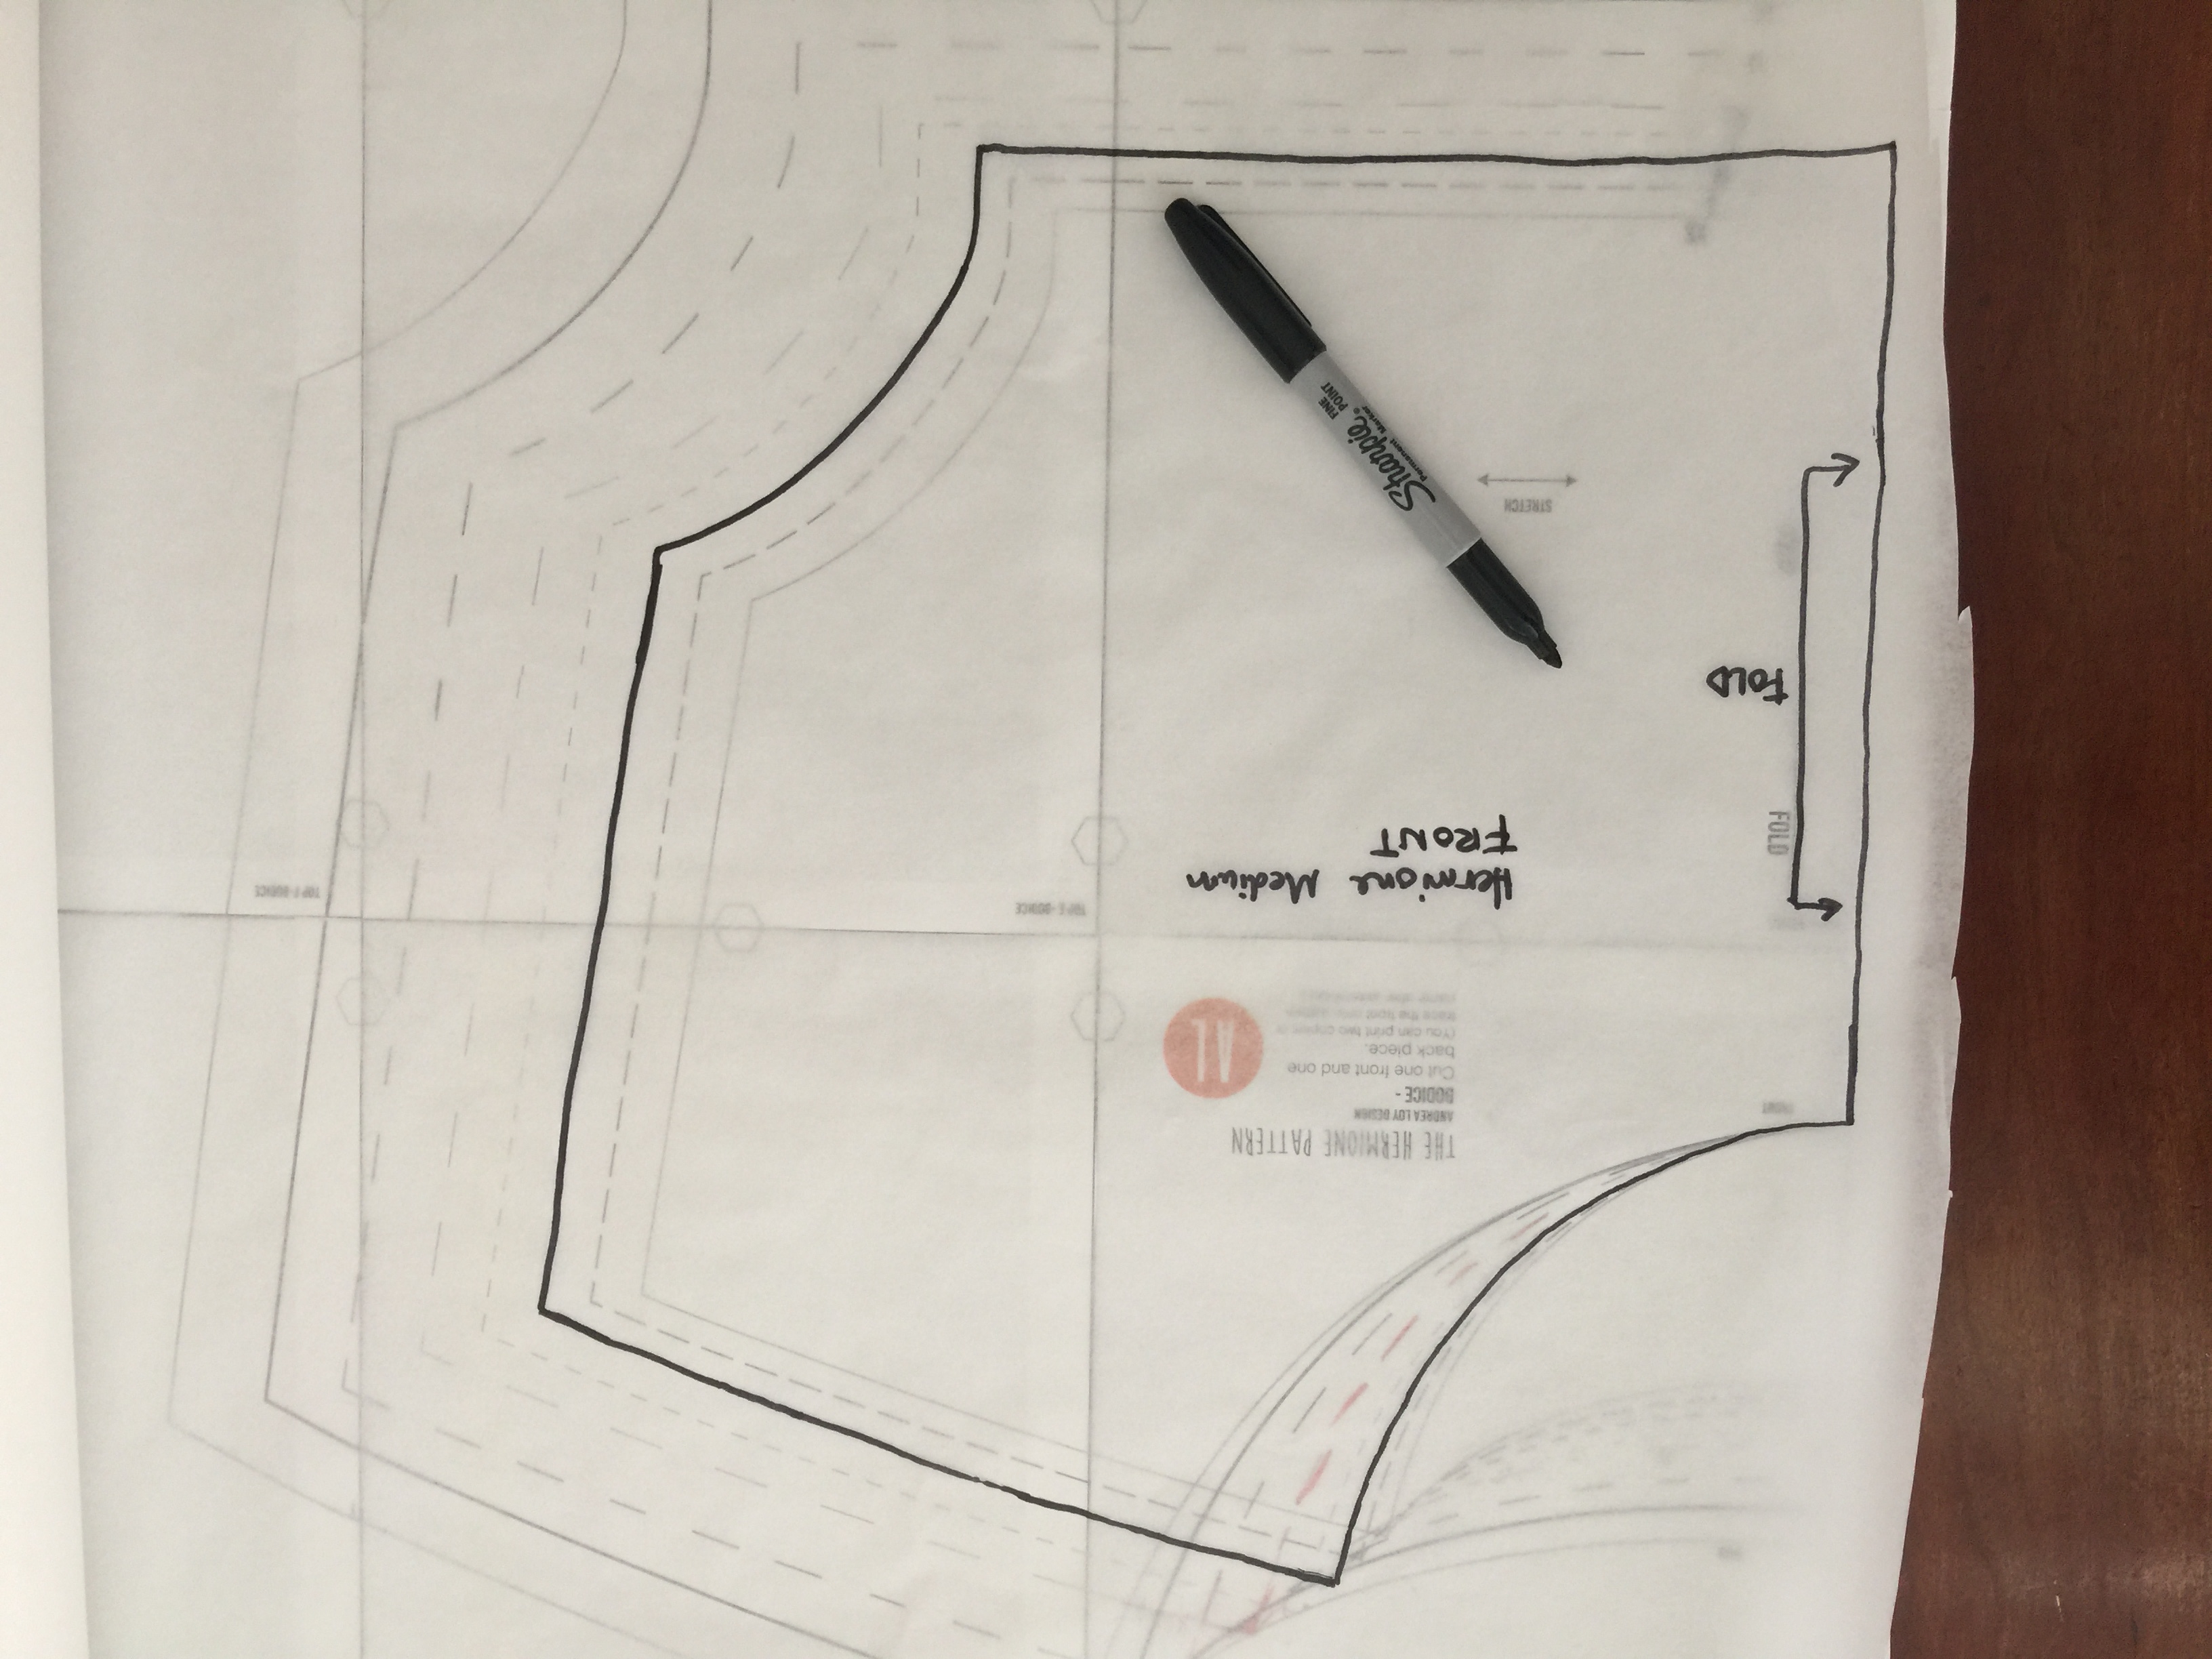
Once you have decided on your size, trace or cut your pattern. You can simply cut or to preserve all sizes and the work of reassembing the pattern, use either medical exam table paper or swedish pattern tracing paper.

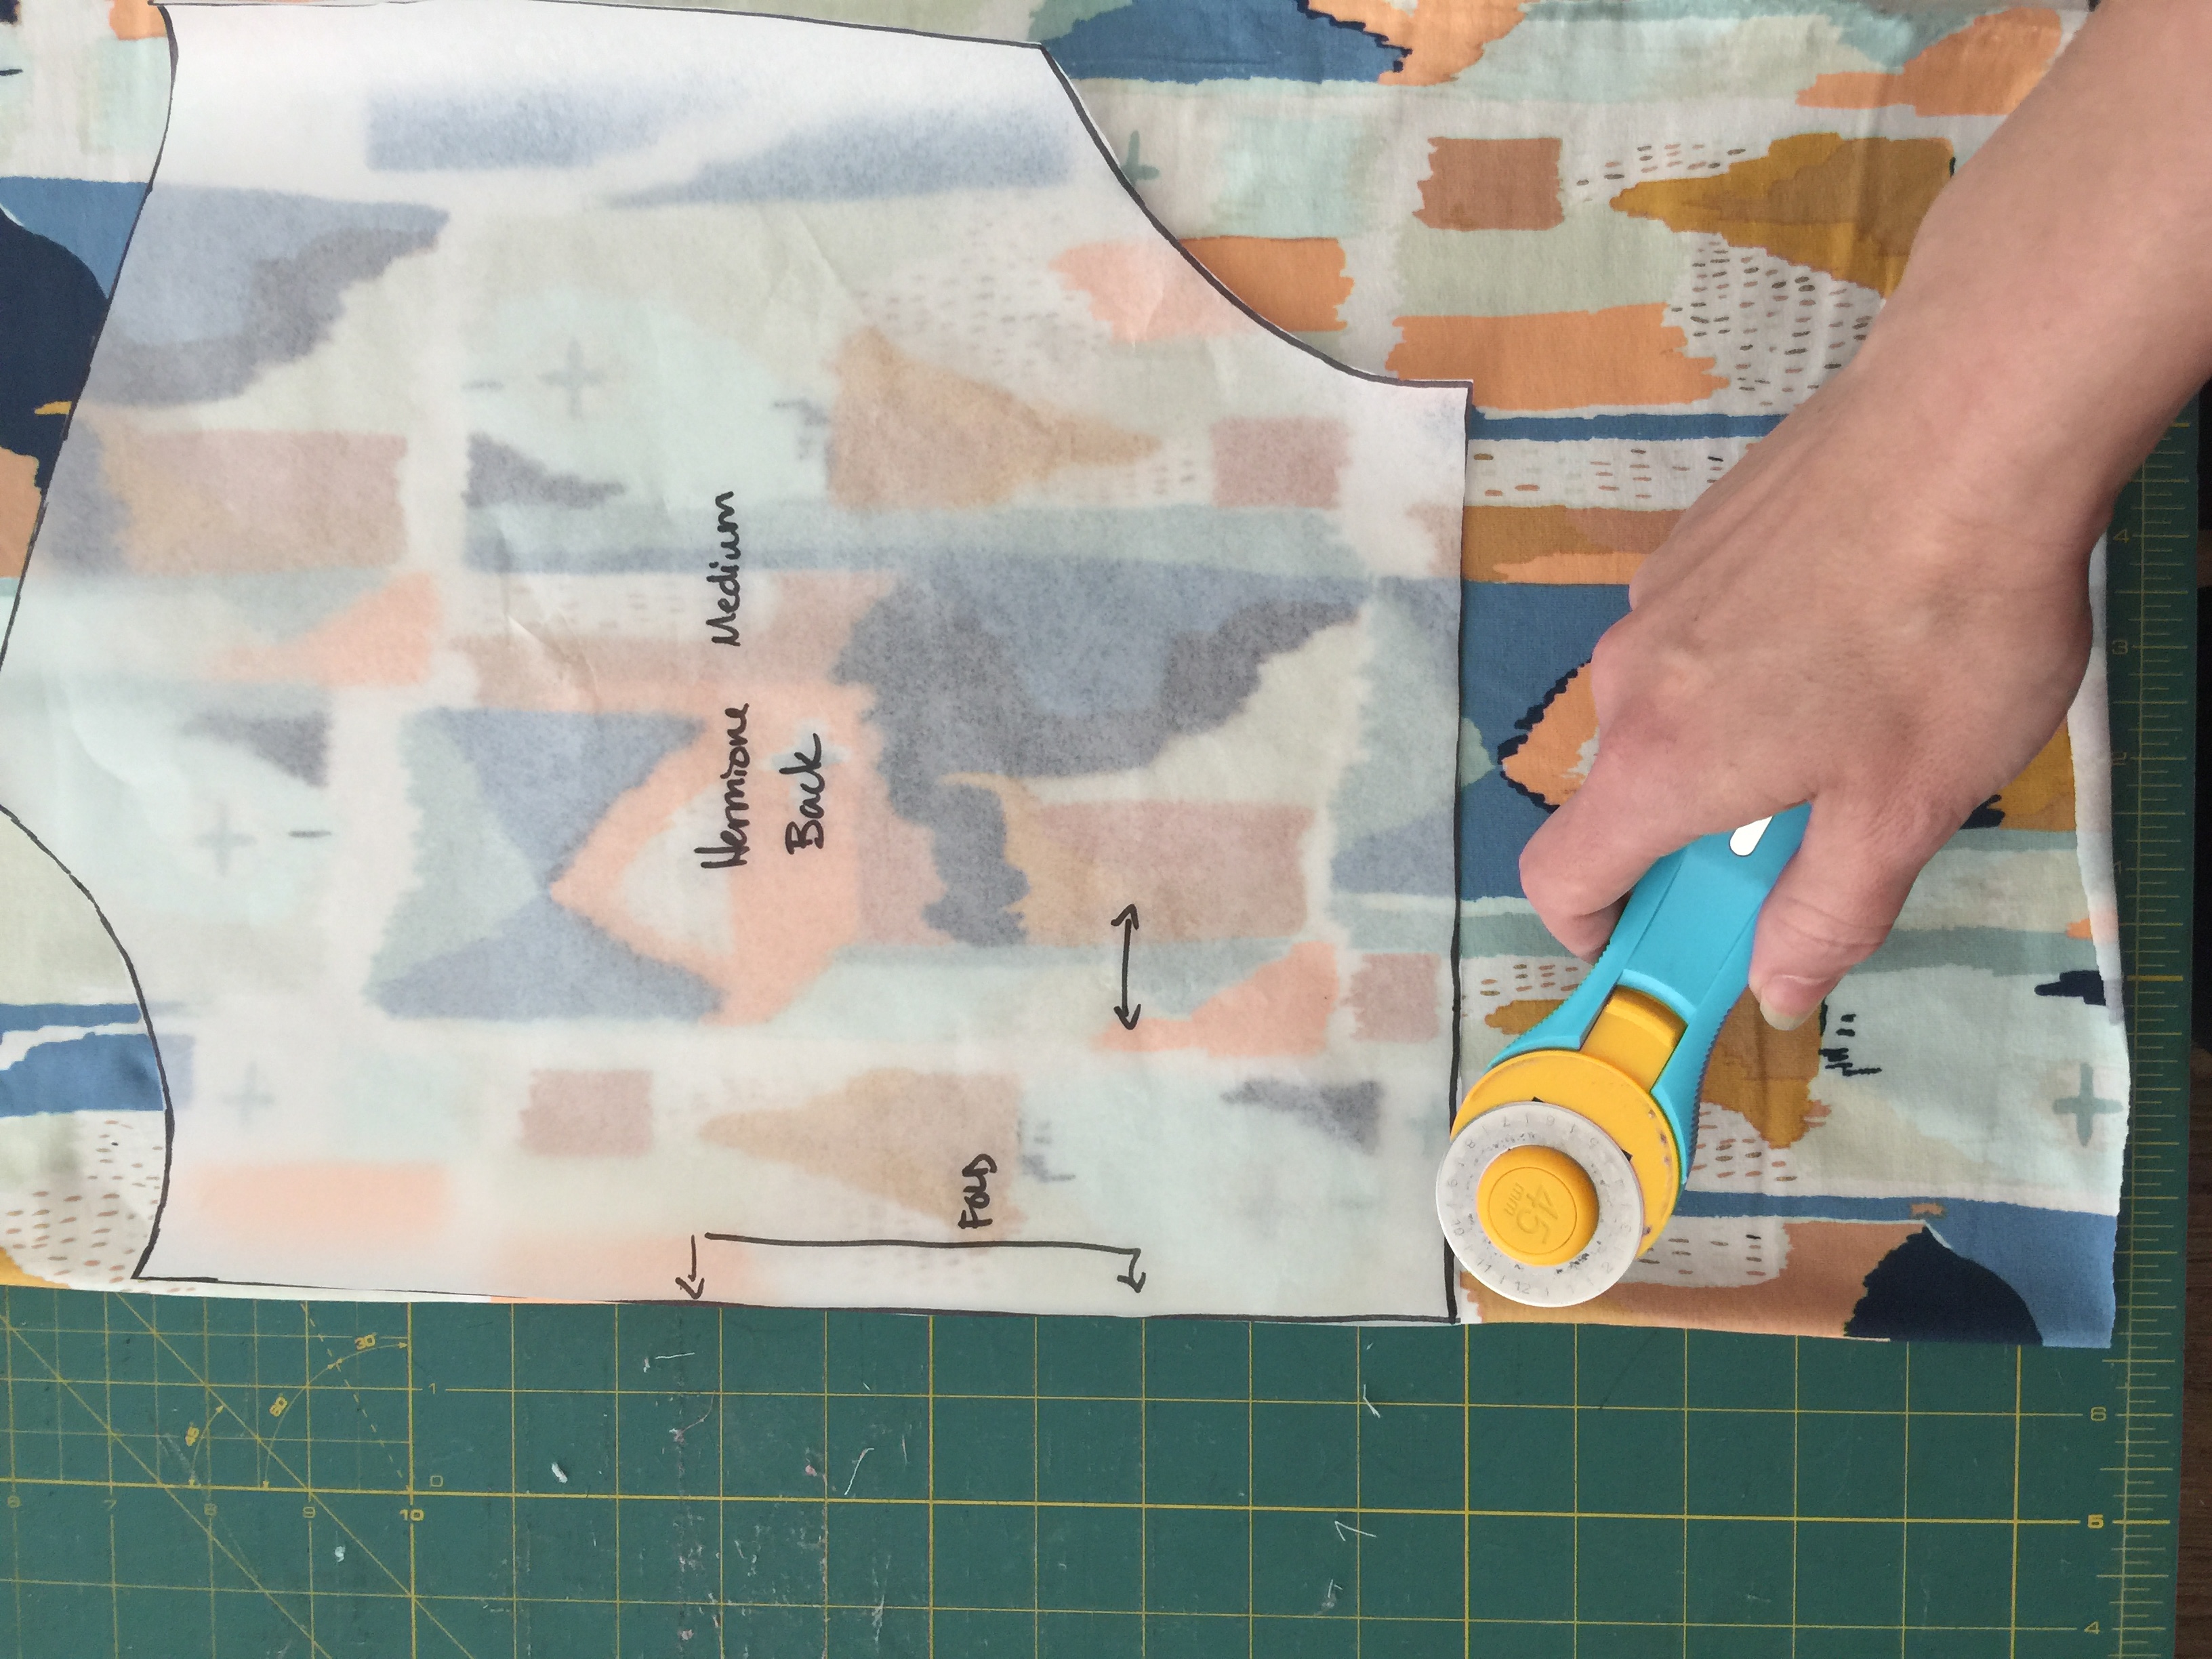
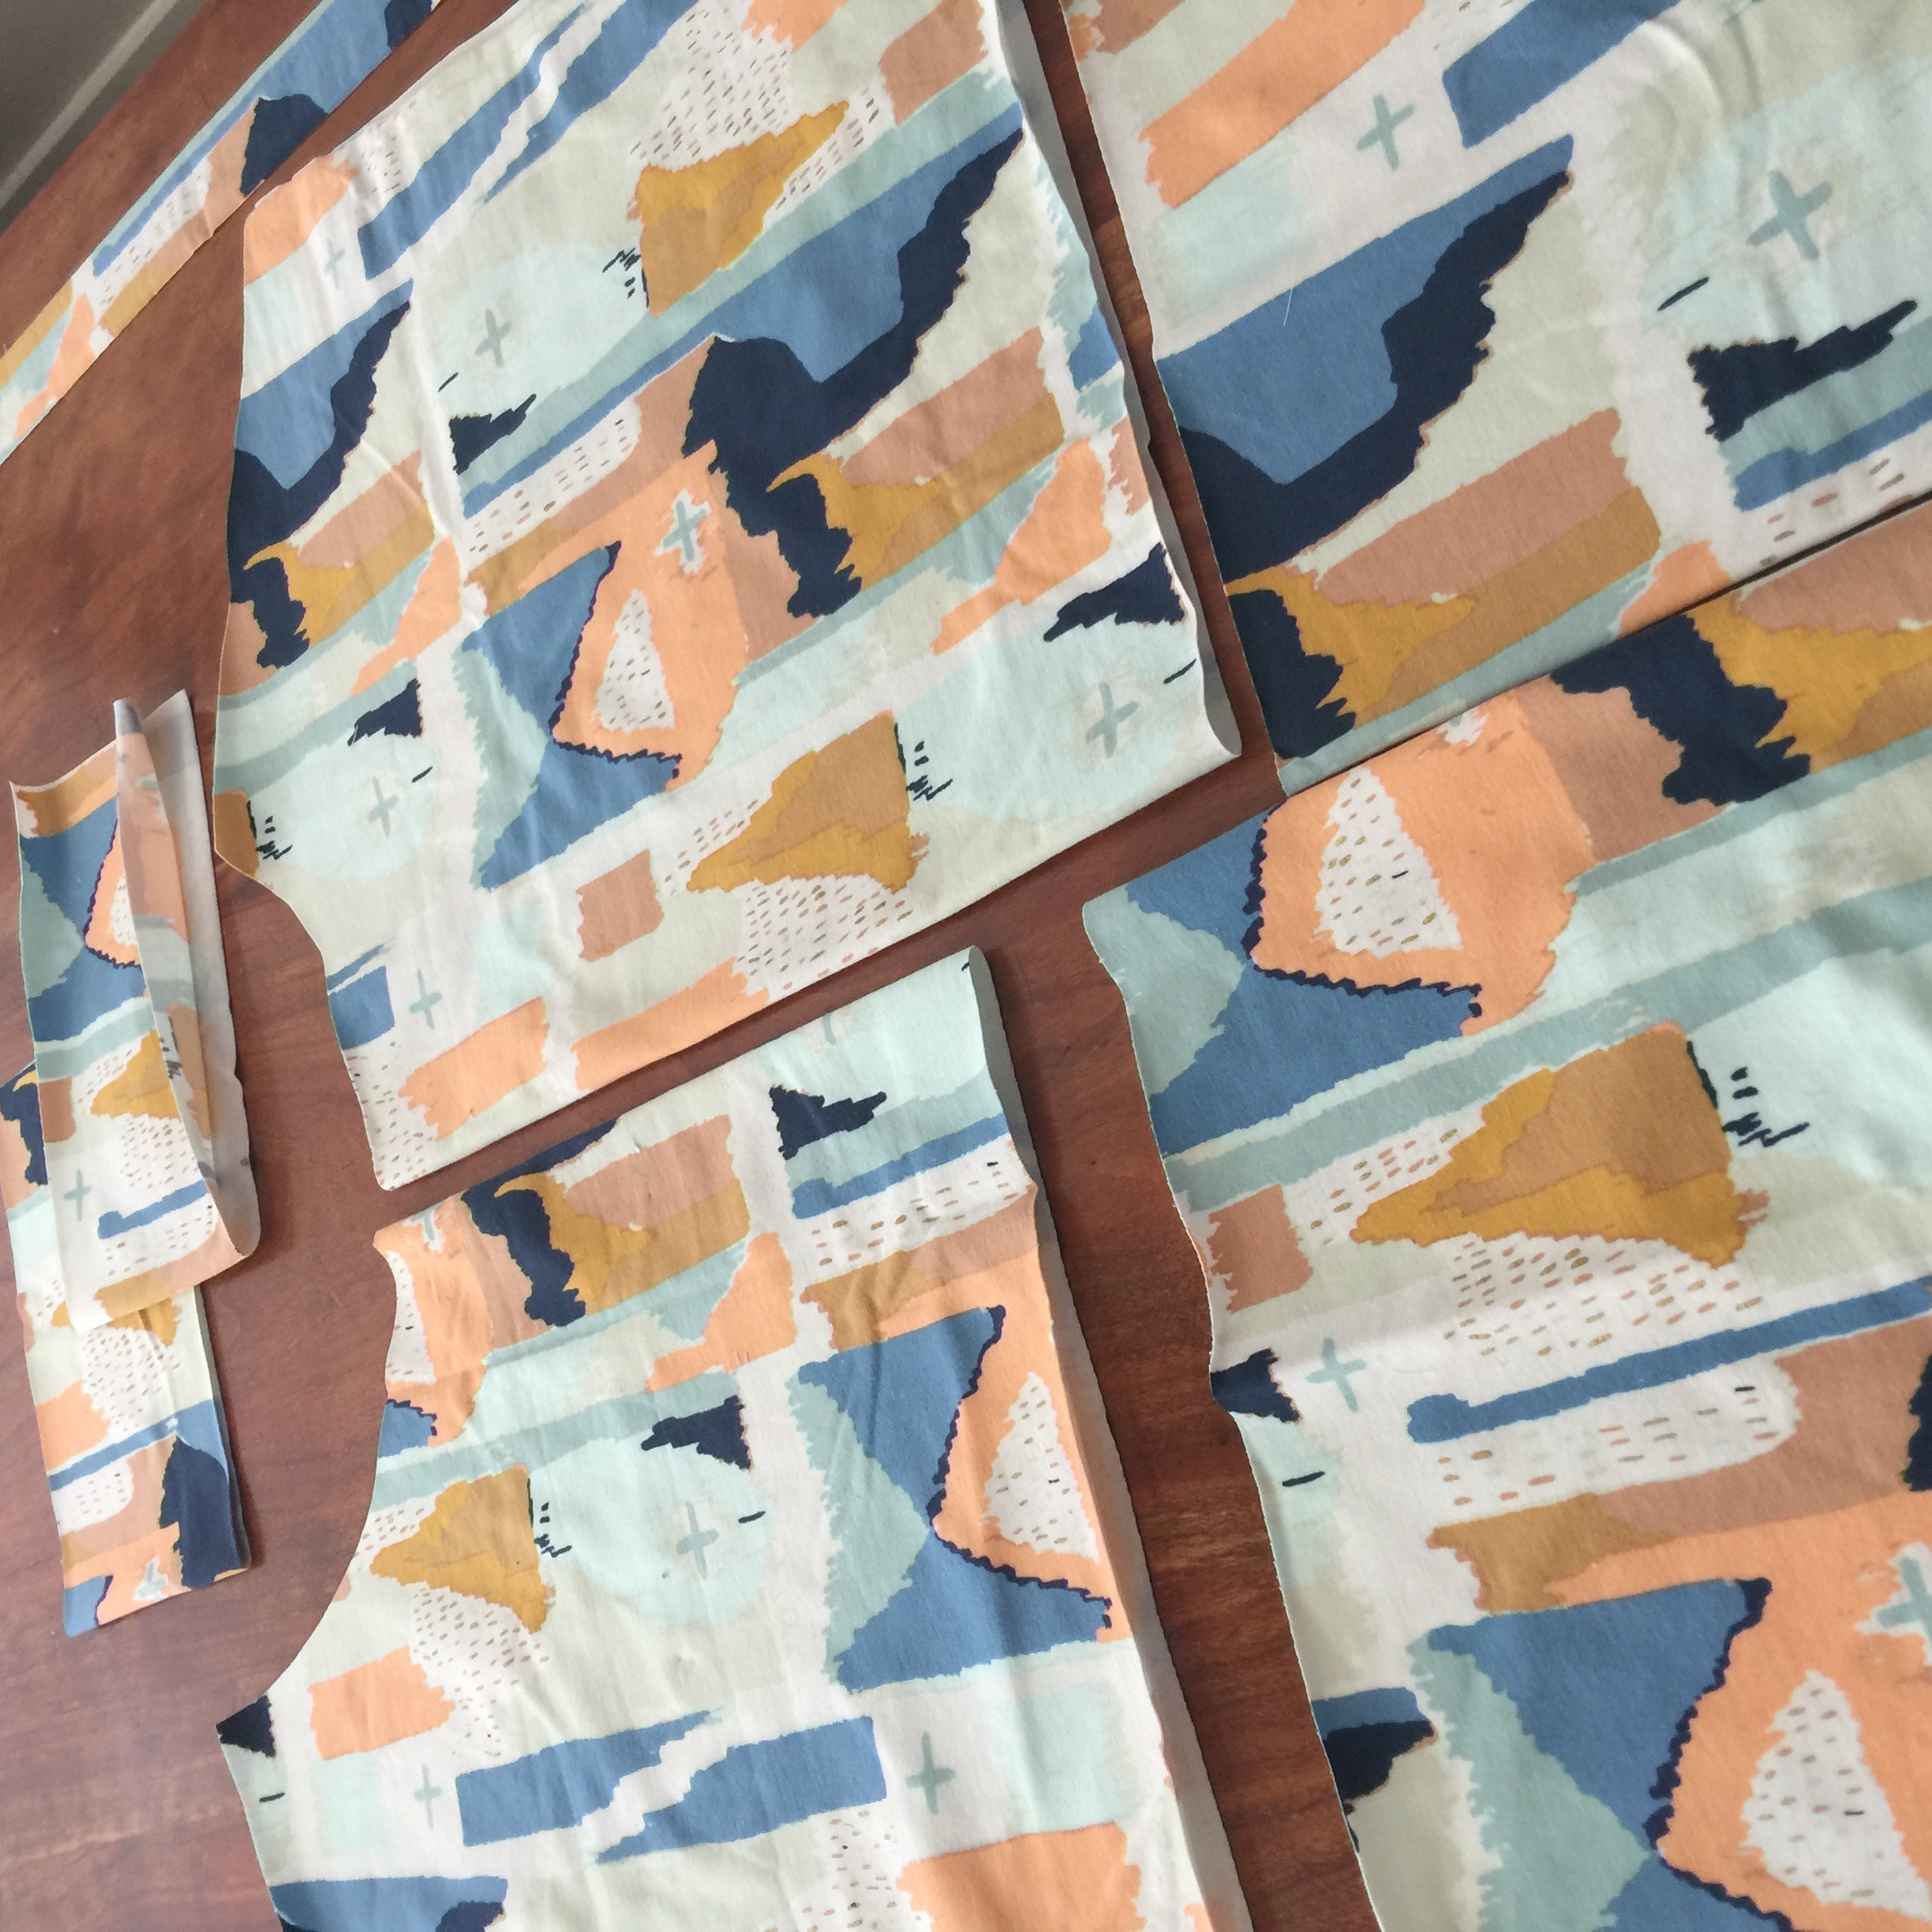
Cut out your fabric using a rotary cutter to speed the process along. If you are nervous, please be sure to pin or weight your pattern onto the fabric and cut with a nice sharp pair of fabric scissors.

A few tips to read on cutting out the neckband: 

-There is no pattern piece for the neckband, just use the measurements.

-USE A CLEAR RULER, this is an epic game changer. 

-IF you are using stiff and unstretchy knit jersey, add 1 inch to the neck band.  

-IF you are using thin and super stretchy knit, try subtracting 1 inch.

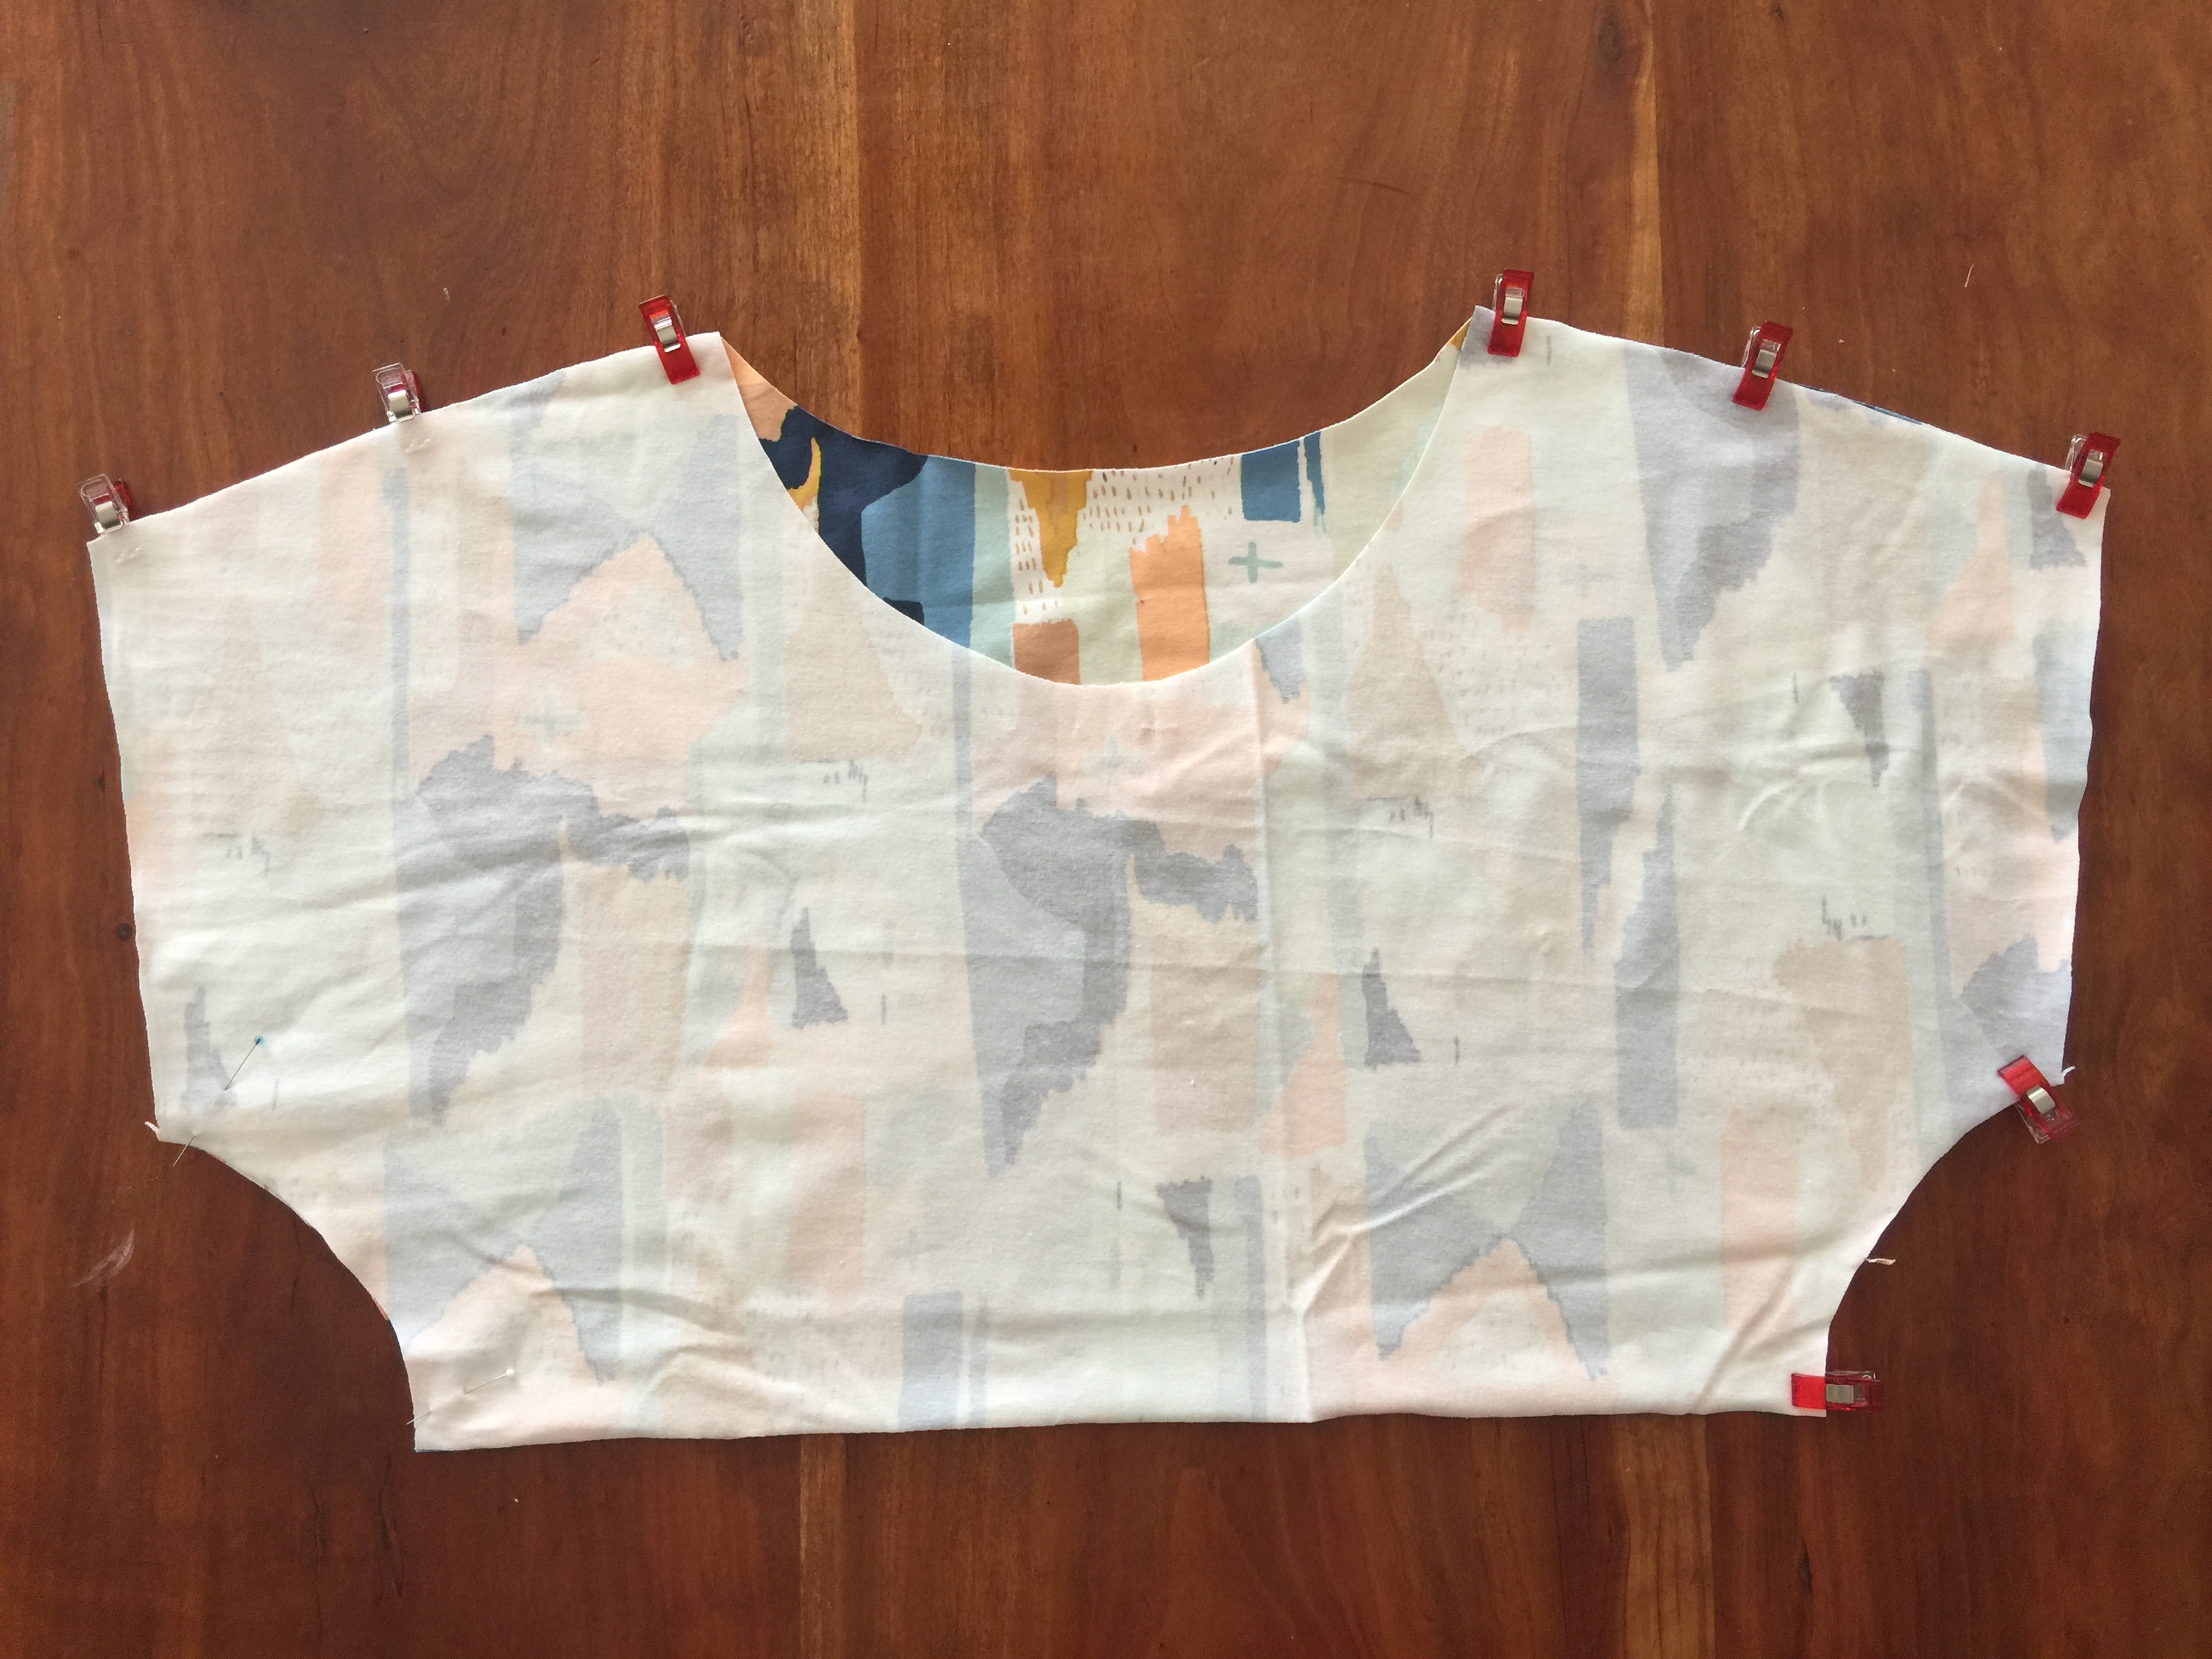
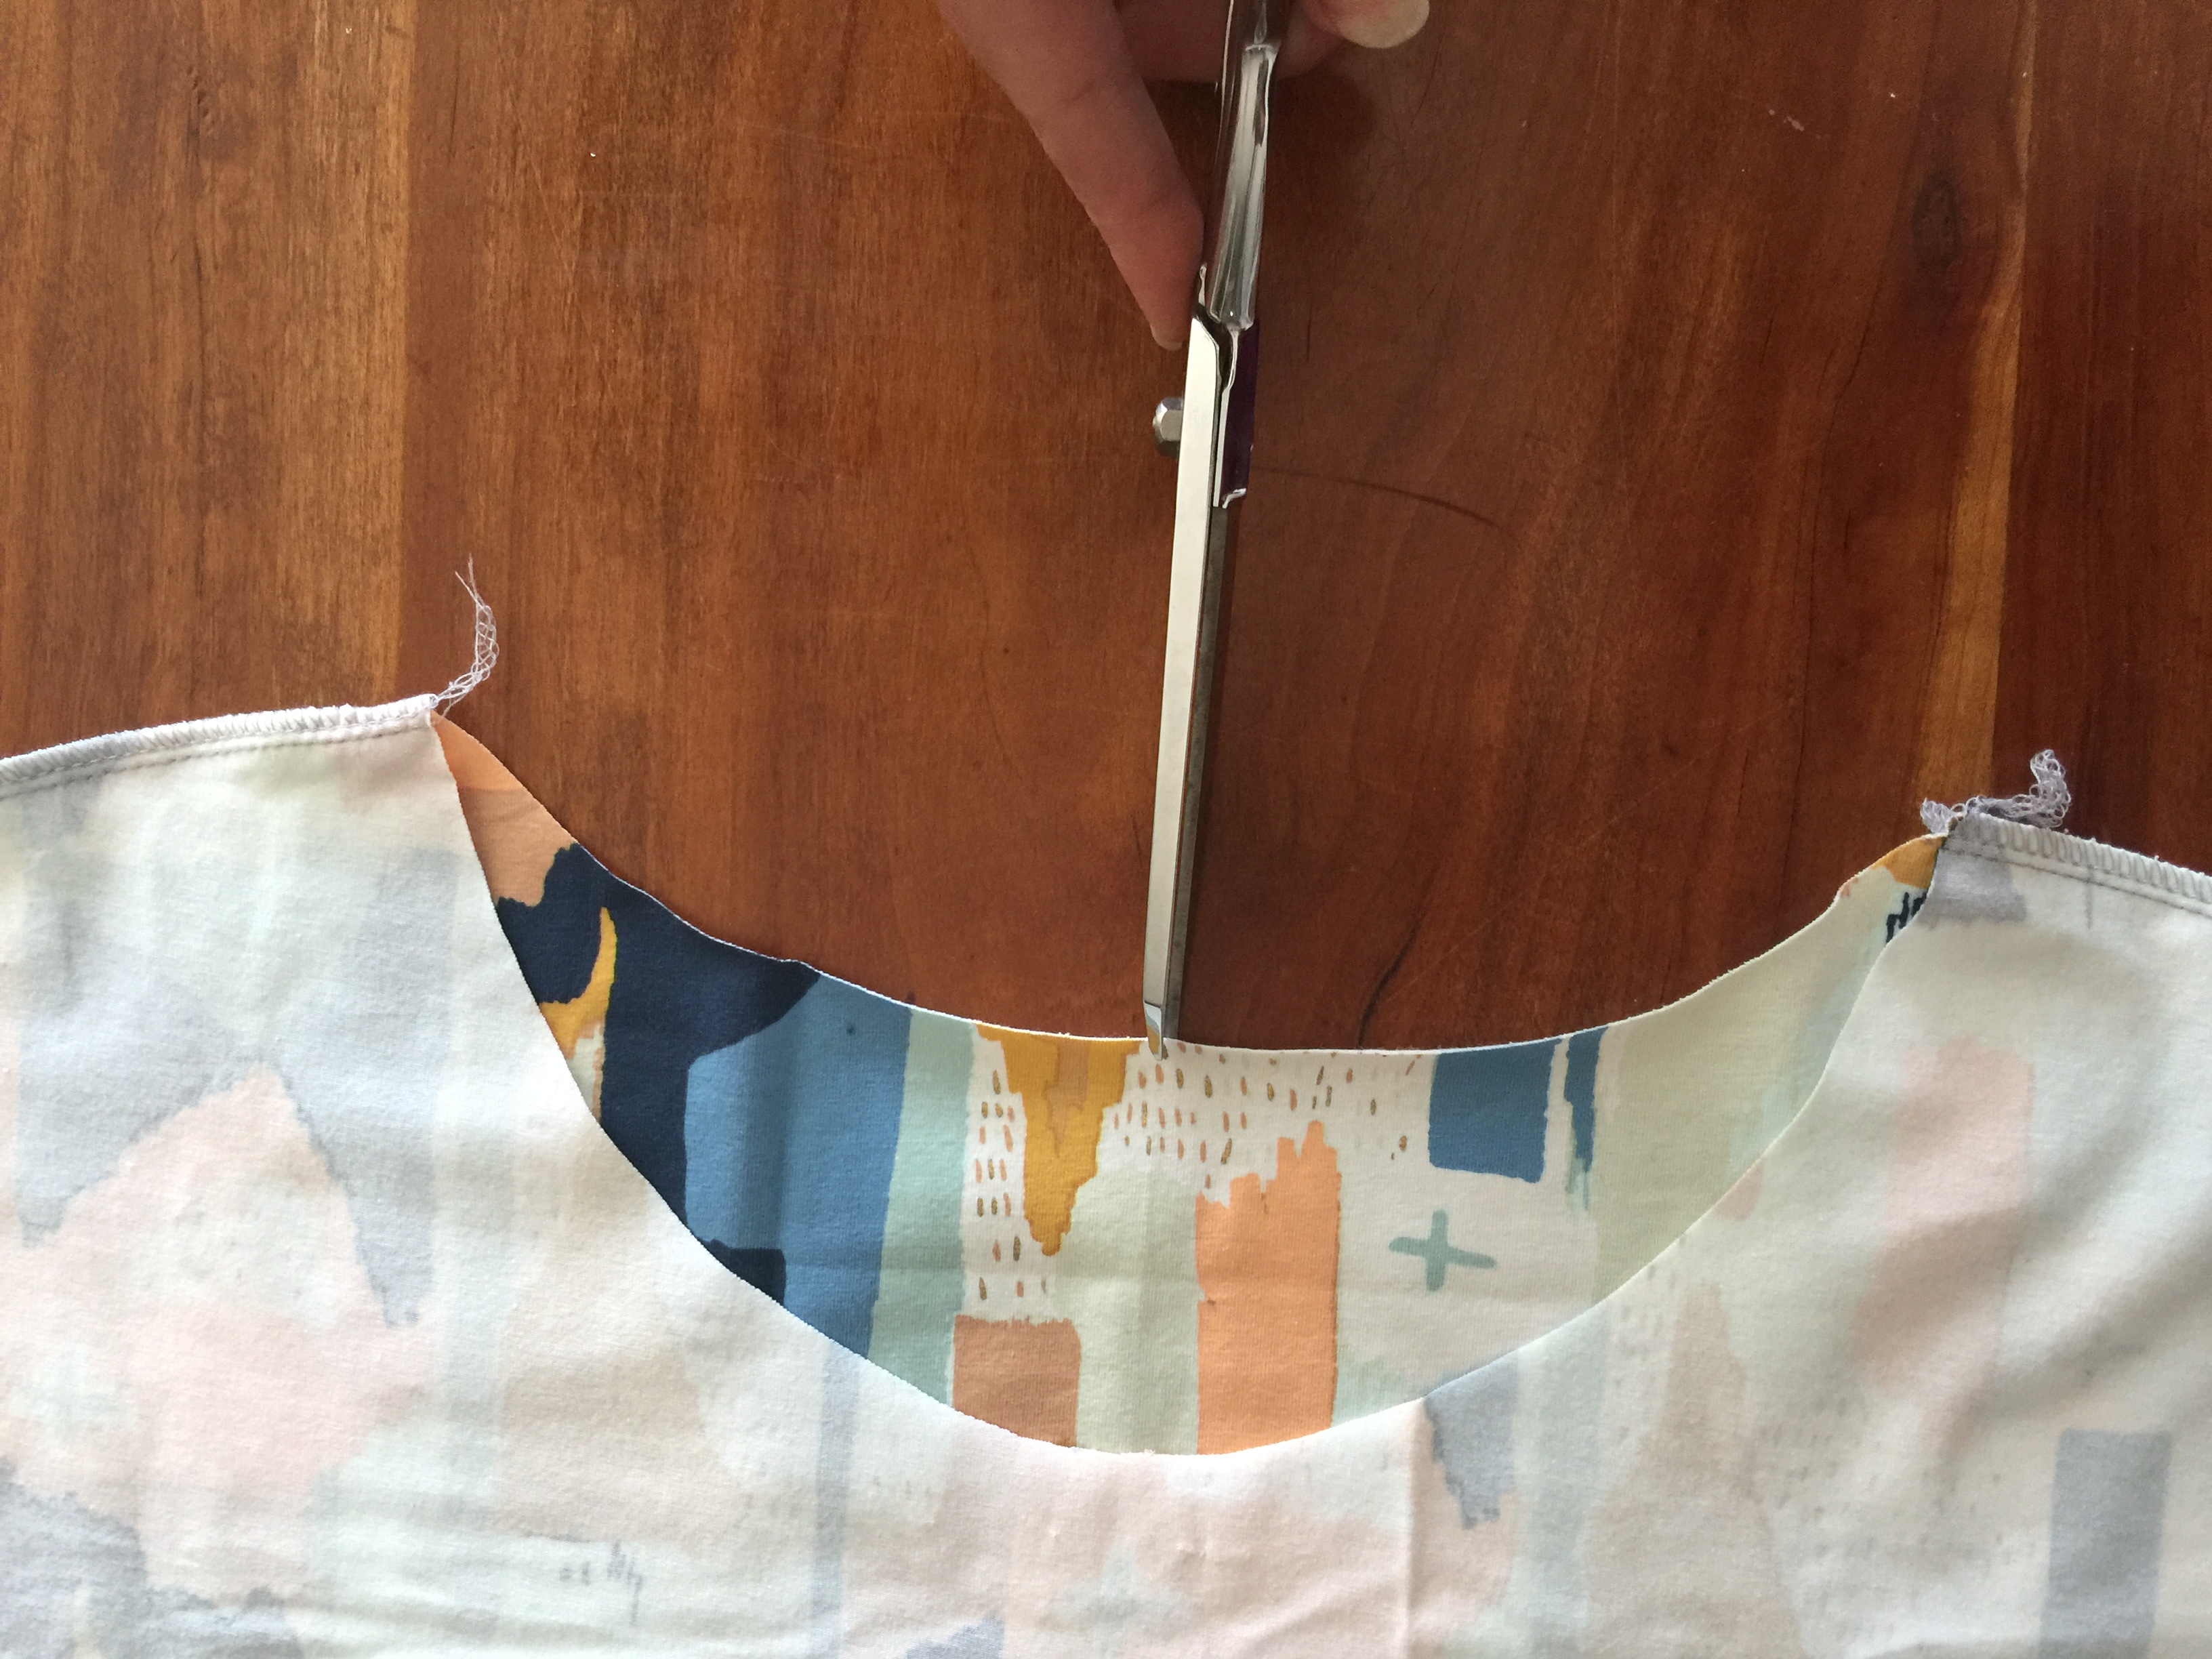
NEXT SEW THE BODICE and notch the centers of the neck as well as the center of the top of the skirt pieces.  

-Wonderclips are the bomb. These are the best for serging ot not making holes in knits. you can use pins too. I don’t want any of my sewing friends feeling like they need a serger to sew this shirt. A regular zig zag stitch on your machine will do just fine. However, once you fall in love with sewing knits, you will get serger fever, coupled with serger fear. Just call me, I will hug you, and I will take that serger out of the box and thread that serger for you until feel all better.


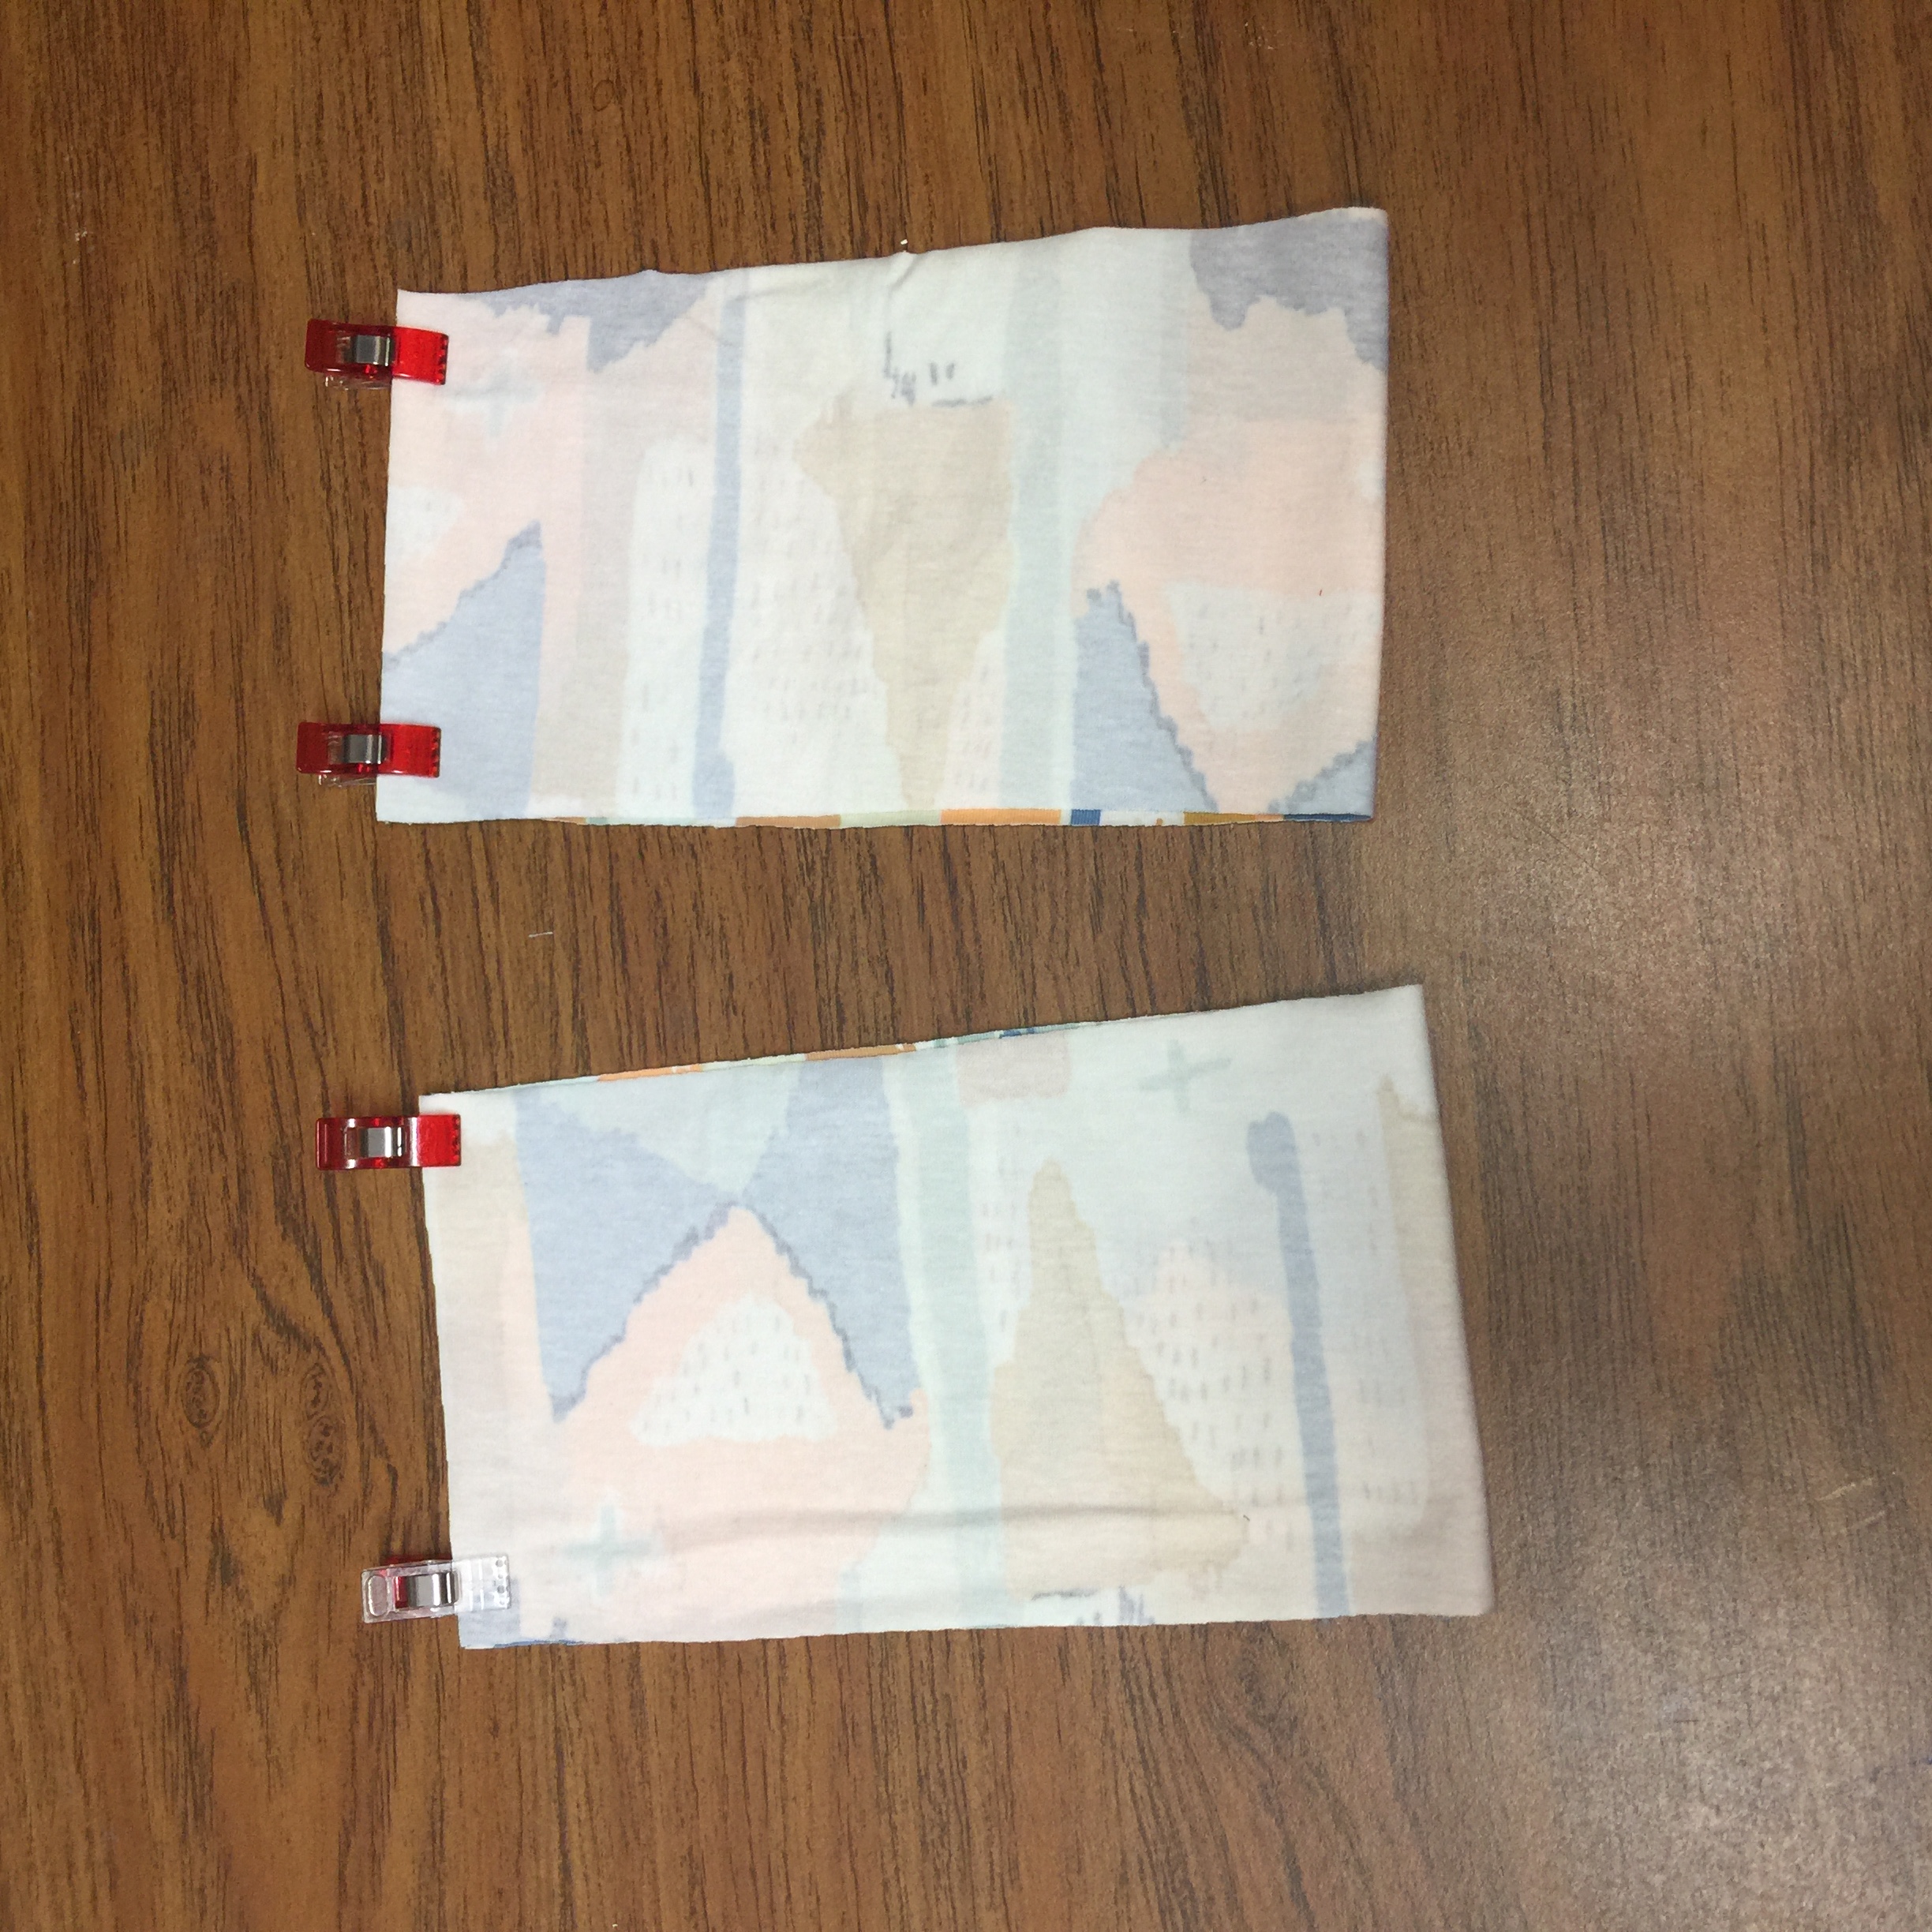
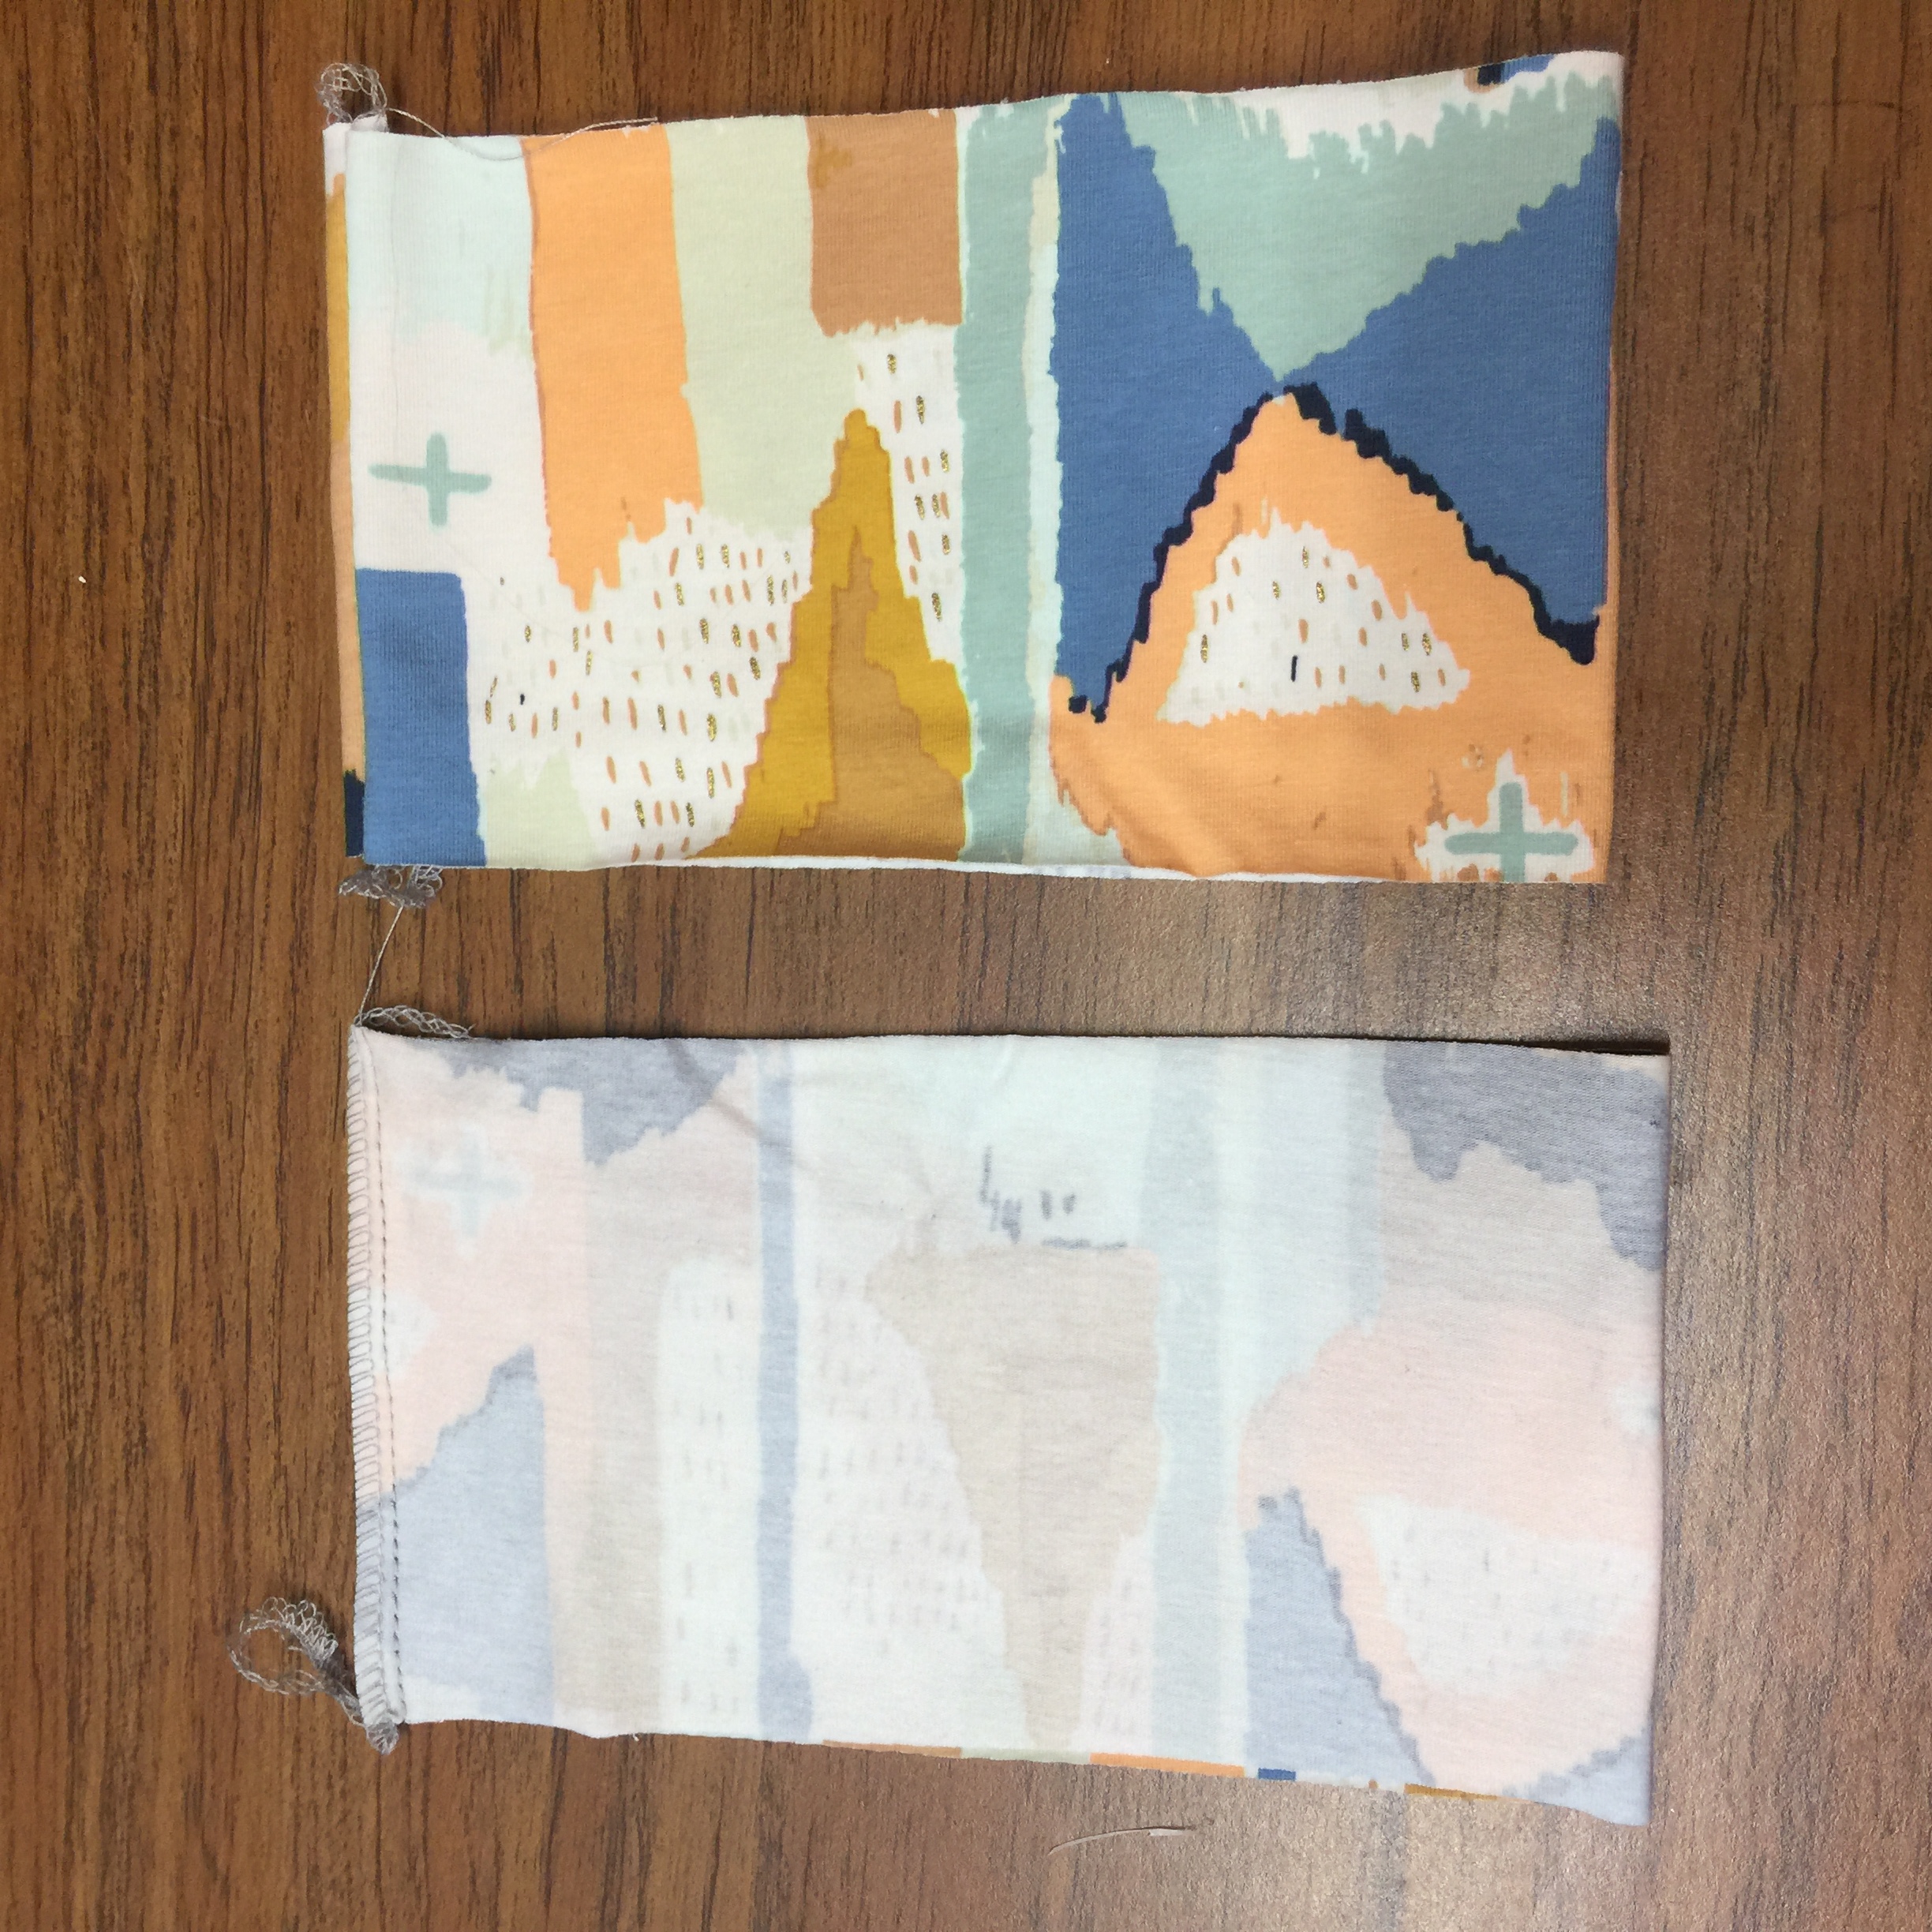
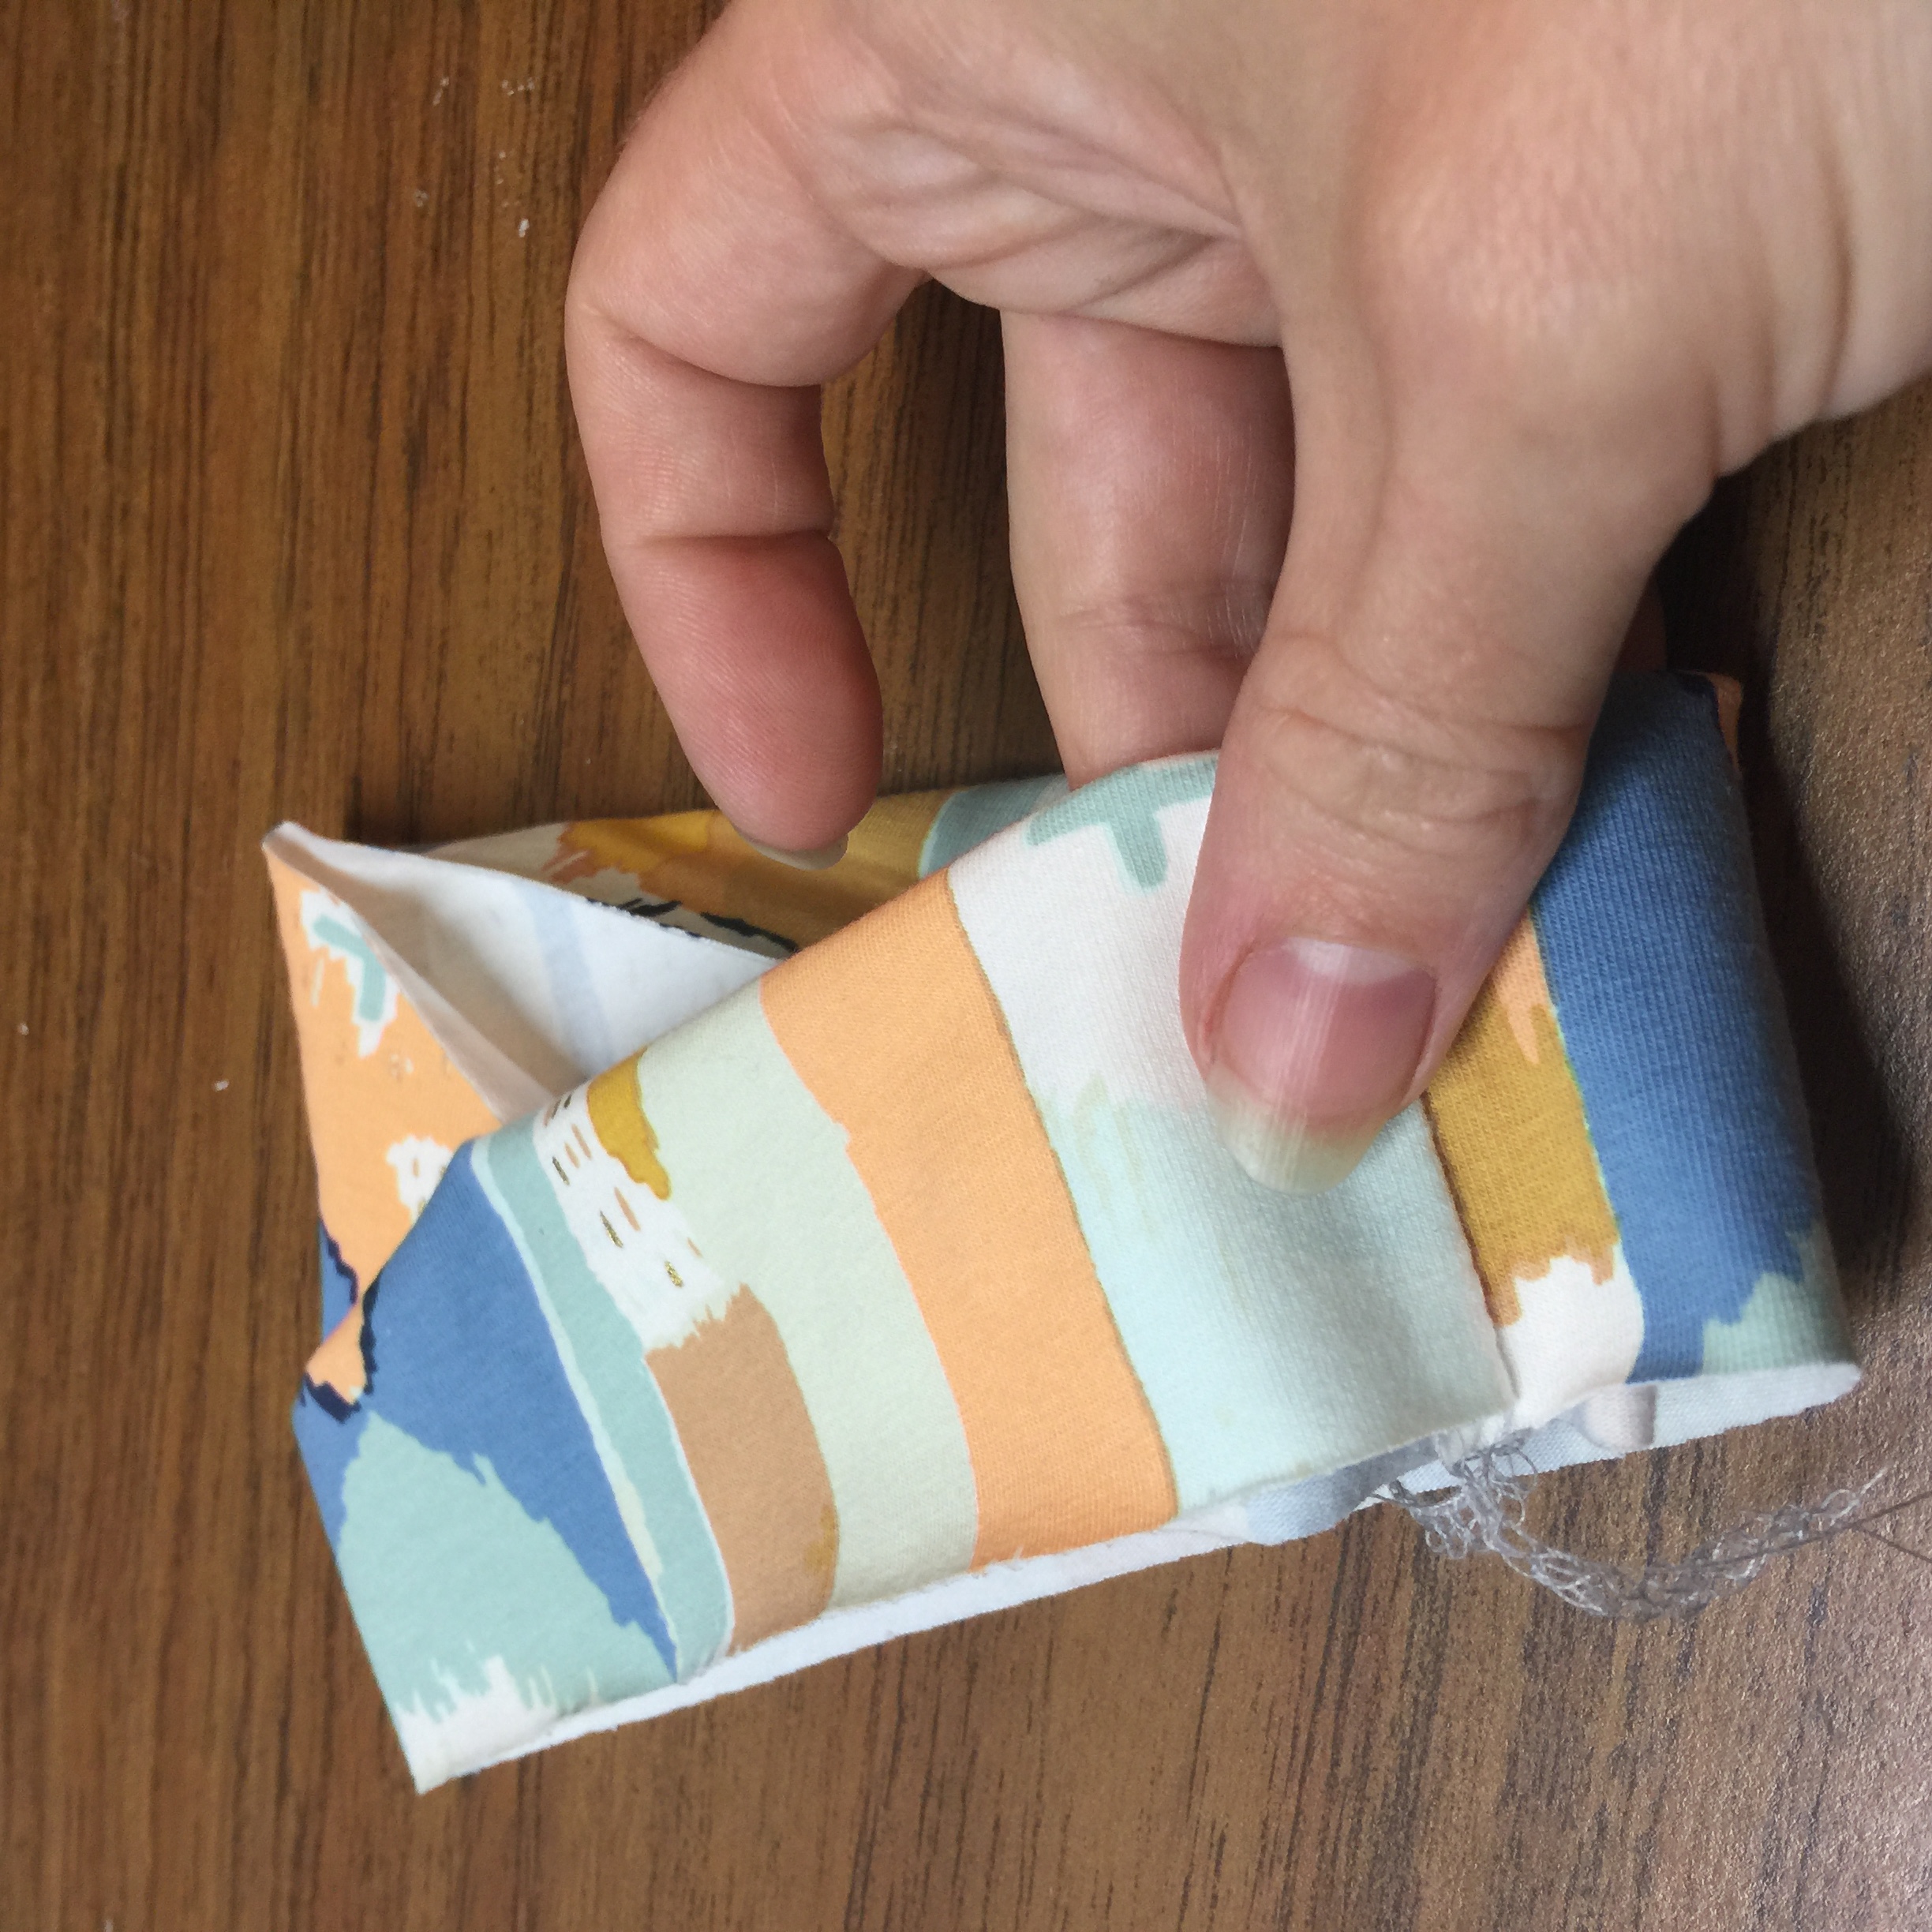
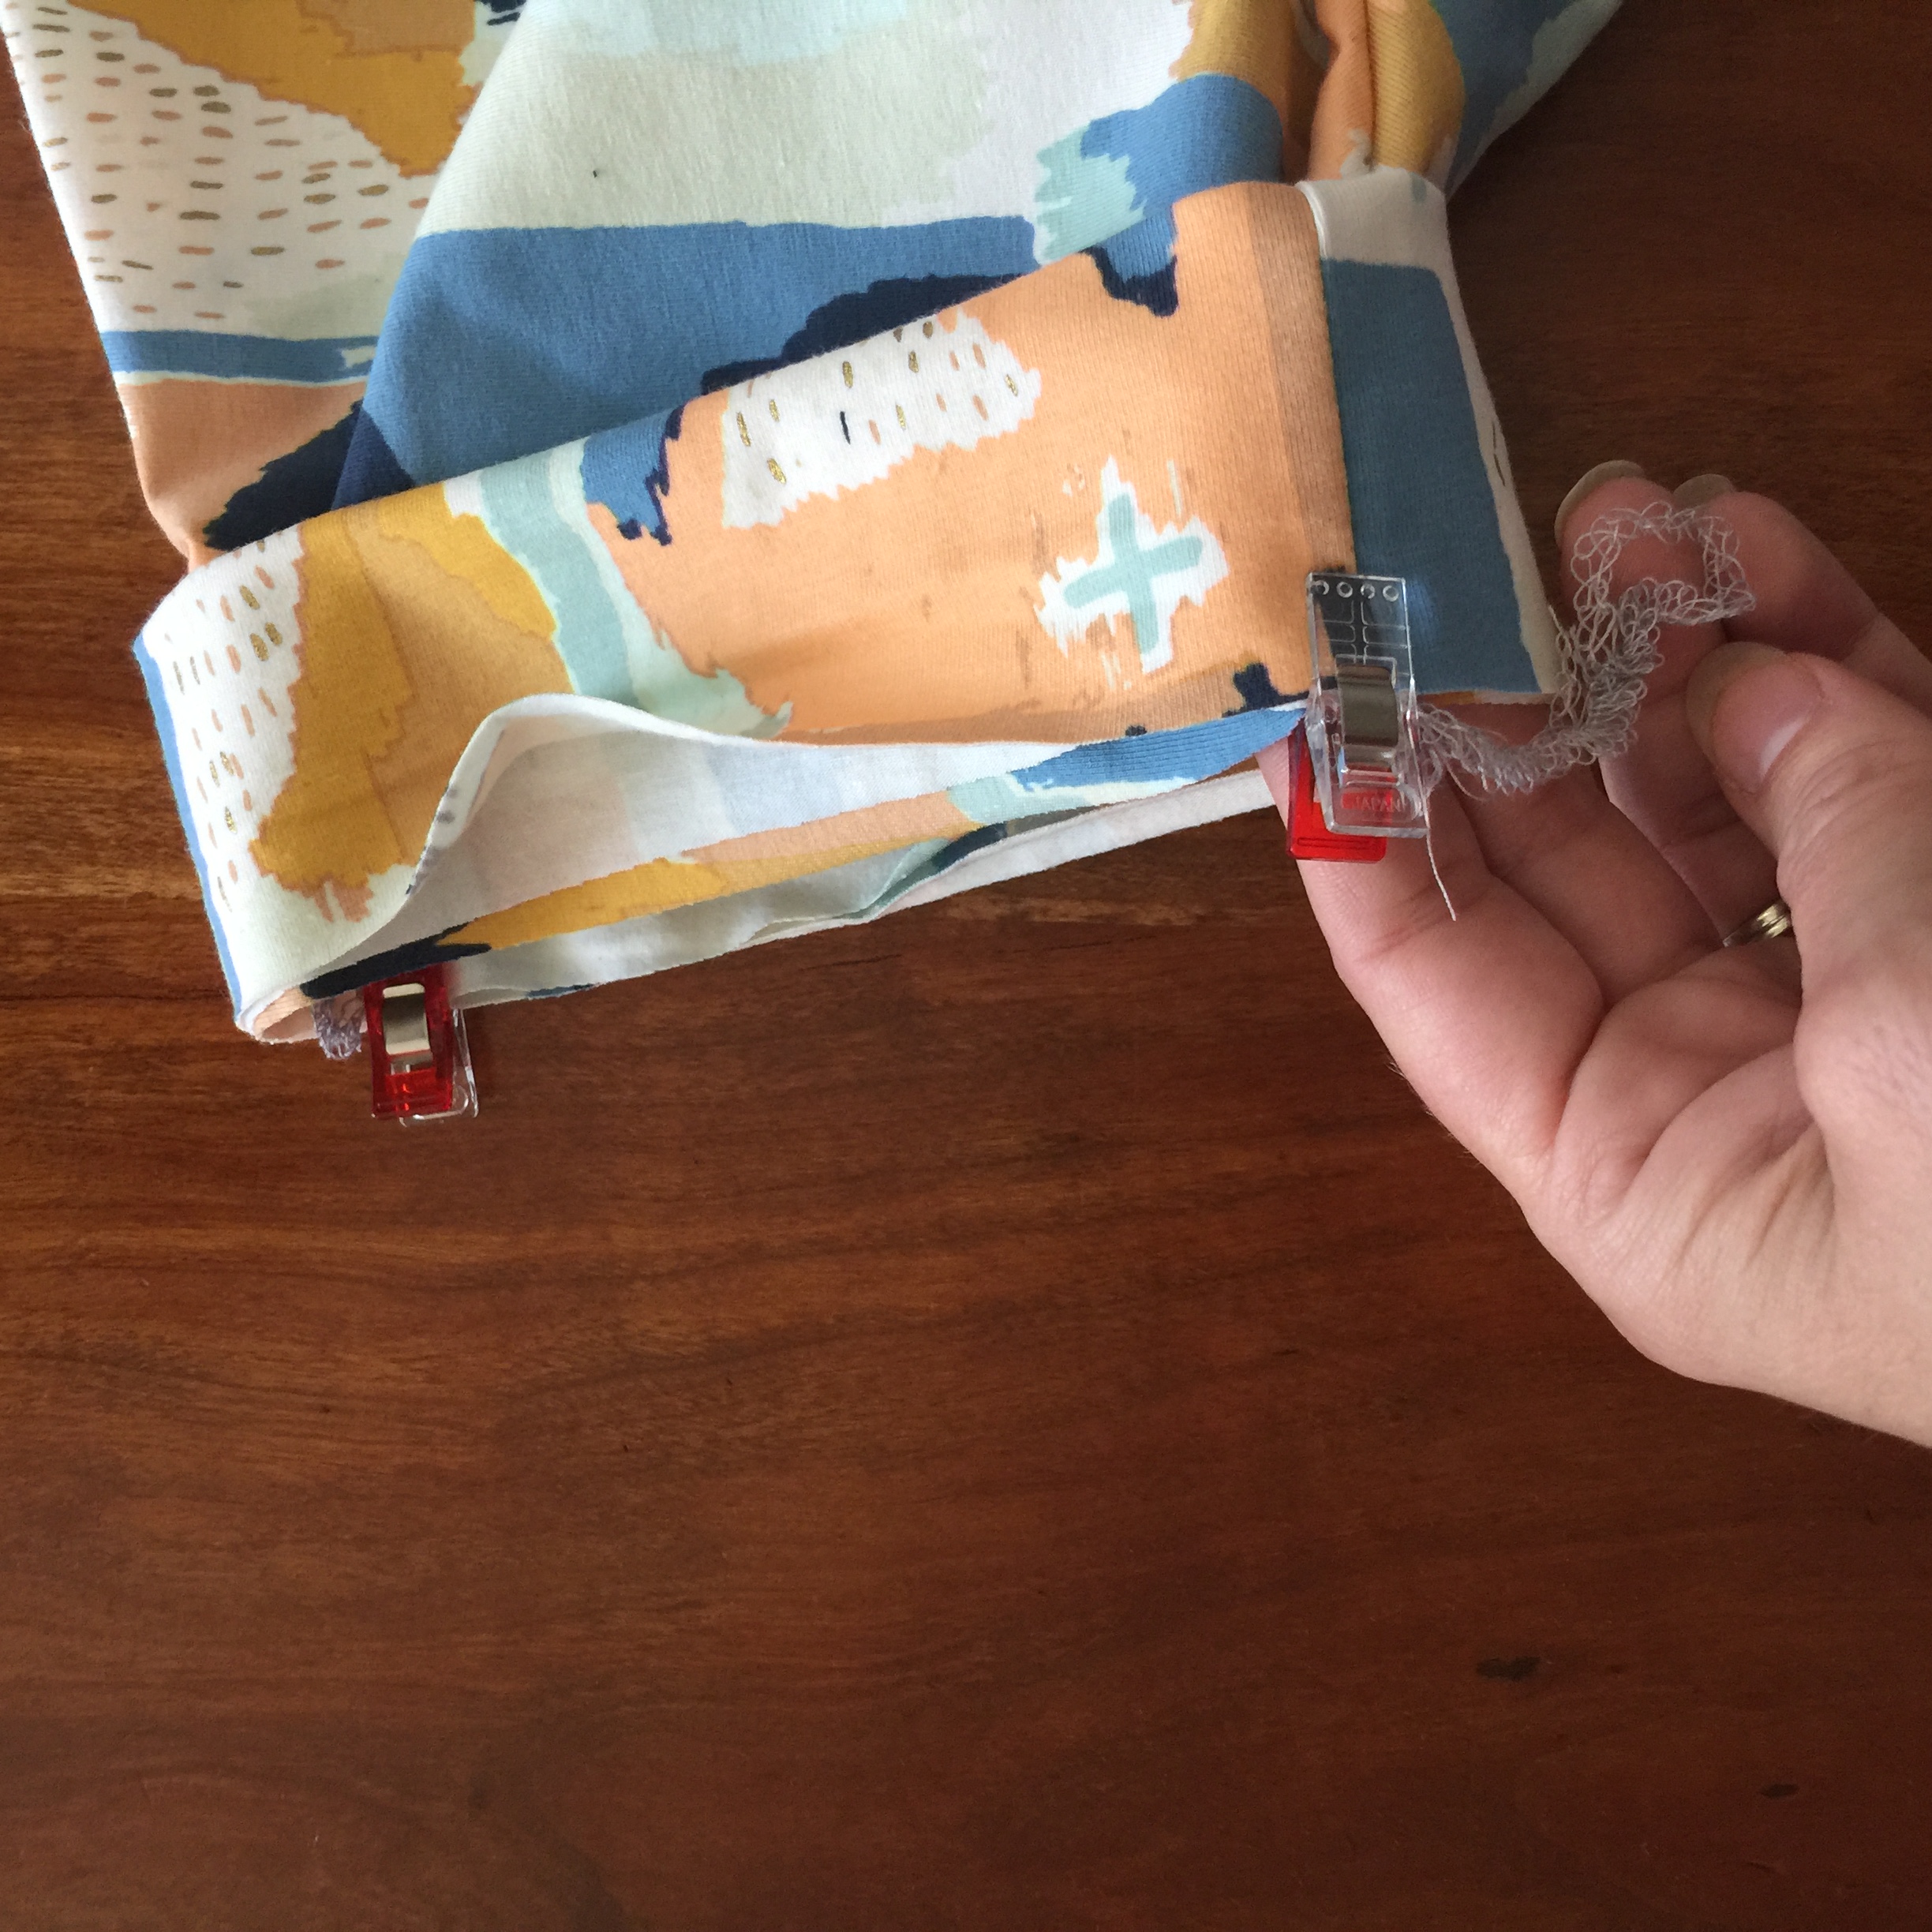
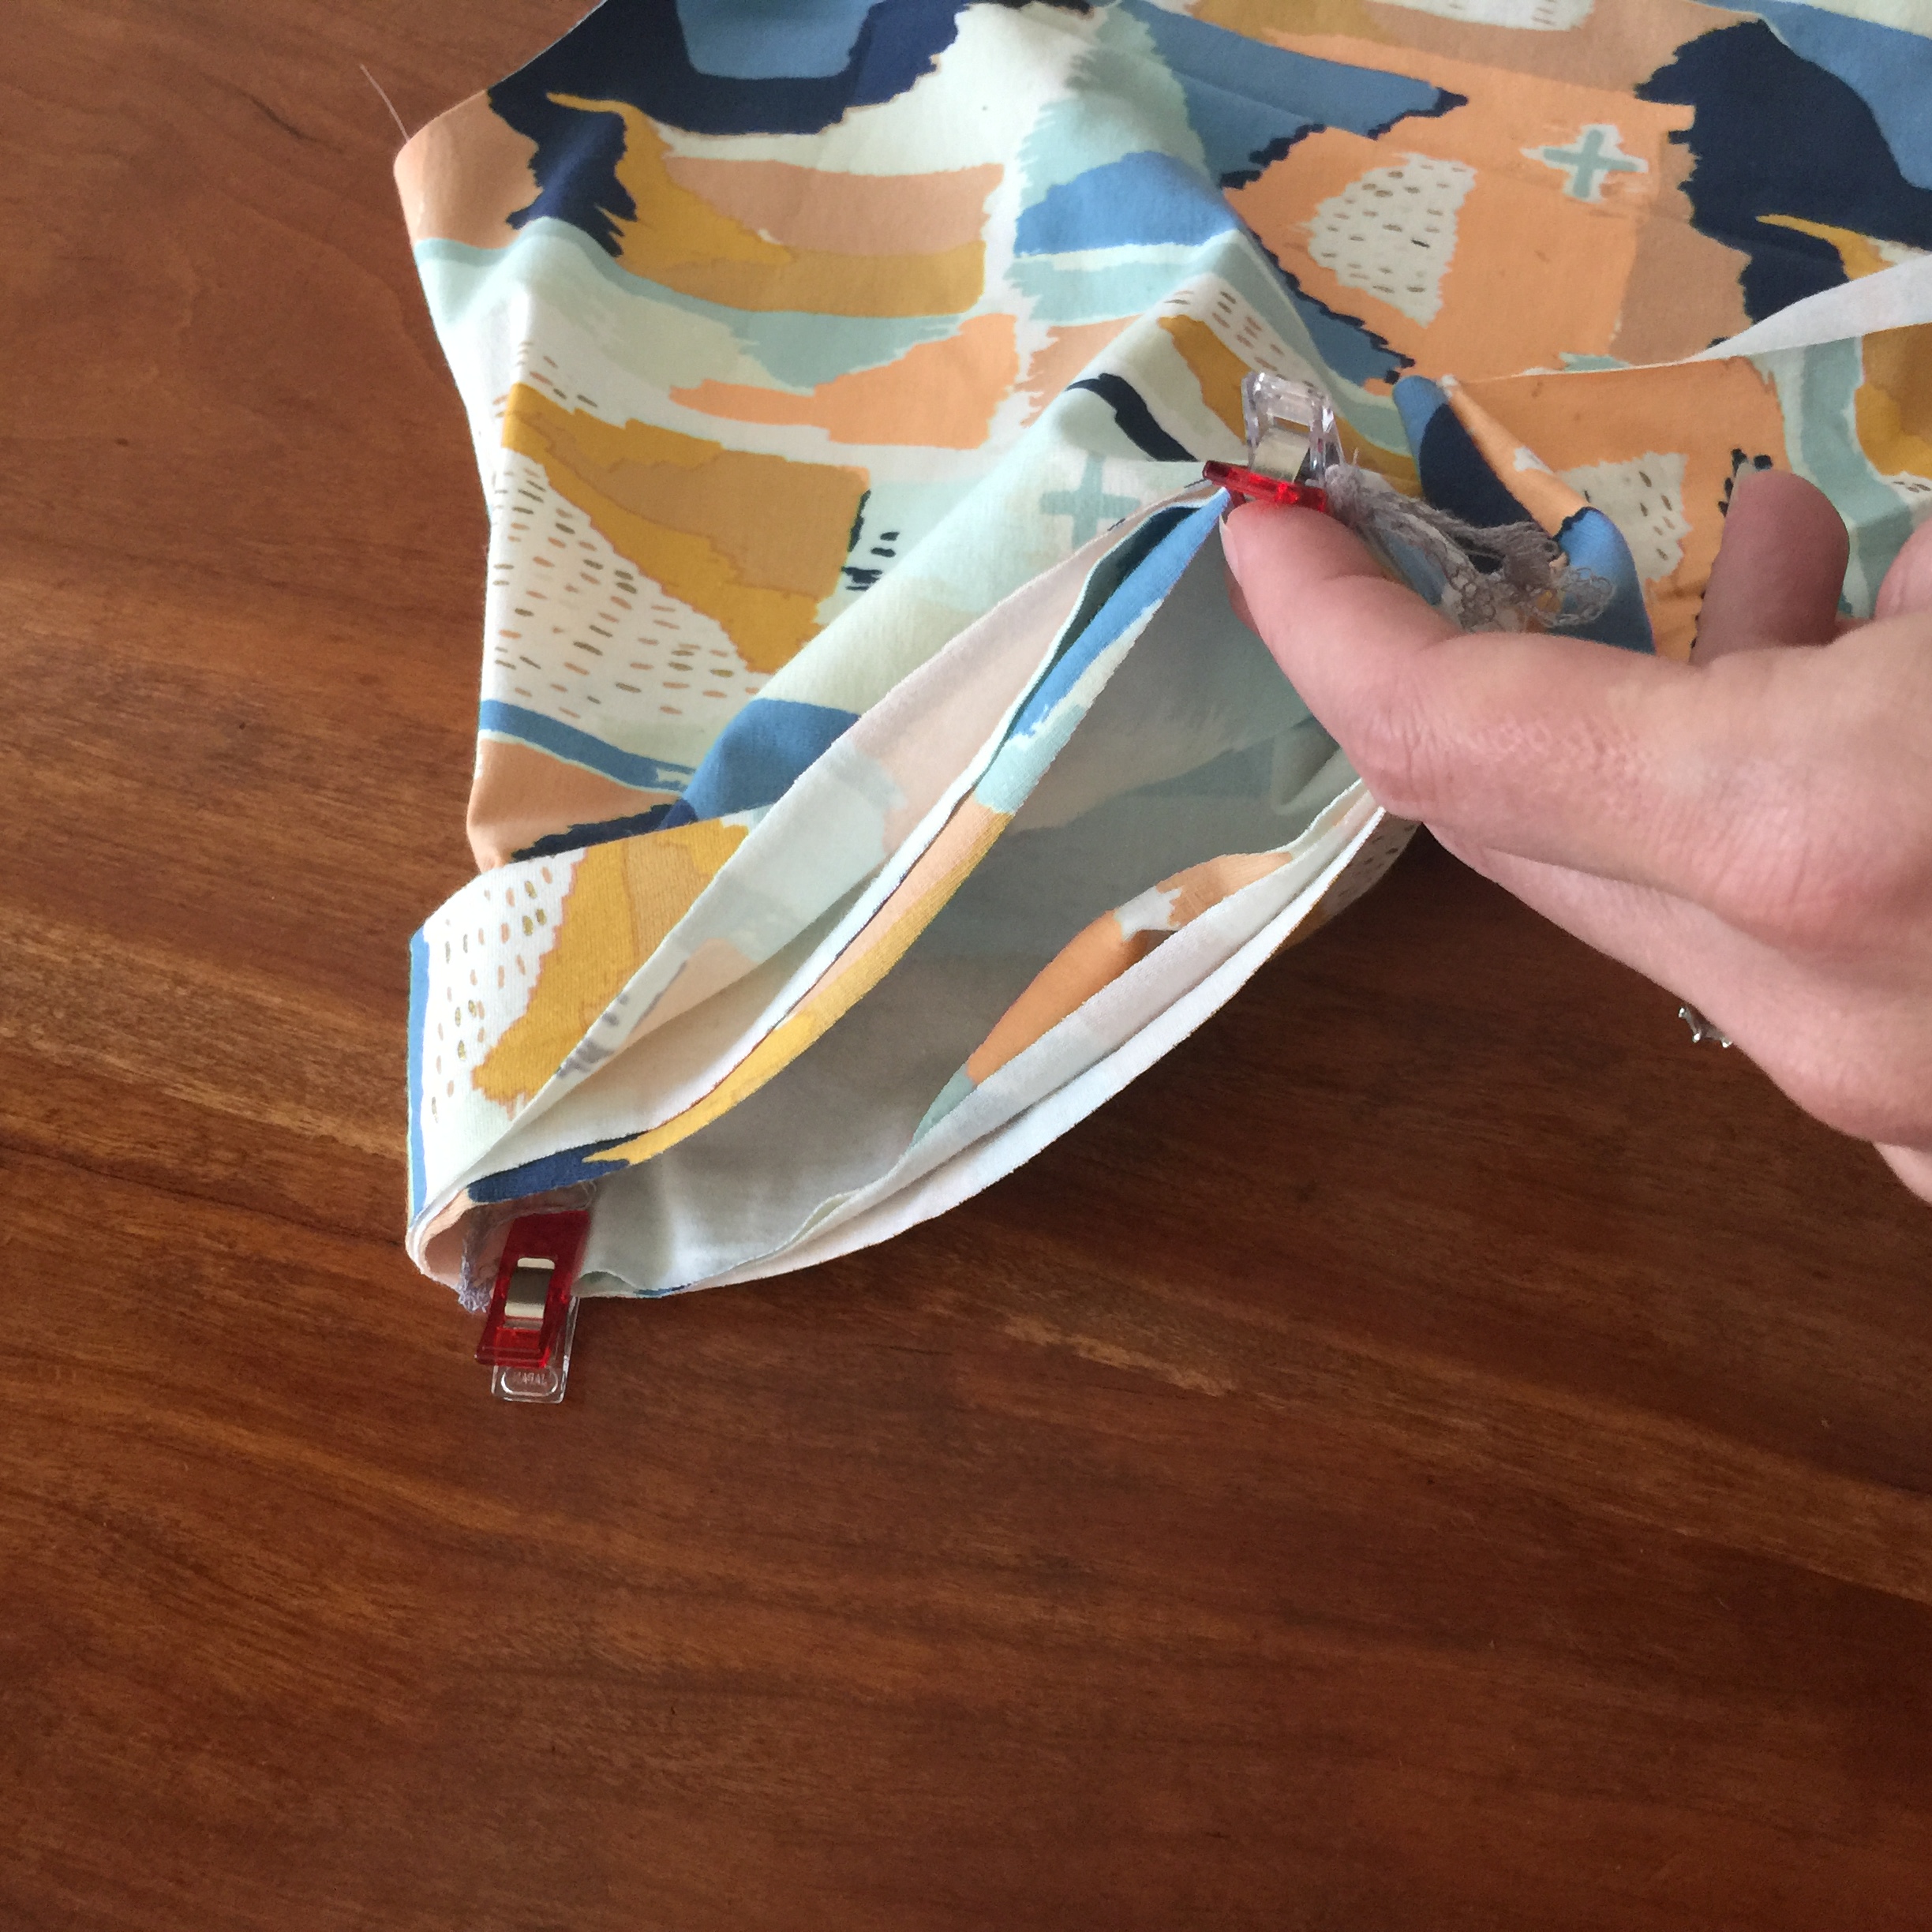
SEW THE CUFFS NEXT. Take the two rectangles and set them in front of you so that they are widest when horizontal to you. then fold right sides together so match up the short ends. Wonderclip or pin. Sew with zig zag or serge. Turn them right side out. Next fold that half and once you get it just right, clip it.  

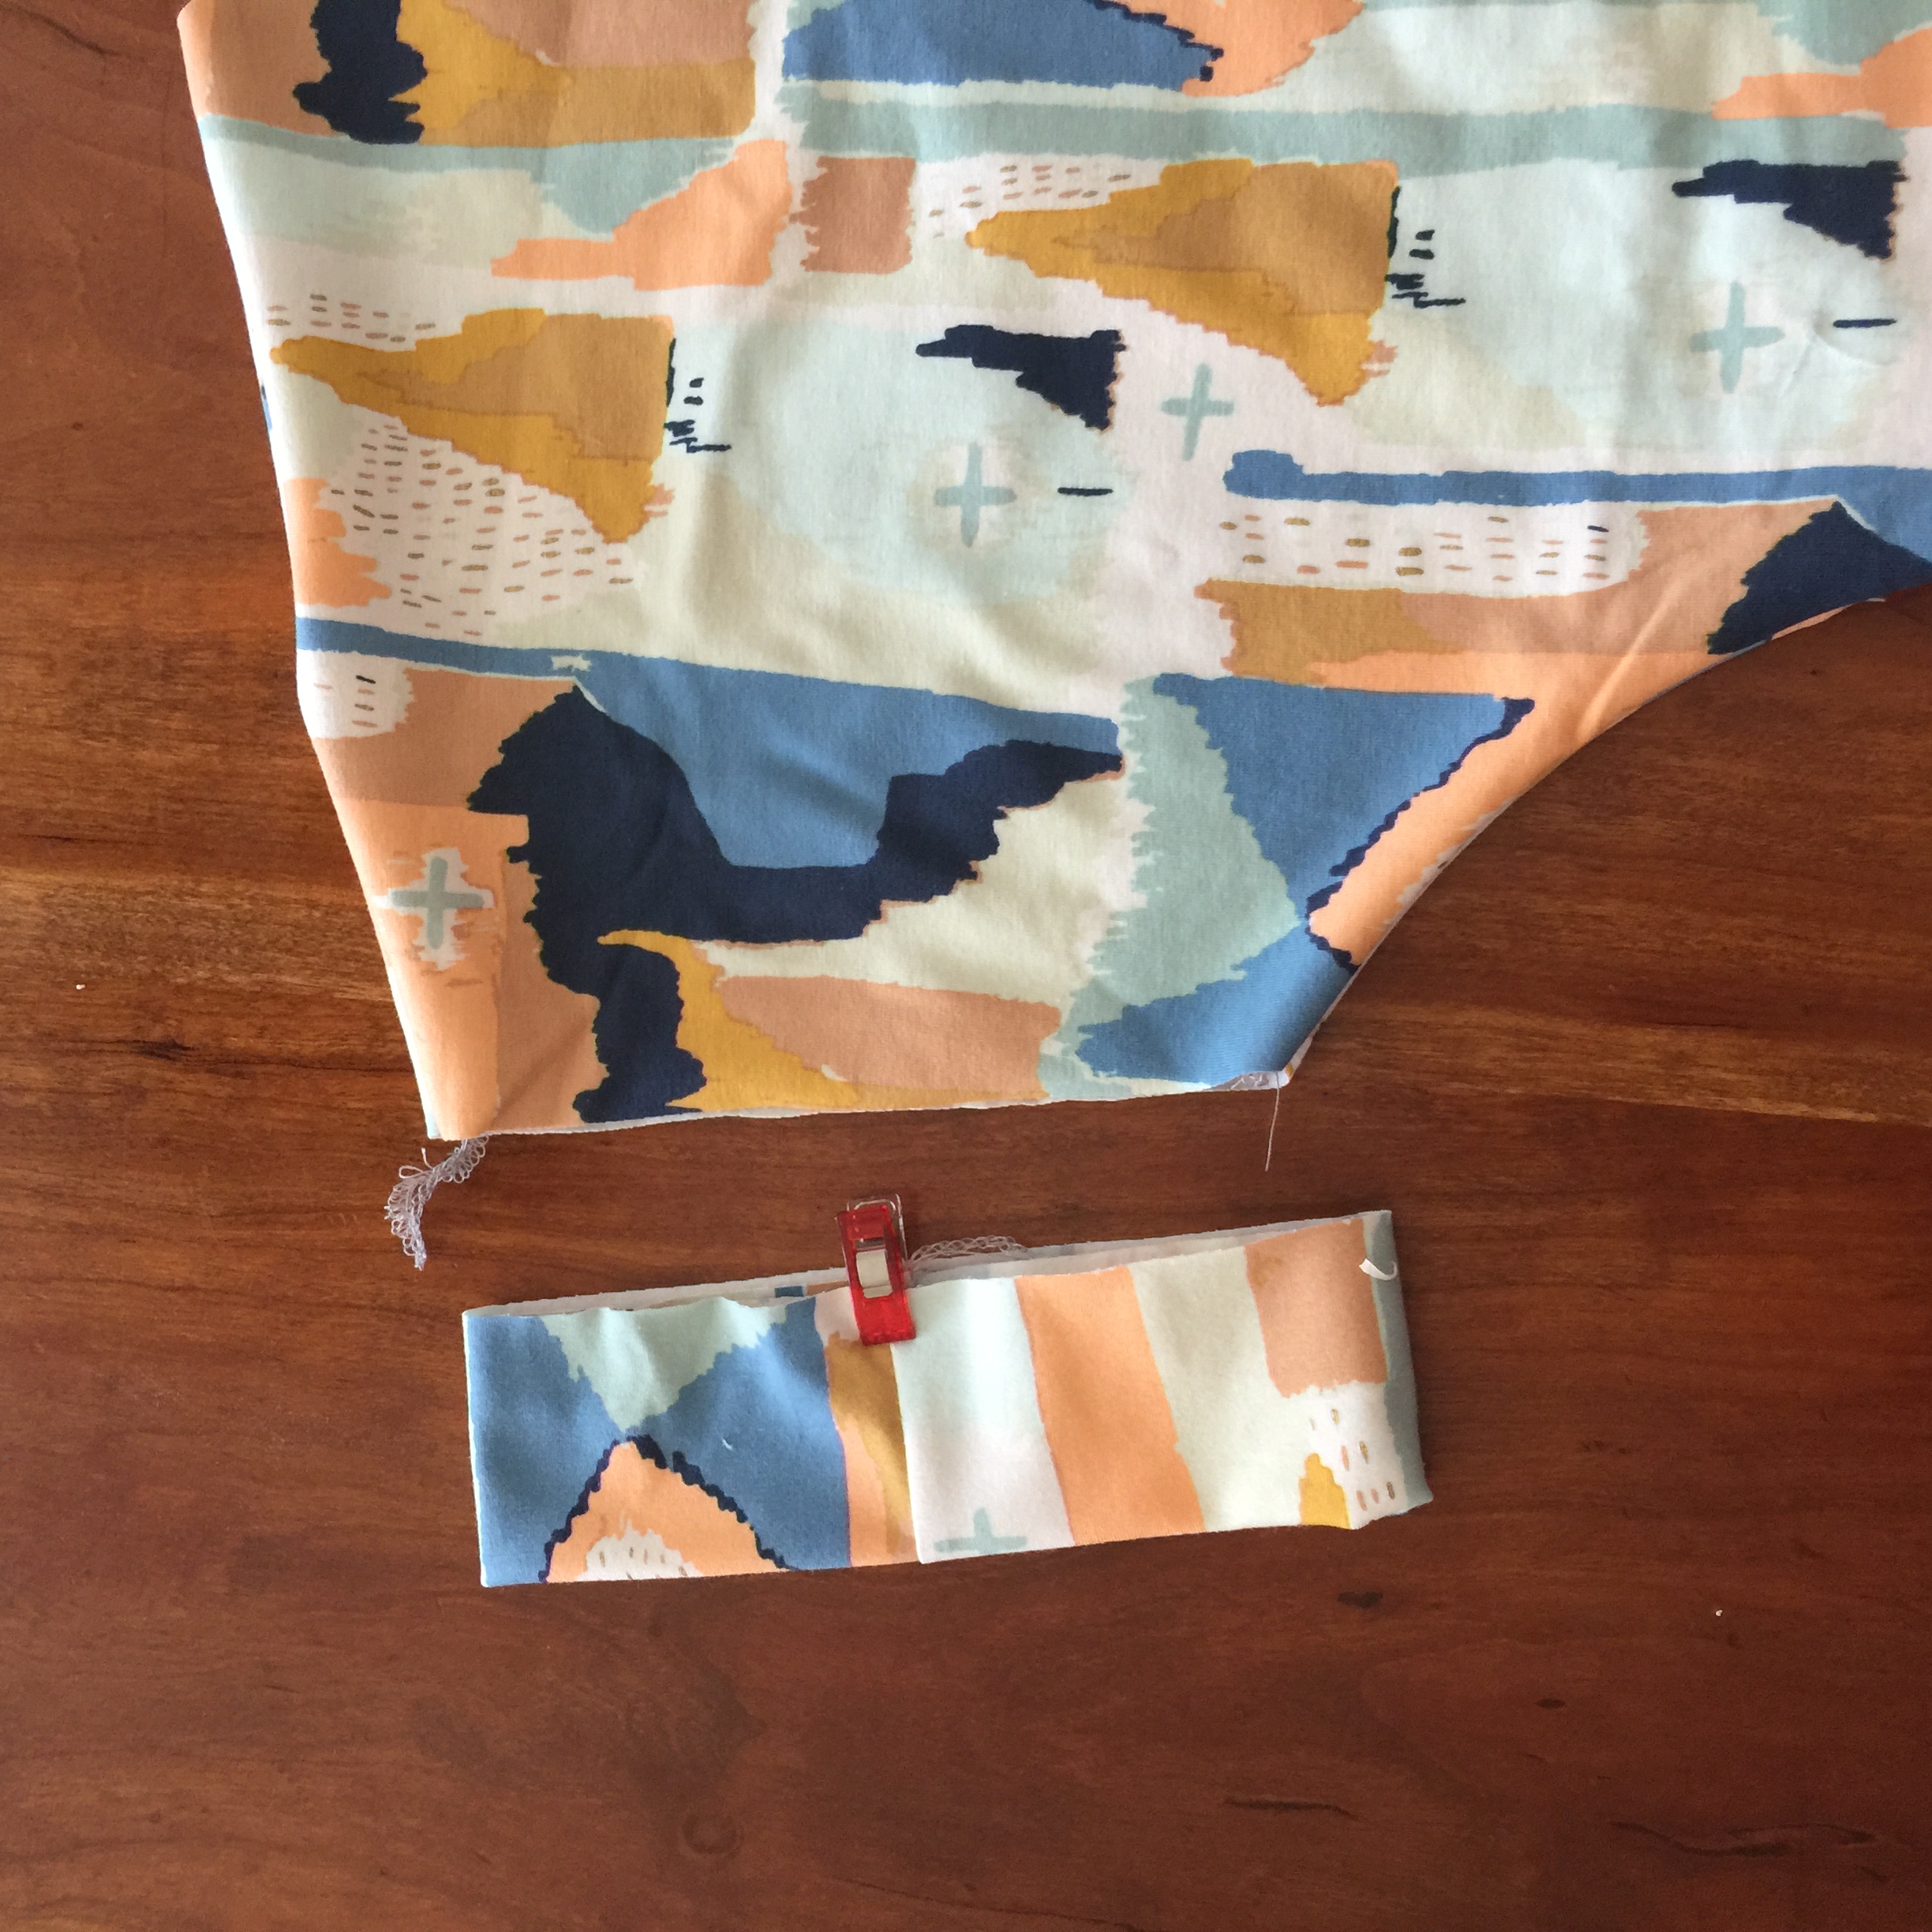
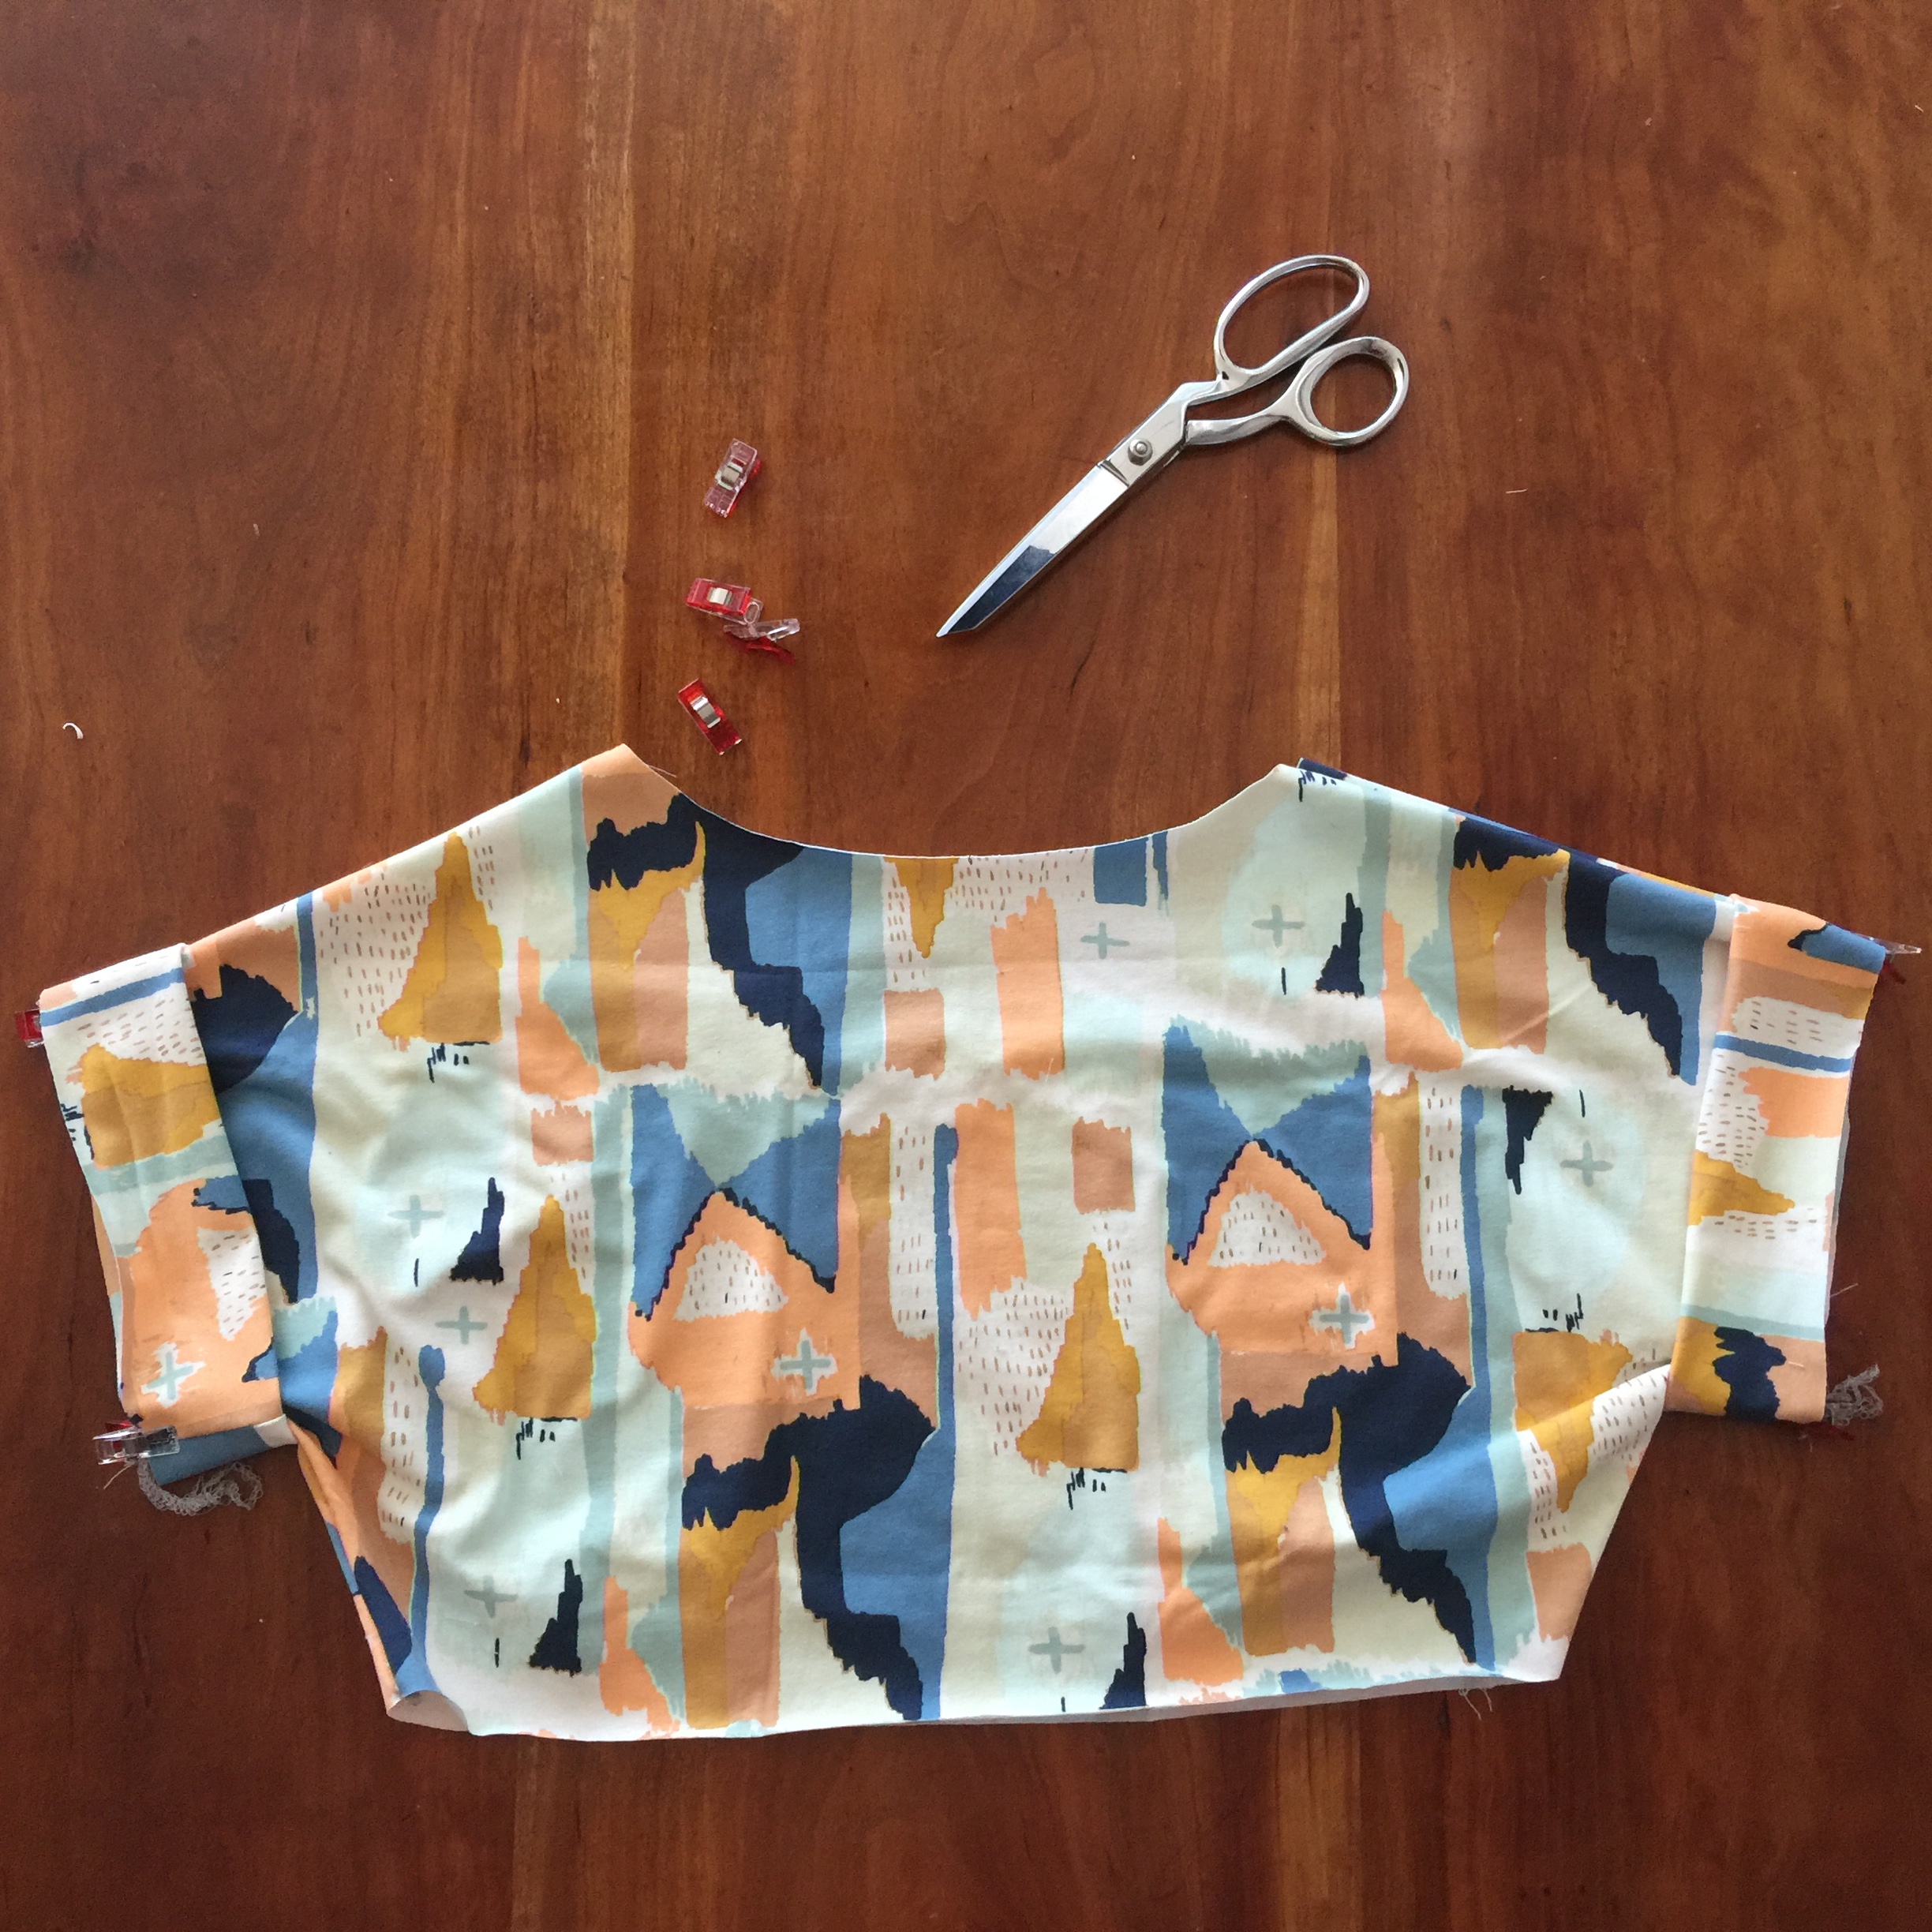
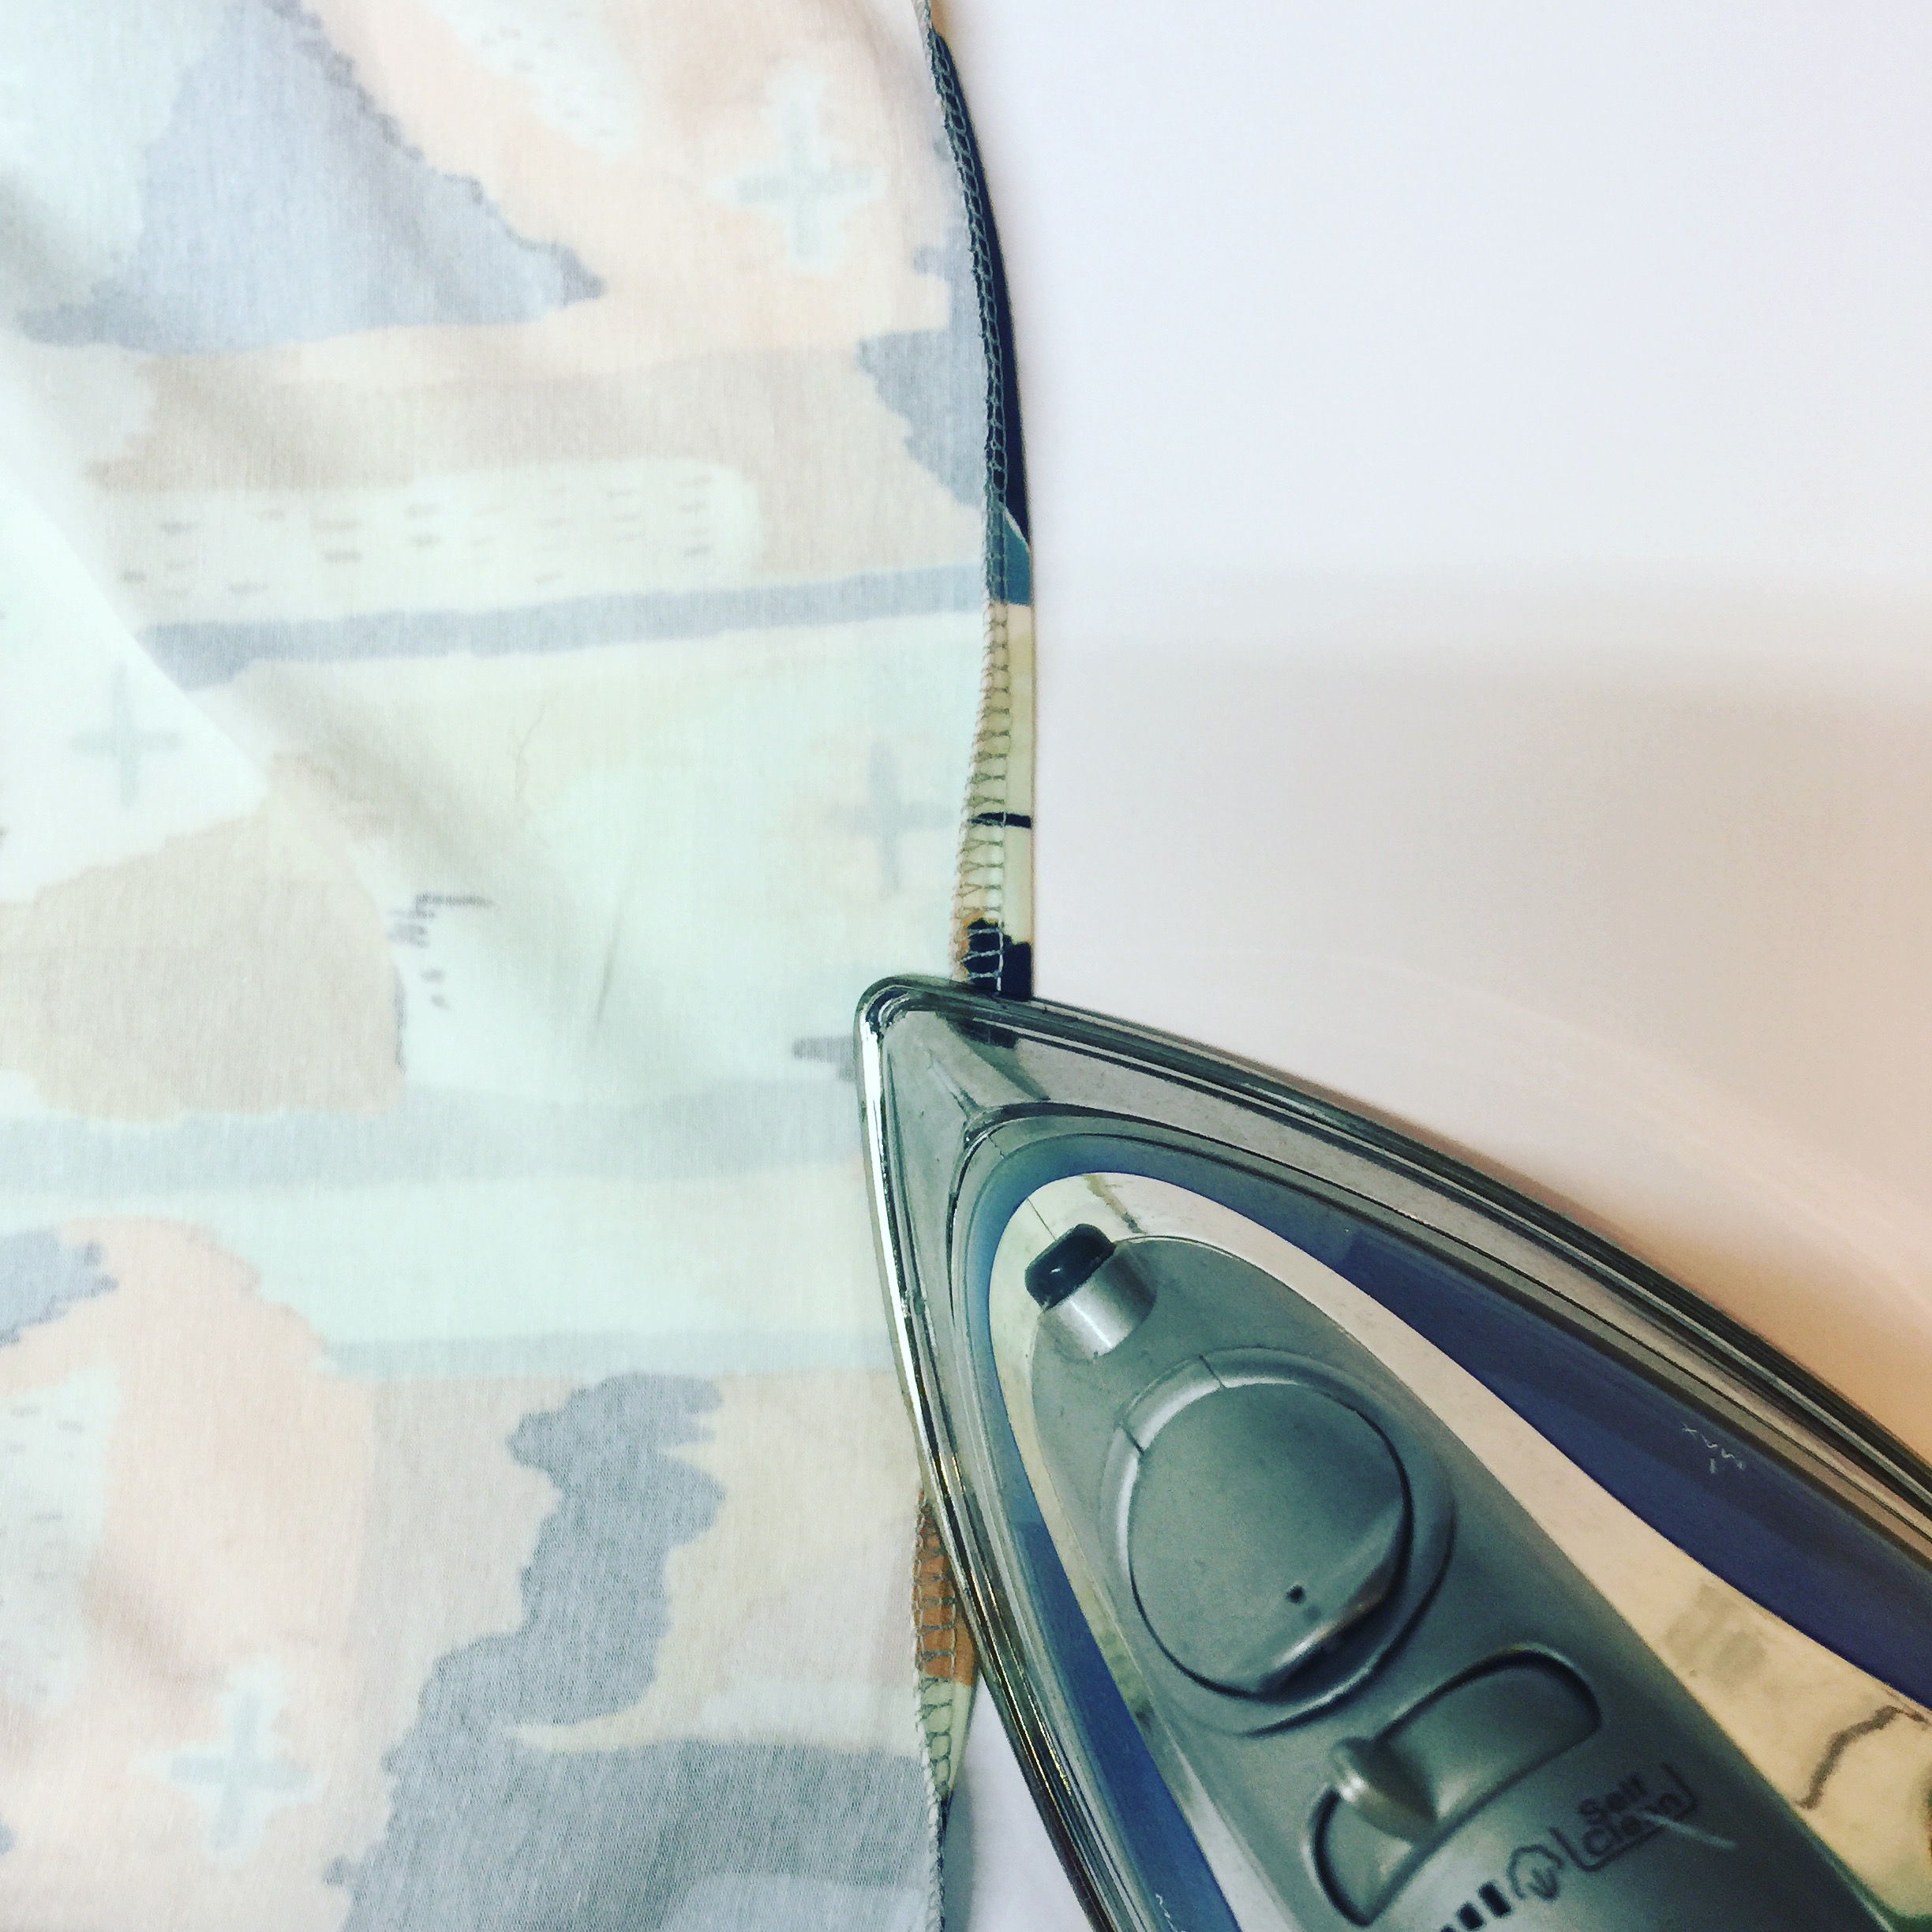
Pin the cuff to the bodice sleeve opening. Match the raw edges and be sure your cuff seam is matched up in the underarm seam of the bodice. Serge and press toward the bodice.  Fold up the cuff toward the neckline and sew a tack by hand or machine to hold it in place at the top and bottom. TADA!

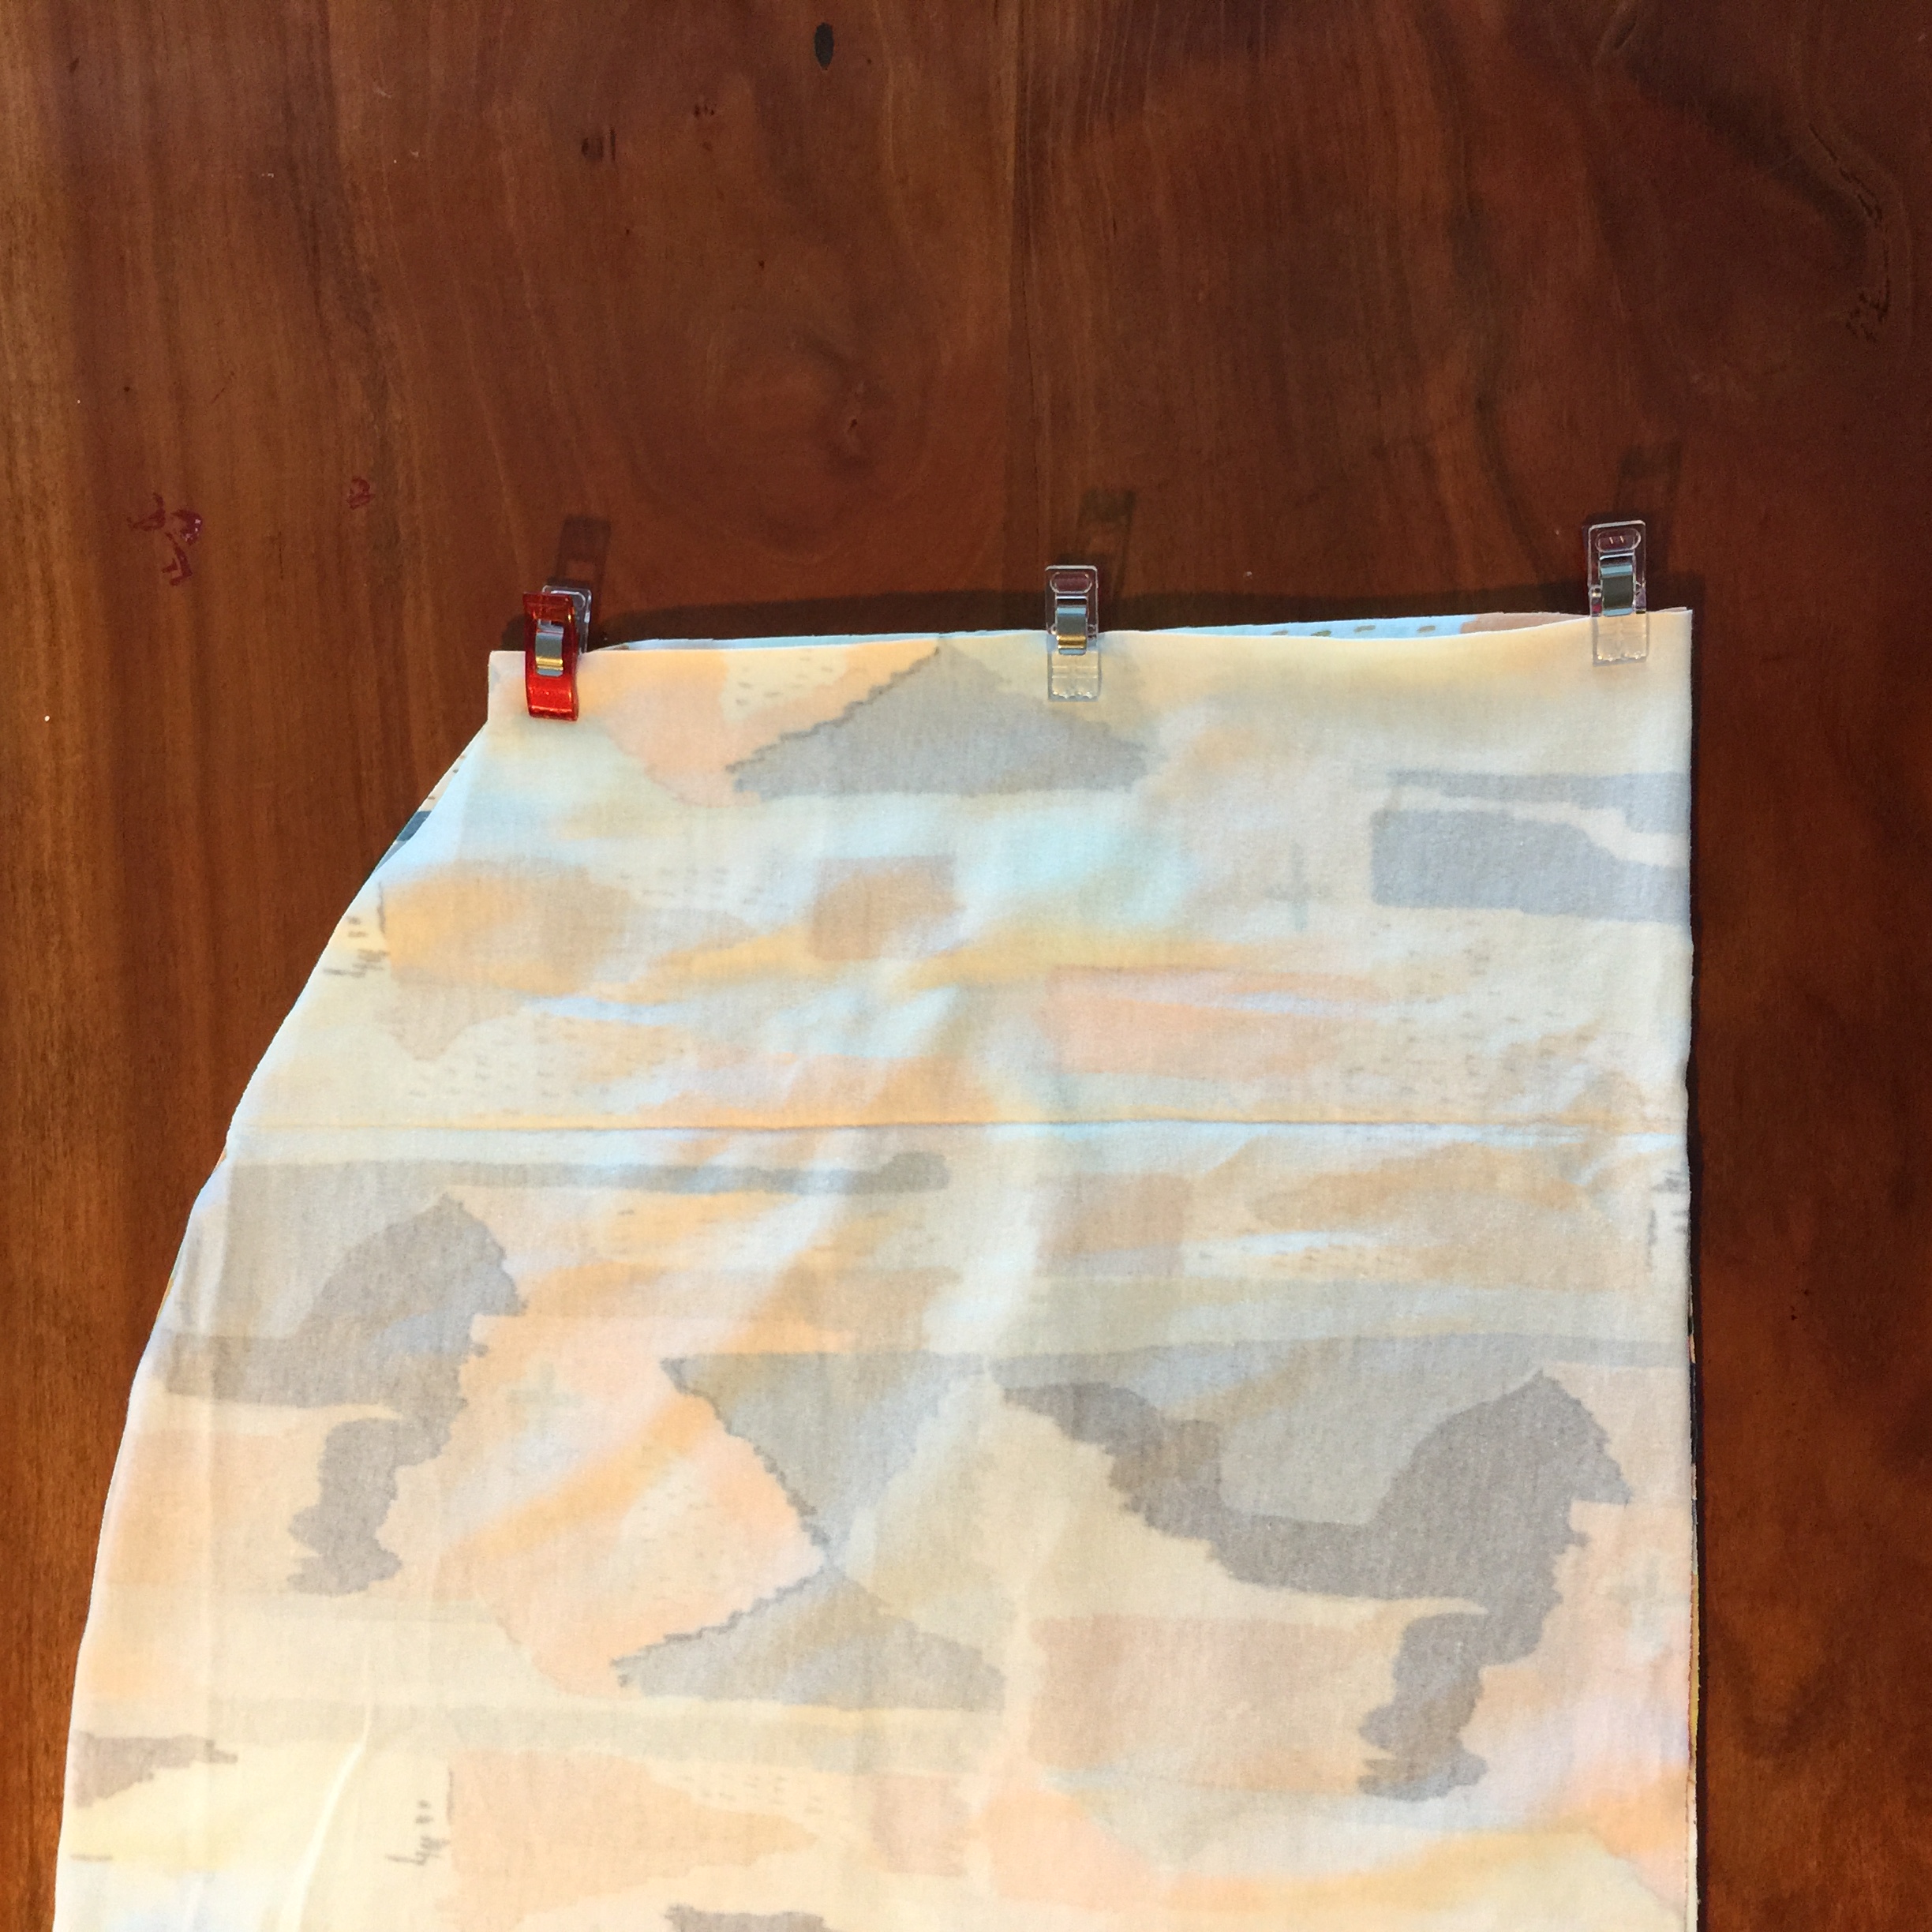
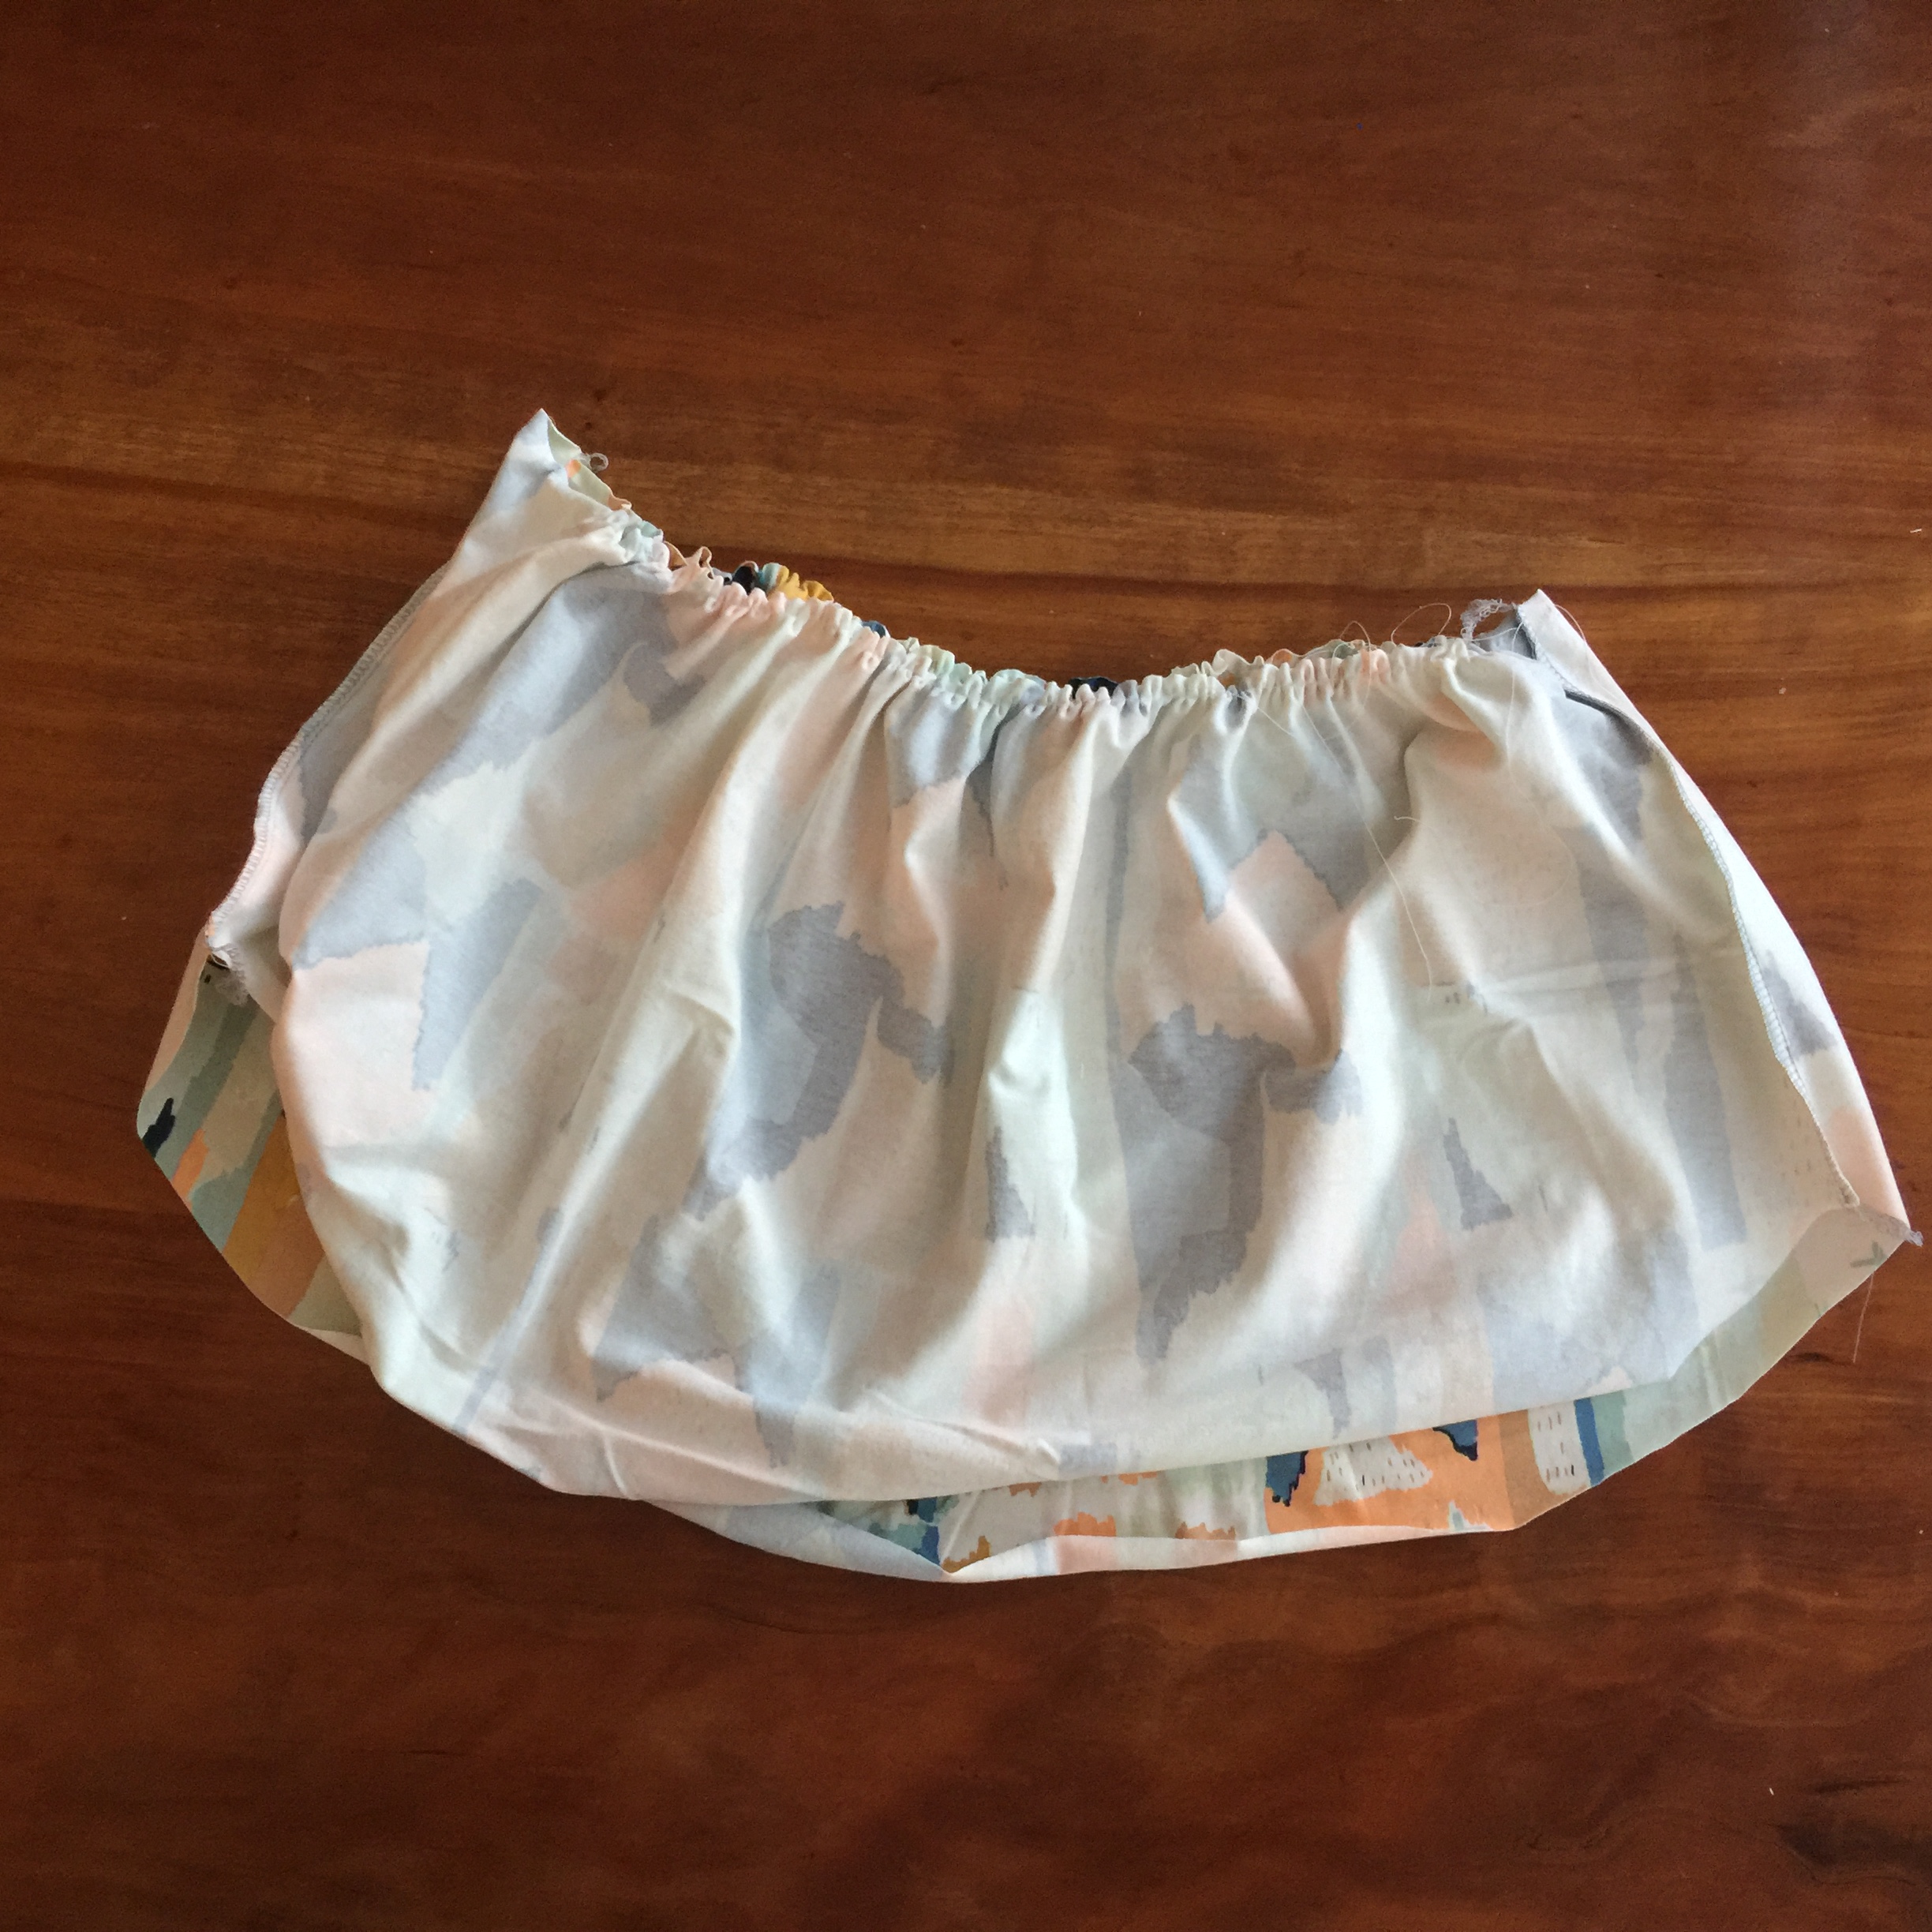
NEXT SEW THE SKIRT. Begin by pinning or wonderclipping the sides of the skirt piece, right sides together. Serge or zigzag. Now you can gather the skirt along the top raw edge.

-a nifty little gathering trick is to turn your stitch length up as long as it will go and adjust your tension to the highest setting. This configuration will gather the fabric slightly for you. Another nifty trick is to turn your stitich and tension back to normal settings after you are done gathering. I seldom remember the second one.

HEM your skirt. I like to serge or sew a zig zag along the raw edge and then press under. Next, sew a double hem line to secure and press again. 

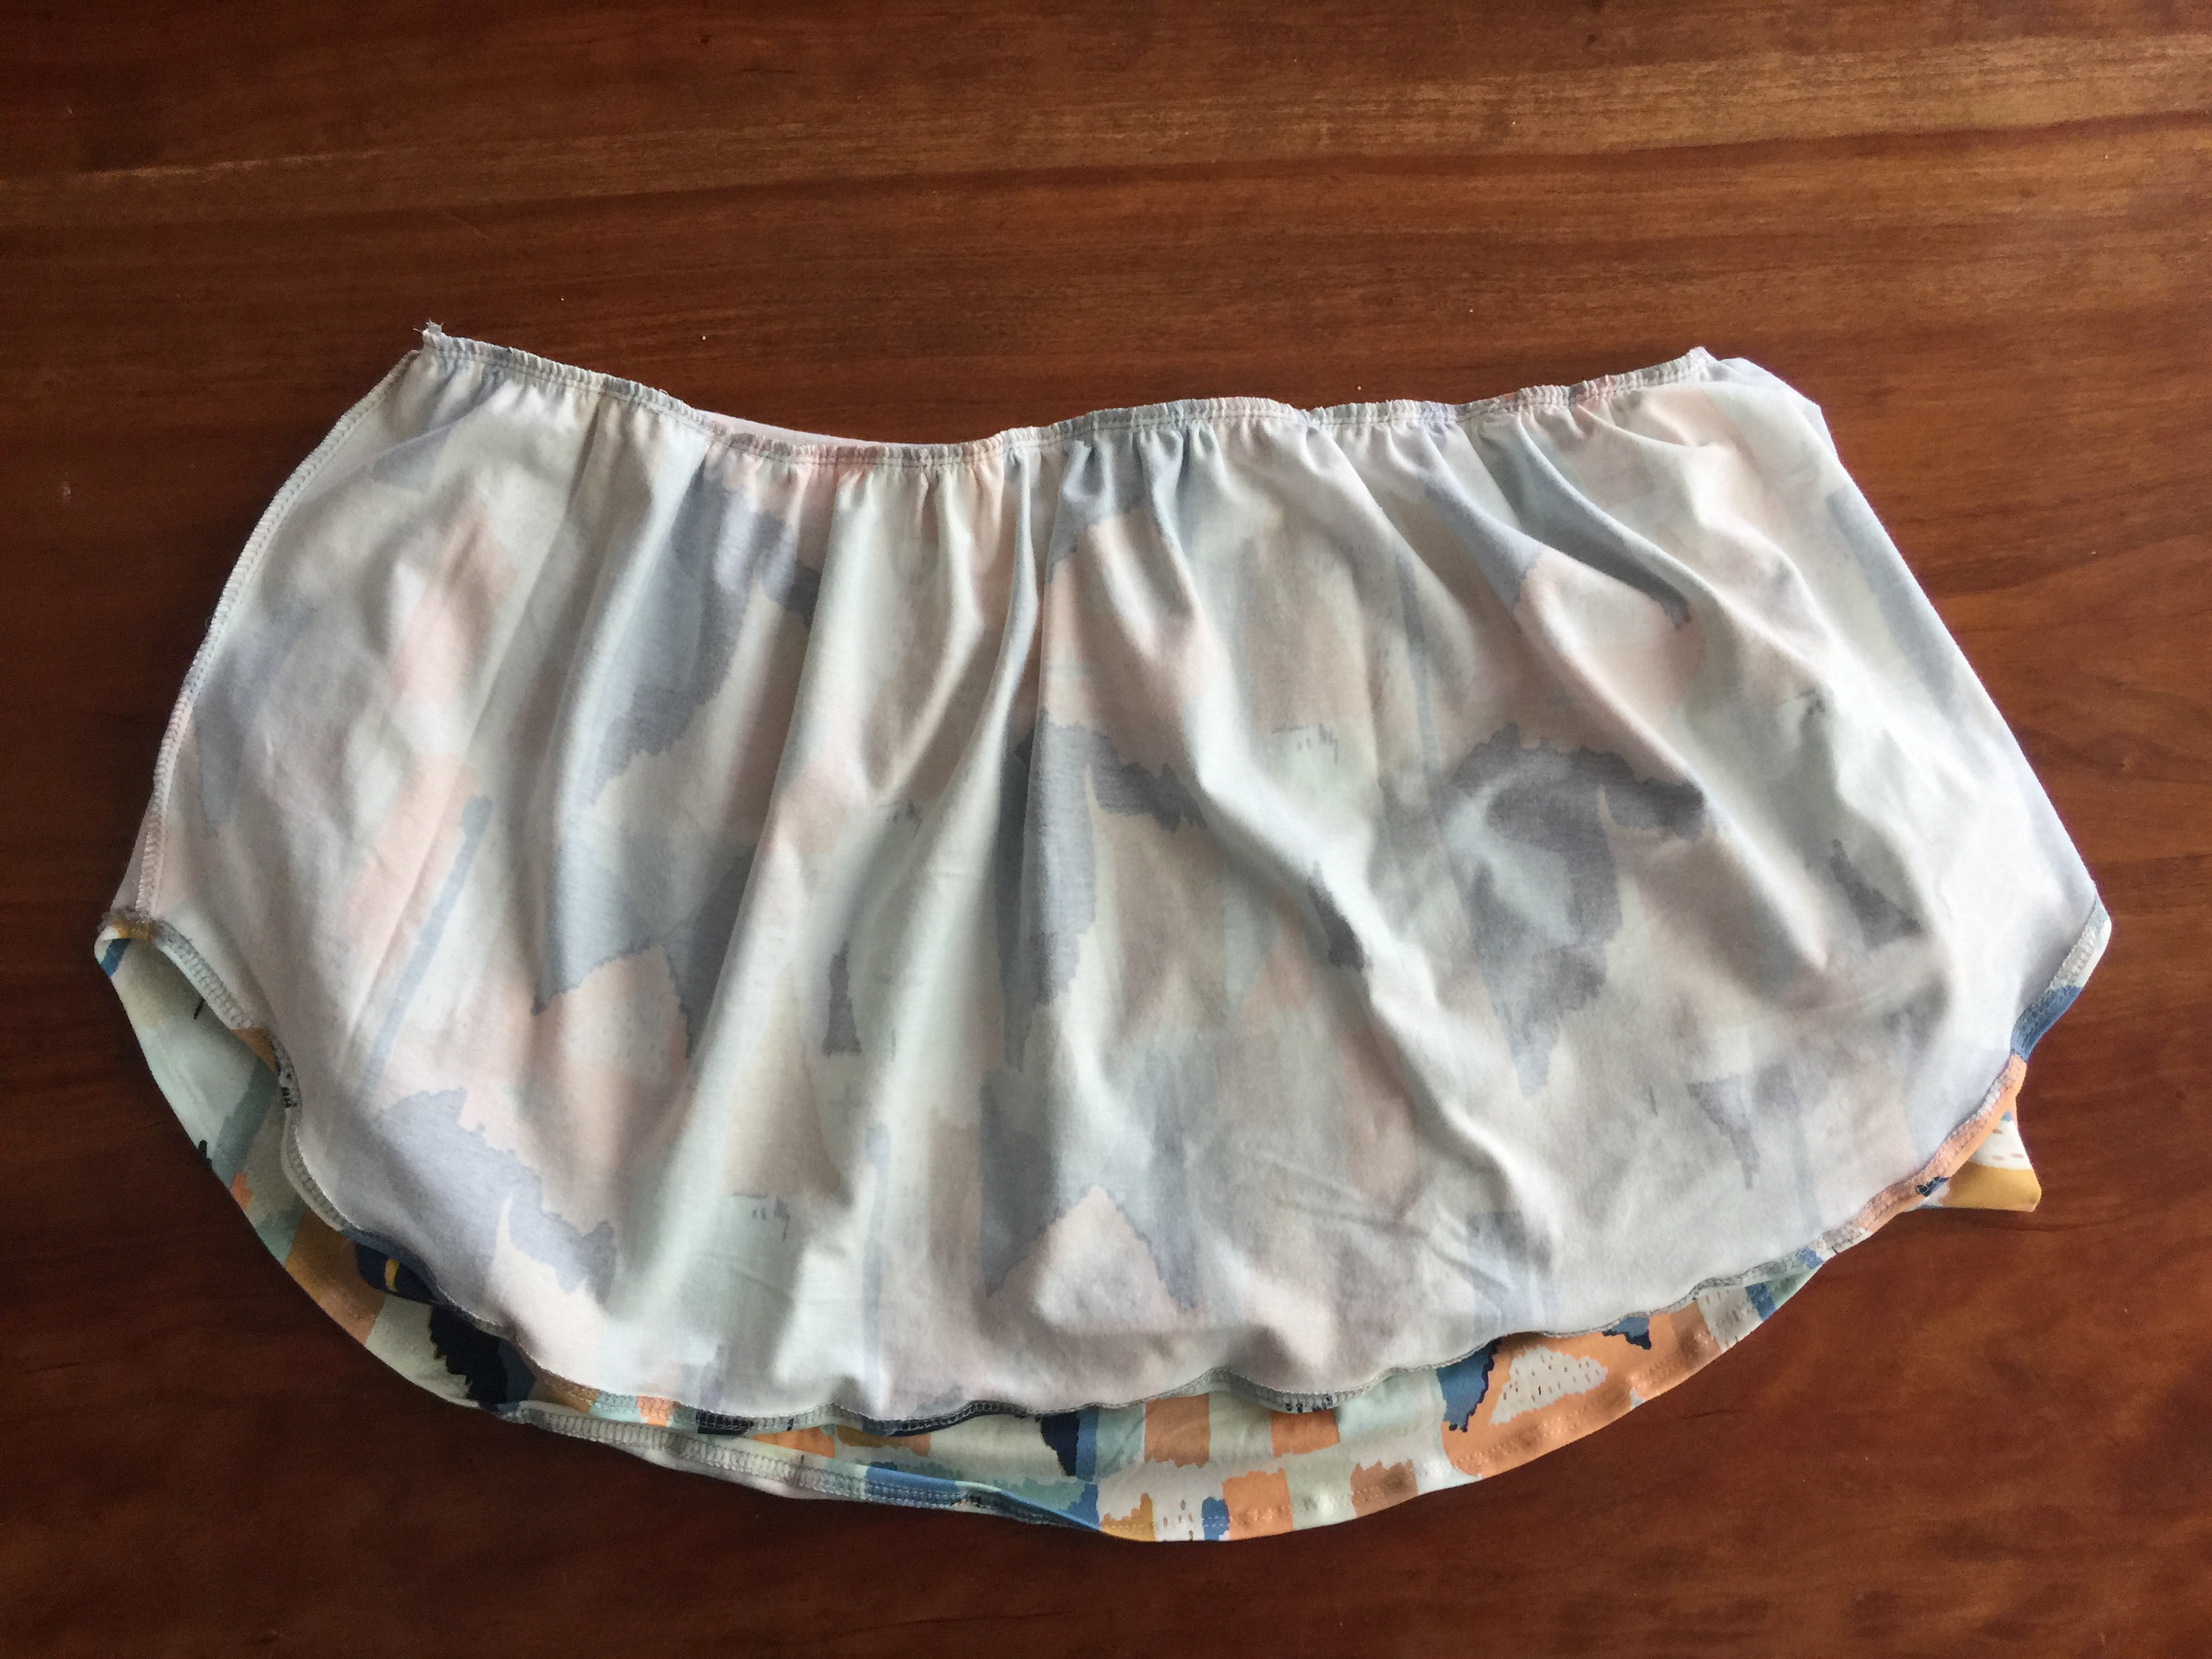
The best way to attach the skirt to the bodice is to turn the skirt inside out. Put the bodice inside the skirt piece. Right sides together and raw edges lined up. Pin at the side seams and adjust the gathering to fit the size of the bodice. Pin in the middle. (or wonderclip) 

Stretch your bodice ever so slightly as you sew. If your fabric has poor stretch recovery or is delicate, try using clear elastic serger tape in the seam to reinforce this area. It will stretch a bit as it goes over your bust.

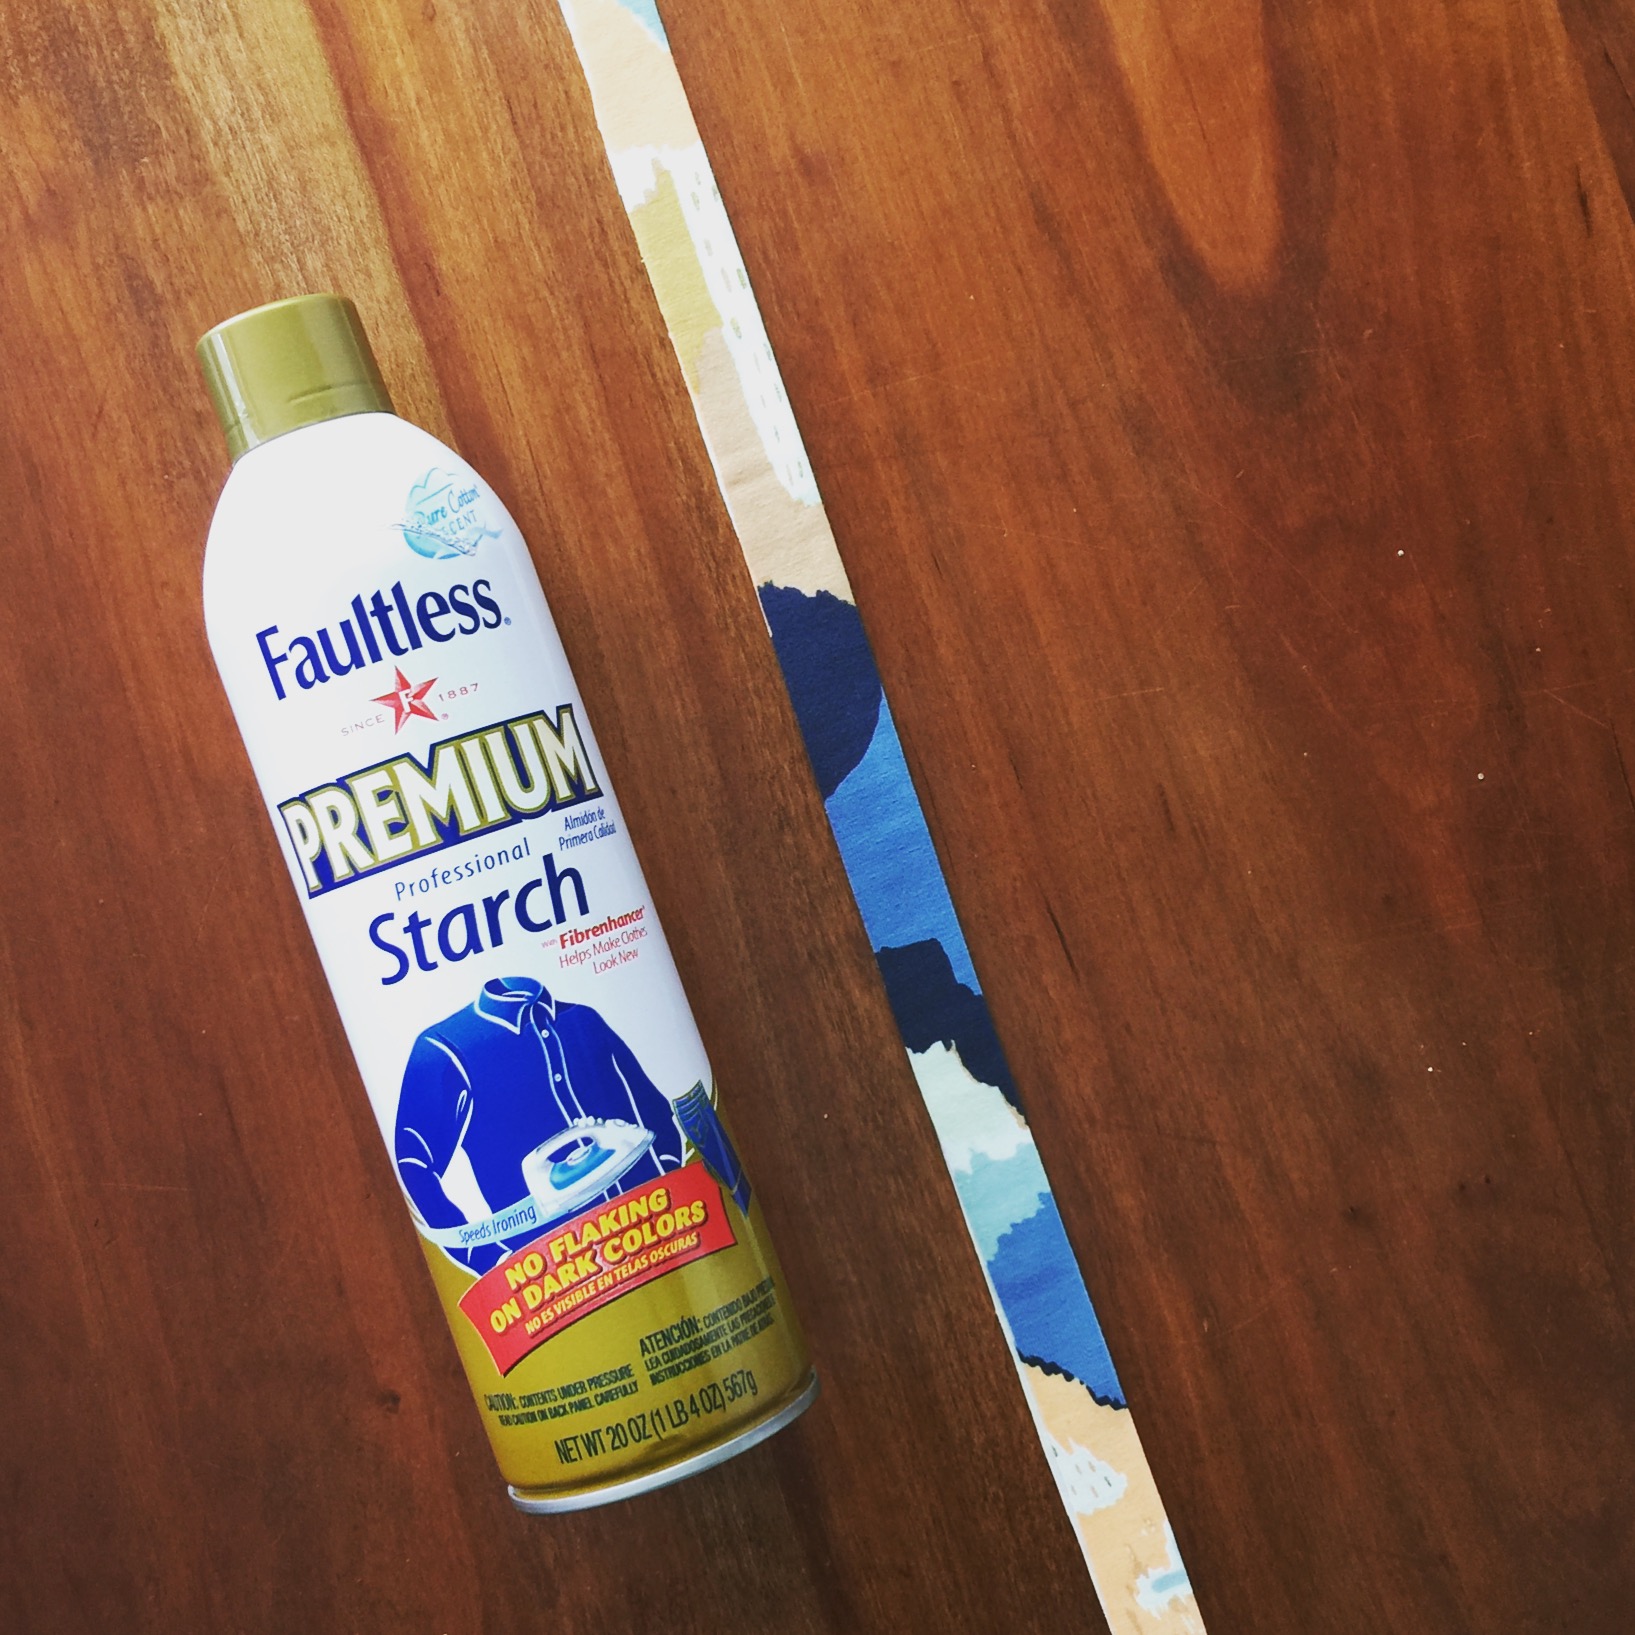
NECKBAND PARTY! Ok, deep breaths….make sure you notched the shirt bodice at the middle points of the neckline.  If your fabric is curling, starch it. Fold it lengthwise and starch it again! Press it real good. (If starching neckbands is wrong, I don’t want to be right.)

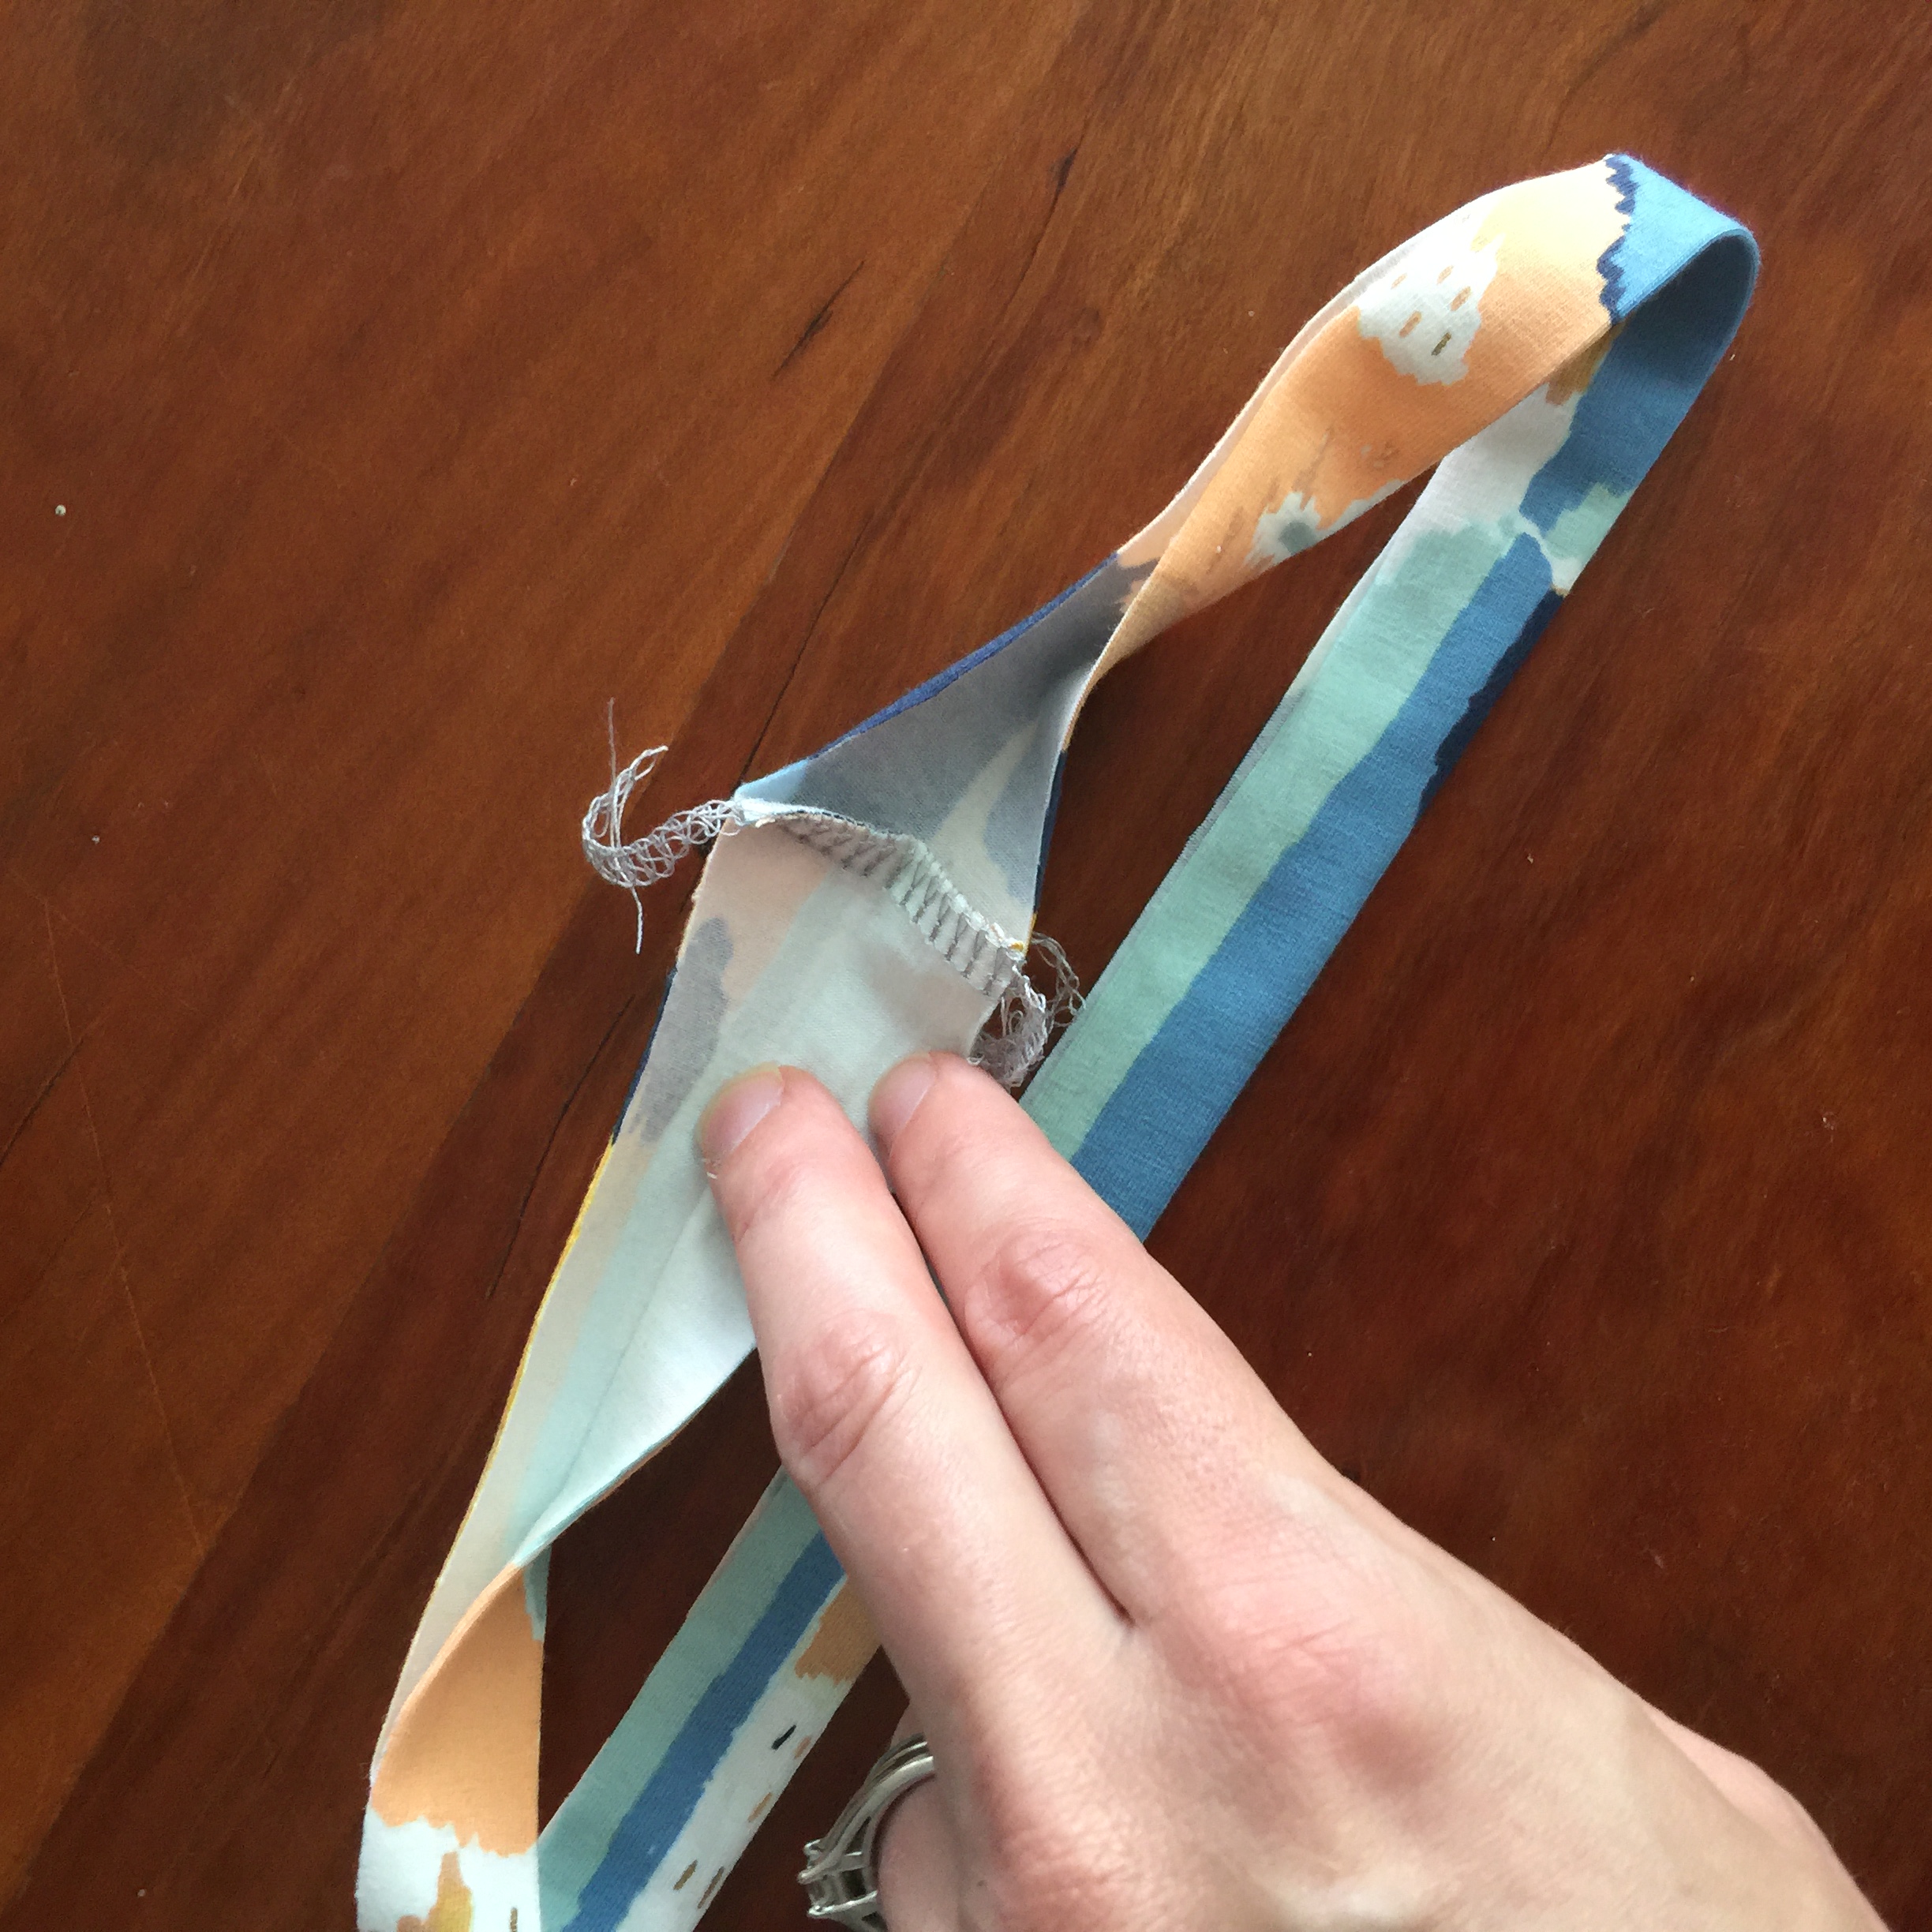
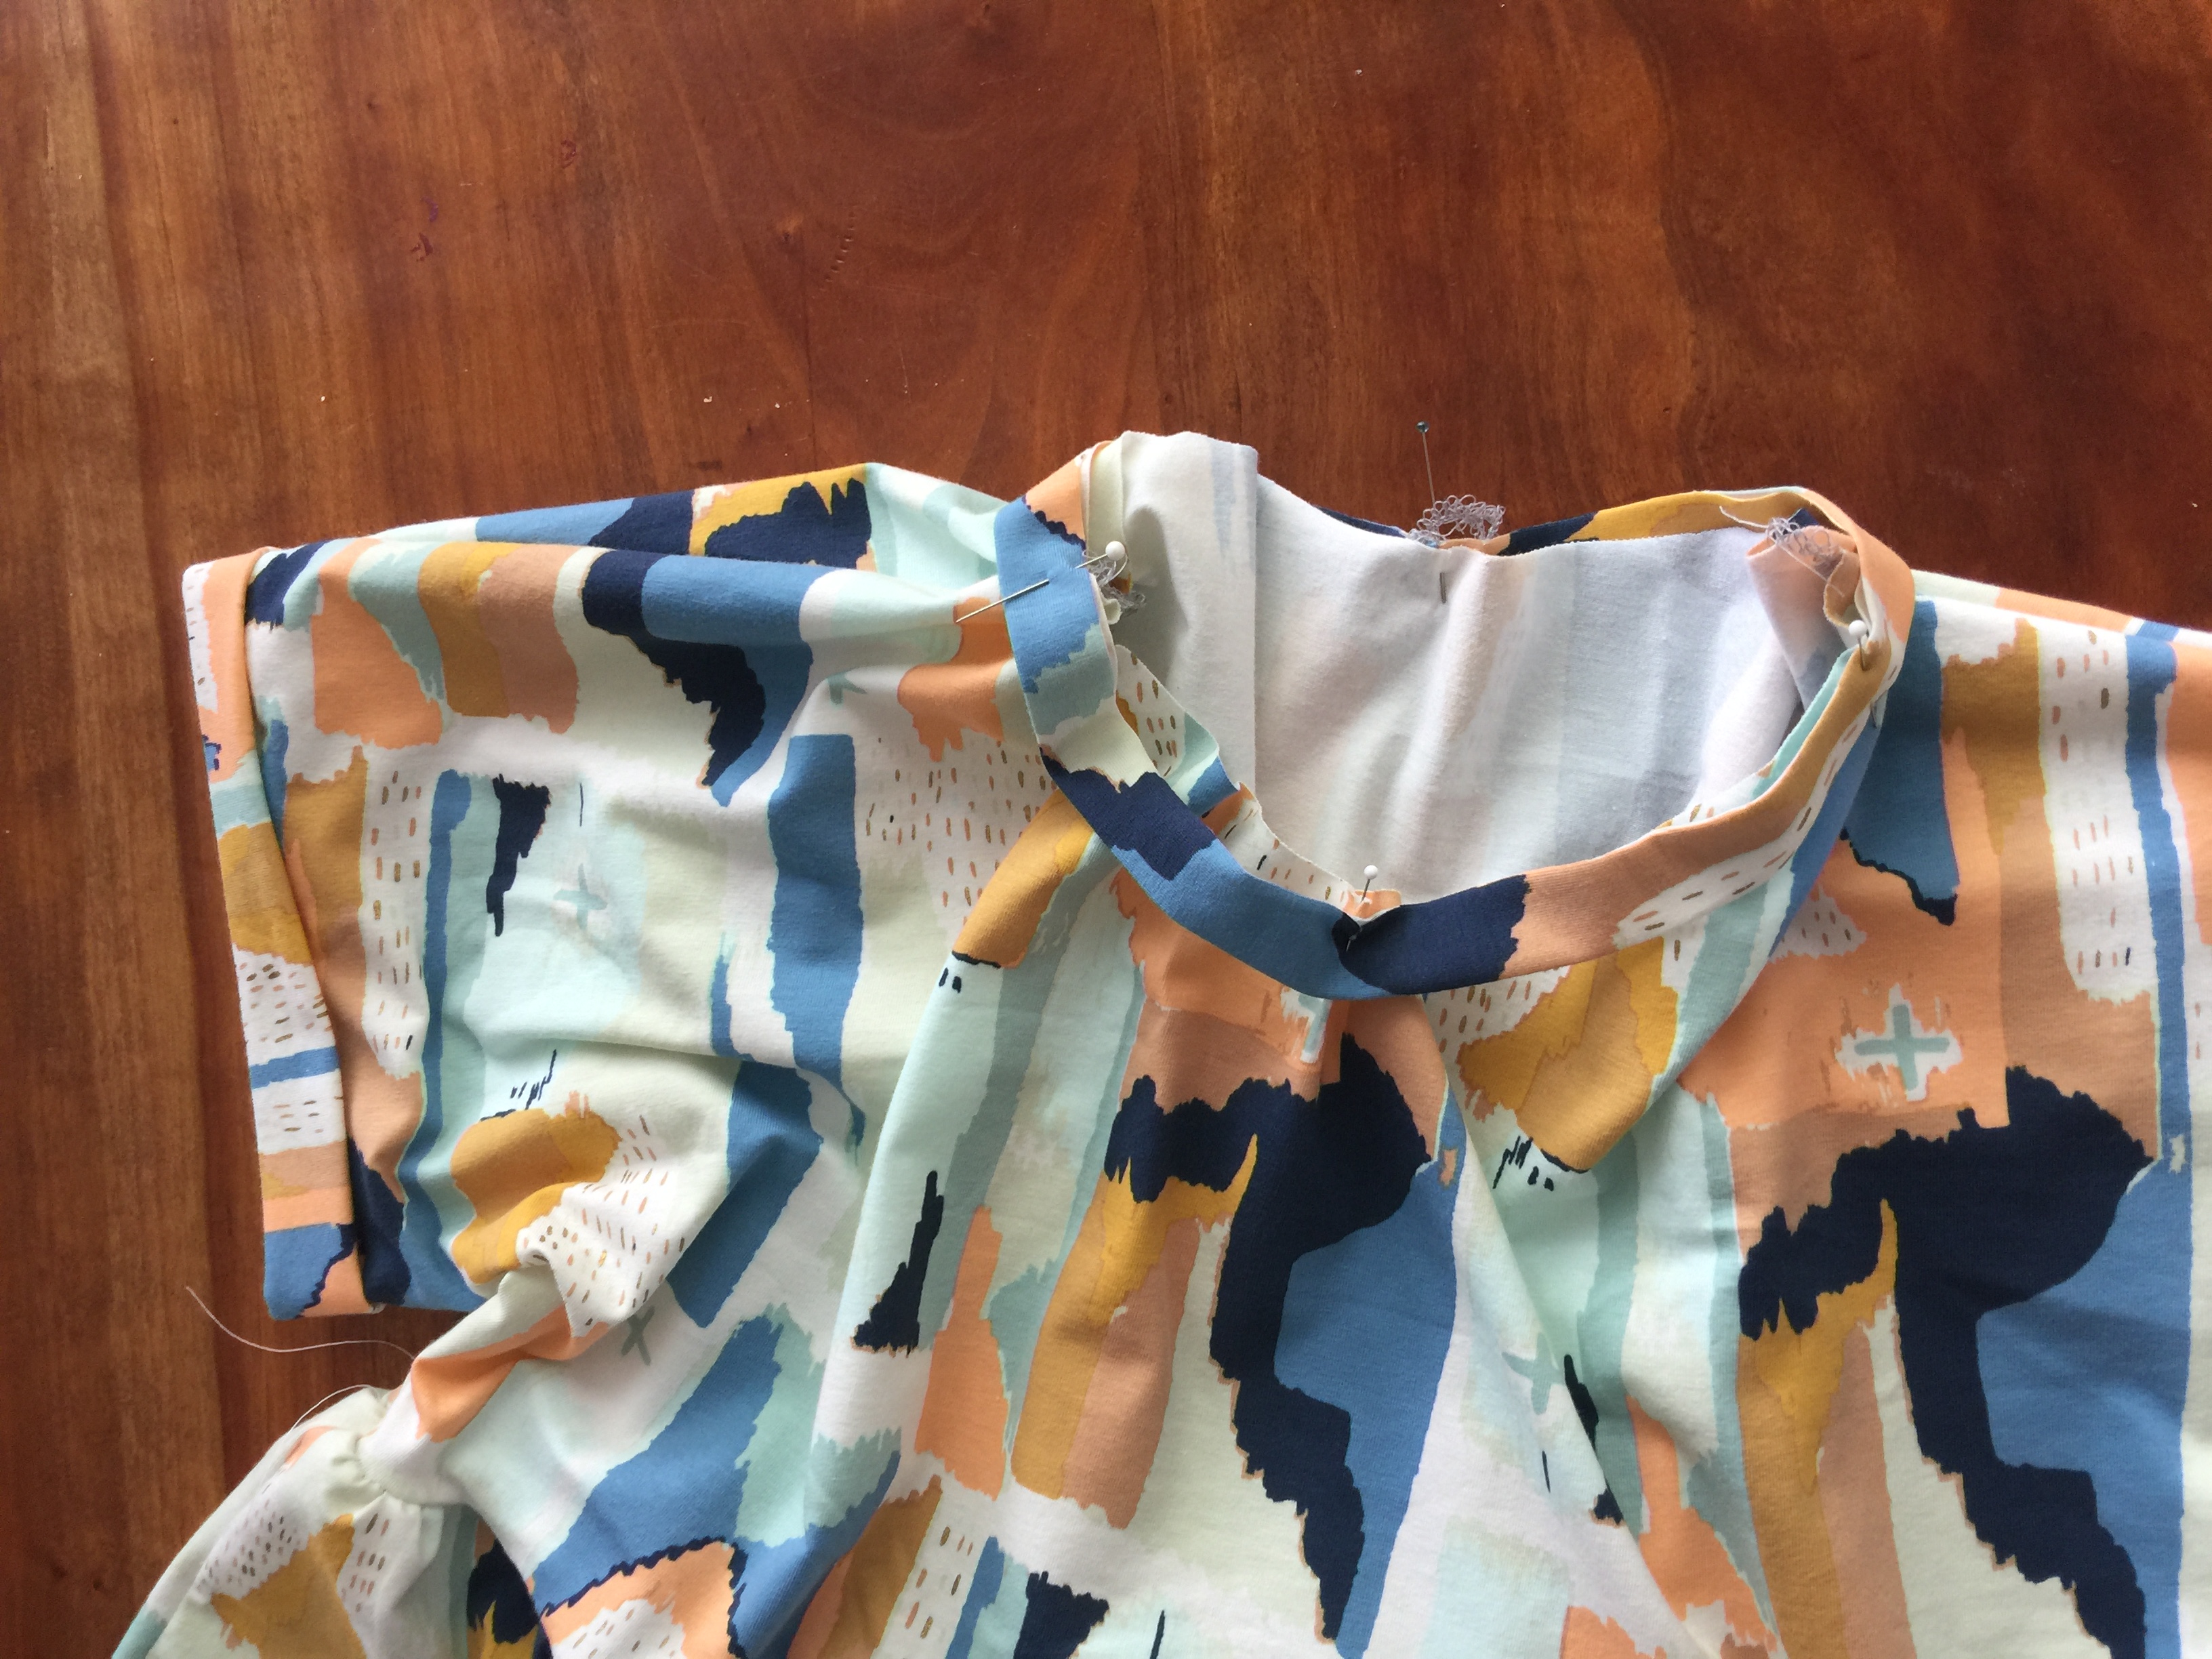
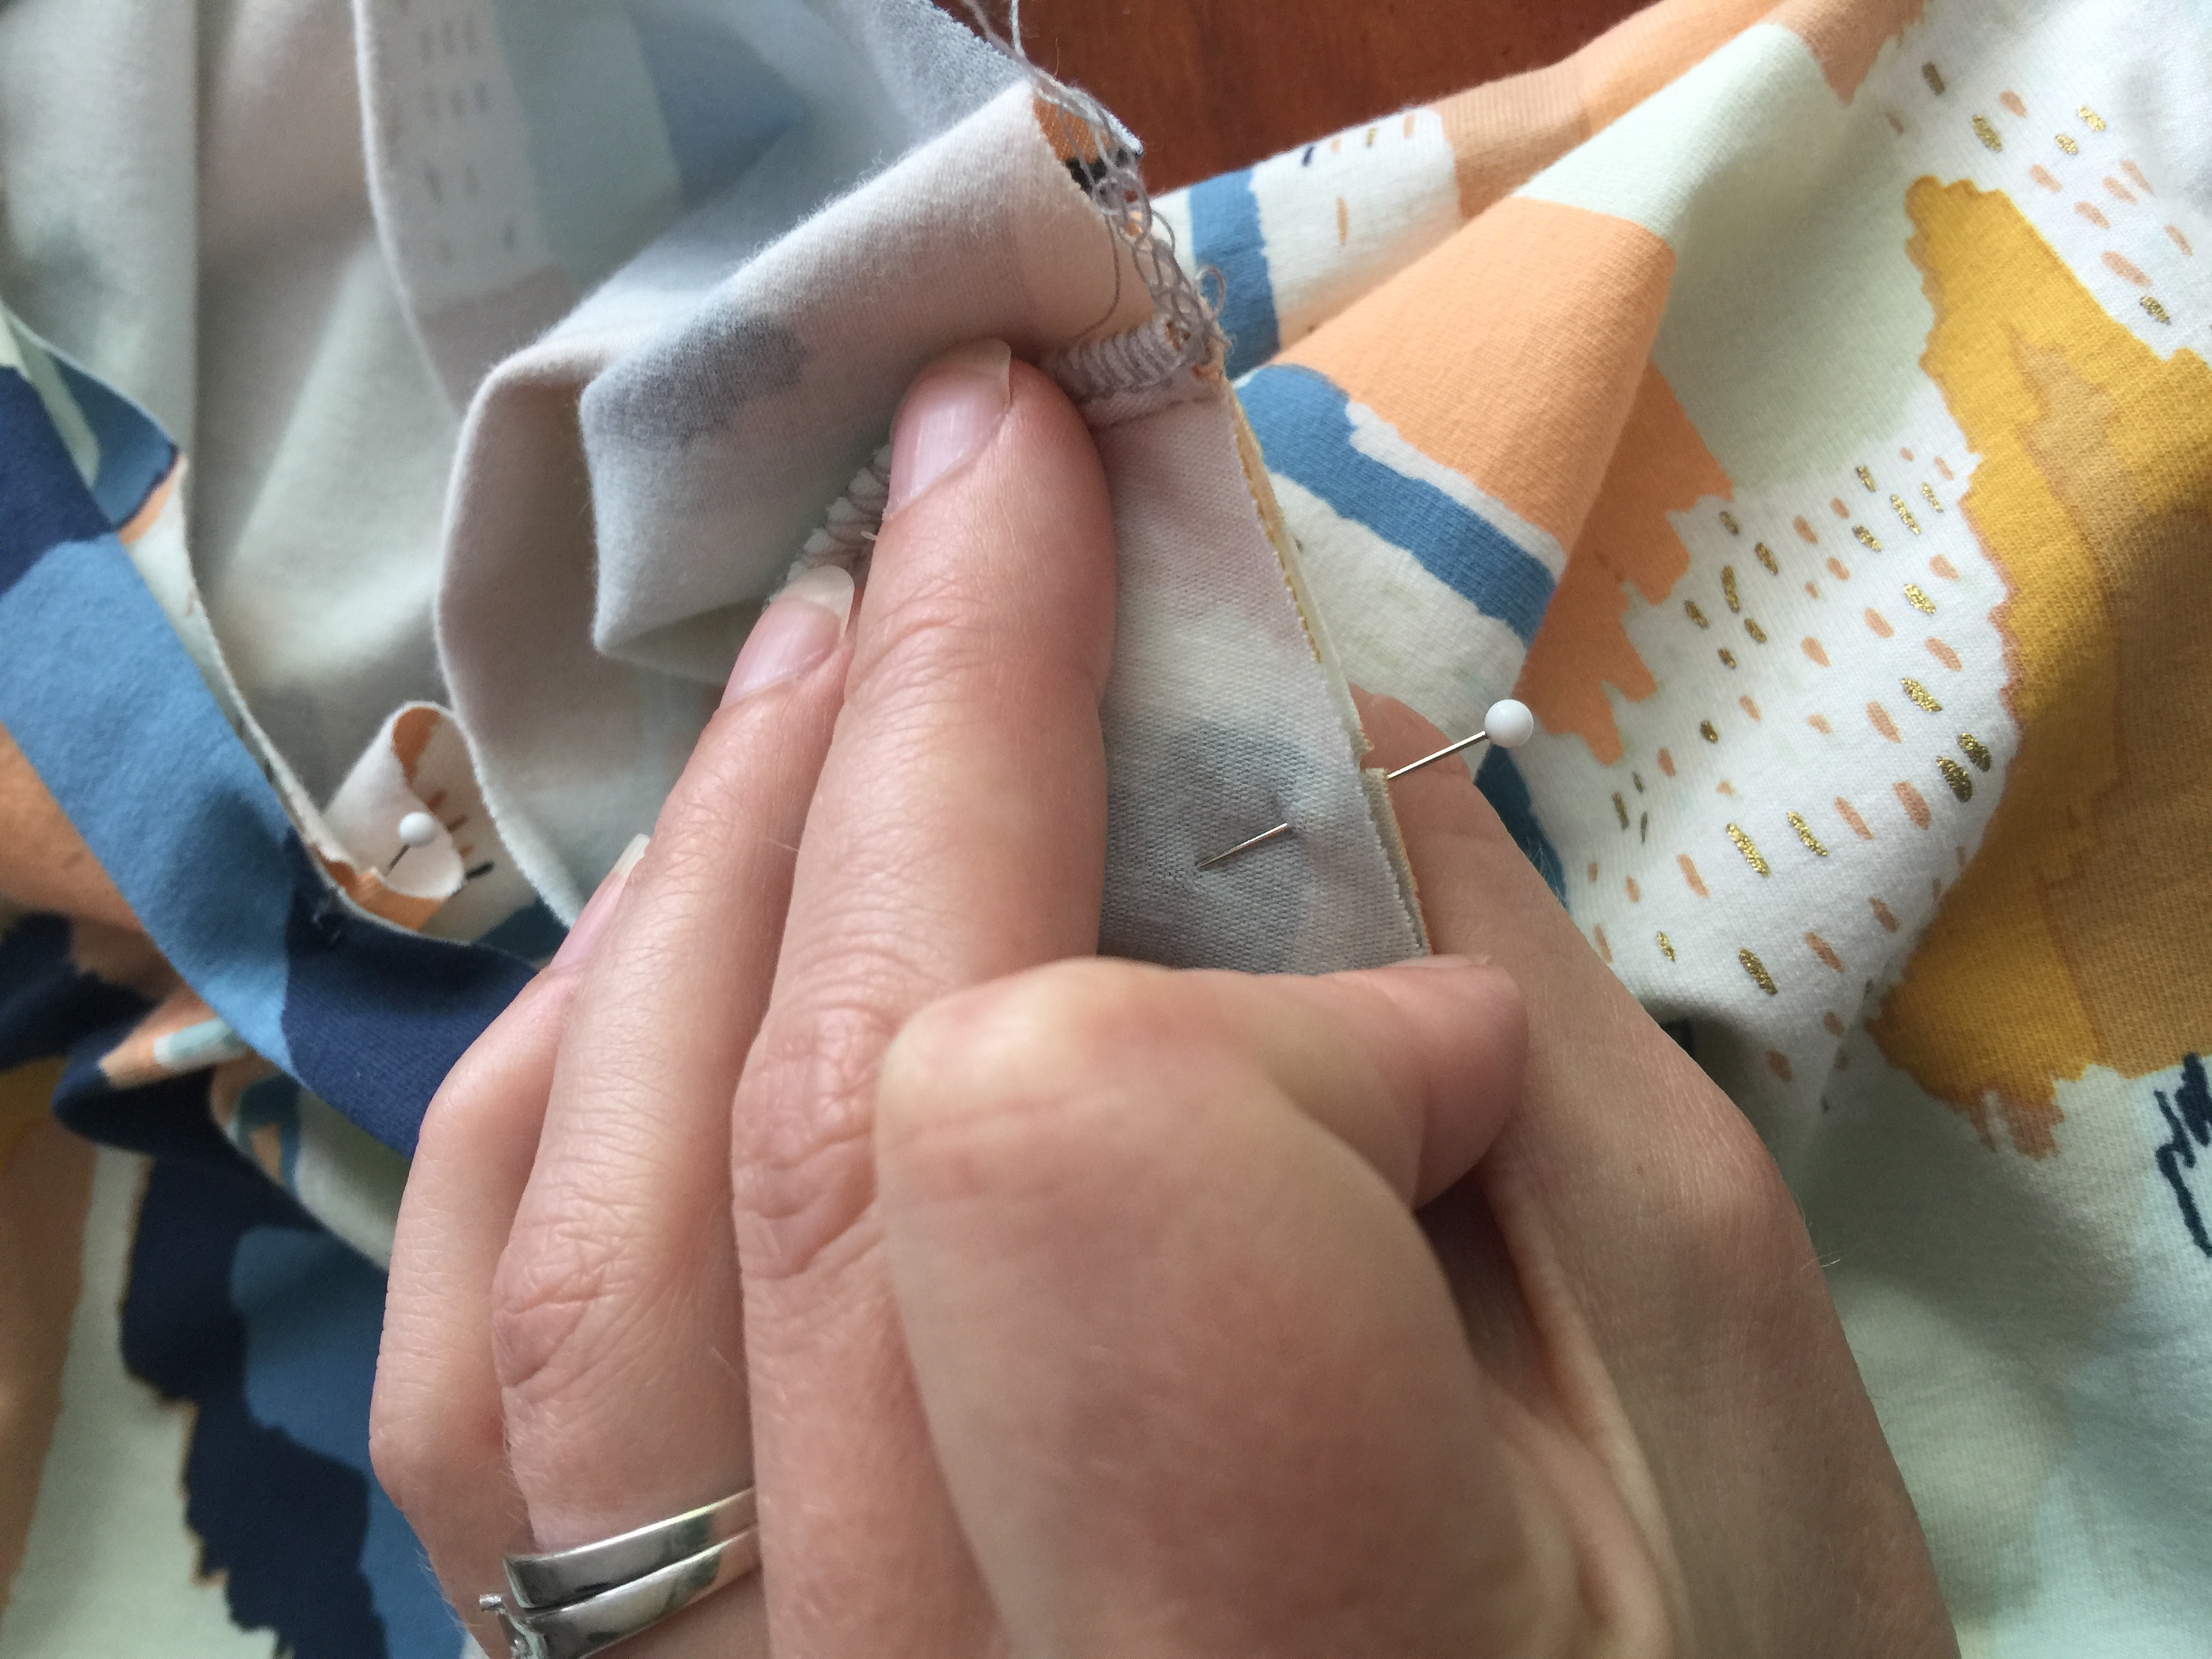
Sew/serge the short ends, right sides together. Fold it in half and put a pin at the half way point. Fold in half the other way and add two more pins. So you should have 4 equal points…The seam, and the three pins marking the quarter sections of the band.  Pin the seam at the middle back of the neck.  Then pin the front, then the sides about 1 inch away from the shoulder seam on the front bodice. Stretch the band as you sew to fit and ease into the neckline.

PRESS the neckband seam toward the bodice. For a professsional look and a band that lays flat, top stitch the neckline on the bodice a 1/4″ below the neckband and catch the seam allowance underneath. Press again.

Tada! Your done. If you have further questions or need something clarified just leave me a comment or send me an email and I would be happy to help!

Tag your photos on social with #thehermionepattern #andrealoydesign 

Find me and my sewing projects on IG @handfulofarrows