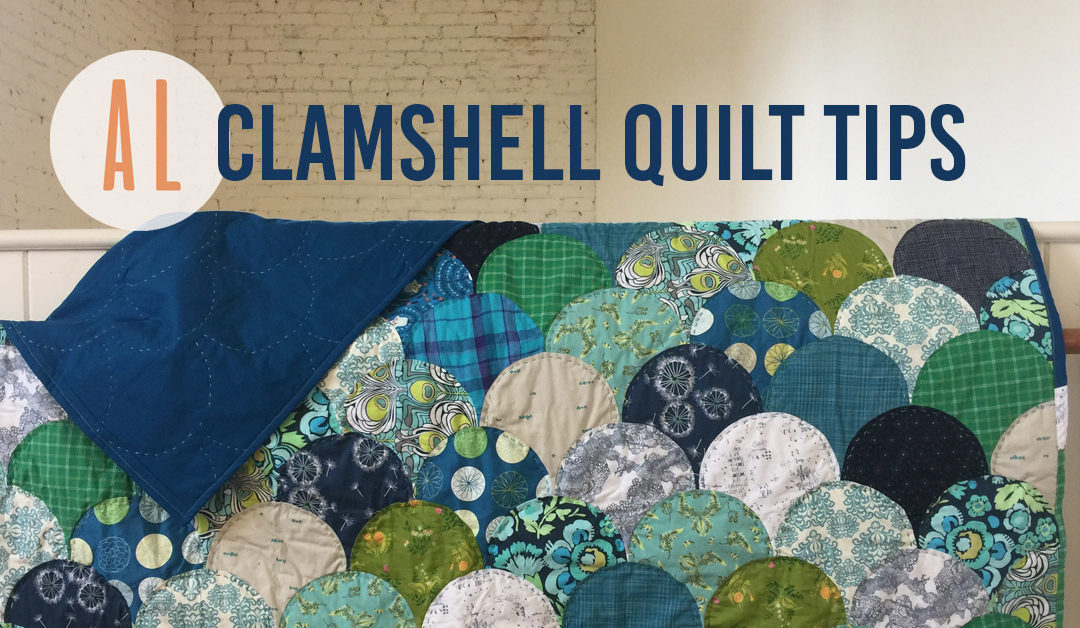
You Can Machine Piece A Clamshell Quilt -Tips To Help
I think I’m over being intimidated by new things. At least as far as quilting or sewing is concerned. I’ve looked longingly at clamshell quilts for far too long. These little pieces of rounded seashell shaped fabric began their siren call one Pinterest session long ago and it was an irresistible sound….
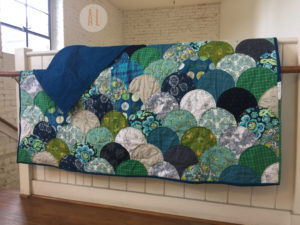
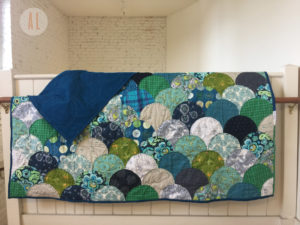
I’ve succumbed and over the summer I completed my first Clamshell Quilt. How did I do it? Is it something to be scared of? How did I make the cuts? Did it take forever? Did I feed my children at all during this long tedious quilting marathon?
Well, let’s see if I can unpack this all for you.
First of all. If there is a good clamshell quilt tutorial out on the wonderful wide world of web, then I have yet to find it. I’m of the ilk that there are always people who are more talented, more knowledgeable and certainly more skilled than I am at just about everything. However, a clamshell quilt tutorial must have not been on their list to share with us all because I had to go this one alone.
I’m going to share some tips with you because I don’t want anyone to go through what I did. I couldn’t get it started. The first two rows were painfully awkward. I want to spare you the insecurity….AND DID I MENTION I MACHINE PIECED IT? That’s the best part. I really don’t have time for hand piecing right now. Does anyone?
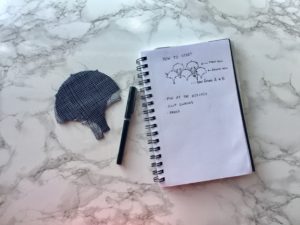
The key to a good start is using the accuquilt clamshell die because it cuts out points for you to line up your clamshells. If you don’t have one, you make marks but they are hard to see when you are sewing. For the first row you need the shells to be joined only at the bottom but the second row has to help out to hold up the row.
Here is a diagram:
Here are the tips:
1.) PINNING IS ESSENTIAL
2.) CLIP THE CURVES
3.) PRESS THE SEAMS IN ONE DIRECTION
At first it looks like a disaster. There is no quick joy found in this first foundational piecing of rows. You will wonder if you are doing it right. It’s floppy and shapeless.
Just press on my dear quilting friends. Because once you get past those first two rows you can start sewing the clams on in one fell swoop along the curve from point to point.
At this point, I throw on a good audio book and lose myself in the tedious pinning of points and just keep sewing. YOU MUST PIN!!! PIN PIN PIN and rejoice in the fact that you can sew the whole curve without stopping and the shape of the quilt is taking place. Each row grows more and more satisfying to add on.
I don’t think while I do this, and sometimes I rip it out of there is too much left over at the end of the clamshell. The reason being your whole quilt will go crooked… it will be a little beyond wonky. You can have a little leeway at the ends but I’d rip it out and realign if you have more than 3/8″ hanging off.
In the end you have to cut all the edges of the quilt off square to bind it. This part hurts me. Becuase all those little clams…..it feels wasteful. But it has to be done. RESIST THE URGE TO SEW A BORDER. THIS WILL MAKE YOUR QUILT LOOK KITSCH. And we can’t have that. Not after all we’ve been through to get this beautiful thing off the ground.
It sure does look cute, though, without a border, the scallops reaching from end to end. This kind of quilt has so much potential. From ombré, to mermaid, to dainty pink and white little girly room quilts. To dark and elegant….
Give it a whirl! It’s worth the try! I promise!!! Happy Quilting.
{I used the large Accuquilt Clamshell Die to make this quilt. Shown next to my sketchbook diagram are the smaller sized clamshells.}

