by Andrea | Sep 26, 2016 | DIY, Sewing, tutorials
The question I get most often is, “How do you find the time to sew and do your design work?” The obvious unspoken questions are: Do your children eat? Is your house a pig sty? Are you really homeschooling? Do your kids just watch TV all day or what? Are you on speed? Are you superwoman?
I have a few answers for you, my friends. No my children do not starve. Which brings me to part one of How To Magically Make More Time…..
FREEZER MEALS
I have found that most freezer meals on pinterest or in books range from slightly to grossly disappointing. Usually freezer meals are reserved for desperate measures. They involve cream of yuck soups and are high in carbs and low in nutrition. We usually don’t care because those meals are given in love and are truly a blessing. When making freezer meals to eat often, I don’t want to sacrifice our health or the importance of having meal time together as a family. I also don’t want to sacrifice good taste. Most importantly, I WANT TO SEW DURING NAPTIME instead of make dinner. Sound fun? It is. #worthit
THREE IMPORTANT RULES FOR FREEZER MEALS:
- Healthy – everyone has a different version of healthy. My version is meat, healthy fats, vegetables, whole grains. Our family is fortunate not to have many allergies or food intolerances, but you can definitely adapt most of my recipes to your needs.
- Easy – the finished meals cannot involve anything more than reheating. No multiple packets and steps. That is not a meal. That is food prep.
- Tasty – nobody really likes freezer meals that have no taste or are just full of chicken breasts with jam and cream of yuck. Let’s just make really great food and freeze it.
You don’t have to hold a big freezer meal making marathon. Especially if that makes freezer meals daunting for you. I usually buy enough ingredients to make four meals of one recipe. I make them all, we eat one for dinner that night and I freeze the other 3. However, it is super fun to have a girls night and make them together with friends or to host a freezer meal swap!
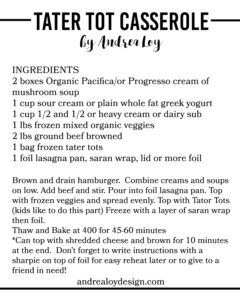
I’m sharing our family favorite, Tater Tot Casserole Recipe with you! If you’d like the rest of my recipes for free just sign up for my newsletter(at the bottom of my home page) and they will magically arrive in your inbox! FOR FREE. Delia helped me make these lovely TTC’s last week because I wanted to finish sewing a quilt this weekend. As Martha Stewart would say, “It’s a good thing.”
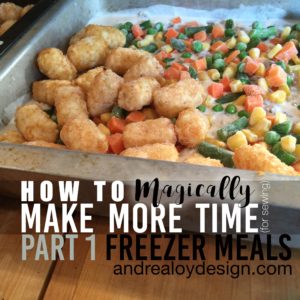
One more thing, I openly apologize to my mother (who faithfully reads all my blog posts) for complaining about tater tot casserole when she used to make it while I was growing up. To be fair, hers had mushy zucchini in it. Love you though. #bestmomever 🙂
Stay tuned for two more editions of How To Magically Make Extra Time (for sewing) (or whatever your happy place is).
-Andrea
by Andrea | Sep 12, 2016 | Uncategorized
Hello, there friends! I don’t plan to put much on the blog from my interior design work, but this Master Bedroom Plan I just finished up is way too fun not to share! My client just purchased her first home. She was SO excited but didn’t know where to start! Every room in the house needs a little TLC, but over all there are many charming nooks and crannies. I am overjoyed that she chose me to help her make it her home!
The home started as a tiny one bedroom house 100 years ago in the Roanoke Valley area of Virginia. The people she bought it from had lived there for a very long time and had added on rooms and wings in lots of choppy weird ways to accomodate their growing family. This meant a nice large house but lots of little design challenges to make it functional and feel like home.
We started with her Master Bedroom because that seemed like the most important room to her when I talked with her about her goals. I decided if she was going to do the majority of the minor DIY work over a period of time by herself, her bedroom being finished first would provide her the haven she would need when other projects were in process and she was tired from her full time job.
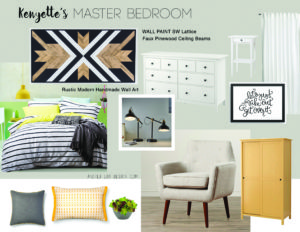
So here it is! I call it the “Modern Fun Master” This is the visual design board which gives her an end goal and helps keep her on track. When I make a design board for a client, I provide a full list of items and where to purchase them, paint colors, and commentary as to furniture layout and any remodeling suggestions I might have.
My favorite thing about design jobs is handpicking the pieces of decor that make it truly unique to the client. In this room you’ll notice several handcrafted pieces I found from talented makers on Etsy. Enjoy!
by Andrea | Sep 2, 2016 | DIY, handmade, Sewing, tutorials
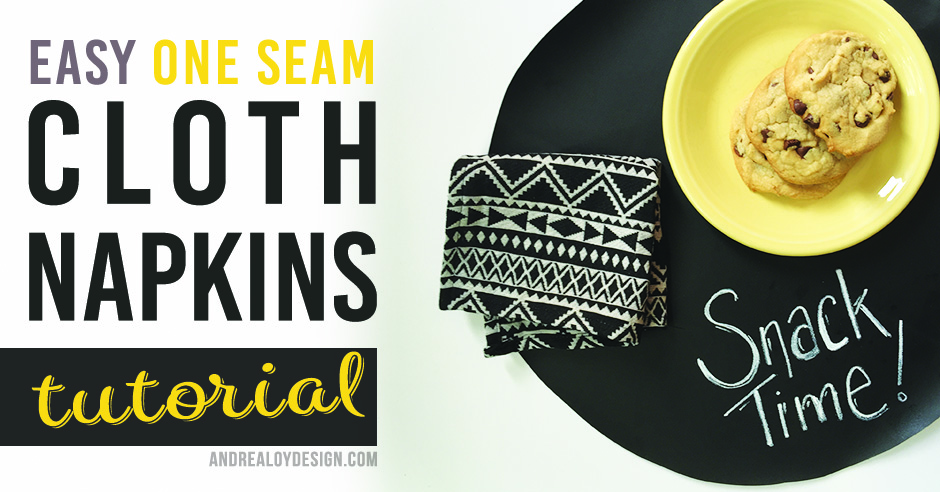
I really love cloth napkins. If you are thinking, “Who uses cloth napkins anymore?” Then you need to give them an everyday chance. I am here to show you how easy it is to make cloth napkins with ONLY ONE SEAM! All you need is a yard of fabric and some basic sewing supplies. You can do it! No advanced sewing skills needed. Think of all the cute dinner party themes! Think about how much money you’ll save not buying 1000 paper napkins every week. My children use like 50 napkins a day times 5 kids. I switched to cloth so everyone can keep the same napkin all day unless there is a major spill. Plus now my 12 year old helps with the laundry so basically I can just sit around and be lazy all day eating truffles and sewing more napkins.
FABRIC
Lets talk fabric. There are a variety of terms that no one on the inter-webs uses consistently. Basically you want a woven double cloth. This means a fabric with two right sides. I used some apparel cloth from Joann fabric stores. I can’t find a link to it online but here is some nice double cloth flannel they have… Anna Maria Horner has a beautiful collection called Loominous out that I have heart eyes over.
THE TUTORIAL
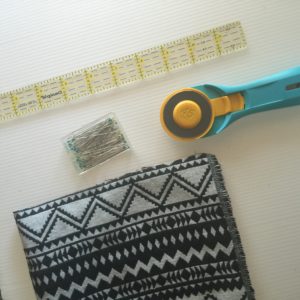
MATERIALS
- •1 yard double face woven fabric
- •pins
- •rotary cutter
- •cutting mat
- •clear cutting ruler
- •sewing machine
- •thread
- •optional: wonderclips
Cue the 90’s music “This Is How We Do It”
STEP 1.) Cut out 10″ squares of your fabric.
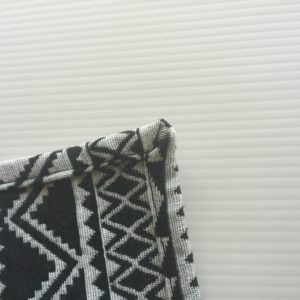
STEP 2.) Fold the fabric: turn corner down toward the center of your square 1/2″ then again 1/2″ and pin in place. Make your pin points to the exact middle of your square. Do this with all four corners of your square.

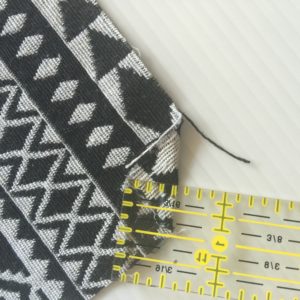
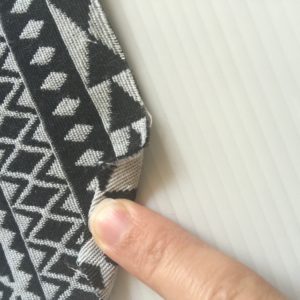
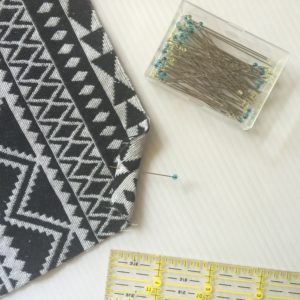
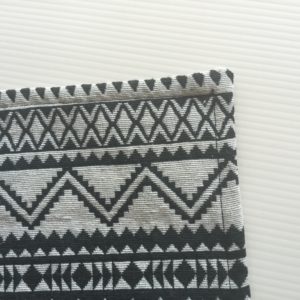
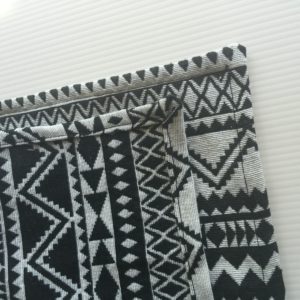
STEP 3.) Take one side of the square and fold it along the length as shown. Then again to conceal the raw edge. Be sure it makes a mitered edge to the corner. Use pins or wonder clips to hold in place. Repeat on all sides.
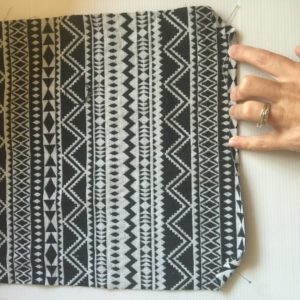
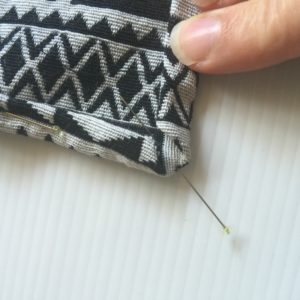
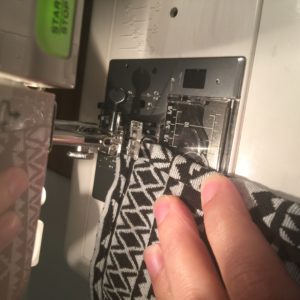
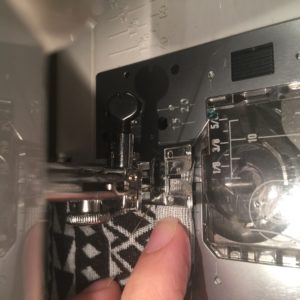
STEP 4.) IF you want to, at this point, you can iron your pinned napkin if you have glassed pins. Confession: I didn’t iron mine. I should have. You should too. Put a corner of your cloth napkin under your sewing machine and lower your needle to start/end in the downward position. When you get to the next corner leave the needle down, raise the presser foot and pivot. Keep sewing and pivoting until you get back to the first corner. Ta DA! You did it. Now have some cookies and wipe your milk mustache off with a cute napkin.
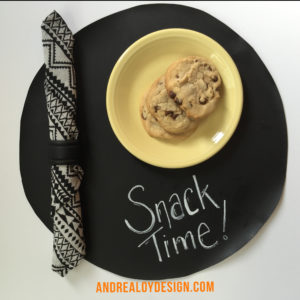
Thanks for joining me! Happy Sewing Friends! -Andrea


