Hipster Baby Love Sewing Tutorial
Hipster Baby Sewing Love Tutorial Back Story:
I’m always inspired to create something new when I have too much to do. Creativity never occurs out of boredom. At least not for me. It’s usually a product of boundaries. Or limitations. Mine were time, money, and boy fabric.
So anyway, my bestie and I are due with babies a week apart! I know right?! So we had a mutual friend throw us a double shower! She managed to sew me up some Hipster Baby Love for the Baby Shower, I had good intentions too and that was it. New job, four kids, husband in school full time….I just didn’t get there.
{ For the first three months of her and my pregnancy I did NOT know I was PREGNANT. She was so sick and miserable and I was all like ” Oh gosh, I’m sorry your so sick, lets go to Trader Joes and get snacks!” Then she went with me to my first ultrasound and the lady was like “your 17 weeks”, and we looked at each other and laughed! }
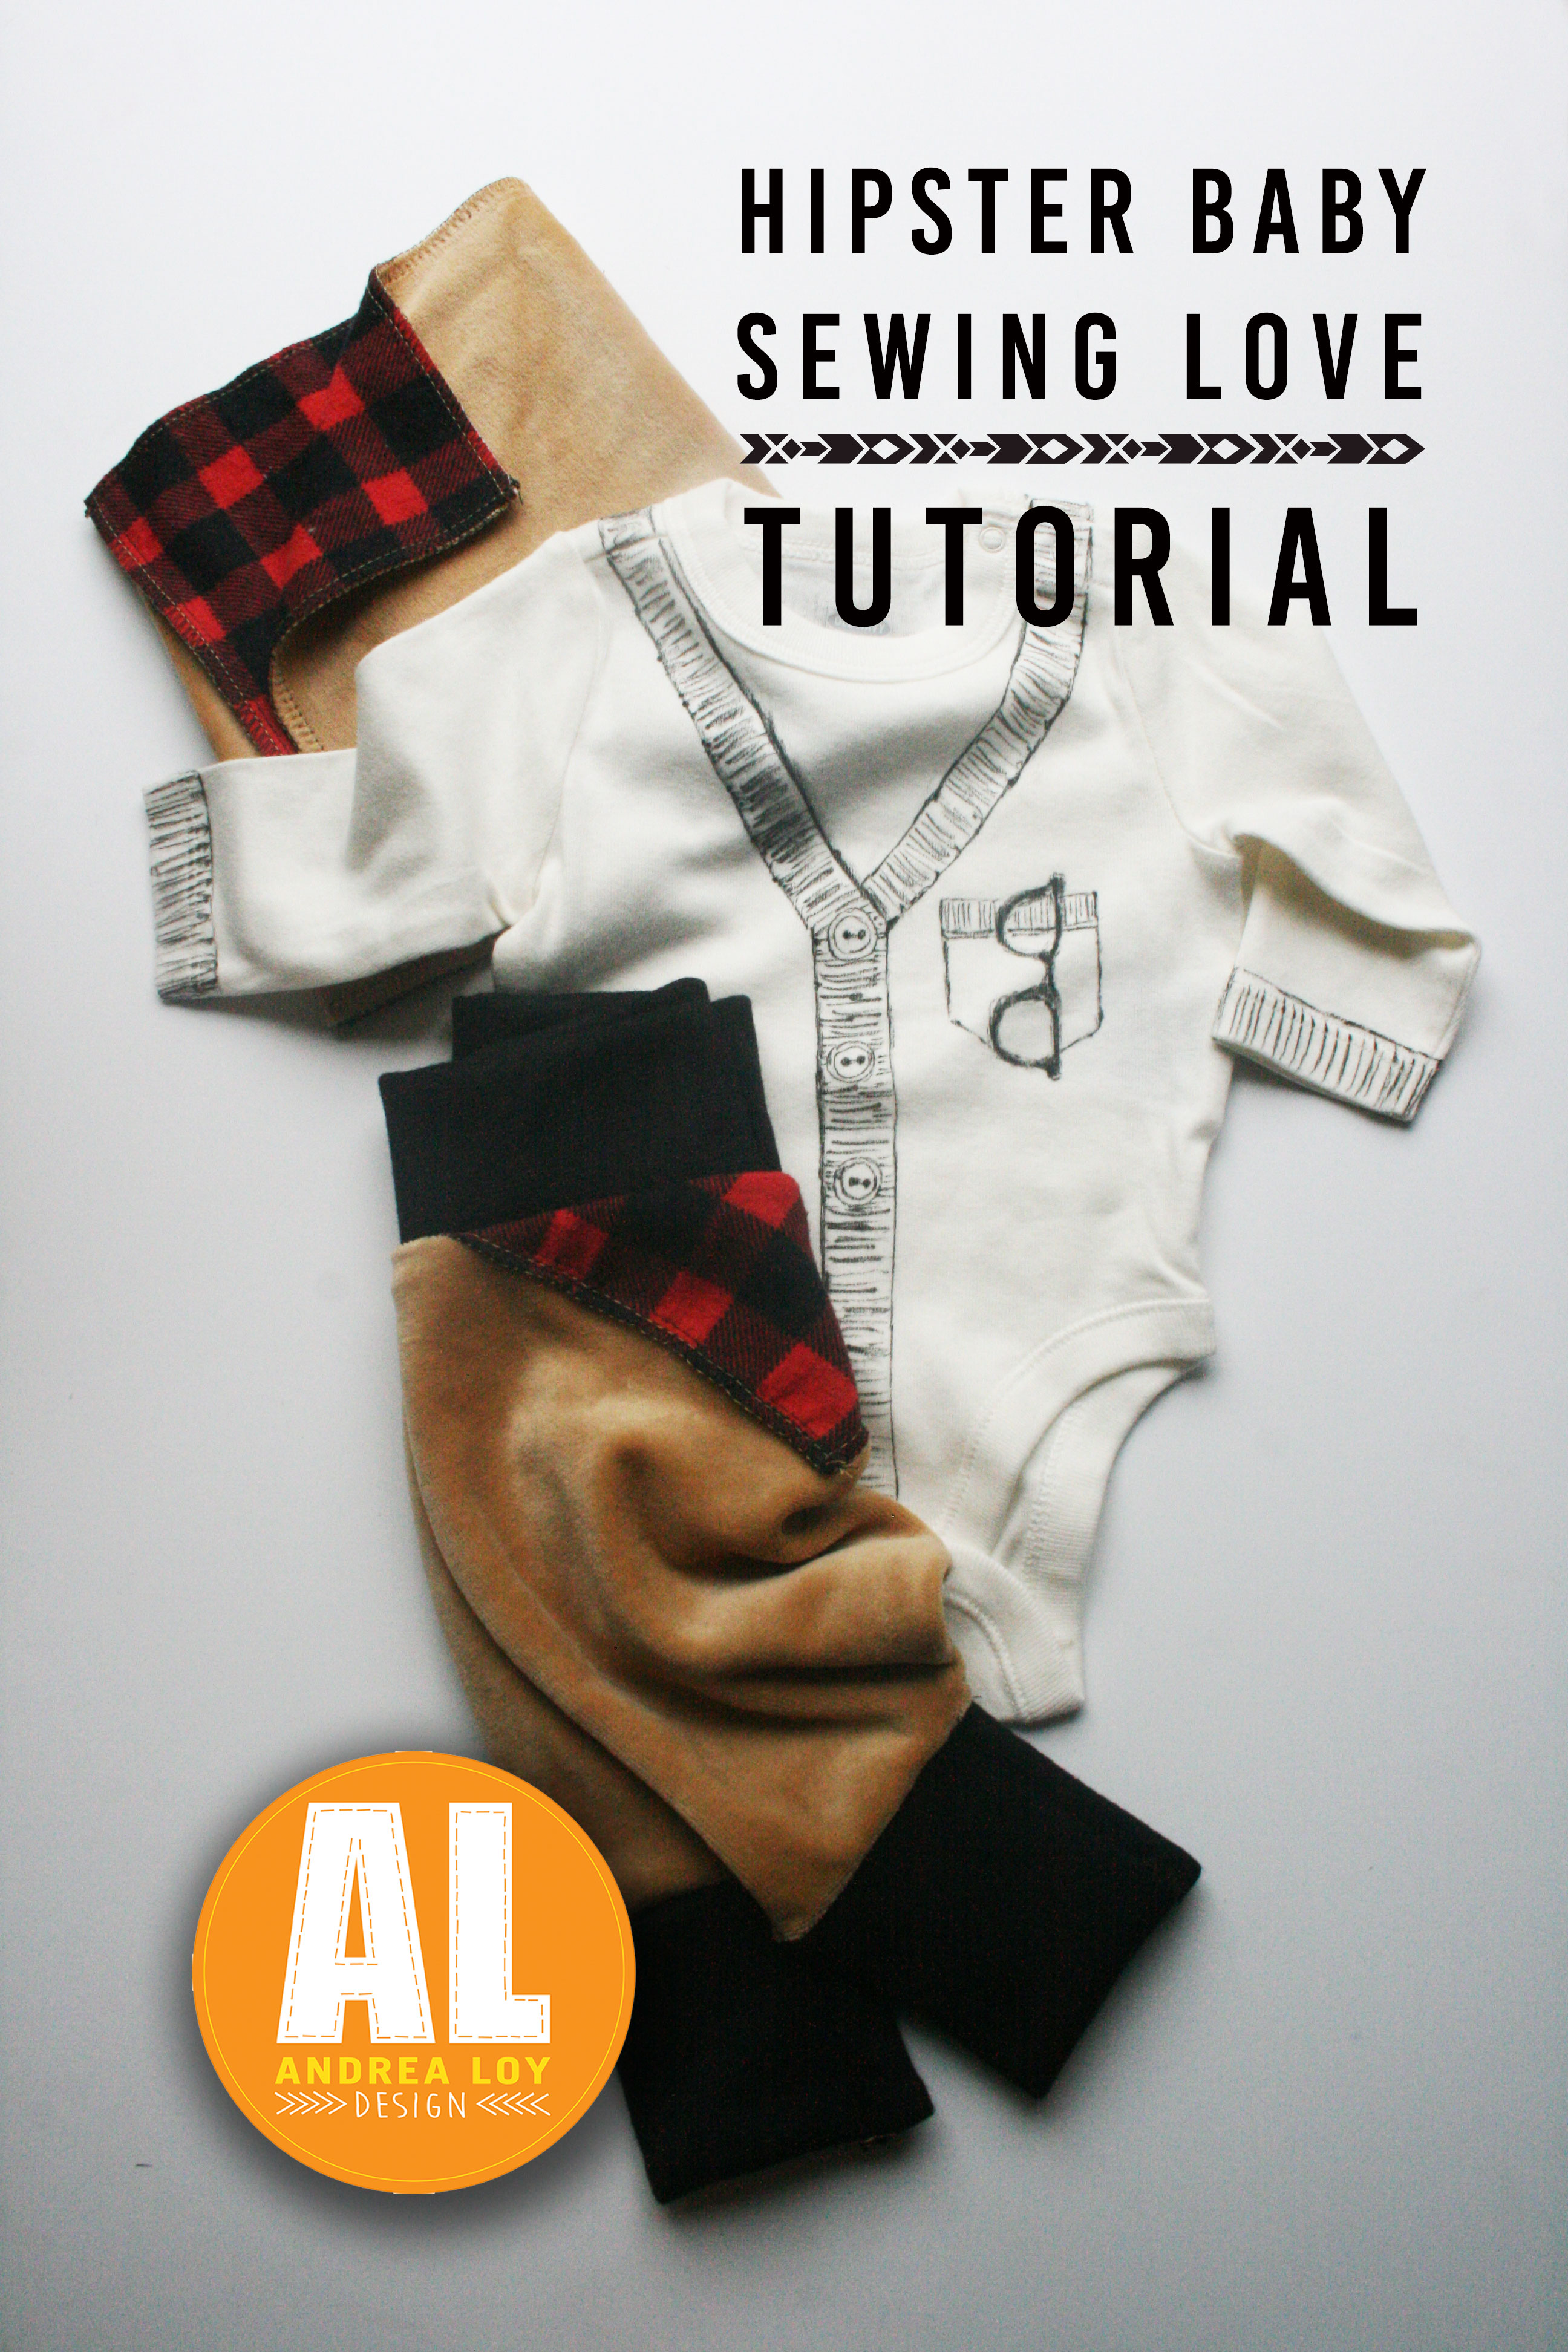
I finally stole a few hours one Saturday to sew her up some little things for the baby boy….I don’t get to sew baby boy stuff very often cause we don’t make those around here, and as I was digging through some scraps of fabric I came across some sweet red and black buffalo check from Christmas Jammies last year and the spark was ignited! Then I found some light brown velour and a hipster baby lumberjack theme popped into my head and I couldn’t do anything but sew. But then I realized how much she loves serged edges on things and I had to go to Joannes and buy brown and black serger thread. AND CHANGE MY SERGER THREAD. THAT IS TRUE LOVE AND FRIENDSHIP.
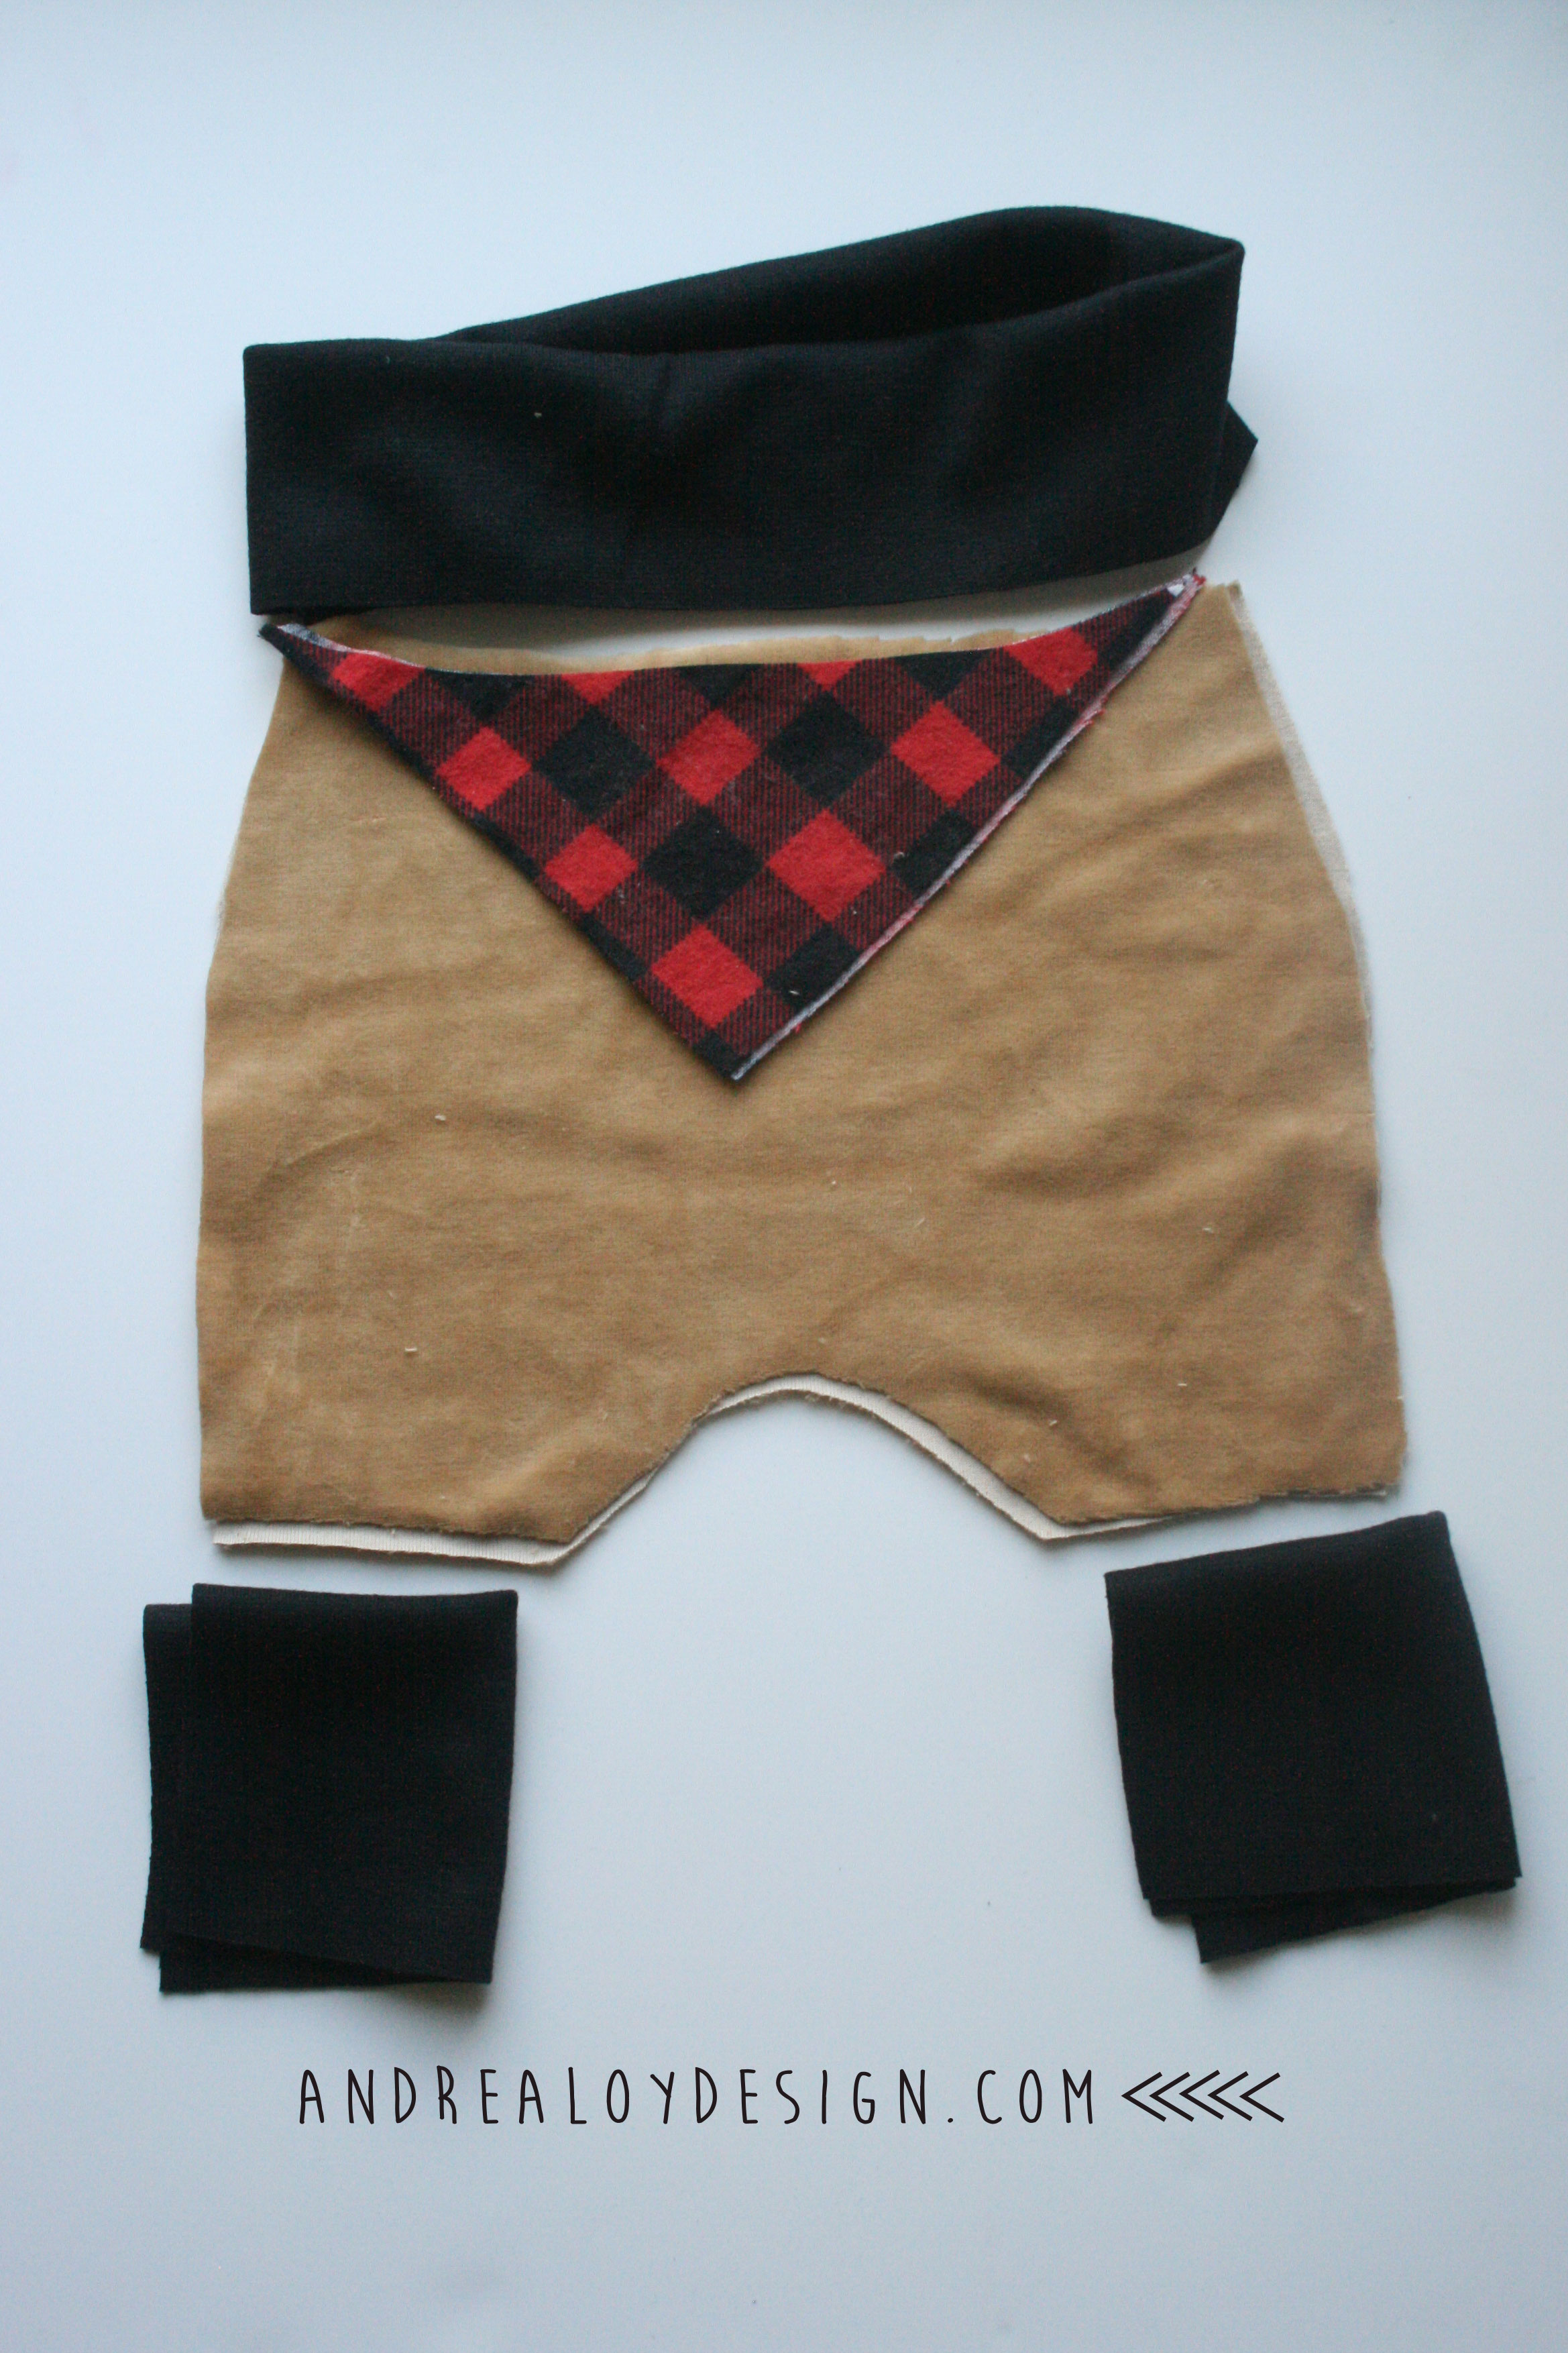
First I cut up some velour into harem pants by tracing the pants she had made for me! She later shared the pattern she used with me. It’s by Brindille and Twig! I love her patterns!
TUTORIAL:
Trace the pants from baby pants you already have or buy the pattern from Brindille and Twig Here.
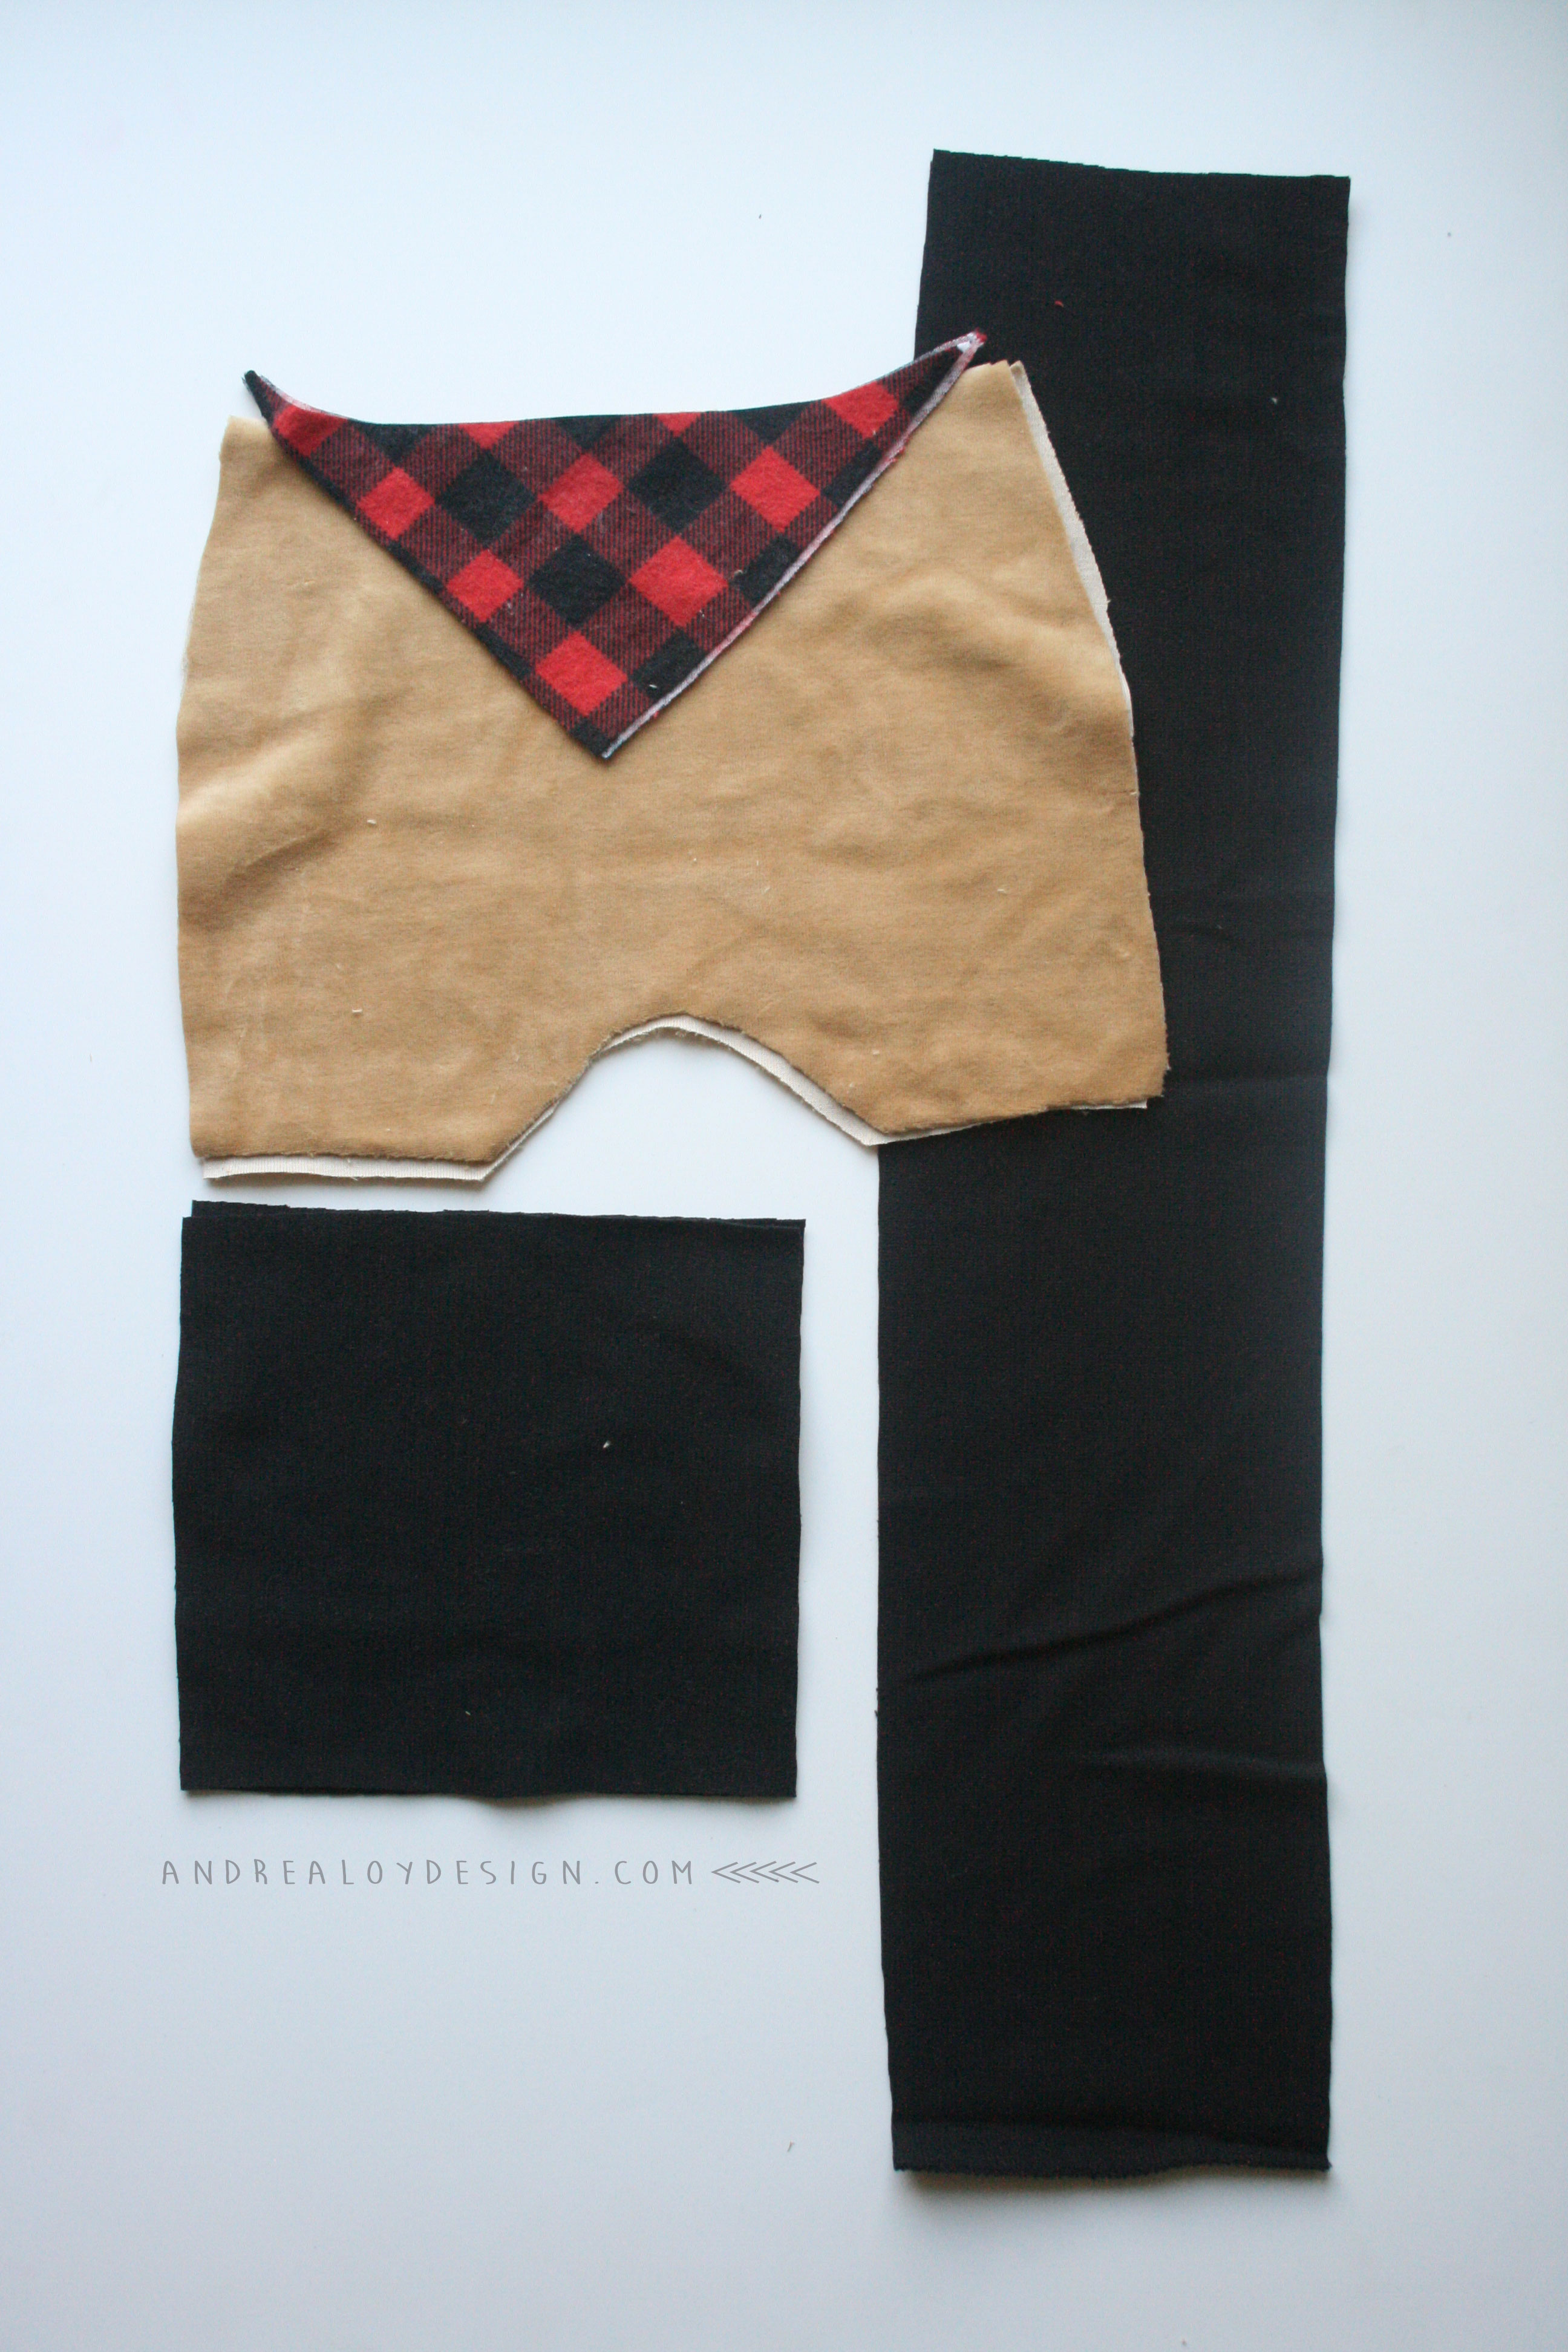
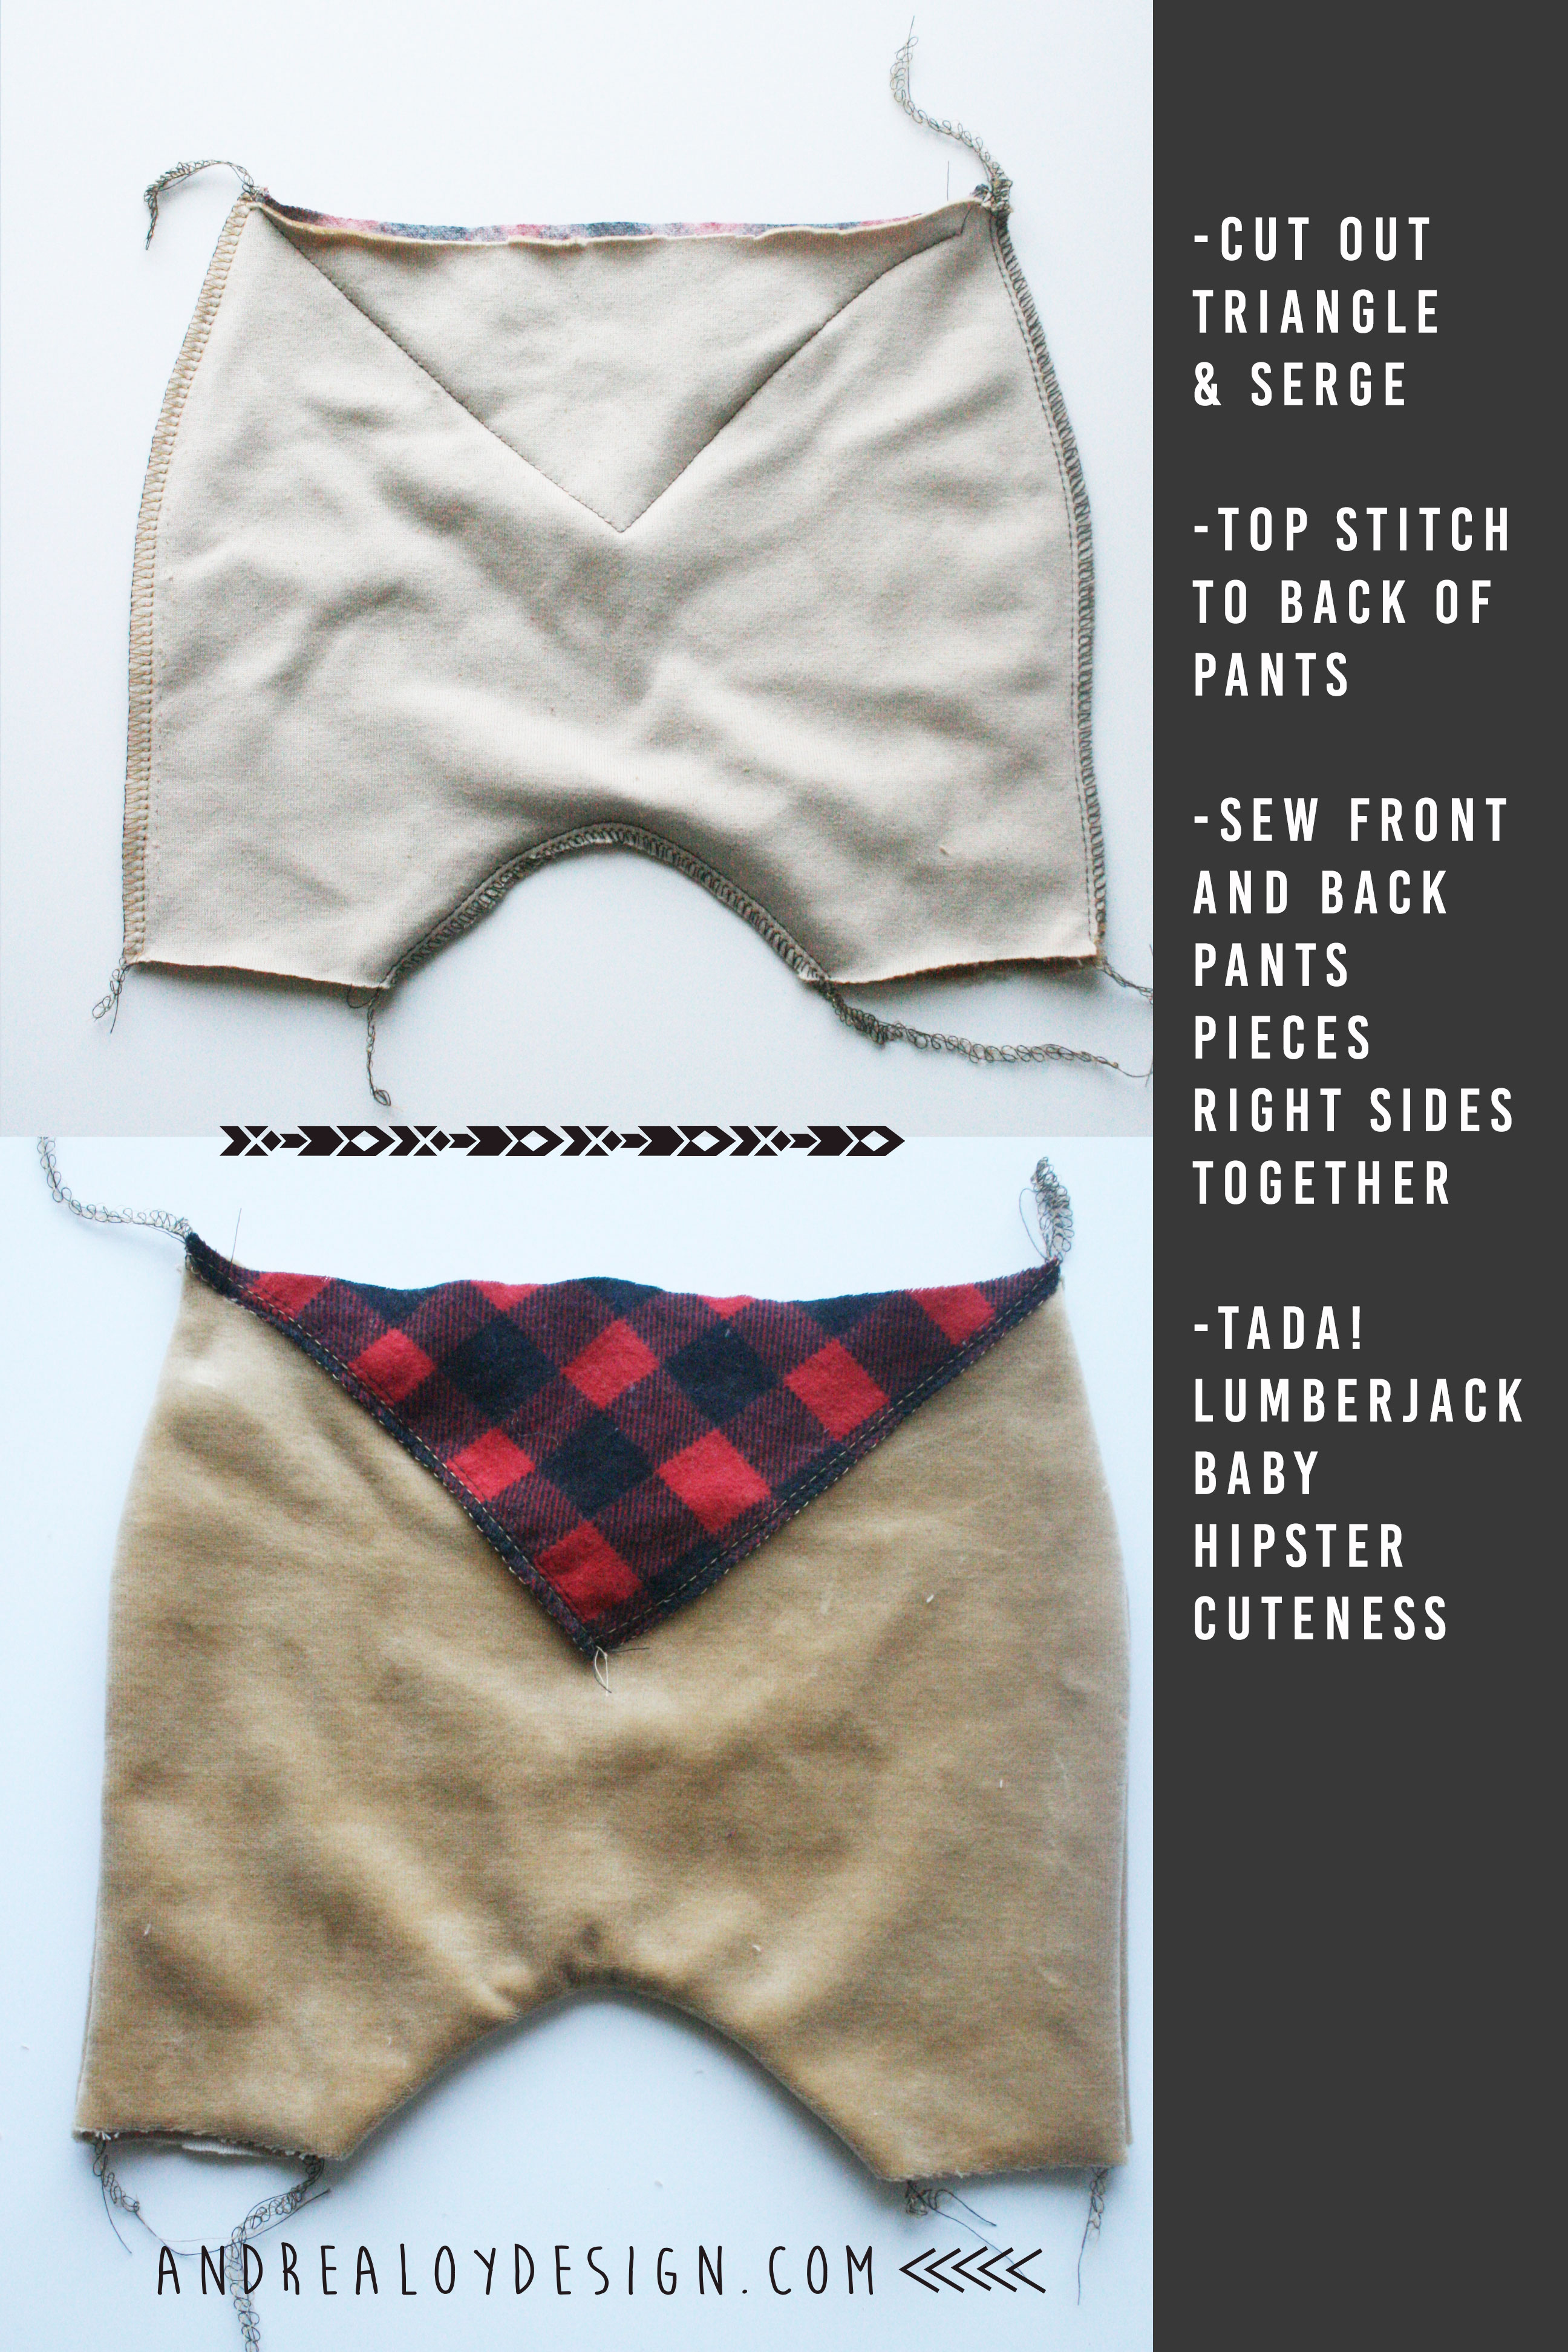
Cut out a little lumberjack triangle for the back of your pants and serge around it. Top stitch it to the back of the pants. Then serge front and pack pants together.
Next make cuffs and waistband….
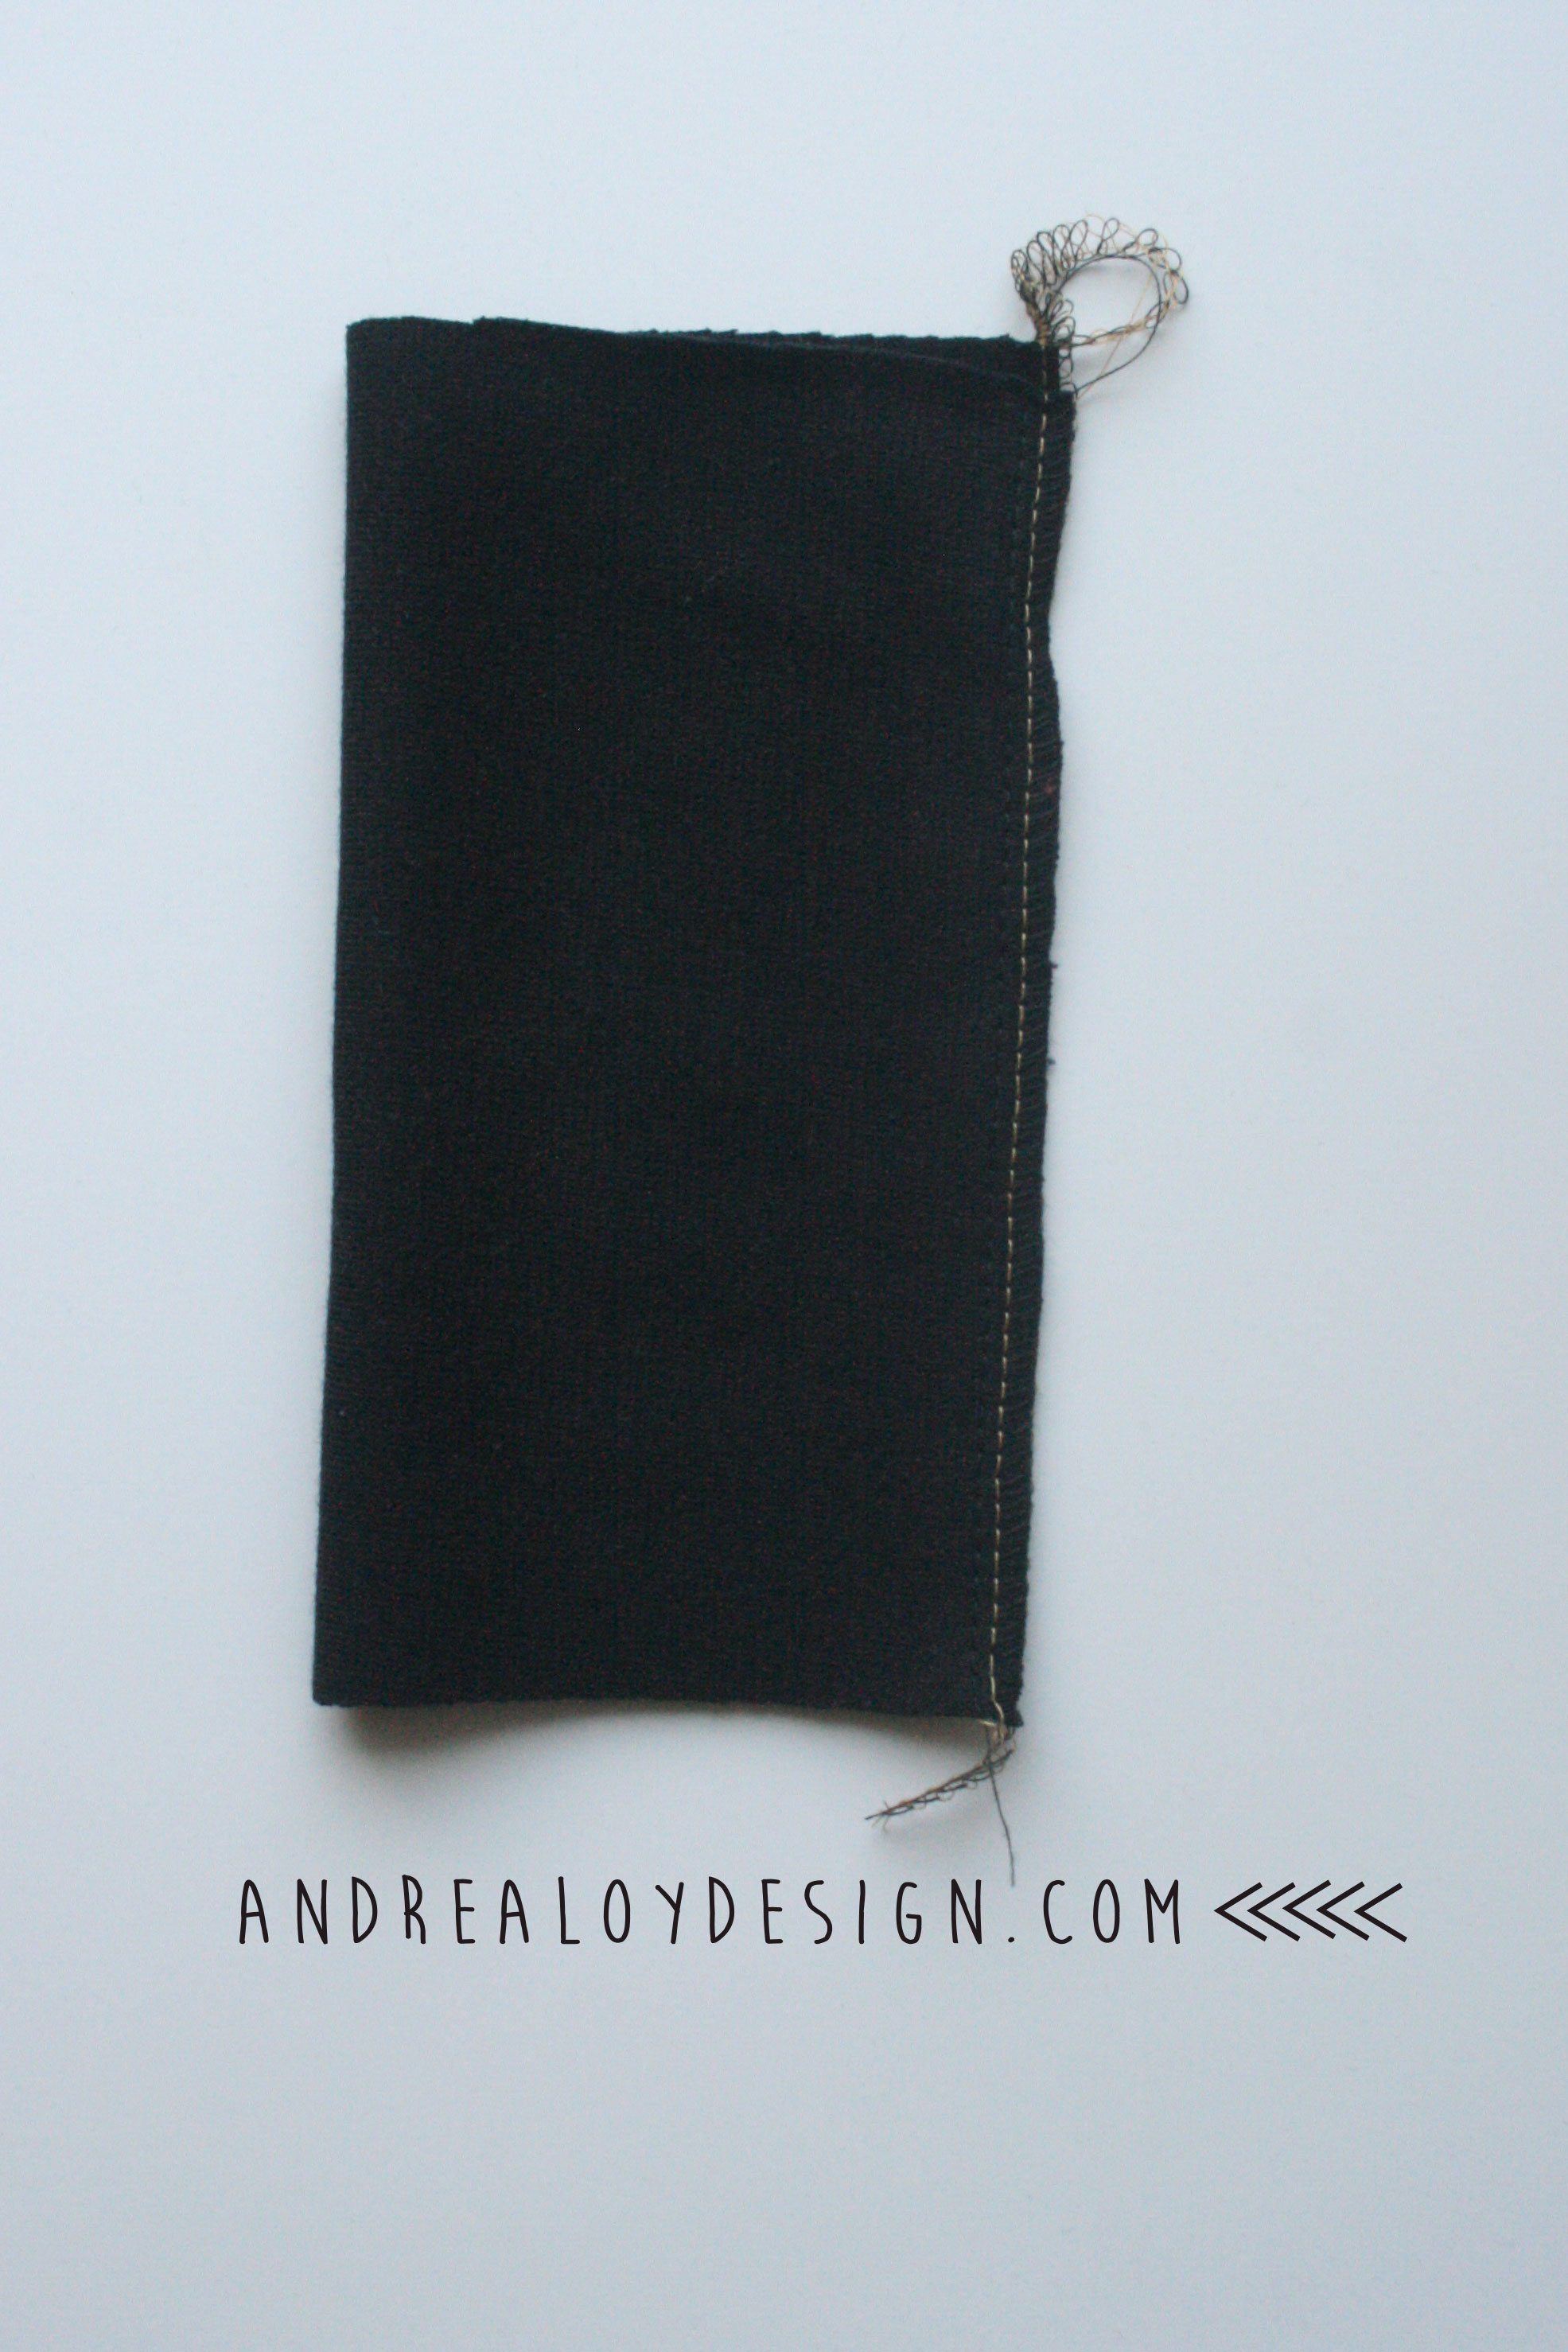
I estimated the cuffs, I cut two 6″ x 6″ pieces of black jersey ribbing. (I miraculously had this in my stash as well….Thanks MOM) I did this wrong. The waist I measured at 5″ x 14″. When sewn length wise first, you then get 3″ wide cuffs and 2.5″ waistband. The steps would be: 1. sew lengthwise….2. turn inside out… 3. sew open ends all together. But then you have a bulky seam. {#facepalm} I have sewn waist bands for maxi dresses before. All I can do is blame this on pregnant brain.
I SHOULD HAVE: sewn/serged the short sides together, then folded in half with the seam to the inside. This would make a perfect cuff or waistband ready to attach to the pants. Again, let’s blame it on being pregnant.
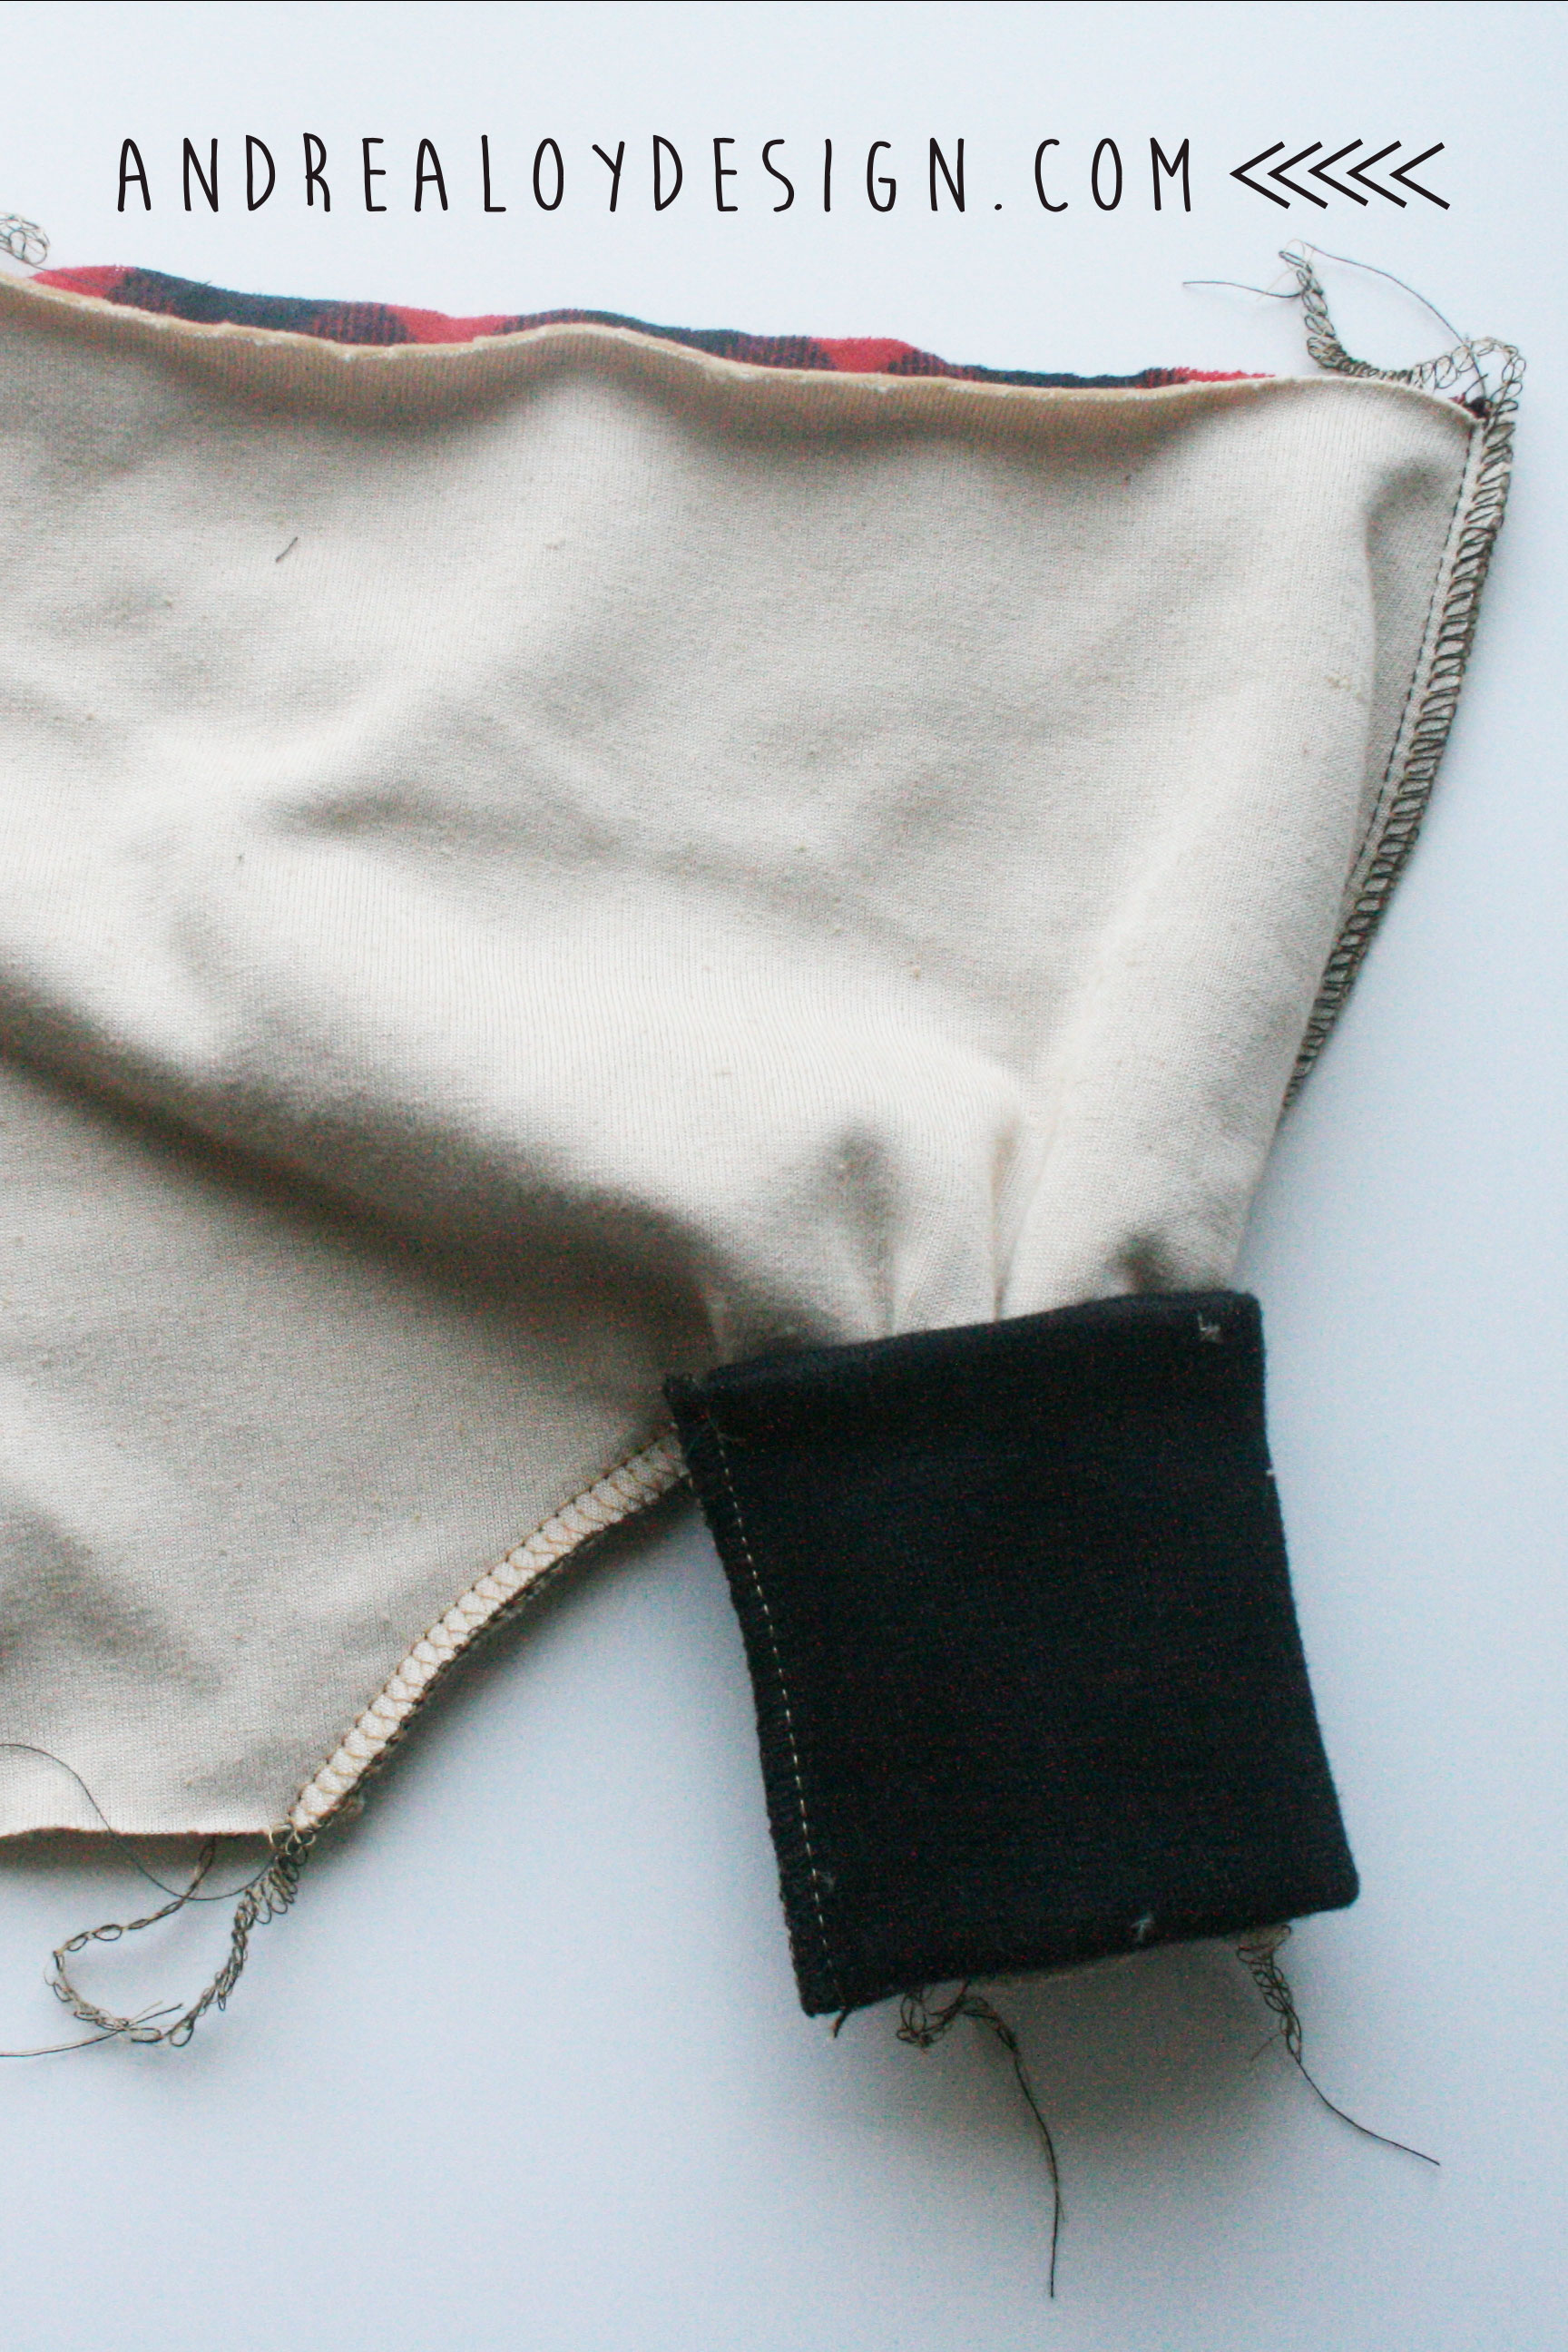
Attach the cuffs and waistband by turning the pants inside out and clipping to the bands. Then serge or zigzag sew while stretching to fit.
HOW CUTE ARE THESE!

THE CHANGING PAD:
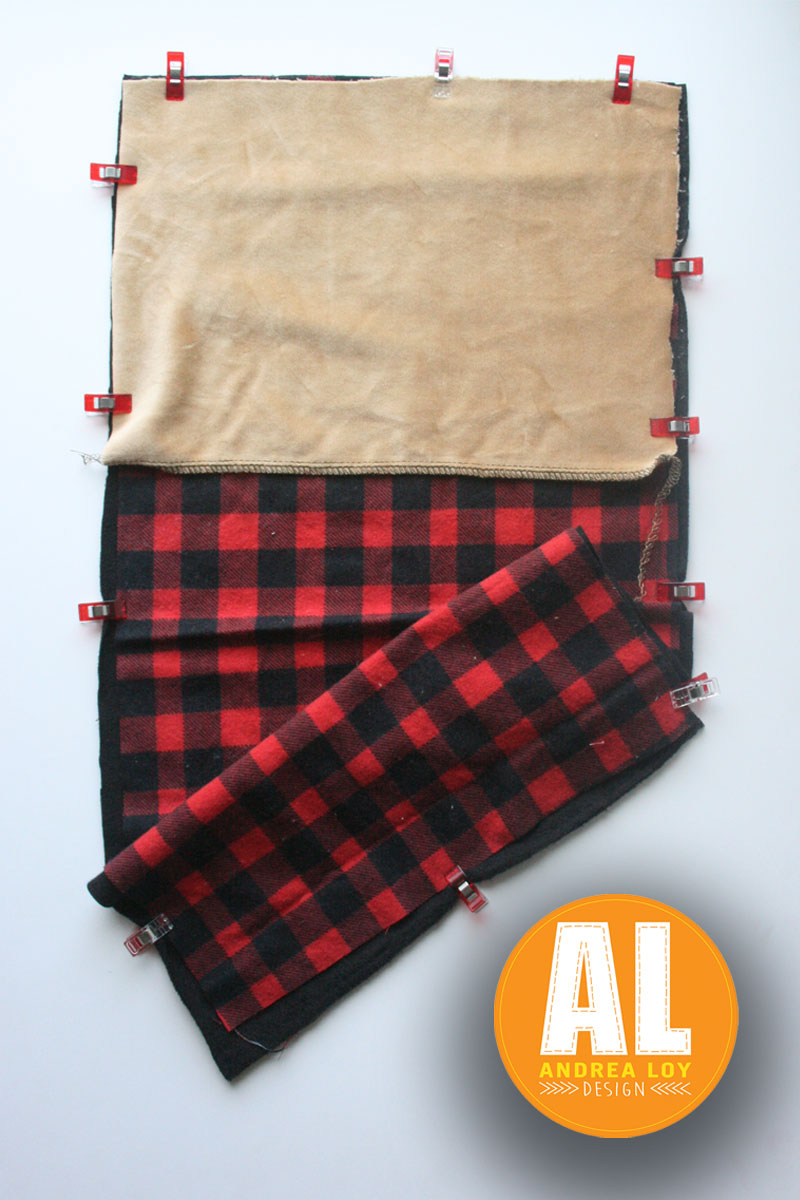
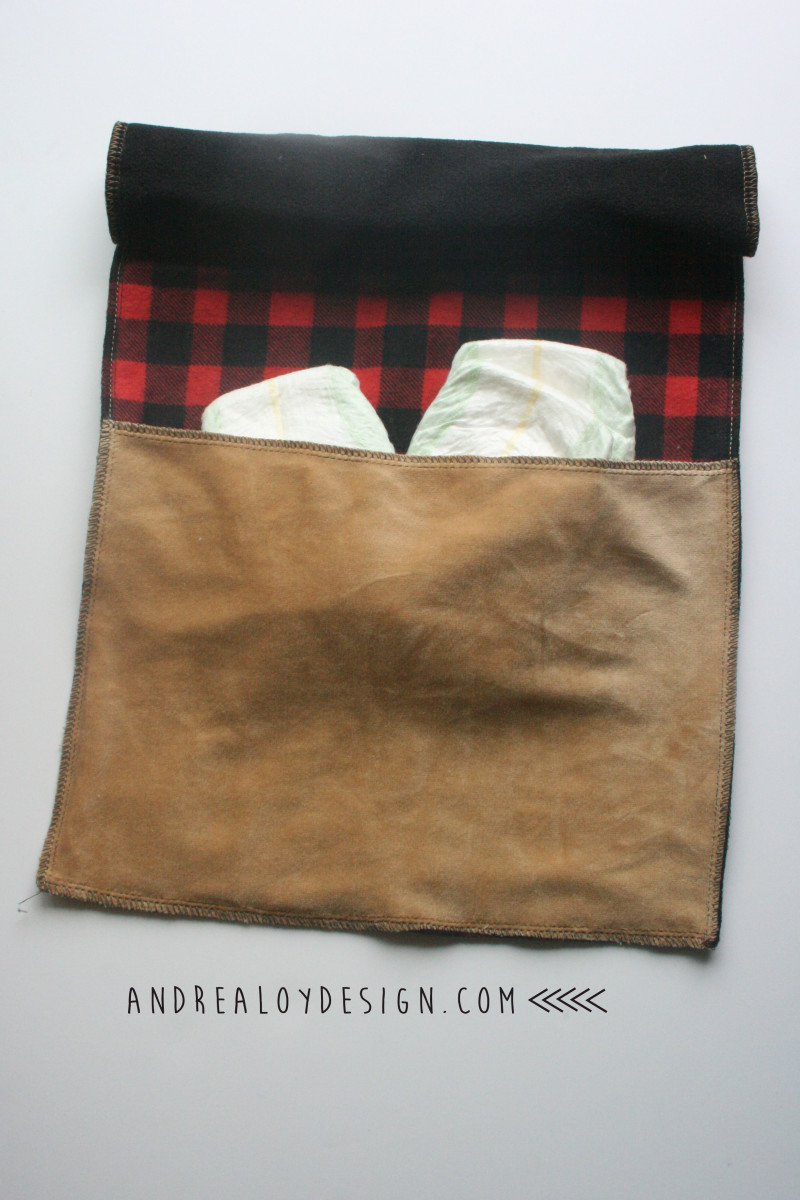
I started in on a changing pad with a pocket. Sort of a campy sleeping bag look! I used microfiber black polar fleece, brown velour, and flannel buffalo check. I made the pocket by serging around the brown stretch velour. Then I clipped all three layers together and serged. Have you seen these Clover Wonder Clips? They are the best! You can get them on Amazon for a great deal or use your coupon at JoAnnes! I made my pad really long but it is thin and you can roll it up and stick it in your diaper bag. You can add some wipes and diapers to the pocket and fold up also. The velour, fleece, flannel combo sort of stick to themselves which is nice.
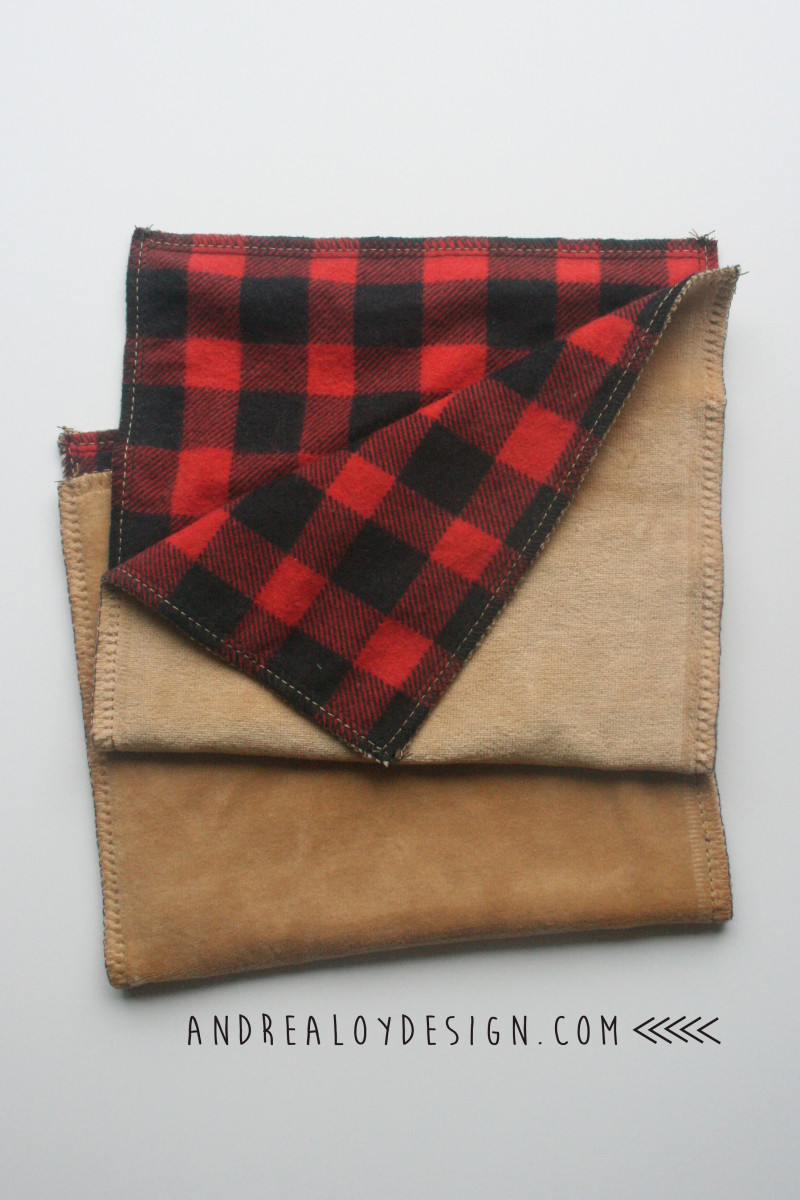
I repeated this cut, clip, and serge method for my two layer burp cloths with brown velour and buffalo check flannel. I made them 7″ x 14″. Then I cut out two 36″ squares of fabric for the swaddle. I made the swaddle of black jersey stretch knit and brown stretch velour with a triangle in the corner for hipster style 🙂 I think swaddles are better when stretchy. Wonder Clipped. Serged. Bam. Your Welcome. I love them.

THE CARDI:
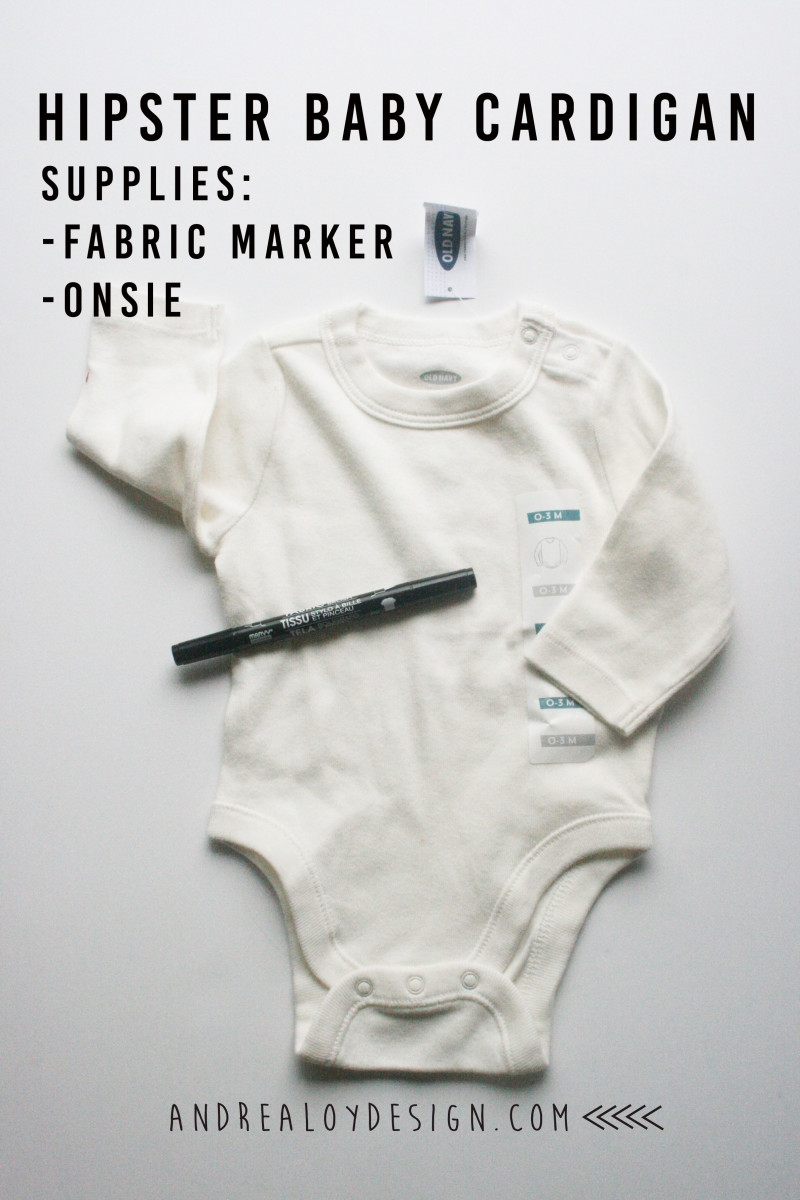
Last but not least we have the essential cardi. All you need is a good soft onsie. I felt it crucial that the onsie be off white. I don’t why. It just looked better. I found one at Old Navy’s half off baby sale while buying my oldest child all new clothes. Because she grows out of all her clothes every two months right now. It’s killing me. 11 yr olds don’t like shopping. For this third excruciating trip, I left her at home and picked everything out myself. She stayed home and watch Dr. Who. It was a win win.
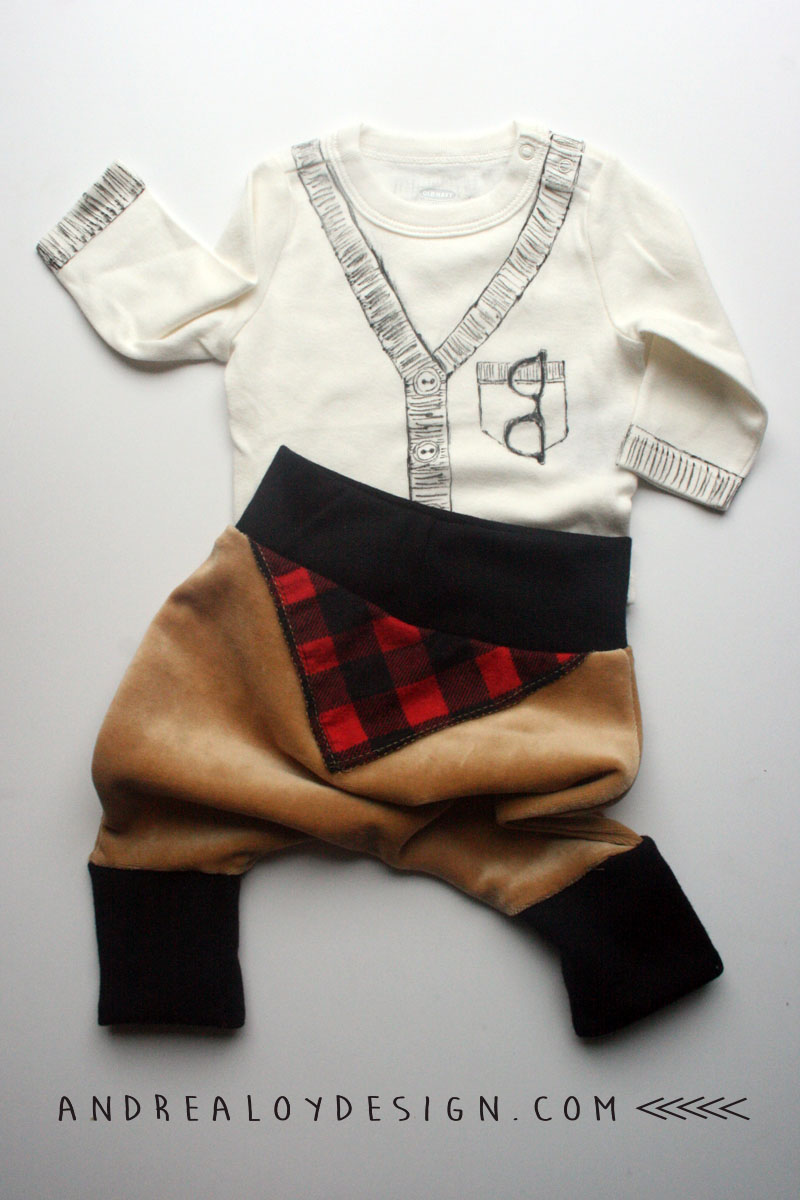
Oh right, THE CARDI! Grab a black fabric marker and sketch plan first with pencil. I got this marker at Michaels and it doesn’t require heat setting. But I have not tested it to see how long it lasts through washes. I had a hard time deciding between pocket with glasses, suspenders, or bowtie….Obviously pocket, cardi, & glasses won. My husband thought it might be cute to draw a pipe or cigar in the pocket, which I agreed. But some people wouldn’t find it as funny as us, so I caved and stayed conservative. Here it is:
