How to make a really great modern quilt in 4 hours using 5 yards of fabric:
BUT FIRST
Here’s how it happened. I’ve been brewing up a nice modern nautical stripe quilt in my head ever since my friend made some UH-MAZING ombre stripe toddler quilts for our Handmade Markets. I have this great piece of pink and marroon Amy Butler Fabric I’ve been hoarding for roughly 6 years now and I knew that it was the perfect quilt backing…plus the sister I had in mind for the quilt loves pink. Plus the sister was graduating and I wanted to make her a special gift. The equation worked out perfectly. I stopped for a lightning fast trip to Hobby Lobby to astound all the shoppers and fabric counter lady with my tribe of children. We had to answer ALL THE QUESTIONS, “Yes, their all mine. Yes, my hands are full – of good things. Yes – they are all girls.”
But I was not distracted. I saw the perfect shades of Kona Cotton to match the aforementioned hoarded fabric while chasing a child to stop her from running through the “maze.” I’m not really sure how we got from the opposite side of the store where we only needed one thing in the art supply section to the fabric maze. It’s like the Konas were calling my name.
When you know, you know. I saw those Kona Solids and knew I had finally found the perfect match for my Amy Fabric and my Stripe Quilt Idea. So here we are with grace from above and the stars aligned.
This quilt is perfect if you have a beautiful cotton print that you can’t bear to cut up.
WHAT YOU NEED:
TOP -2 yards complimentary cotton quilting fabric solids
BACK -3 yards patterned cotton quilting fabric
3 yards of batting -I LOVE really thin 100% cotton Mountain Mist Cream Rose Batting
WHAT TO DO:
1.) Cut your solids into 12″ pieces across the width of the fabric from selvage to selvage.
2.) You’ll end up with 6 pieces total, each measuring 12 x 44″
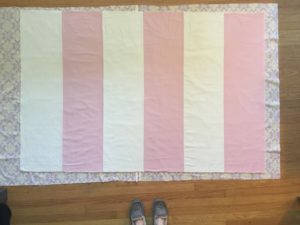
3.) Sew the stripes together alternating colors along the 44″ length side.
4.) Cut your backing fabric in half at the 1.5 yard line and sew together along the selvage to create the backing.
5.) Spread out your batting on a clean floor and smooth quilt top across. Trim batting to the same size. It should measure 44 x 70″
6.) Next carefully pick up your top and batting together and lay aside. Lay down your backing piece wrong side up. Place top/batting down on the middle of your backing piece and smooth from the center out with your hands. There should be about 2″ on either side of the length of the quilt sandwich and more at the top and bottom.
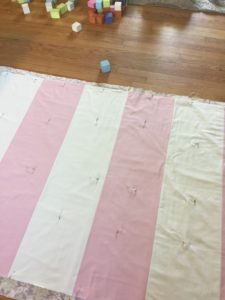
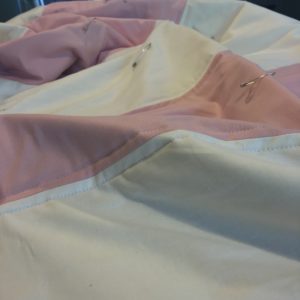
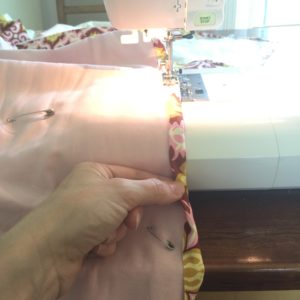
7.) Baste it. PIN THE HECK OUT OF IT WITH LARGE SAFETY PINS! Always smoothing, pin from center out. We don’t want our quilt sandwich bunching or shifting when we sew it together, do we now?
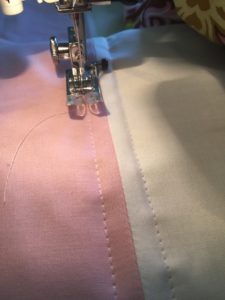
8.) Quilt it a 1/2″ on either side of the seams where your solids meet. Set your walking foot up if you want. Use a longer stitch length. Start in the middle of your quilt and sew out from centers of stripes.
QUILTING TIPS: If you try to start sewing at the ends all the way to the other end you will have bunching and unwanted pinching or pleating of fabric. Yuck. Don’t do it. I promise it doesn’t take much longer to keep starting from the middle of your quilt. Keep your quilt rolled up neatly under the arm of your machine so the bulk of the quilt will fit easier.
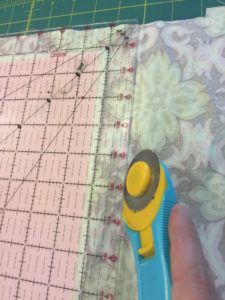
9.) Now trim thread tails and the backing of the quilt. Use a clear ruler and rotary cutter and leave exactly one inch of the backing fabric for your binding.
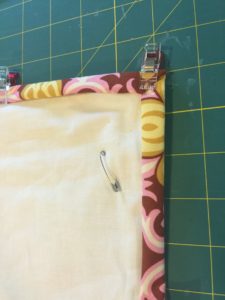
10.) Double fold the backing up onto the top of the quilt to create binding. I like to use wonder clips for holding the binding in place while I sew. Then you machine sew it along the edge. It’s so easy and fast. This binding technique saves so much time! Hence the ability to complete this quilt in just 4 hours!!!
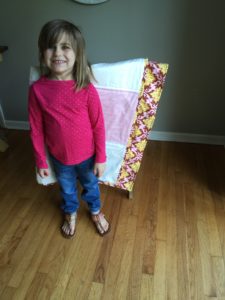
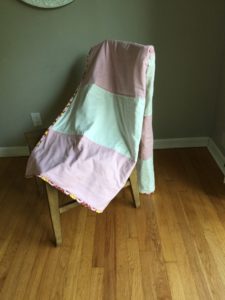
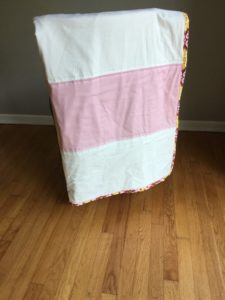
Finished Quilt measures approximately 44″ x 70″ A great size for a twin bunk or napping couch throw!
DISCLAIMERS: No children were neglected or starved in the making of this quilt. I really did make it in 4 hours! I did not count the hour I stopped in the middle to feed/nurse children. I did count my time while helping children with school sitting next to me.
Show me your Modern Stripe Quilts! Tag ’em with #ALDstripequilts on your social media accounts!
HAPPY SEWING! You can do it!

